Breech block painted steel. Not sure if it’s accurate or not for the M47, but I like the look, and I’ve seen it before on other types. Besides, the turret hatches will be closed and no one will see it...

Then I glued the upper and lower turret halves together

and well, I just had to fit it on the hull
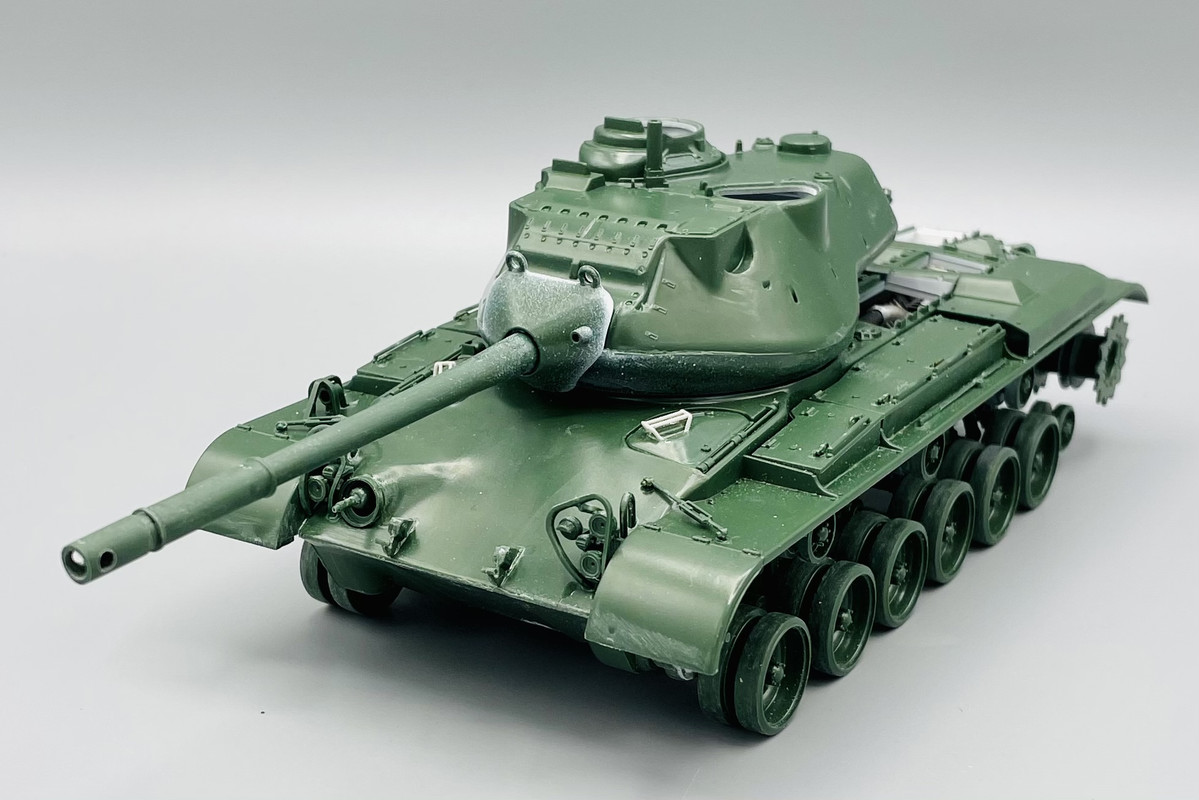
Now
it looks like a tank!
Next up, adding all the little bits to the turret before the cast armor texturing