Hello Cliff!
Thanks a lot for your comment! I'm going to put on some paint really soon, but first I wanted to tackle the guns!
They are made up from 3D printed parts, so today I would like to write about working with the such parts that come with the Dynamo kit.
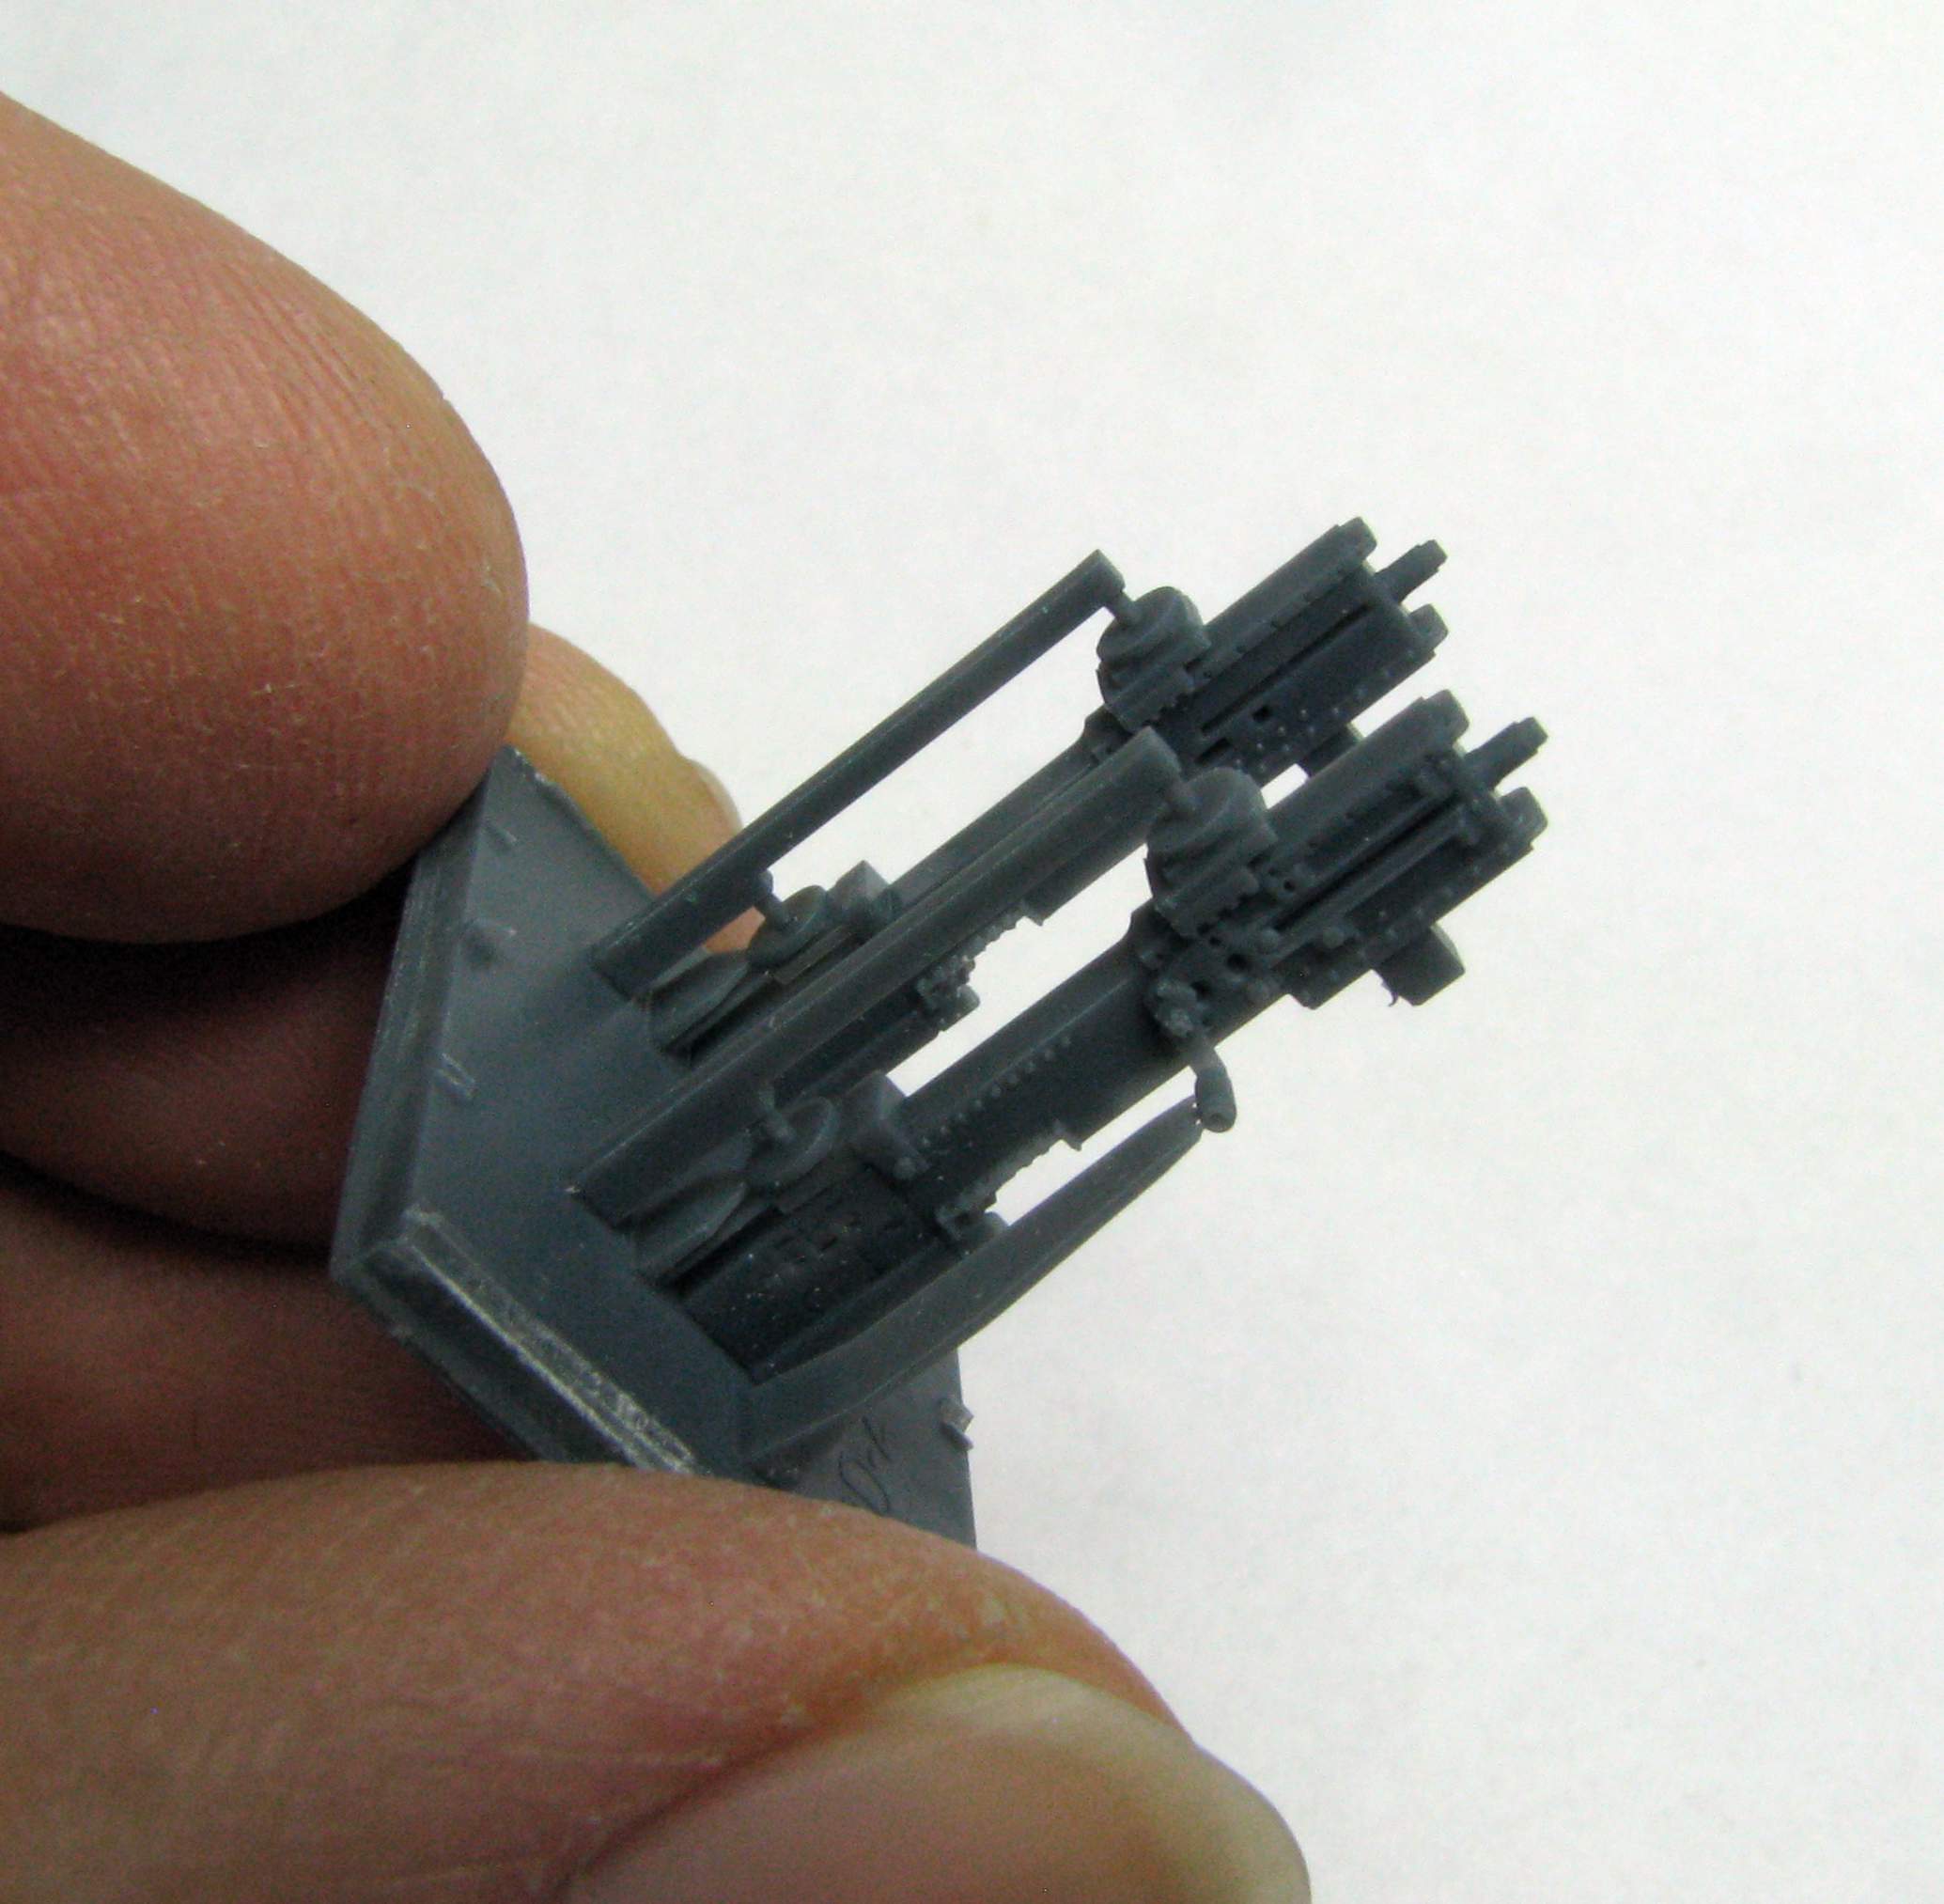
The kit comes with two 3D printed parts that hold two receivers each - one left and one right, differing in the setup of the charging handles. Those handles and their levers are very fragile, and care has to be taken at all times so as not to break them off. Here’s how the 3D printed parts look like:
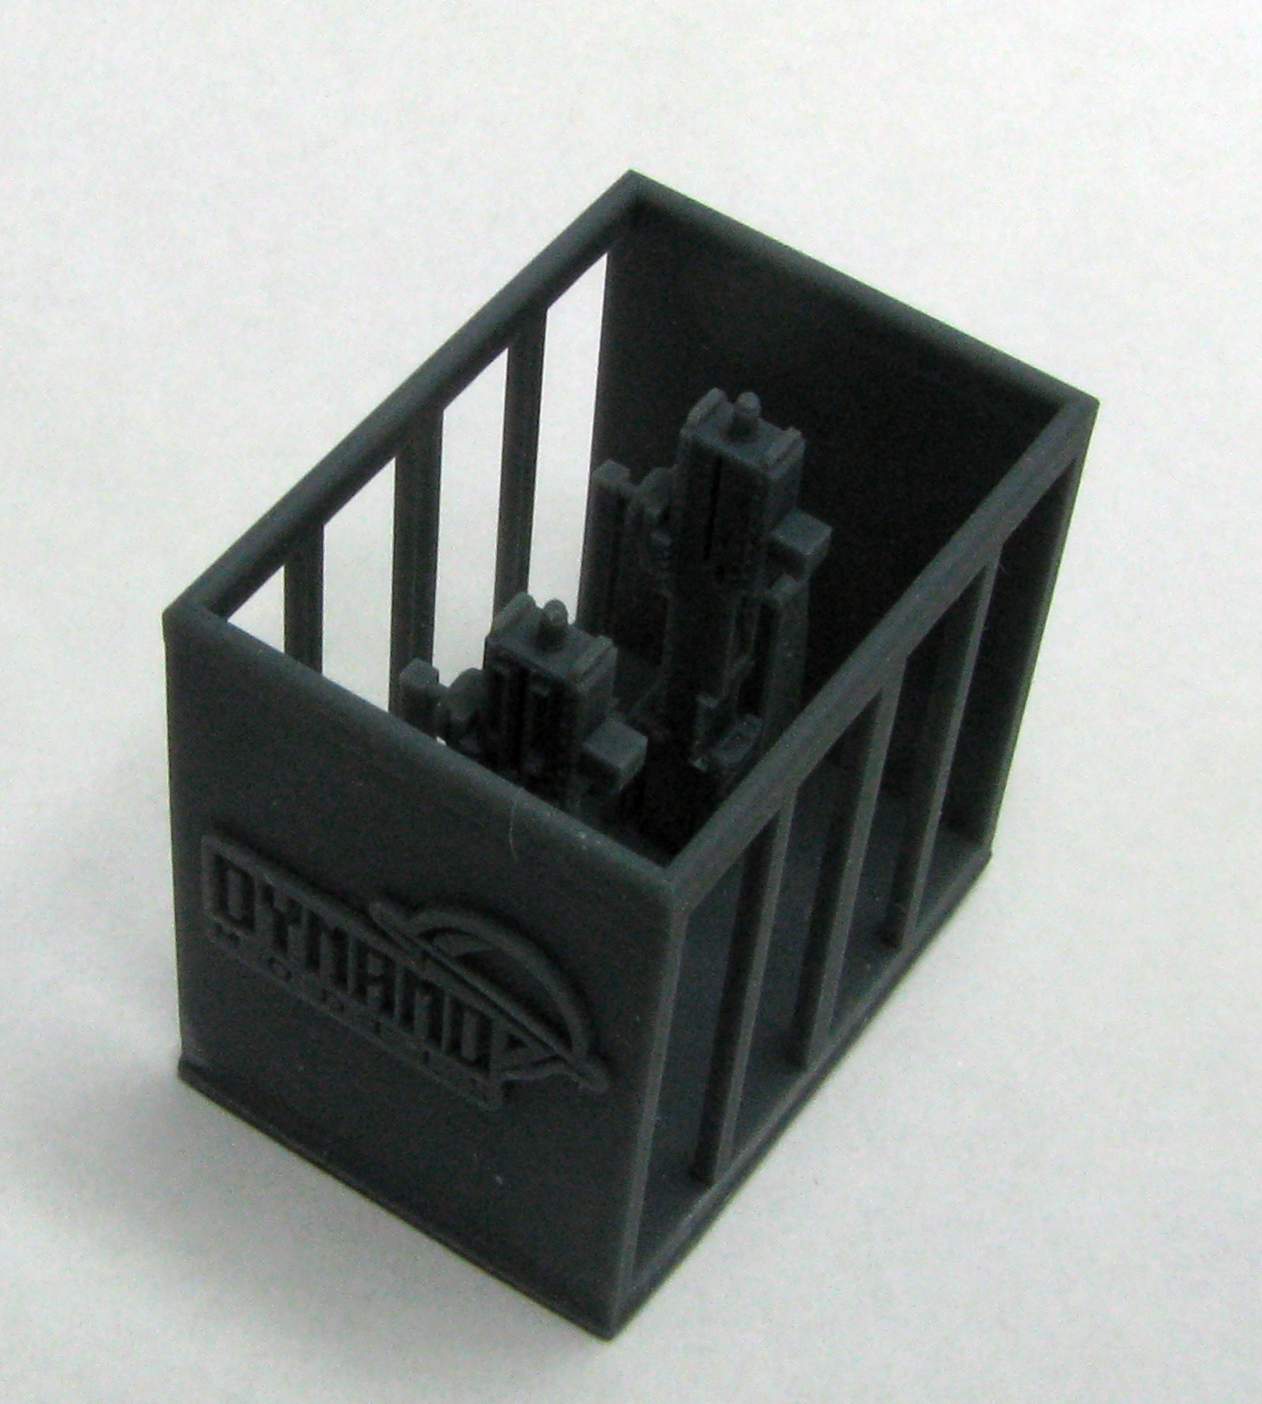
As you can see the large portion of the part is a protective cage that has to be carefully removed.
I started with cutting through the wide walls with my plastic cutter:
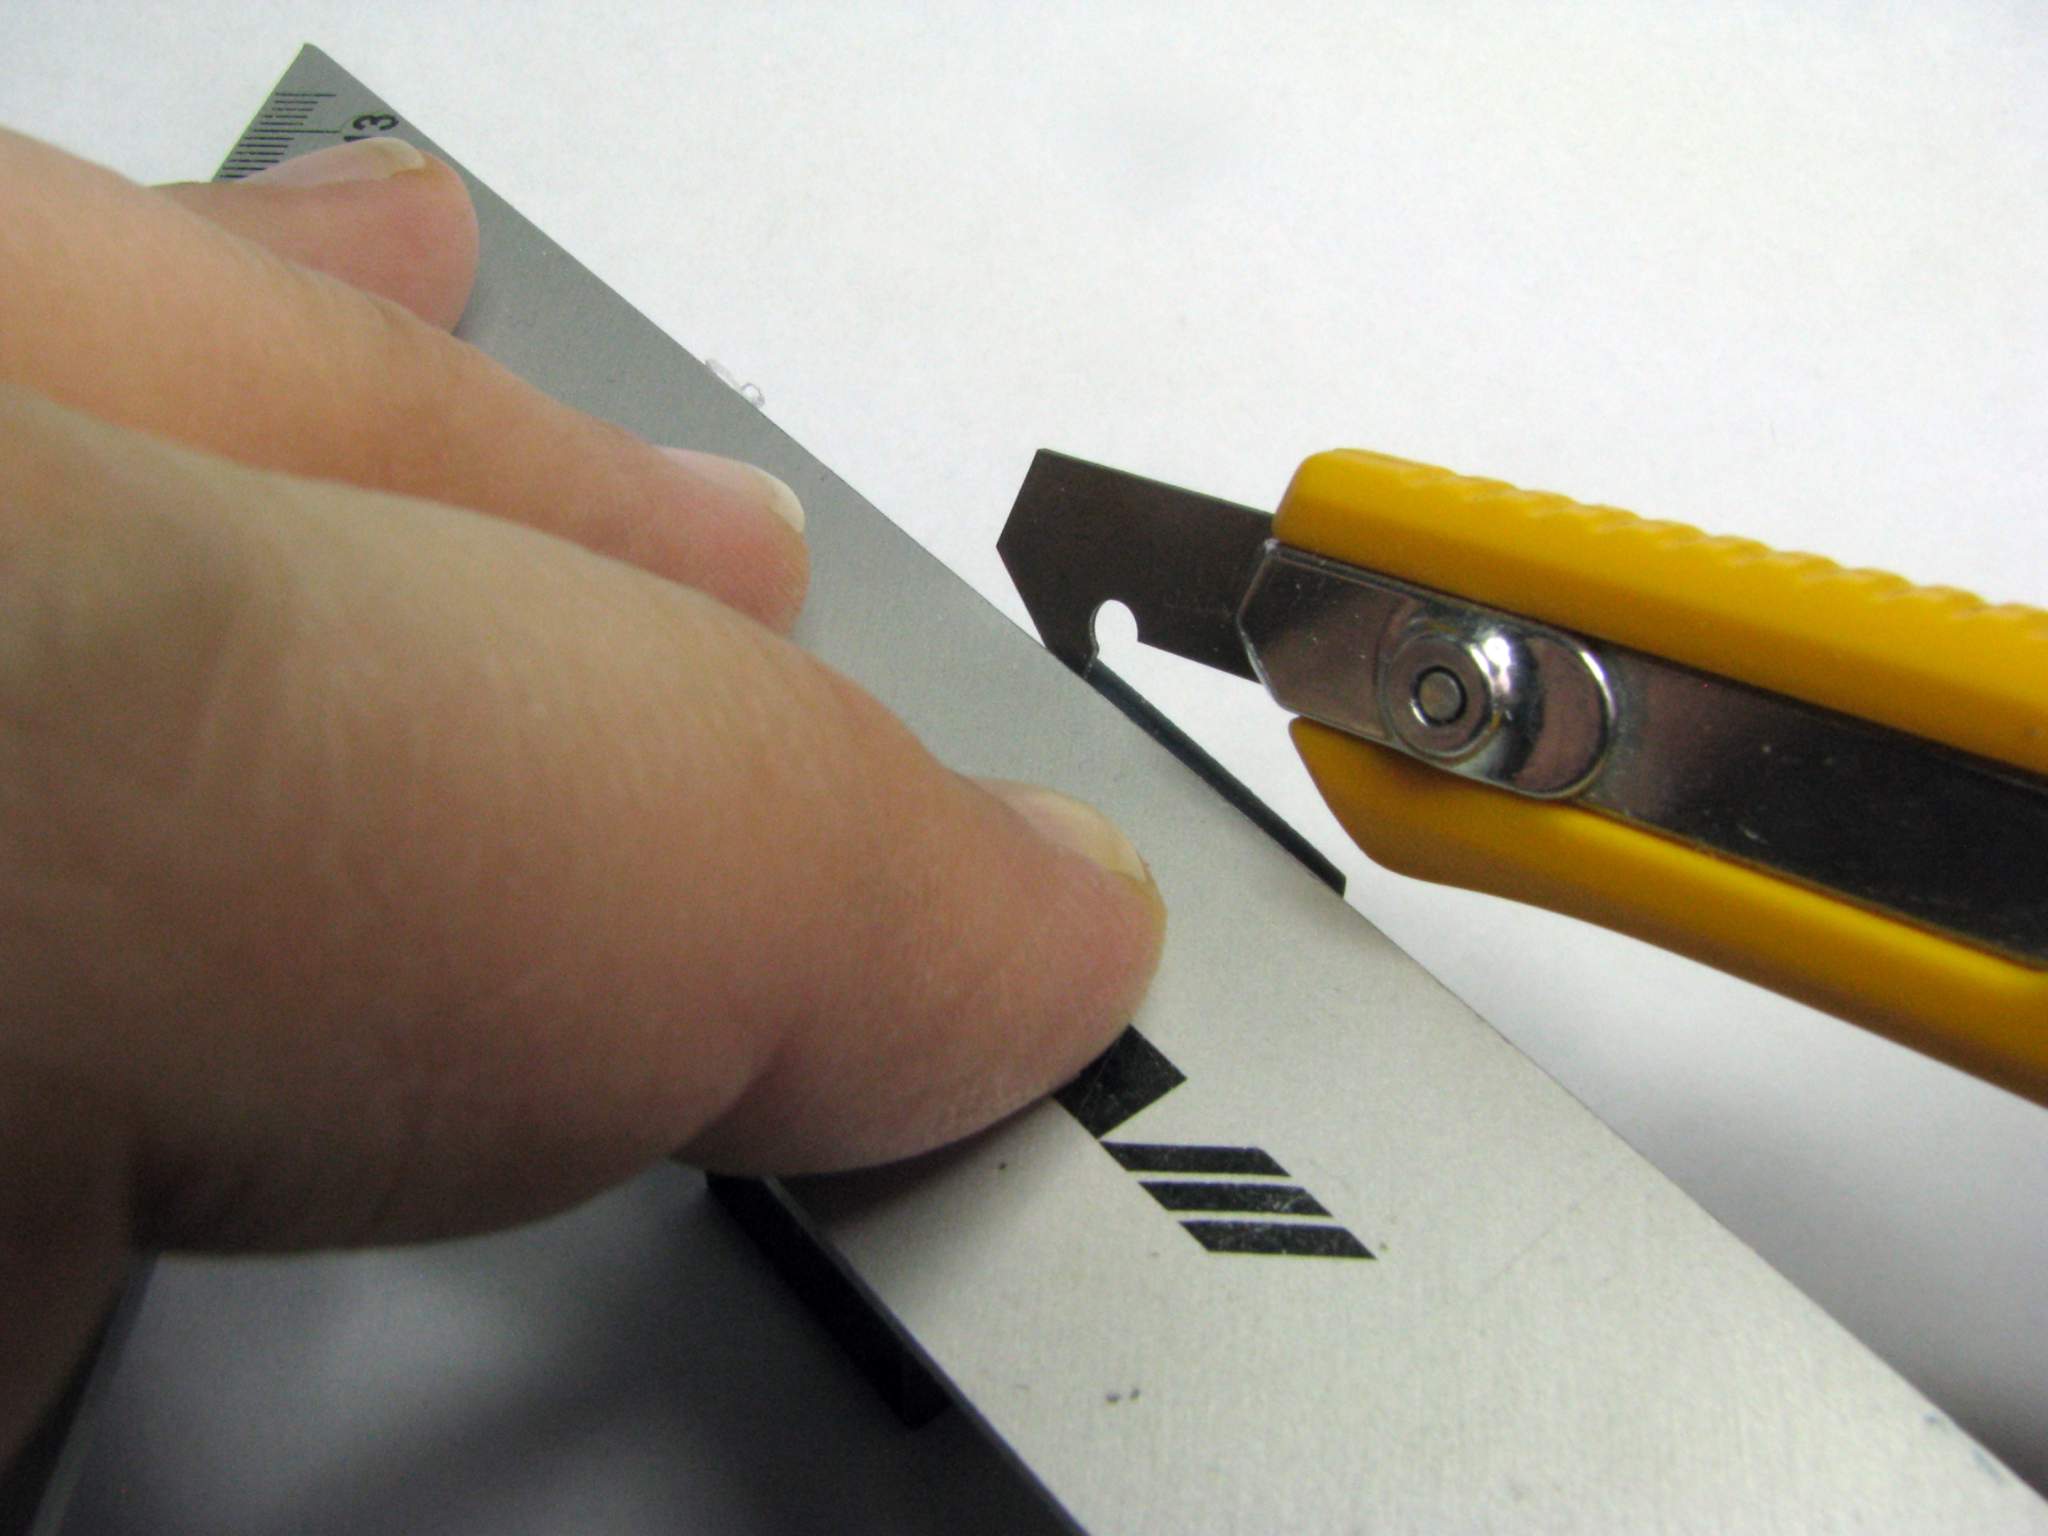
If you don’t have such cutter yet, I would heartly recommend you get one. It is made for example by the OLFA company and it can be used for model building for at least three things: apart from its intended use for cutting plastic plates it can also be used for scribing panel lines, but also for cutting off resin pour blocks. This has the advantage that instead of creating resin dust it tends to cut off quite large swarfs, which helps to minimize the problems with resin dust.
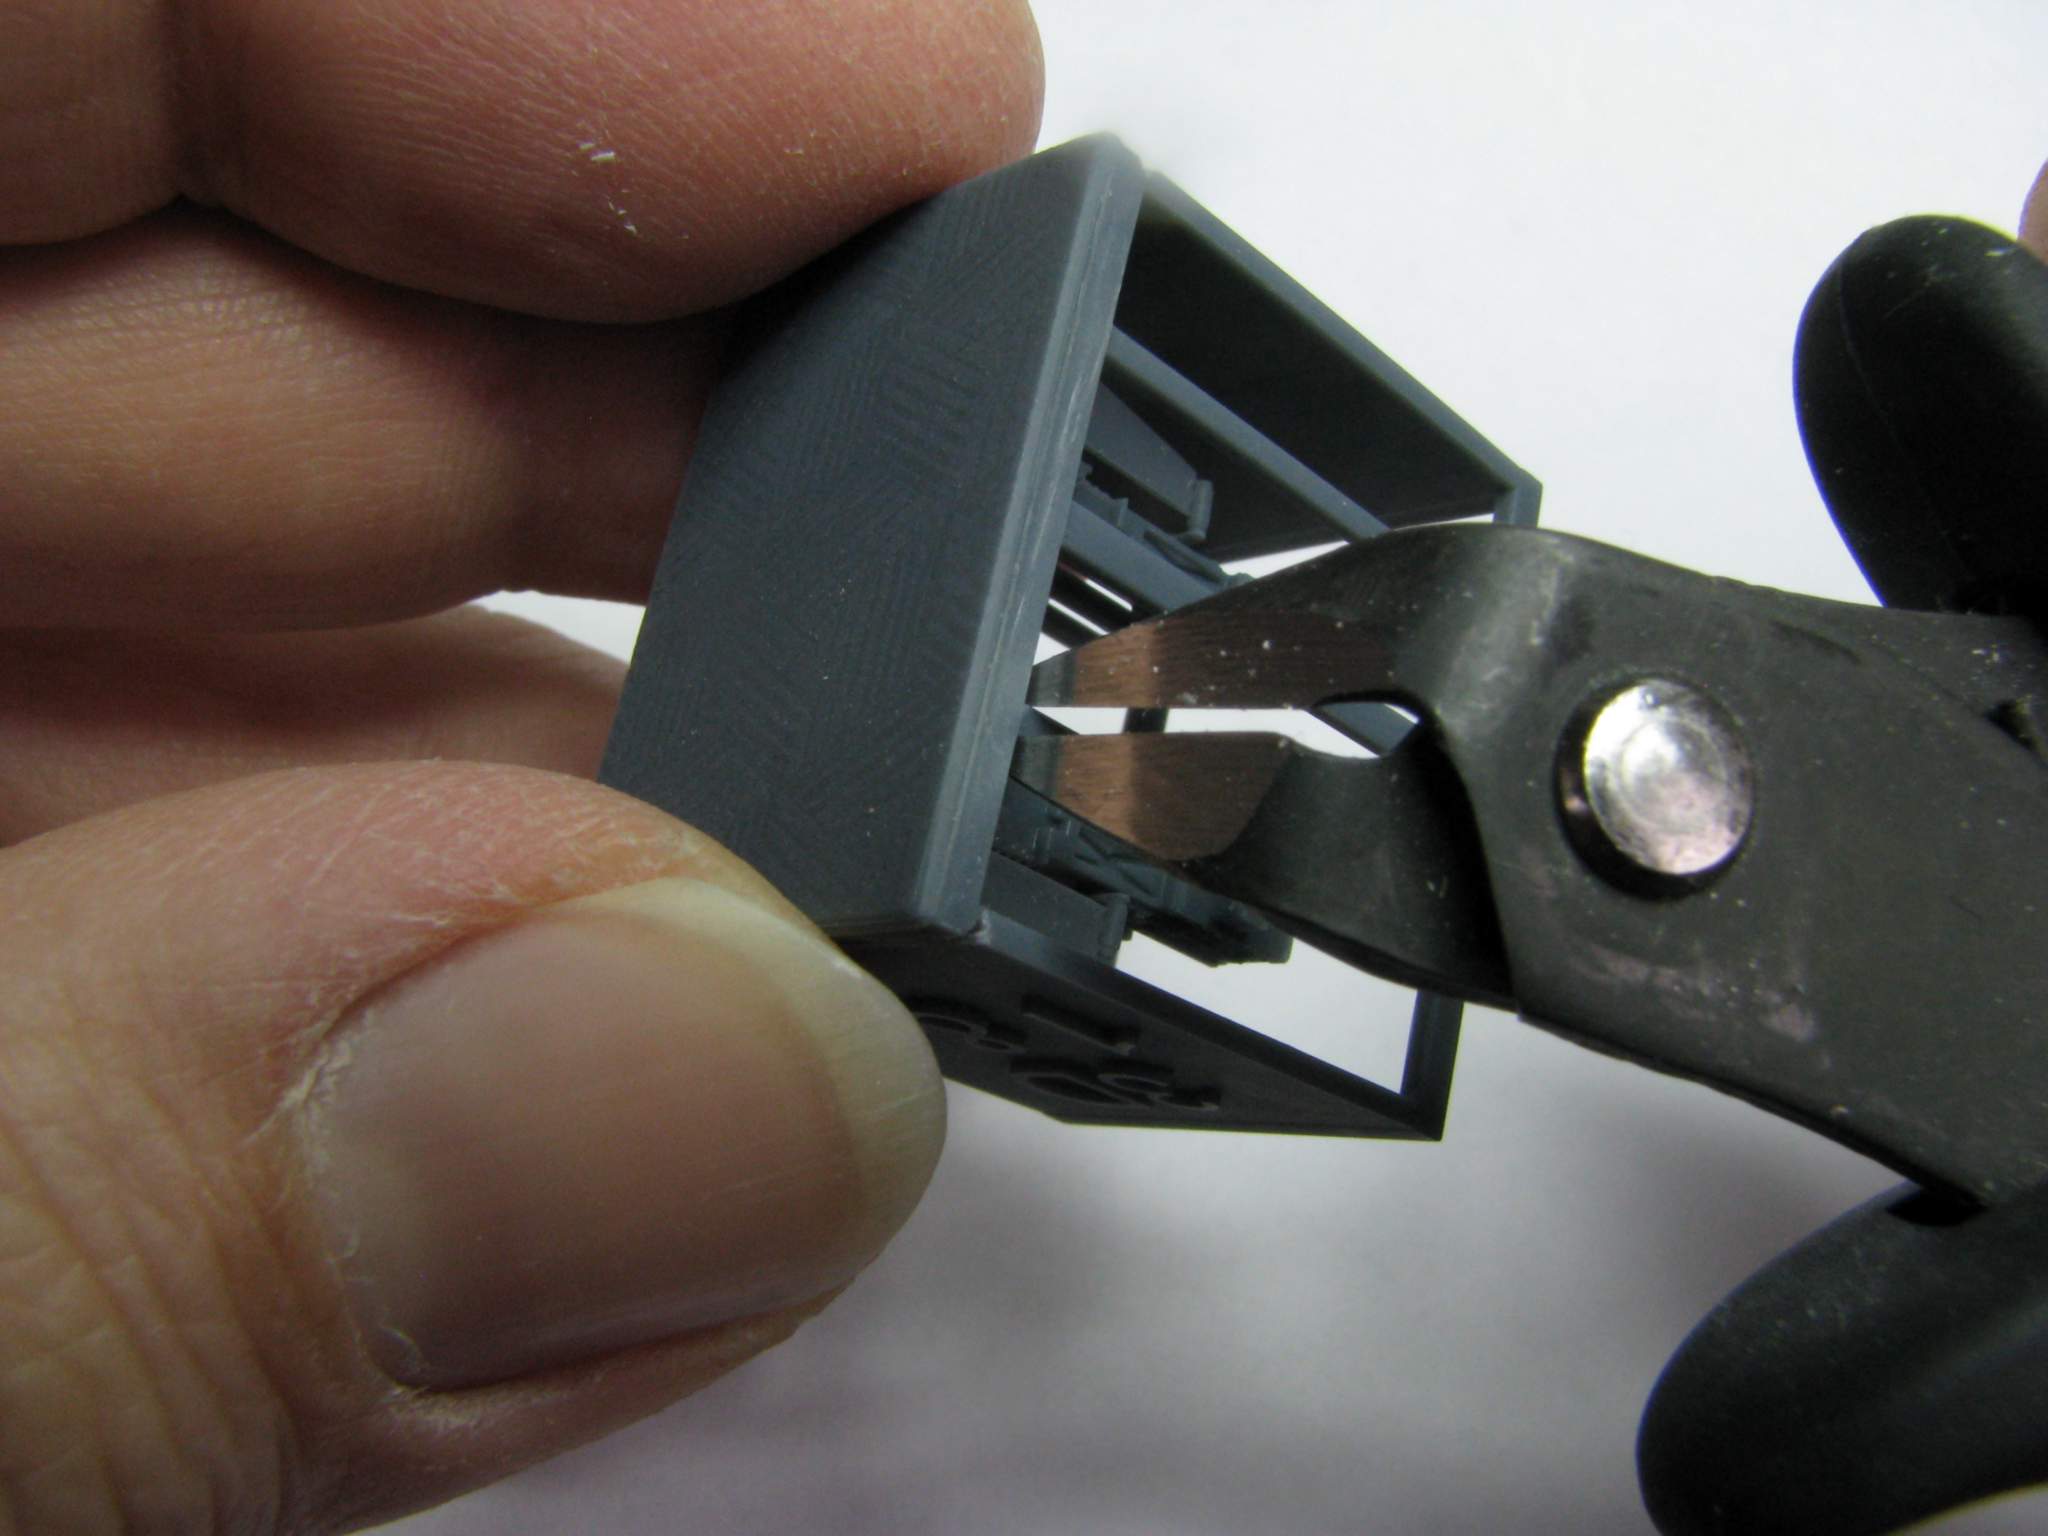
After cutting the wide walls the narrow “bars” were cut with sprue cutter:
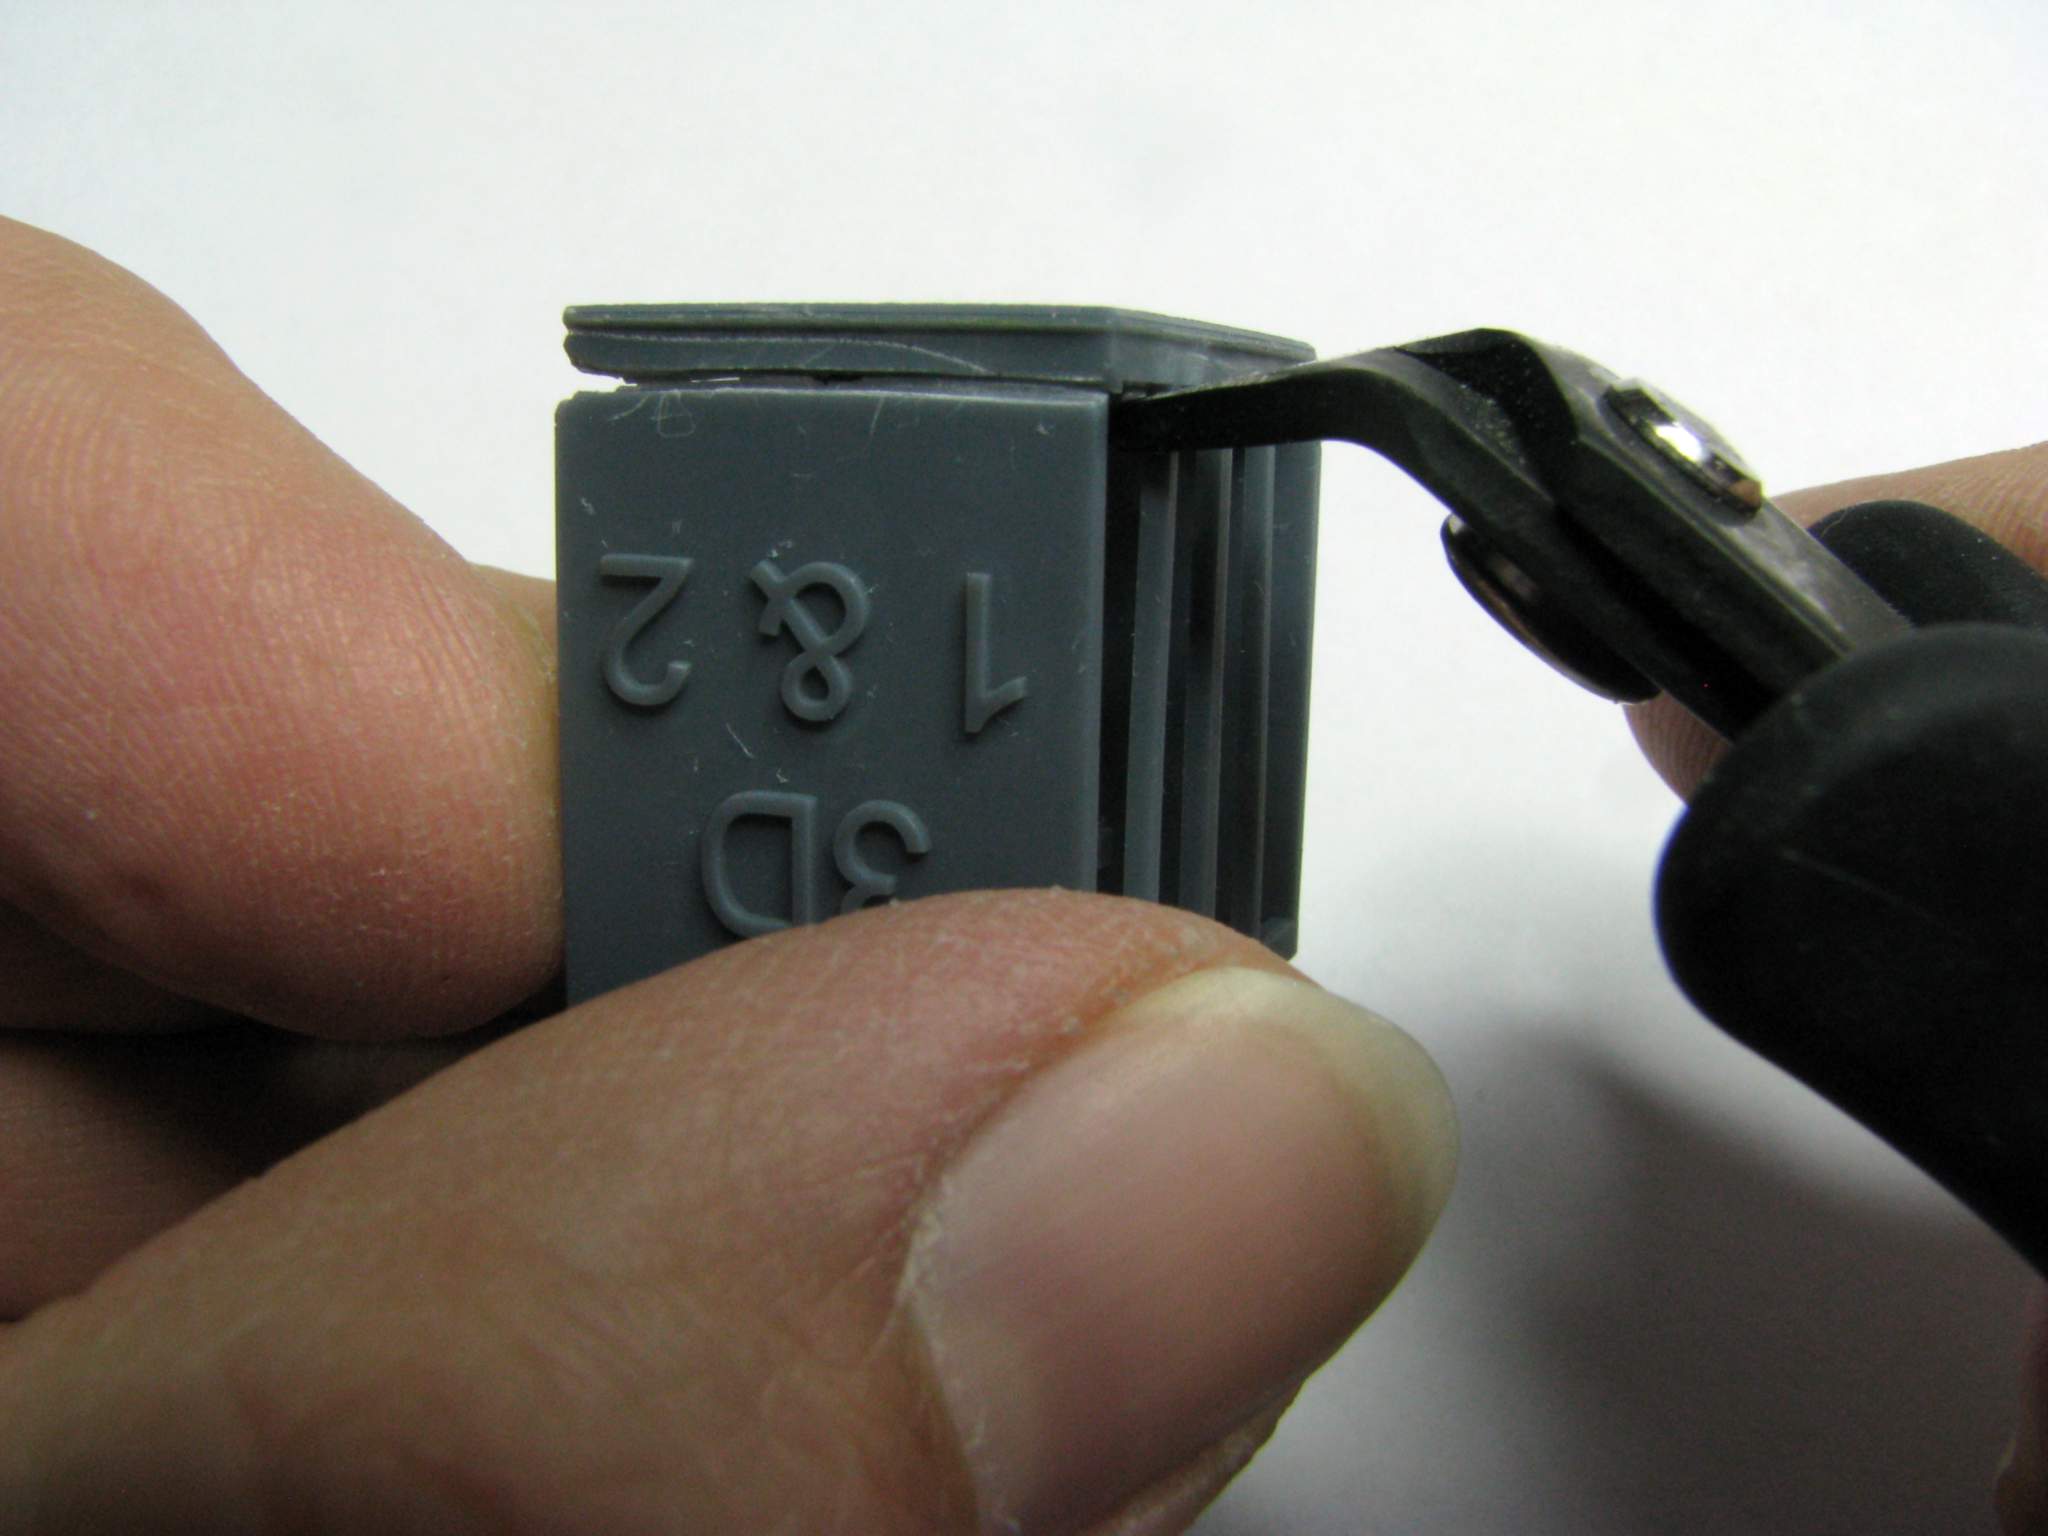
Now the receivers can be fully appreciated, the detail is very good, maybe even exceptional:
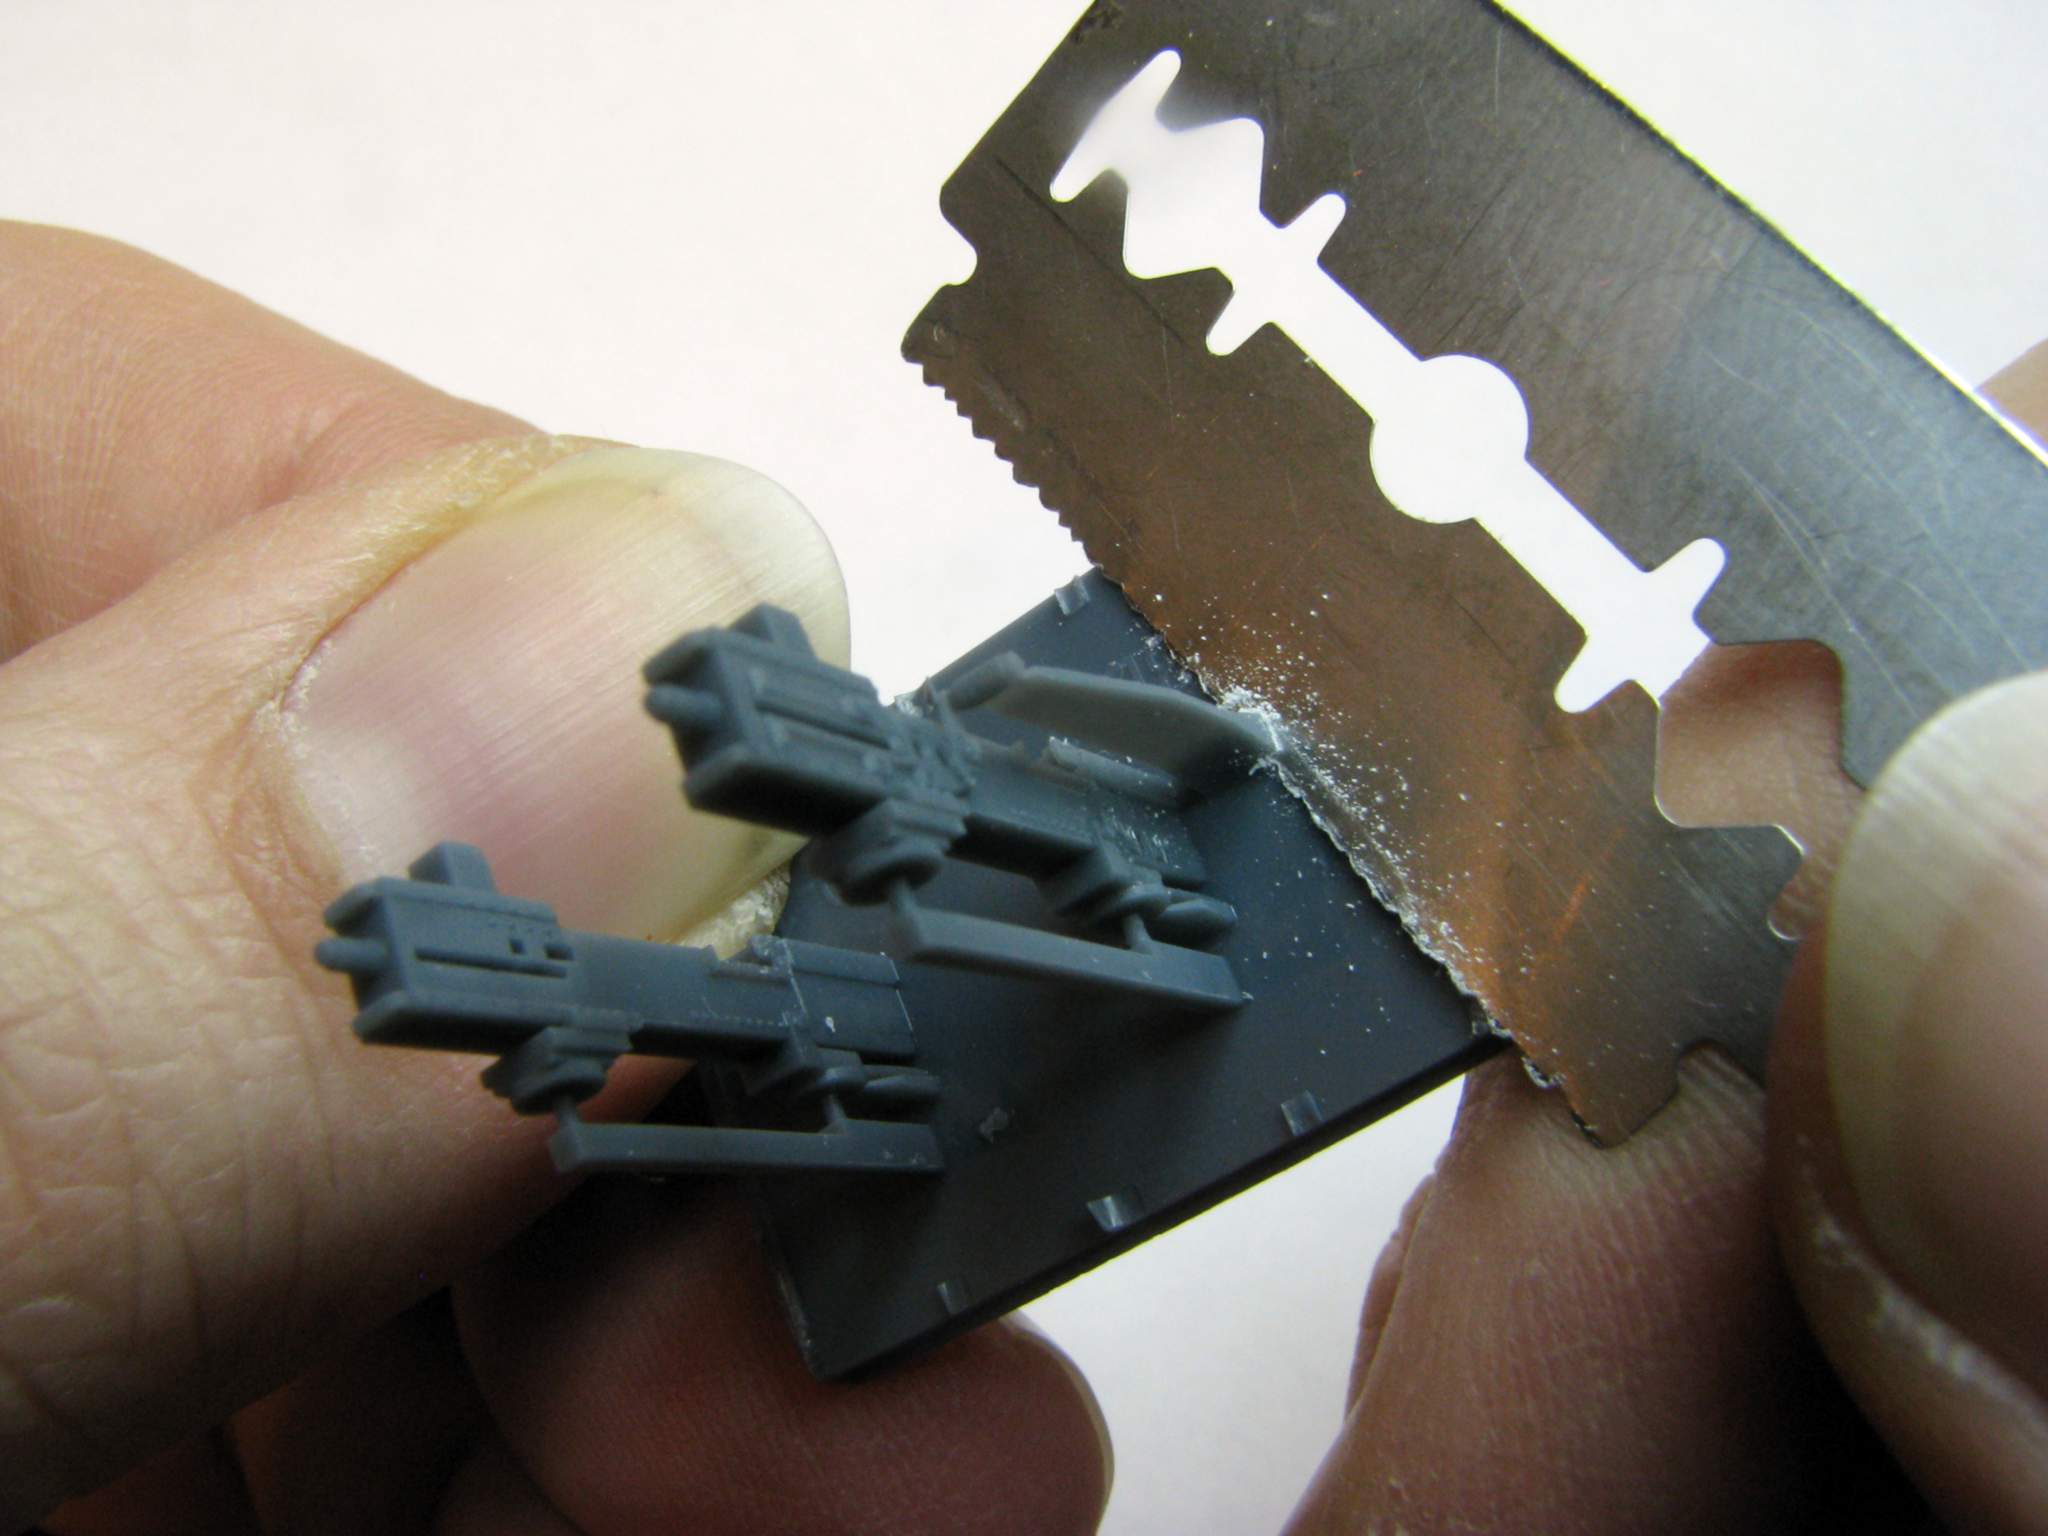
After CAREFUL cutting of the attachment points at the charging handle (they are very thin) the support can be cut at the bottom using a razor saw (the one you can see in the photo I made myself many years ago):
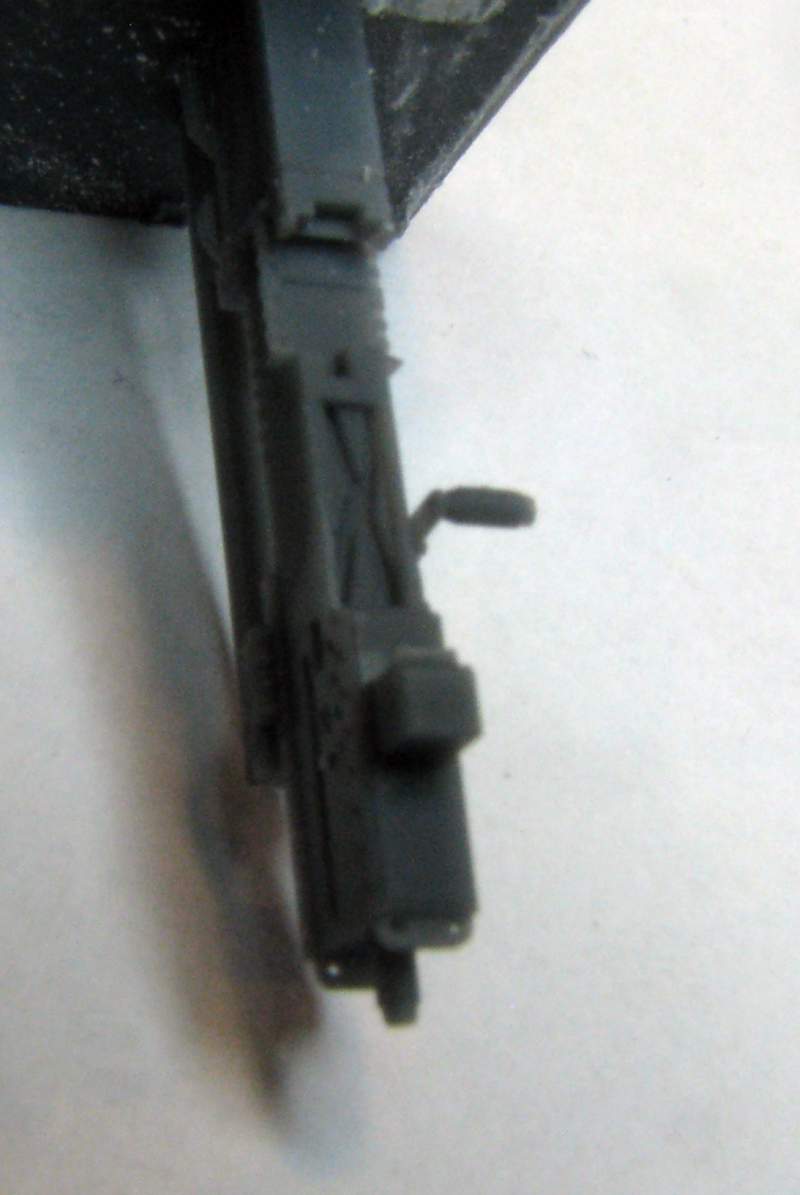
One of the parts can now be separated with a cut shown on the photo below:
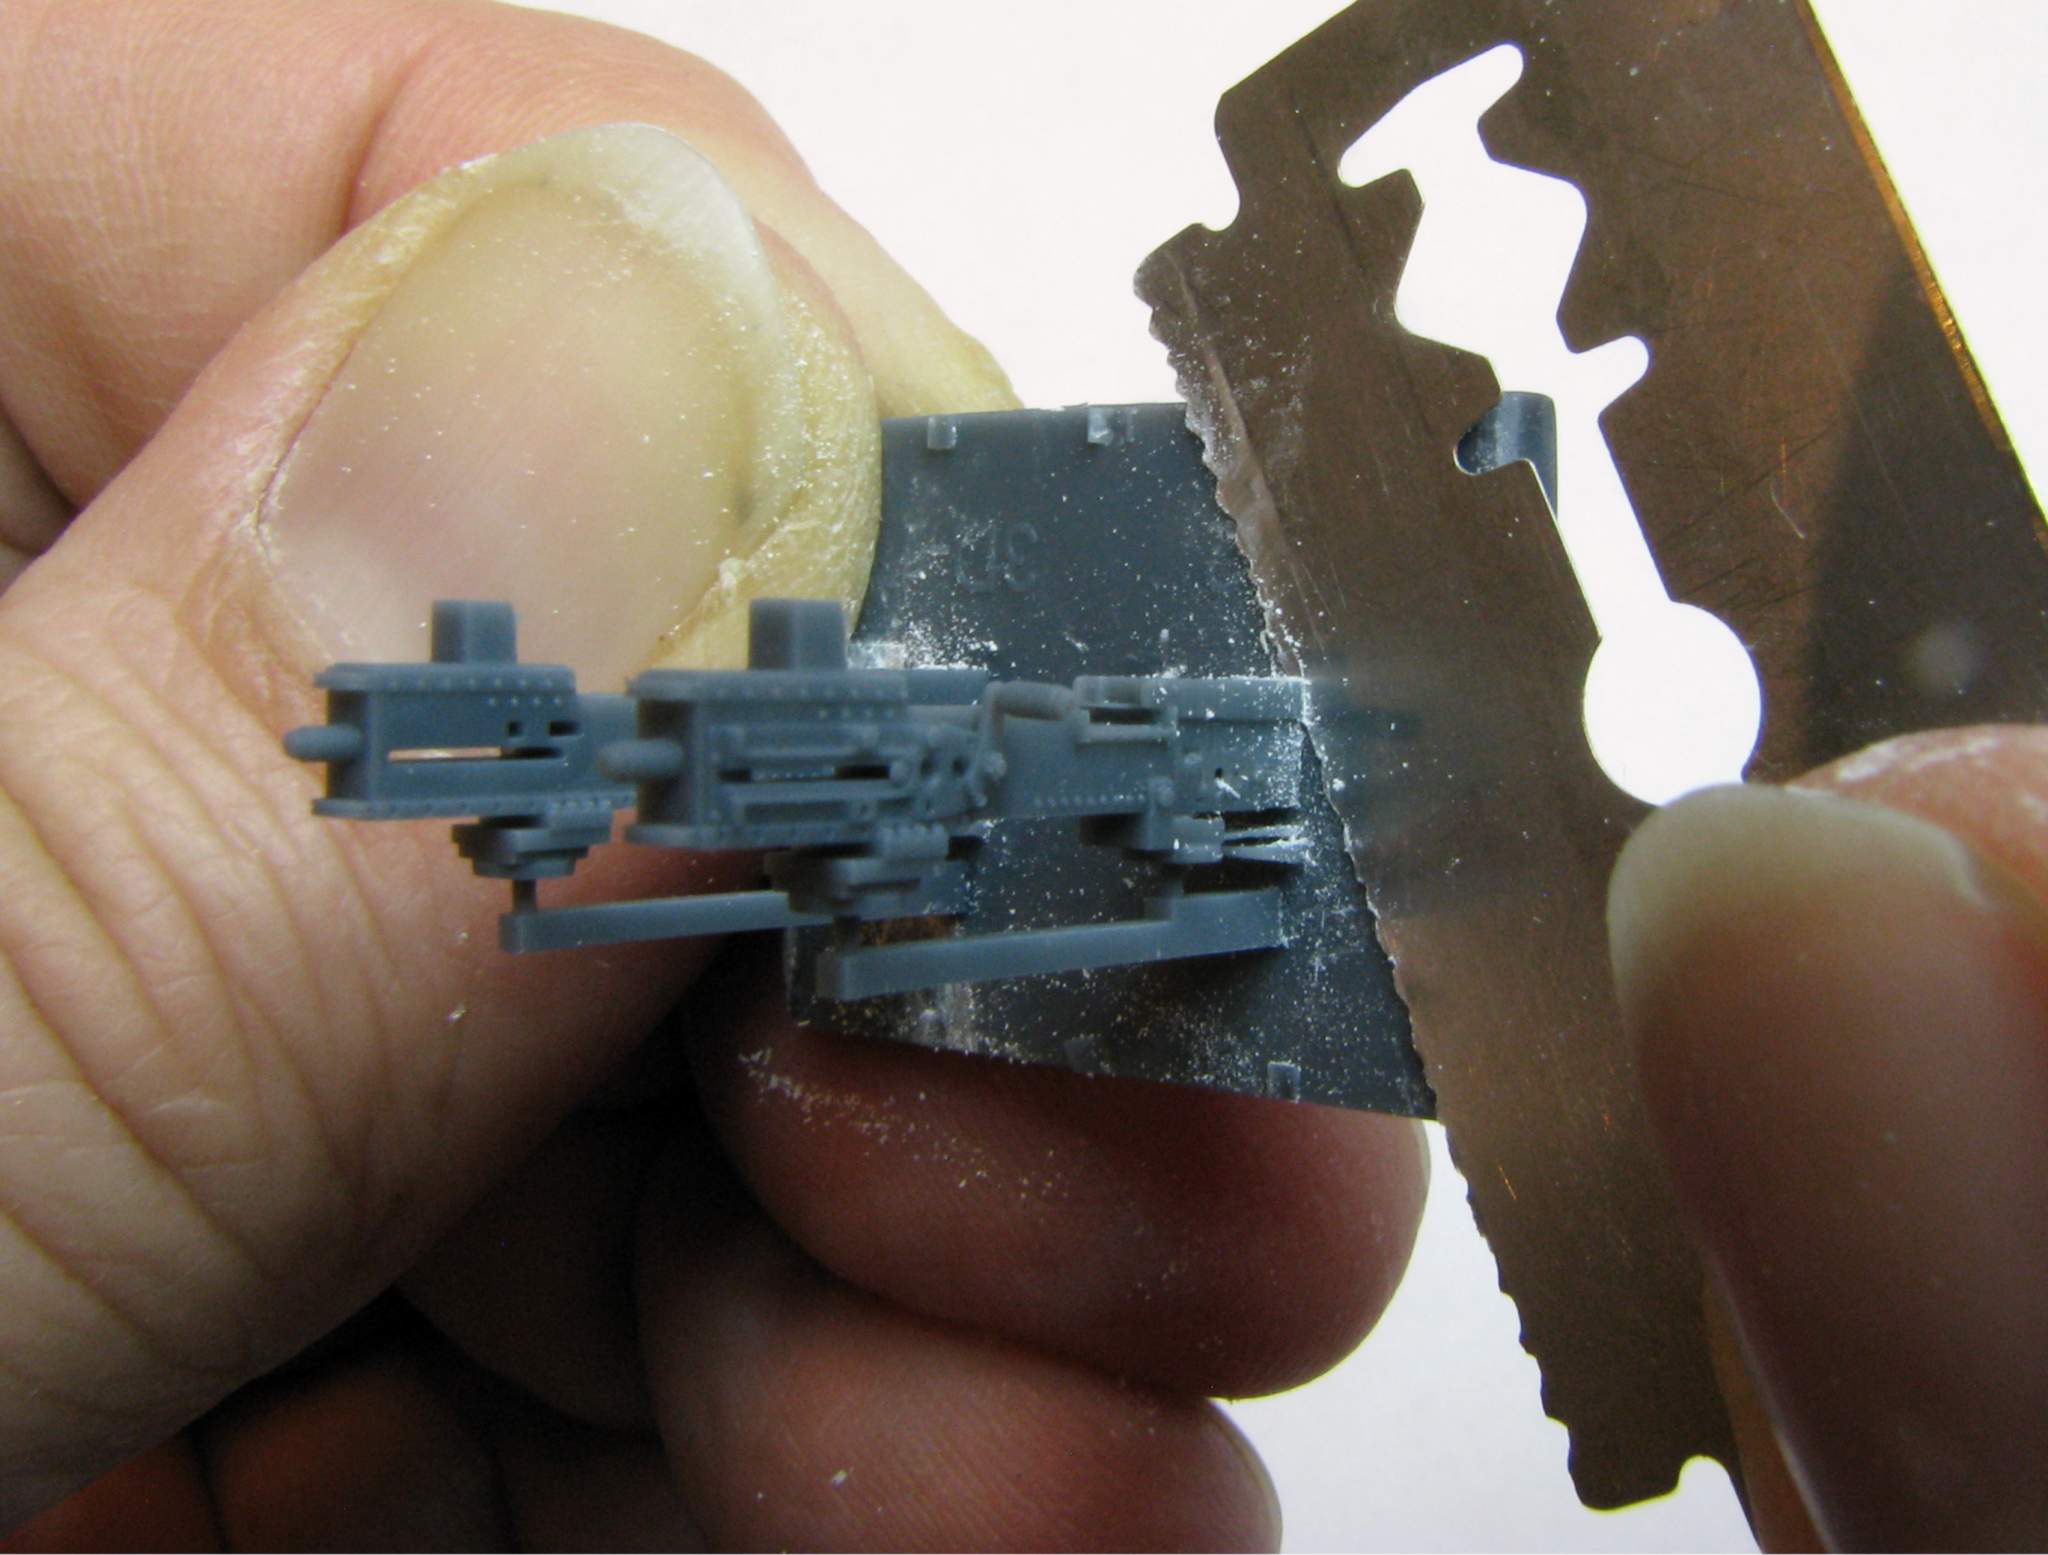
Next cut starts separating another support:
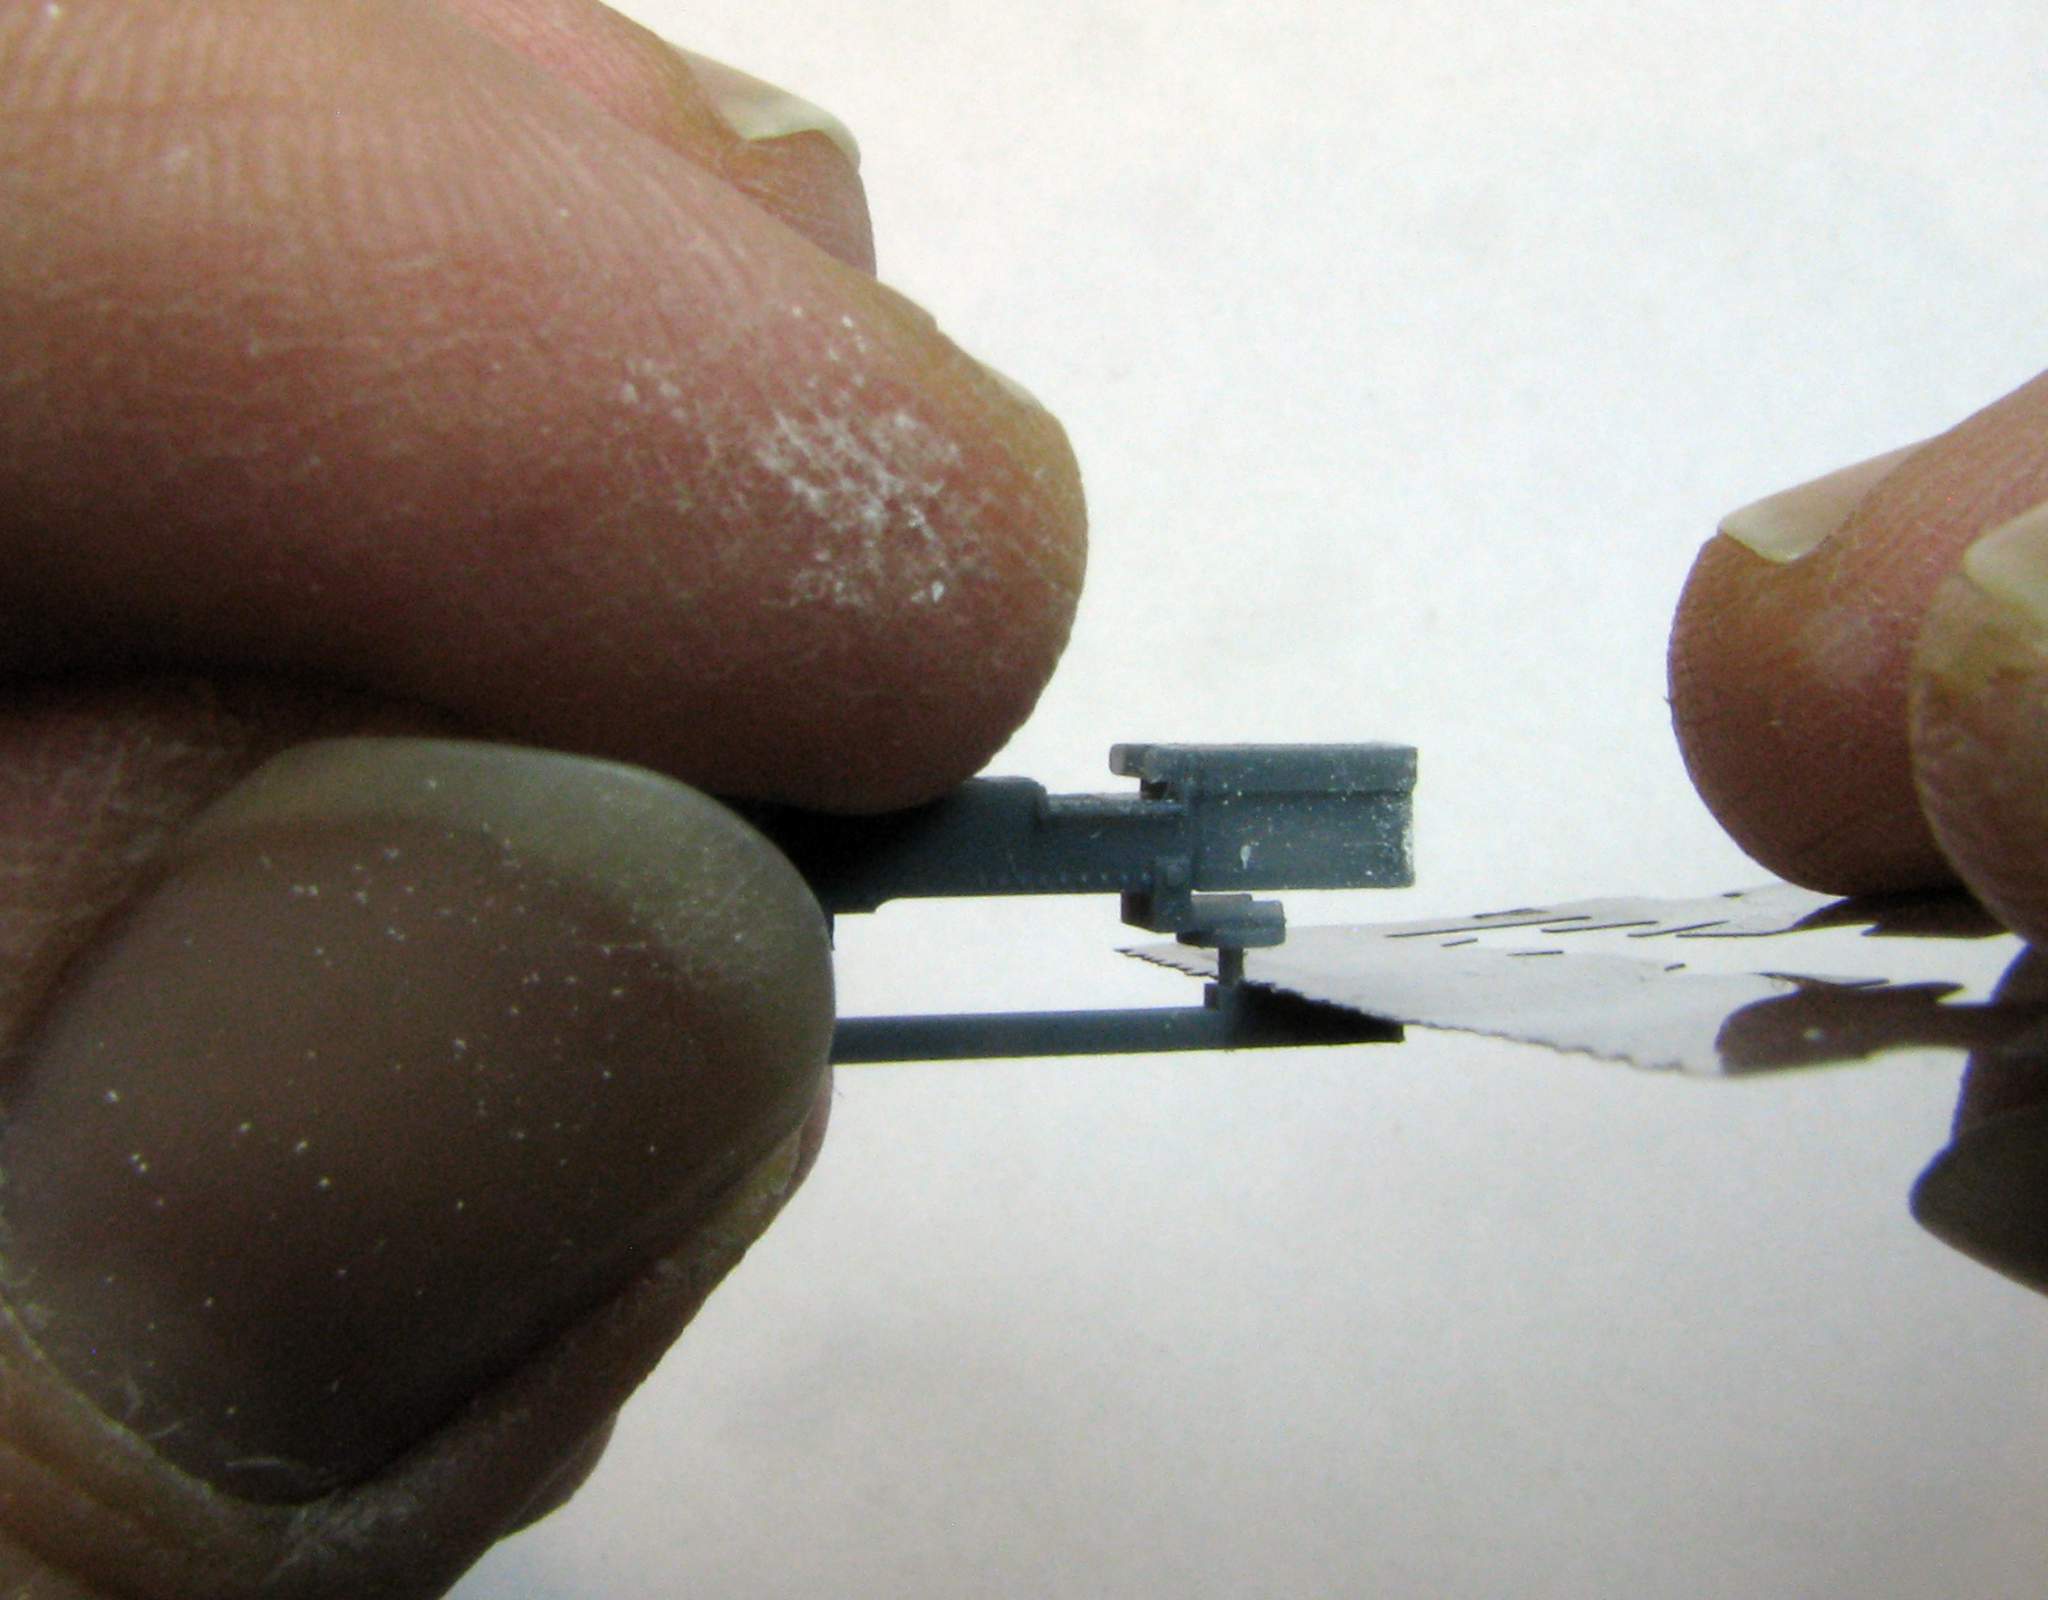
That can be finished with a sprue cutter:
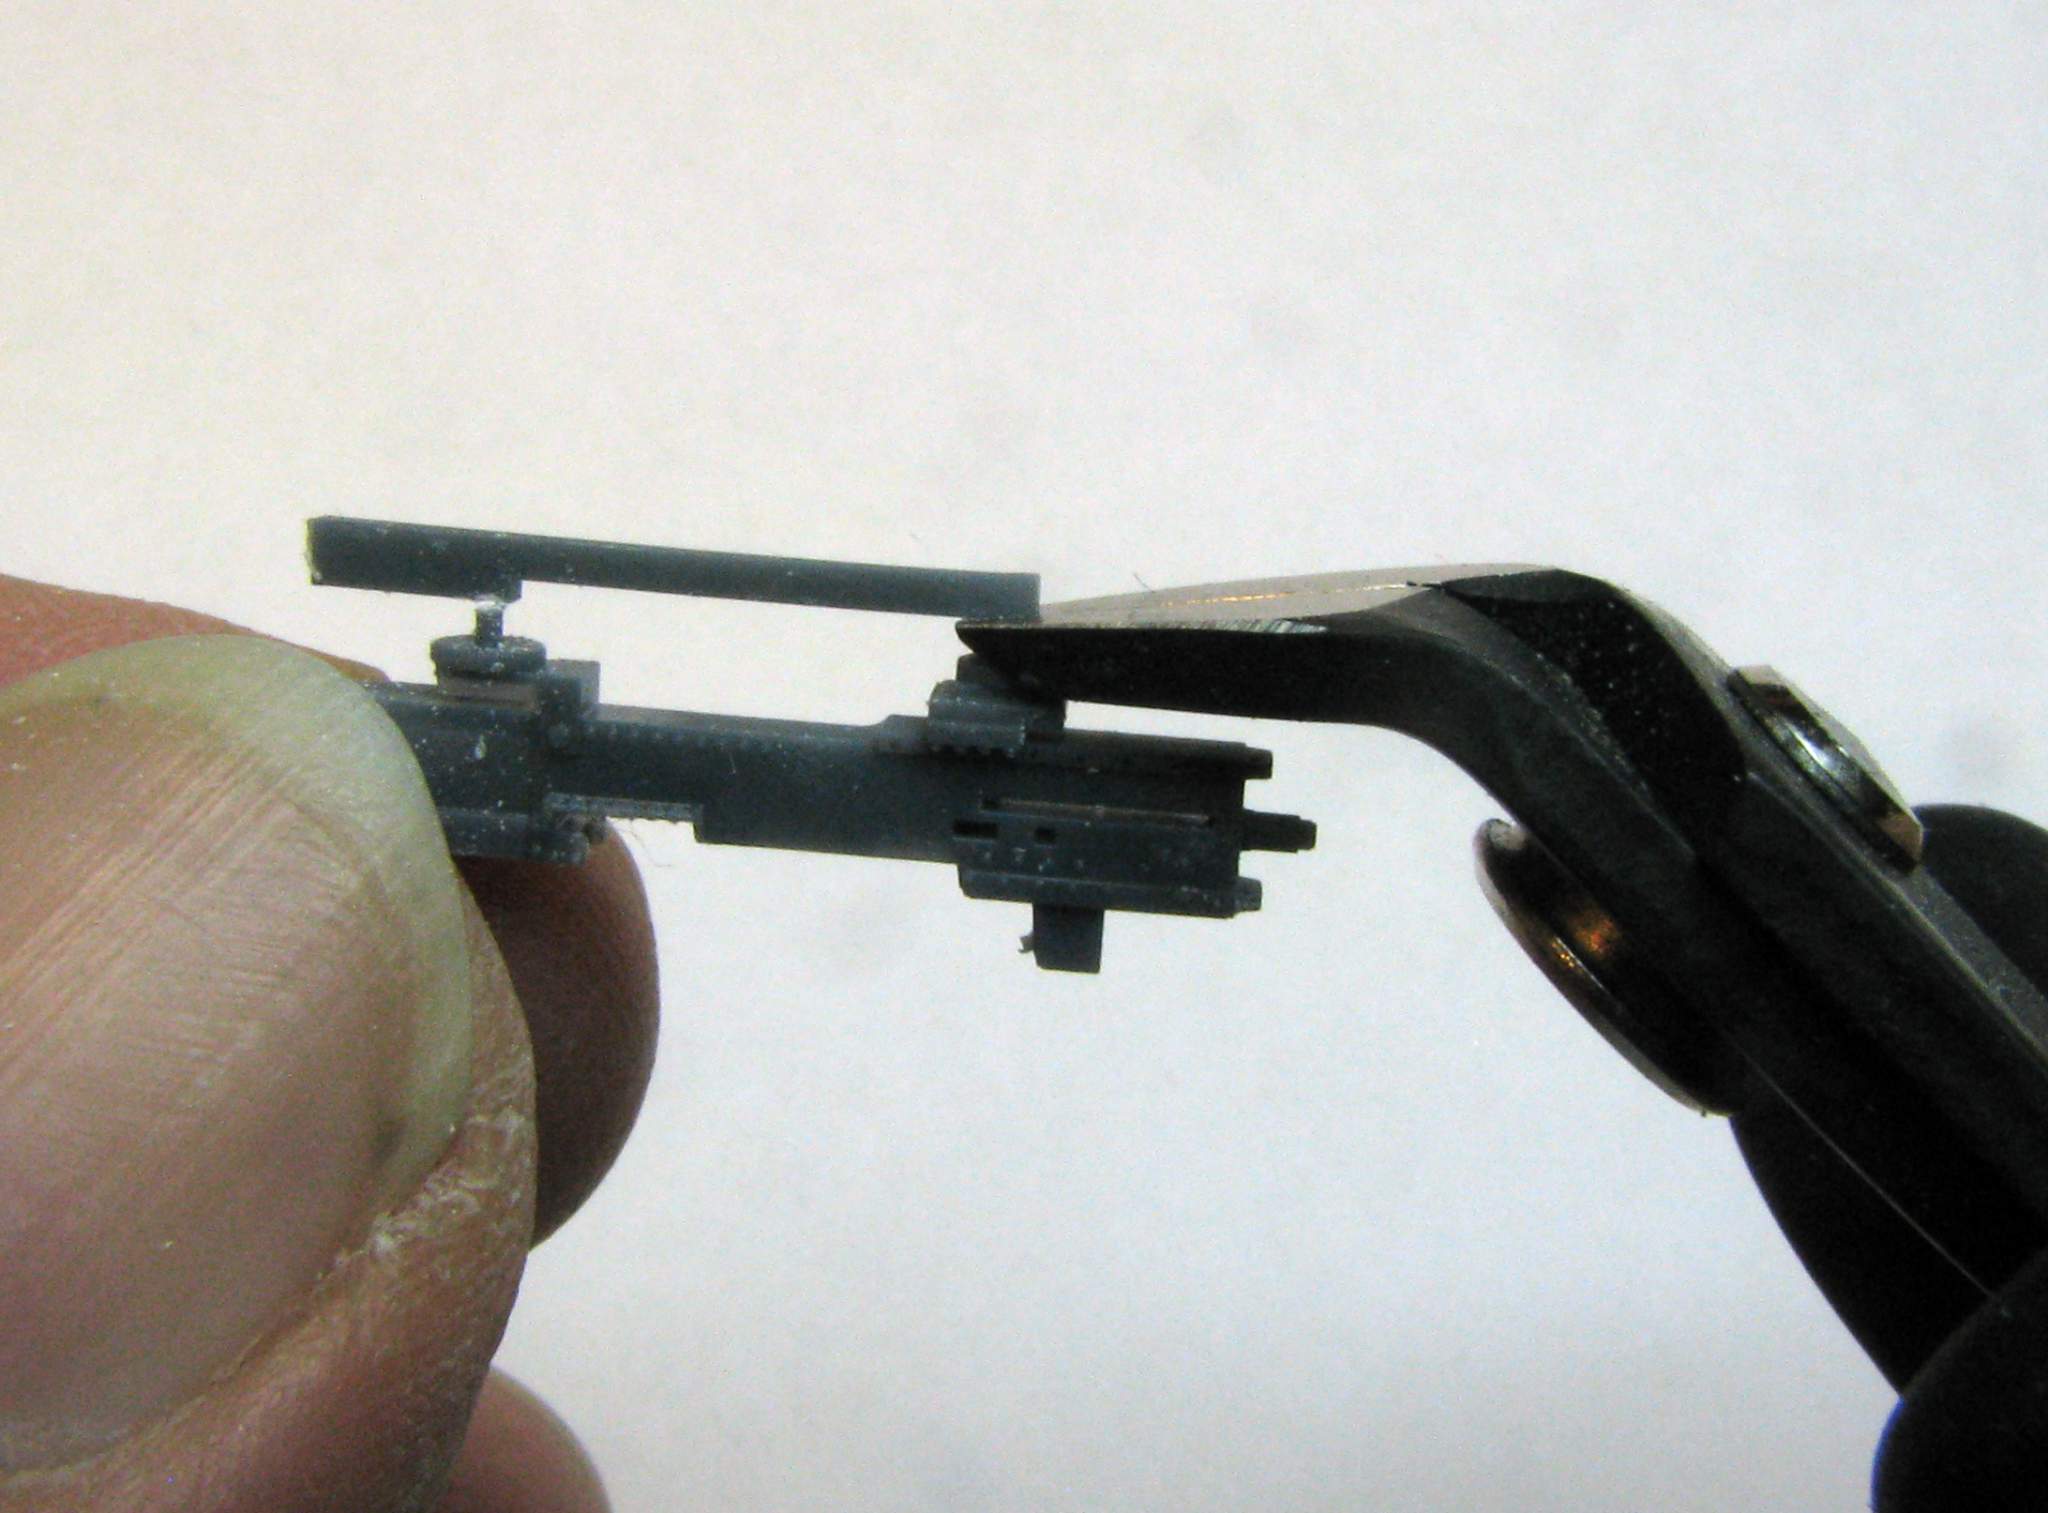
One more cut that hes to be relatively precise, separates the final support. All the time you have to watch for those charging handles (ask me how I know!):
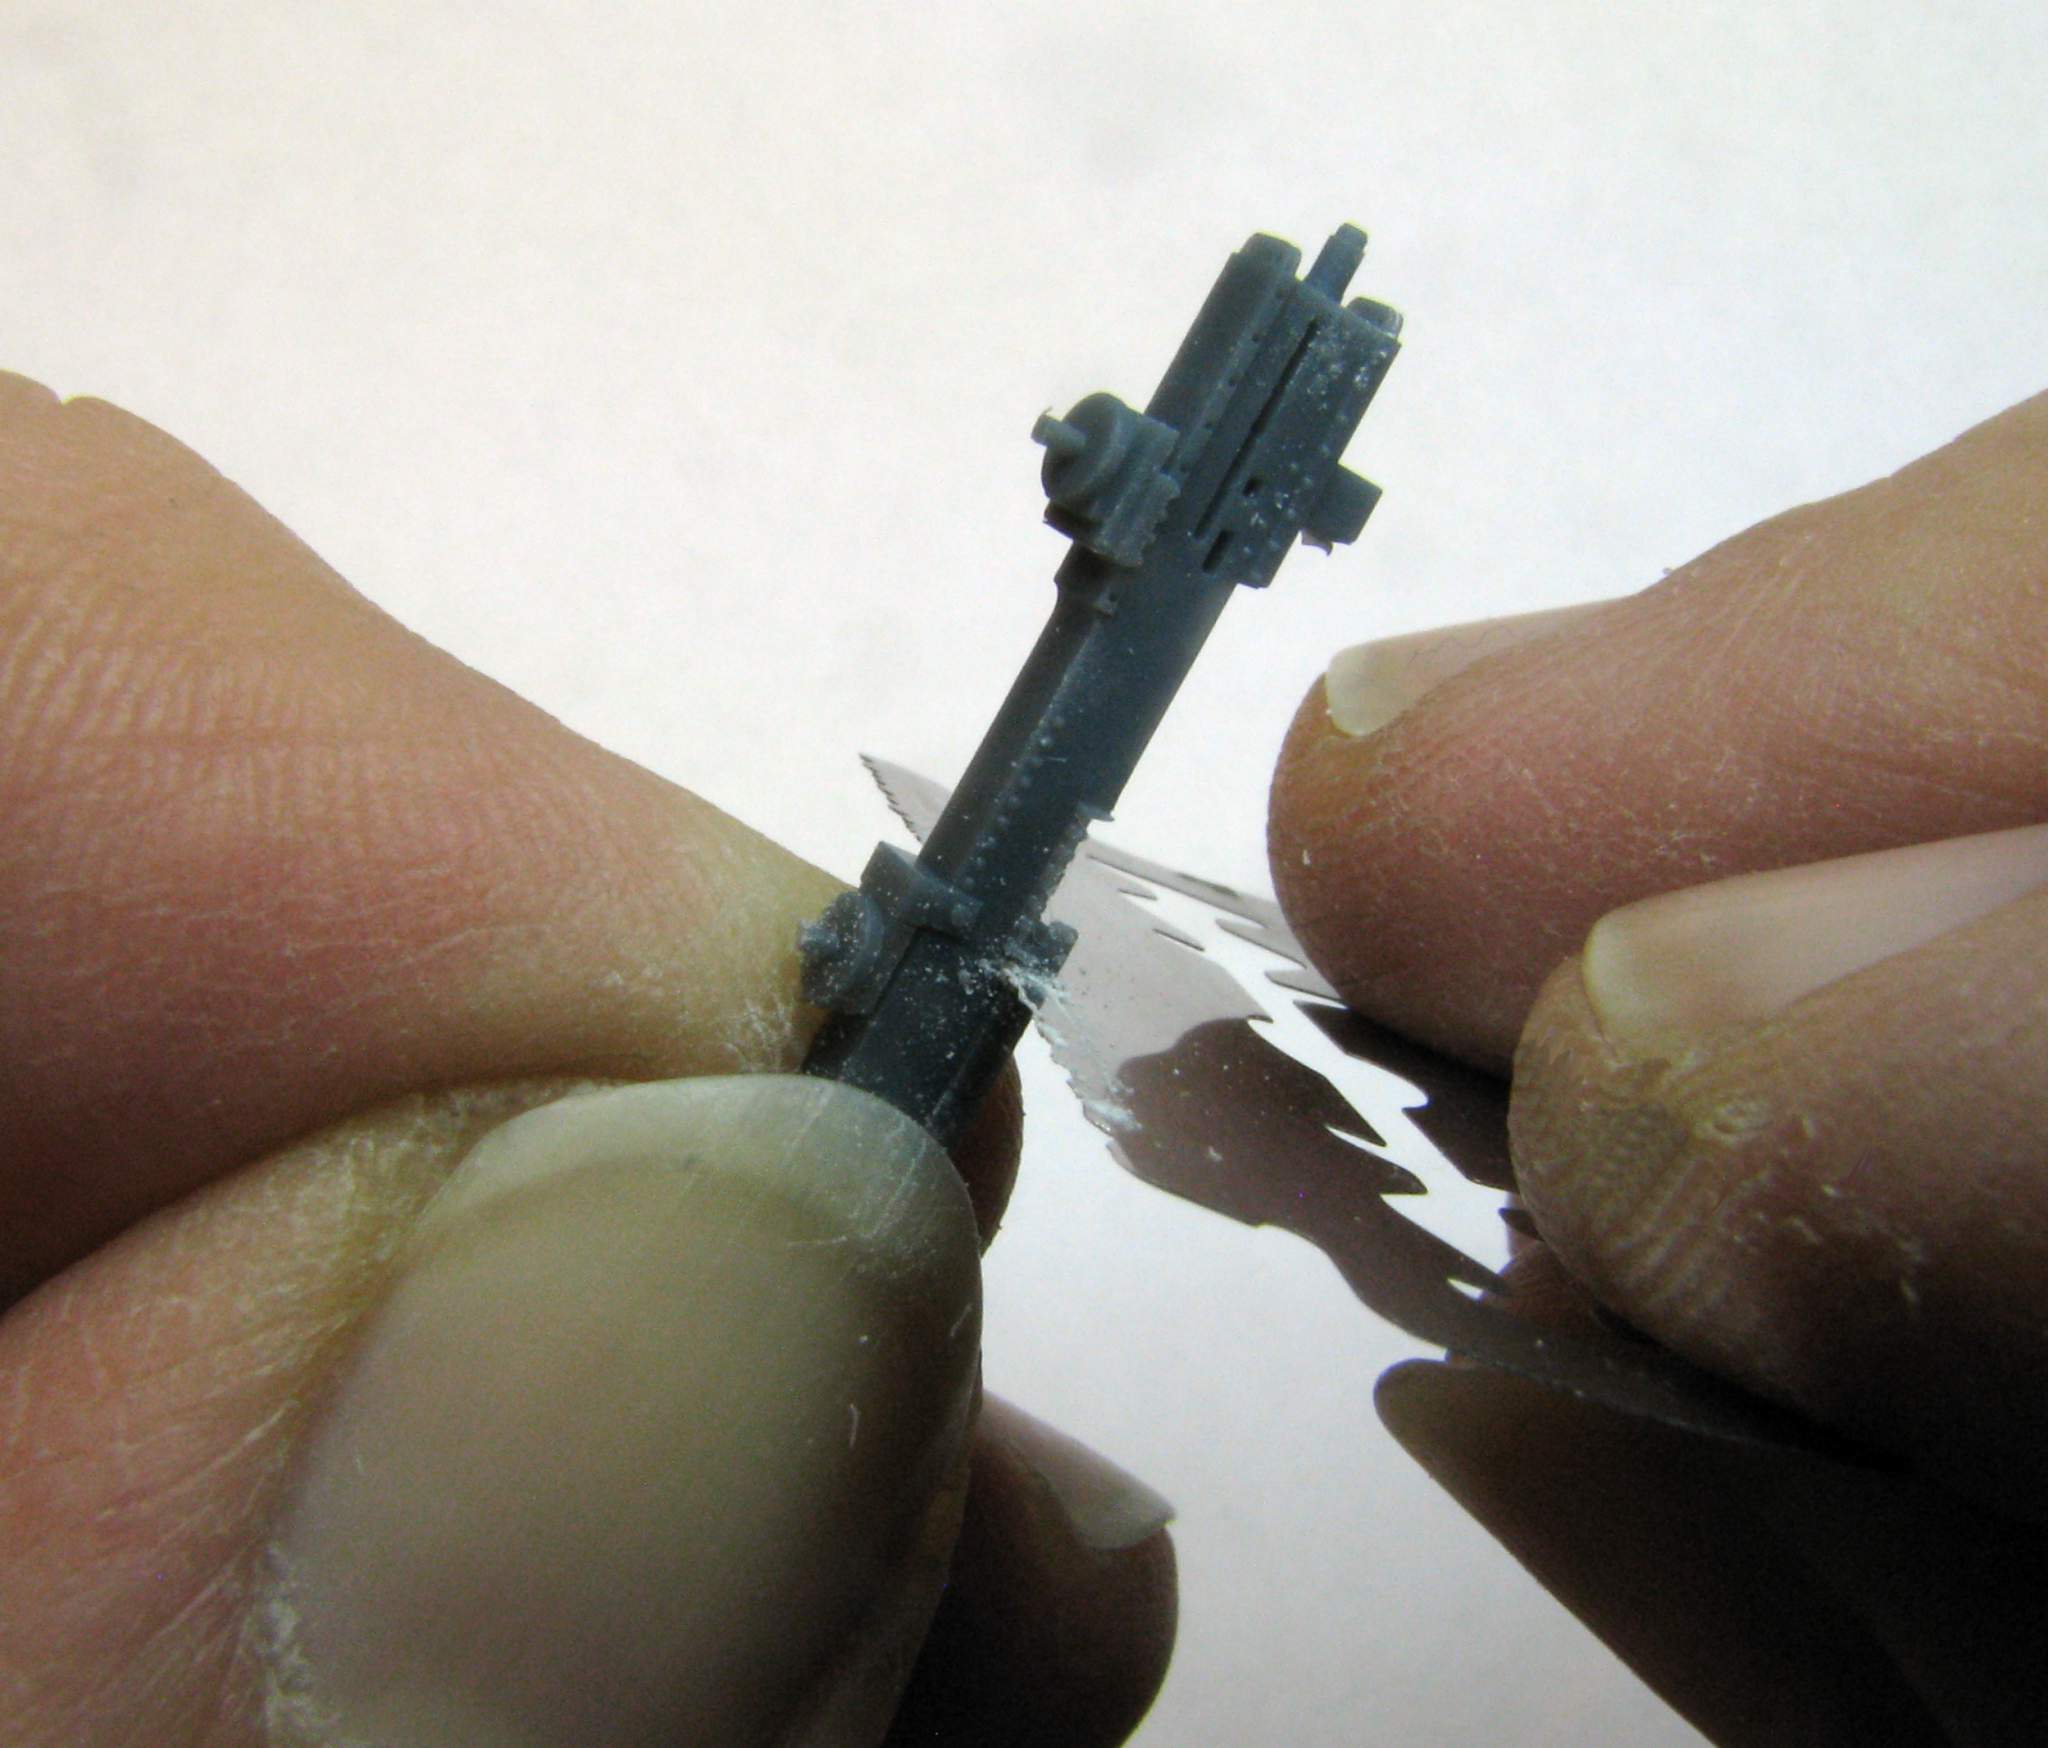
After separating the last support the hole for mounting the barrel is revealed:
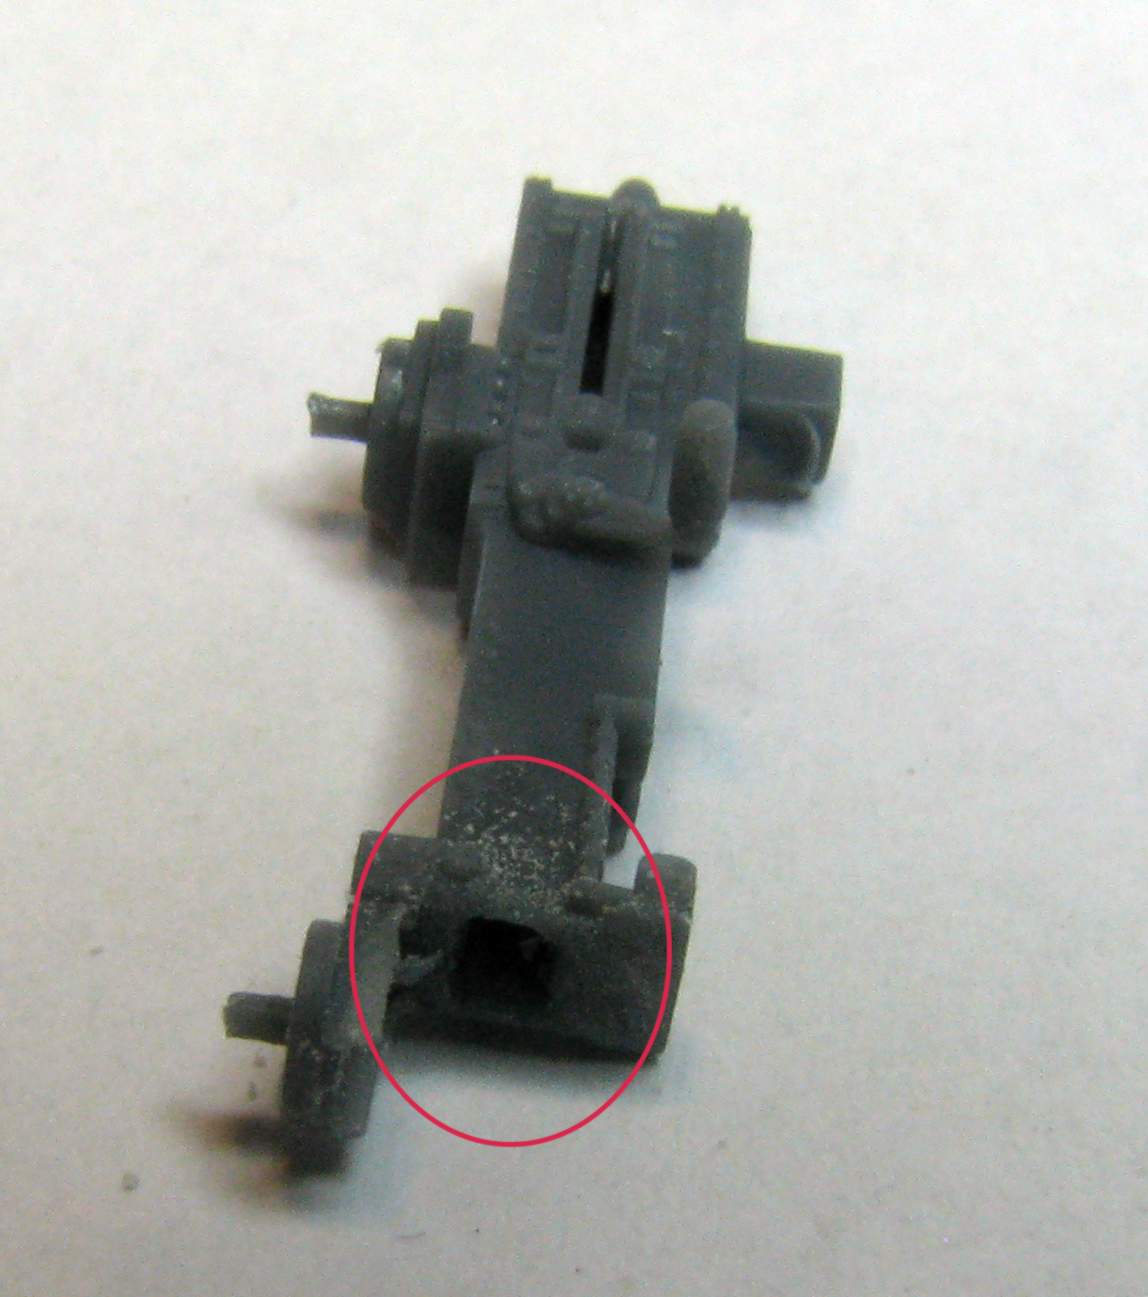
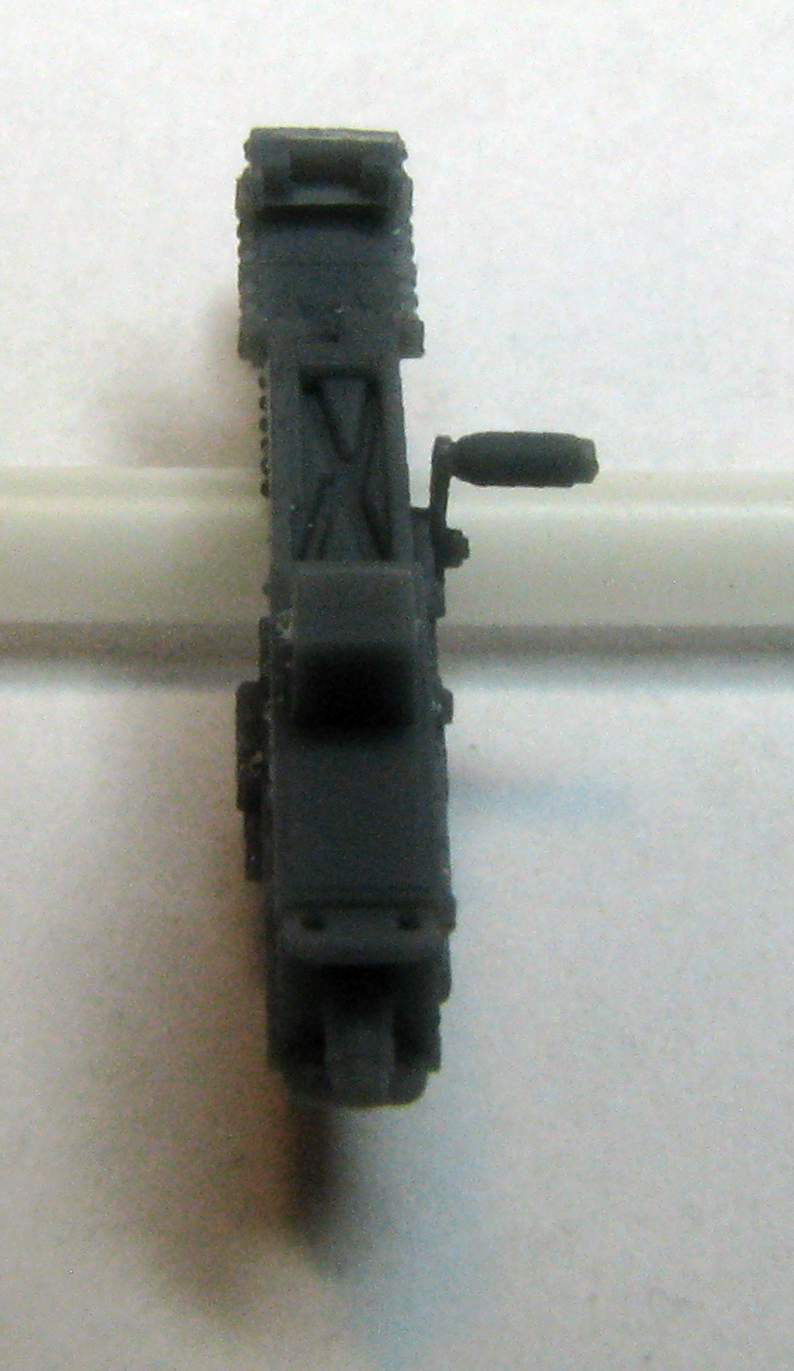
A few more shots of the finished part, with a Q-tip for scale comparison:
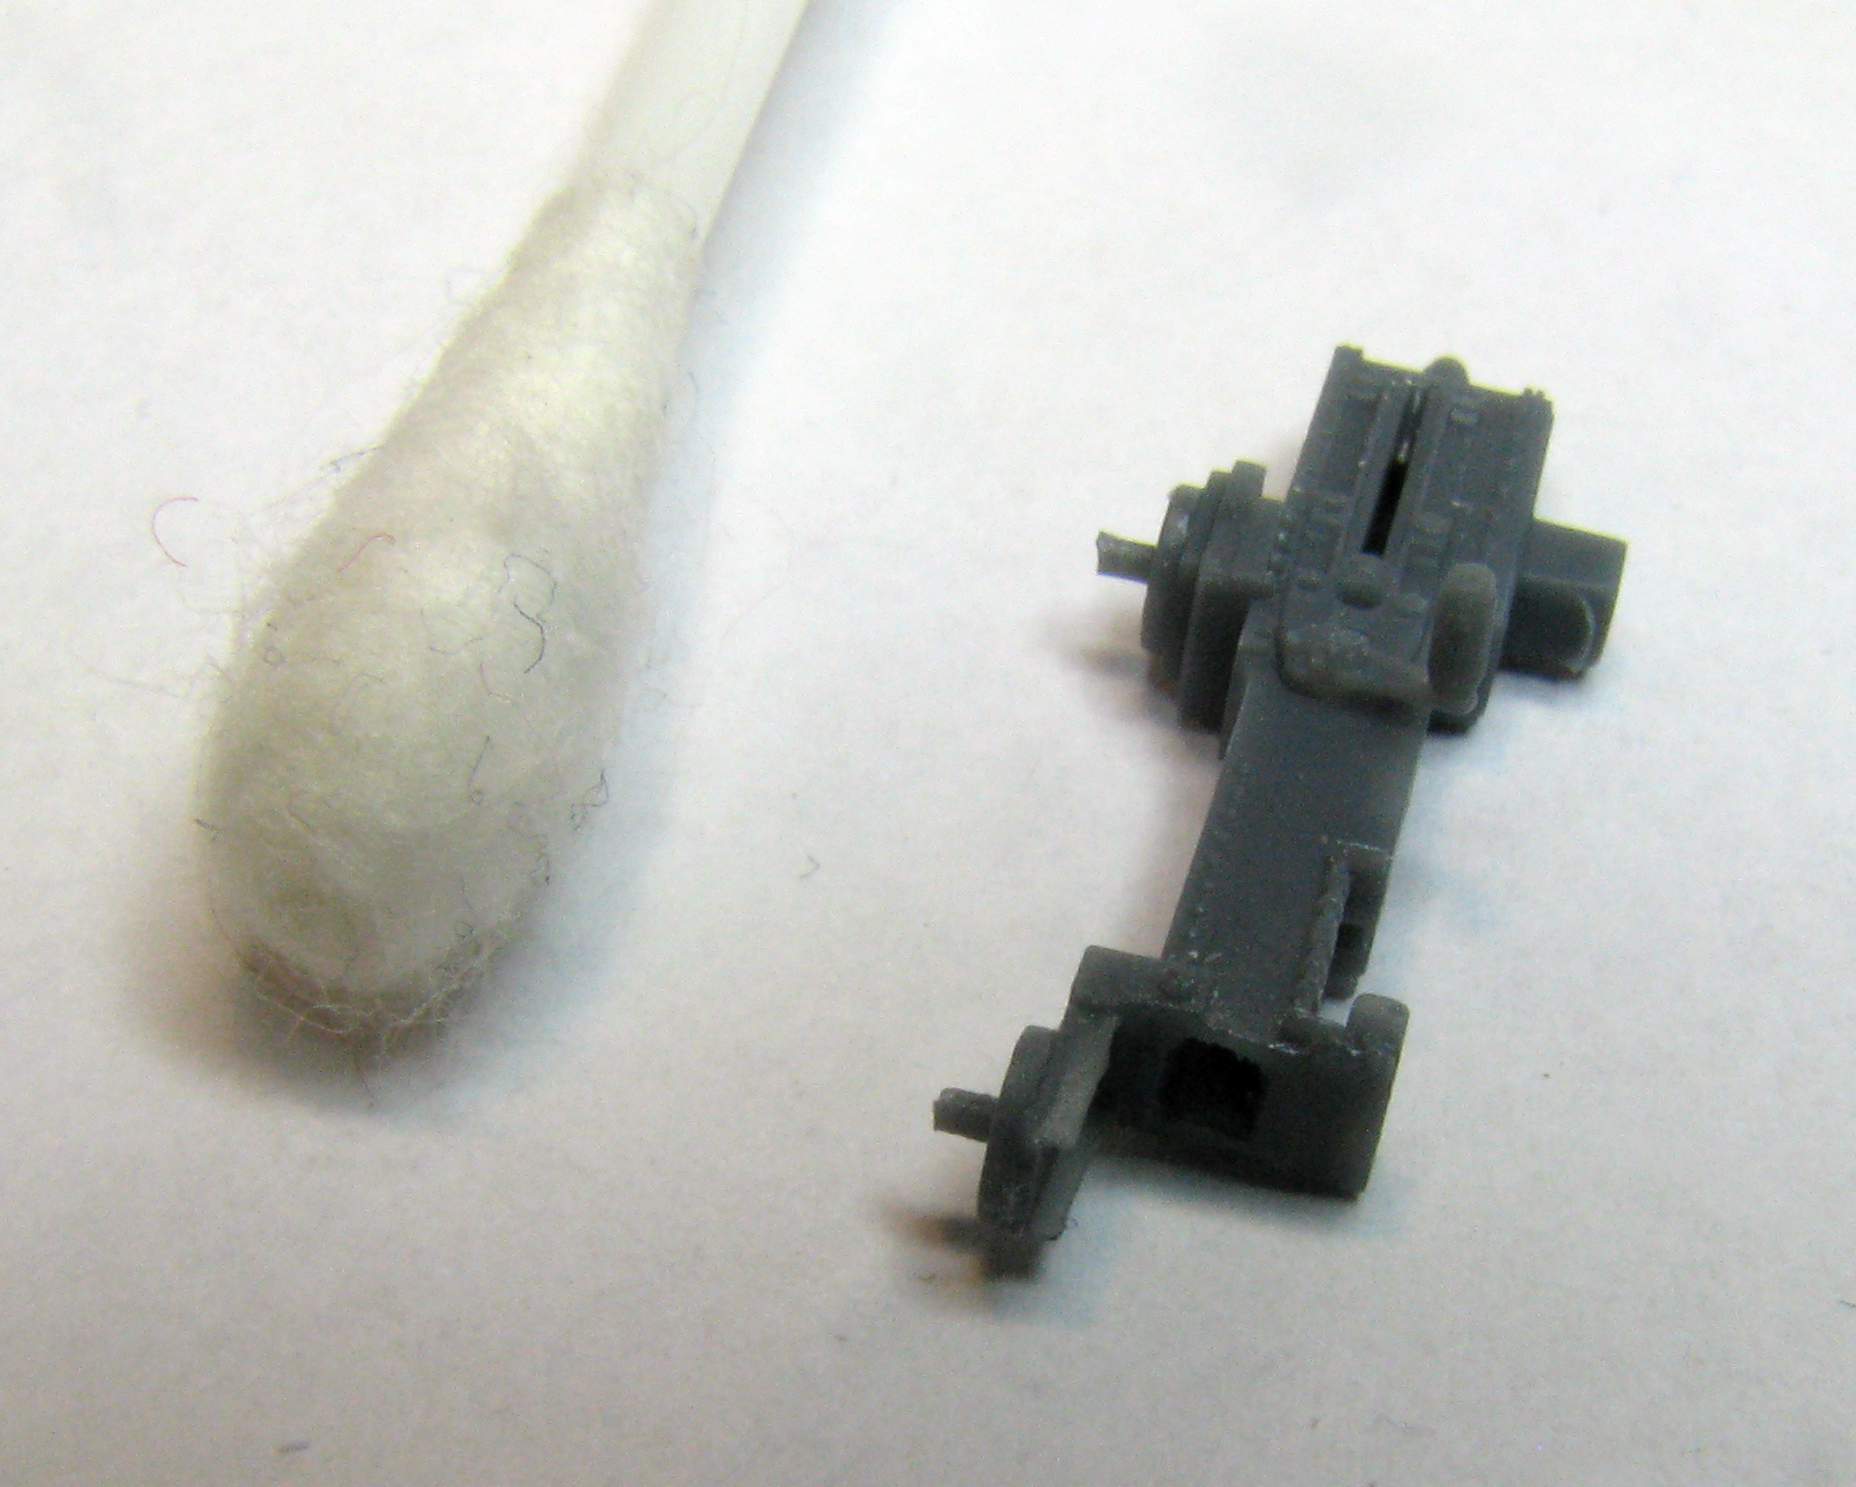
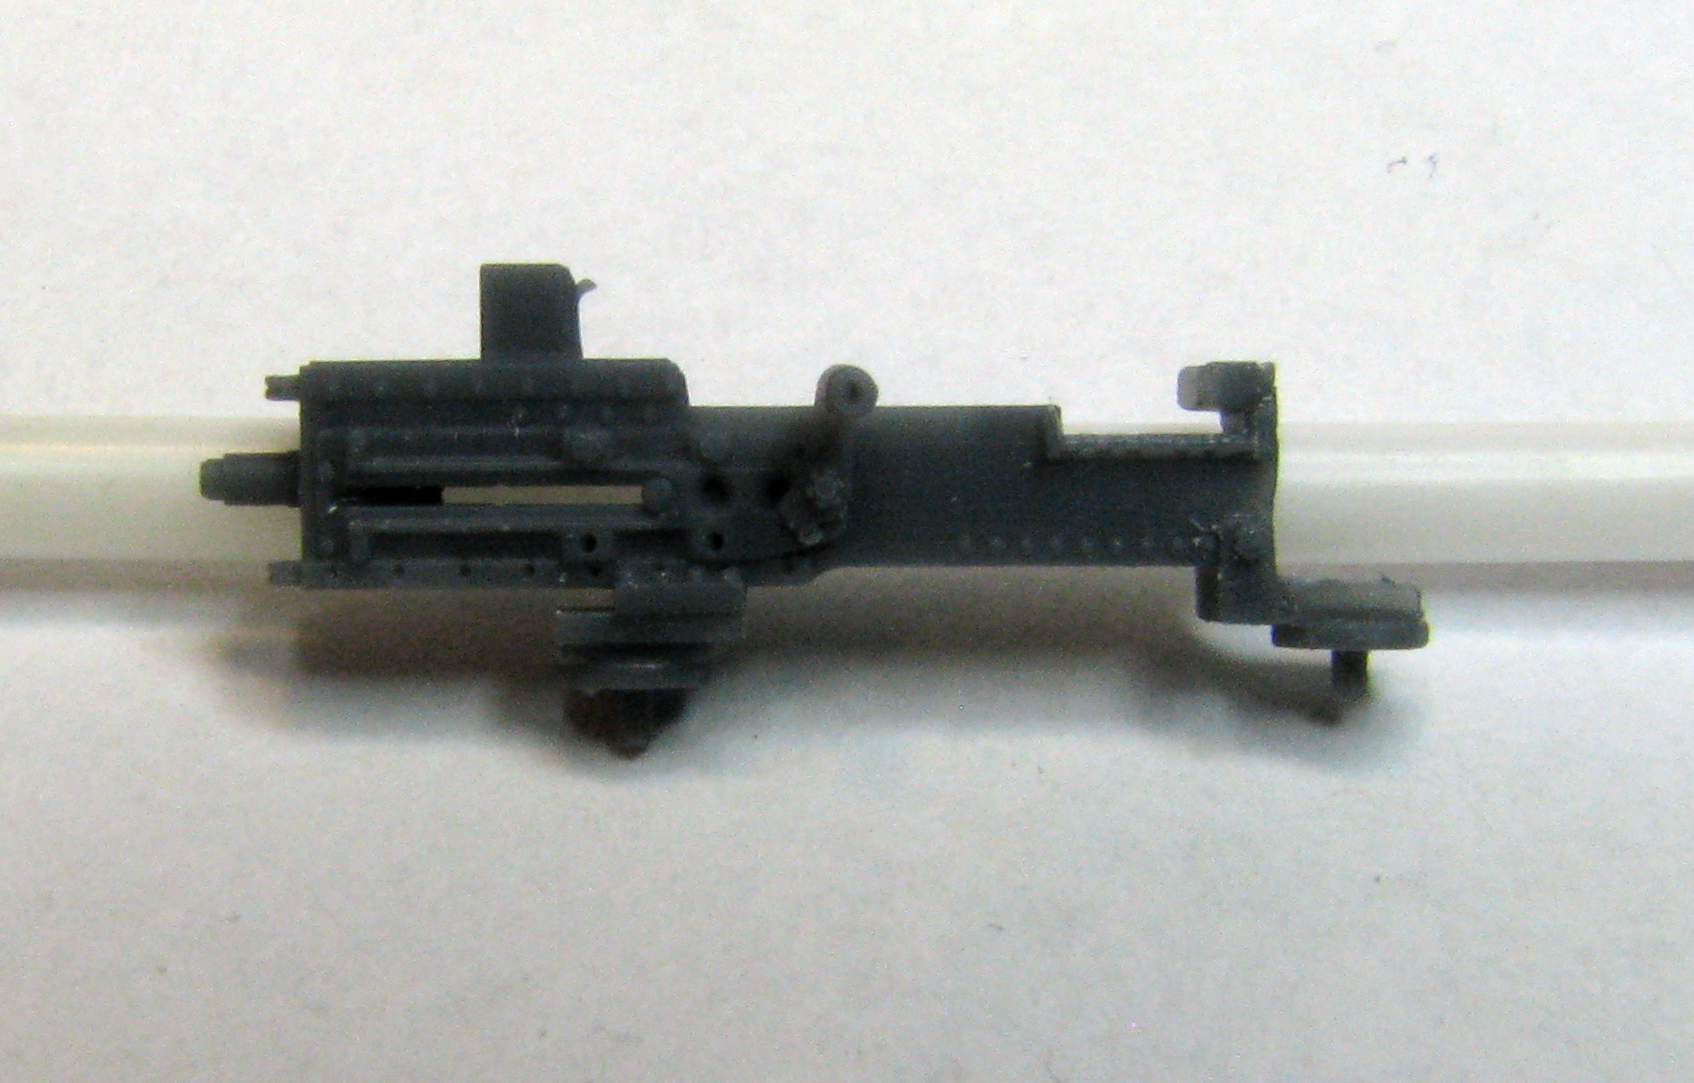
As you can see the insides of the receivers are also detailed so you can show them open, for example for reloading or inspection:
Next are the receiver covers. The kit gives you six such covers (two spares):
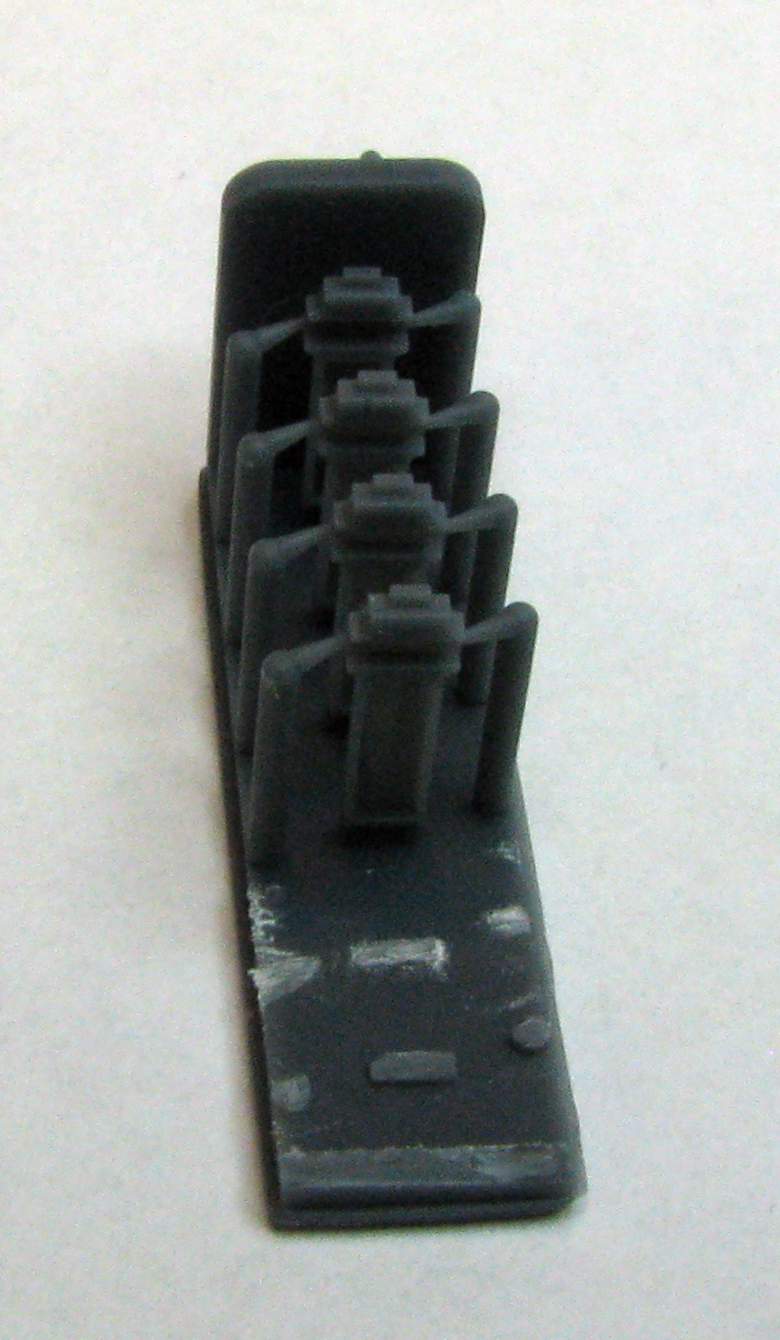
The covers are printed with a relatively small supports, so you have to make a narrow cut as close to the base as possible, so as not to take material away from the part itself:
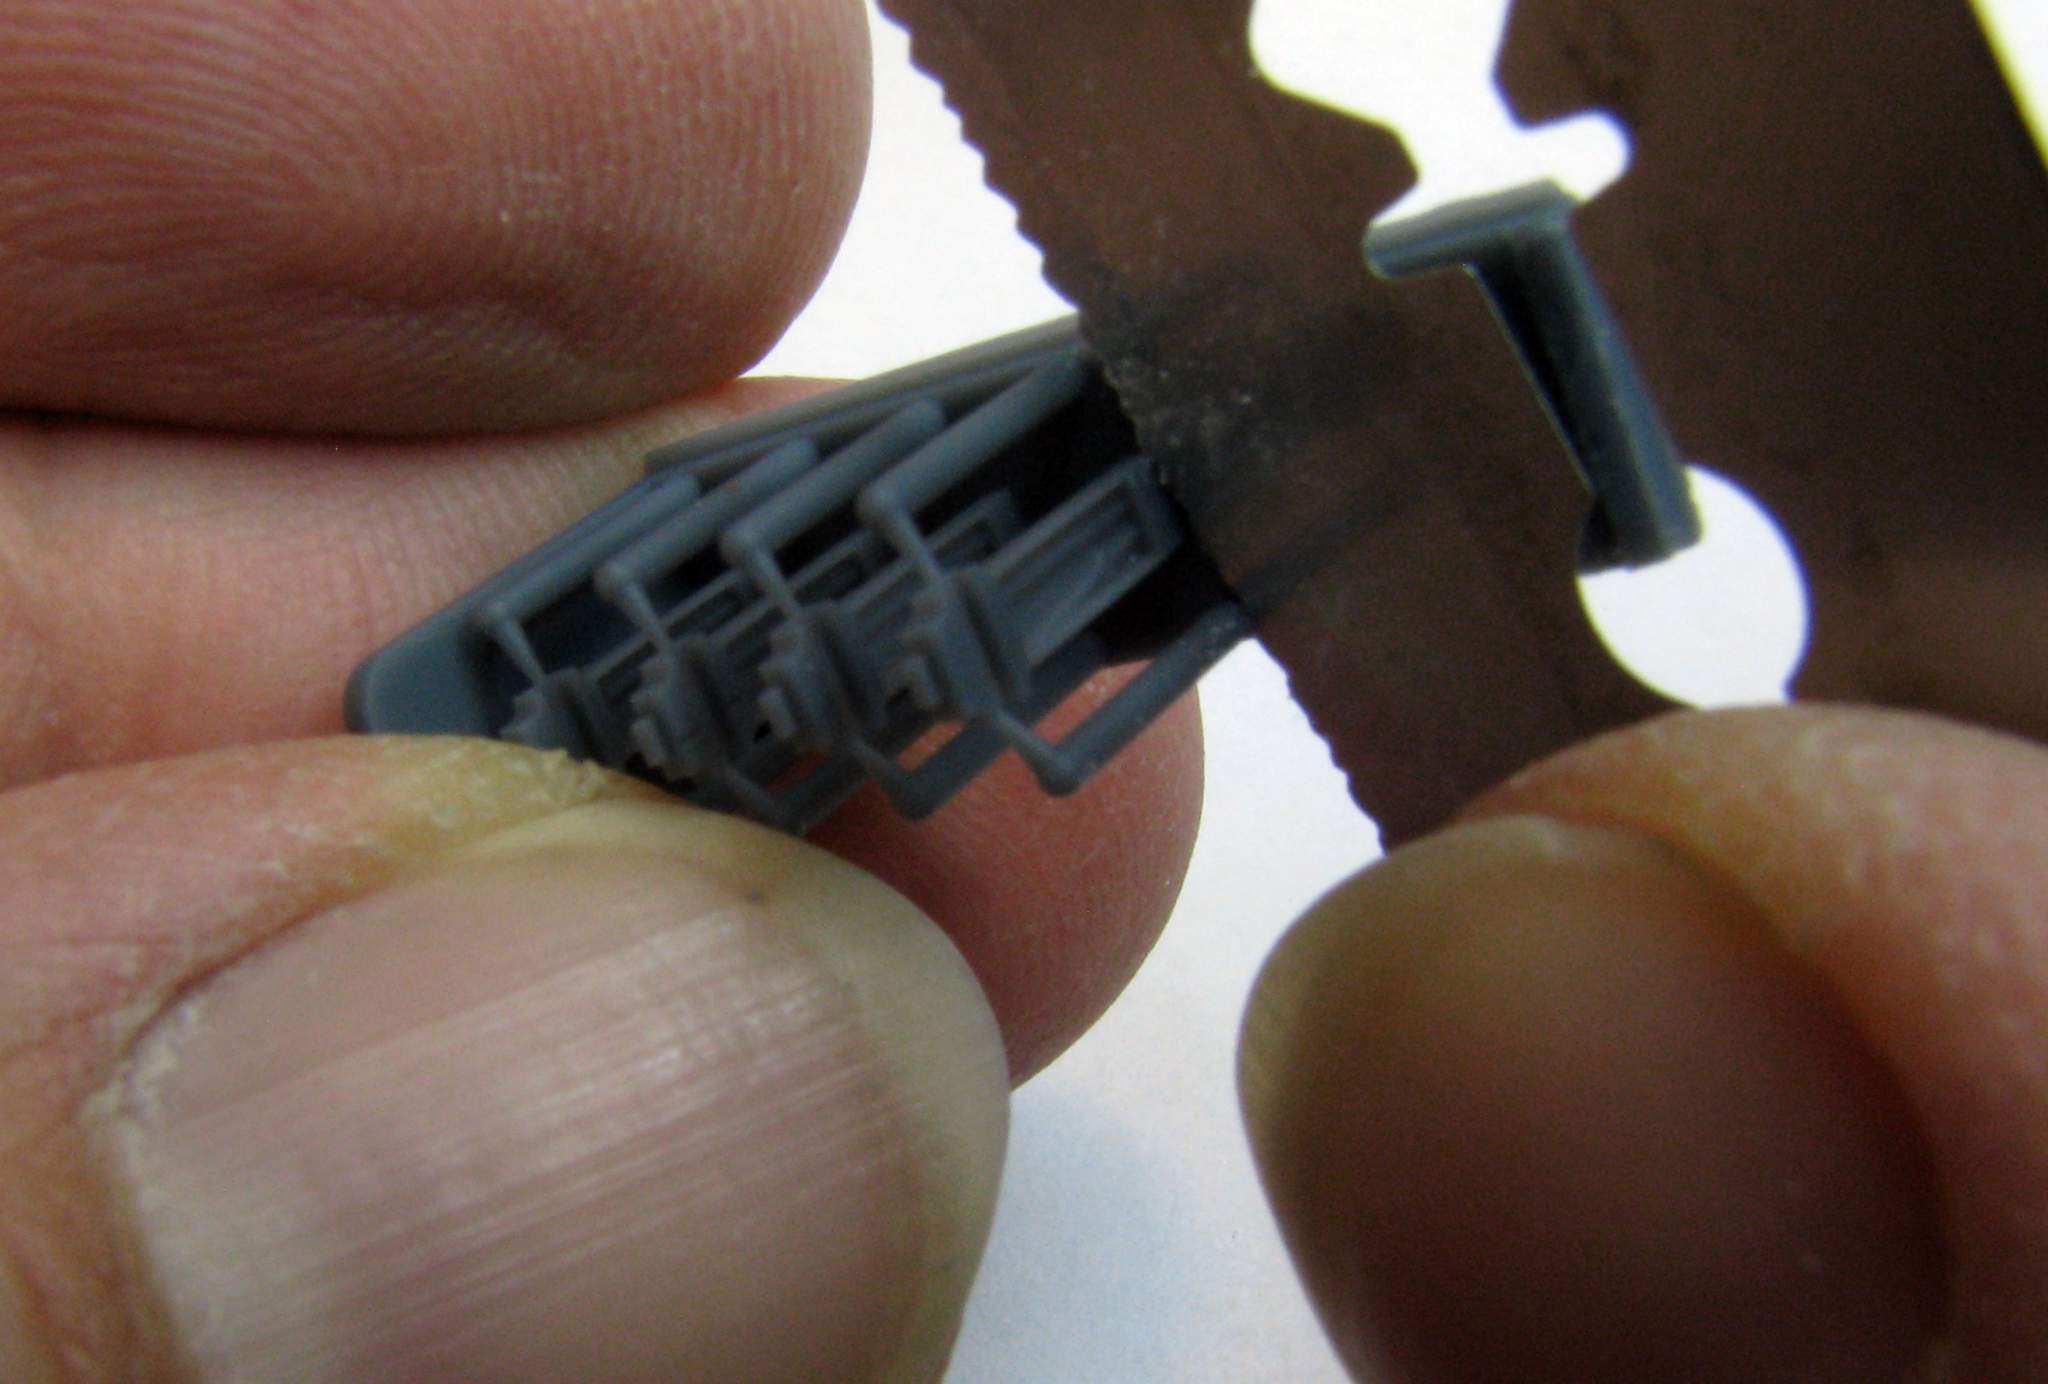
The insides of the covers are also detailed, letting you pose them open:
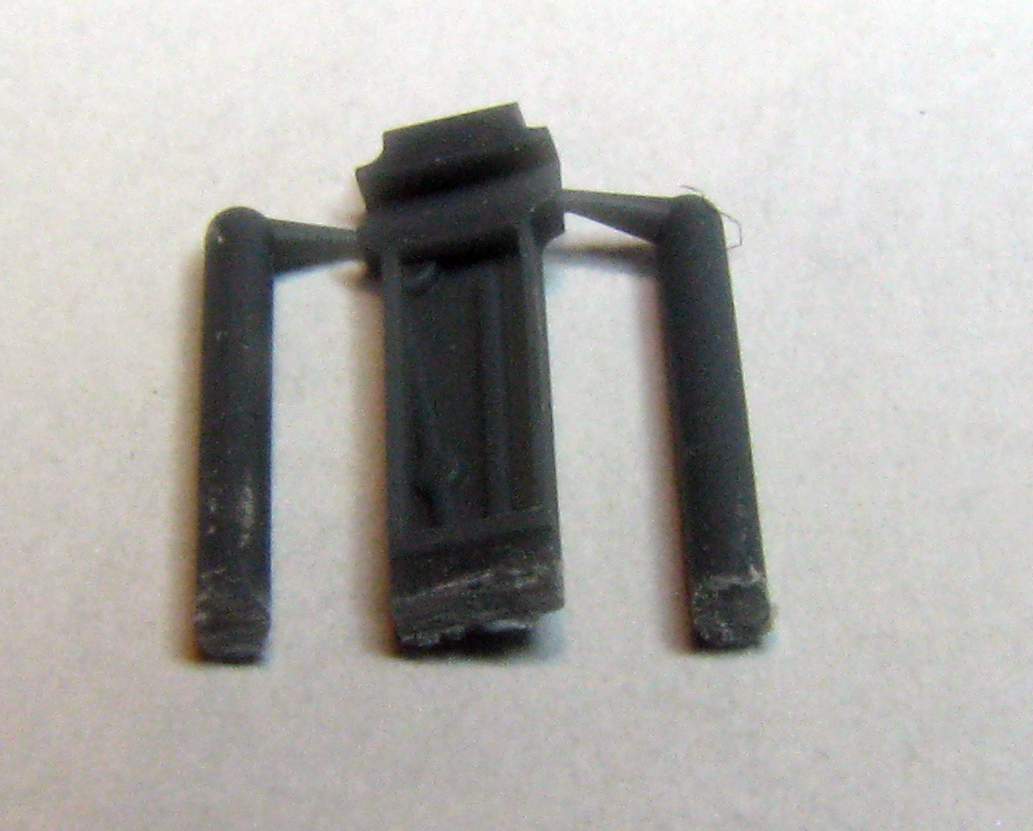
The other supports can be removed with sprue cutters:
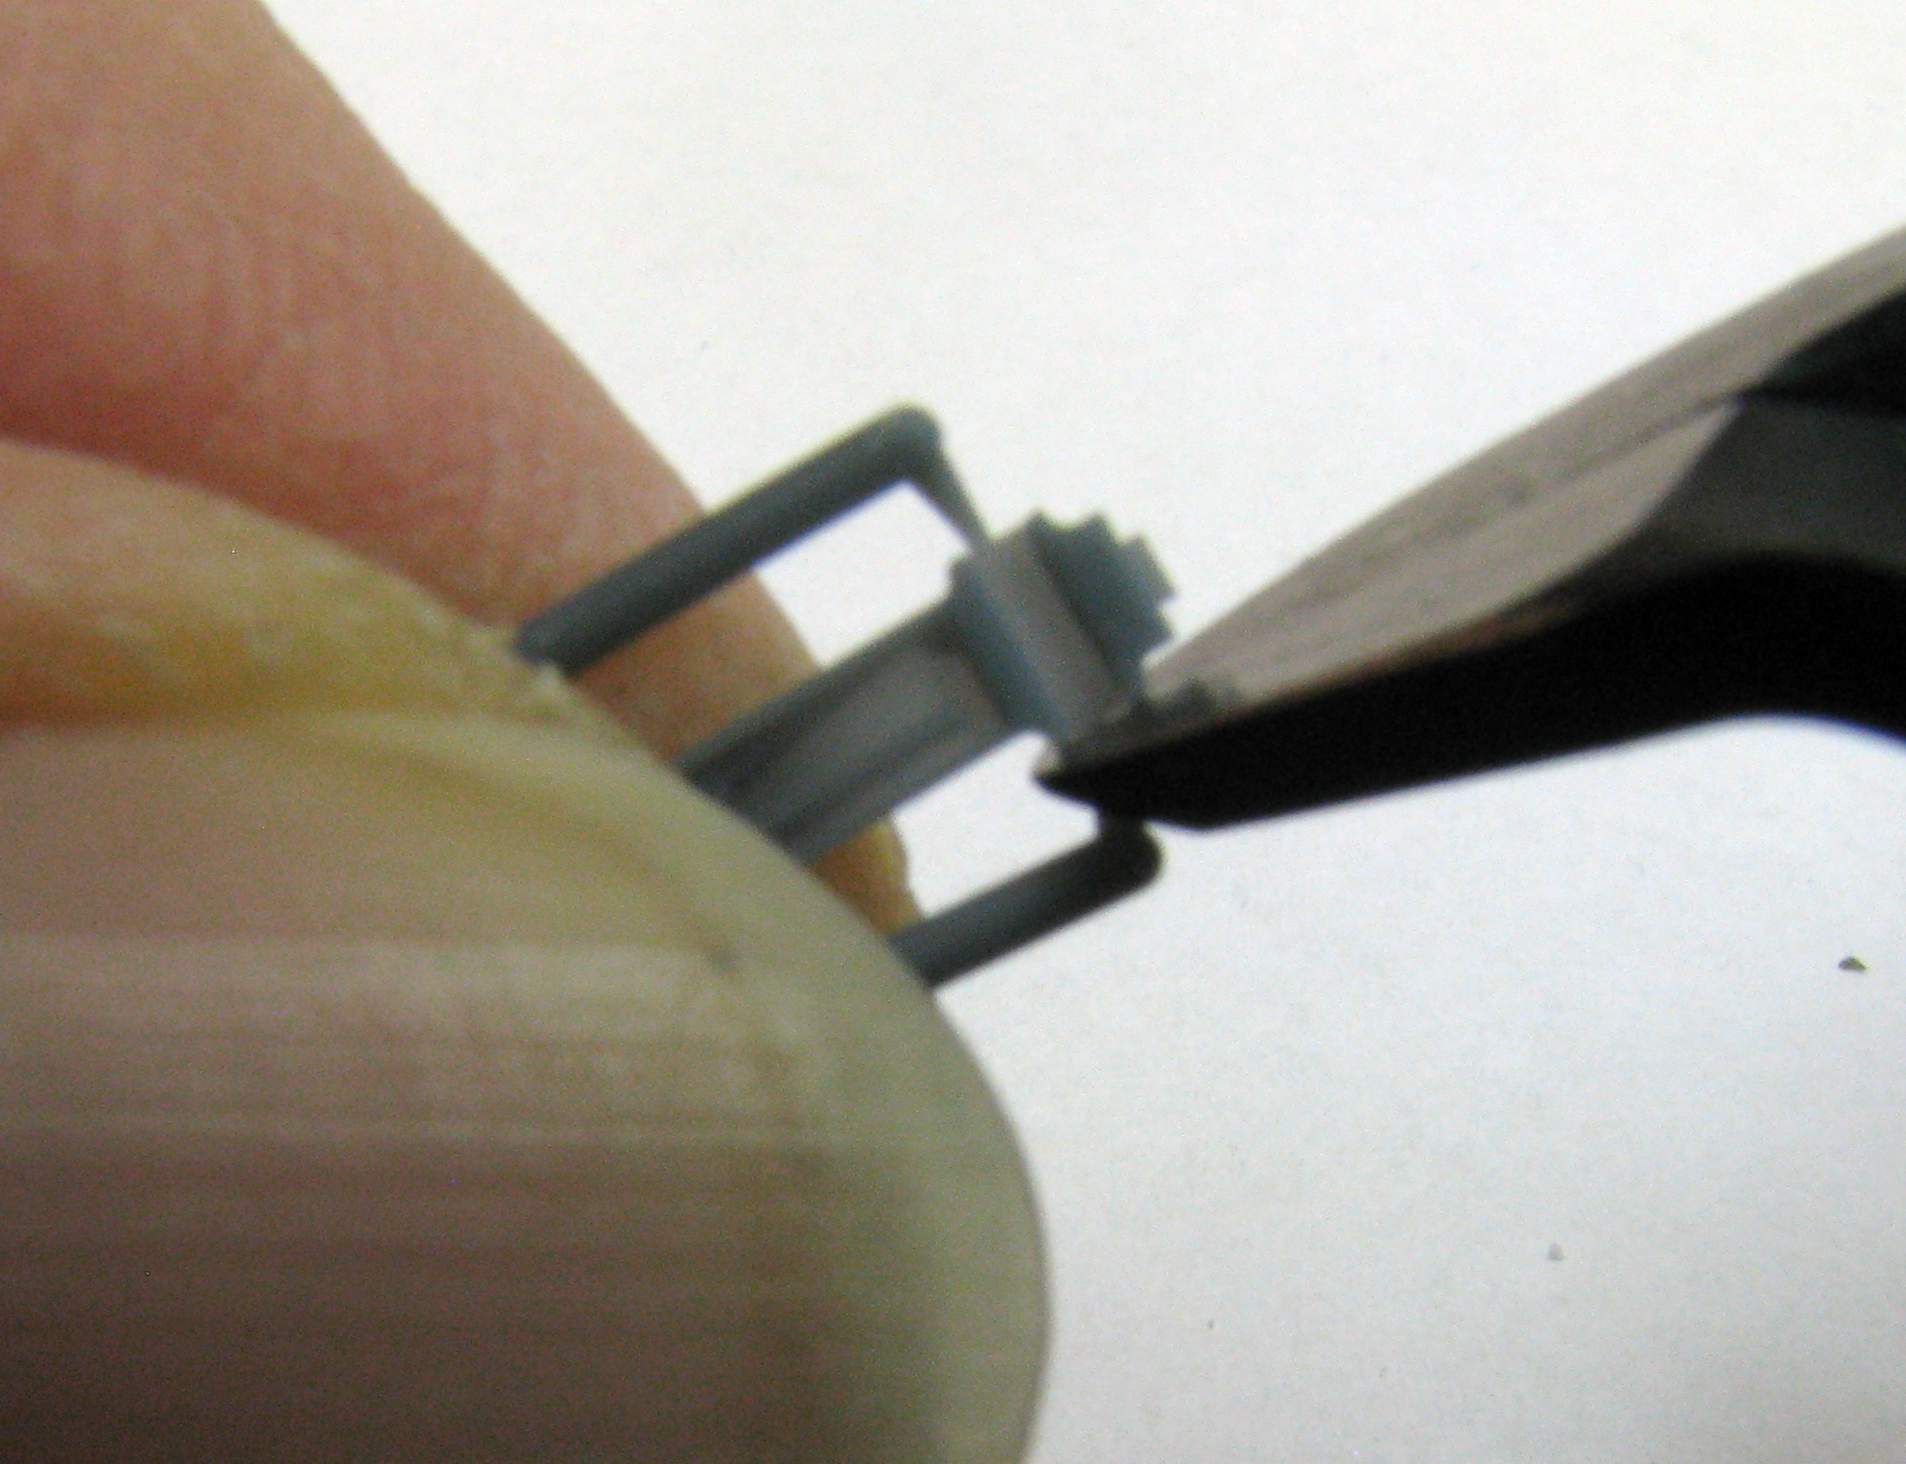
The support attachment points have to be filed smooth. The one shown on the photo below has to be filed to fit the receiver:
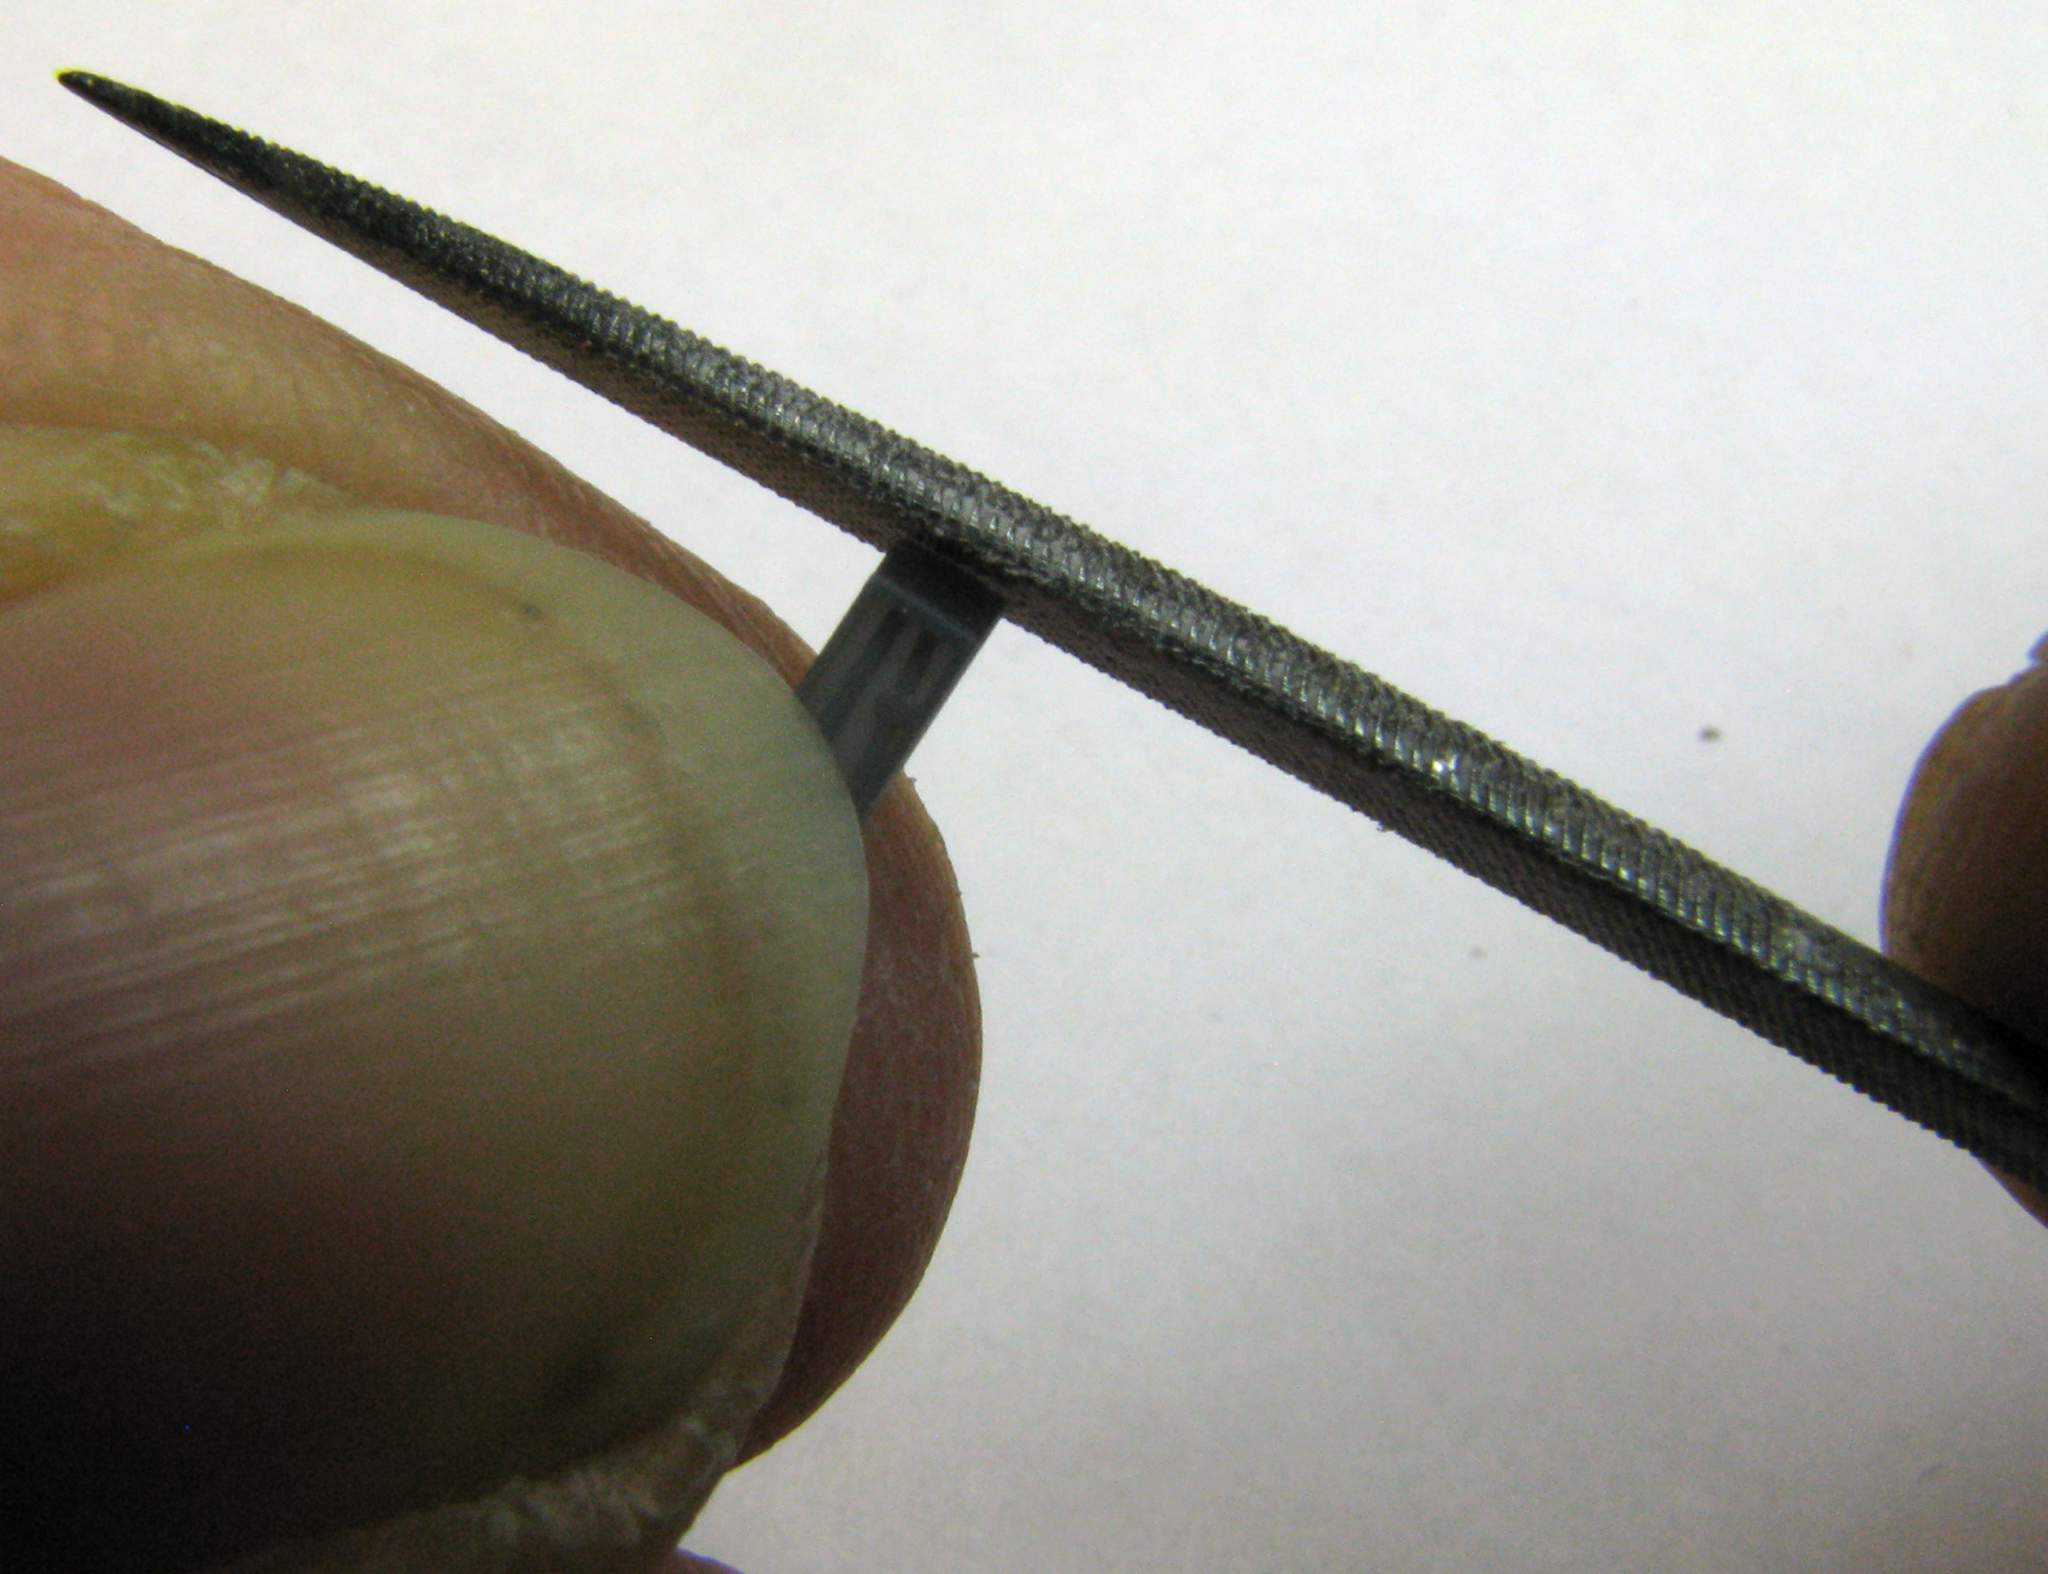
Now it’s time for the barrels. The upper support attachments are delicate enough just to be gently pulled away:
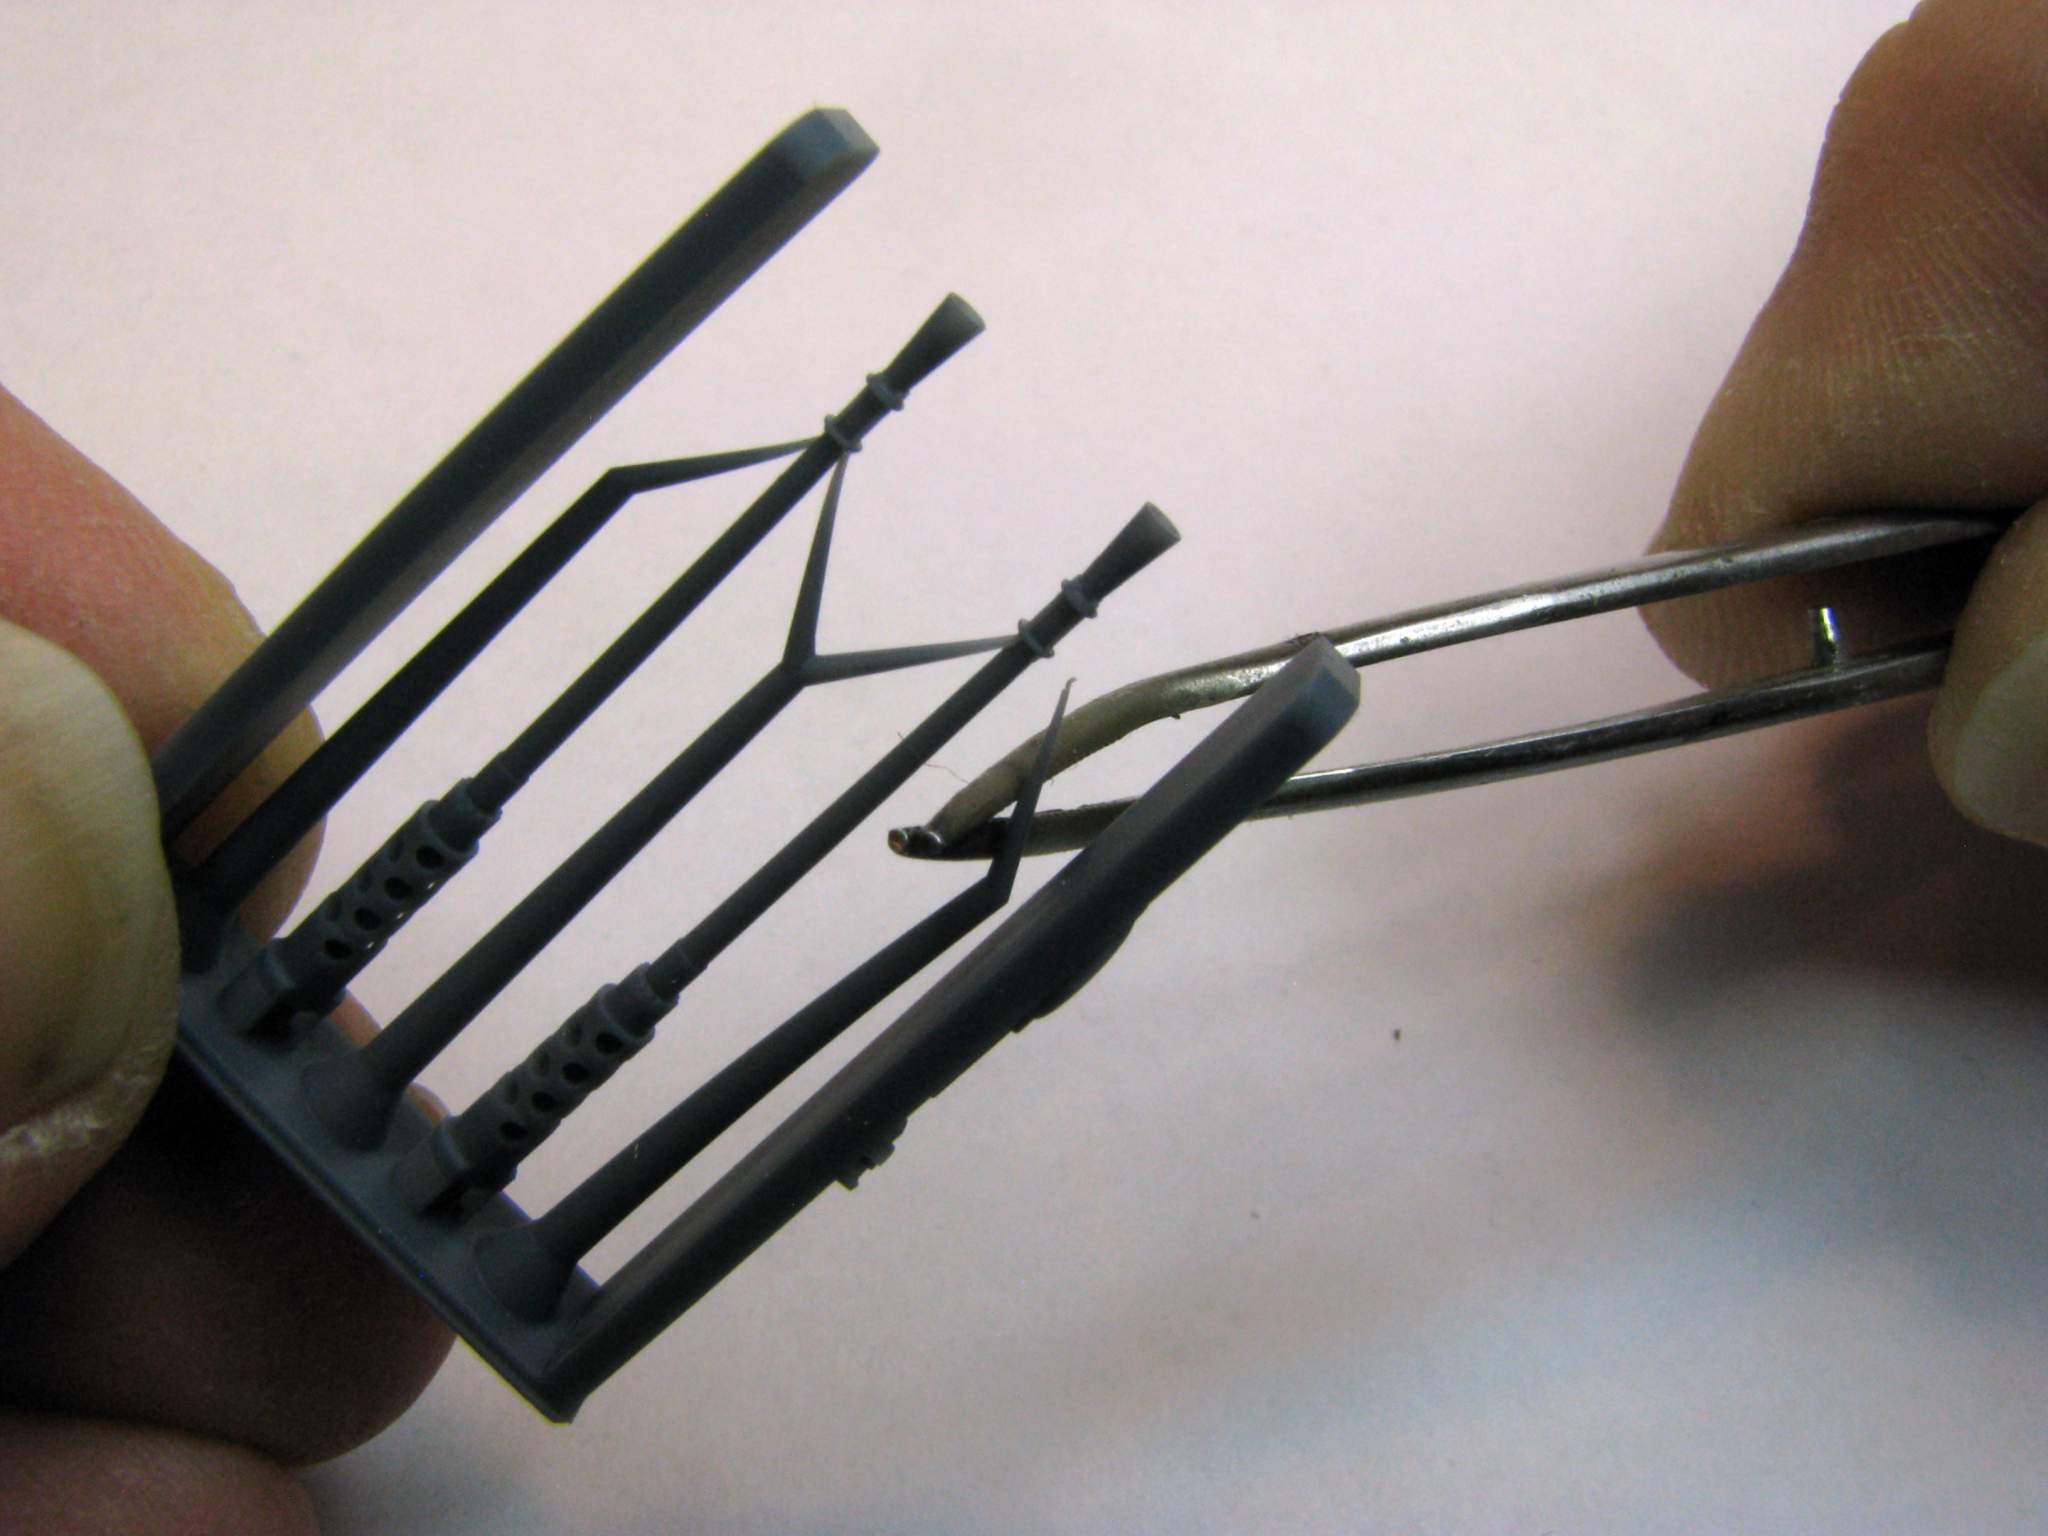
Then the barrel can be cut away using a jigsaw:
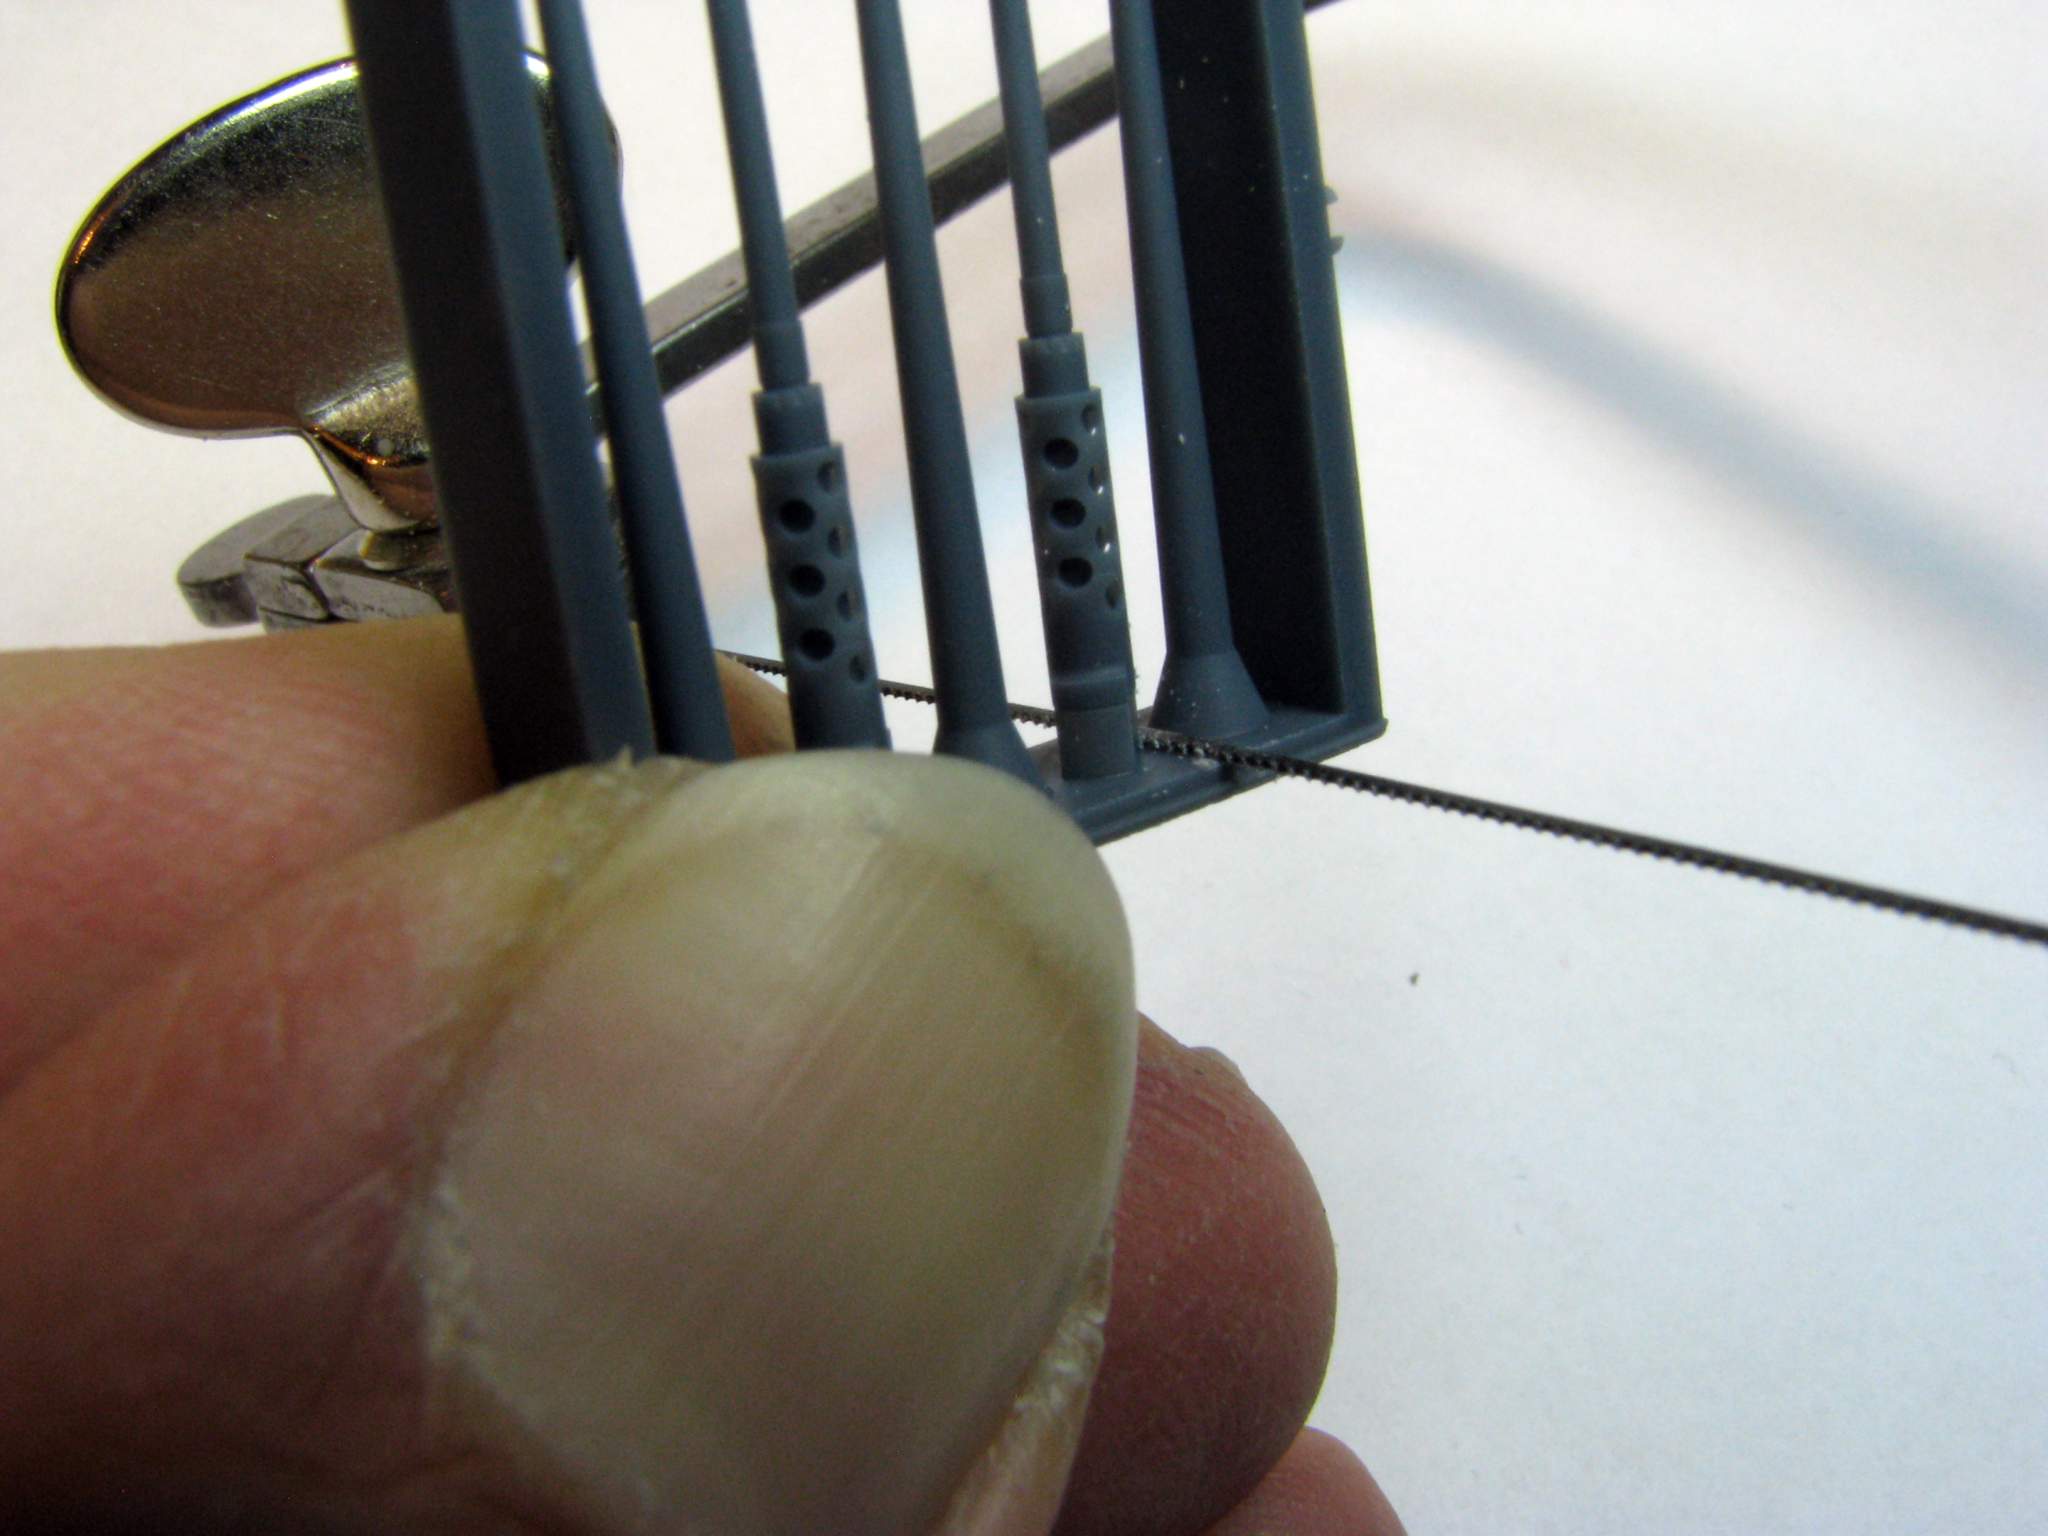
Now the remainder of the supports have to be separated:
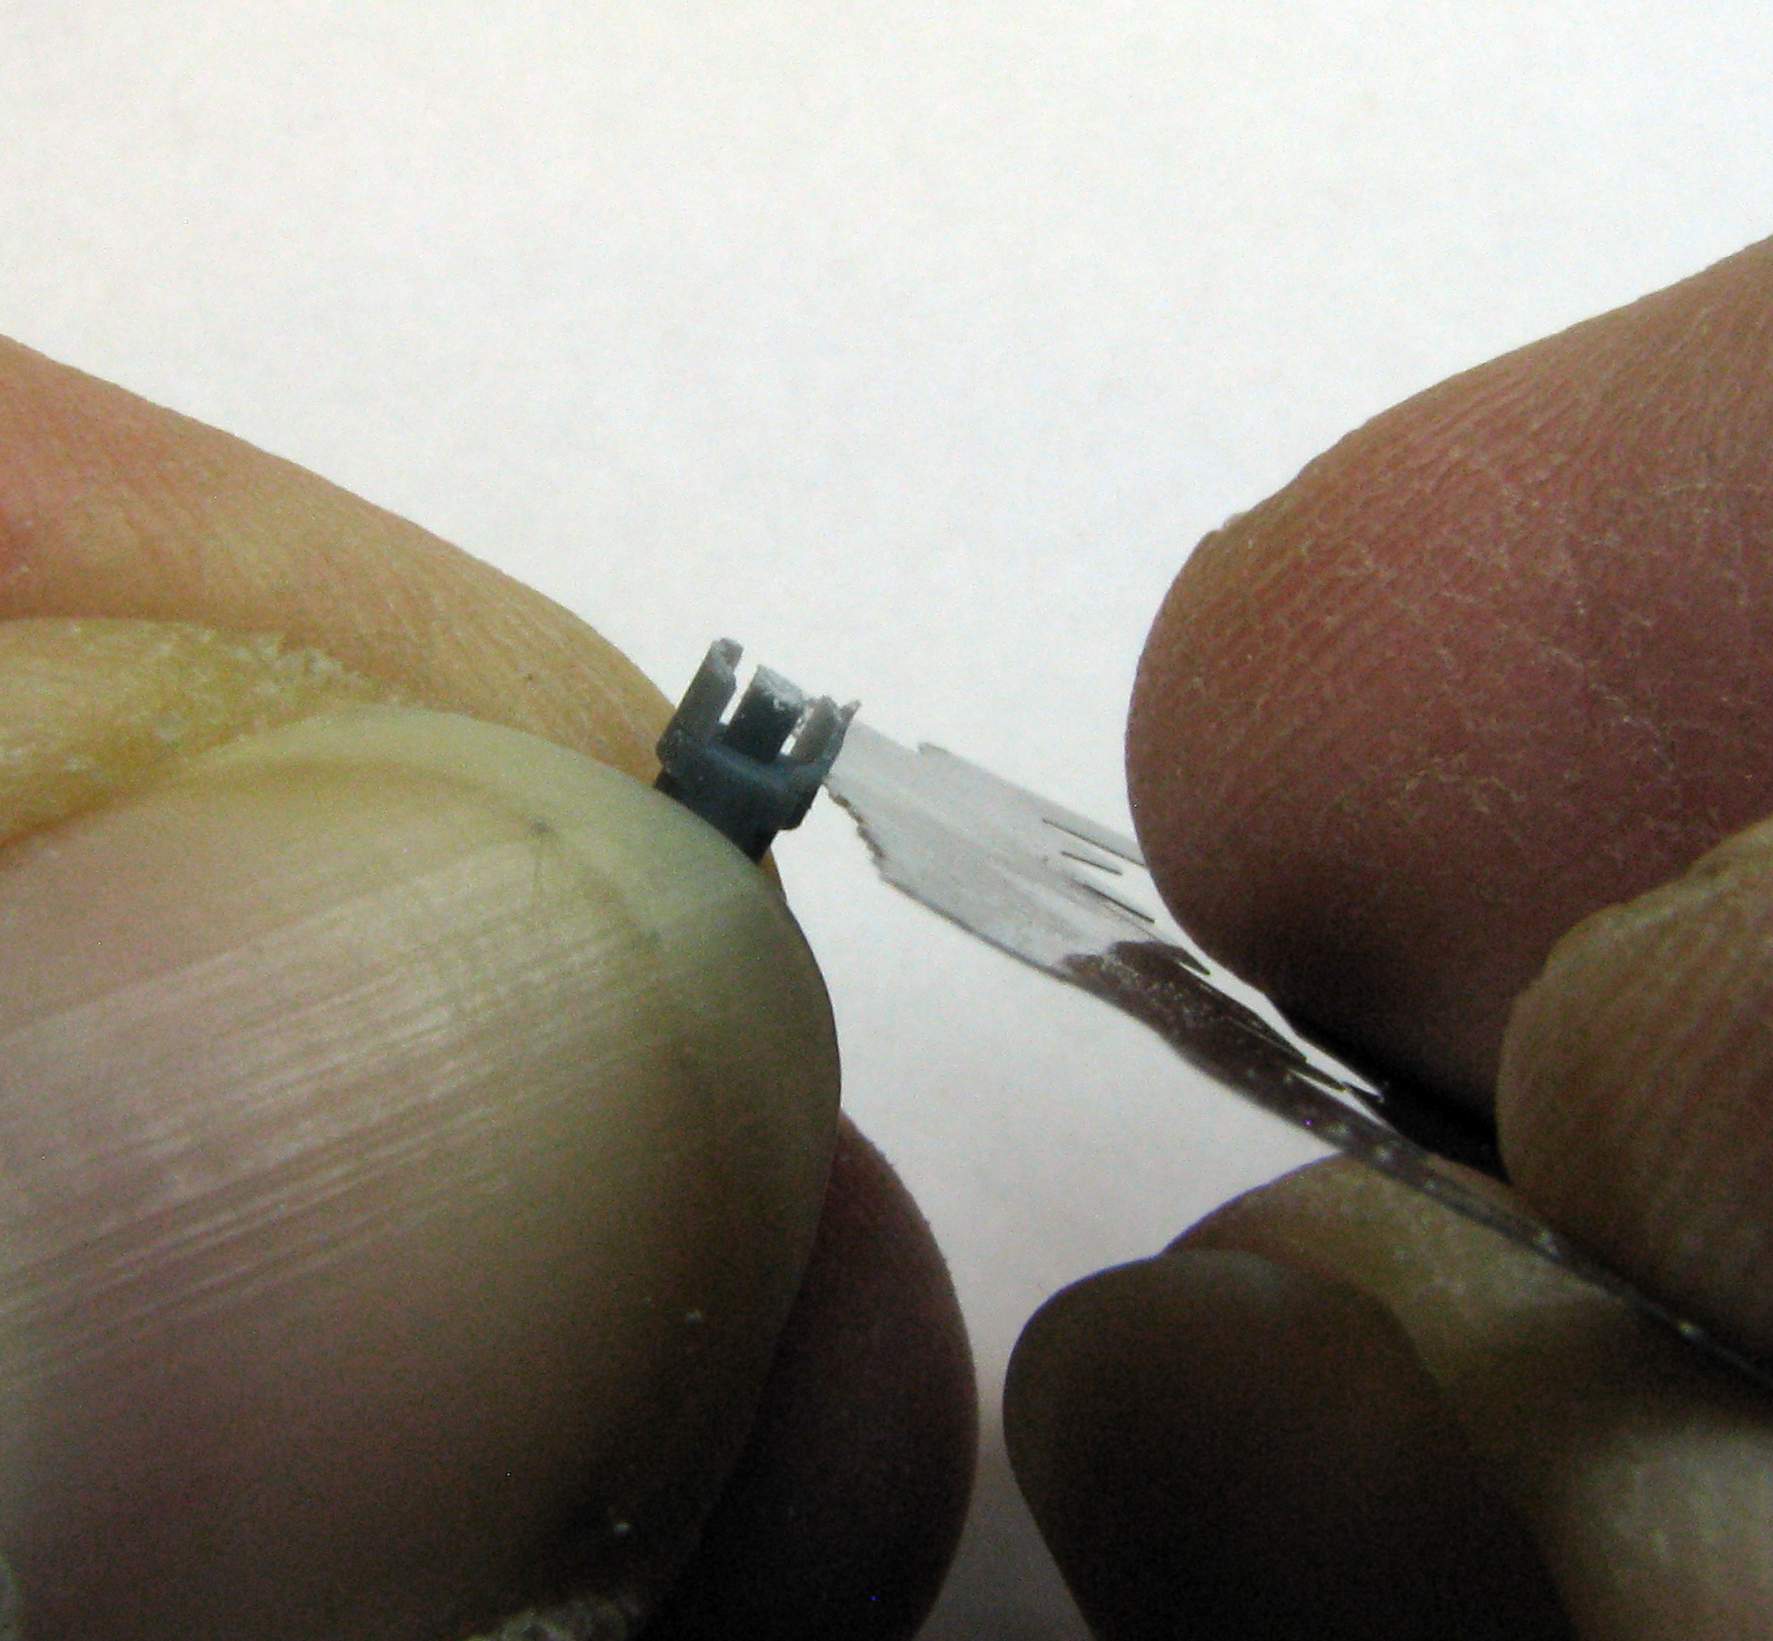
And filed flat, otherwise the barrel will not fit right or have a tendency to be crooked:
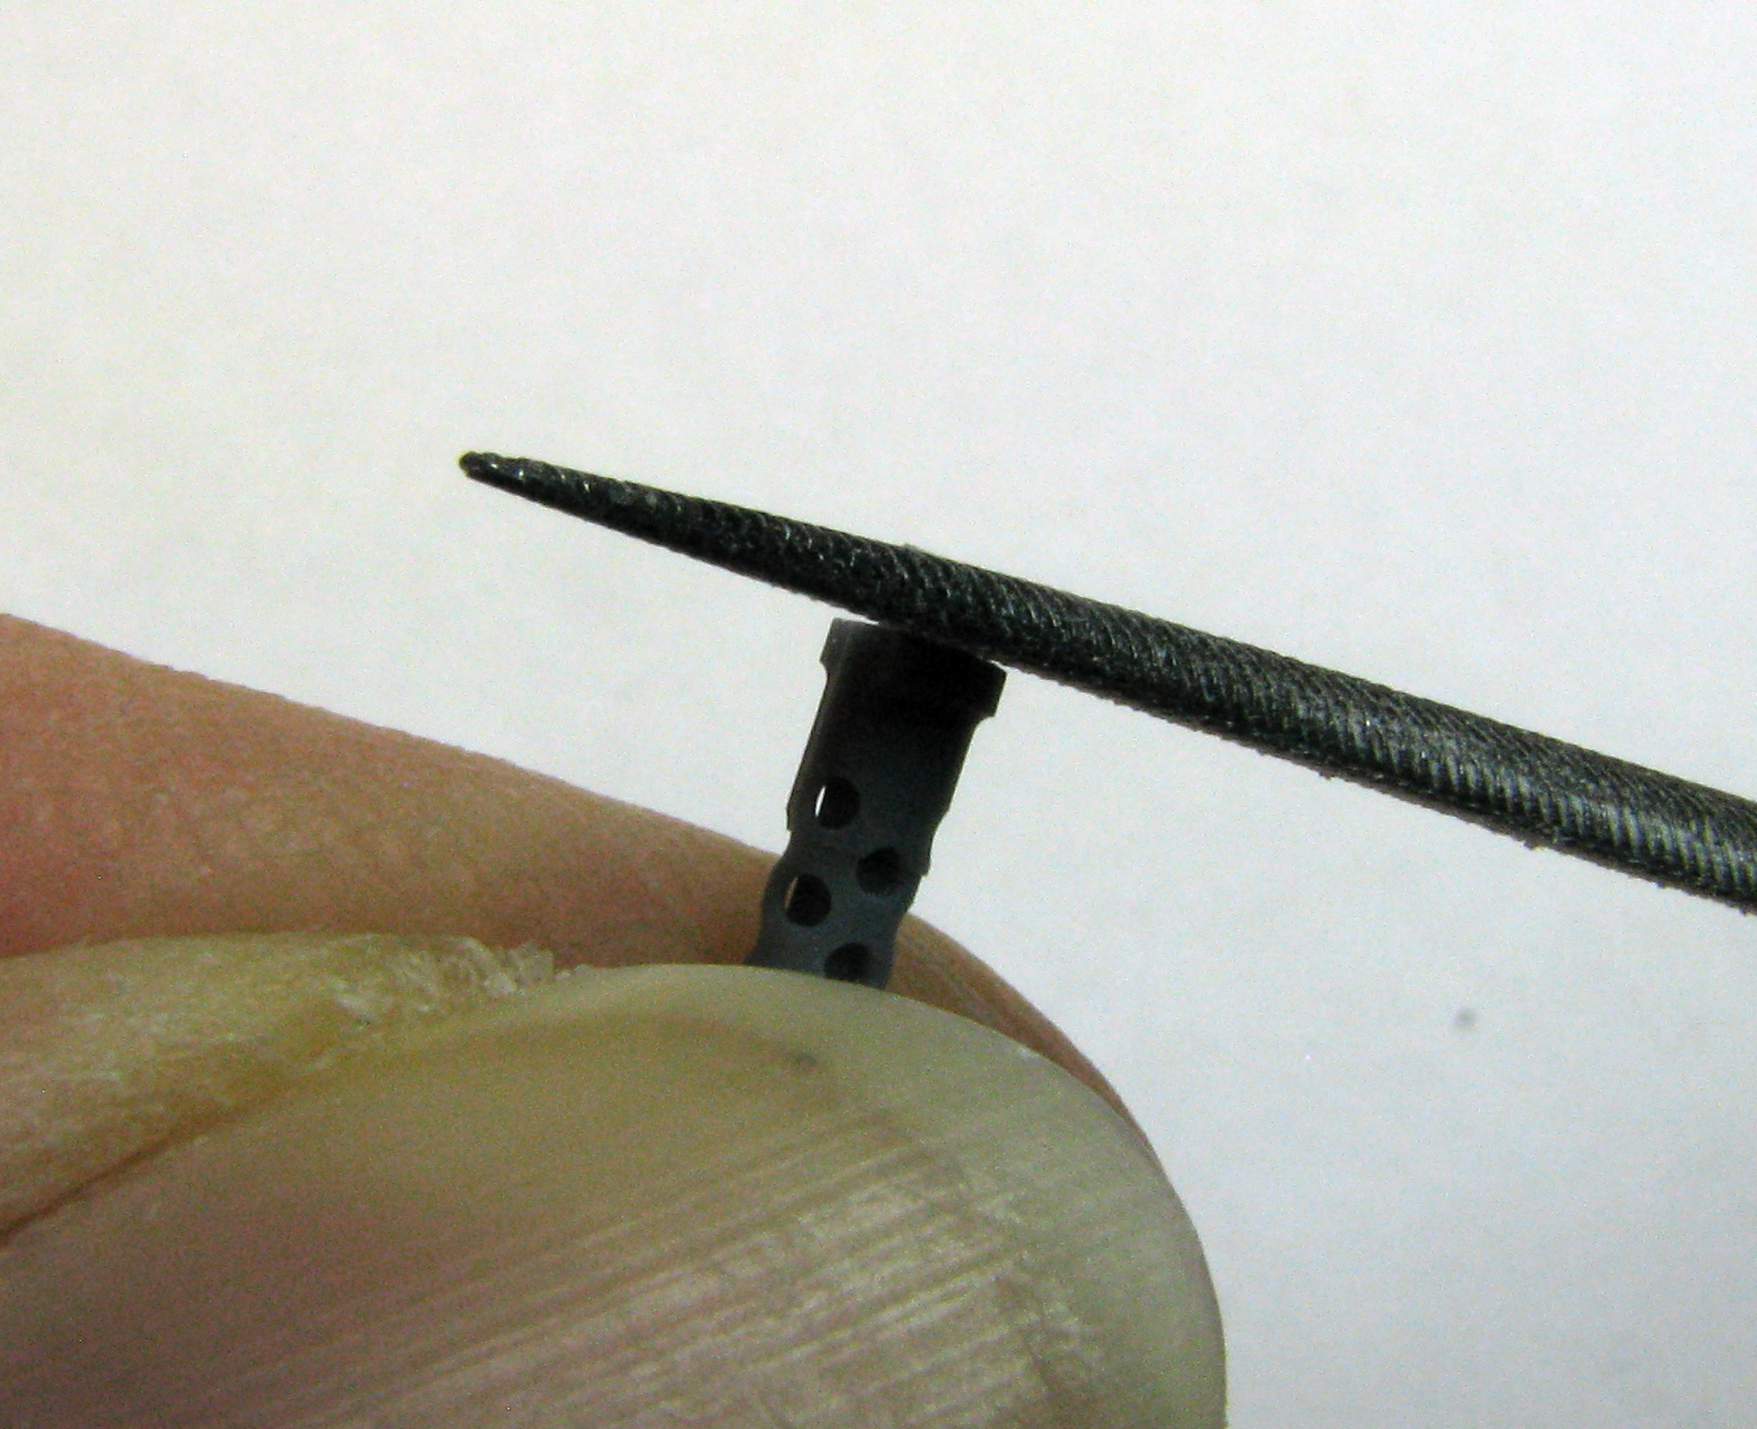
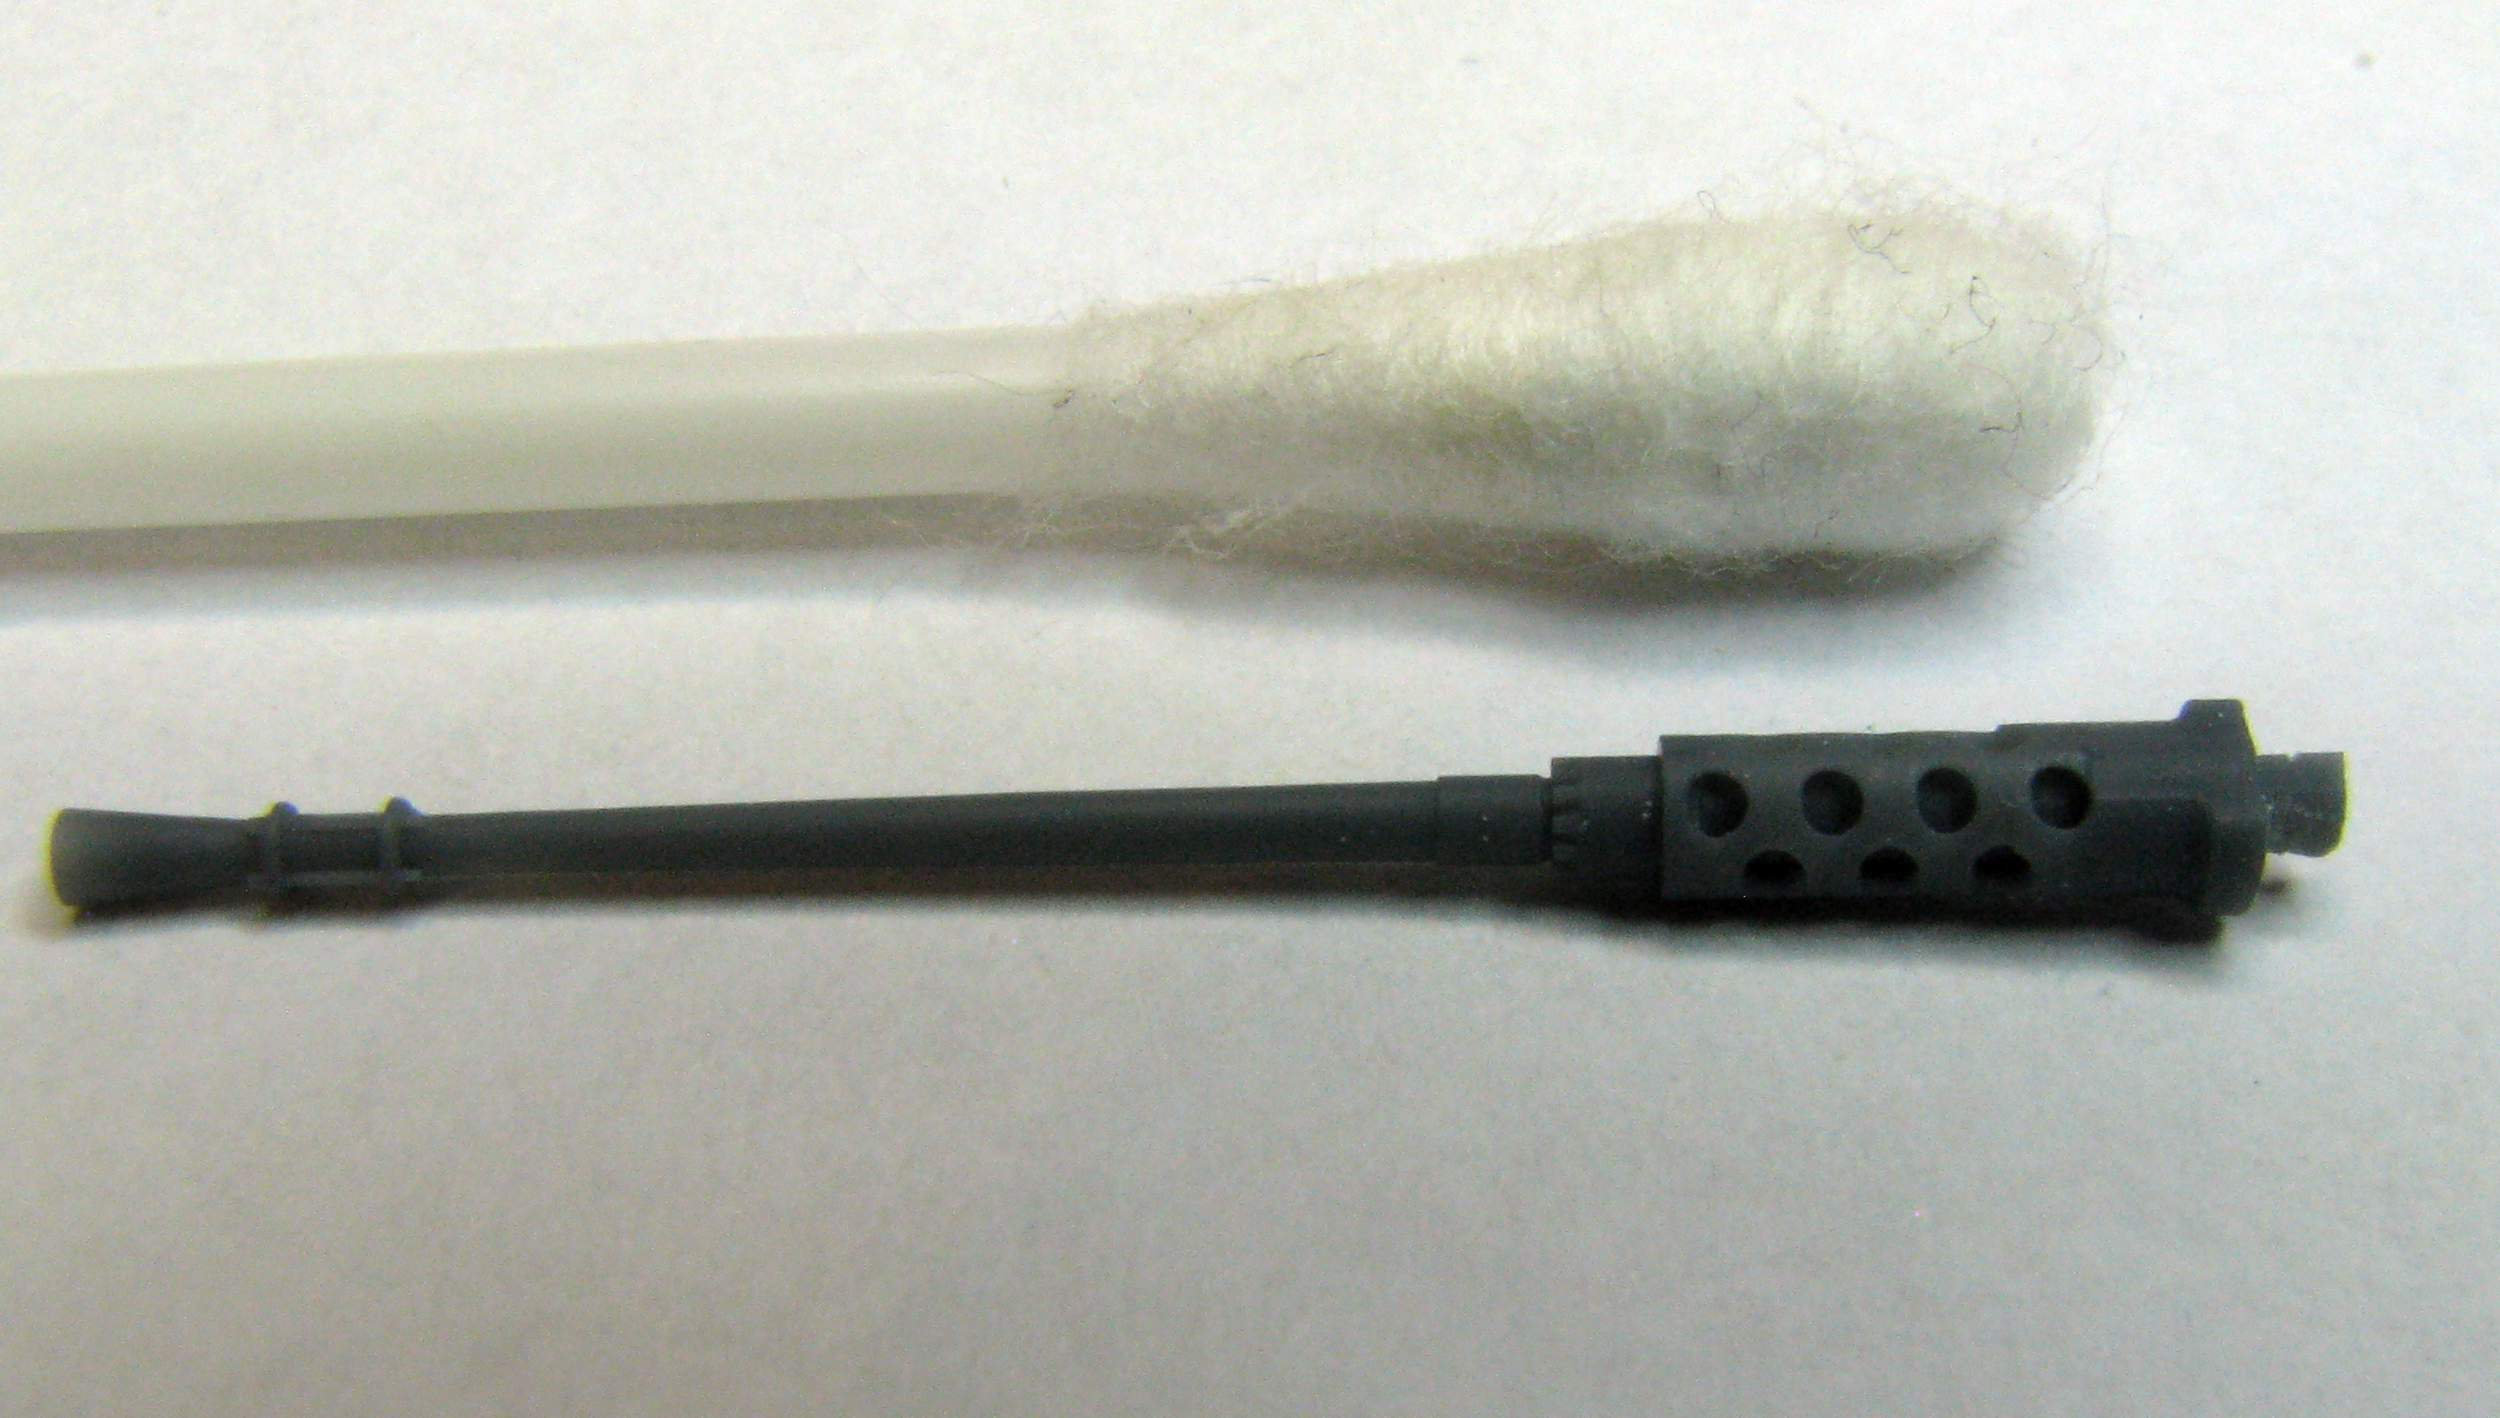
The barrel is also very nicely detailed:
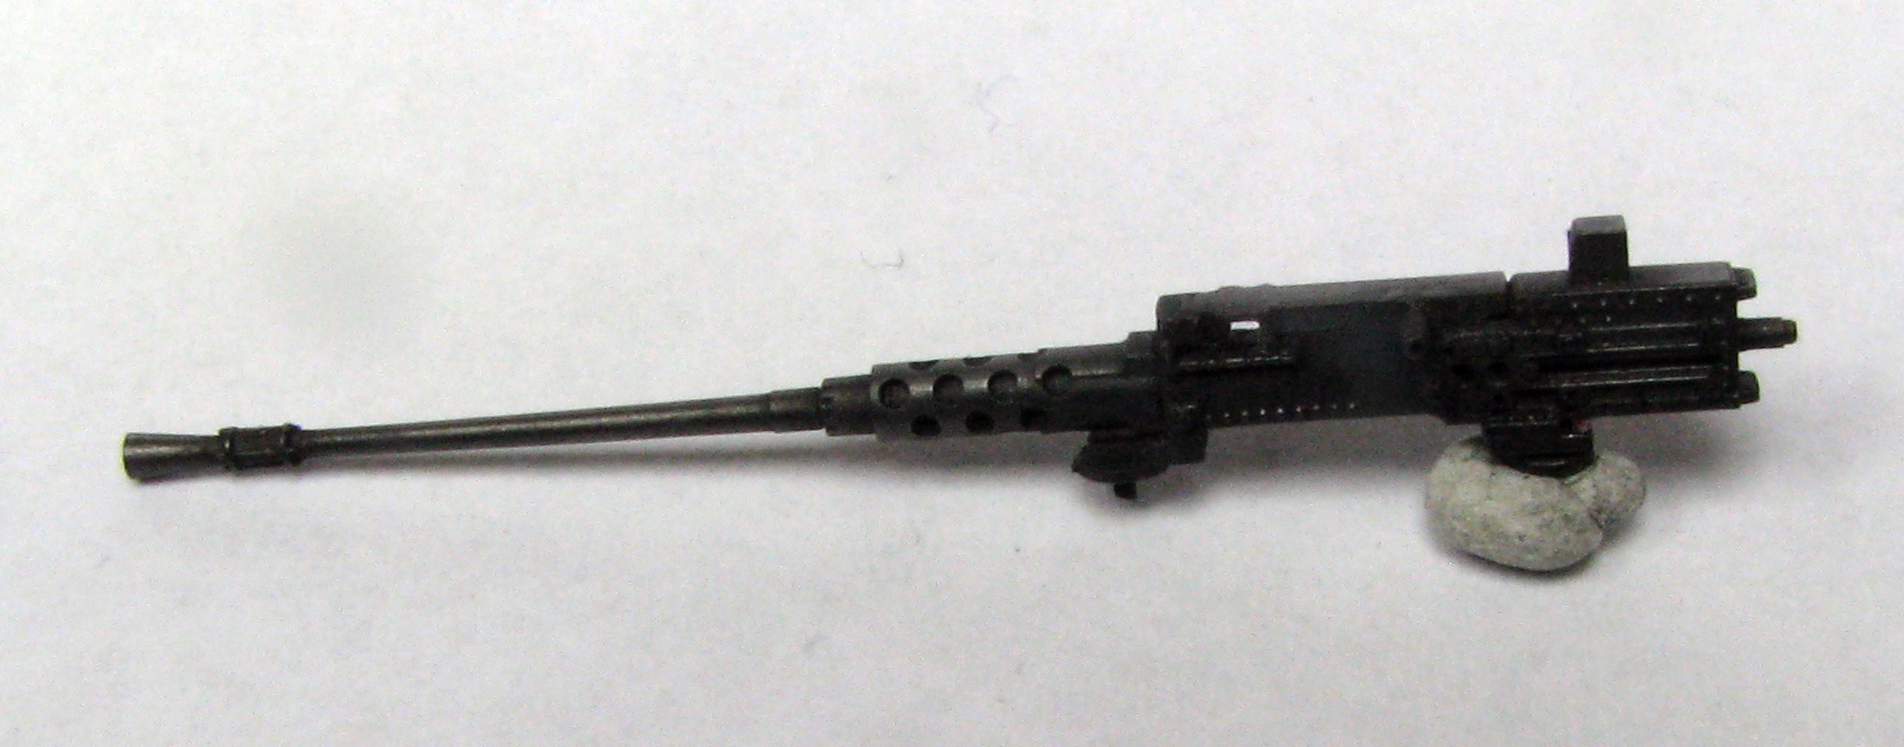
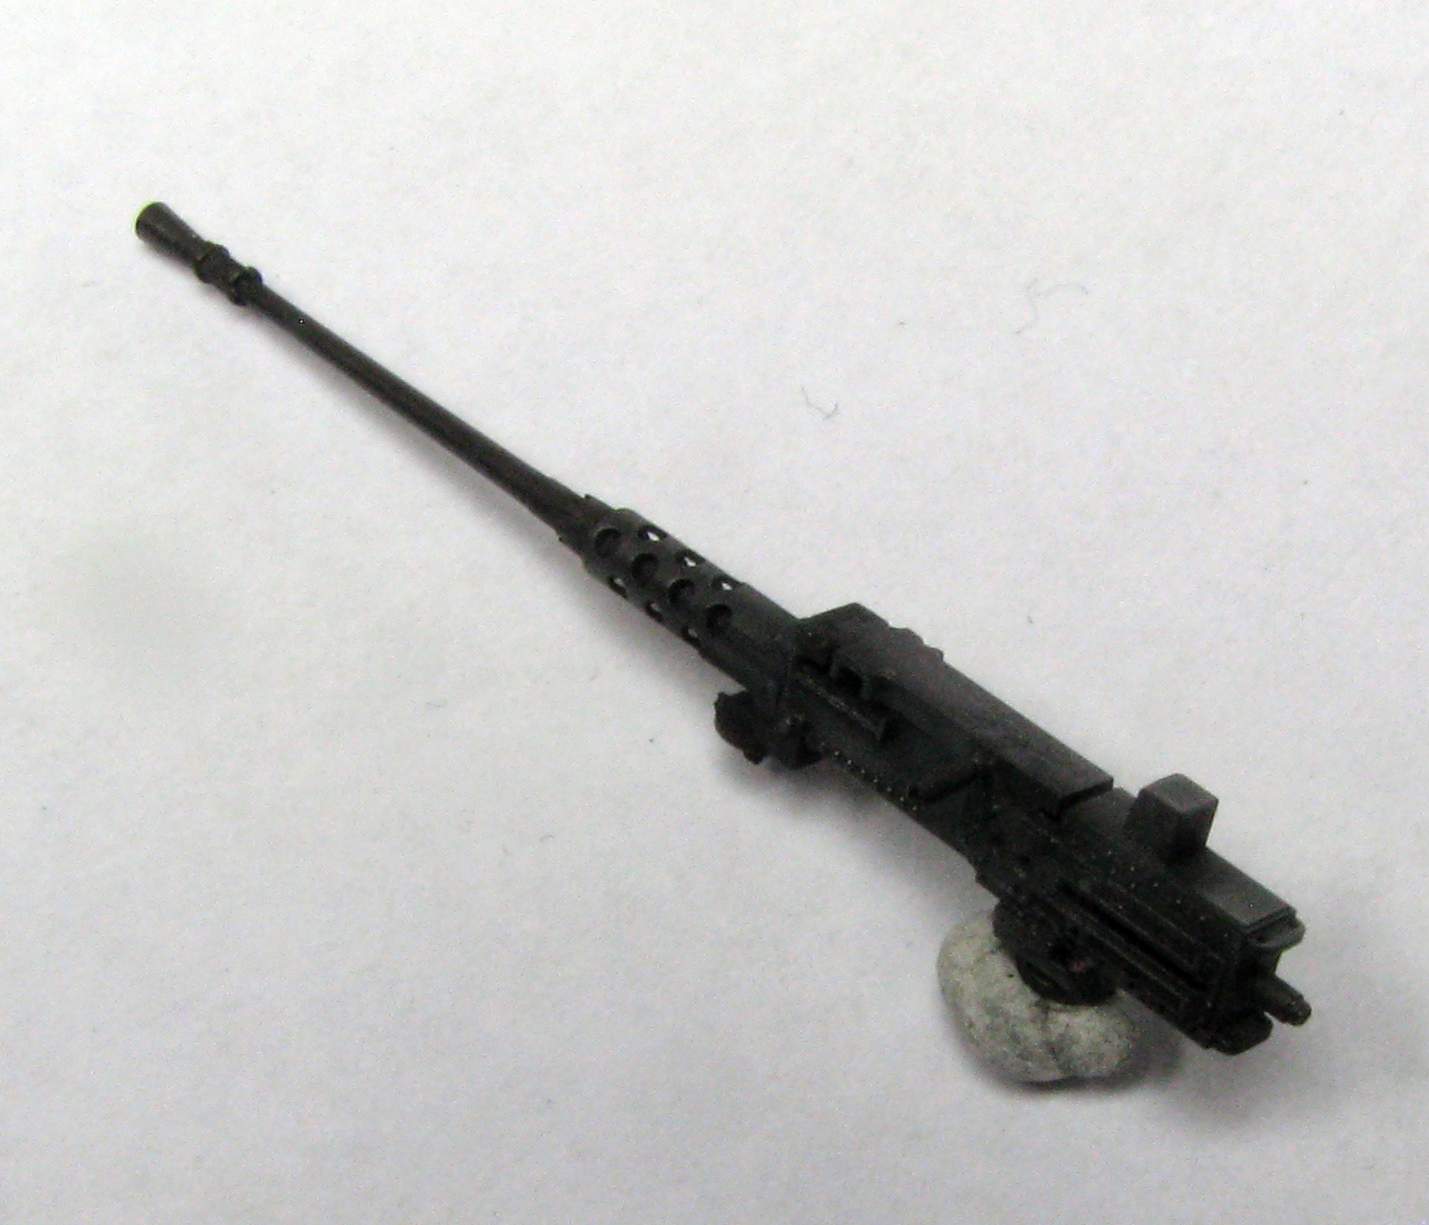
After assembly and painting with some Gunze Dark Iron the gun looks like this:
Thanks a lot for reading, have a nice day!
Paweł