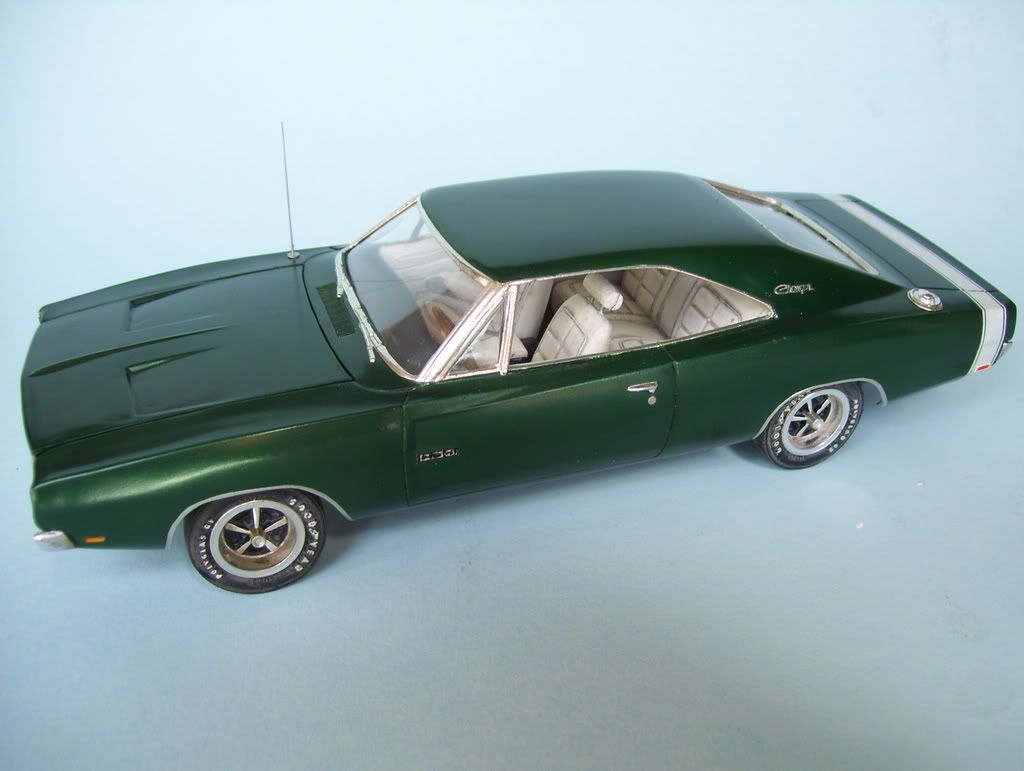
Well, here's some of the small corrections and additions that I made to the Charger 500.
First, I corrected the "sit" of the model somewhat; what a sincere PITA! I got out the Dremel, and scraped/ground away quite a bit of plastic around the windshield base and various other chassis/tub points. One thing I know is that I got the fromt end down, because I had to then grind out some of the hood to clear the distributor. I aslo painted black in the insides of the rims correctly.
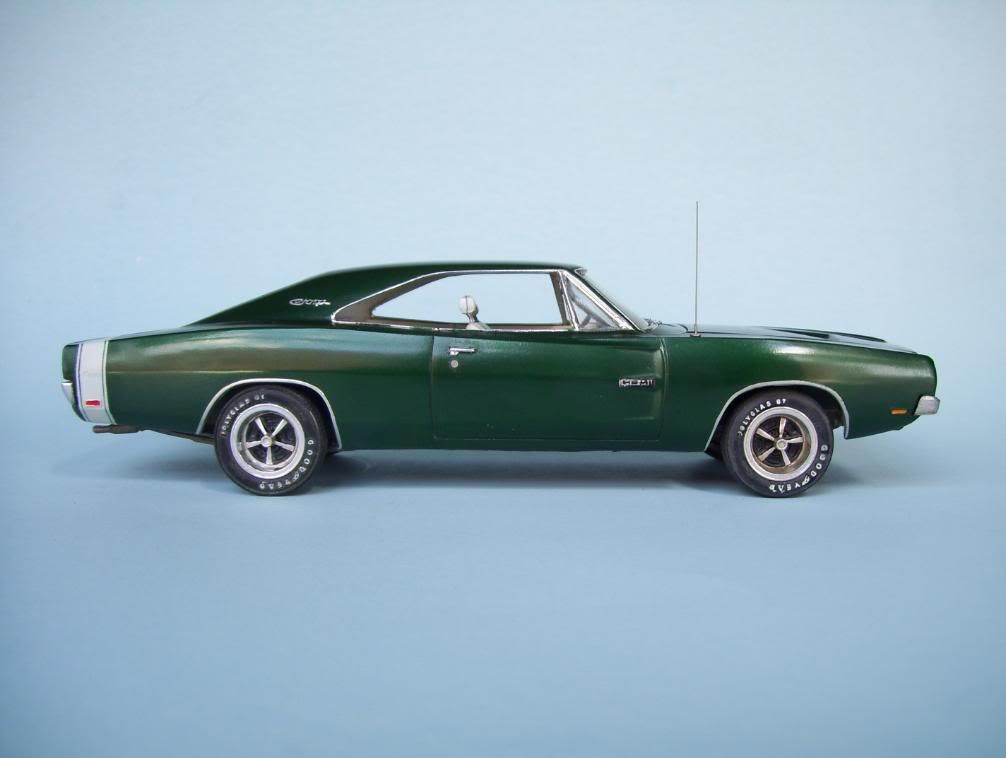
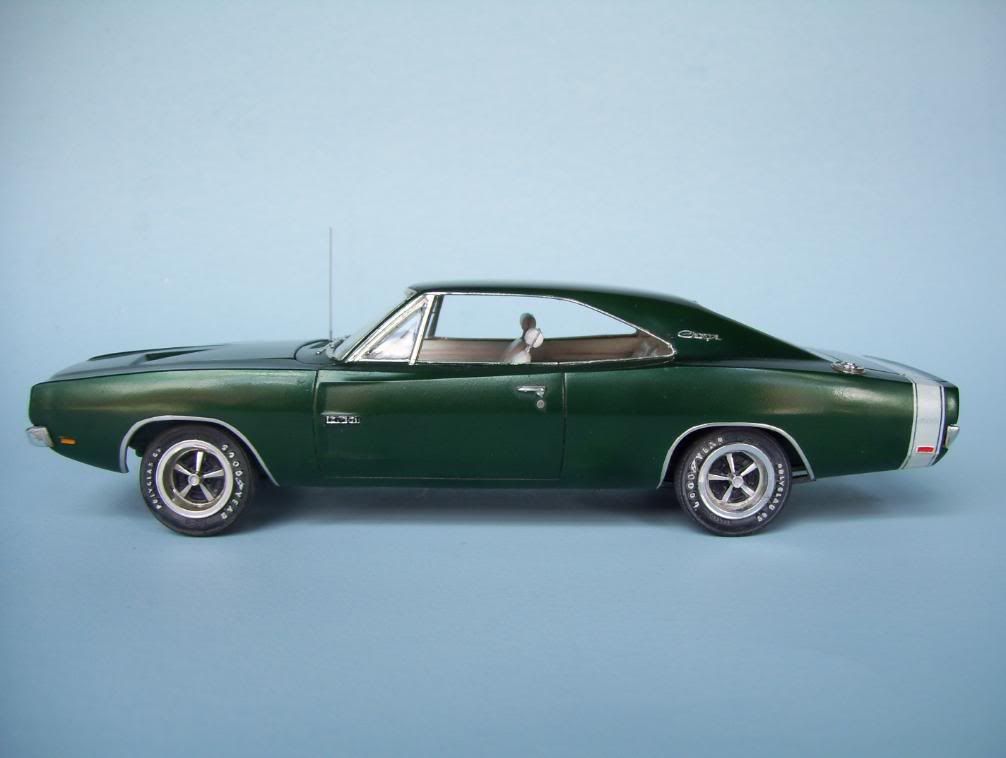
And I also filled in some of the body panels where you could see space through the sides and under the windshield--here's a square piece of strip that I used here, and in the second pic, you can see some strip that I added to the side "wings" of the engine compartment where you could see air under the sides there...
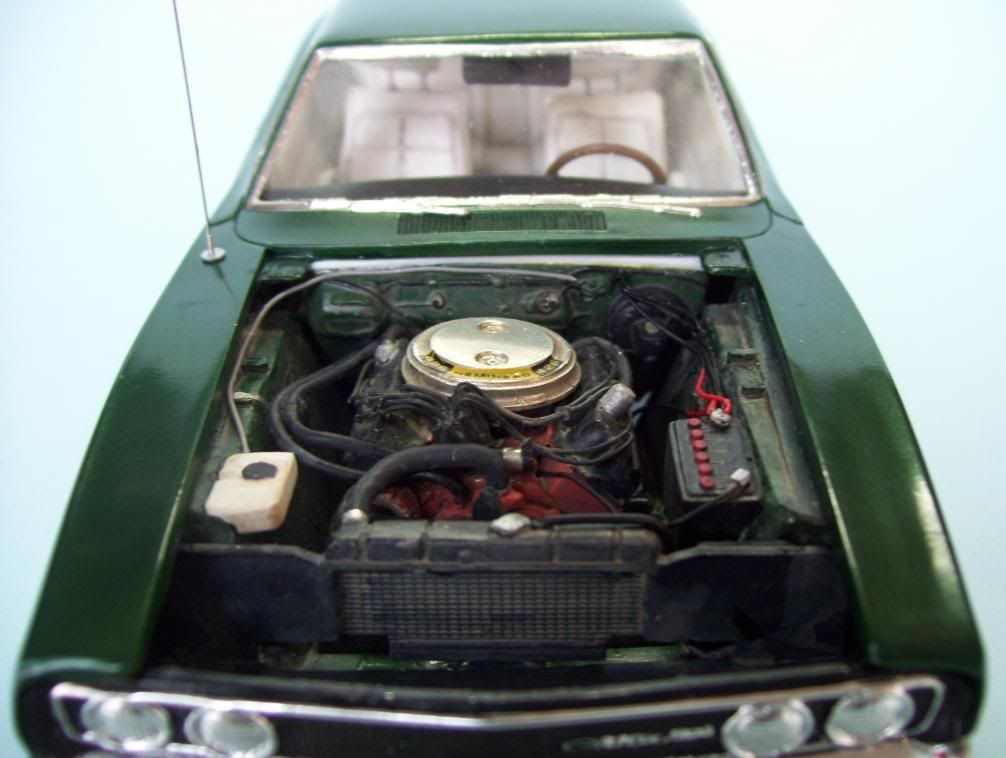
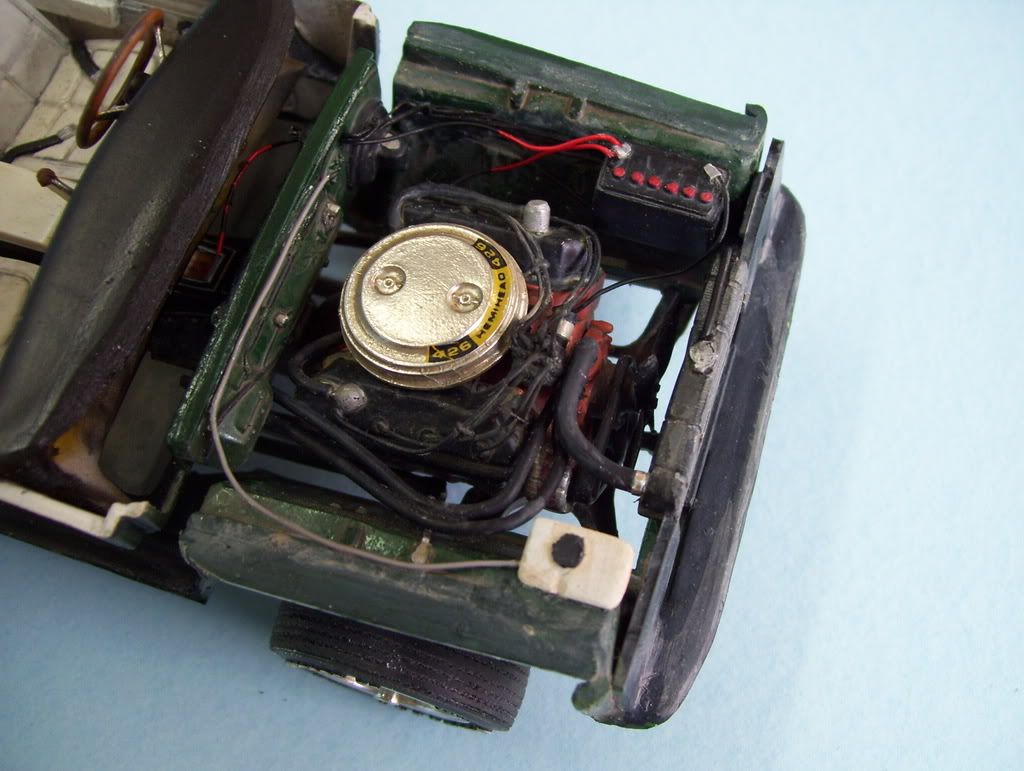
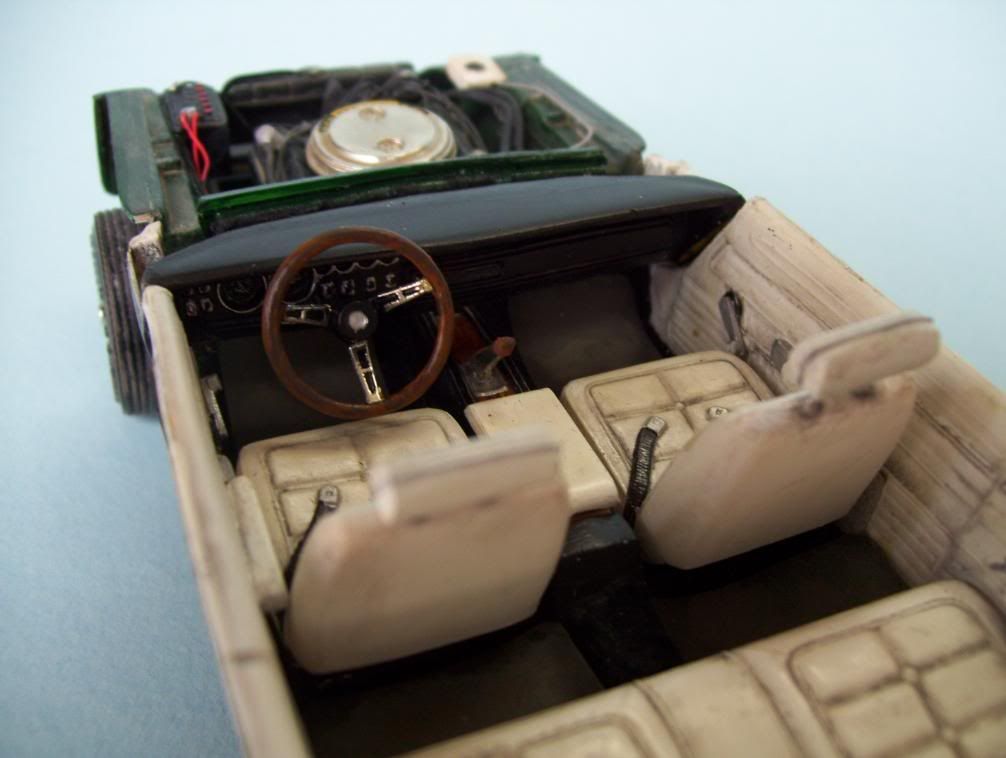
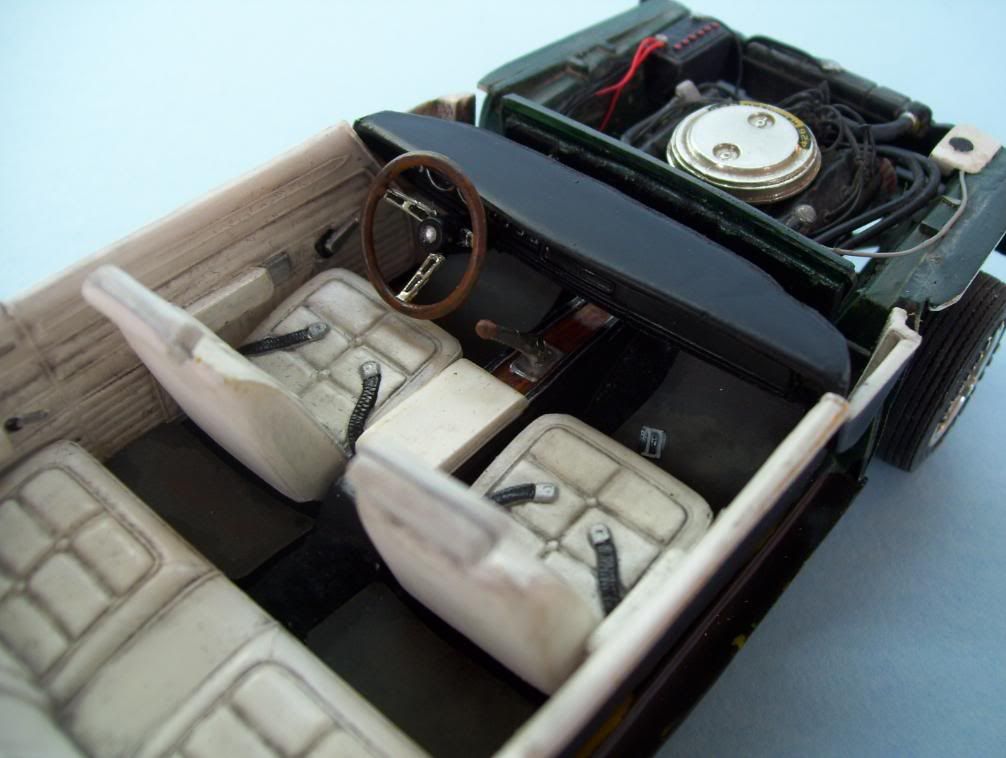
WIth the body on, you can see how I fixed the wiring of the battery. The one red wire goes to the starter, the other one goes into the dash along with that tangle of wires that I also added--they were so prominent in reference photos. The black ground wiregoes where it should as well.
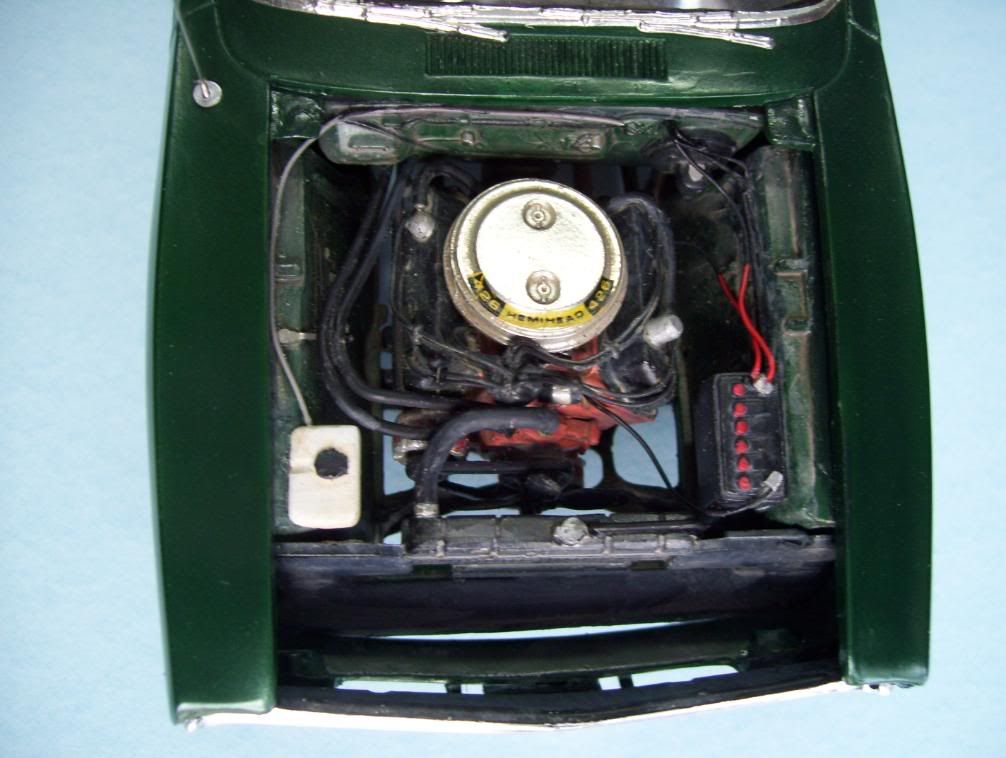
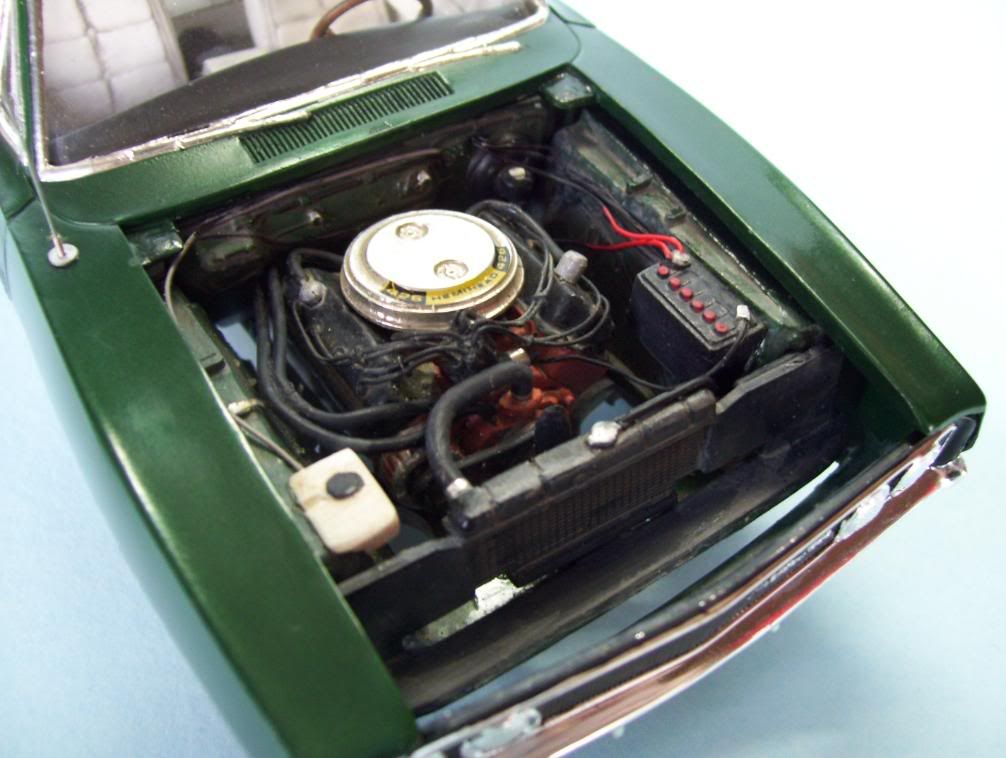
Here's where the starter was/ I also changed the color of the tranny case. I painted the starter in silver, as per that reference shot that I posted.
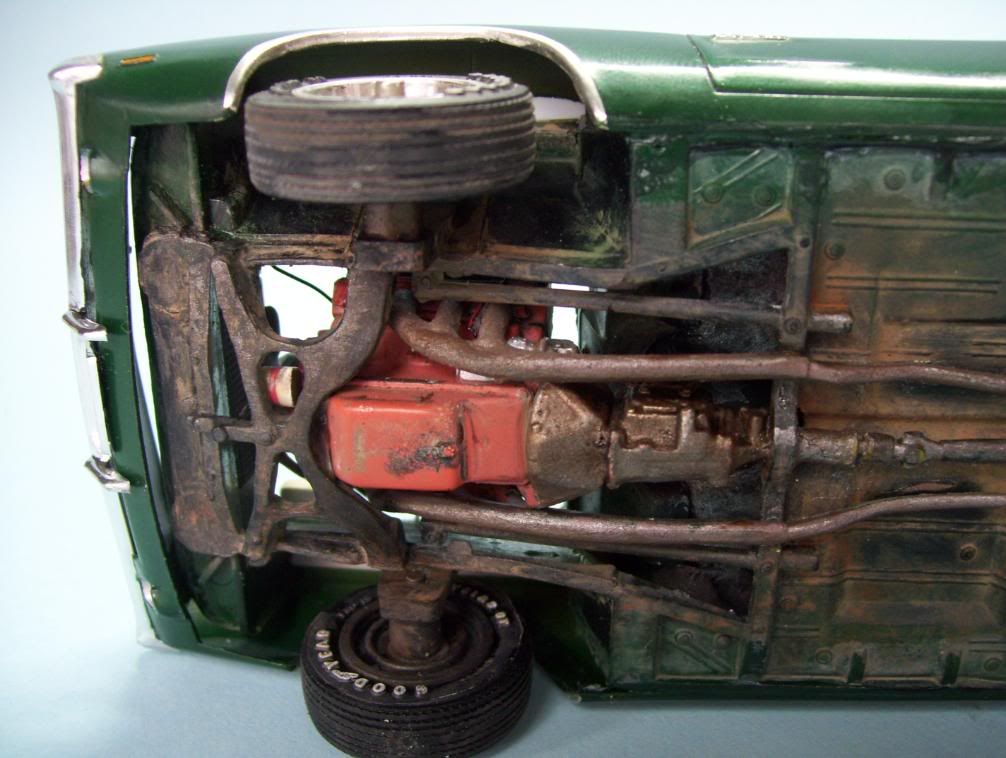
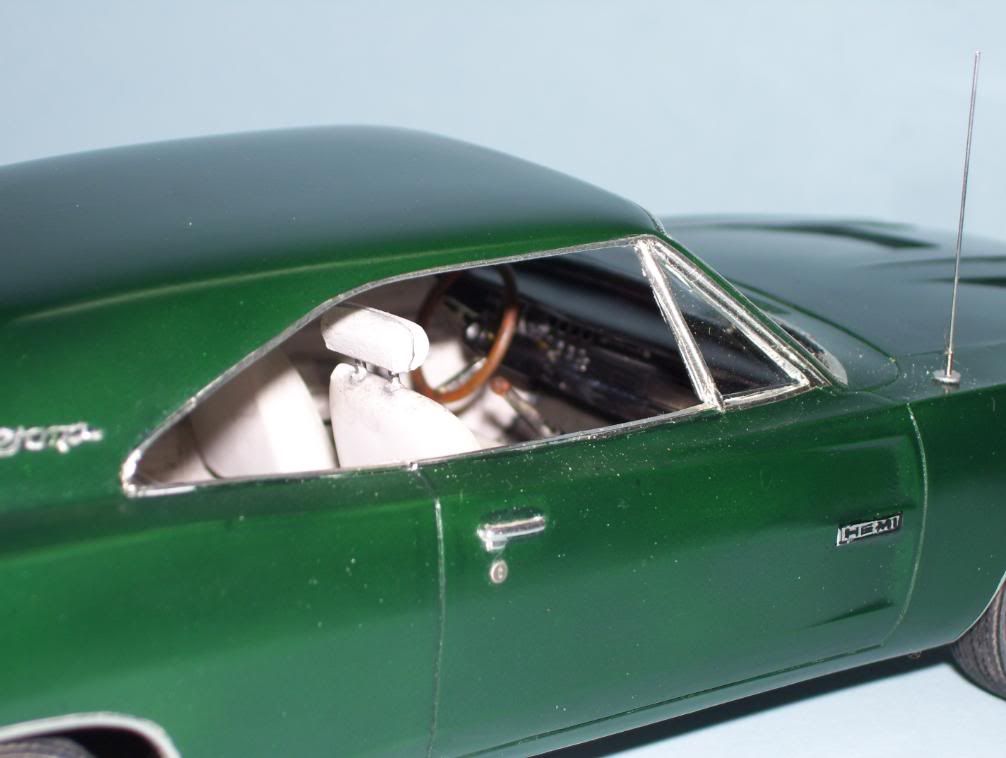
I also corrected the body where the trim around the windows continued on the 500. I added a piece of .010 X .040 strip, and then foiled it.
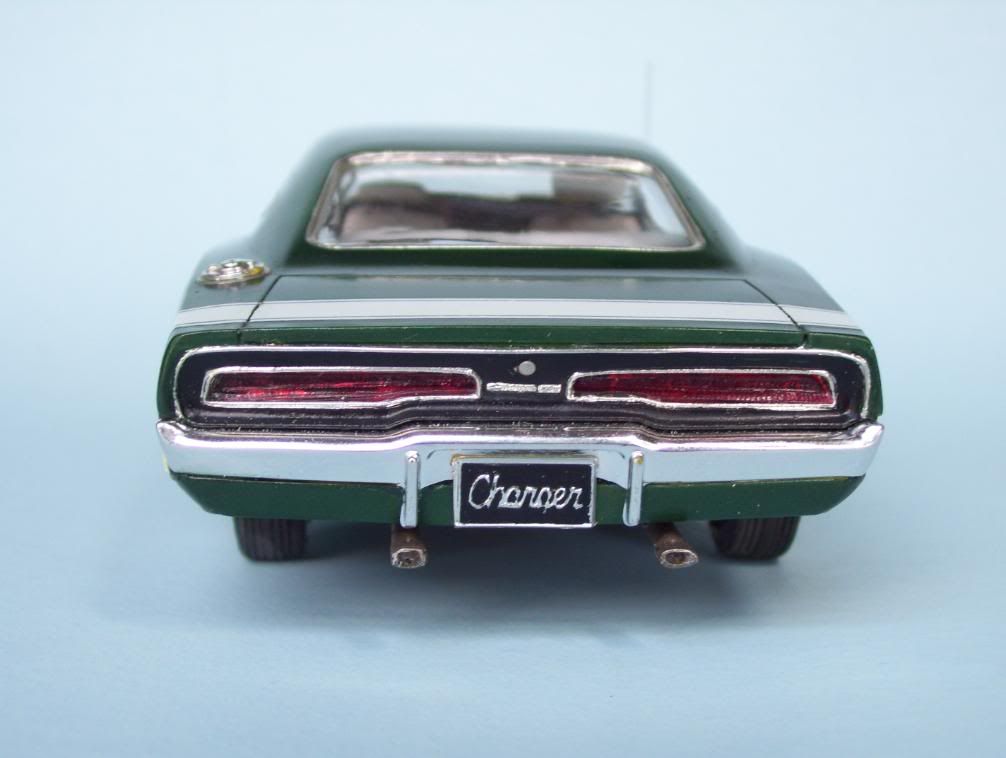
I added a lock to the trunk...
Two more shots of the interior for good measure...
And one last thing--this is an edited post here--I put this up over at Scale Auto, and a guy over ther epointed out that the "A-pillar" between the windshield and the side window still needed to be chromed--so here's the final addition.
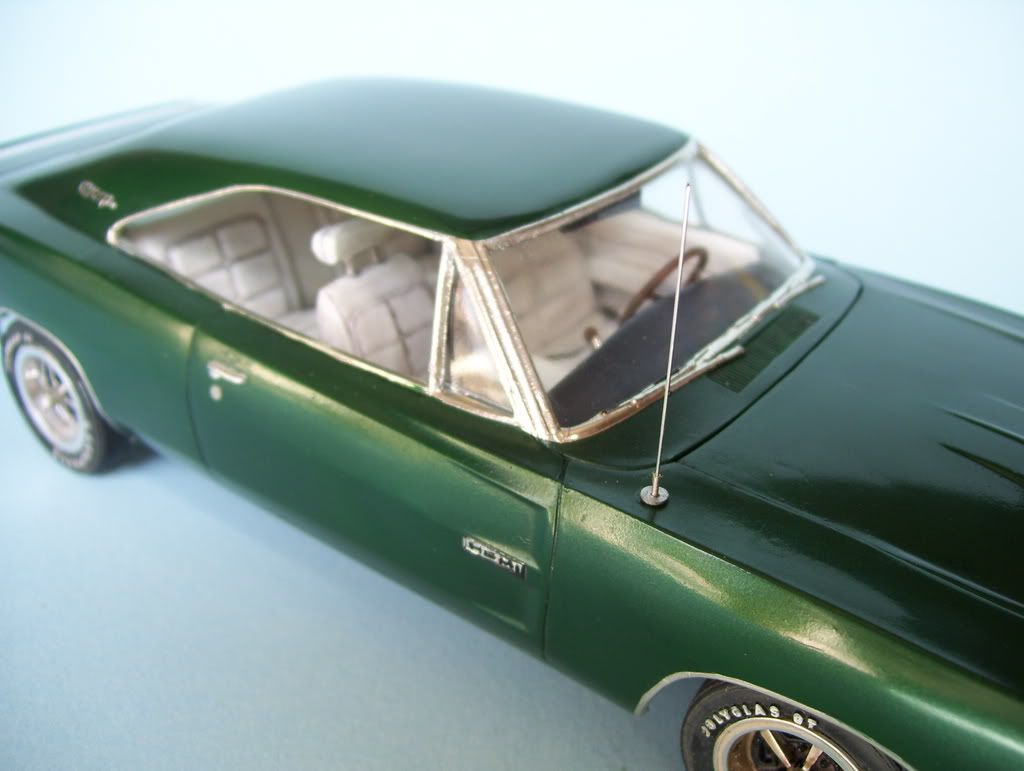
I also shortened the antenna....it's done...a good learning experience, and a model I'm proud of; can't ask for more than that?
Thanks for all the help, those whom had contributed! Comments always welcomed! ![Big Smile [:D]](/emoticons/icon_smile_big.gif)
