SEARCH FINESCALE.COM

Enter keywords or a search phrase below:

Revell '57 Chevy Black Widow

17481 views
49 replies
1 rating 2 rating 3 rating 4 rating 5 rating
  • Member since
    March 2005
Posted by philo426 on Tuesday, March 24, 2009 11:10 PM
ok I put on the dual exhausts andc ran into a problem;It was necessary to remove the shocks and the gas tank inert to route the pipes around the differential.Good thing I just tack-glued the parts so removal was possible without damaging the parts. 
  • Member since
    March 2005
Posted by philo426 on Tuesday, March 24, 2009 4:27 PM
I finished painting the trunk and sides and the finish is very good.I can see the reflection of the flouersent light above the model.    
  • Member since
    March 2005
Posted by philo426 on Monday, March 23, 2009 6:37 PM
I found 2 of them at Big Lots years ago.Can't do without them!I primed the body and painted the white sections of the body today.   
  • Member since
    March 2009
  • From: Saint Marys, OH
Posted by Ivawoody on Monday, March 23, 2009 4:25 PM
I've gotta get me one of those holders you have so I can do my painting better! I just use a bent hanger now. Where did you come across your holder/stand?
-Woody Follow my Viper RT/10 build here: http://cs.finescale.com/forums/1107466/ShowPost.aspx See my Huey project here: http://cs.finescale.com/forums/1105968/ShowPost.aspx
  • Member since
    March 2005
Posted by philo426 on Sunday, March 22, 2009 10:24 PM
I decided to use the grill from the AMT kit and it is a beauty !The photoectched grill looks great! 
  • Member since
    March 2005
Posted by philo426 on Sunday, March 22, 2009 10:10 PM
Yes the gas tank and spare tire well was a separate piece.I painted the hood today but the finish exhibted orange peel so polishing will be necessary.    
  • Member since
    March 2009
  • From: Saint Marys, OH
Posted by Ivawoody on Sunday, March 22, 2009 8:03 AM
Was the gas tank a seperate part or did you mask it off to avoid painting it black? Looking very good BTW!
-Woody Follow my Viper RT/10 build here: http://cs.finescale.com/forums/1107466/ShowPost.aspx See my Huey project here: http://cs.finescale.com/forums/1105968/ShowPost.aspx
  • Member since
    March 2005
Posted by philo426 on Sunday, March 22, 2009 1:25 AM
Progress continues ,I assembled andpainted the chassis and installed the engine and driveshaft.Next I will install the exhaust system and start on the interior.  
  • Member since
    October 2007
  • From: Bothell, WA
Posted by btp2k2 on Friday, March 20, 2009 12:58 PM

absolutely insane work man!

Great stuff, keep it up.

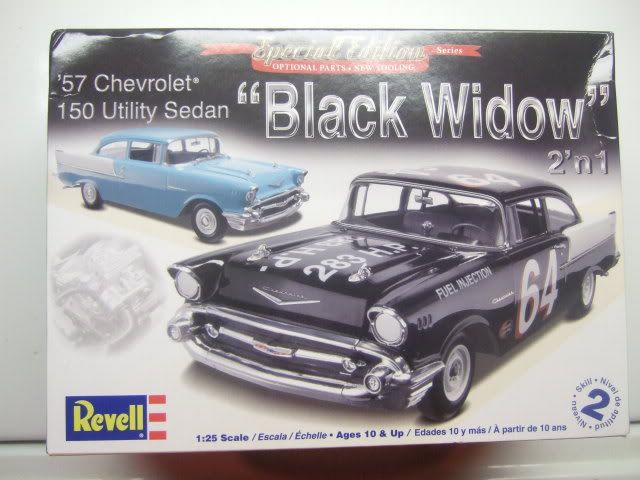
I have been looking for a good kit to break into cars...getting tired of doing aircraft and need a break. I think I may have just found one!

Paul I Like Tomcats!
  • Member since
    March 2005
Posted by philo426 on Thursday, March 19, 2009 3:15 PM
I tamed the .crazy wires and the engine is esentially complete.(apart from the decals on the generator and oil filter. 
  • Member since
    March 2005
Posted by philo426 on Wednesday, March 18, 2009 8:48 PM
Did a little  more work on the engine today.Tomorrow I will wire-up the distributor and start the chassis.  
  • Member since
    March 2005
Posted by philo426 on Wednesday, March 18, 2009 7:27 AM
Thanks!i think this one will turn out great!
  • Member since
    November 2003
  • From: Nashville, TN area
Posted by bobbaily on Wednesday, March 18, 2009 6:06 AM

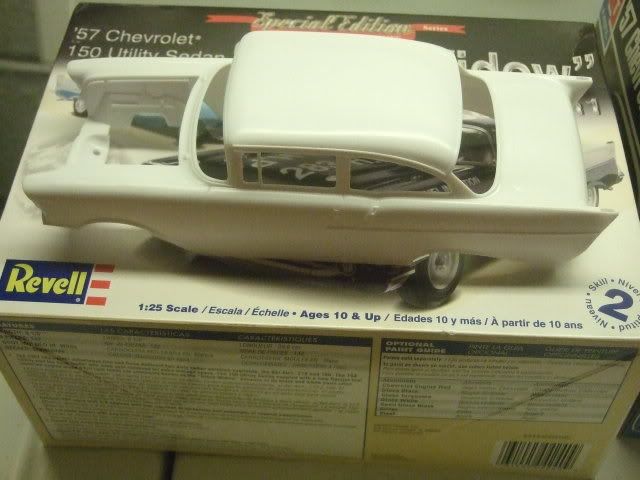
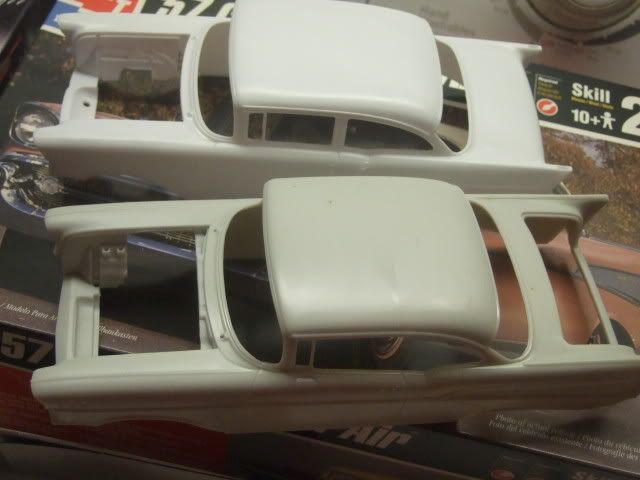
You've got a great build going philo-very good attention to detail.  Looking forward to seeing more progress pics.

Bob


  • Member since
    March 2005
Posted by philo426 on Tuesday, March 17, 2009 8:21 PM
I had to use the distributer on the AMT kit because it is slightly larger and has indents which made drilling out the holes for the plug wires easier.  
  • Member since
    March 2005
Posted by philo426 on Tuesday, March 17, 2009 8:17 PM
The Amt kit is a great help as it includes a wiring diagram with firing order,Plus they provide the wire and a chart to indicate the lengths of each plug wire.  
  • Member since
    March 2005
Posted by philo426 on Tuesday, March 17, 2009 7:30 PM
Well I can finally get back to the engine.I was busy this weekend and had a hard time finding a #76 drill bit to mount the spark-plug wires.The distributer was even more fun!Here is the progress so far.   
  • Member since
    March 2005
Posted by philo426 on Saturday, March 14, 2009 10:47 AM
I built the engine today and shot the Chevy engine red)Looks like orange to me!).I had to strip the fuel injection parts of chrome because they came in natural aluminum.  
  • Member since
    March 2005
Posted by philo426 on Friday, March 13, 2009 6:22 PM
Well I pulled the trigger today and  bought the kit.Looks like a winner!The body looks good and it has some optional parts.Here is a pic of the kit box.        Here is a pic of the body.          Comparing the AMT and Revell bodies they both look  good!   
  • Member since
    March 2005
Posted by philo426 on Wednesday, March 11, 2009 6:42 PM
Thanks for the heads up Dave!I'll check it out this weekend!
  • Member since
    March 2007
  • From: right next door to Quantico
Posted by davezinn on Wednesday, March 11, 2009 1:37 PM
they are now showing up in Micheals craft stores as part of the model reset. looks like it will be a regular stock item for awhile and is priced at $25! with a coupon it's a nice deal, i bought one the other day.
  • Member since
    March 2005
Revell '57 Chevy Black Widow
Posted by philo426 on Wednesday, March 4, 2009 8:22 AM
I was checking out the Revell website and was pleased to see the upcoming release of the Black Widow kit.I will buy it as soon as I see it! 
JOIN OUR COMMUNITY!

Our community is FREE to join. To participate you must either login or register for an account.

SEARCH FORUMS
FREE NEWSLETTER
By signing up you may also receive reader surveys and occasional special offers. We do not sell, rent or trade our email lists. View our Privacy Policy.