How to build a paper airplane model - tips based on a 1/33 Il-2 Stormovik - FINISHED AT LAST!!
Hello!
I recently had to switch from my "regular" to a "field" workshop for some time. To minimize the number of tools and other stuff to take with me in order to continue tinkering I decided to dig out a paper model that I have started years ago while on a long business trip. It's a GPM 1/33 Il-2m3 Stormovik. I thought while watching Philo build his Focke Wulf that I'd make some photos and share some tips on building a paper aircraft model - maybe it will help somebody.
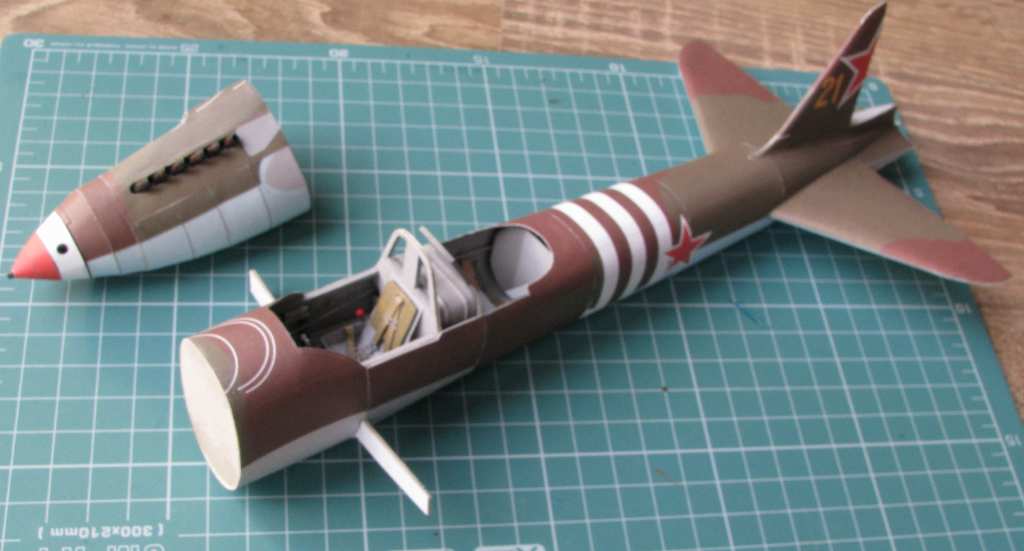
I started building my model with the fuselage. Most paper models of aircraft that I have seen, with an exception of models for little kids and modern jets have fuselages constructed out of segments. You can either have one bulkhead per segment or two bulheads per segment (the main ones). Two bulkheads per segment is more popular - in a model constructed this way every segment with the exception of the noce and tail cone resembles a funny can. When all the segments are done you just glue them together, bulkhead to bulkhead. My Ilyushin was also constructed way. Most segments are already joined together, but the motor segment is still separate:

The trick here is to always make sure the bulkheads that will be glued together have identical shape. This is achieved by holding the two bulkheads aligned face to face and sanding them together on their edges. The bulkheads have two marks on them, one marking the top and the other marking the bottom of the bulkhead. You have to make sure these markings are aligned when sanding and when glueing the skin on the segment. The bottom seam usually aligns with the bottom mark on the segment. Plus you have to make sure the bulkhead is not too big for both of the corresponding segments (it usually is before sanding). You have to sand the pair of the bulkheads until it fits both of the corresponding segment skins.
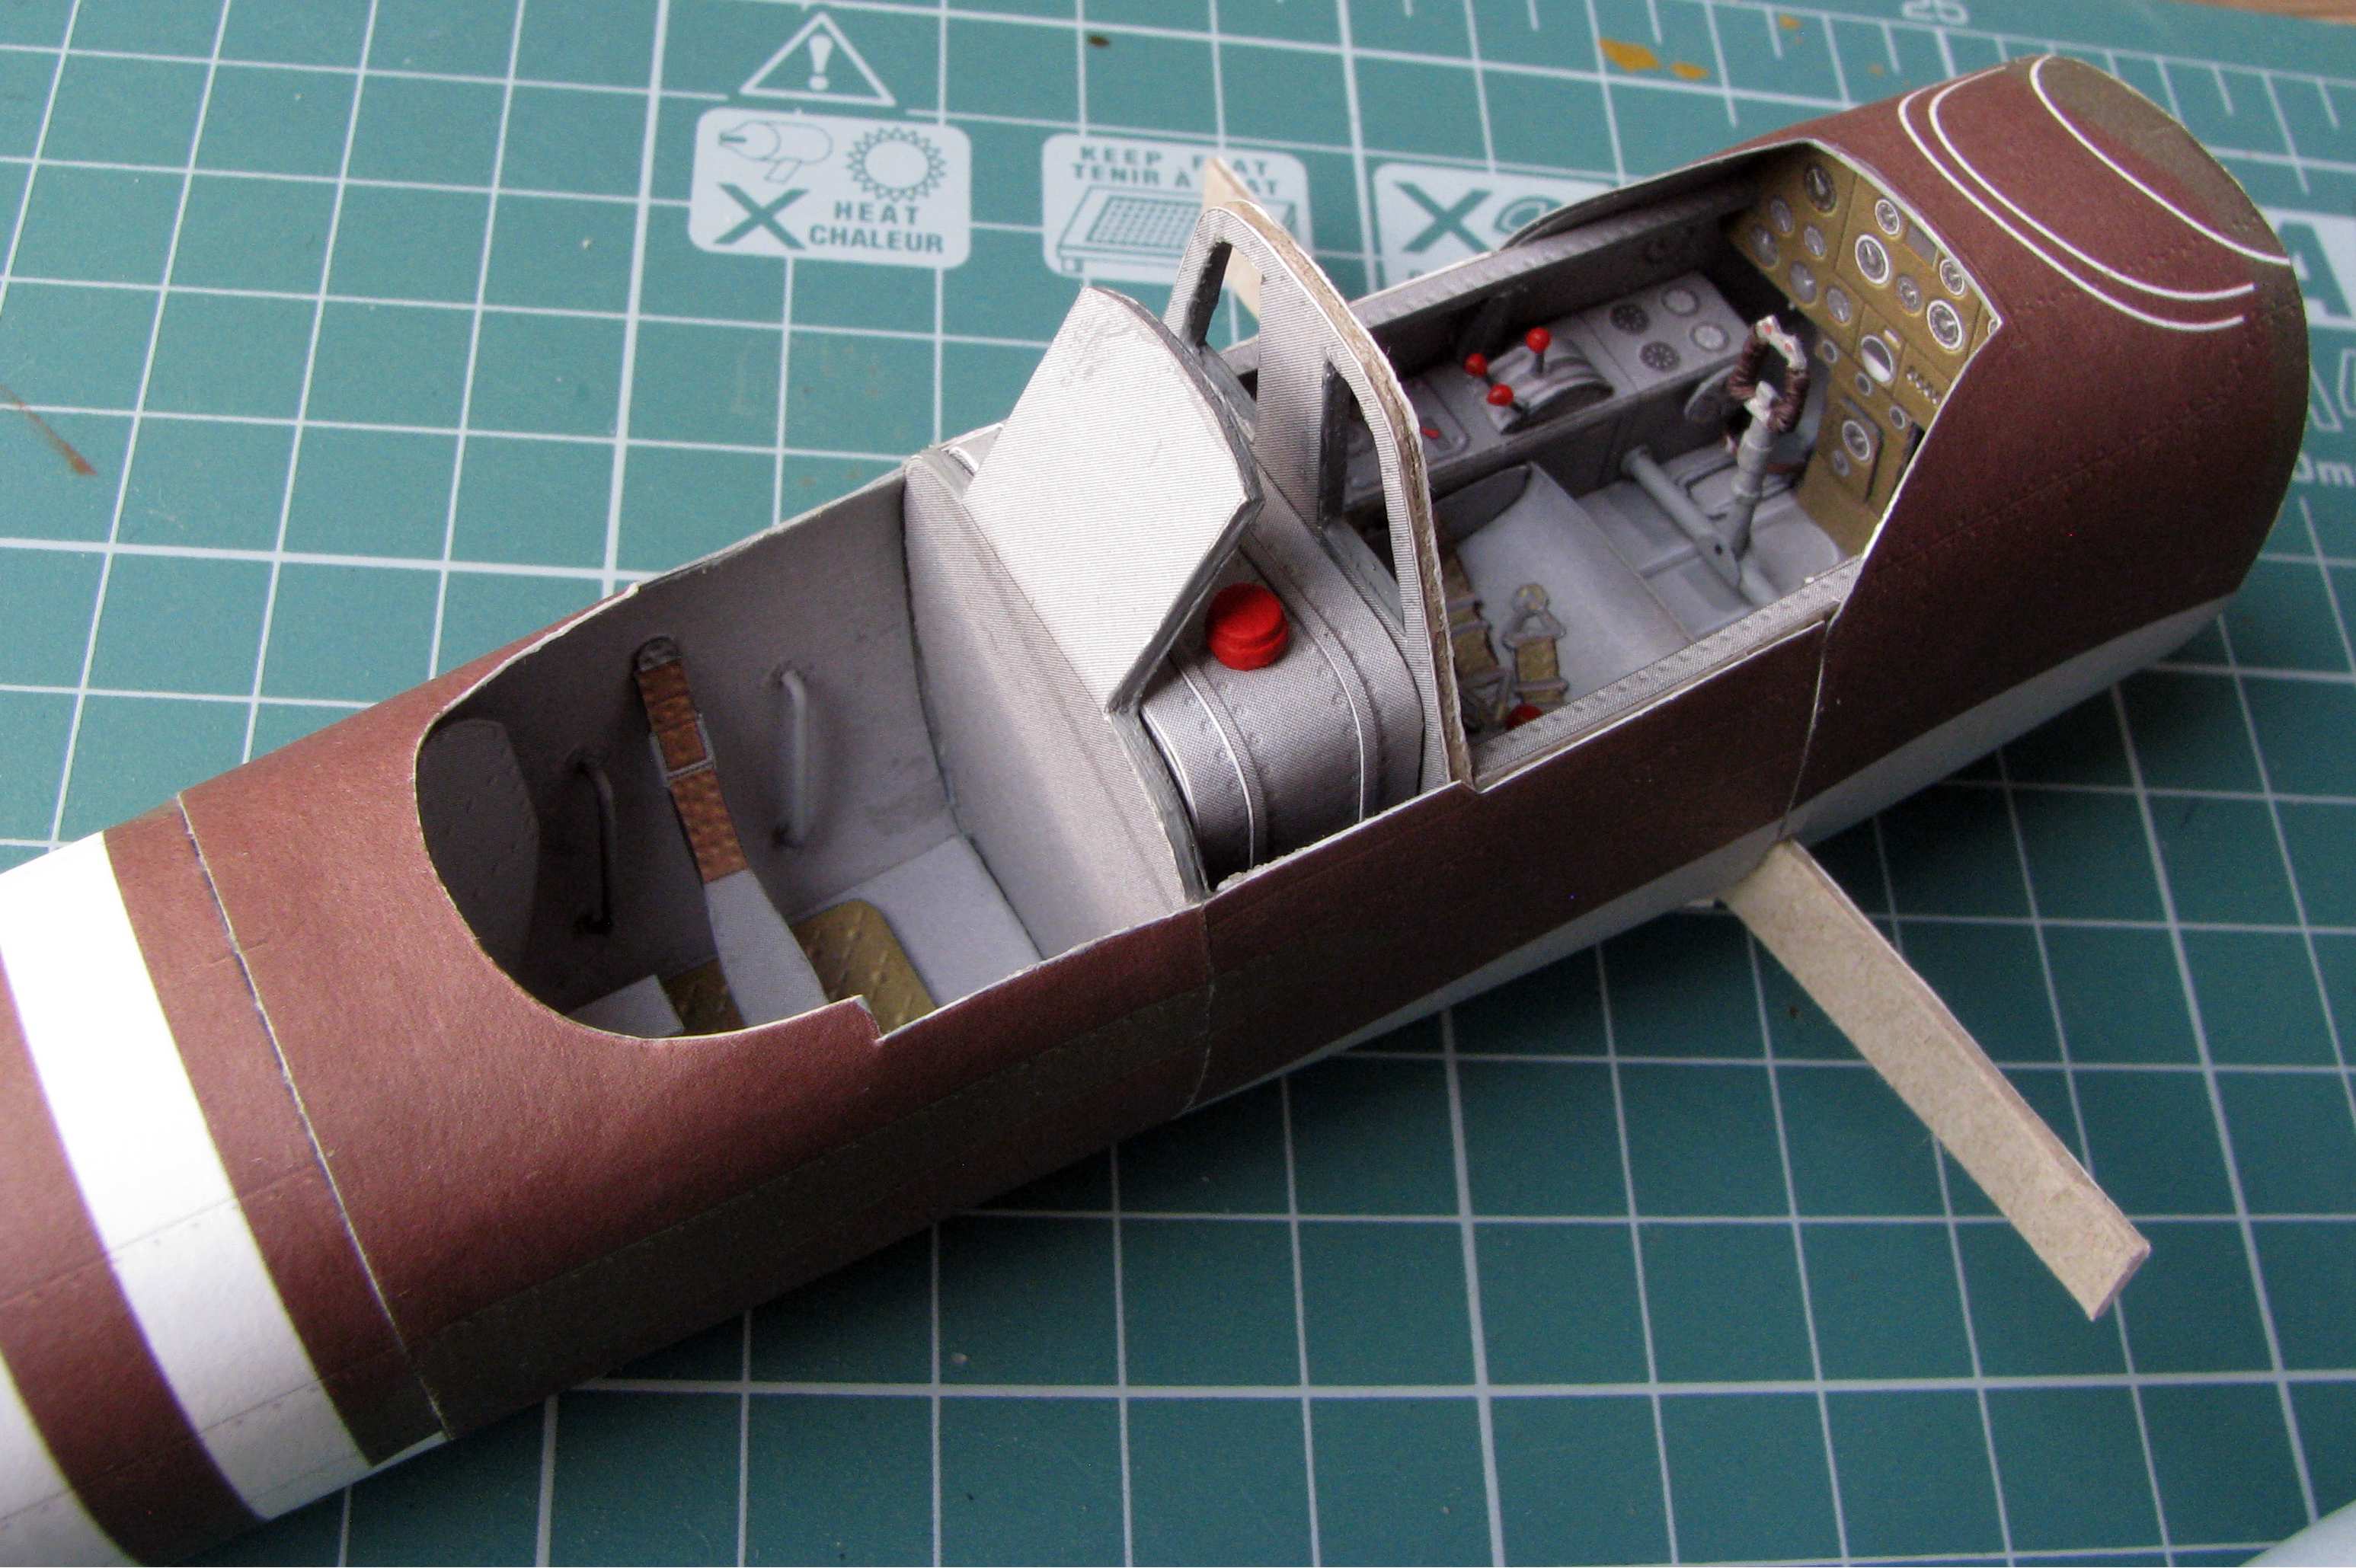
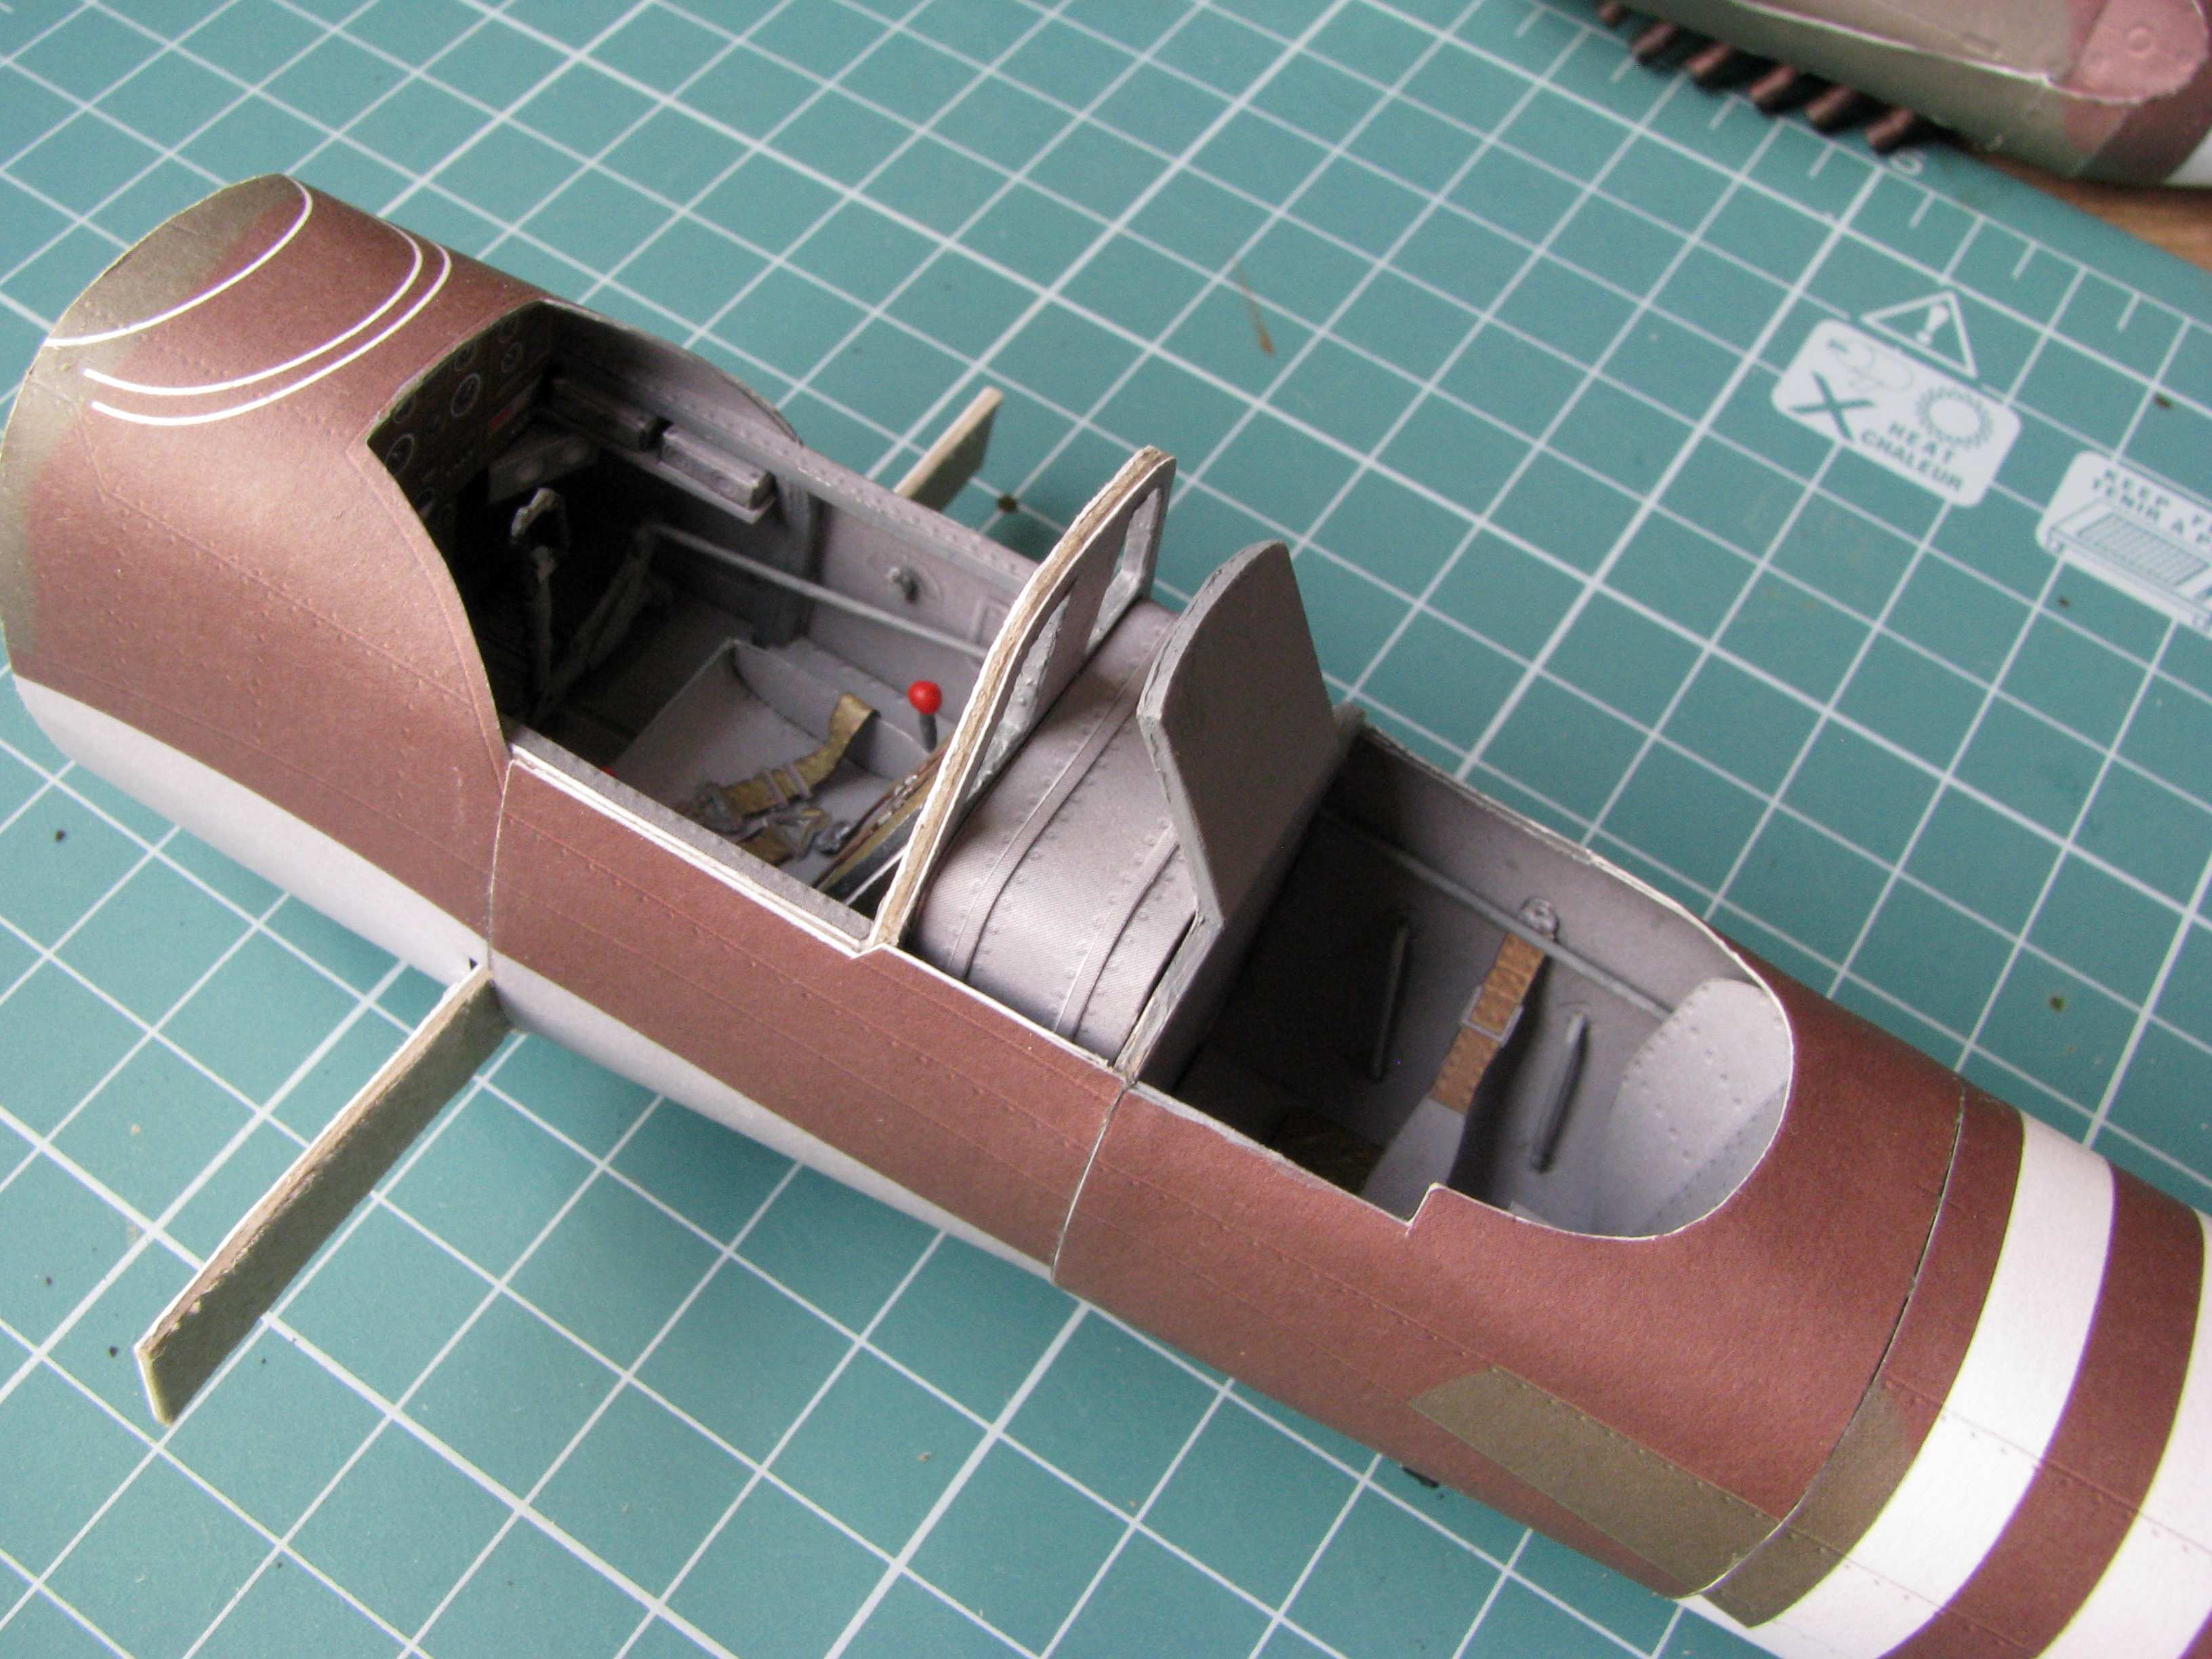
The GPM model has a nice cockpit interior that I have enhanced a little with wire and knobs made out of white glue. A little painting also helps to make everything look better. On the paper model you generally should paint the white paper edges and all the wire parts that are used. My cockpit at the moment looks like this:


I have also constructed the motor segment with the exhaust, the air intake and rotating prop spinner. The prop blades will be installed later. The empennage is also there and it has positionable steering surfaces - a nice design feature of the GPM model.
Thanks for lookin' and have a nice day
Paweł