SEARCH FINESCALE.COM

Enter keywords or a search phrase below:

AMT K'Tinga Battlecruiser Rebuild

11359 views
34 replies
1 rating 2 rating 3 rating 4 rating 5 rating
  • Member since
    January 2009
Posted by KlingonCommander on Wednesday, February 4, 2009 7:05 AM
Thanks man! I have to order some LED's and theatrical gel from ebay and I am waiting for the optical fiber to come in. As soon as I get them she will be lit! This will be a "fleet ship" not the one from Star Trek 6. Thanks for looking!
  • Member since
    January 2009
  • From: Hooley....Surrey..UK
Posted by Devils Chariot on Wednesday, February 4, 2009 6:35 AM
Oh great build....pics of it lit up please......patience is not a virtue I have lots of....bah...I'll wait then. I got a Klingon Bird of Prey in the loft somewhere begging to be built....I see things in shows/films that I like the look of eg the great Bird of Prey buy the kit and it sits with all the others......children seemed like a good idea at the time........oh well they grow up soon then I can make models again Big Smile [:D]
Its not vengeance........it's punishment!
  • Member since
    January 2009
Posted by KlingonCommander on Tuesday, February 3, 2009 9:46 PM
Installed the disruptors tonight. I drilled them out to accept fiber optics connected to a red LED.Disruptors installed" border="0" />
  • Member since
    January 2009
Posted by KlingonCommander on Tuesday, February 3, 2009 7:03 PM

I just got my clear bridge and disruptors from JT graphics. The parts are professionally packaged and come with instructions. Thanks JT for a quality product.

JT Graphics Disruptors" border="0" />


JT Graphics Clear Bridge" border="0" />

  • Member since
    July 2003
  • From: Huntington, WV
Posted by Kugai on Saturday, January 31, 2009 9:22 PM
Looks great so far!  Keep sending updates.

http://i712.photobucket.com/albums/ww122/randysmodels/No%20After%20Market%20Build%20Group/Group%20Badge/GBbadge2.jpghttp://i6.photobucket.com/albums/y211/razordws/GB%20Badges/WMIIIGBsmall.jpg

  • Member since
    January 2009
AMT K'Tinga Battlecruiser Rebuild
Posted by KlingonCommander on Saturday, January 31, 2009 8:10 PM

Last year I made a video about stripping models with superclean here:

http://www.youtube.com/watch?v=WknPAl1NOA4

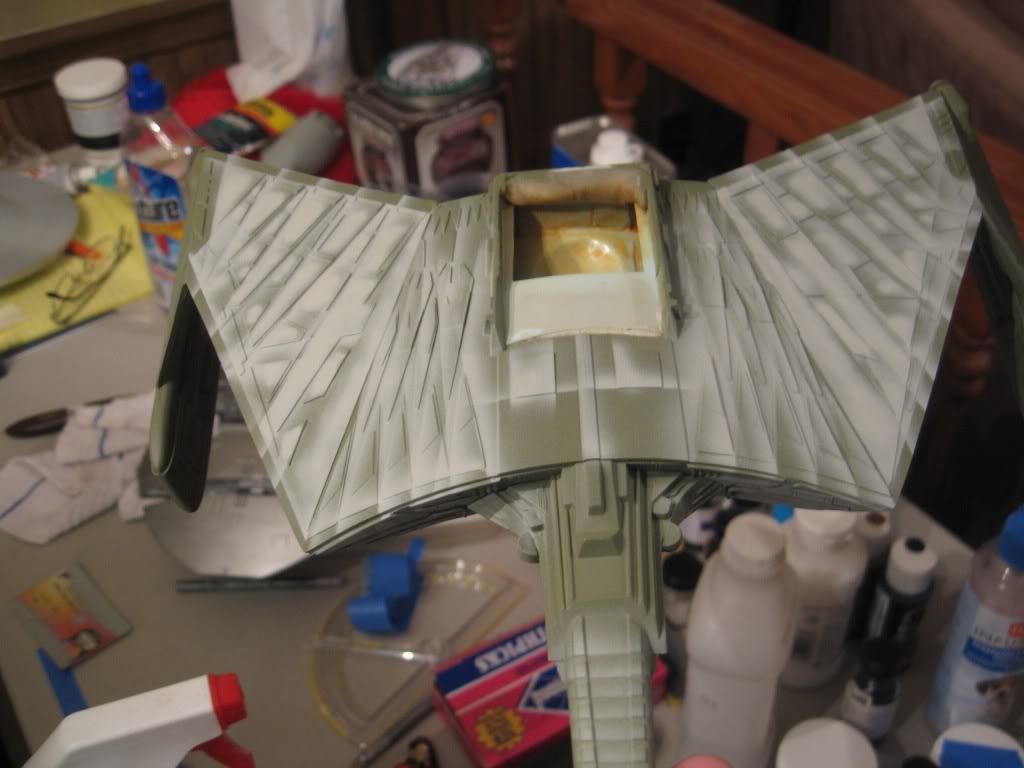
This thing has sat for a while and now I am starting back working on it diligently. Today I primered the thing using duplicolor self etching primer because I like the green color and its good to use over any epoxy that I have used to make clear parts. I then hooked up my trusty Iwata and began to preshade it with gull grey.
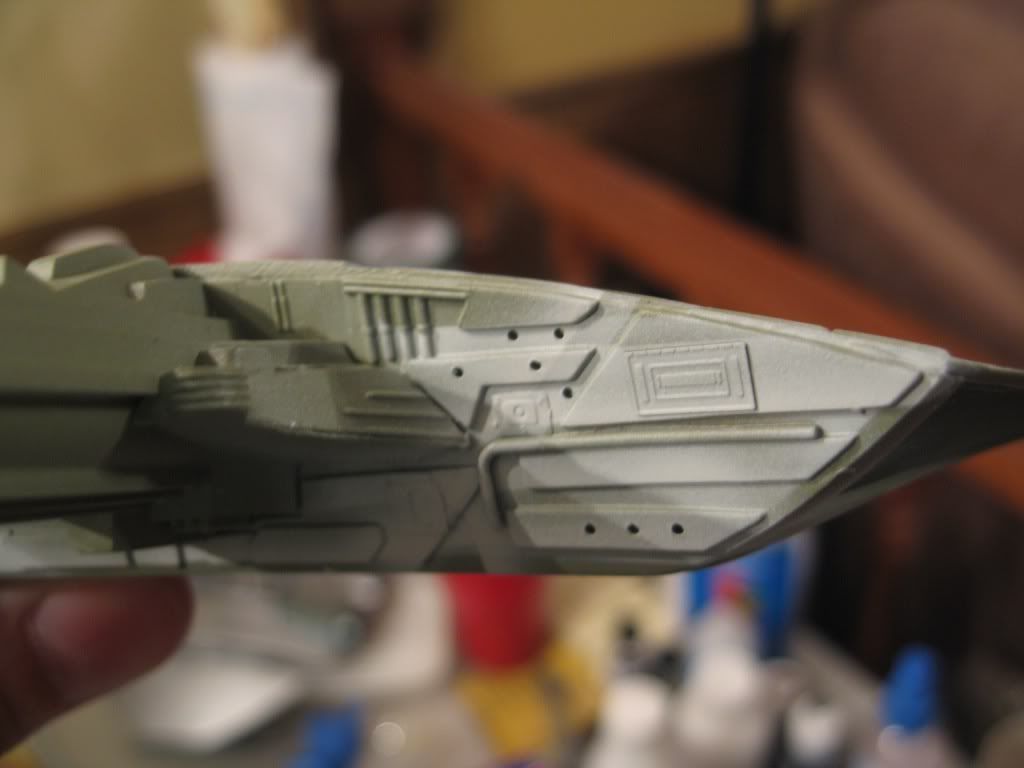
The front of the primary hull has been detailed with pipe and some photoetched parts. Areas have been drilled out with a pin vise to accept optical fiber that I ordered from fiberopticproducts.com. I know this is going to tuff to do as the hull is closed up. If anyone has a bit of advice I sure want to hear it! LOL
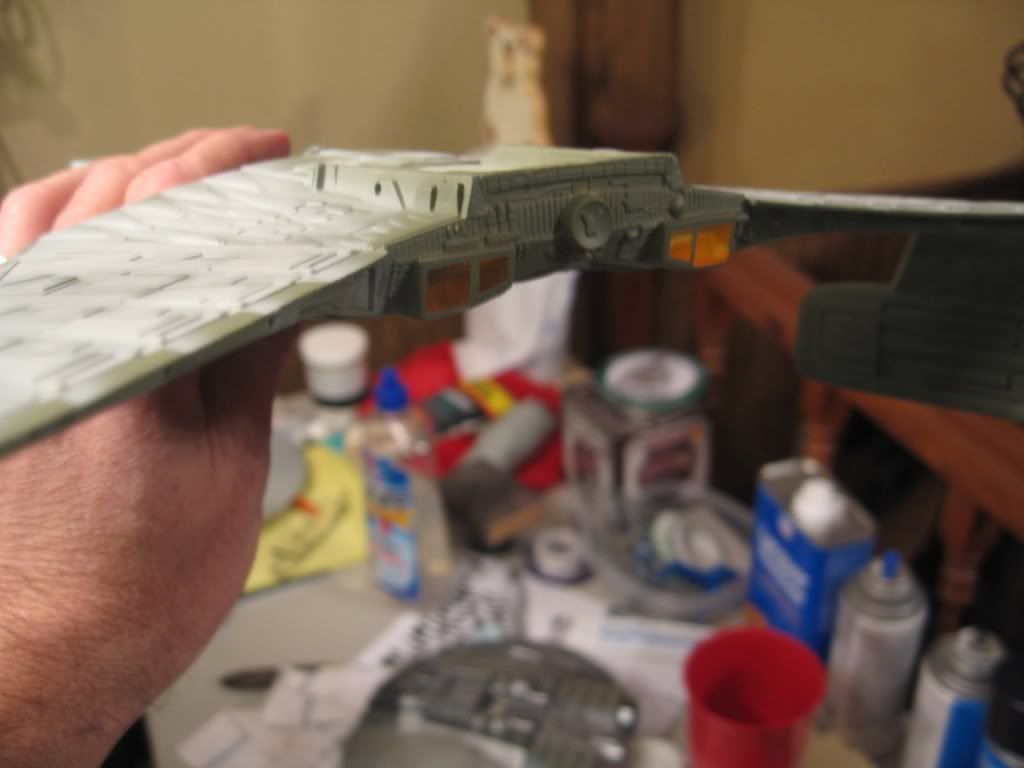
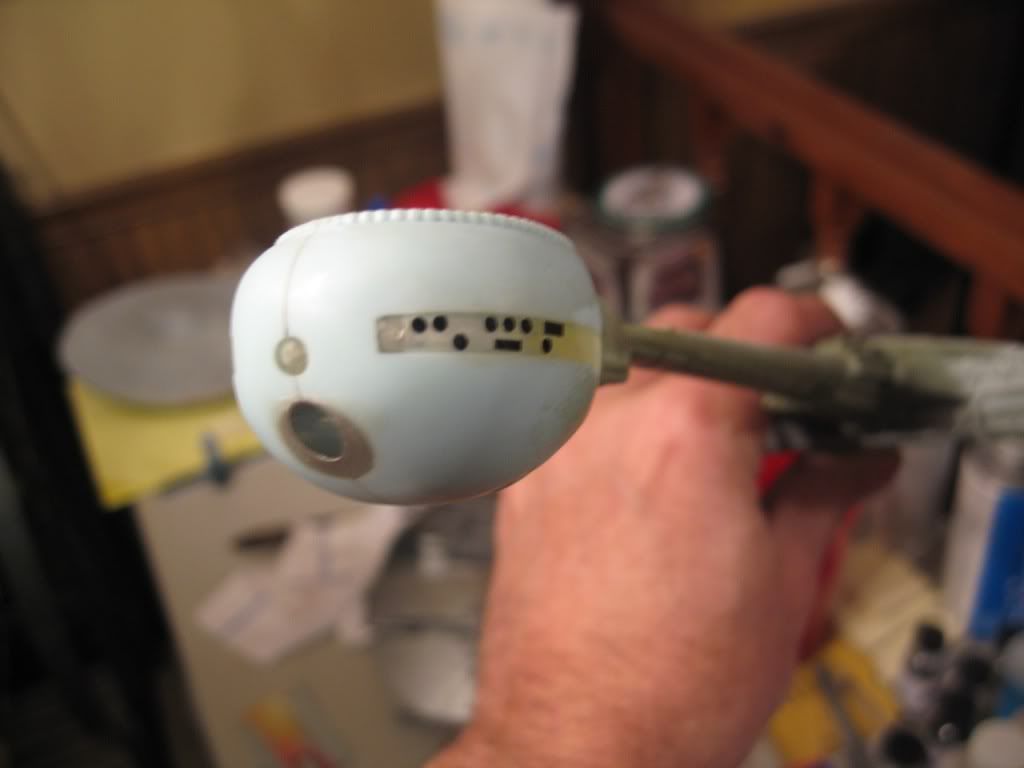
The engine area has been drilled out and filed to shape then filled with clear epoxy. I then painted it with a mixture of future and orange food coloring. The front section was modified. I trashed the torp tube from the kit and used some aluminum tubing that I felt was better in scale with the kit and faired it in using aves. The double row of windows in the bulb were cut out and filled with epoxy, carefully sanded smooth and are being masked off for paint.
I ordered a clear bridge and disruptors from JT Graphics and I can't wait to get them. I am going to go with a grey/green color (probably Tamiya IJN grey)and have a few ideas for highlighting with darker/lighter panels. Comments and advice welcome as always.

preshading top" border="0" />

holes for optical fiber" border="0" />

 engine view" border="0" />

Foreward windows masked" border="0" />

JOIN OUR COMMUNITY!

Our community is FREE to join. To participate you must either login or register for an account.

SEARCH FORUMS
FREE NEWSLETTER
By signing up you may also receive reader surveys and occasional special offers. We do not sell, rent or trade our email lists. View our Privacy Policy.