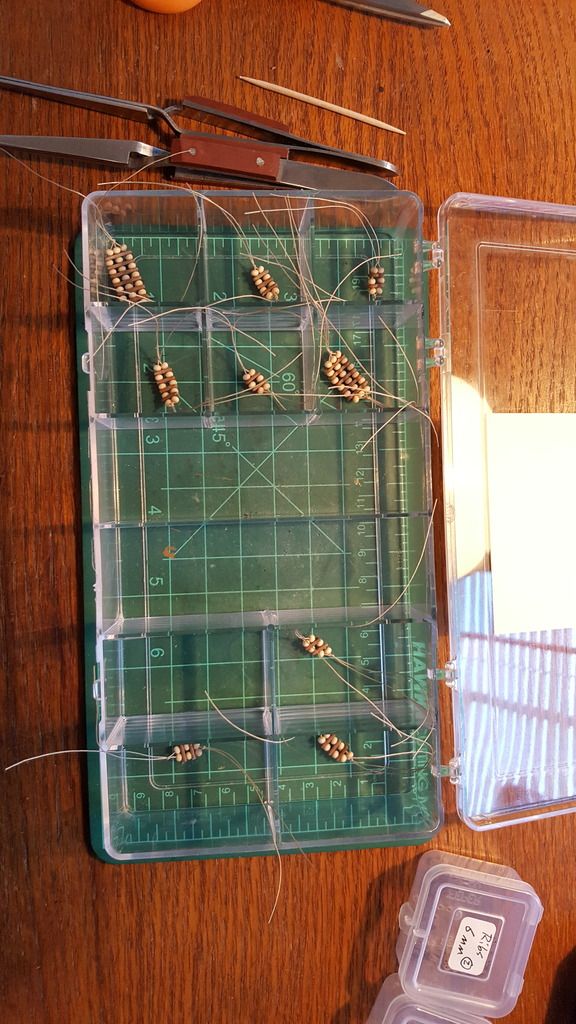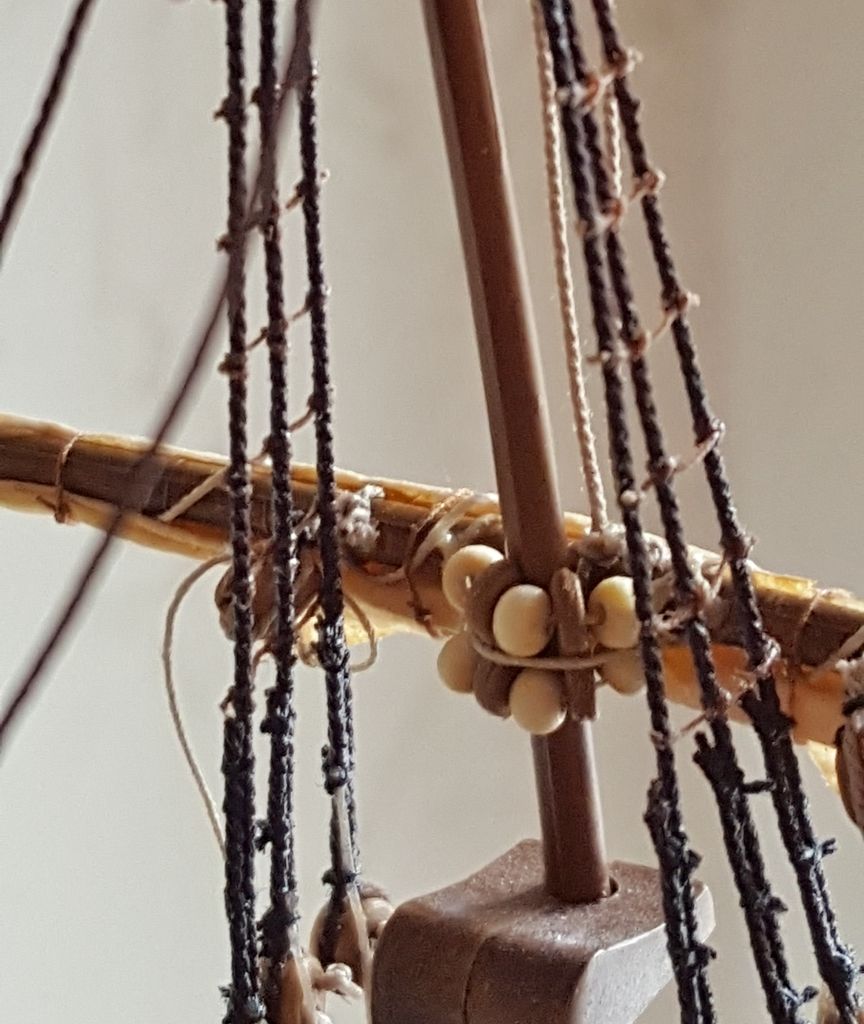
Here's a shot of the first installed parrel...installation is a little messy, and requires patience and fine-tuned long-tweezer skills! Just before moving the yard into place I used a needle threader to pull one free end of one side of the line between the yard and the furled sail. I then loosely tied that end to the other free end of that same side of the parrel, and drew the lines so that the knot was taken up behind the yard, and more or less hidden by the sail. Note: I do not cut off the loose trailing ends of the parrel lines at this time, some of them will be used to cross over the grooves in the parrel ribs in the final step! For a 1-groove rib, I need one line left long on either side...for a 2-groove rib parrel, I will keep all four lines long so I can cross over both grooves and then tie them to each other...so it's worth mentioning that during initial preassembly of the parrels, make sure to leave a few inches of extra line trailing from both ends of the parrel, for use later!
Then I got the yard in place by attaching the halyard lines temporarily and, once the yard was in its proper location (lowered close to the cap, since the sails are furled!) I then drew one line of the remaining side of the parrel around the yard, using a needle threader as before. Then I tied the over-and-under ends of that side of the parrel (again, same as the first side) until I had them evenly tensioned and holding fast. That was the trickiest part. Tying the first side of the parrel onto the yard is pretty easy, it can be done with the yard off the model, but once it's in place, I had to contend with mast, yard, standing rigging, etc., and try to gently get the lines tied. It took a few minutes, but it worked out prety good.
Finally, I trimmed two loose ends of the parrel lines, but I left two long (one from each side). I took one long end left from the first knot that holds the parrel to the yard, and drew it across the groove in the ribs over to the other side, and tied them together. Then I applied a couple small drops of Elmer's to the parrel/yard knots, and trimmed the ends.

So there you go...that is how I decided to tackle (so to speak) parrels...
Hopefully this post isn't too complicated to understand....I tired to be clear, and I think it should be helpful to anyone who may wish to use all or part of this technique when discovering their first atempt with Parrels! lol
I may post more pics and updates on this thread later, especially if I find anything of further instructional value as I continue on to more yards.
Thanks!
Dave