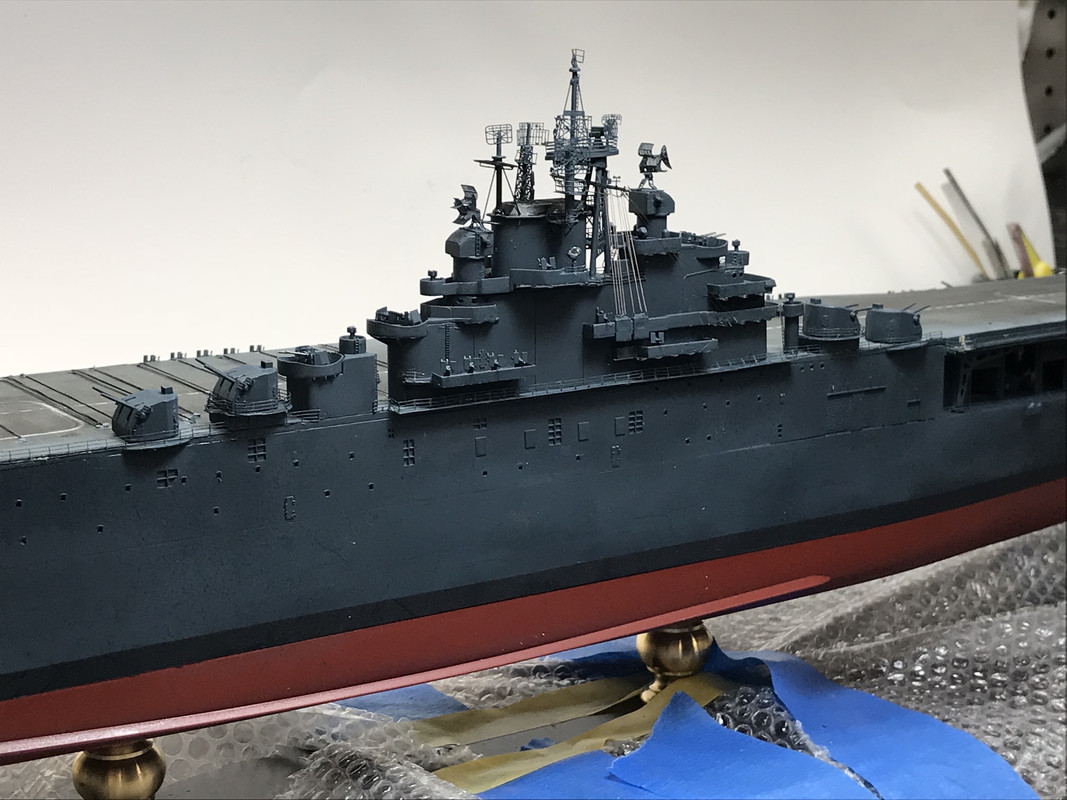
Today was one of those milestone days... the island is now part of the ship and it really looks like an American aircraft carrier. Before placing it I finished the starboard side rigging and as predicted, it took 1/2 the time that the first side took and came out better. Wish I had another side to do. Unfortunately, I can't redo the port side because I CA'd the pulleys and would destroy that delicate yardarm if I tried to remove it. Again, only I know the difference. To the uninitiated, they won't see anything but lots of complexity.
To make a more secure surface to adhere the signal halyards I CA'd a couple of pieces of thin PE brass to the backs of the flag bags. This gave me a vertical (non-prototypical) surface to adhere the E-Z Line. If I was a better planner, I would have prepared those flag bags for receiving the halyards BEFORE that part was glued to the island. So if I ever build this again...
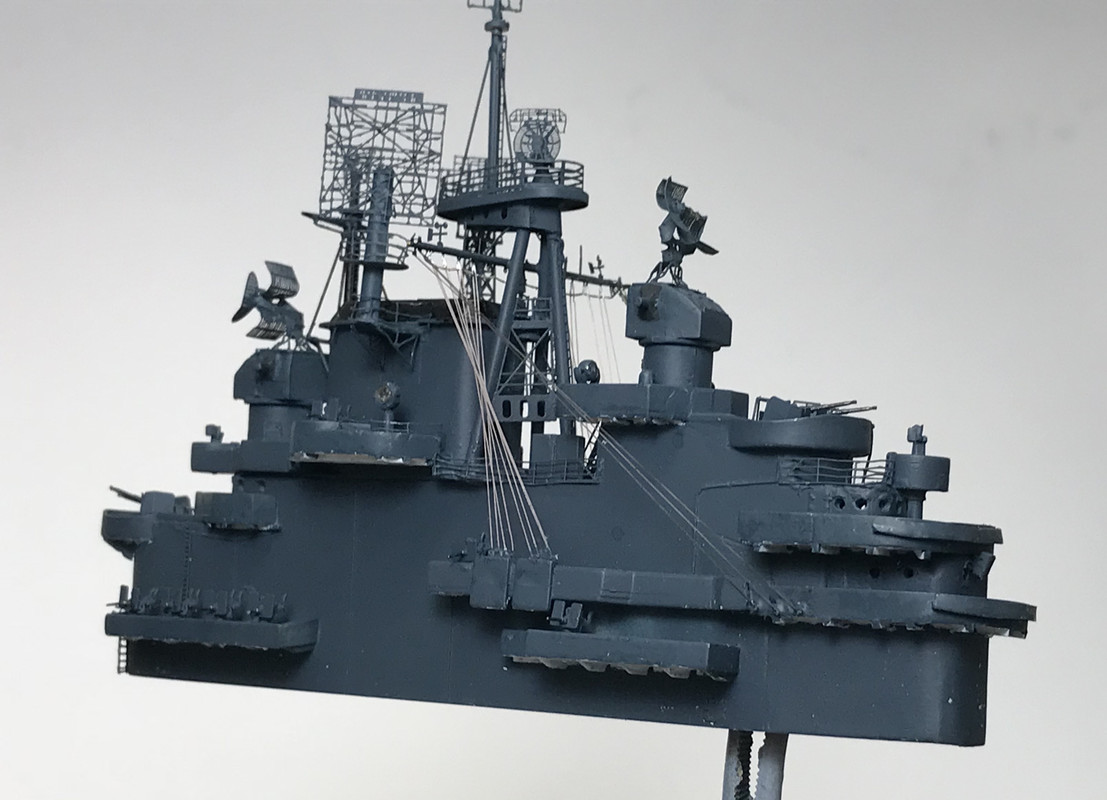
On the Missouri, the flag bags were arranged athwartships so it was easier to drill some holes to insert the halyards and give them a better finished look.
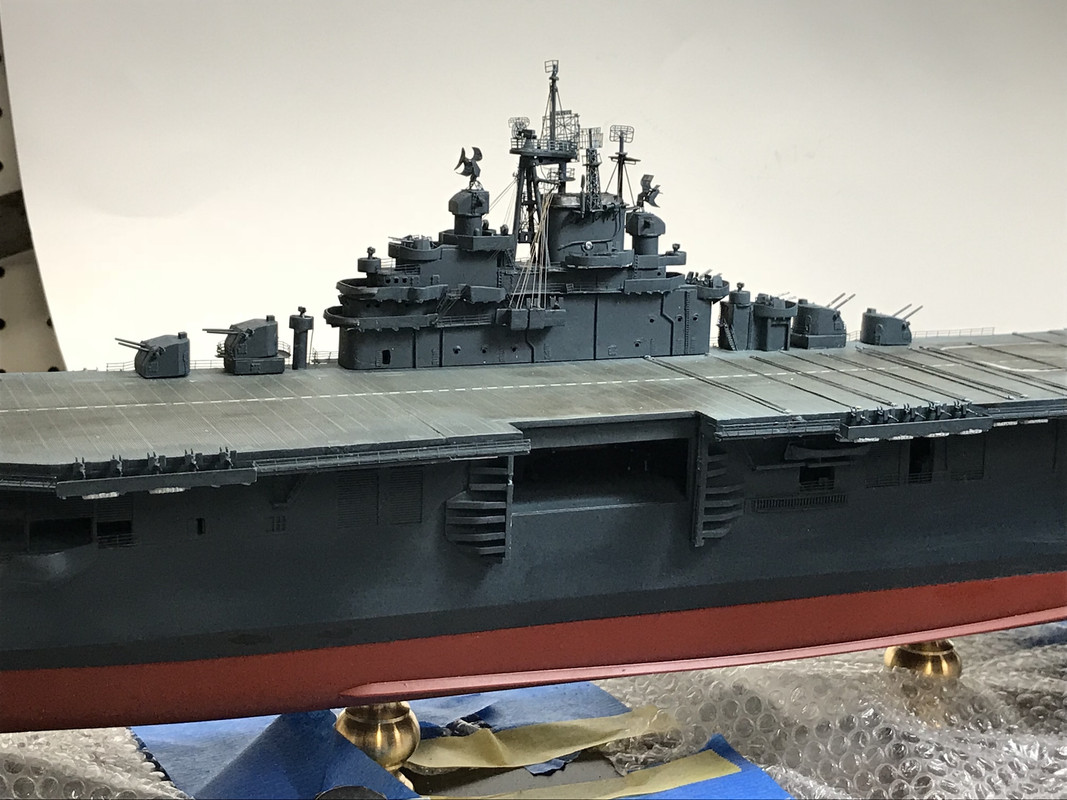
I further prepared the inside chamfer to ensure that the island would indeed attach properly to flight deck. It did, so it was time to glue it down. I used tube cement to give some more working time while I applied the glue on the insides of the island's lower lip and the placed it down and worked it so it was flush, all the while making sure that I was not applying undo pressure OR pressing on anything that will get destroyed in the process. The results were, needless to say, very gratifying.
I needed to build and apply the LSO's platform that sits at the port aft of the flight deck. I had some parts from the last replacement set that GMM sent me and used those. It's made up of four parts and went together very well.
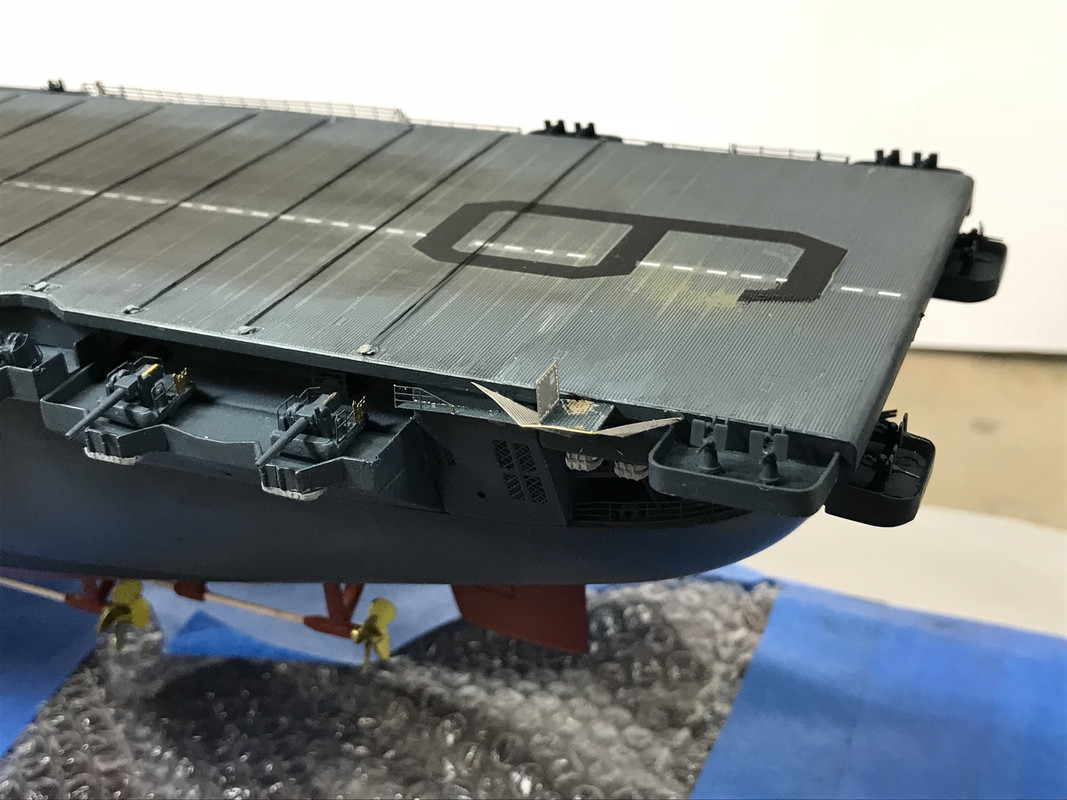
It still needs paint...
Just about this time, the mail came and GMM's replacement fret was waiting for me. Oh joy, oh rapture! to quote the Scarecrow in The Wizard of Oz. Here's what arrived.
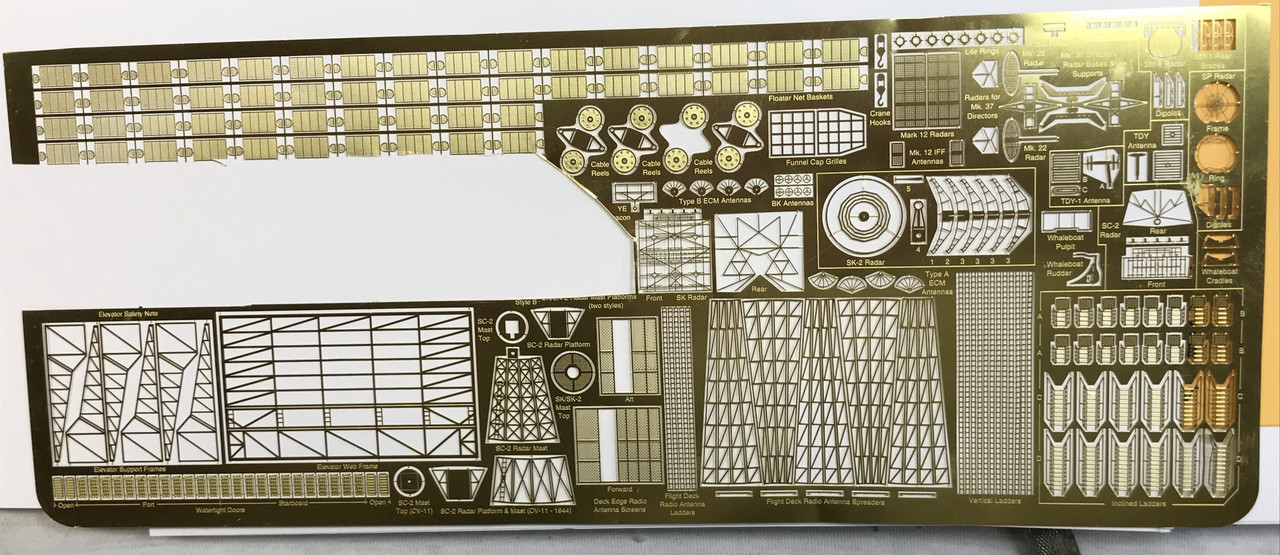
As you can see it's almost a complete fret minus that part that's cut out. It's terrific. It has more ladders, more flight deck ladders (and I need those since a couple have come off), all the radar suite and, of course, the elevator framing and the radio towers.
So I immediately set about building the new elevator. What destroyed the last one was when I attempted to fit the elevator into a space that was marginally smaller than the elevator (with its attached brass) and the side pressure deformed all of the brass, popped CA joints and broke some solder joints. The more I tried to straighten it, the worse it got.
This time I pre-fit the elevator without brass to the narrower elevator guide frame. Most likely when I glued on the frame I moved towards each other a bit more than I should have, not knowing what the absolute spacing was. With the elevator relieved to make it a slip fit, I soldered the frame together and gave the same relief on the inside corners, so the frame wouldn't be stressed when assembled.
As I did before (only even better), I pre-tinned all the mating points of the bottom frame and the trusses using the Weller iron. I then used the RSU to heat and attach individual points on the frames starting in the middle and working outwards. Even with utmost care it was still touch and go. This is caused by the RSU heating the brass so fast that it takes it above annealing temperature and the brass becomes really soft and gets out of shape even easier.
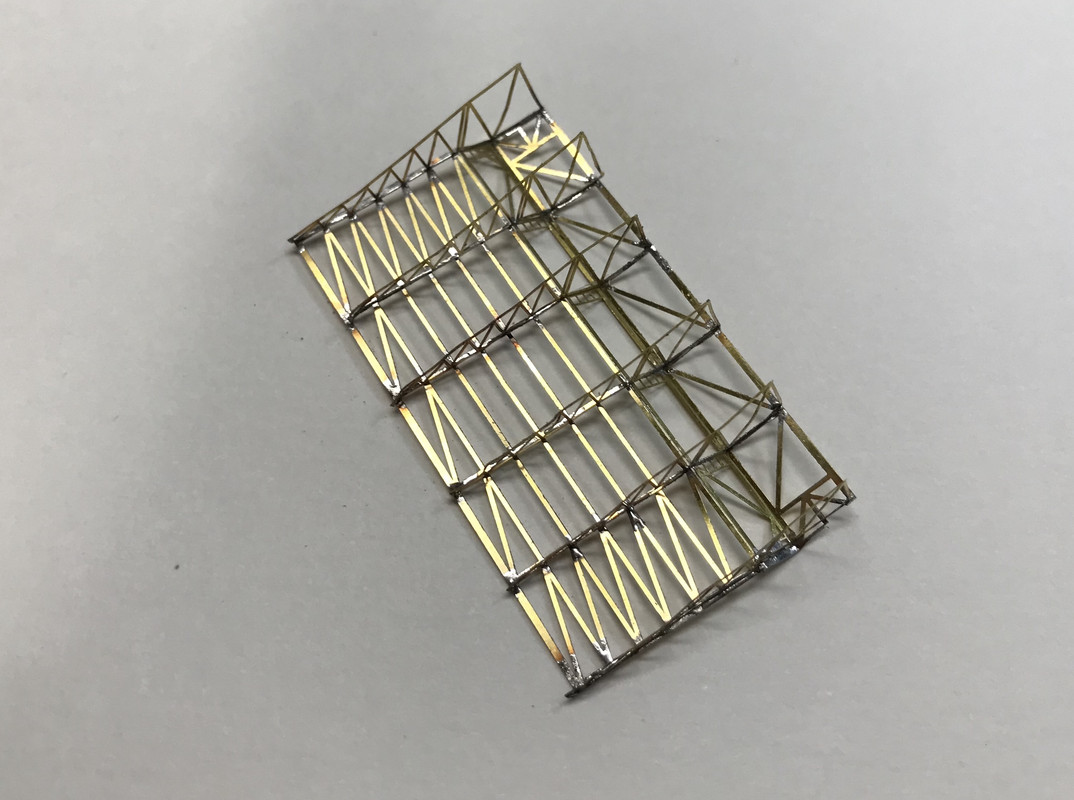
You can use CA all you want, but on assemblies like this solder is so much stronger. To attach the frame to the plastic elevator I used CA. I primed the assembly with Tamiya primer, and it was ready to trial fit again.
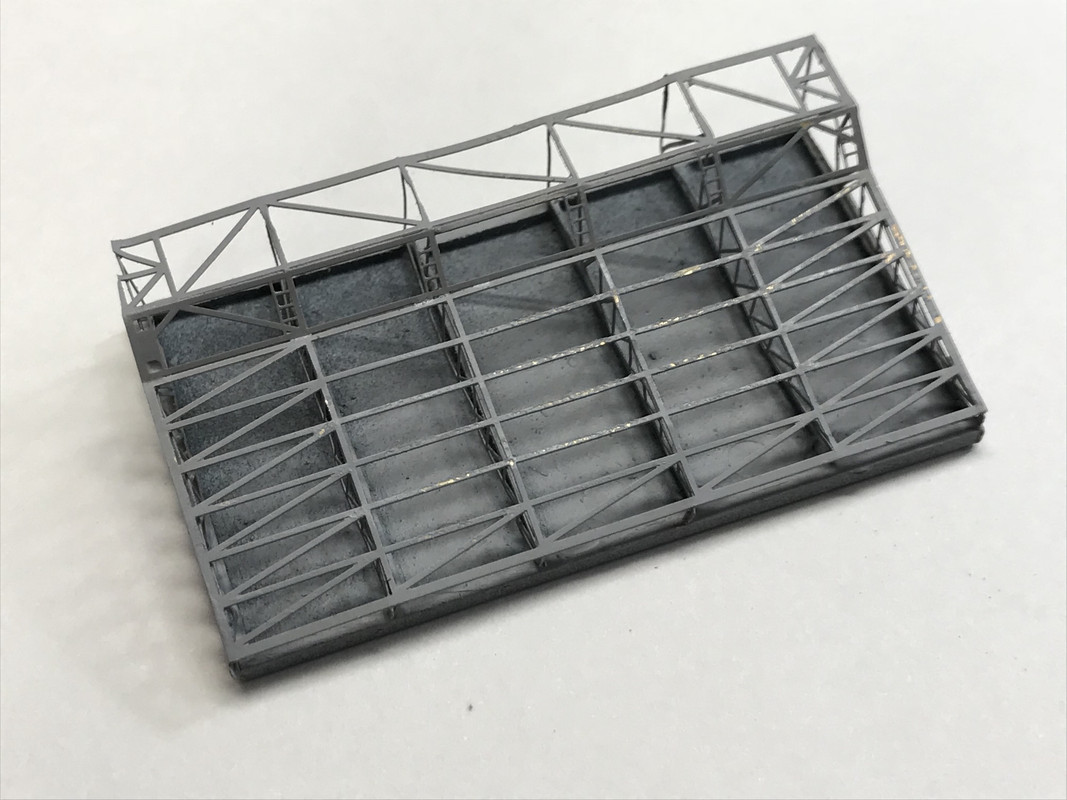
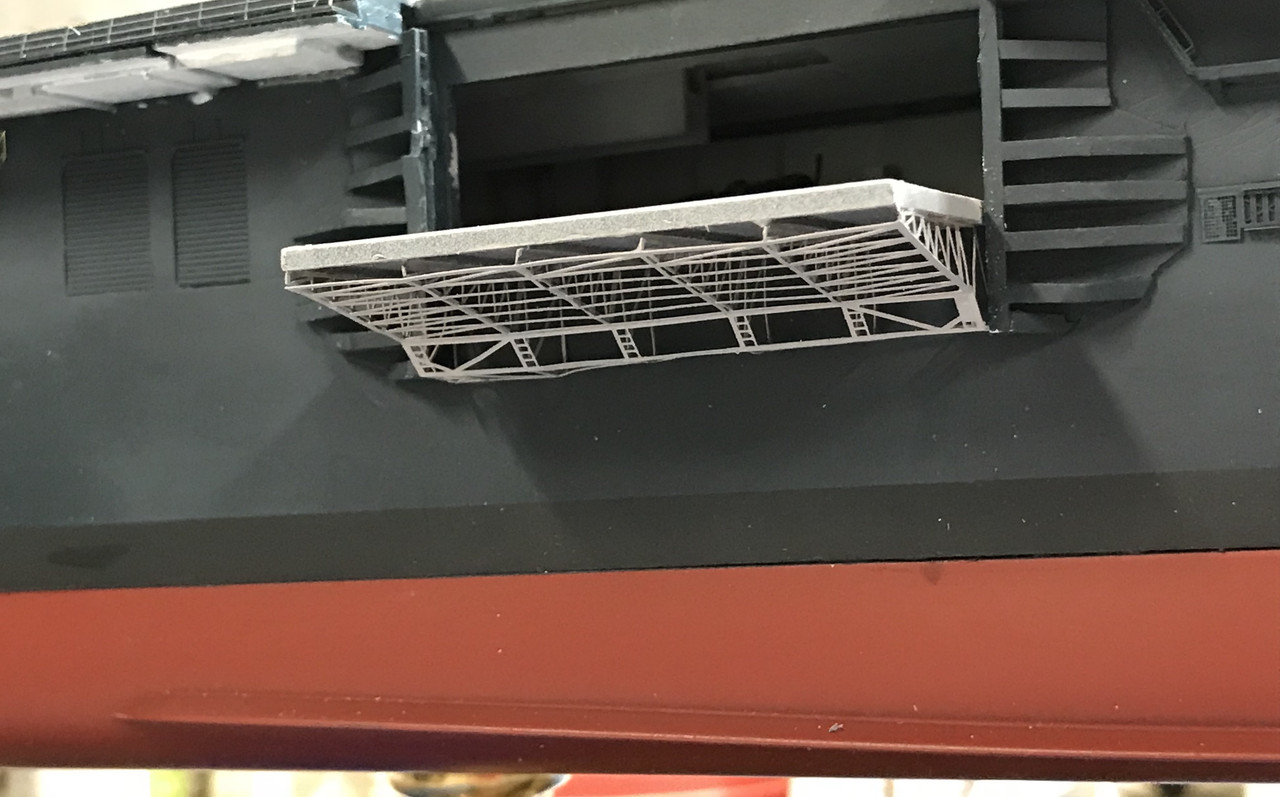
And it fit very nicely without deforming anything. It's really a benefit to have a second shot at this. Every set of PE should include doubles of everything. I'd pay a few $$$ more if they would standardize on that. Unless you're really good, you're gonna screw up some PE, especially on a job as complex as this one. It still has to be airbrushed Navy Blue before I glue it in place permanently.
The last thing I did today was place two tiny TBS antennas onto tiny stalks on the yardarm. These pieces had fallen off the original fret, but there was a set on the first set of replacements. I wasn't going to put them on because they had a tiny hole that fit over a tiny pin and I didn't want the aggravation. I also was convinced that due to their frail nature, they would surely be wrecked in handling the island. But with the confidence boost from threading all those tiny eyes with the flag halyards, and with the island being now part of the ship and no longer being handled, I decided to give it a go.
The first one went on very easily so I thought it was a piece of cake. But of course, the second didn't go on and the CA dried making the pin too fat to get into the hole. So I had to carefully pop the cured CA off the pin by using a tweezer and pulling straight up and it came off without deforming the pin. I was then able to get the antenna onto the pin and they were both done. The arrows point out these antennas.
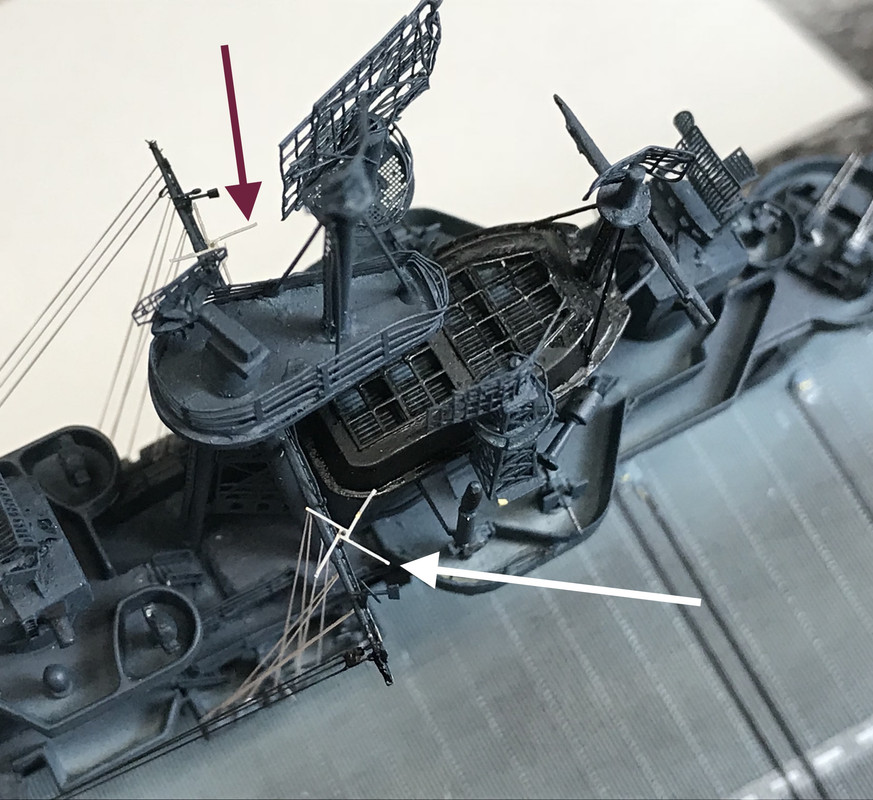
These two also need some paint. Would anyone miss them if they weren't there. Nope! Do they add to the already wonderfully complex appearance of a WW2 capital ship. Definitely yes! There's actually two more antenna that go onto the yardarm which look like little steering wheels. I may or may not put them on. They're really small.
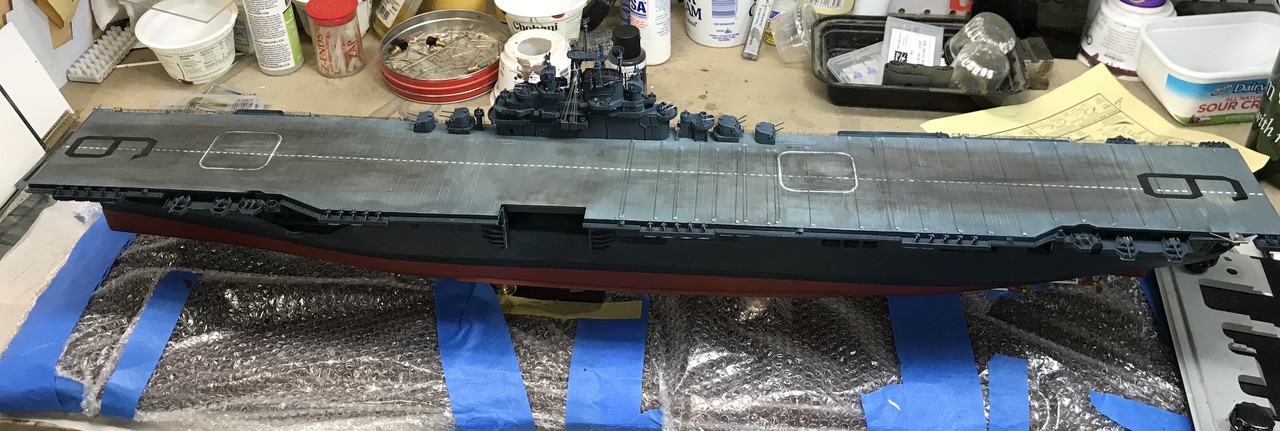
Here's an overhead shot showing the ship with the island in place. Look'n like an aircraft carrier. Next work day... paint and install elevator, build the new radio towers, install the remaining 20s when they come from Free-Time Hobbies, and add a zillion floater net baskets which I even have more of with this nice shipment from GMM.
I still haven't decided how I'm going to fasten the air wing to the flight deck so they won't come loose when they're not supposed to. If I really wanted to be goofy, I could use E-Z Line and actually tie them down to the deck. It would look great and drive me to an institution in the process. I could use some ideas from the gang on this.