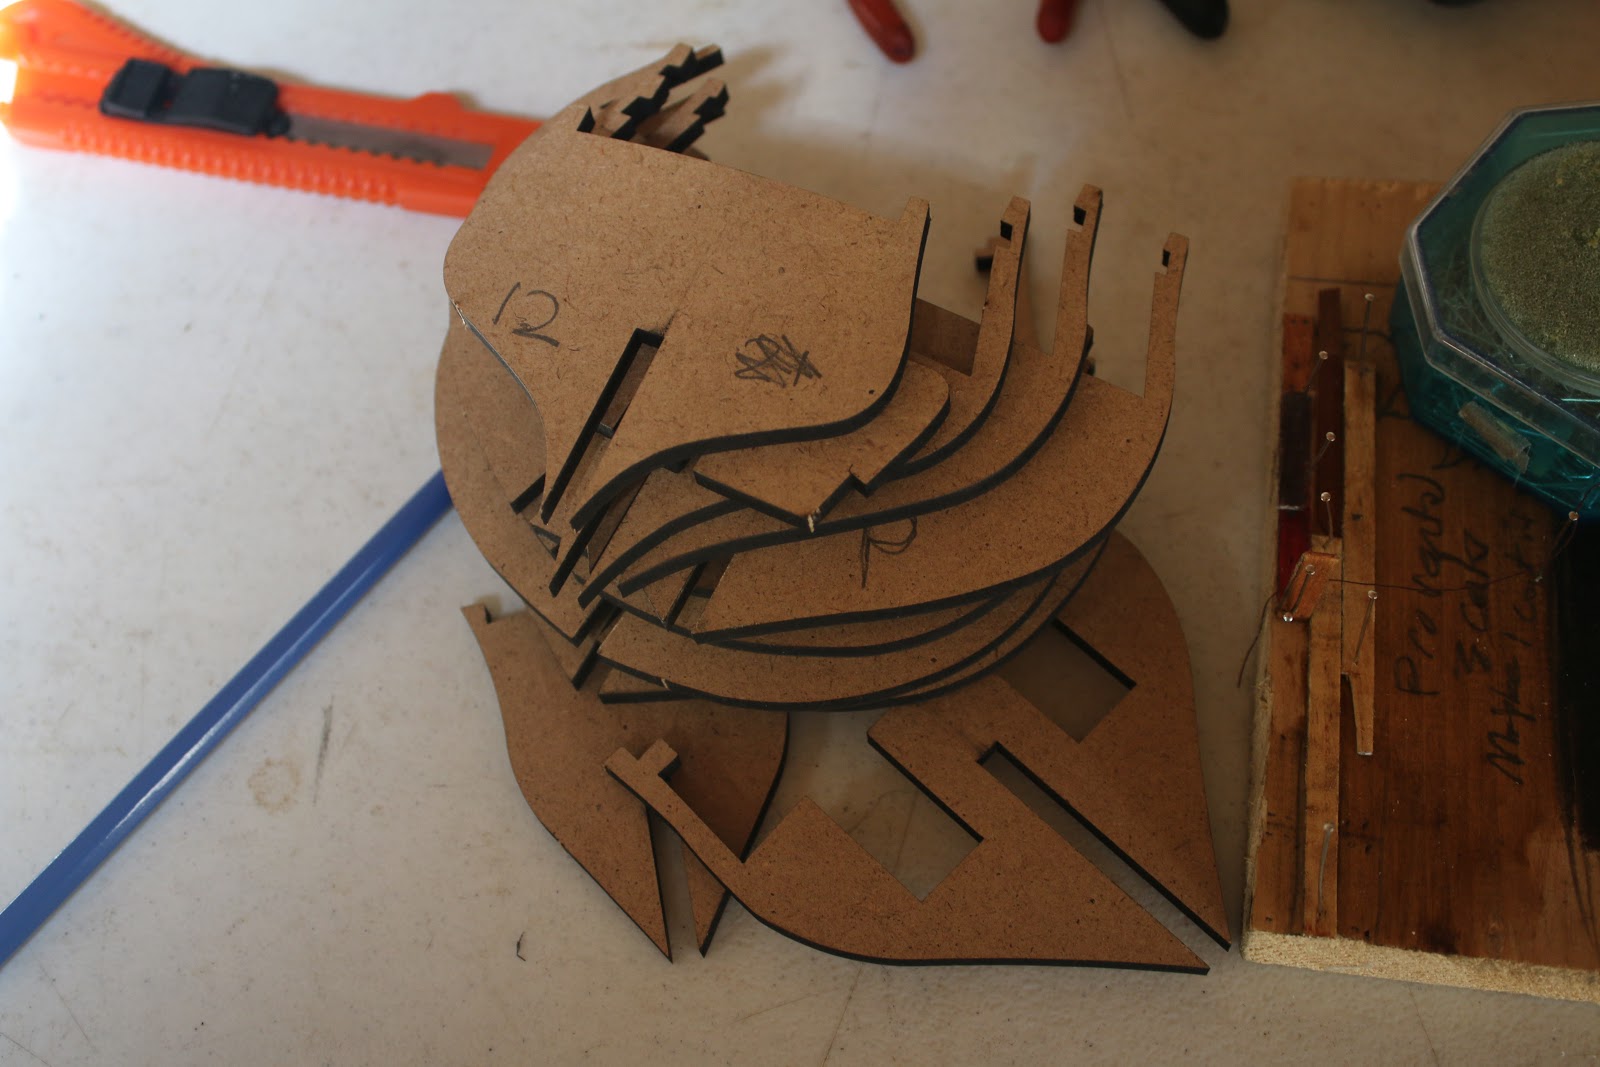
Today the kit finally arrived after a long week of waiting. I was very satisfied with the contents of the box and quality of parts within.
I got to work right away and dry fitted the bulkheads to ensure their fit and started the process of staining the exposed parts.

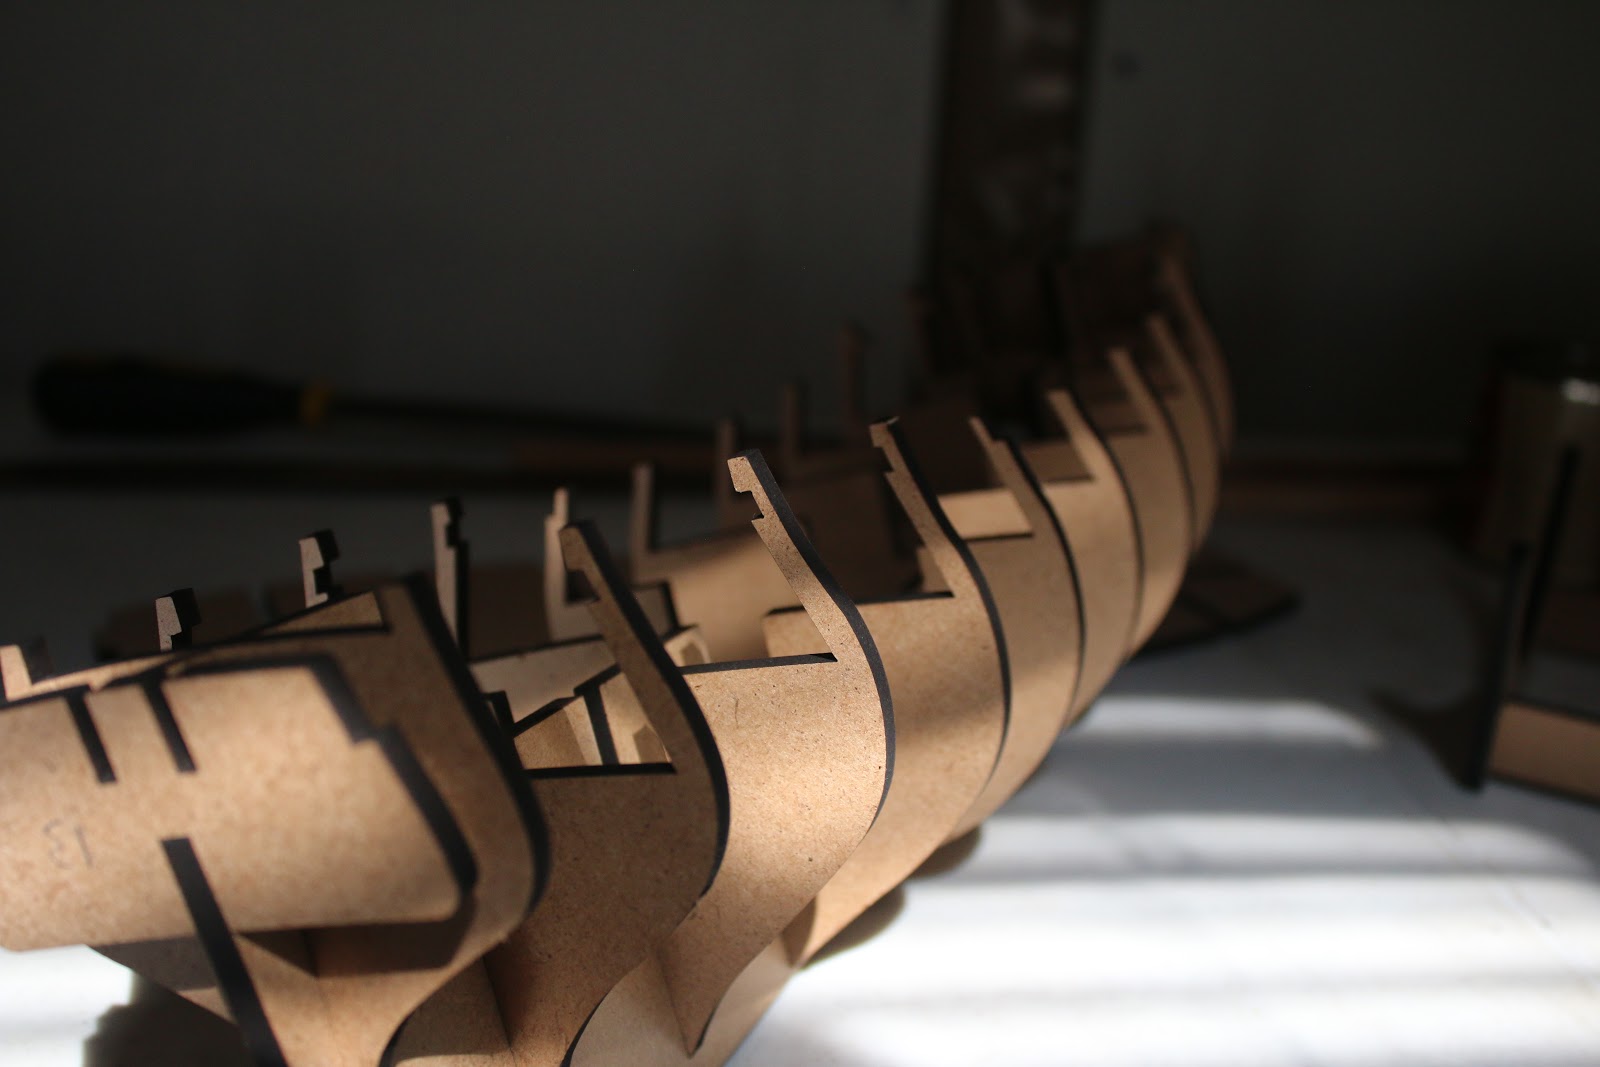
I chose to use dark ebony stain on the bulkheads instead of a red colour. This saves me the trouble of sanding the bulkheads to remove the burnt edges left from the laser cutter. And MDF doesn't have a grain like regular wood and a darker stain covers this up better.
I continued to glue the bulkheads into the false keel and decided to glue in the bulkheads supported by the bottom deck together and last.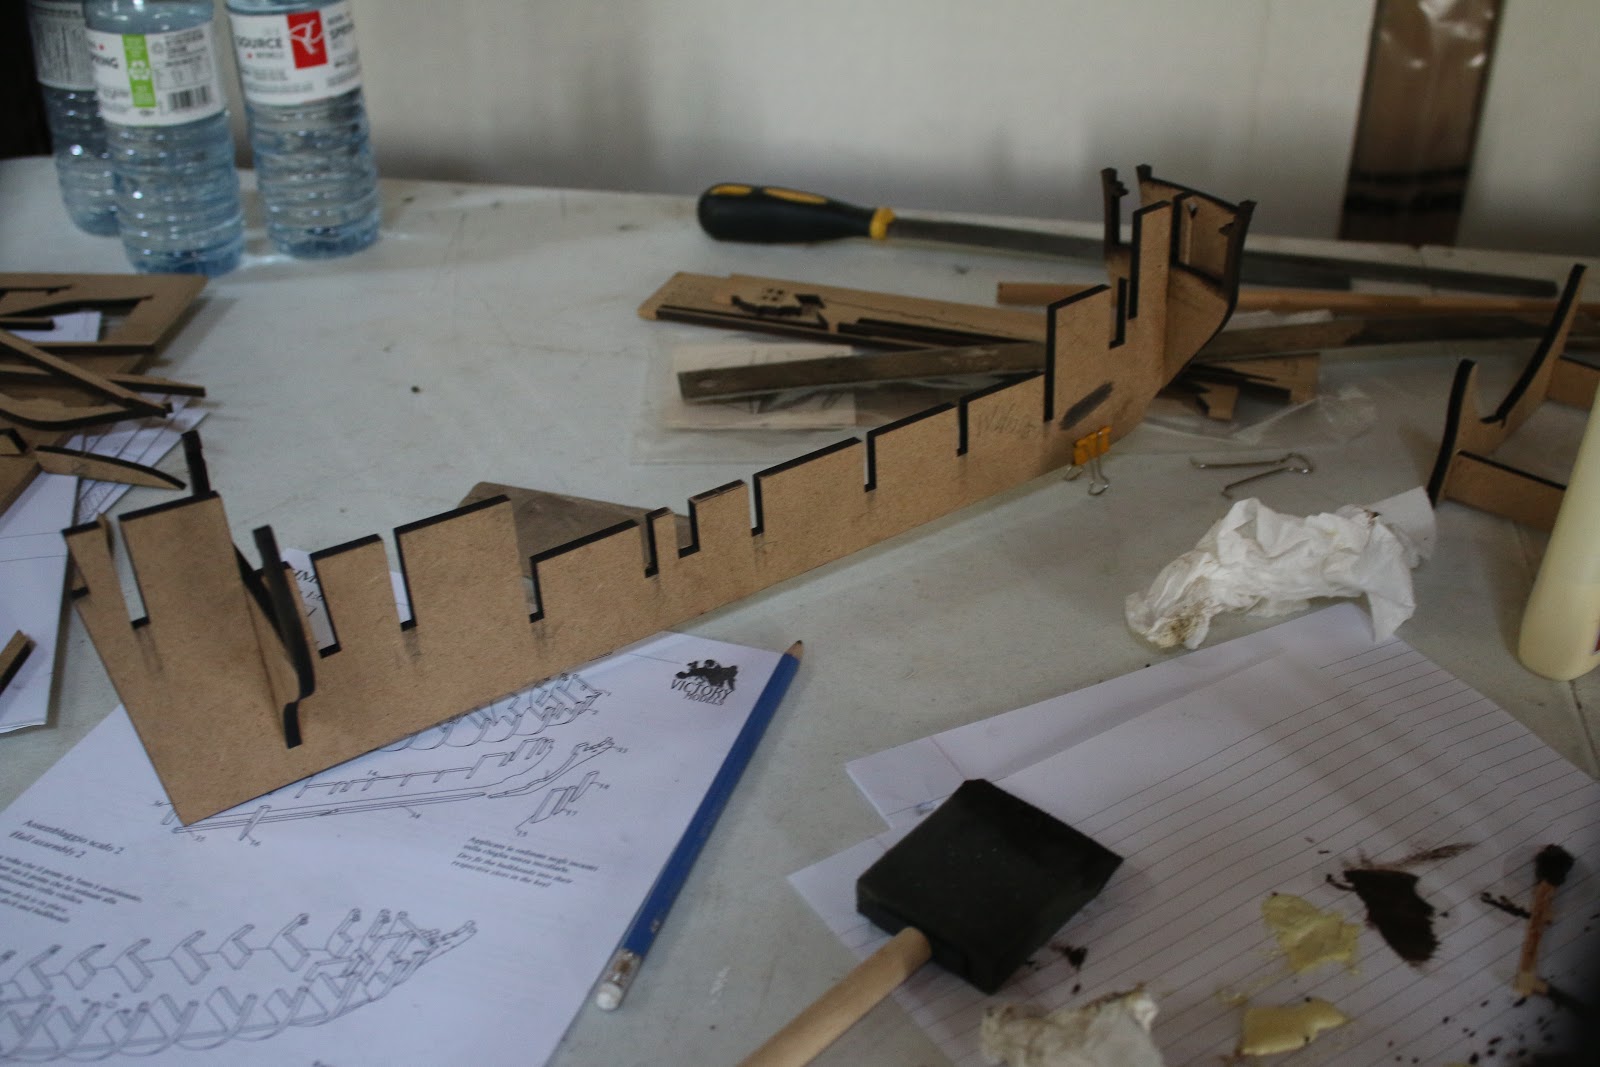

I also left the last to bulkheads off while I decide whether or not I wished to modify the back two bulkheads to allow for the cabin to be made.
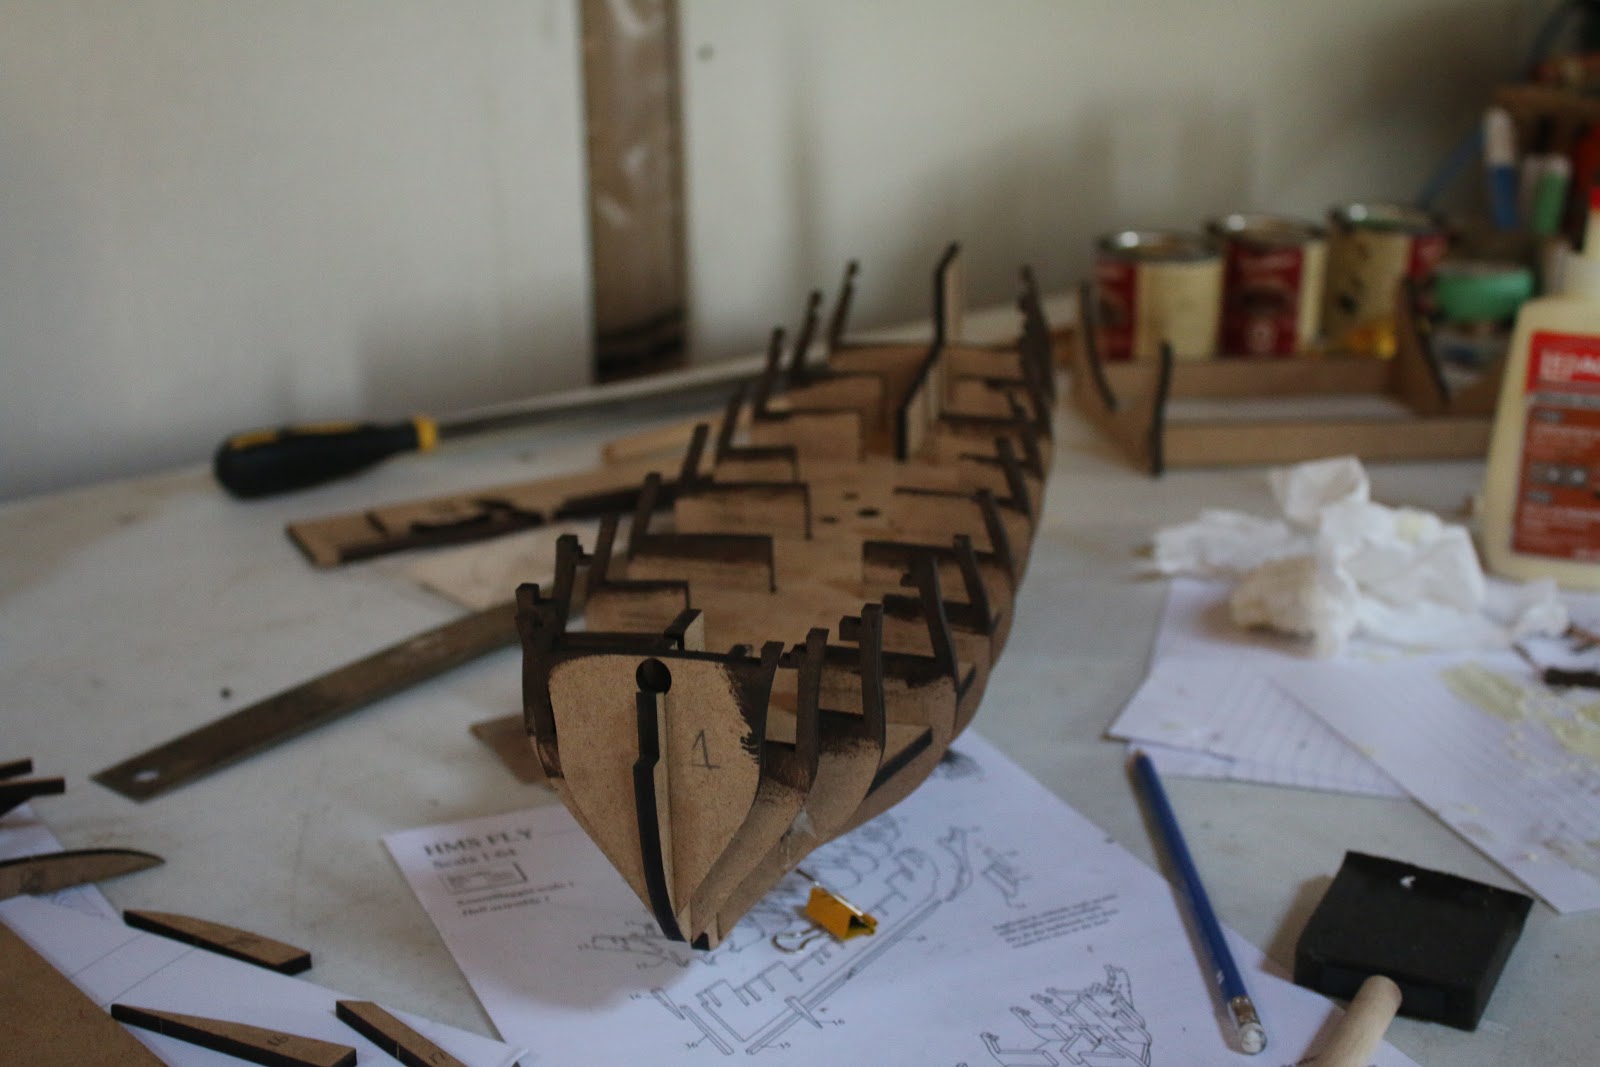
After the bulkheads where glued in the assembly was left to dry. Upon returning I decided to plank the barely visible parts of the bottom deck. This adds to the finish of the model but also gives me a first crack at deck planking.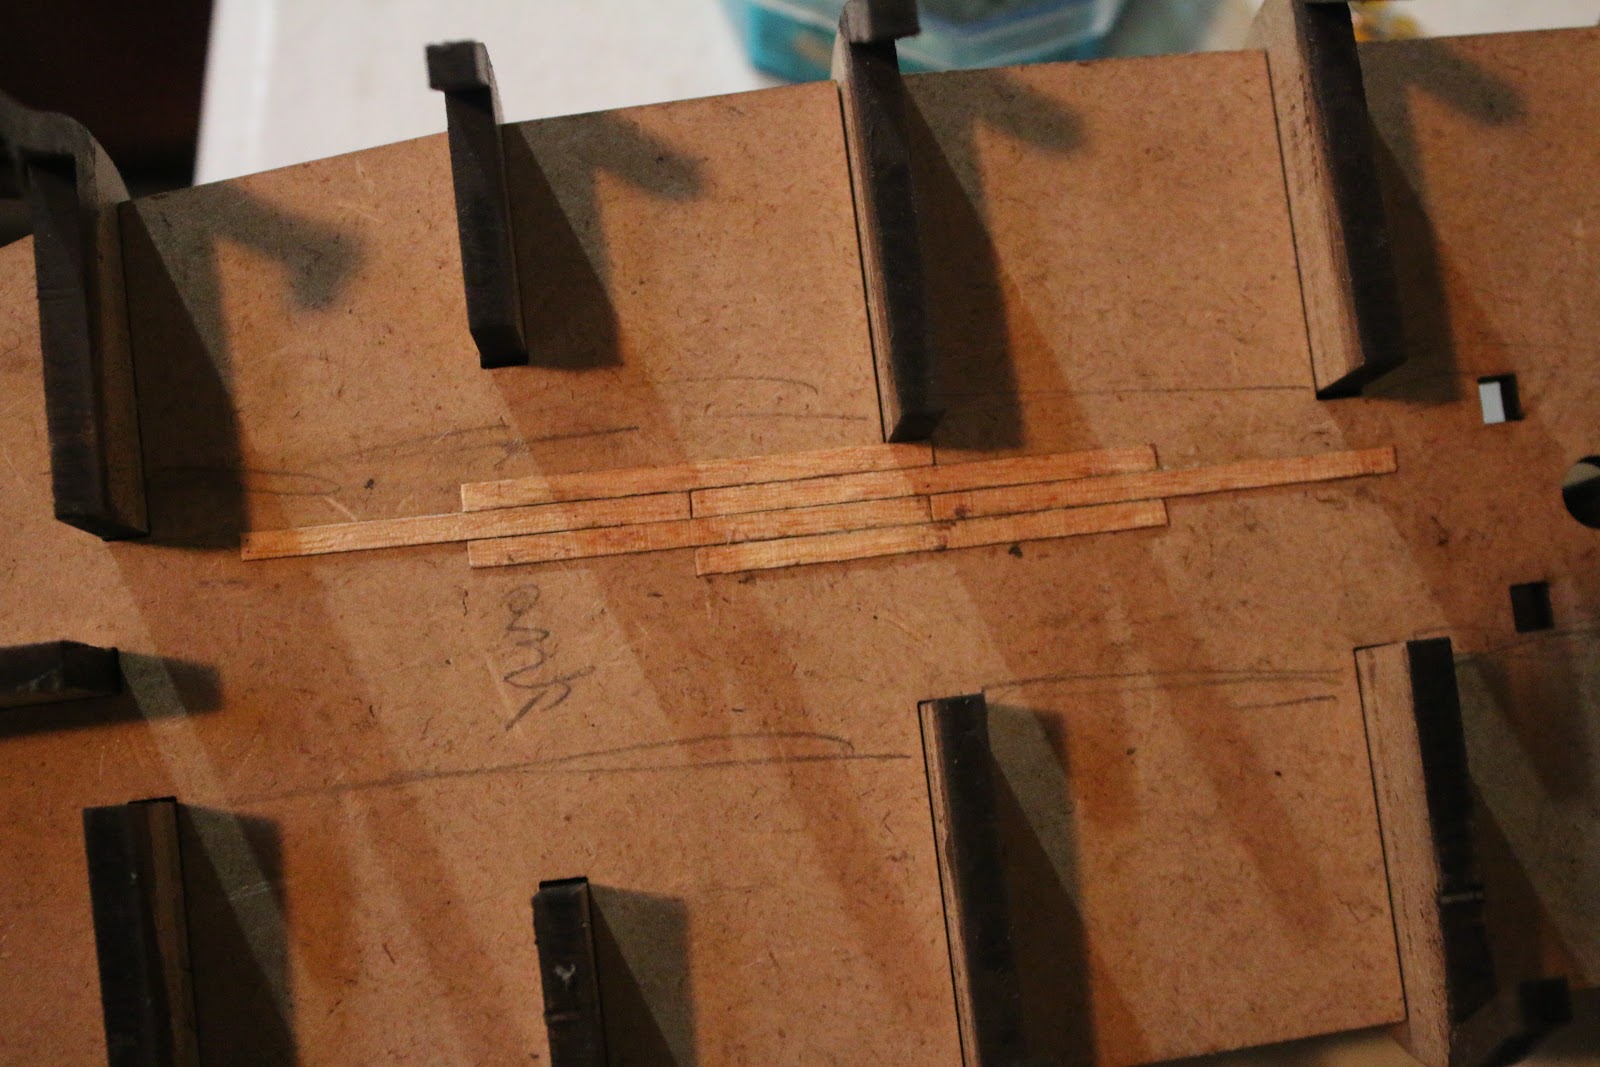
I decided to cut the individual planks to 2 inches and blackend the edges with a pencil in order to bring out the seam lines in the planking.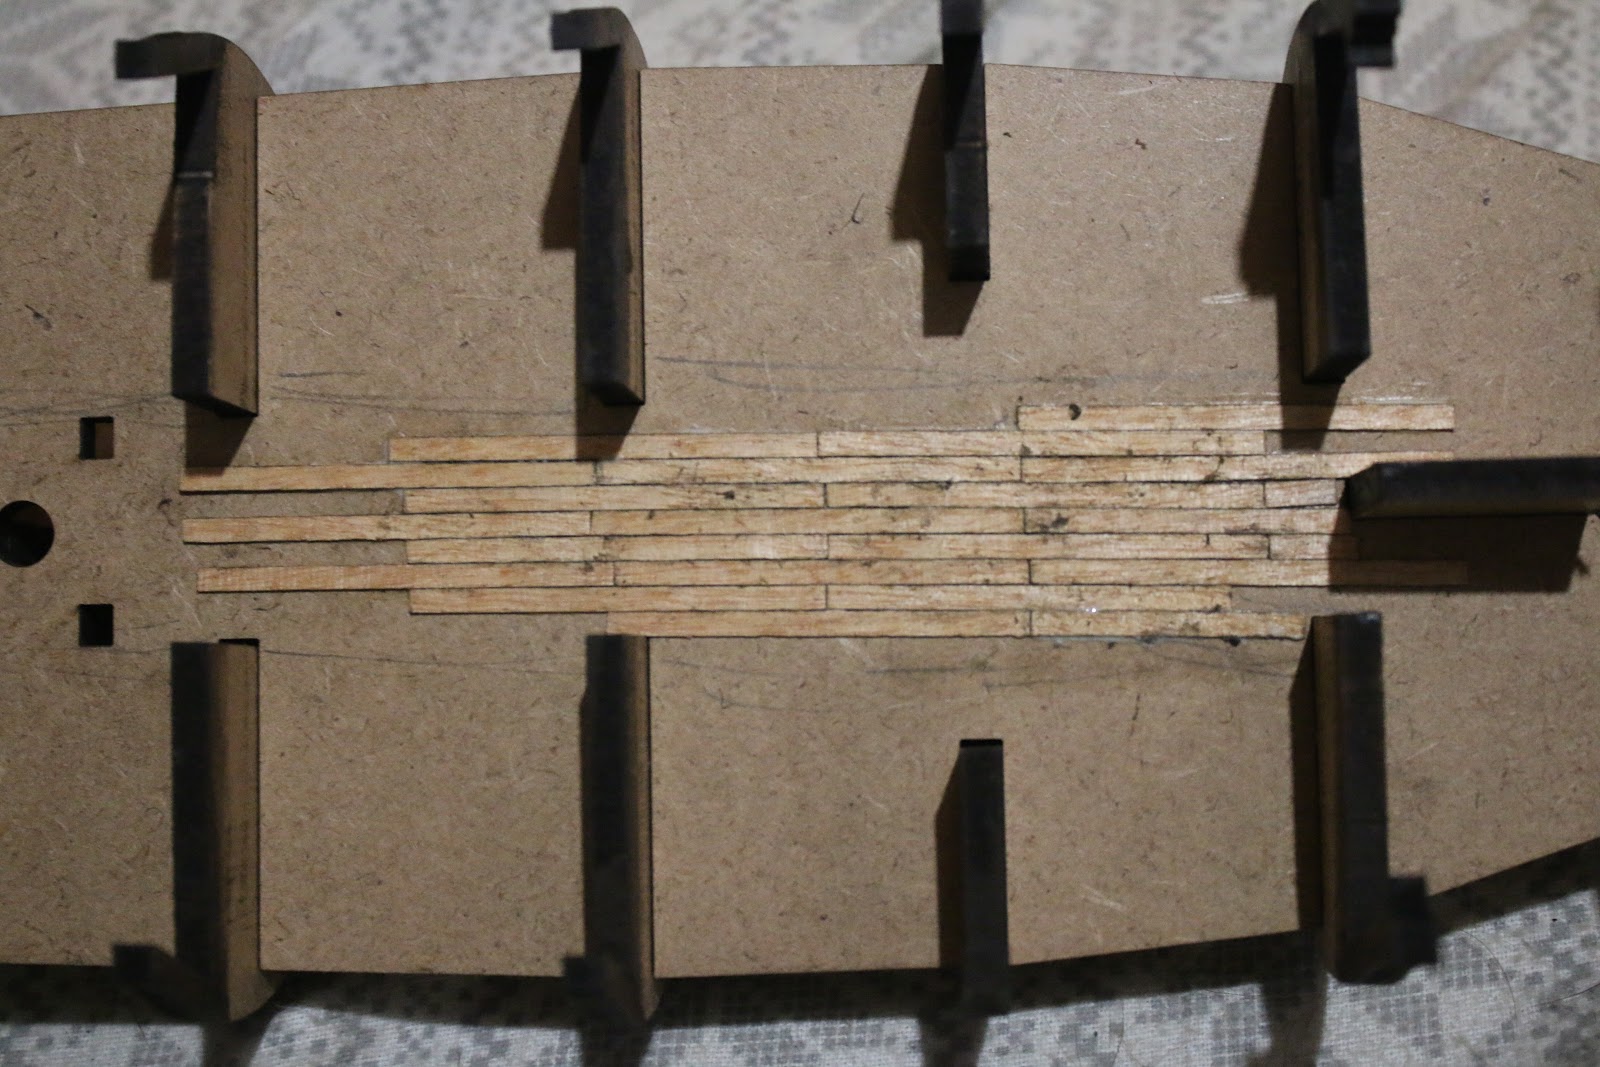
I worked my way through the area and about halfway through realized that I had accidentally angled my planks. Good thing this deck is mostly covered up by the gun deck so this mistake is acceptable on this deck.
While waiting for the planks to dry I decided I wouldn't modify the last two bulkheads and installed them on the false keel I also added the supports for the stern of the ship.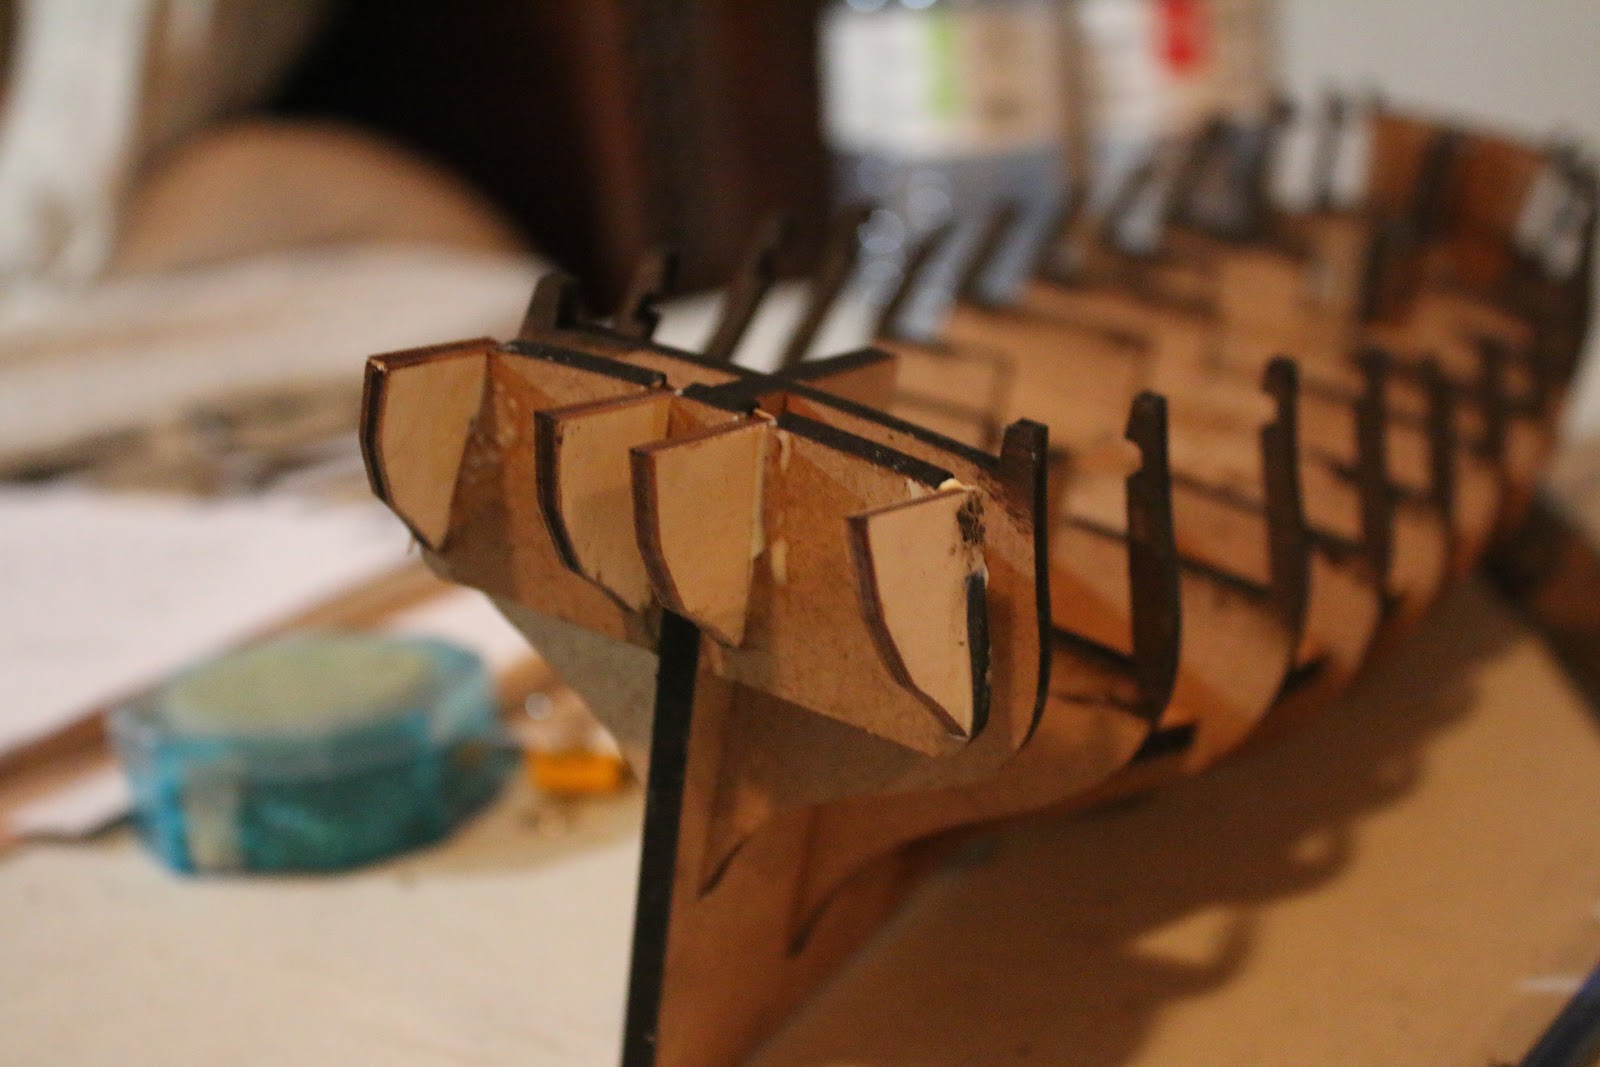
I also decided to add supports for the gun deck on the central bulkheads. This should reinforce the gun deck and make handling the gun deck easier and less risky in the future.
After the supports been secured and the glue dried I went ahead and sanded the planking to smooth it out and clean the dirty glue off its surface.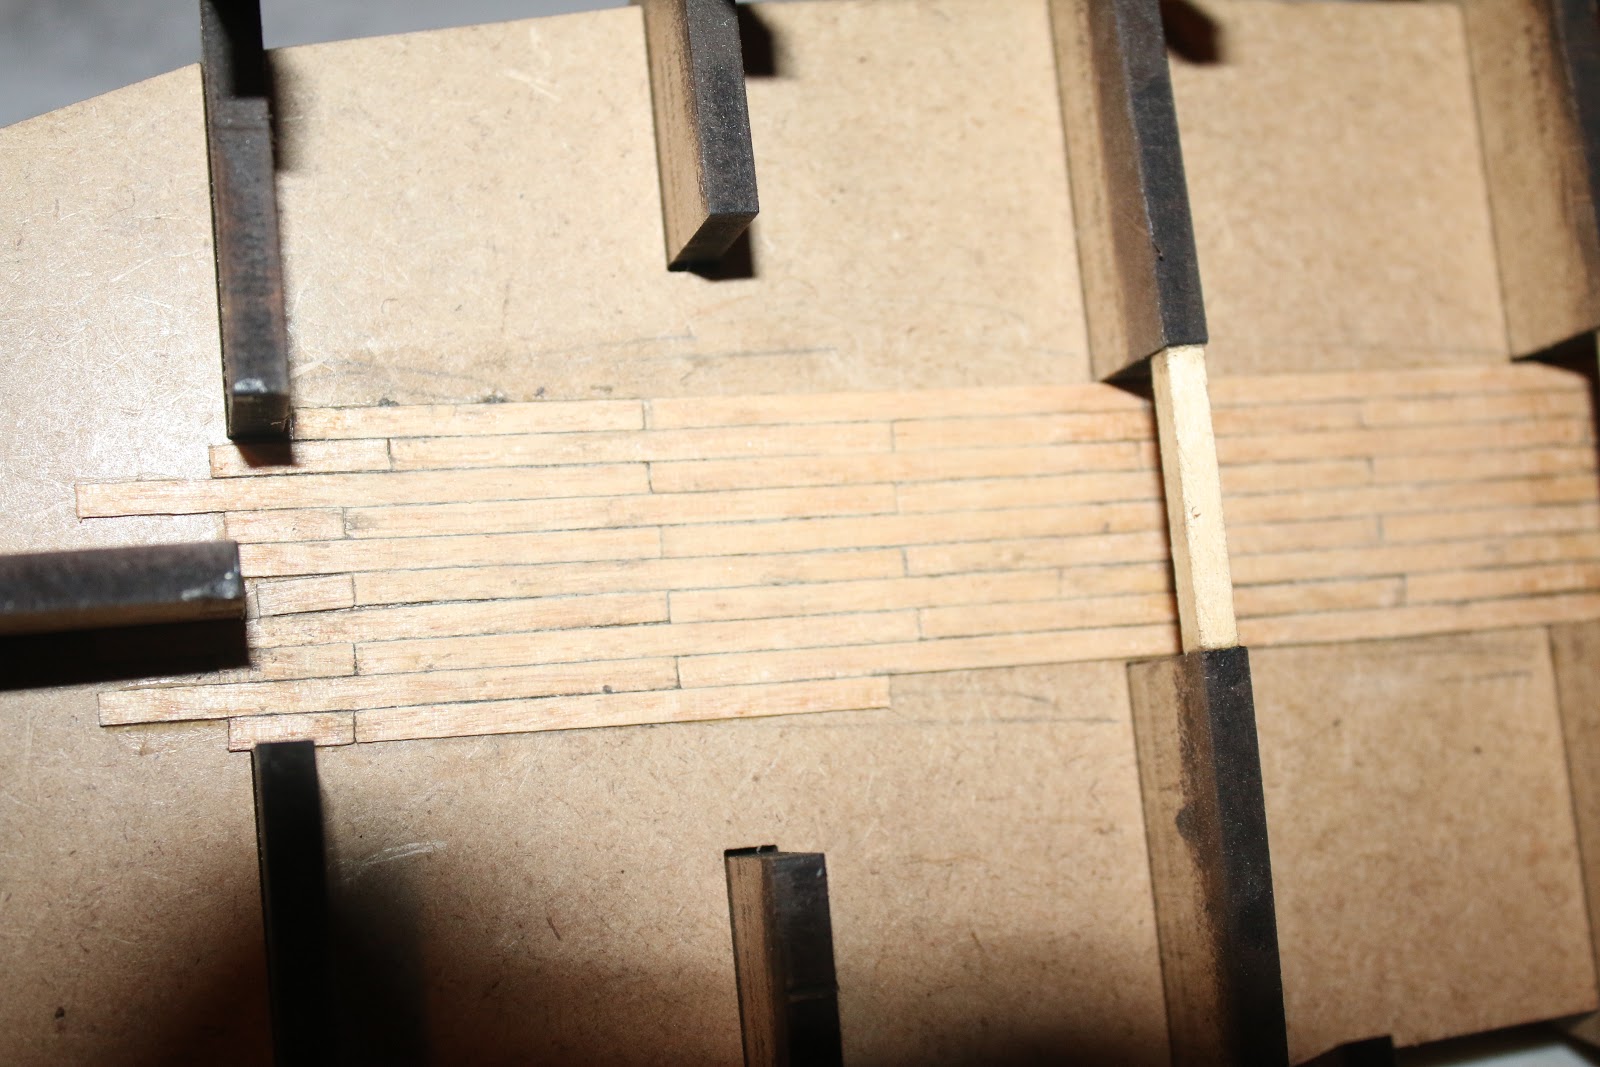
Because this deck will mostly be hidden I decided to try to do the nailing detail in the deck. I took a pin and poked the holes that nails would be located at. After I soaked the end of the pin in walnut stain from a stain marker and inserted the pin in each hole to represent the nails.
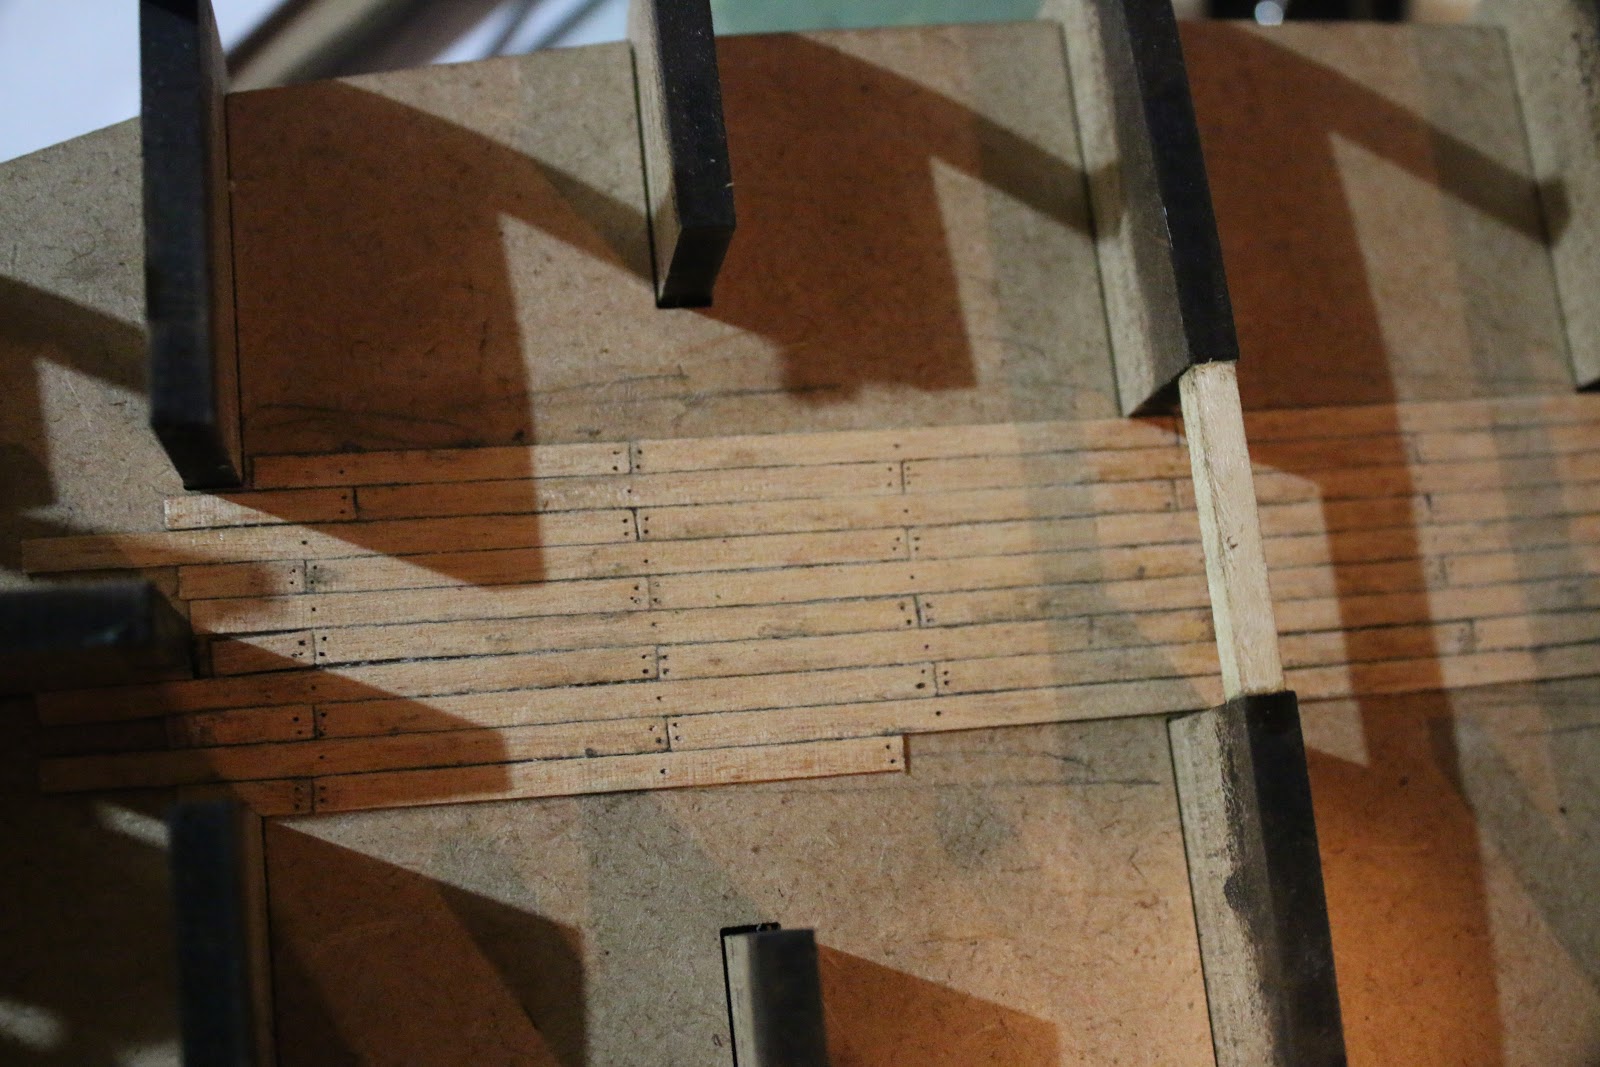
I'm very happy with the result of this technique and with a little more precise measurement and a template on more visible decks. I think this technique will produce very good nail detail in the decks of the ship and maybe even the hull planking.
That's where I left off today after about 5 hours of work. I'd say it's a good start to the process of building the Fly and I'm very happy with where I got to today.
-Jamie