Painted the repairs on the shells and they're done ready for installation. I put the remaining details into the pan deck. The work officially commenced on the Takom Gun House shell.
I put two out of three projectile hoist trunks in the pan deck; the two that can be seen. The third, hiding behind the port bulkhead and a powder trunk is completely hidden. And it didn't fit past that primerman's platform anyway (which also is out of sight I might add) so I simply didn't spend any more time fitting it in. I made huge oversized holes in the electric deck base so I had a lot of slack for the projectile trunks, and it still wasn't enough. I had to do some minor surgery on them so they would align reasonably well. I filled these holes with epoxy putty, and sanded/painted when it cured.
The two ladders are CA'd to these trunks that go from the gun compartment floor to the pan deck enabling the primerman access.
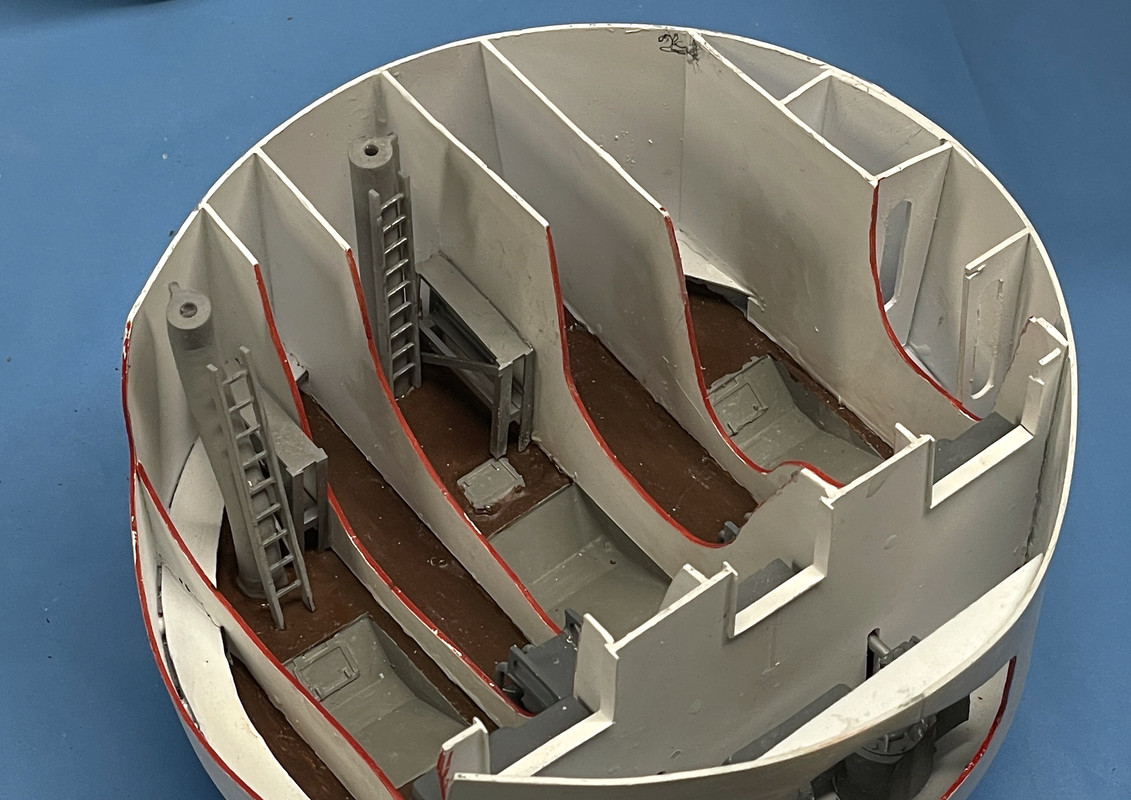
With these pieces, the pan deck is complete.
The turret kit itself only has three sprues, so it's really a rather simple model. Boy, did I find a way to compicate the heck out of a simple model!. The turret face has four ladders and three bucklers that fit into the gun slots. The ladders were terribly distorted at each place there was a sprue connection. I straghtened them as much as possible, but they aren't great.
Because of the delicacy of the turret's plastic details, I entertained the thought of waiting until the turret was mounted onto the stack, but I had to turn it all over the place and that would have been impossible if it was attached to the stack. Ergo, I'm building it off the rest of the model as far as I can.
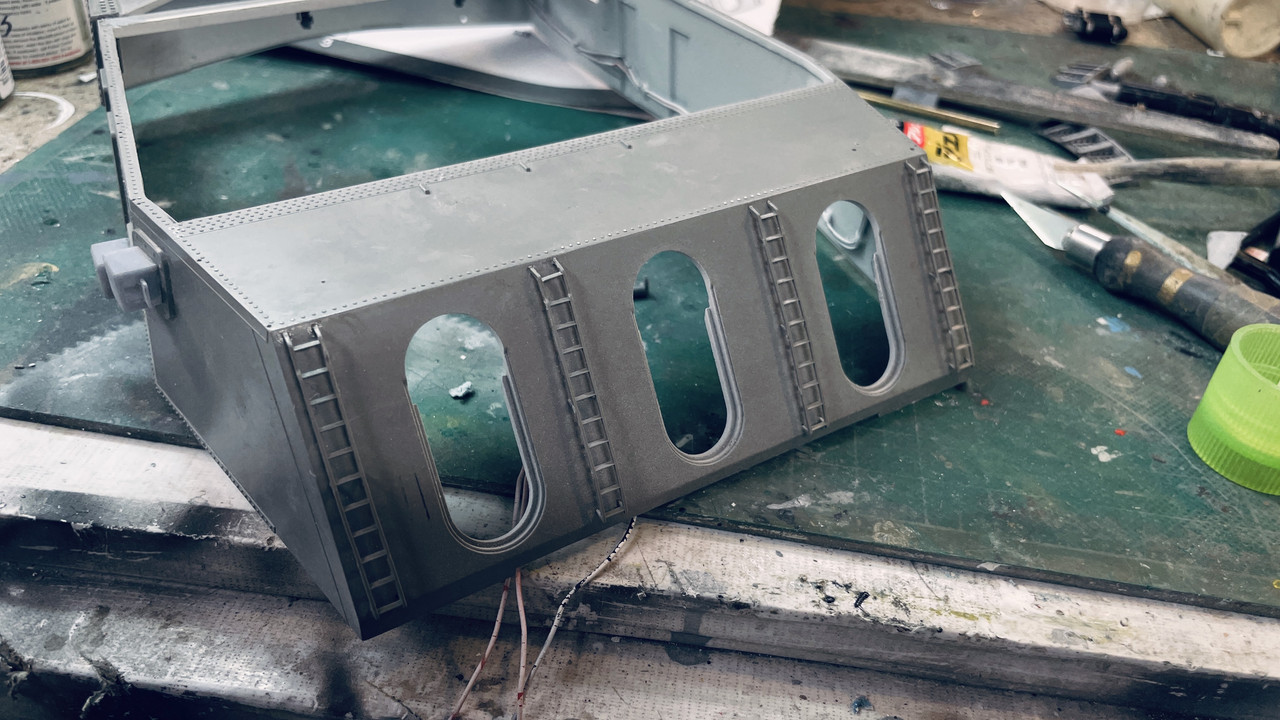
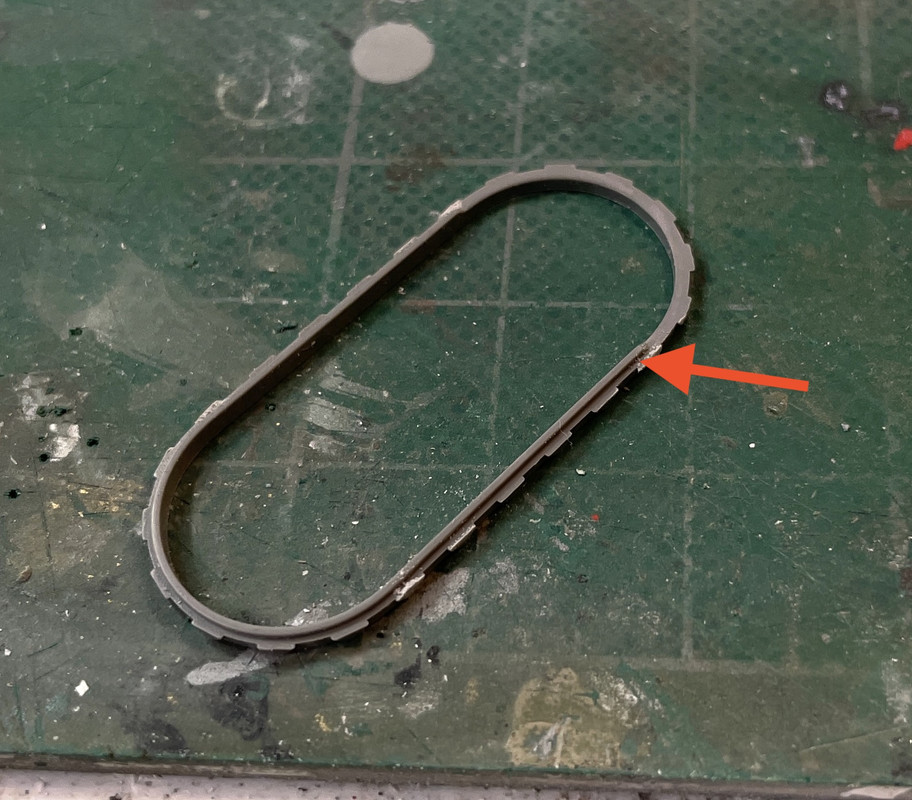
The bloomer bucklers went on next. It has a one-direction slot that aligns it within the gun slot. Took some careful trimming to remove to remove the sprue nubs that were directly in the way of properly mounting these parts. The arrow shows the alignment lug.
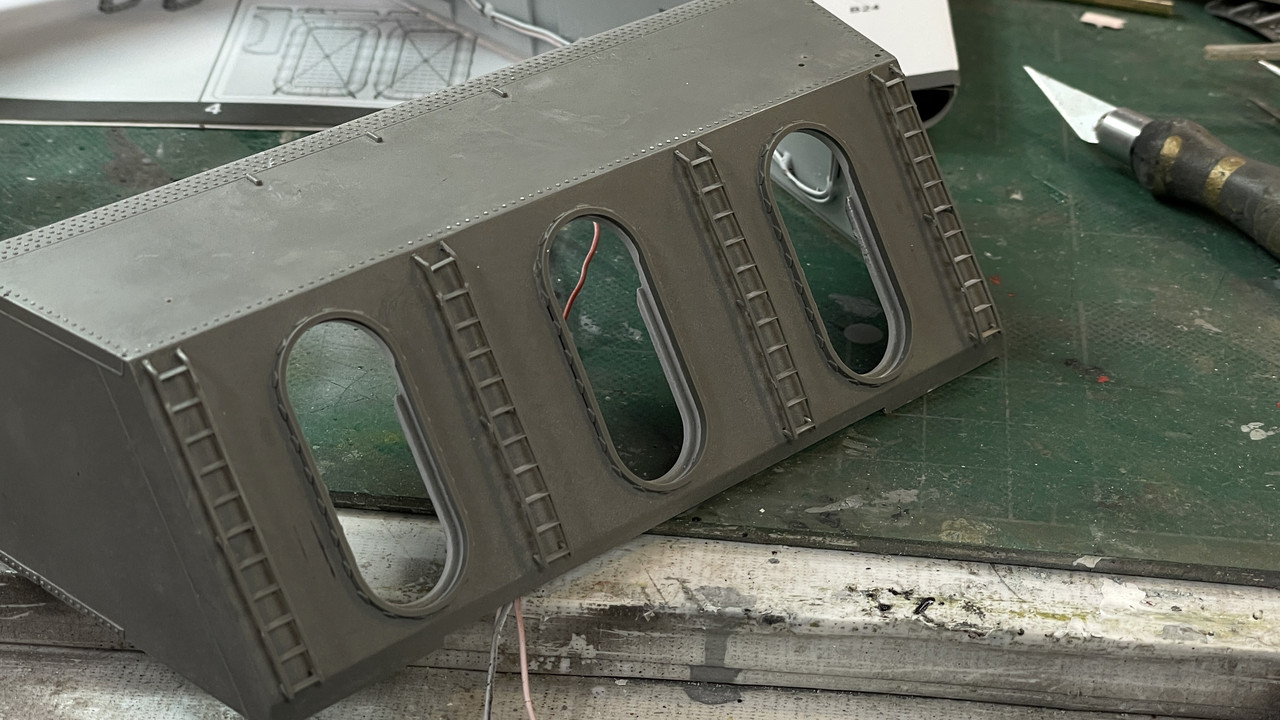
Here are all three mounted in their openings. I believe this piece of hardware is bright metal on the ships.
I test fit one of the bloomers into the slot. It's a very tight fit, but it's engineered well. The bloomers are a part that's going in AFTER the gun house is mounted on the stack.
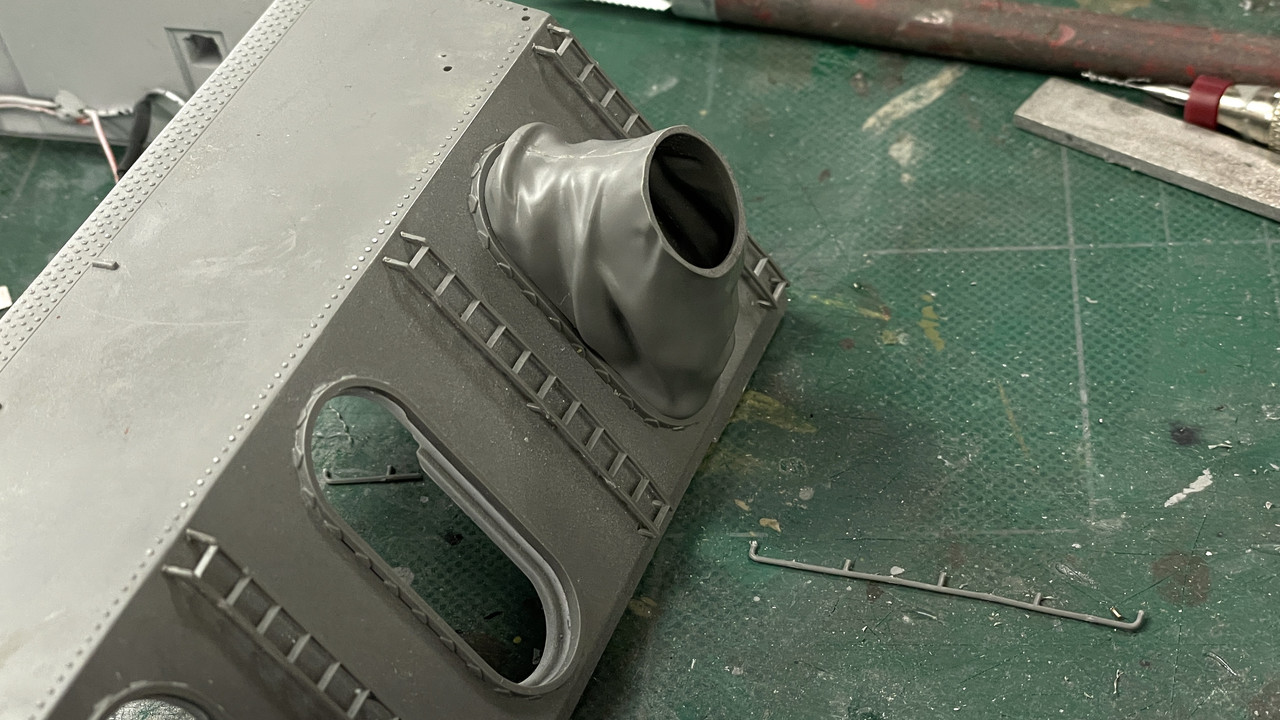
The next details were the small rails that surround the turret roof in it's WW2 configuration. I remember how crazy it was installing the Eduard PE on the my 1:350 Missouri build in 2012. Now I'm doing it in 1/72. The kit rails are plastic that gauges out at 0.026". There are/were very fragile.
I glued in the first one on the forward starboard side successfully. The second one broke right in the middle. The third tiny one has a huge chunk out of the top of it where the sprue was attached.
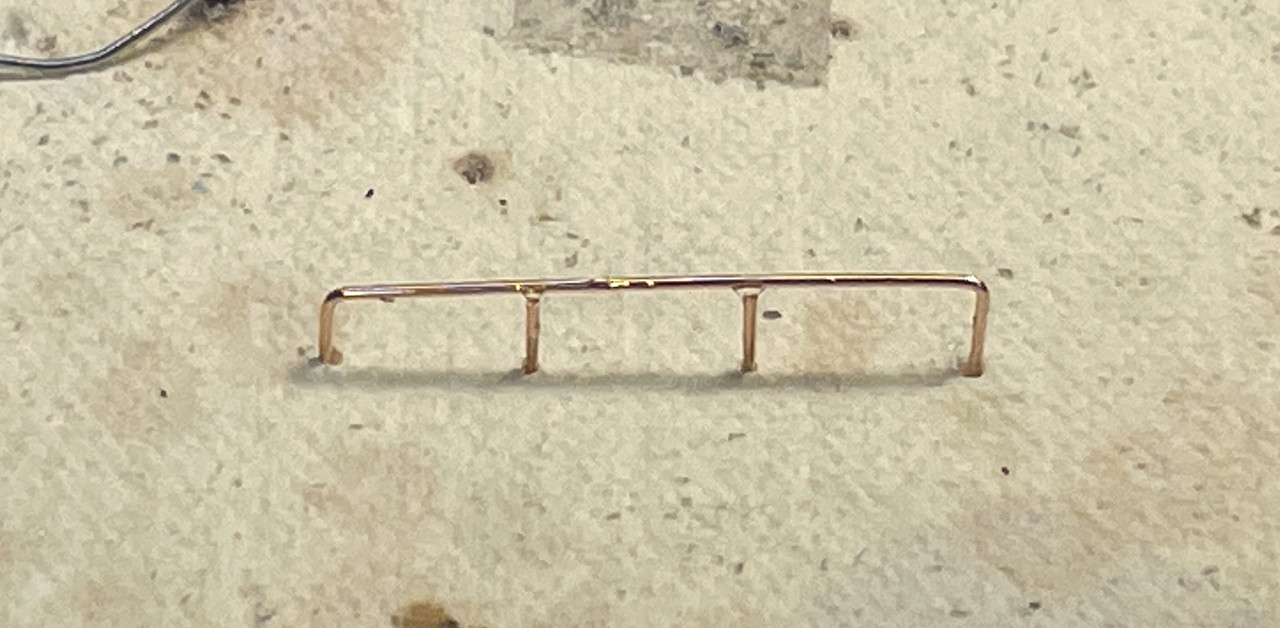
At this point I decided to go high-craft and solder one together out of 0.022" phos-bronze. It was so successful, I'm going to craft all of them. I ripped out the plastic ones and started soldering them together.
This is the setup. I use a fireproof soldering pad that I got from MicroMark. It softish and you can insert wire and it will hold. I stepped of the spacing with a divider so the parts went approximately where they should end up. These are butt joints and aren't strong, but they're a heck of a lot stronger than those brittle styrene ones.
To do miniature soldering jobs, I use my American Beauty Resistence Soldering Unit (RSU) and eutectic 63/37 .5mm rosin-core solder. The RSU is expensive... one of the most expensive tools I have in the shop, but it does the impossible. With it I can solder almost anything including solid brass intricate mast system for naval vessels. It heats only the joint area and does so very quickly, thereby reducing the heat soaking of the rest of the part causing previously-soldered parts to fall off. The eutectic solder has a hugher tin content and has no transition slushy phase. It goes from liquid to solid instantly. This is especially useful in electronics work since you avoid a cold (crystalized) solder joint.
This is the tweezer handpiece I have. Not only is the heating very focused, the tweezers enable you to hold the parts in contact with one hand and apply solder with the other. You energize the handpiece with a foot switch and the current is adjustable. For this tiny job I had it around 20%. The needle points are copper clad stainless steel. I occassionally file them when materials buid up that affect conductivity.
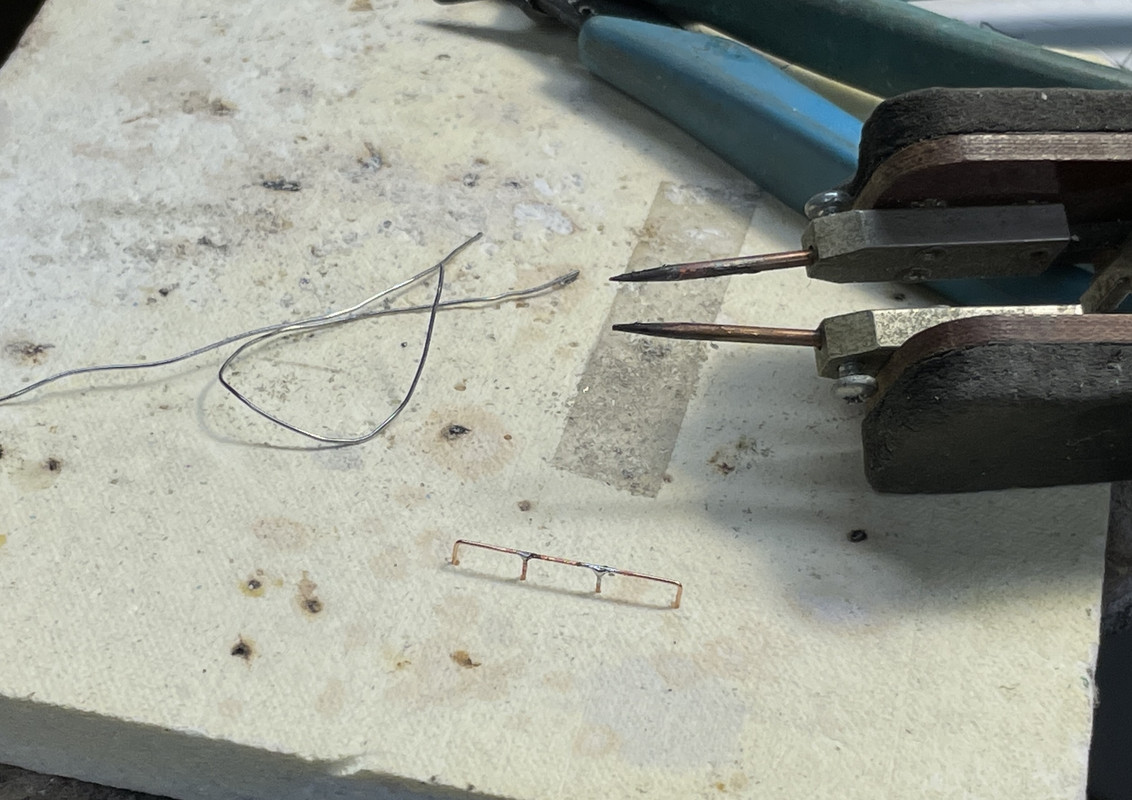
And here's the progress so far. This was about an hour's worth. They're not perfect, but they're tough. As I progress I get better at it and finally have it perfected when I reach the last one. In this image you can also see the external periscope housings that I also put on.
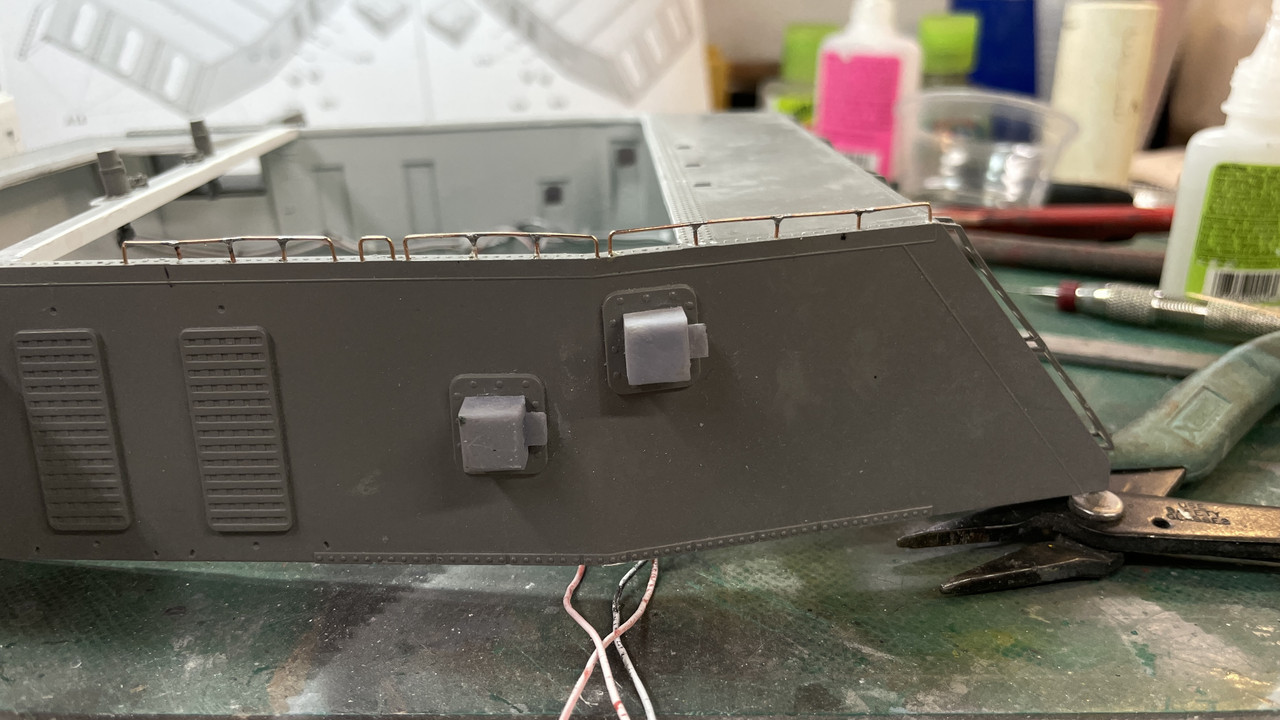
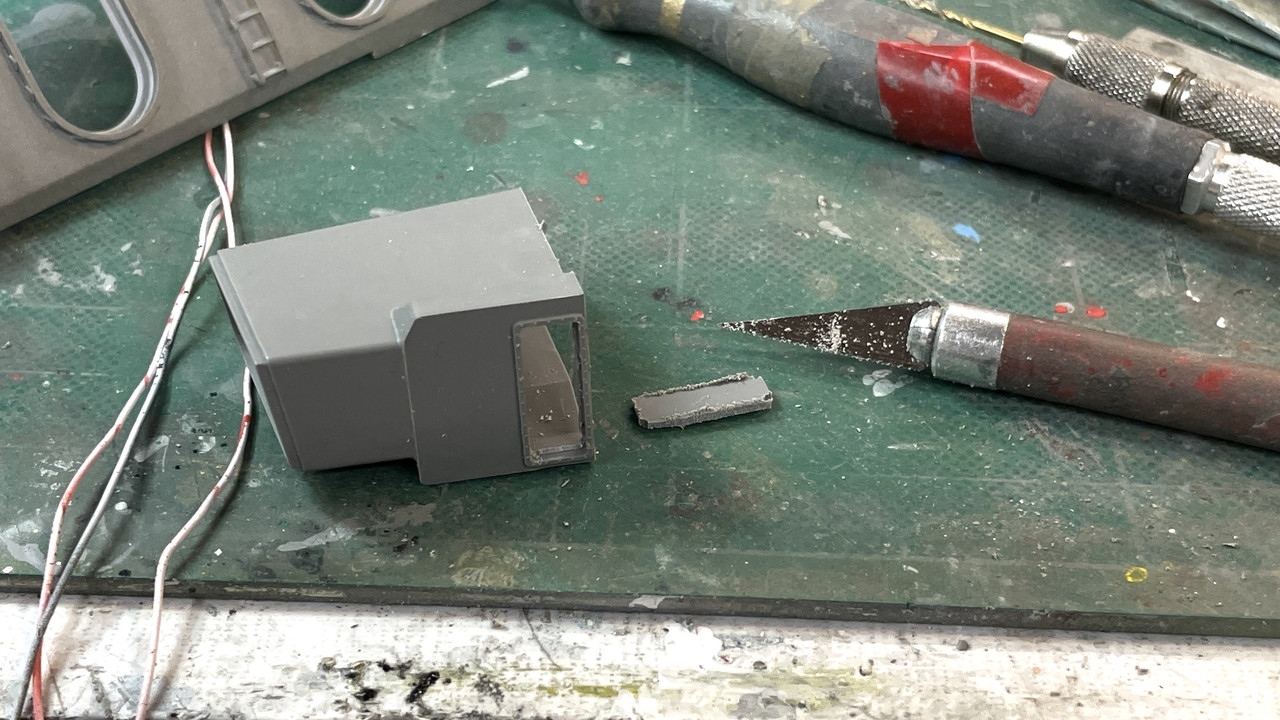
Last thing I did was prepare and mount the range finder hoods. I opened the shutters so you can see the RF optics inside, and opened up the entire back which was solid plastic so the optics can pass into the hood. I did not install the outer cover since I have to insert the optics first from the outside.
My first attempt was to drill holes in the corners and then use an Xacto saw to cut between the holes. That worked, but it was slow. All the rest of the cuts were done by drilling corner holes and then using the 1/16" carbide router. After cleaning up the holes, I glued them on the shell.
I suspect that I'll have the gun house exterior finished tomorrow or maybe on Saturday and ready for paint. Being the WW2 version it will be haze gray on the flanks and deck blue on the top. As previously, I wil paint the cut edges of the roof with the red paint.
In setting up the projectile trunks, I actually was attempting to install the gun house assembly into the pan deck. The hardest part of this is guiding the lead screws into the screw boxes while juggling all the rest of it. It's actually heavyish and I can't grab it carelessly because it's delicate and stuff will break. I should have a couple of shots of soe good bourbon (Elijah Craig 18 year old... maybe) to calm me down keep me centered.