Fire Mission…..M561 Gamma Goat
Introduction
The 1/35 M561 Gama Goat is a new release from Commanders Models.
http://ironshipwrights.com/armor/armor.html
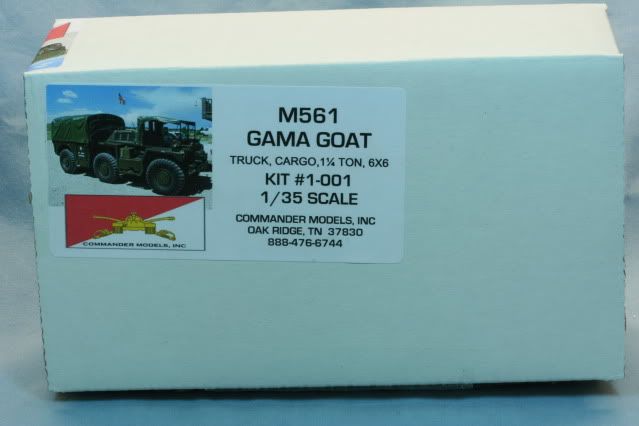
You can find my in box review at
http://www.armorama.com/modules.php?op=modload&name=Reviews&file=index&req=showcontent&id=5086
Background
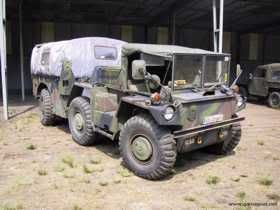
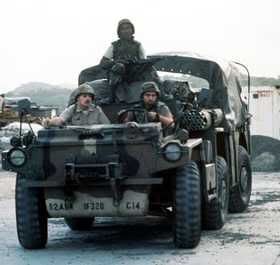
The M561 Gamma Goat was first developed and introduced during the early 1960s. The original concept was to develop a light 1 ½ ton vehicle which could be air transported and also work well in jungle areas.
The M561 was built by LTV Lycoming and over 15,000 goats were built. The vehicle was considered amphibious and moved in the water via its 6 powered wheels and bilge pumps were standard. It was a unique vehicle with a number of variants including the ambulance version M792.
For those of us how served and used a Gamma Goat it was a vehicle you would not forget. On the bad side the air-cooled engine overheated and high pitched noise of the engine required hearing protection while driving the vehicle. The double hull construction and complex articulated drive train made maintenance difficult at best. On the good side it went anywhere did anything and was a comfortable ride.
The M561 faded out of service with the advent of the HMMWV in the late 80s. For background photos you can go to
http://www.primeportal.net/trucks/hans-hermann_buhling/m561_gamma_goat/
http://www.gamagoat.com/
The Build
The kit is an all resin kit which comes with a PE fret for the fenders and some other details. The instructions are short and crude and not for the faint of heart. To properly assemble this kit you will need to look at reference photos as the directions will not help.
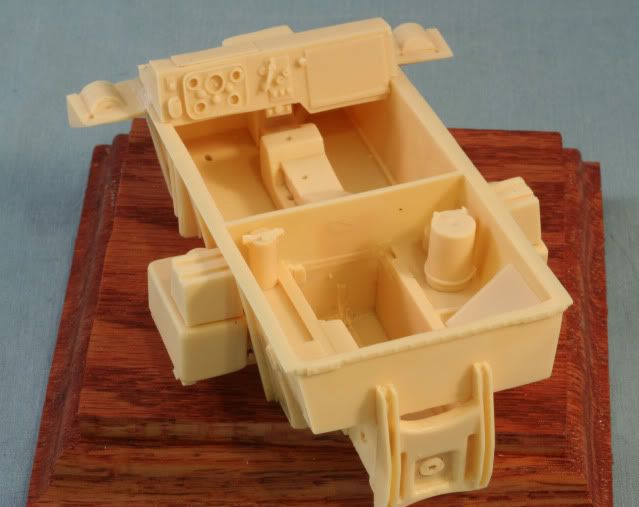
Some initial assembly of the power section. After cleanup of the parts, I assembled the fuel tanks and bilge pumps on both sides Also their support frames under the fuel tanks.
Glued in the dashboard assembly and the headlight assemblies
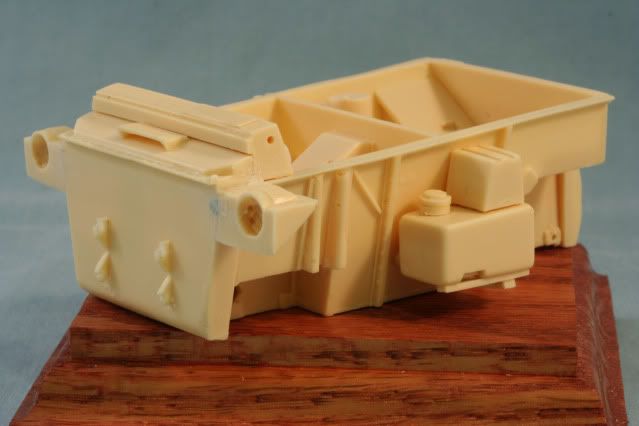
This view you can see the crew area and the engine area. The kit comes with an engine and other power parts. This will be the last you see of this area as I decided not to have the compartment open.
I also installed the trans-axels for the front and middle tires in the power section along with the rear tow frame for attaching the cargo section
Next up were the PE fenders. The PE set is a good quality, slightly heavier than most but very workable. The resin required some “notching” in places but with a little work they fit just fine.
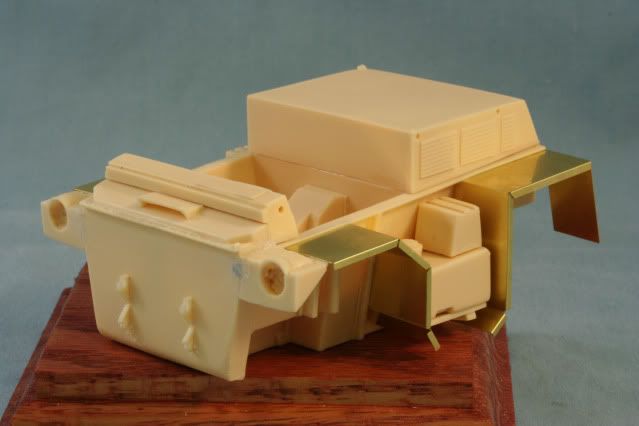
Well I am off and running. I will be adding a BUNCH of scratch or parts box details. Next, some work on the cargo section.
As always, your comments either positive or negative are always welcome.
Rounds Complete!!