After 8 months, I dug it out and started on the Dogfaces finally... I'm doing my usual Frankenfigures, so it's going slow... Someone had mentioned that I don't do many "how to's", so I'll be more detailed...
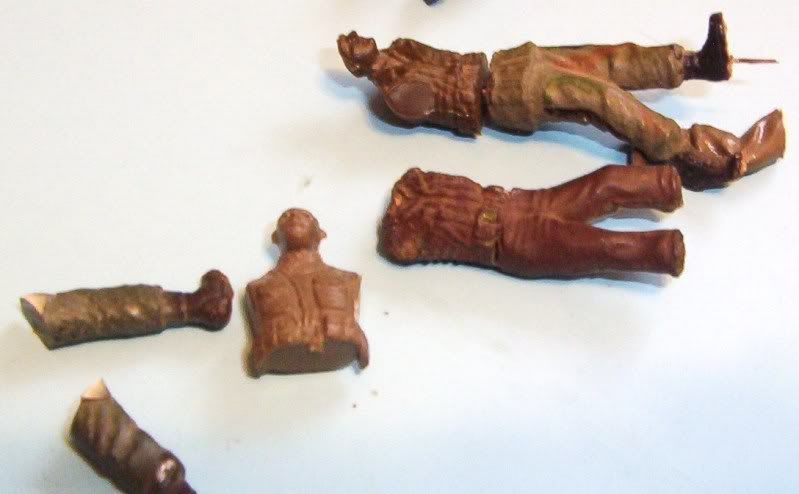
I din't have any GIs that were even close to what Mauldin drew, so I set about gather up likely pieces of GIs... I don't plan on doing the GIs in exactly the same poses, since that's my "artistic license" as well as showing that you don't need to do exact reproductoins in order to tell the story effectively. Here's some of the body parts...

The figure at the top right is a combination of Tamiya parts, a set of German Afrika Korps legs and American torso... He's going to be a "fill figure" for the lower right side of the diorama as there's a place that needs filling. I figured a guy walking by, indifferent to the others, just plodding along through the mud, would serve to depict a bit of the fatigue these guys felt.
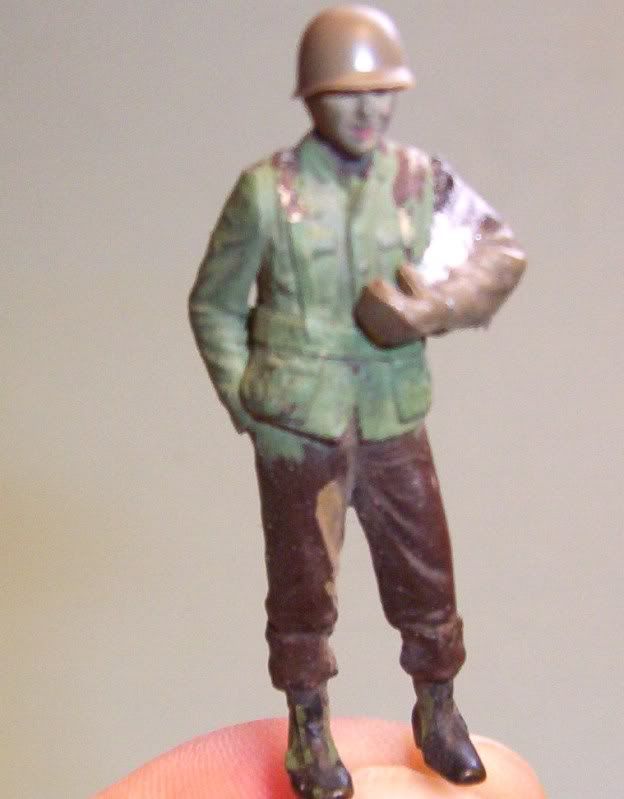
The one below him is an Italeri figure, while that last guy is another Tamiya one from the US Infantry, Western Europe set.

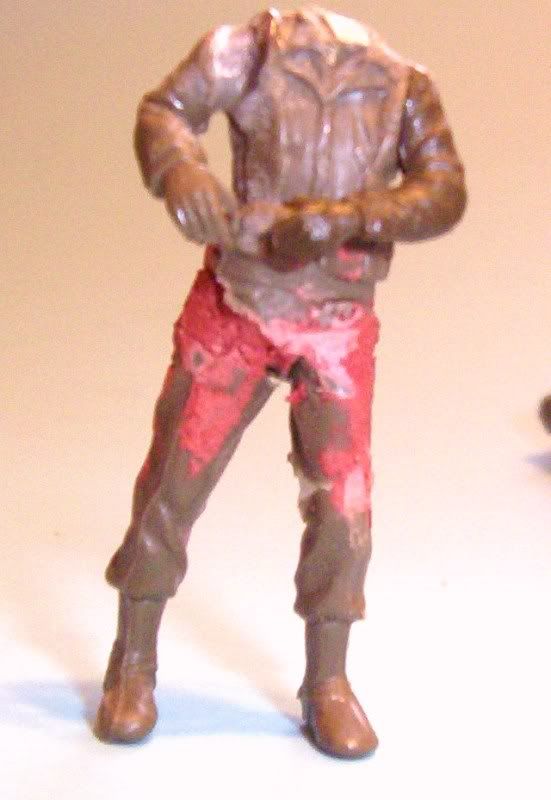
This guy is mostly a German, a figure from the Tamiya "German Soldiers at Rest" set. He got a different left arm and a set of GI combat boots and he'll be getting a better set of LBE later. I tried converting him a Vietnam-era figure about 20 years ago, with no sucess, but I still wanted to use him because of the Air Force glove he's wearing on his right hand. (The white stuff between his left arm and torso is a baking soda/super-glue mix that I screwed up and have to drill out.)


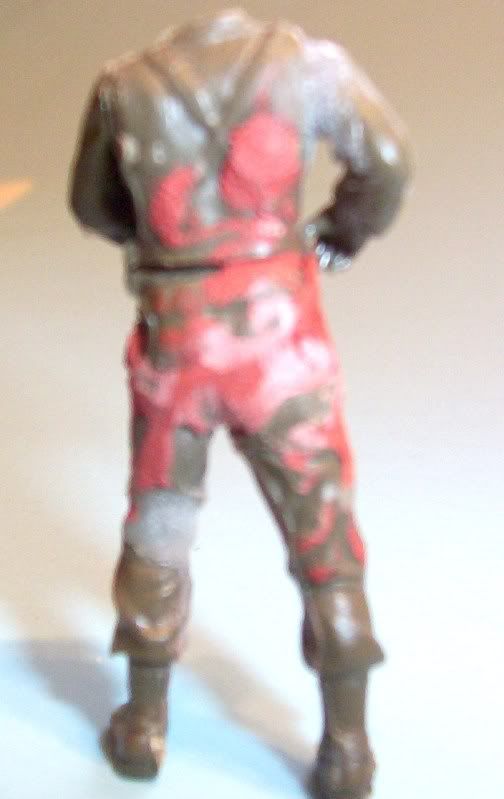
Here's a guy from the US Army Infantry set again, with a major repostioning of his legs. He was standing and shoulder-firing a rifle, but I changed it to have him standing casually. The legs were cut apart vertically, then turned and welded into place. I then used the Dremel and a sanding drum to flatten the top of the hips and added the torso, using putty (Bondo Red) to fill in all the gaps.
I hold all the joints together by drilling holes in each piece and then using a piece of straight pin to make the things stay together. A drop of super-glue with a little baking soda sprinkled on will set the CA instantly and start as a filler also. It dries rock hard, so don't fill a joint completely with it or it'll be a real bear to sand.
Sorry about the poor quality of the photos, dunno why my camera is acting up... It does it from time to time though, usually because the batteries getting old, so I may have to change them out.. At any rate, I plan on getting the figures done, or least posed and ready for paint by Friday next..
Thanks fer lookin'..