Hi,
As I mentioned in my WIP thread in the Armor section I have been up to a little model building on and off during my absence from the FMS Forums since 2012. I've been trying to keep the hobby alive in less than ideal building conditions, usually with less than ideal supplies.
It's gotten to the point now (after almost 4 years of living in barracks and about a year and a half of time spent overseas) where I have finally settled in and am set up with a work bench, actual model paints, an air brush and compressor, pastels, powders, putty, construction styrene etc.
The one area that's still lacking is the photography department- so please pardon these point and click shots of builds on my bathroom counter (brightest even lighting I could find and it's hardly bright or even...) try to bear with me on that.
So- without further ado, some of what I'll call "studies" or vignettes as I tried out different techniques to combat some of my shortcomings..
---------------------
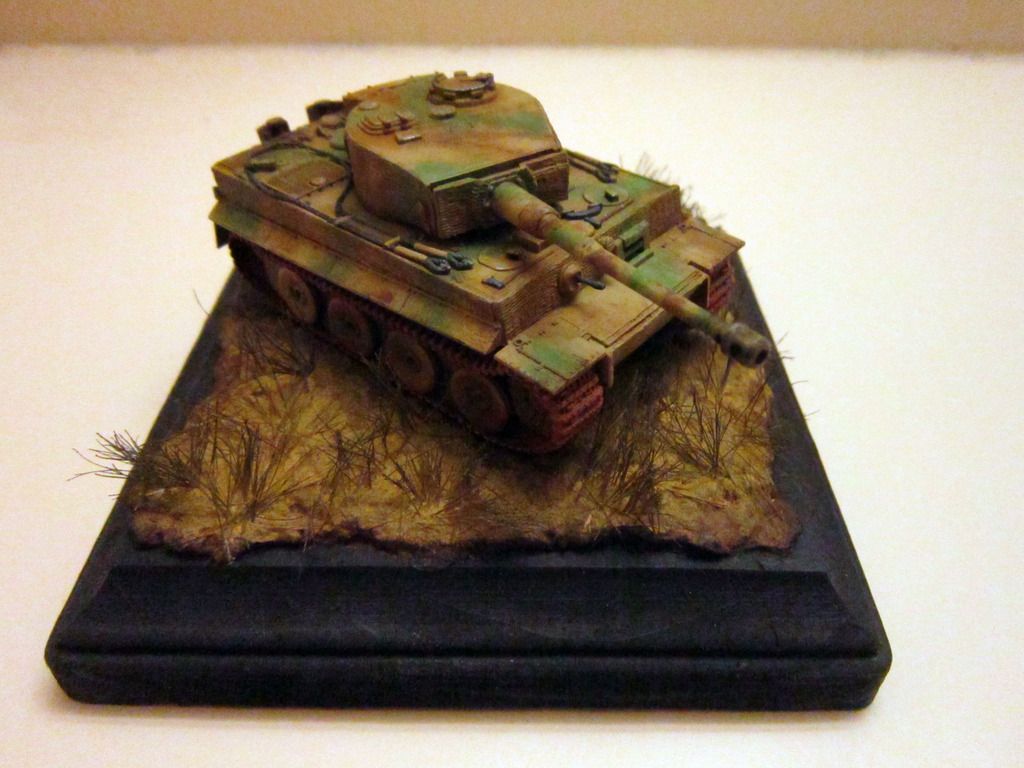
This 1/72 Dragon Tiger I was started and 'finished' (realized shortly after that the road wheels were not the steel type, but needed to have some rubber painted on  ) back in early 2013.
Not only did I really enjoy the pre-molded zimm at 1/72 scale (well done Dragon!) but the little DS tracks were easy to work with. (Imagine 1/72 Magic Tracks?! I sure couldn't...)
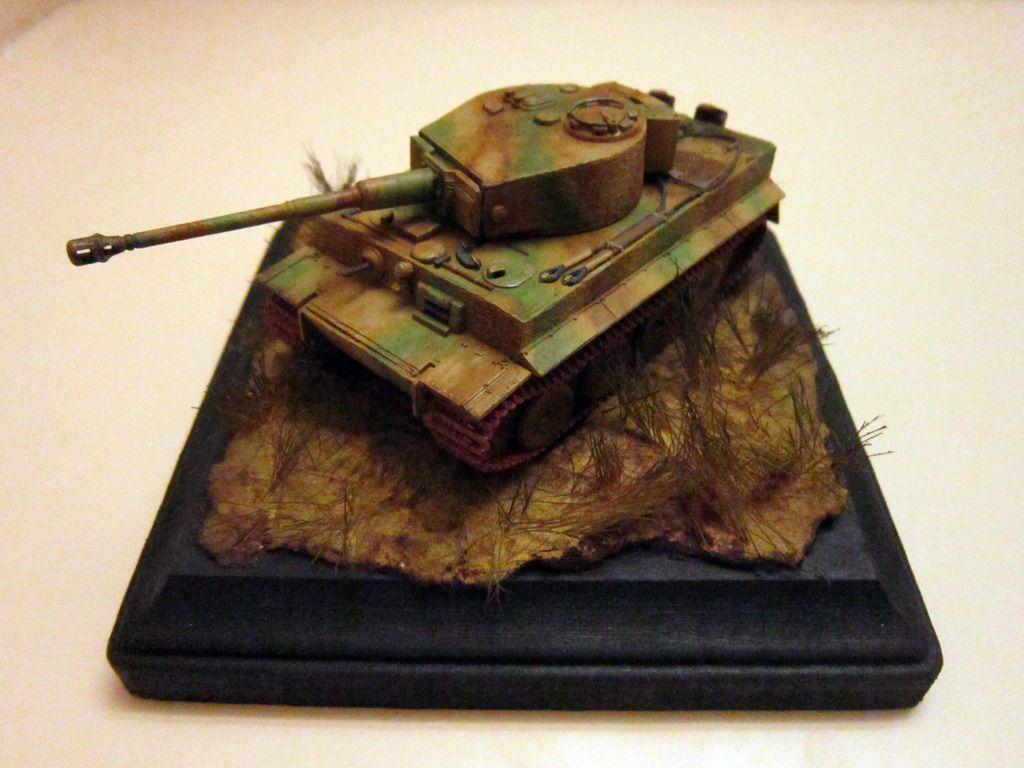
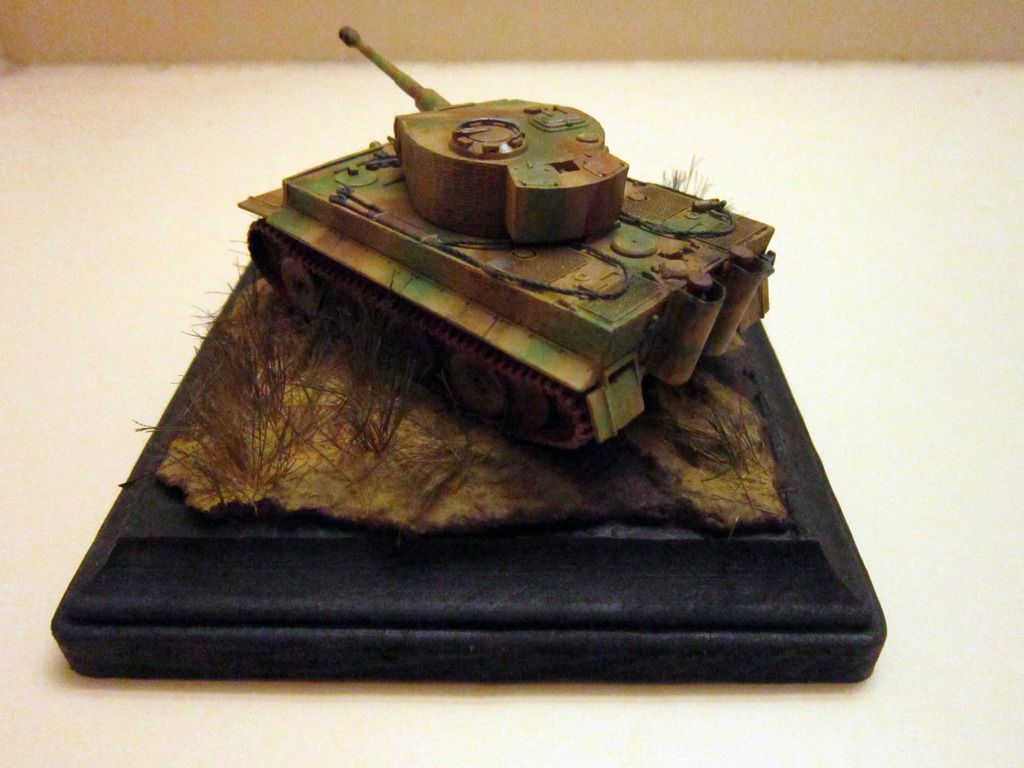
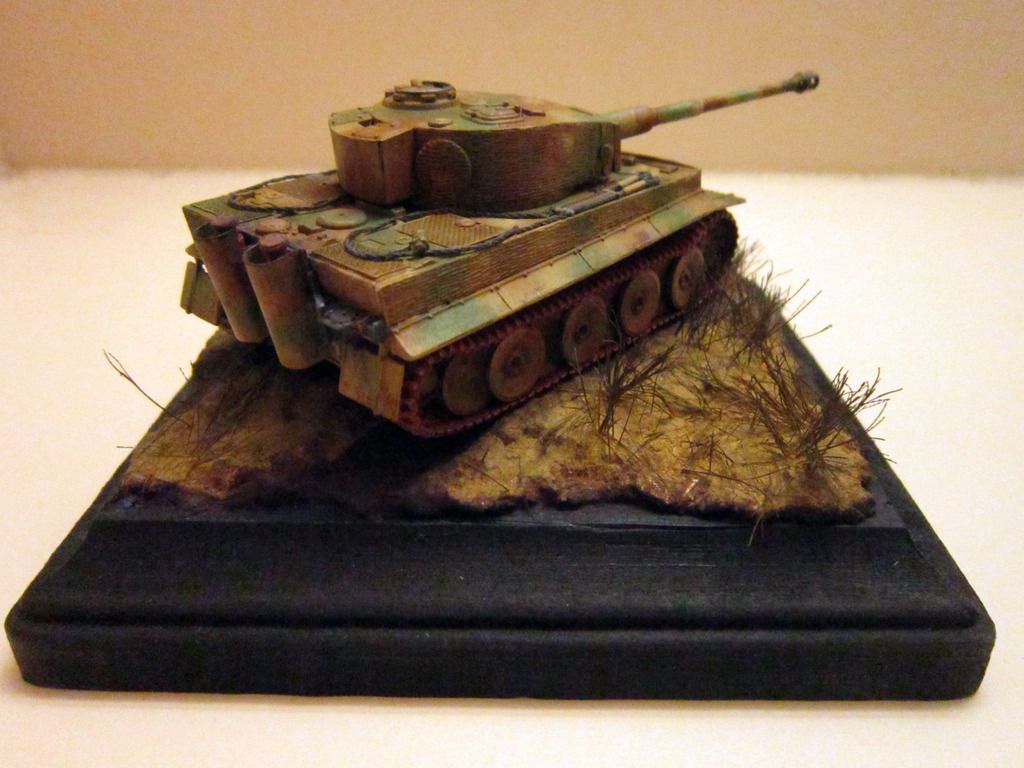
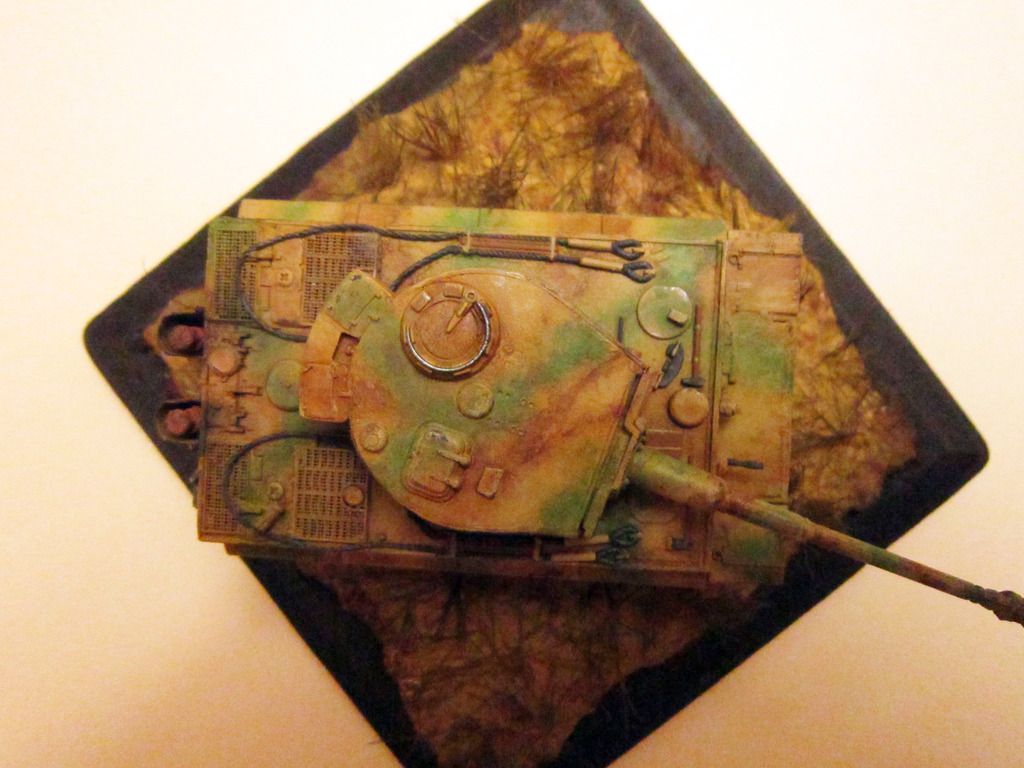
The technique I used to get the soft edge camo paint involved using stubby brushes with thinned oil paint. The green is too green (and I think for the scale effect, the yellow is way too yellow as well) but I wanted to see how "sprayed on" I could get the oil paint to look in thin layers of various intensity. The long dry time of oils really helped me blend it in, and at 1/72 I'm not sure I could have done better with an airbrush.
Study: Soft edge camo success (basic modeling road wheel fail for now!)
---------------------
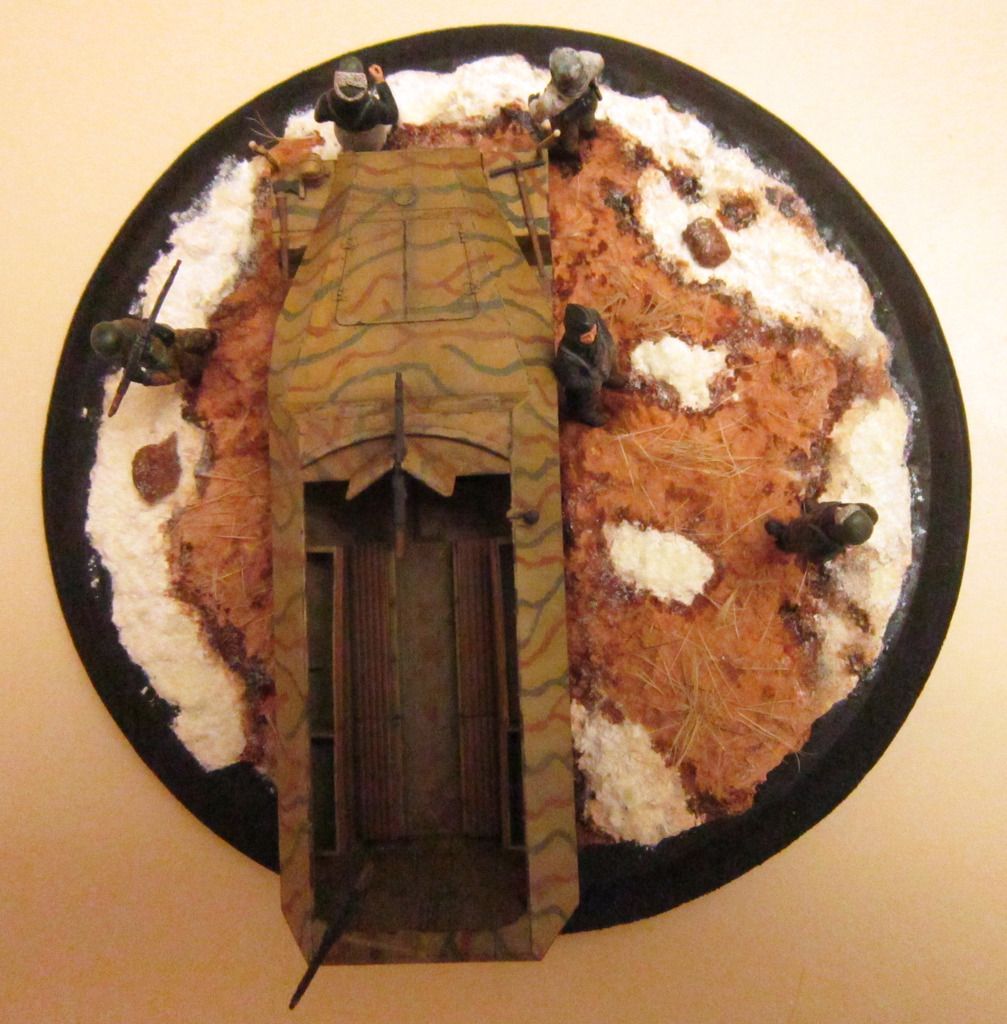
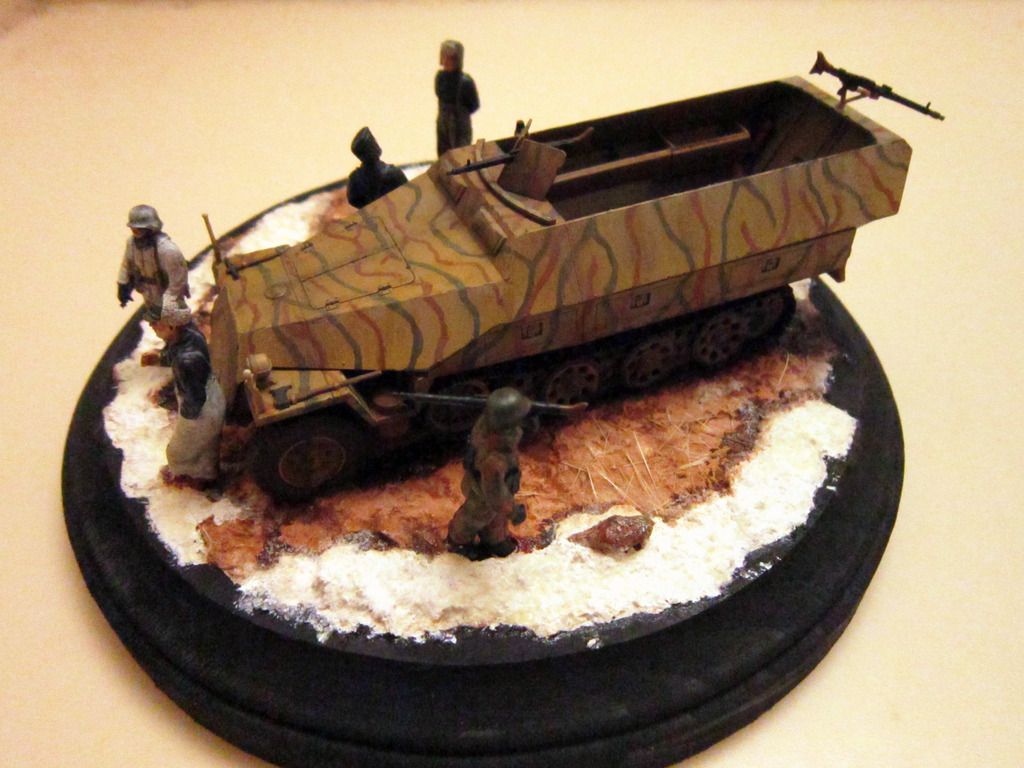
This 1/48 Tamiya half track was started in January or February of 2012 and I recently painted all the figures and added the snow effects a month or two ago. The figures are a mix of MIG Productions (the taller, filled out ones with leather jackets and cool hats) and the Tamiya figures included in the kit (shorter, skinnier with helmets).
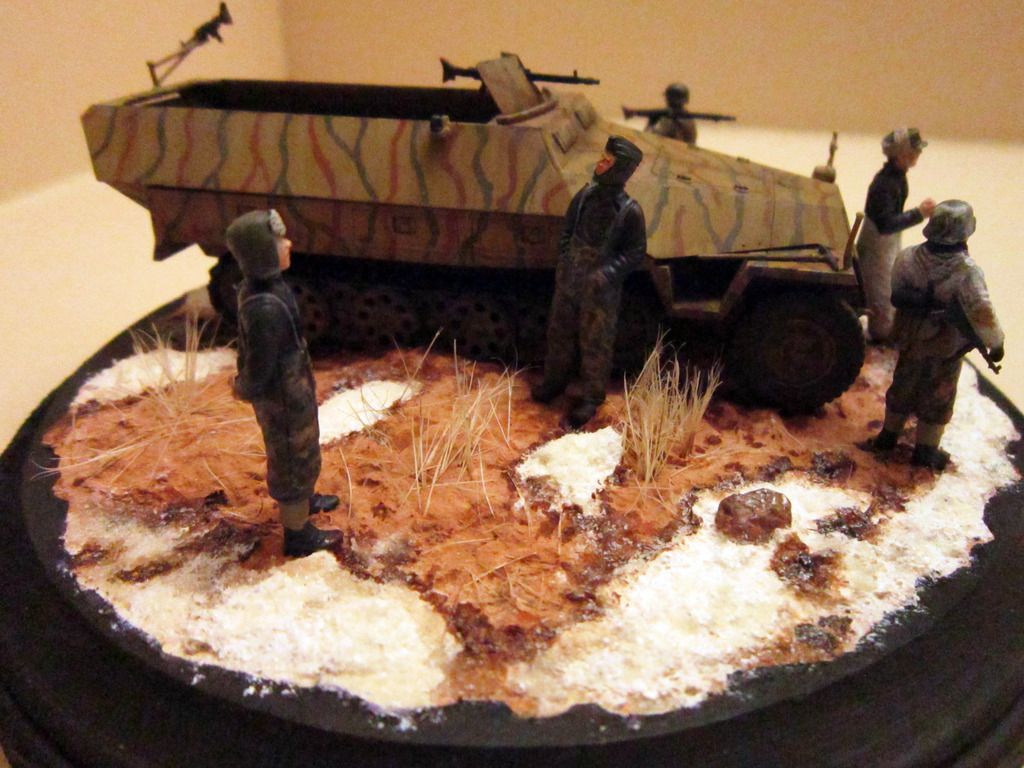

I like this guy the best...
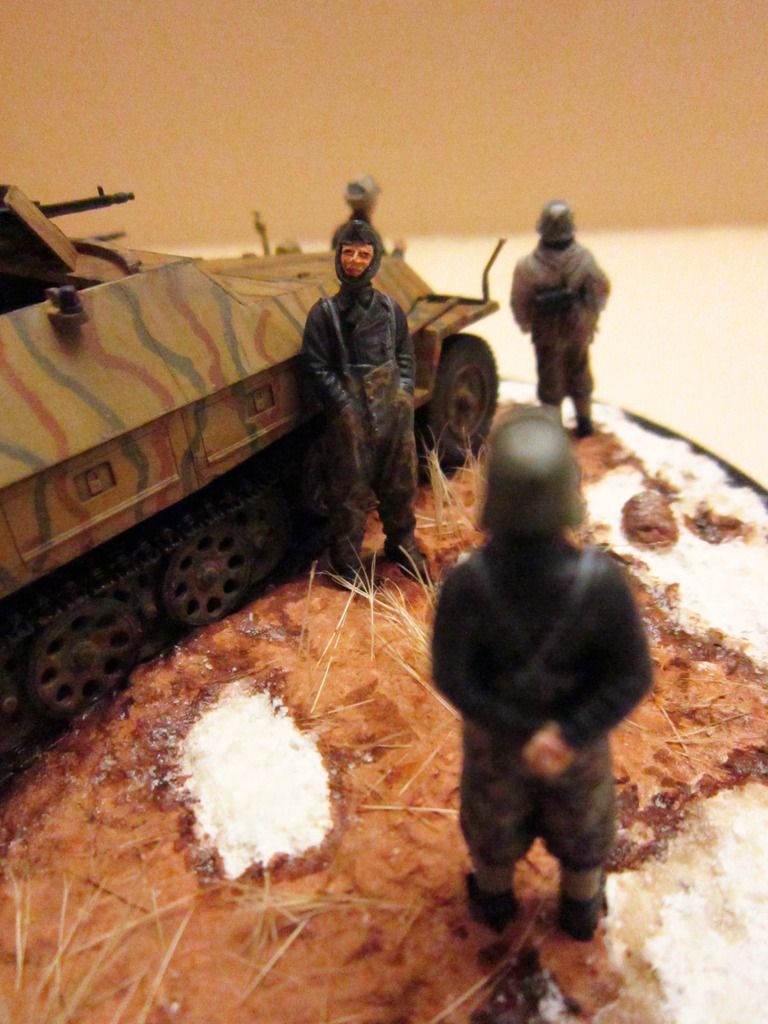
This one still needs a lot of personal equipment in and around the half track as the figure behavior really lends the scene to a "long halt" kind of look with people milling about and relaxed. I have all the equipment I'd need from the Tamiya kit itself, I just haven't gotten around to adding it as I was really interested in the snow. This was kind of a "study" of different ways to get a realistic winter effect, I think it works in some places, maybe not so much in others. I really think there's two things that I need a lot of work on in terms of dioramas- snow, mud, and 'weather' effects (rain, ice, etc.) AND vegetation, including leaves and bushes, grass, even jungle stuff as I have a few Vietnam era Diorama ideas that are stuck as I try to figure out how to go about the groundwork. Anyway I wound up using a combination of Woodland Scenics snow, uncolored sculptamold, clear gloss paint, white paint, and clear acrylic gel medium.
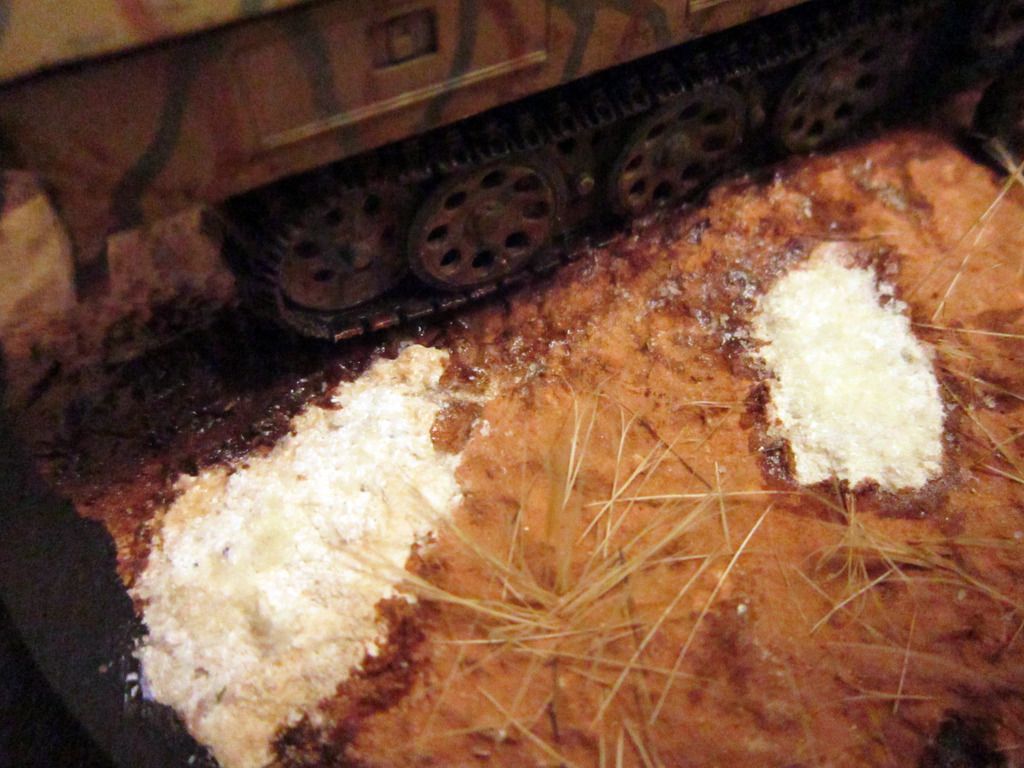
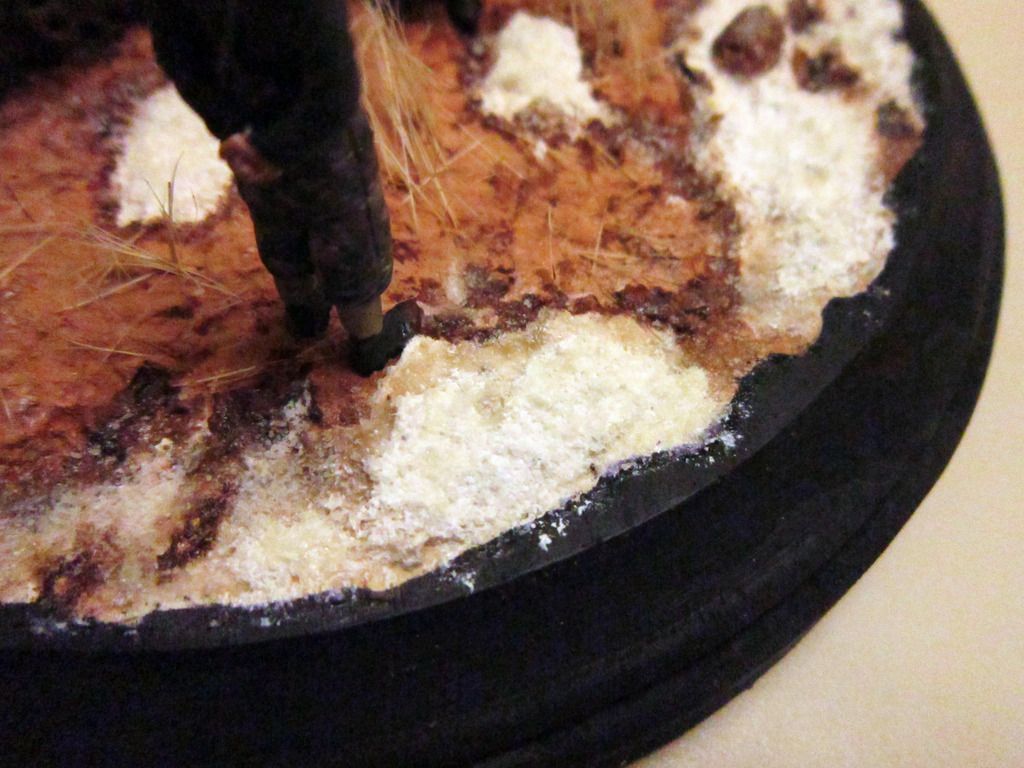
Study: Jury still out on the snow...
---------------------
2.8cm sPzB41 with crew
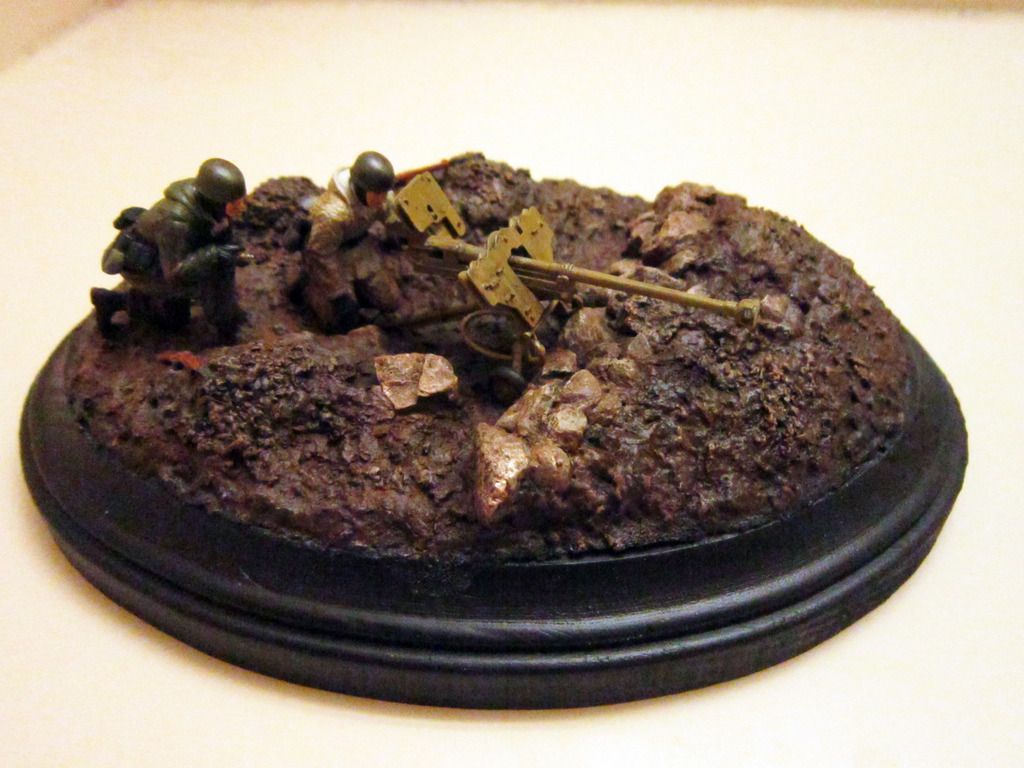
I bought this Dragon 1/35 "Volstad Vignette in a Box" back towards the end of 2013, started construction on it and finished it recently after being interrupted by 7 months overseas. I think Ron Volstad has probably single-handedly sold me more models with his box art than any other factor.
It's still not done, once I really hammer down a solid snow technique that I think looks right, I want to add in a snow drift and make the German side of the stone wall look muddy and dug in. Probably needs some dead vegetation too.
I'm not saying my painting techniques or figure work is anything to write home about, I just know I'm happy with where I am in my constant progression of skills with everything but groundwork vegetation and effects.
That being said I think I did a decent job of blending the figures into the groundwork. You guys can be the judge of that, but using various paints, pastels and powders got them looking about the right kind of muddy without making them look like they low crawled through sludge.
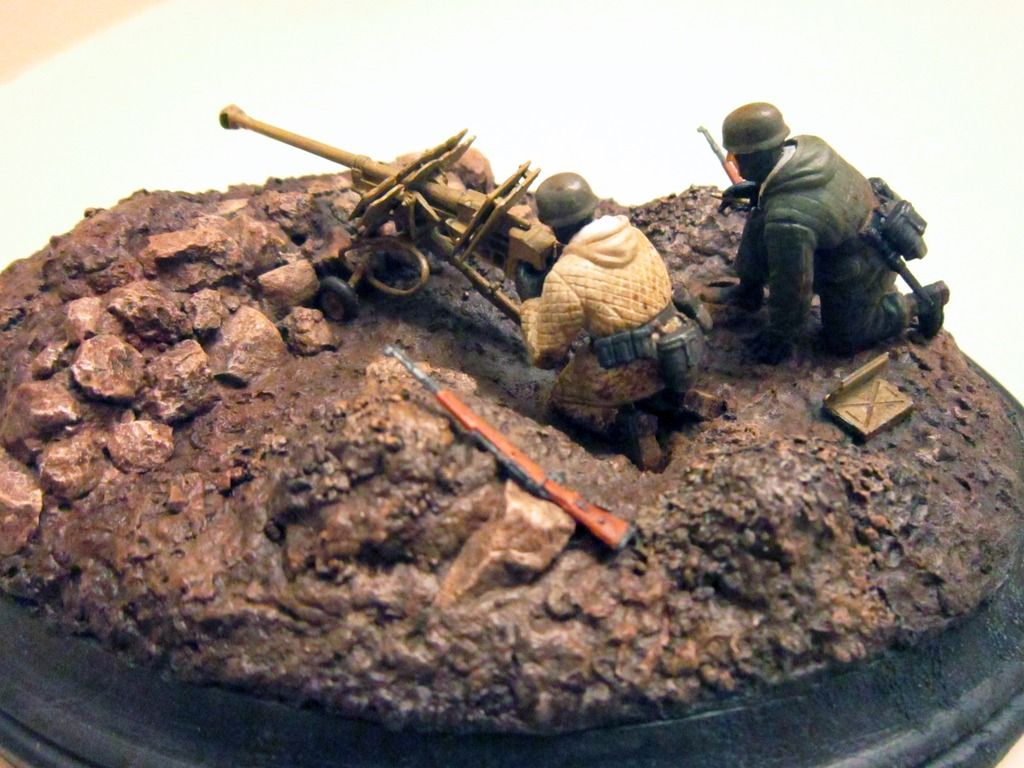
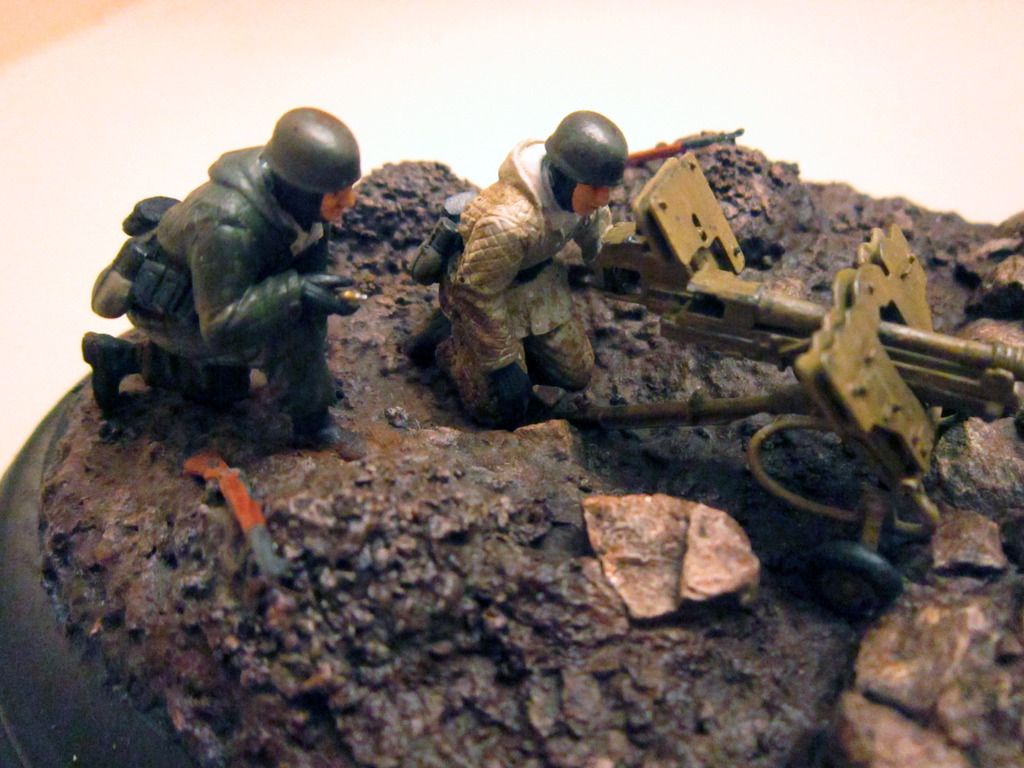
Study: Blend figures to base, success(I thnik??) Snow, slush, dead vegetation, and mud - fail for now...
I feel like I have writers block- but with modeling. I can only seem to get things so far before I'm left scratching my head.
---------------------
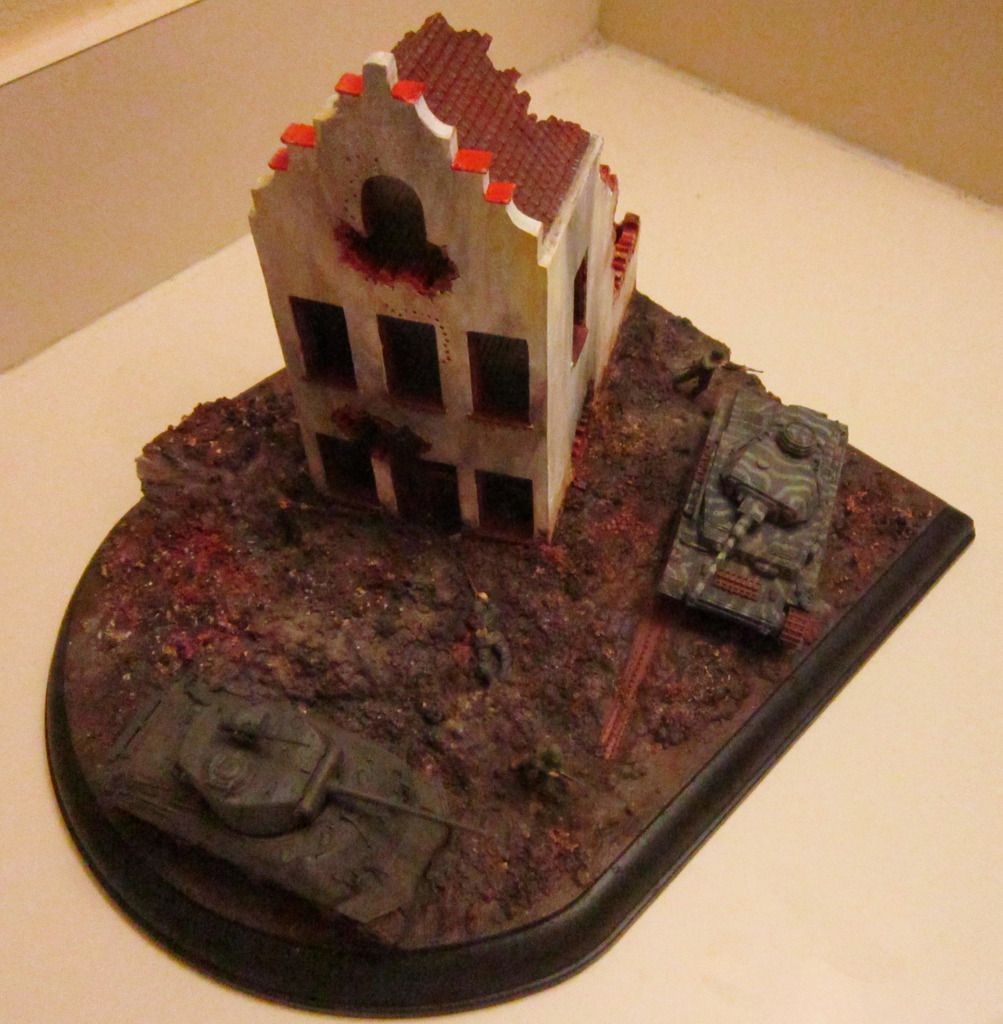
And then no real study on this one I guess, other than "Diorama story telling". I started this... probably around the same time as the Tiger 1. Both the tanks are 1/72 Dragon, really love these little 1/72 scale Dragon releases. They're inexpensive, have photo etch details and DS tracks, even the plastic is well detailed, easy to assemble (for a Dragon kit) and paint up pretty well. This is probably just as close to a completed diorama as I've gotten over the last few years. It definitely needs more large pieces of rubble, so I wouldn't call this one finished either. Not sure how I want to go about doing that. Maybe some 1/72 scale furniture as well? The problem is things are easy to do when you buy the product designed to address the issue, I've been trying to spend less and do as much as I can with the materials that I have. The vehicles still need markings and I don't know if I want to try decals or how I want to go about doing that.
I tried a few weathering techniques on the Sherman, some rain streak washes and things like that. I tried to make the Panzer look like it was abandoned as the Allies advanced up to it. Not sure if that came across or not.
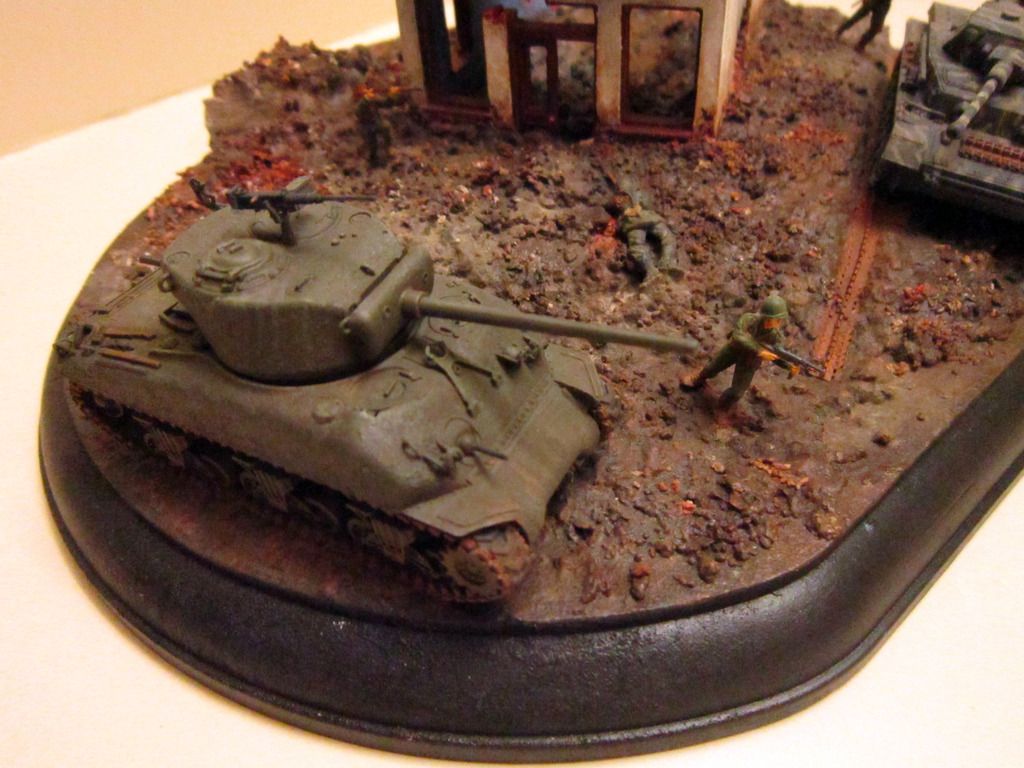
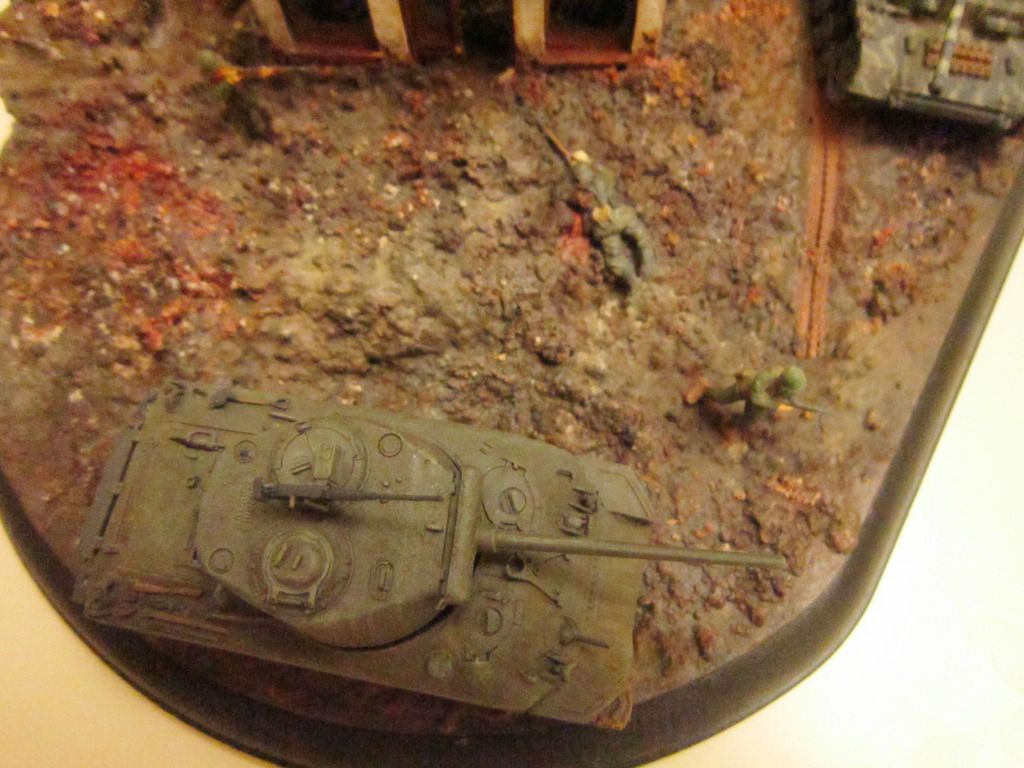
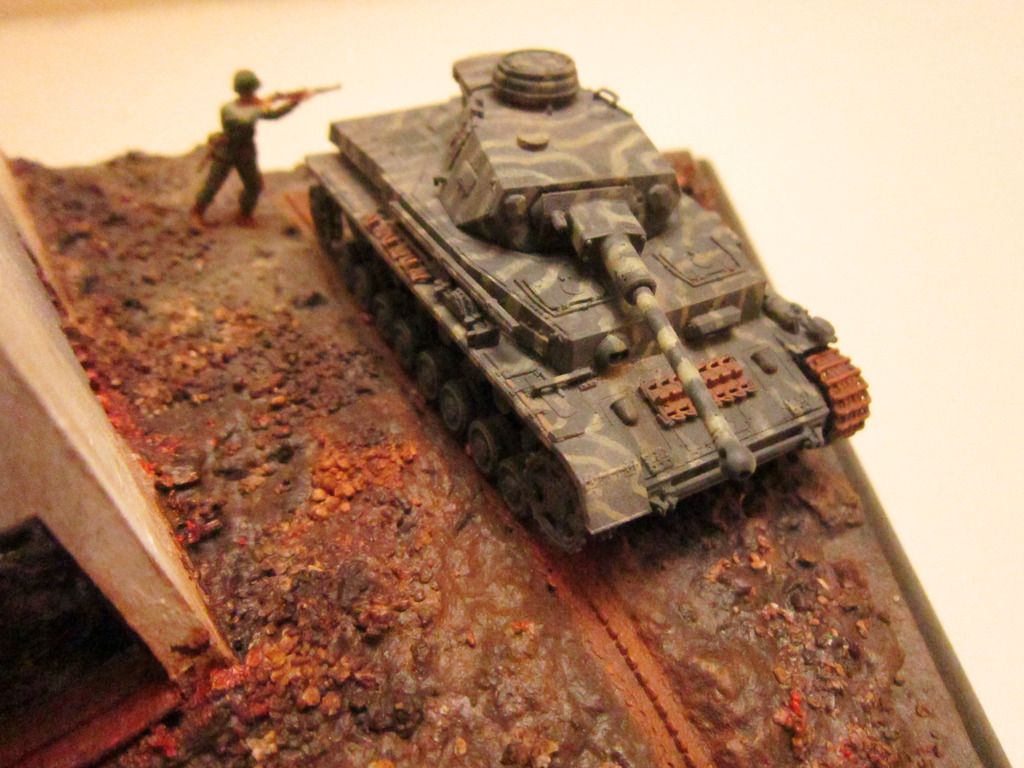
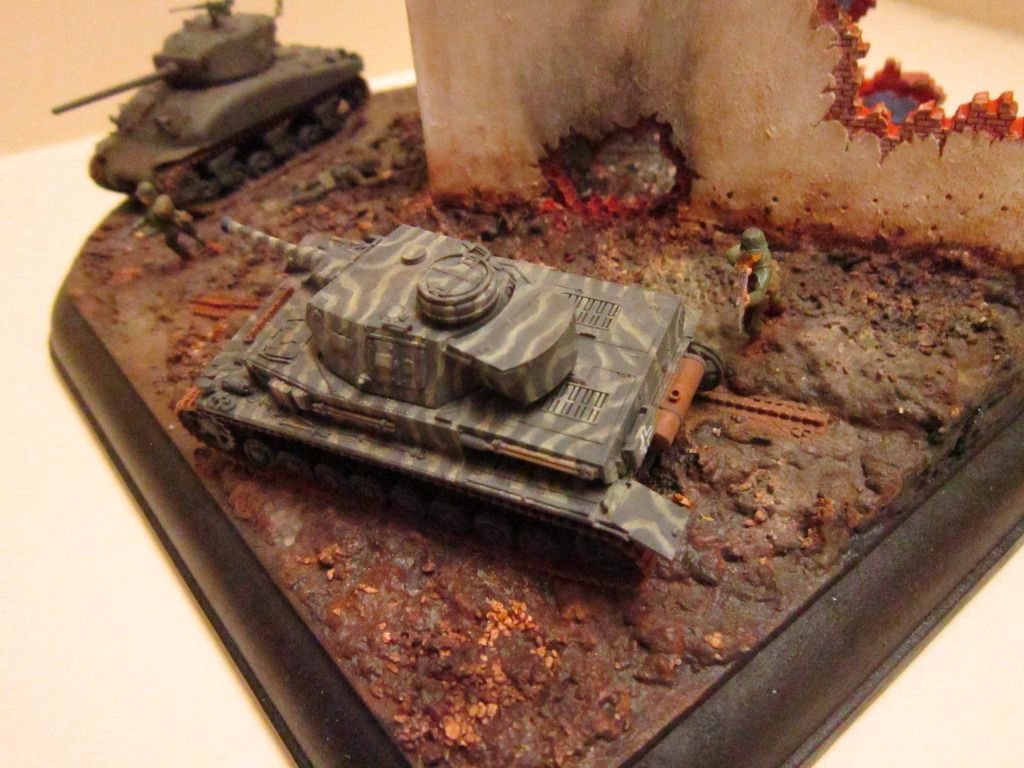
Study: Saving money by using cheap DIY products - check! Story telling? Up to the viewer... probably not so good