I'm putting my Phantom on the side for one more build while I try to learn a few more tricks about this Alclad. I had originally picked Hasegawa's Mustang for this build since they offer Harry Crim's P-51 but truthfully I think Tamiya's kit provides a more accurate and nicer build. Not to steal the show from Hasegawa...they certainly tend to pour in more detail in areas of the cockpit and any other special interest area of whatever aircraft you're comparing it to. It seems Tamiya leaves the door open for these aftermarket middle-men to support their kits. I'm sure the big whigs at Tamiya find it cost effective as well. =]
So I ended up just buying both to compare the two. Mostly because I think Hasegawa's Decal sheet of the nude pin-ups are a little better than Superscales'. The lettering and donkey are also better. So I'm pulling the decal sheet from here to use on the Tamiya Mustang. =D
I'm dropping Aires' cockpit in here as well. It's just too beautiful not to I think sometimes. Also, I feel kind of hurried to complete this build because it won't be long till i'm too busy with work to do any of this.
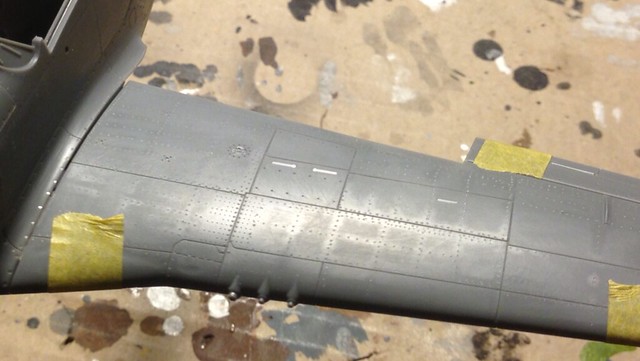
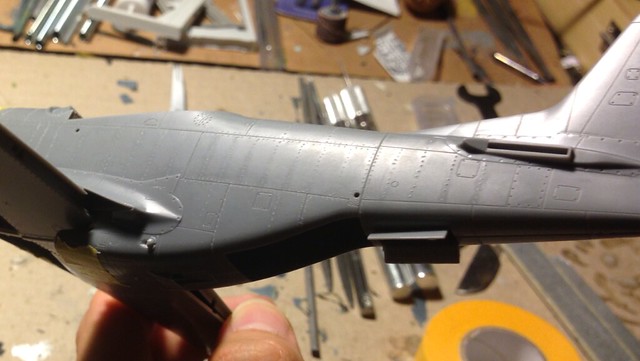
I started this build by placing the rivets into the surface. I am hoping to get the surface to warp slightly around all these dots so that it resembles something akin to light bending around the metallic surface of the these aircraft. I want for it to be large enough visually to make an impact. I had a happy accident along the way where as I was smoothing the tops of all these dots they did exactly what I was looking for before I actually meant to do it. My only concern here is after my primer...will it last? Here's what I've come up with.

2013-07-26 16.46.47 by brittvallot, on Flickr
2013-07-26 16.46.32 by brittvallot, on Flickr
2013-07-26 16.46.20 by brittvallot, on Flickr
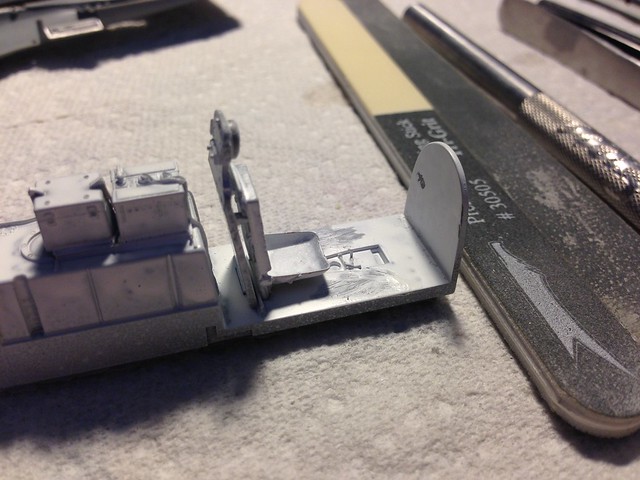
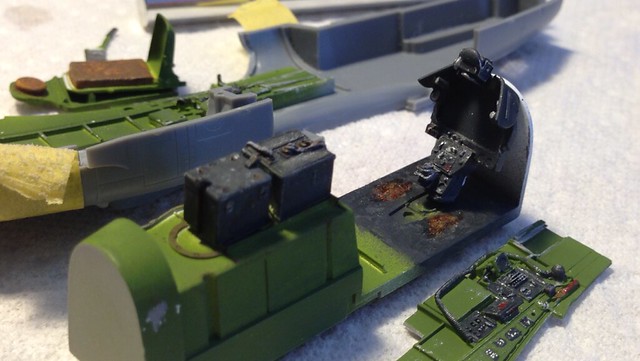
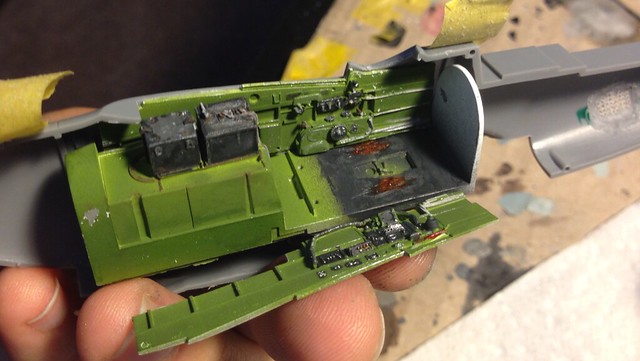
Here is the cockpit.
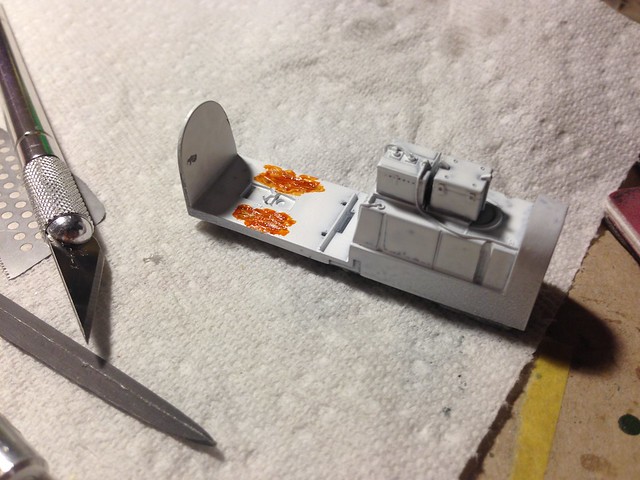
I've somewhat haphazardly ground into the floor with my rotor tool's sander. I'm trying to create a wood grain texture from the plywood floor. The Erection and Maintenance Manual called for silica sand mixed with matte black paint to be put down as a skid surface, but these would eventually wear out like everything else. I personally wanted to see some of the wooden characteristics of the cockpit and opted to include it. I painted it a Tamiya Clear Orange which i find works real well as a wood color. The deeper crevices will appear darker. I'll come back over this with a flat khaki to lighten it up some afterwards.
2013-07-25 12.53.18 by brittvallot, on Flickr
2013-07-25 23.03.43 by brittvallot, on Flickr
2013-07-26 15.13.24 by brittvallot, on Flickr
2013-07-26 15.46.55 by brittvallot, on Flickr
For the black surfaces I'm trying something new. Instead of just a plain flat black paint, I'm mixing it with Medium Blue [XF-18] to give it some wear of it's own. I had a color in mind that's like the black plastic vinyl you see on the exterior of cars and trucks that fade with the sun and oxidation. That color! =] How much of this was present on the batteries and misc equipment visible from the cockpit you ask....? Eh. I have to think it's there to some extent. Either way I think it's giving the cockpit a little more love than just dry brushing Flat Aluminum around all the corners and edges.
I still have a few things to touch up here.