Curt: I did a trial run today on the mounting, pics below. I cut a small piece of plywood as a sample base, just to have a way to work with the model in the last phases, including being able to put it on a turntable for ease of access. This is NOT the finished base, just a working base.
Below you can see the nose gear tied down. I had to relearn my Boy Scout skills a bit and did not get the knot quite tight enough; you can see the wheel is up about 1/8-1/16". I used thread for this trial run, rather than clear fishing line (which is my plan for the finished product).
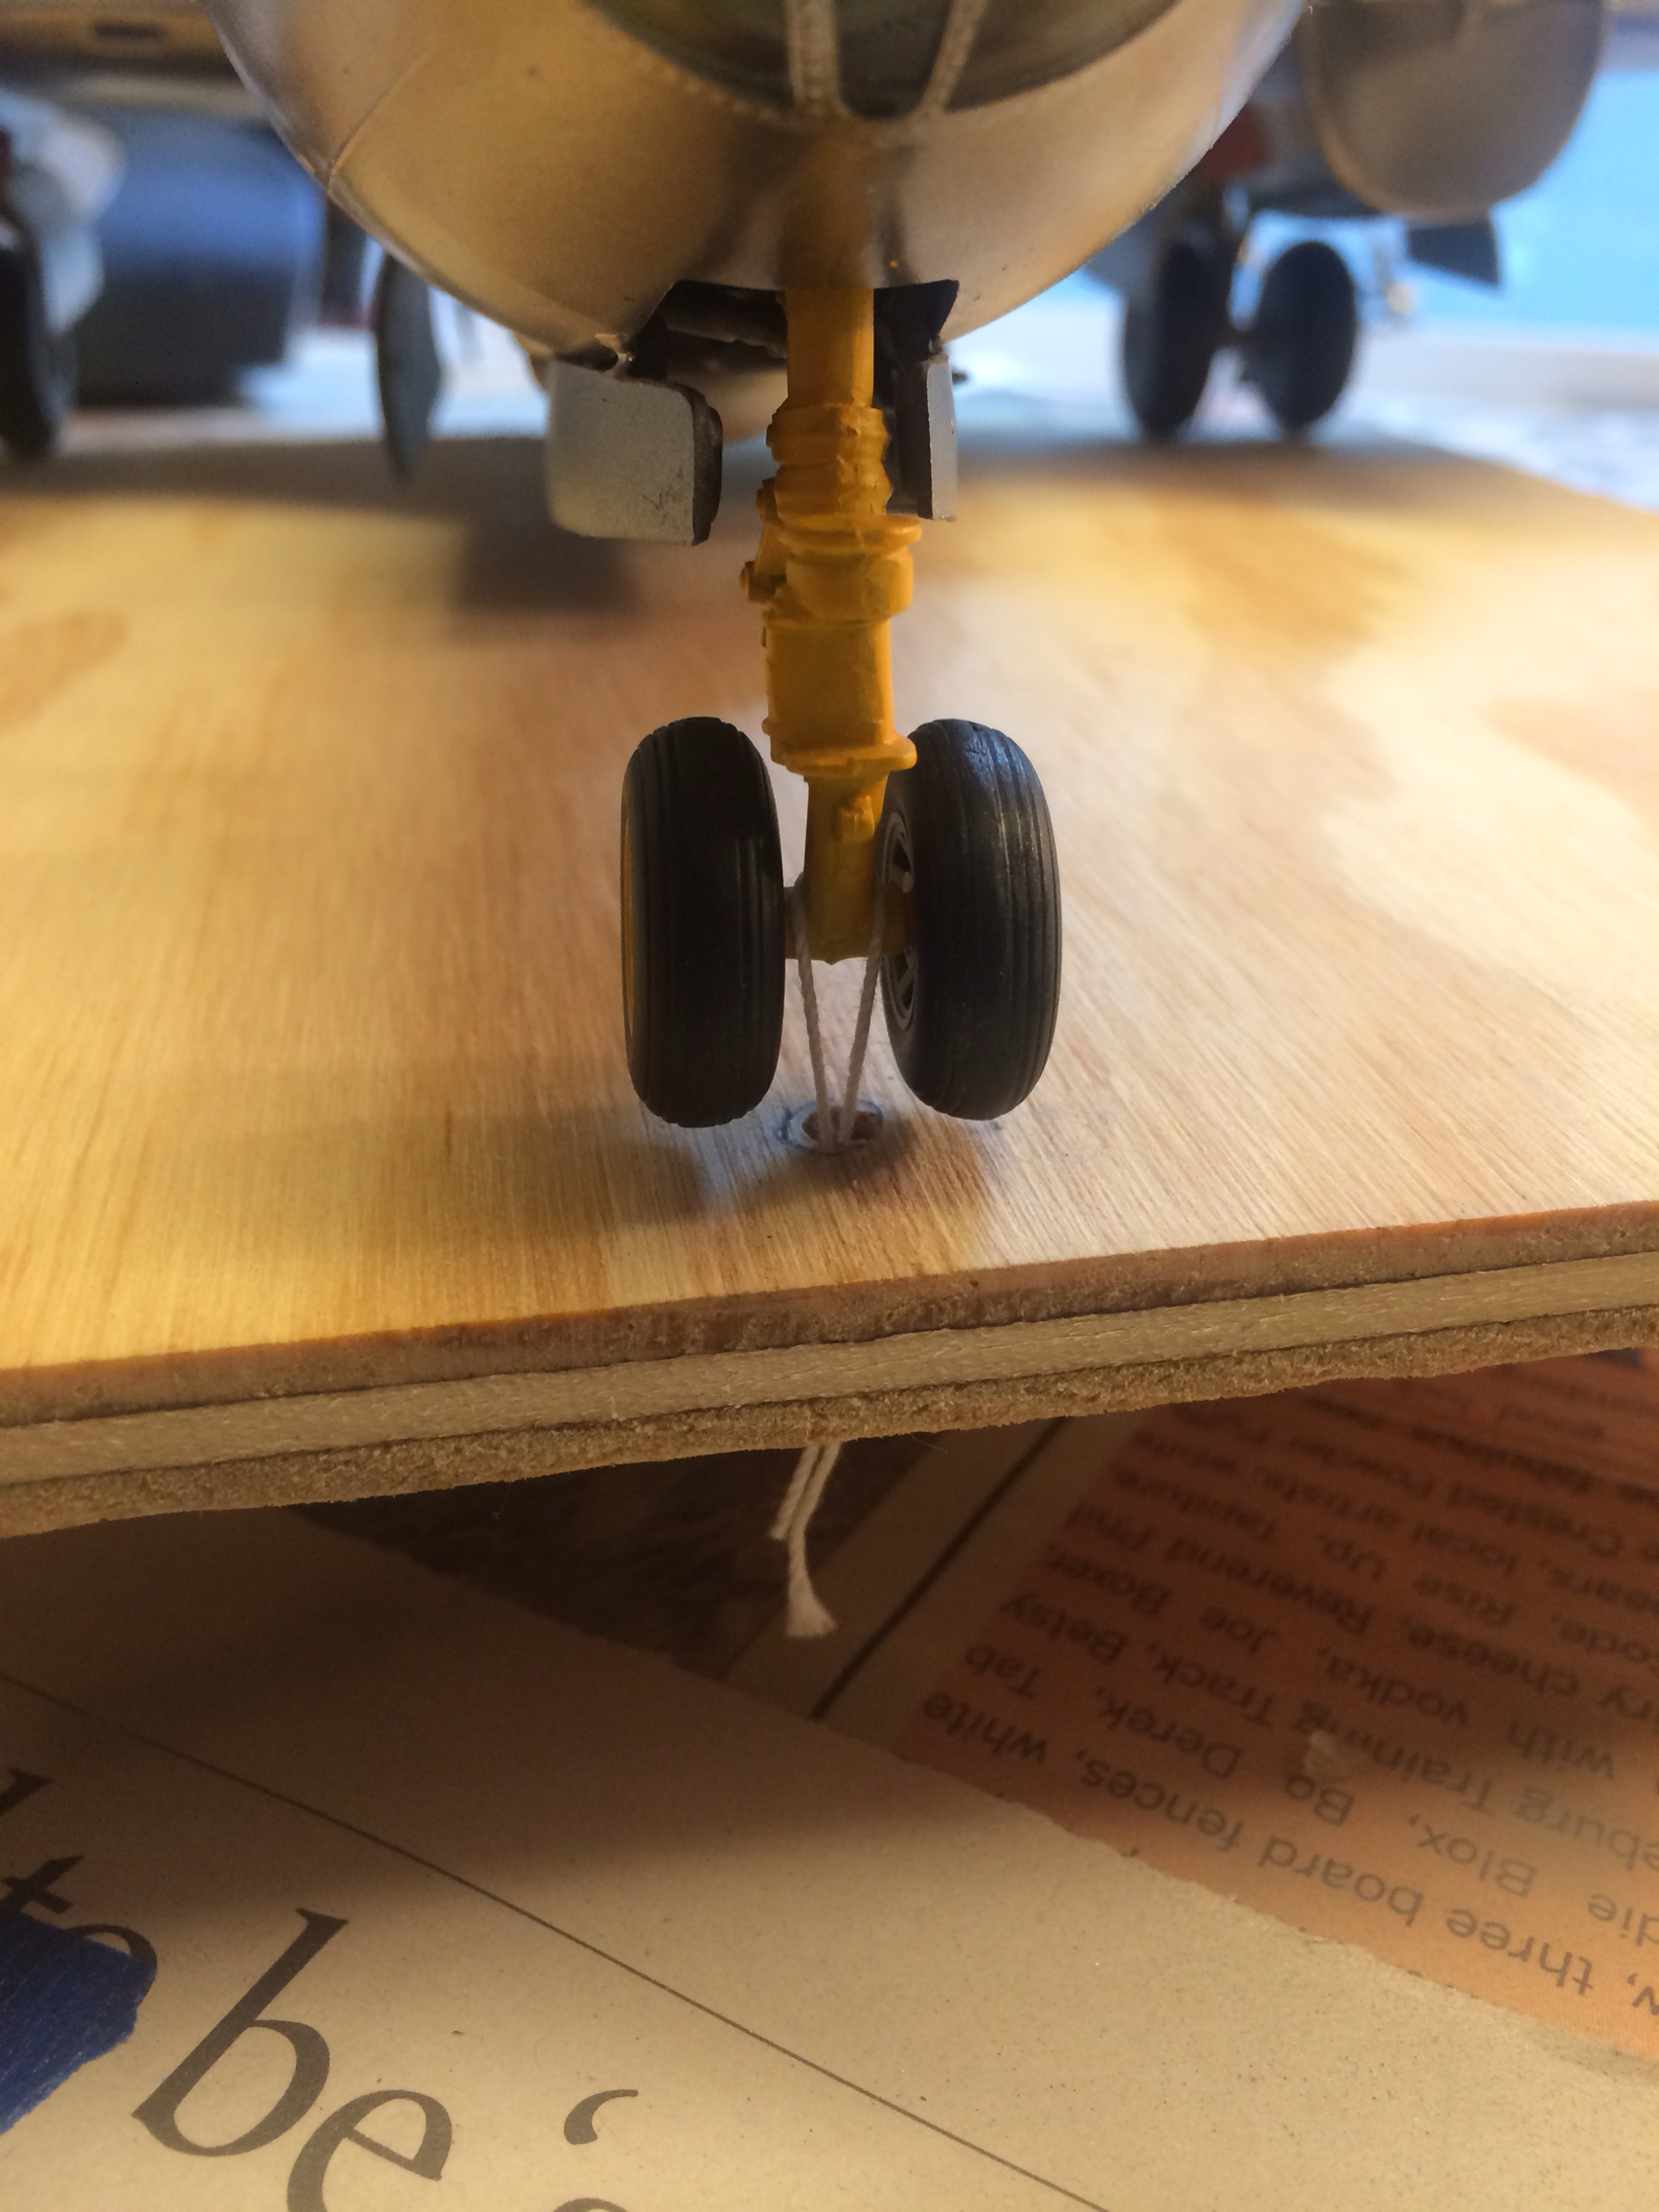 image by robertholcomb73, on Flickr
The next pic shows all three wheels tied down and the model, with its new plywood base, setting on top of a small turntable.
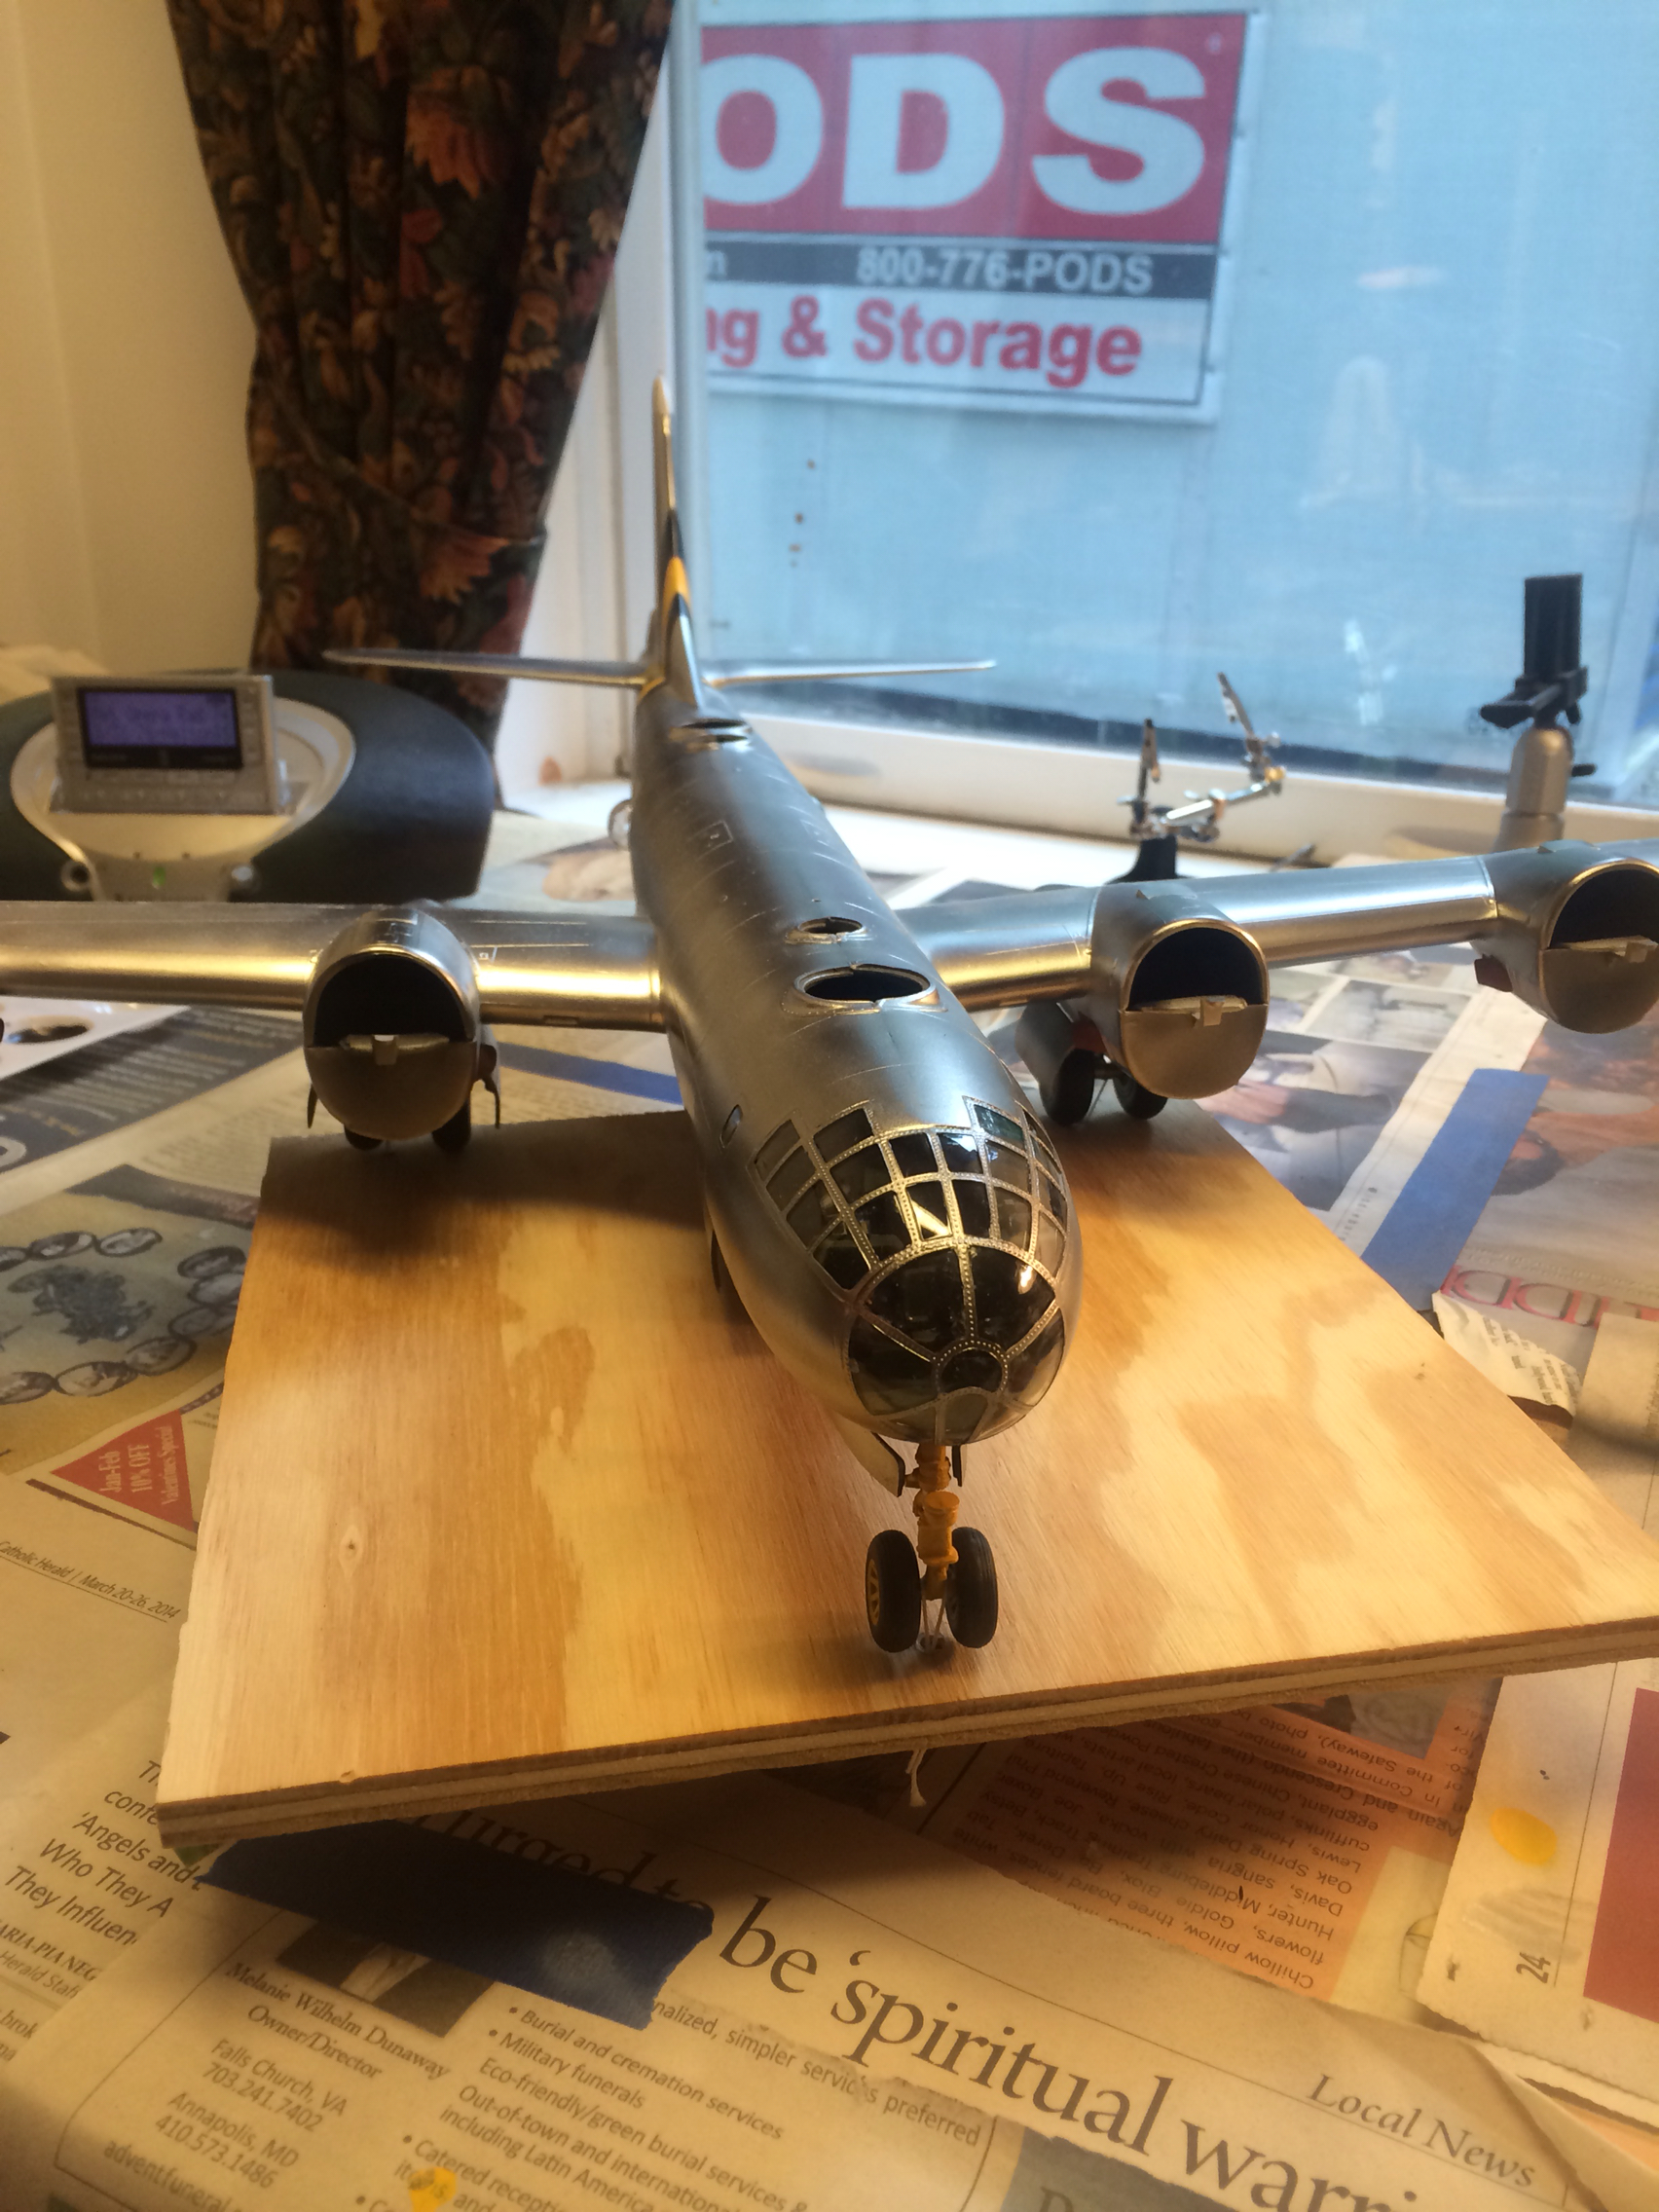 image by robertholcomb73, on Flickr
I spent the little time I had this weekend attaching the gear doors and bomb bay doors. After I had them glued in place, I mixed up a touch of epoxy and put a drop on each of the hinges for all ten doors, to strengthen the joint a bit in case of bumps.
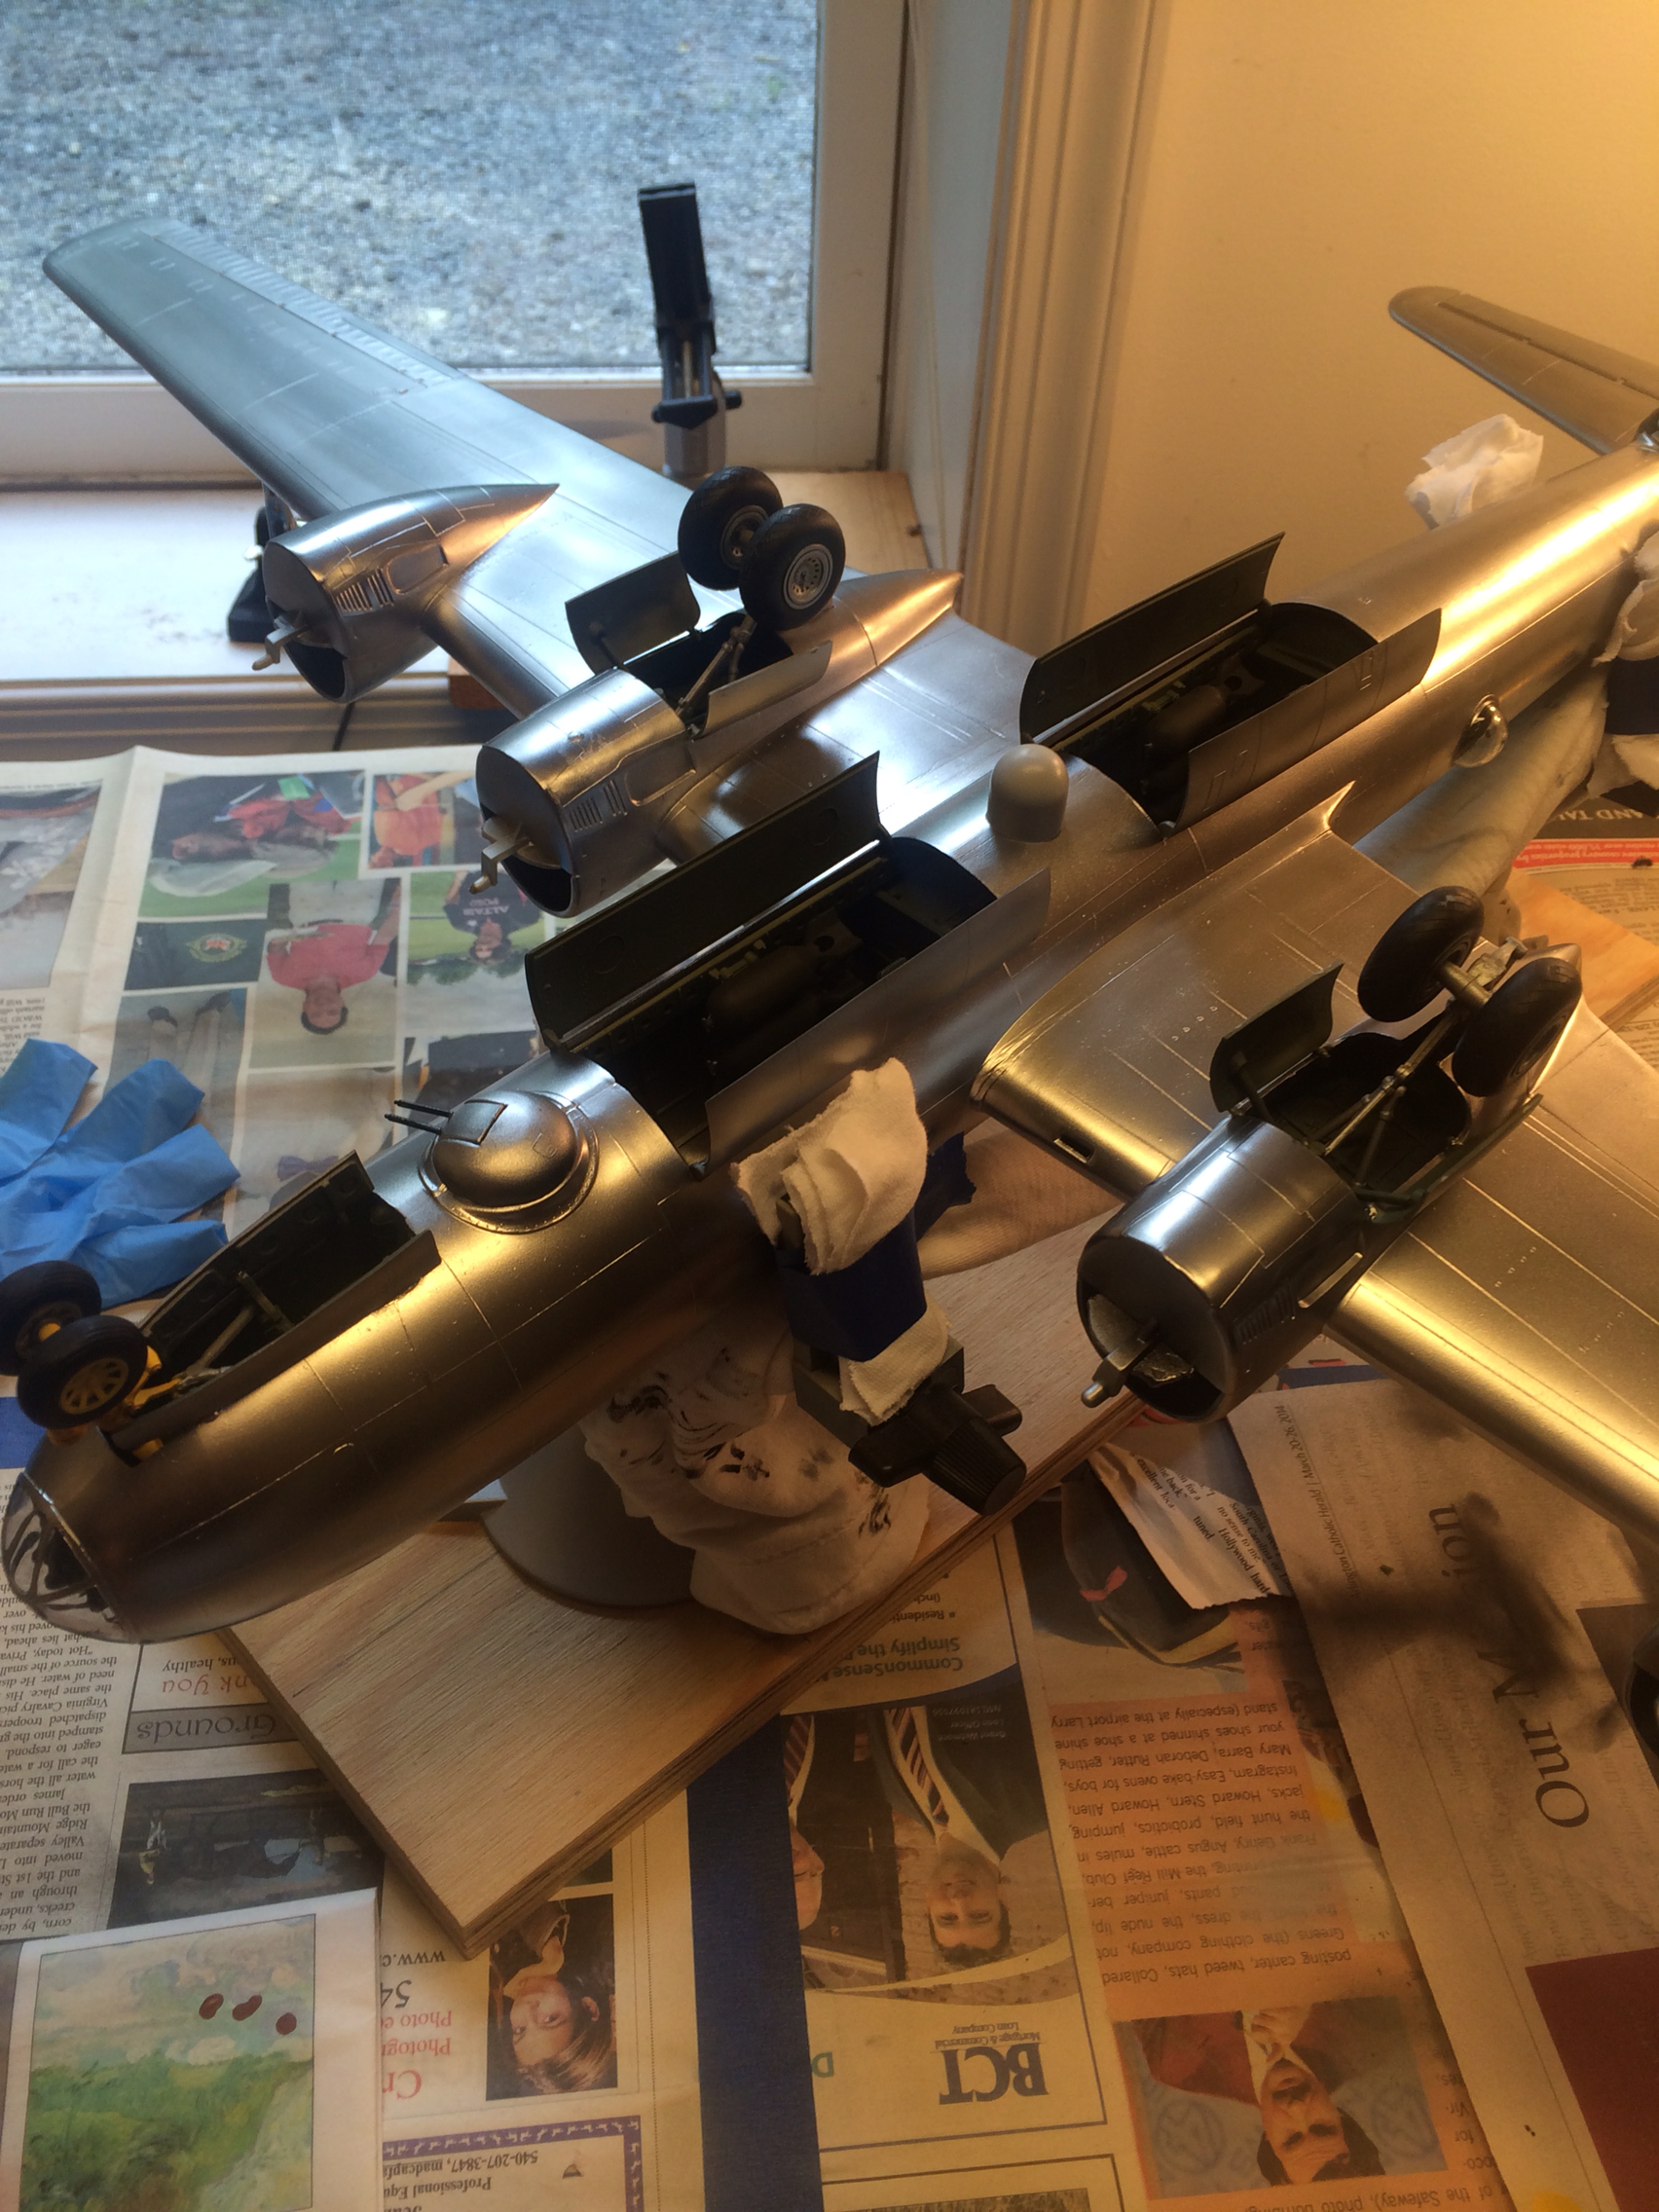 image by robertholcomb73, on Flickr
I made up some decals on my printer and got clear decal paper and a sealer. This will be another first for me. I am breaking all sorts of personal new ground on this build!
Recall that this is for a friend who won a Distinguished Flying Cross (and four Air Medals) in this airplane. I thought some sort of identification of his achievements was necessary, so I procured the full-size medals of each award (including the three oak leaf clusters on his Air Medal), along with a set of enlisted observer wings. I plan to mount the wings, and medals, alongside a brass engraved plaque with his name on it on the actual base. I don't plan on doing a diorama base, just a plain wooden one. There should be plenty of room!
Stay tuned, film at eleven...
cheers, Bob