SEARCH FINESCALE.COM

Enter keywords or a search phrase below:

Hasegawa F-4G Phantom- Finished 2-19 Phynally

10420 views
67 replies
1 rating 2 rating 3 rating 4 rating 5 rating
  • Member since
    March 2010
  • From: MN
Hasegawa F-4G Phantom- Finished 2-19 Phynally
Posted by Nathan T on Friday, May 22, 2015 8:50 AM

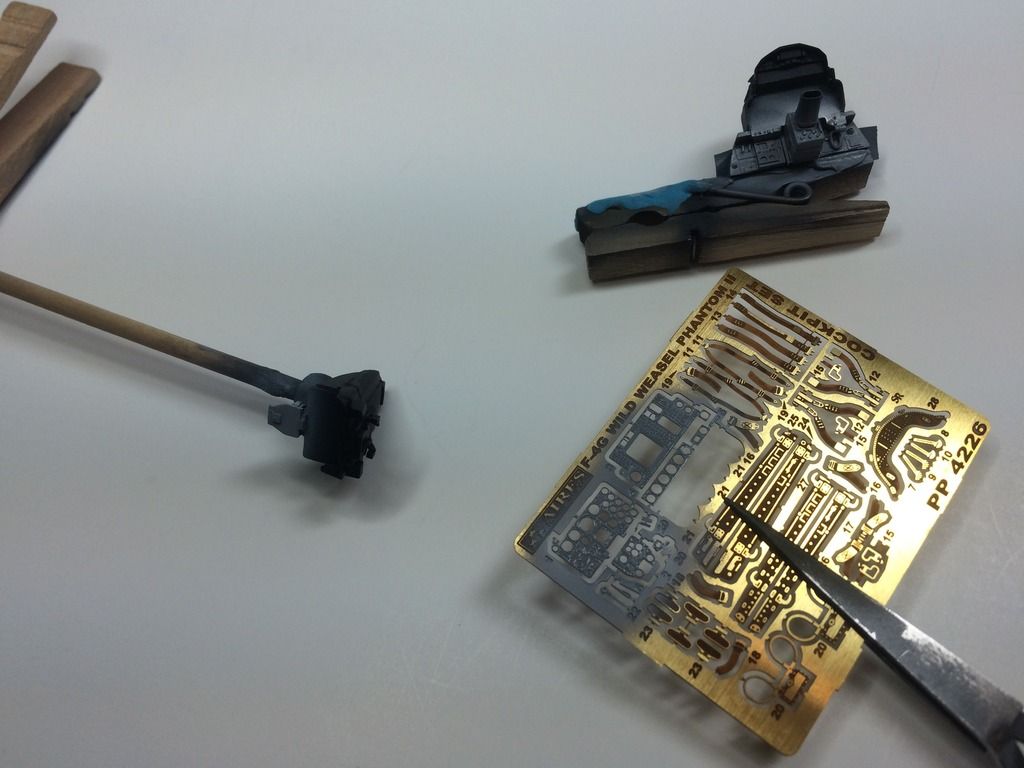
Moving on to another Phantom, this time the Wild Weasel from Hasegawa. The fit and detail of this old kit is phenomenal. Here are my usual goodies out of the bag:

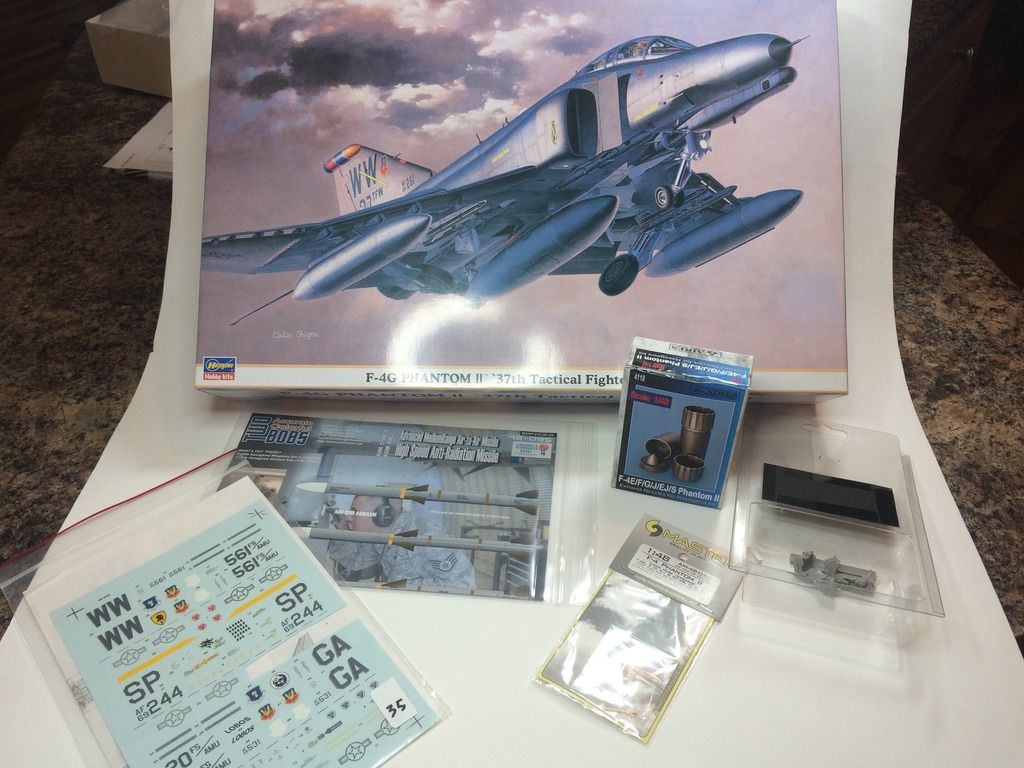
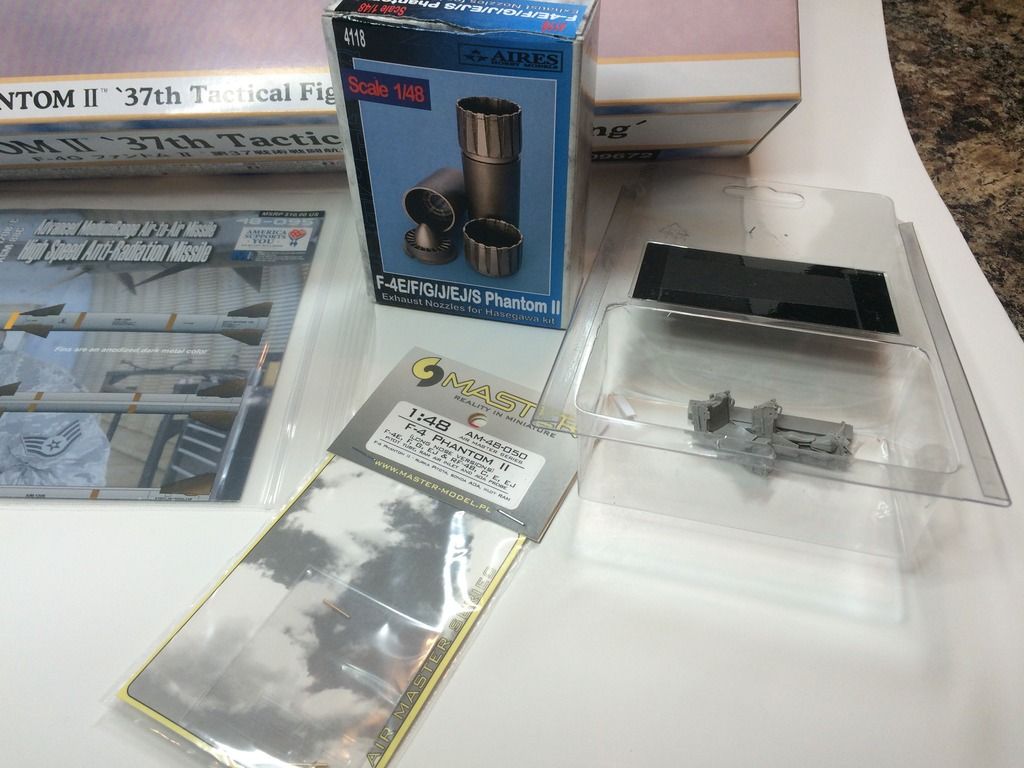
Aires cockpit/Exhaust, Master Pitot tubes, Harm missle decals form Two Bobs, and an old set of Superscale decals. I wanna go with a 4 Harm load, with a centerline tank and 2 aft mounted sparrows. I'll use the 2 Harms from my Hasegawa weapons set, but will need 2 more, probably from Eduard's Brassin range. 

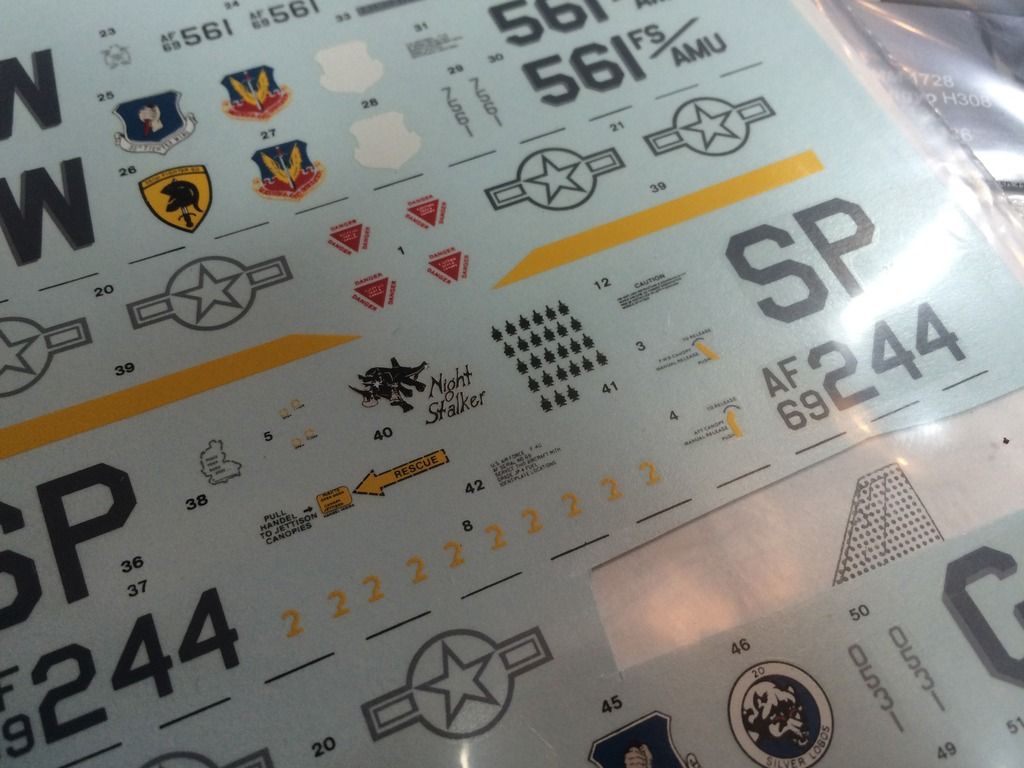
...Thinking of doing "night Stalker":

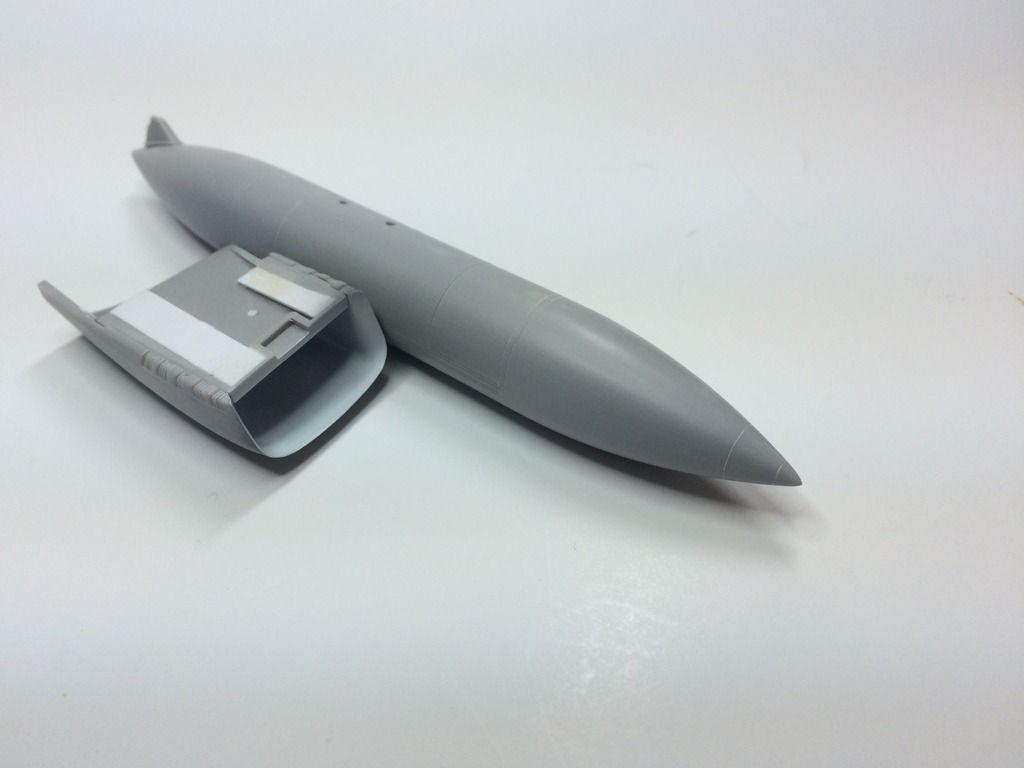
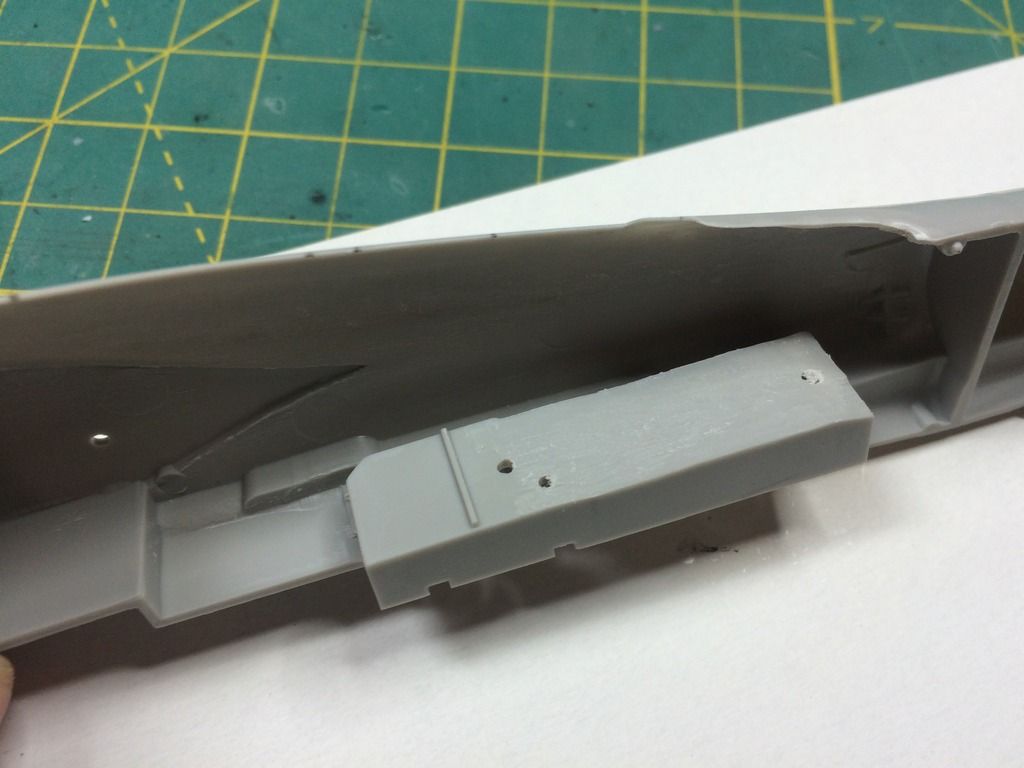
First painted up the intakes gloss white before gluing them on. Dont' forget to plug gaps on the back side of Hasegawa's intakes, as they will show otherwise:

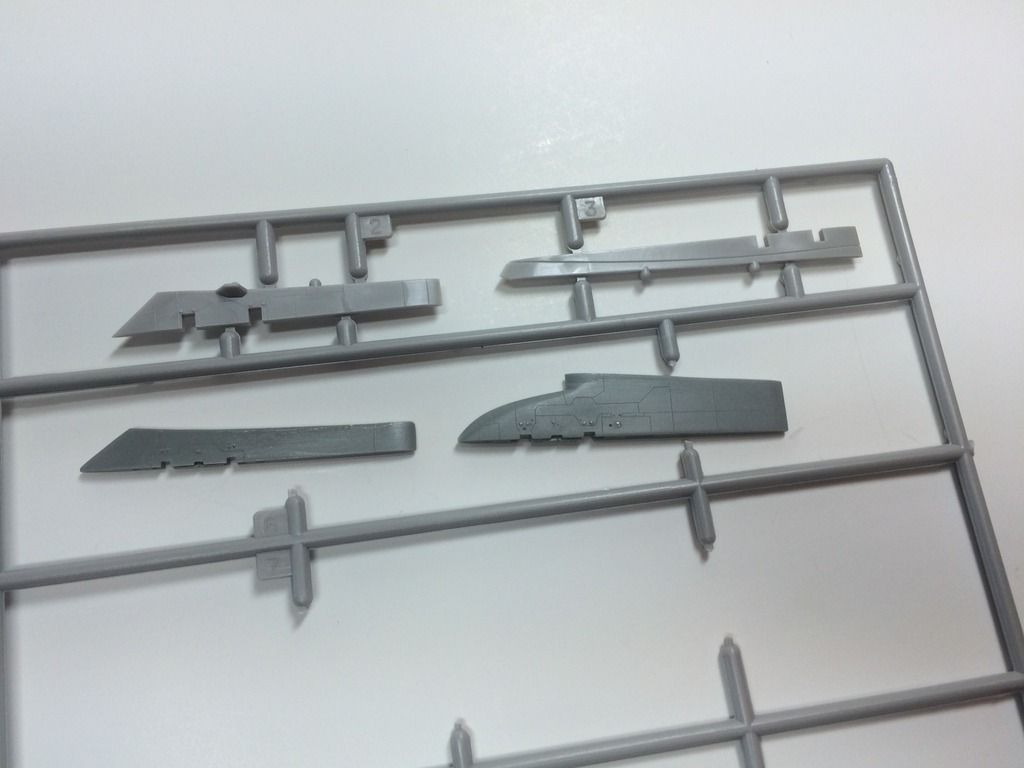
Cut out the ailerons to pose them drooped a bit:

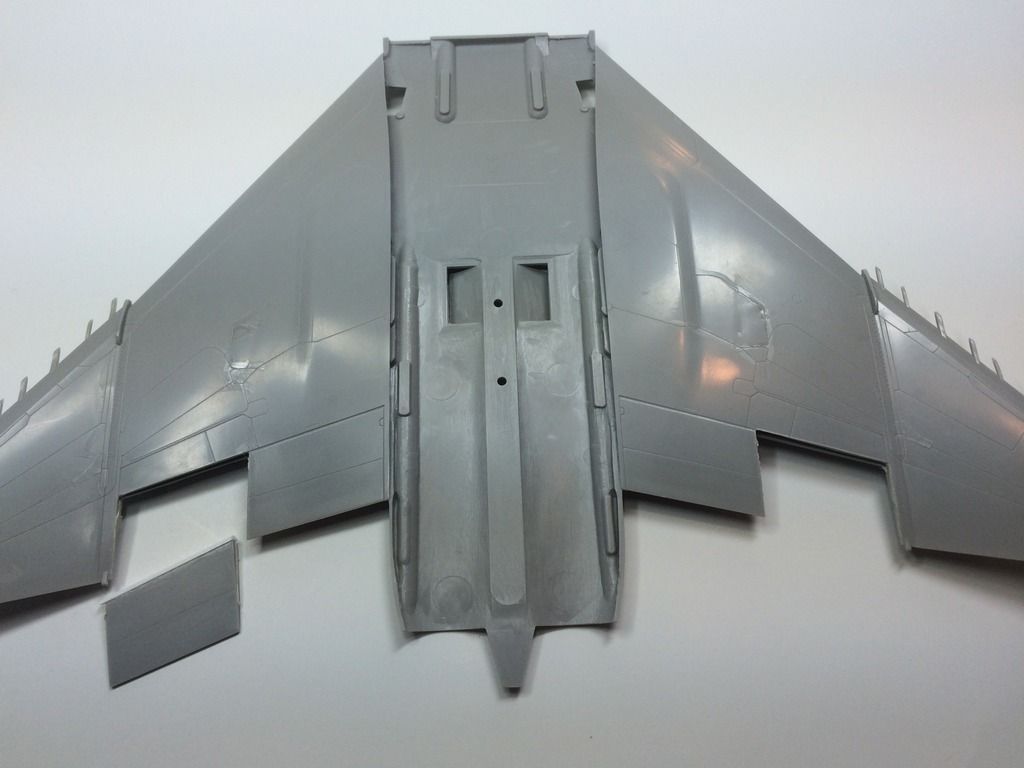
The wing halves fit perfectly together. I then ground away  to fit the cockpit and primed and painted the base color:

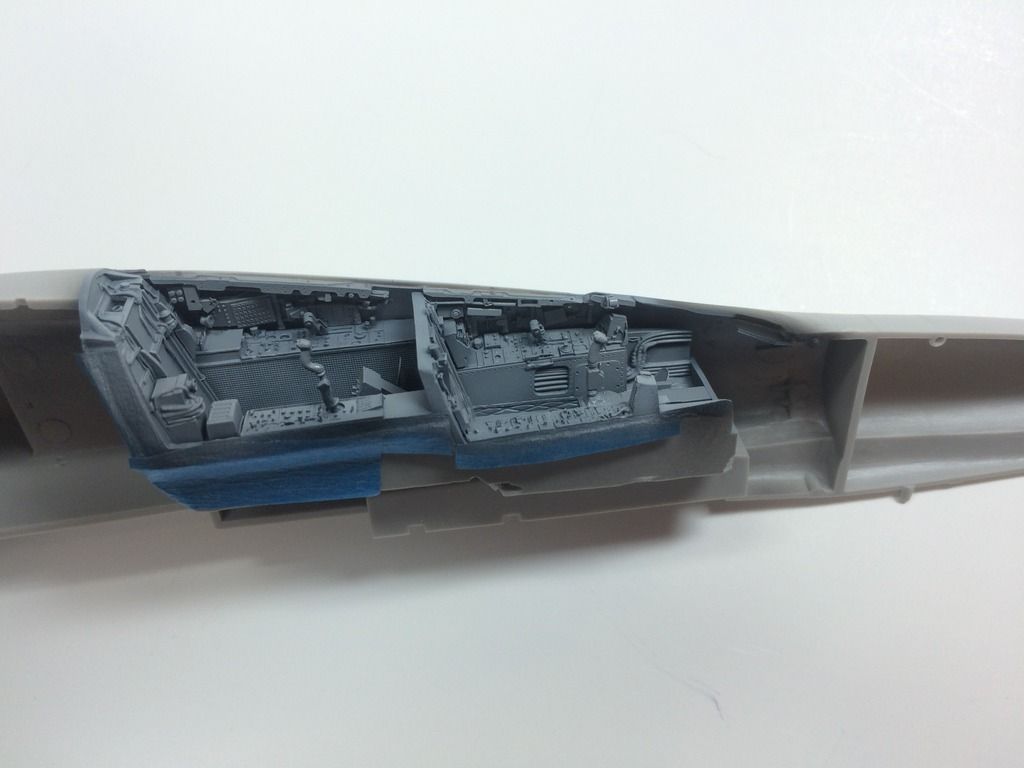
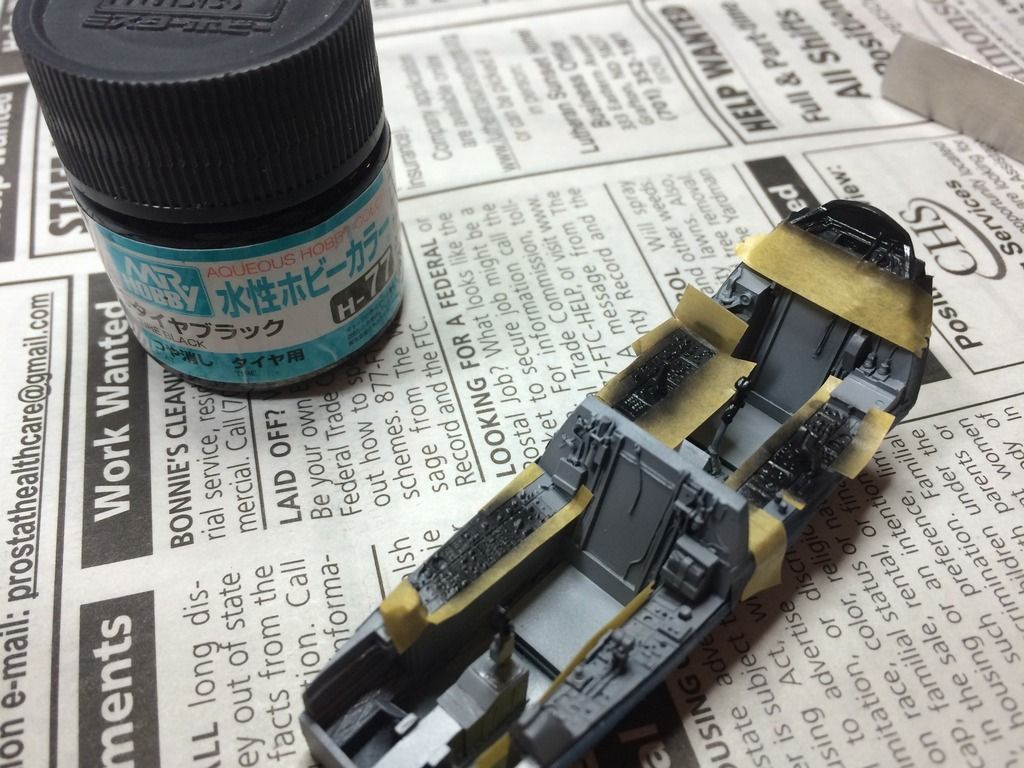
Then masked off a few panels and airbrushed black:

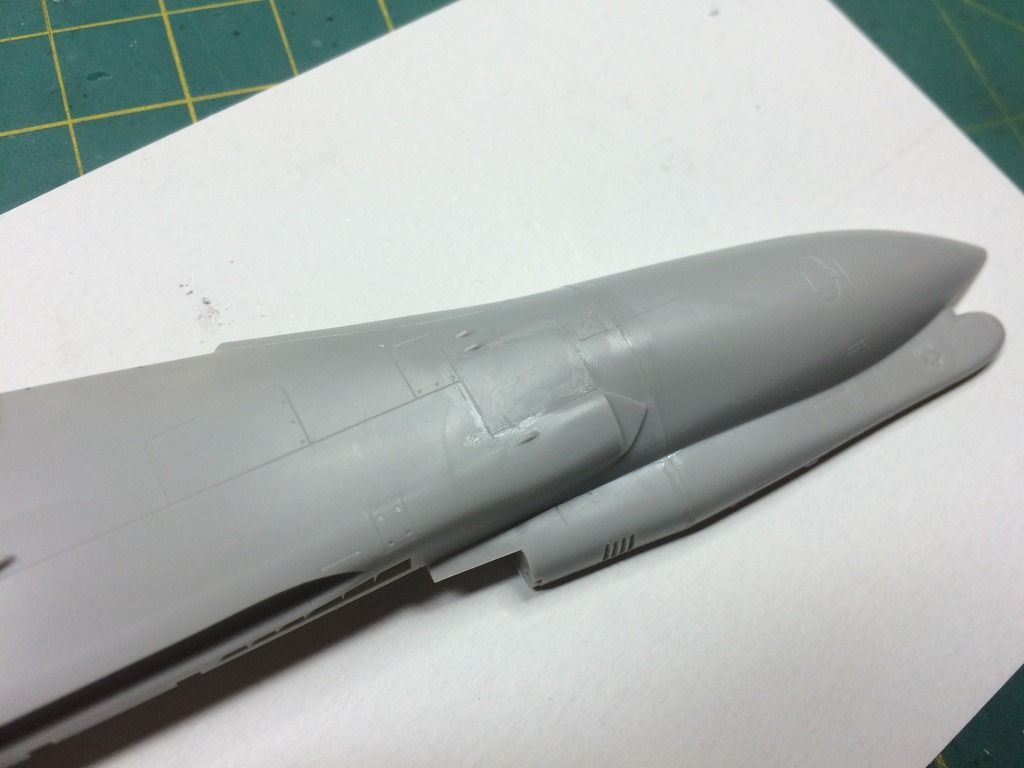
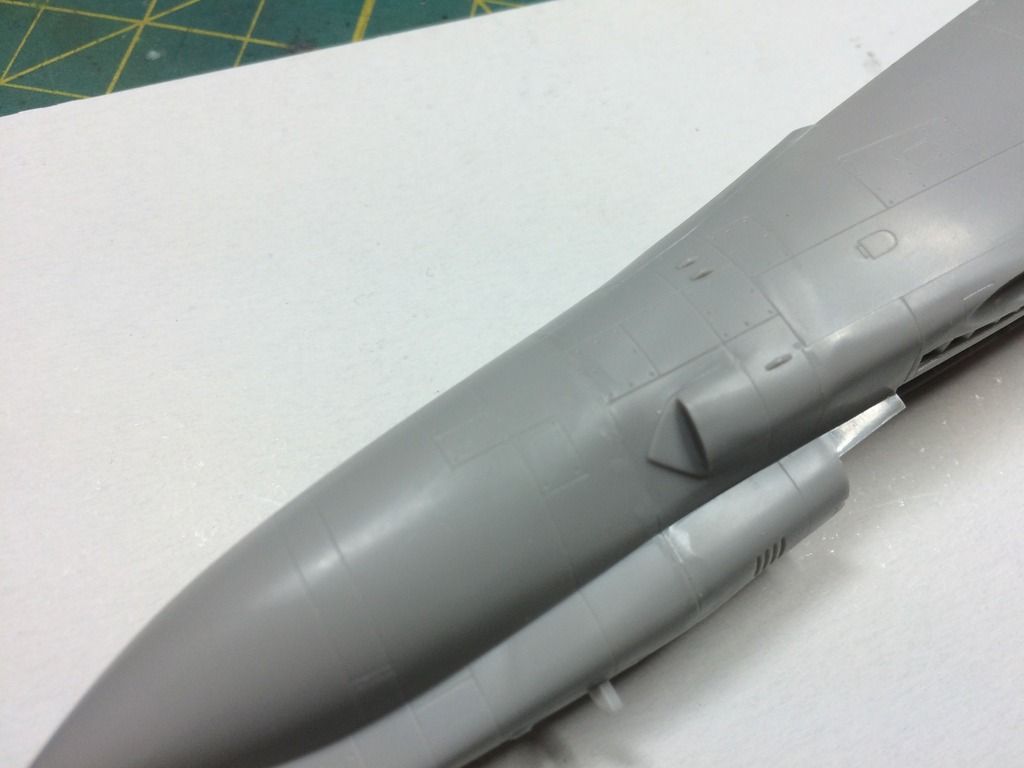
I then moved on to more assembly. The nose halves were fitted first to the fuselage halves for a near perfect alignment:

I cleaned up the True Details resin pylons, as they are better than the kit ones, and I'll need different outboads to mount the Harms to anyway, instead of the outboard fuel tanks:

Nose wheel bay nees a bit of grinding off the roof:

Hopefully more to come over the weekend!


  • Member since
    December 2006
  • From: Phoenix, AZ
Posted by Fly-n-hi on Friday, May 22, 2015 9:28 AM

Very cool!  Its nice to hear it when a kit just fits together really well.  It makes life so much easier.

  • Member since
    September 2012
Posted by GMorrison on Friday, May 22, 2015 10:51 AM

Looks like an all-star line up. Is Two Bobs still in business/

 Modeling is an excuse to buy books.


  • Member since
    March 2010
  • From: MN
Posted by Nathan T on Friday, May 22, 2015 11:02 AM

GMorrison

Looks like an all-star line up. Is Two Bobs still in business/

...MMMMmm, sort of, definately not pumping out new decal sheets like they used too. I know he's traveling internationally so I think the website is defunct.


  • Member since
    February 2013
Posted by tomwatkins45 on Friday, May 22, 2015 9:34 PM

I'll look forward to watching this. The Hasegawa F-4s, despite being 30 years old or so are still outstanding kits.

Tom

  • Member since
    June 2013
Posted by bvallot on Saturday, May 23, 2015 12:39 AM

Another Phantom!  =]  By all means, don't spare the details...

=D

On the bench:  

Tamiya F4U-1  Kenneth Walsh


  • Member since
    February 2012
  • From: Olmsted Township, Ohio
Posted by lawdog114 on Saturday, May 23, 2015 2:30 AM

Nice start Nathan.  The Phantom is one jet I do like.  I'll be popping in here checking this one out,

 "Can you fly this plane and land it?...Surely you can't be serious....I am serious, and don't call me Shirley"


  • Member since
    March 2010
  • From: MN
Posted by Nathan T on Saturday, May 23, 2015 8:37 AM

Thanks for tagging along guys.


  • Member since
    June 2004
  • From: 29° 58' N 95° 21' W
Posted by seasick on Saturday, May 23, 2015 11:35 AM
I built that kit back in the early 1990s. I was (pleasantly) surprised about how detailed it was.

Chasing the ultimate build.

  • Member since
    December 2002
  • From: Bury St Edmunds, Suffolk, England
Posted by Bish on Saturday, May 23, 2015 11:39 AM

Nice start Nathan, and a nice selection of goodies you have there.

I am a Norfolk man and i glory in being so


On the bench: Airfix 1/72nd Harrier GR.3/Fujimi 1/72nd Ju 87D-3

  • Member since
    October 2006
  • From: Tucson, AZ
Posted by Archangel Shooter on Monday, May 25, 2015 3:15 PM

Love those Phantoms! Even the Air Force ones.

 Your image is loading...

 On the bench: So many hanger queens.


  • Member since
    June 2013
Posted by RobGroot4 on Monday, May 25, 2015 6:33 PM

The Two Bobs website still works, they have some new stuff on there and I just ordered stuff from them today.  If you haven't used them before they have top notch decals.

Nathan, can't wait to see how this Phantom turns out after your previous masterpiece.  

Groot

"Firing flares while dumping fuel may ruin your day" SH-60B NATOPS

  • Member since
    March 2010
  • From: MN
Posted by Nathan T on Tuesday, May 26, 2015 7:54 AM

Thanks for the vote of confidence fellas! Seat belts done up and bent to shape using the Aires PE:


  • Member since
    December 2006
  • From: Phoenix, AZ
Posted by Fly-n-hi on Tuesday, May 26, 2015 9:16 AM

Nice job on the seatbelt!  I've done quite a few myself but I just now realized that you're supposed to bend them around like that.  Yeah, I'm quick.

  • Member since
    March 2010
  • From: MN
Posted by Nathan T on Tuesday, May 26, 2015 9:55 AM

You mean the shoulder straps? Depends, I modeled mine in the stowed position. Tied up waiting for the pilot to get in. That way, they aren't left hanging and the pilot can buckle in real quick.


  • Member since
    February 2007
  • From: Brunswick, Ohio
Posted by Buckeye on Tuesday, May 26, 2015 11:18 AM

Nice work on those PE belts.

Mike

  • Member since
    March 2010
  • From: MN
Posted by Nathan T on Friday, May 29, 2015 7:34 AM

Glad you guys like the seats. Here is the cockpit awaiting a wash:


  • Member since
    April 2015
  • From: New Hampshire, USA
Posted by UKguyInUSA on Saturday, May 30, 2015 8:35 AM

This looks like a highly detailed kit...looks awesome so far! look forward to seeing it all come together!

Cheers,

Martin : )

  • Member since
    May 2013
  • From: Indiana, USA
Posted by Greg on Saturday, May 30, 2015 9:35 AM

Thanks for posting this WIP, and please do keep it coming Nathan.

  • Member since
    December 2004
  • From: Houston, Texas
Posted by panzerpilot on Saturday, May 30, 2015 10:53 AM

Lookin' really nice. Love the wild weasel. No pressure!...but you're gonna have a hard time beating that super sabre you built!!

-Tom

  • Member since
    March 2010
  • From: MN
Posted by Nathan T on Saturday, May 30, 2015 12:58 PM

Thanks for checking in you guys. Tom- At least this 2 gray camo will be much easier than the Super SabreYes


  • Member since
    January 2014
  • From: Nampa, Idaho
Posted by jelliott523 on Sunday, May 31, 2015 1:09 PM

Nathan, I'm getting ready to start my F-4G as well and have the Aries Cockpit set for it too.  Can you give me any tips on installing the resin. i've never used it before and I see that the Aries resin doesnt include any information as to what needs to be done to the kit parts to get it to fit. I've started removing the original molded on detail from the cockpit walls, and I believe I will also have to remove the glareshield that is on the kit piece.

On the Bench:  Lots of unfinished projects!  Smile

  • Member since
    March 2010
  • From: MN
Posted by Nathan T on Sunday, May 31, 2015 4:13 PM

Sure thing J. Sand away the fuselage sides a bit thinner, and also sand thinner the resin side walls; especially the raised part along the bottom on the back of the side walls. Just sand away until the resin sidewalls fit nice inside the fuselage, so there's no gap at the top sills. This is where Aires molds the canopy lock mechanism. I had to use a bit of filler on the top sills on my build. You'll have to grind the top of the wheel bay insert a bit thinner. I have had the best luck glueing the resin sidewalls to the fuselage first, then fitting the tub in. I don't glue them to the tub first. This is because the curve of the resin sidwalls doesn't match the curvature of the fuselage. Way to go Aires, huh? I'll post some more cockpit pics up soon.


  • Member since
    December 2002
  • From: Bury St Edmunds, Suffolk, England
Posted by Bish on Sunday, May 31, 2015 4:29 PM

Great looking pit and those IP's looks really well detailed.

I am a Norfolk man and i glory in being so


On the bench: Airfix 1/72nd Harrier GR.3/Fujimi 1/72nd Ju 87D-3

  • Member since
    January 2014
  • From: Nampa, Idaho
Posted by jelliott523 on Sunday, May 31, 2015 5:46 PM

Thank you sir for the info, I was doing some dry fitting this past weekend and wanted to pull my hair out, but its already gone so I just got up from the bench and walked away  LOL

On the Bench:  Lots of unfinished projects!  Smile

  • Member since
    December 2006
  • From: Phoenix, AZ
Posted by Fly-n-hi on Sunday, May 31, 2015 6:11 PM

The cockpit is looking great!

  • Member since
    March 2010
  • From: MN
Posted by Nathan T on Sunday, May 31, 2015 7:01 PM

Thanks Bish and Fly.  I'm a big fan of the aires pe and acetate panels. A challenge to paint but worth it.


  • Member since
    February 2013
Posted by tomwatkins45 on Sunday, May 31, 2015 7:57 PM

Nathan, It's looking really good so far. Thanks for the tip on the Aires cockpit sidewalls. I've wondered if that might be easier than assembling the complete tub. I'll surely give it a try next time.

Tom

  • Member since
    June 2004
  • From: 29° 58' N 95° 21' W
Posted by seasick on Sunday, May 31, 2015 8:00 PM
Wow!!!!!!!!!!!!!

Chasing the ultimate build.

  • Member since
    June 2013
Posted by RobGroot4 on Monday, June 1, 2015 3:06 AM

Nathan,

 Always fun to watch your builds and I learn a ton from each of them.  Thanks for sharing!

Groot

"Firing flares while dumping fuel may ruin your day" SH-60B NATOPS

JOIN OUR COMMUNITY!

Our community is FREE to join. To participate you must either login or register for an account.

SEARCH FORUMS
FREE NEWSLETTER
By signing up you may also receive reader surveys and occasional special offers. We do not sell, rent or trade our email lists. View our Privacy Policy.