Revell Pro-Modeler 1/32 Junkers Ju 88A-1 Bomber "Build Update #2" (2.9.16)
Hello Chaps,
Ten days have passed since my last update and now I have progressed enough to share my second update. In "Build Update #1" I had built all the sub-assemblies of the cockpit, primed and applied base coat colors ready to begin detailing them and then assembling them into the fuselage halves.
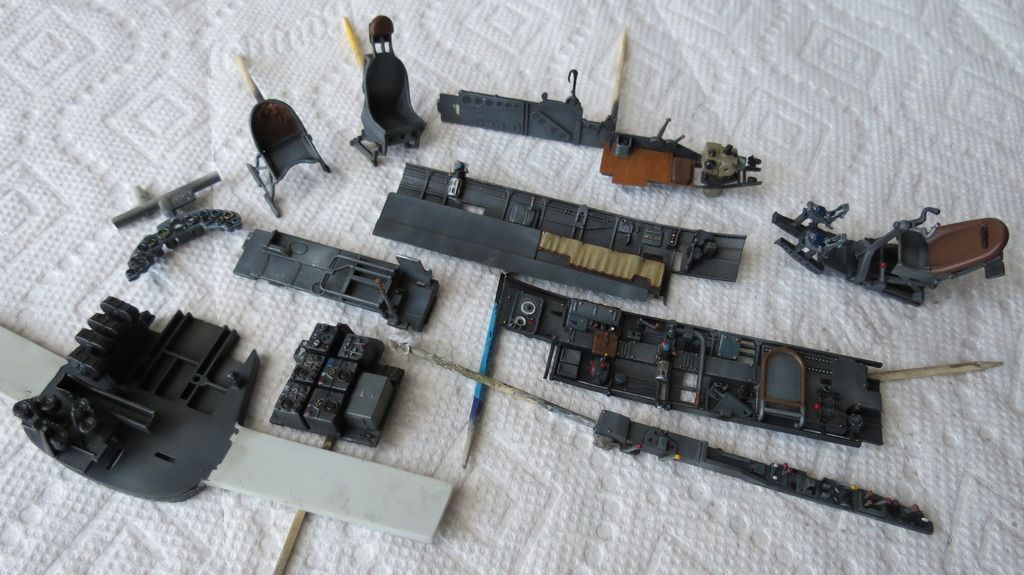
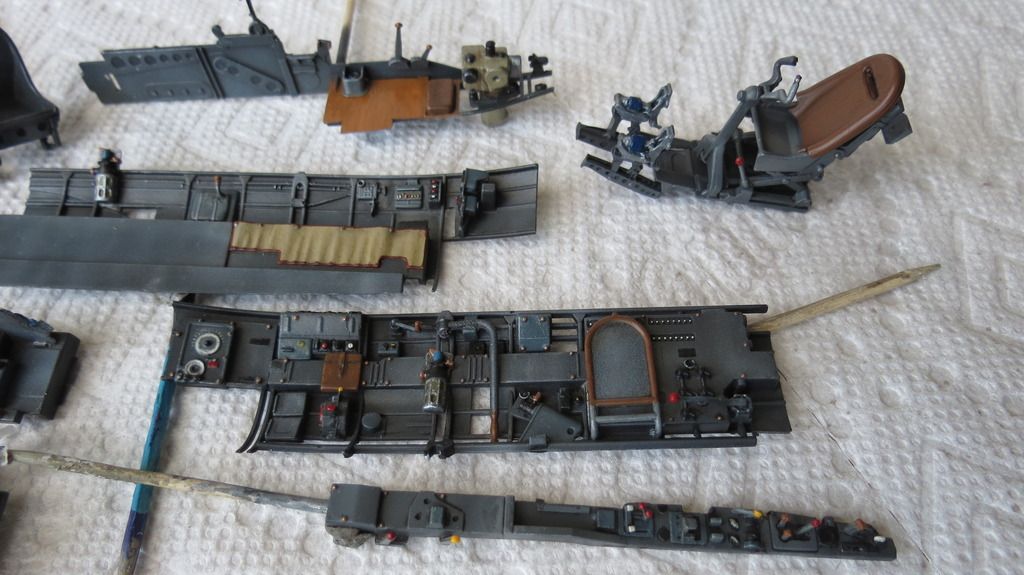
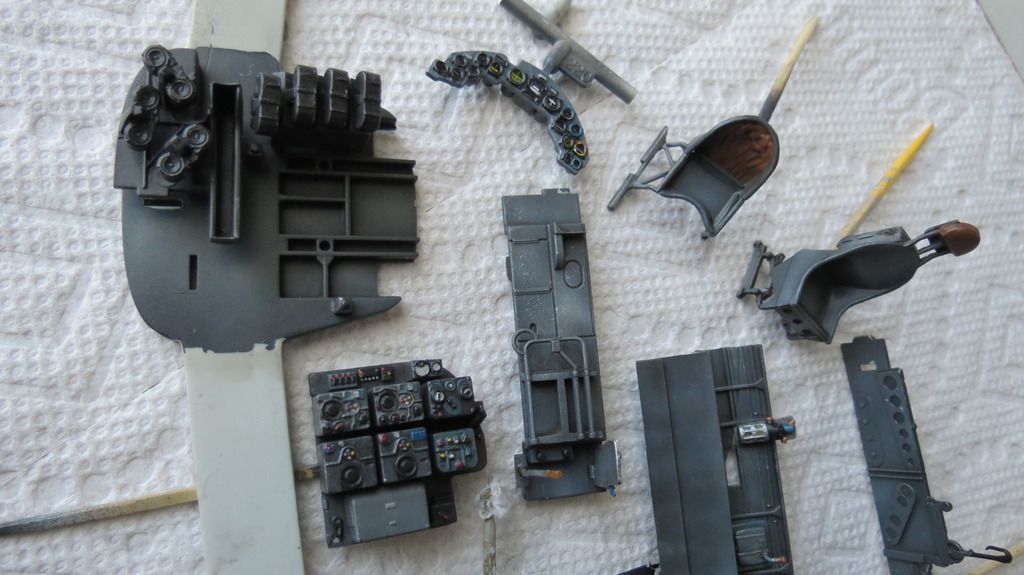
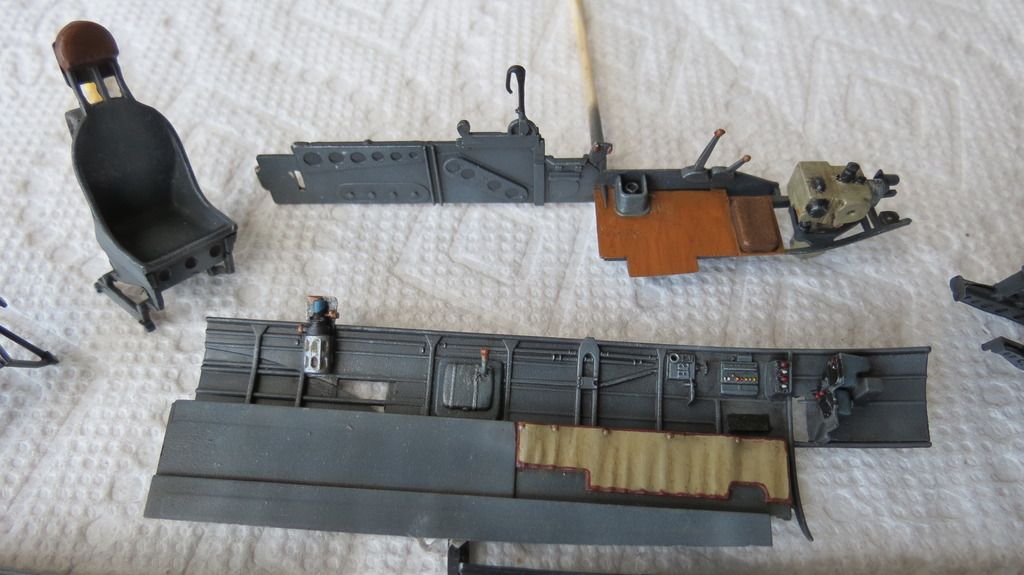
The following three images show all of the sub-assemblies detail painted followed by images of the separate sub-assemblies for closer inspection:
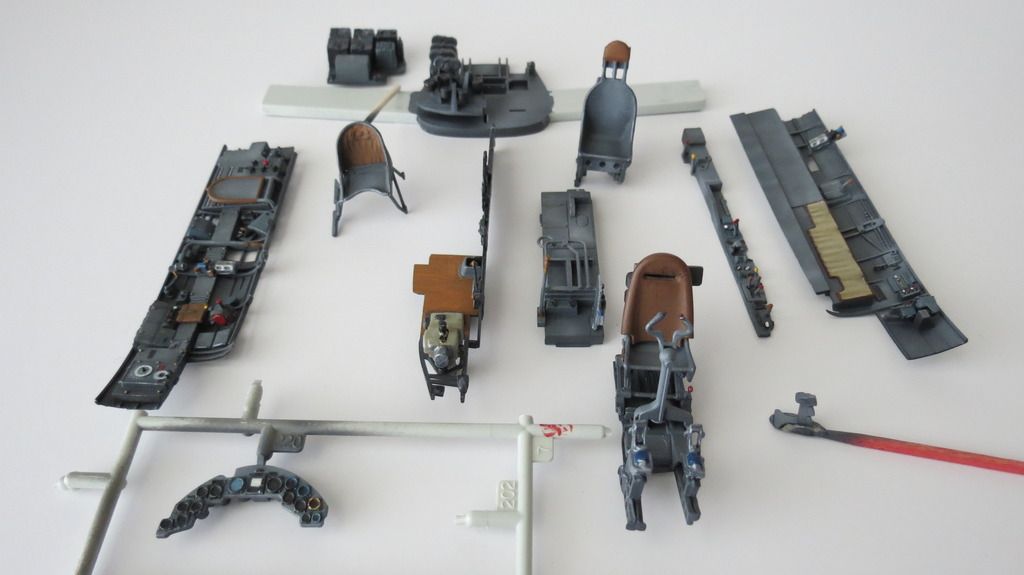
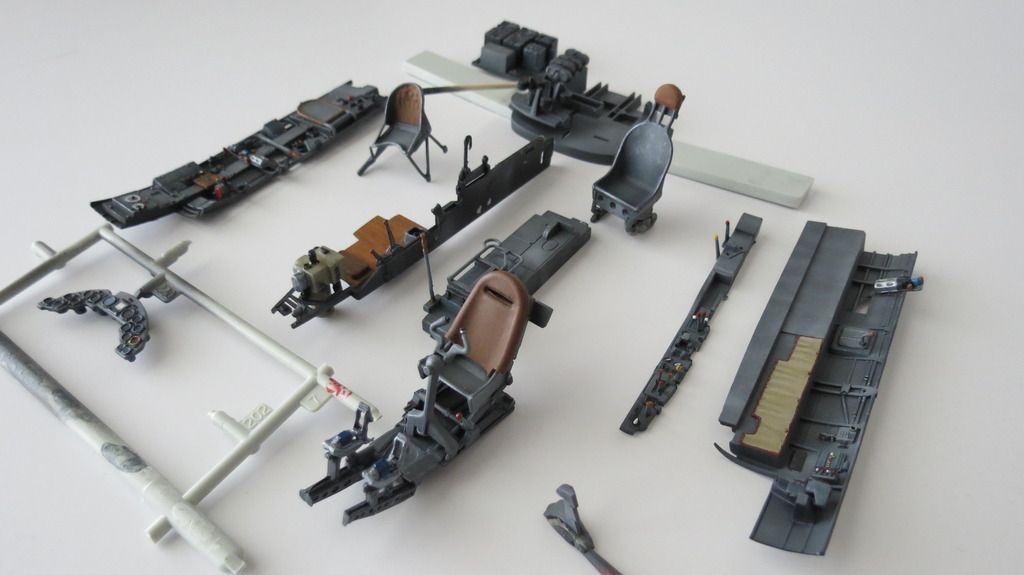
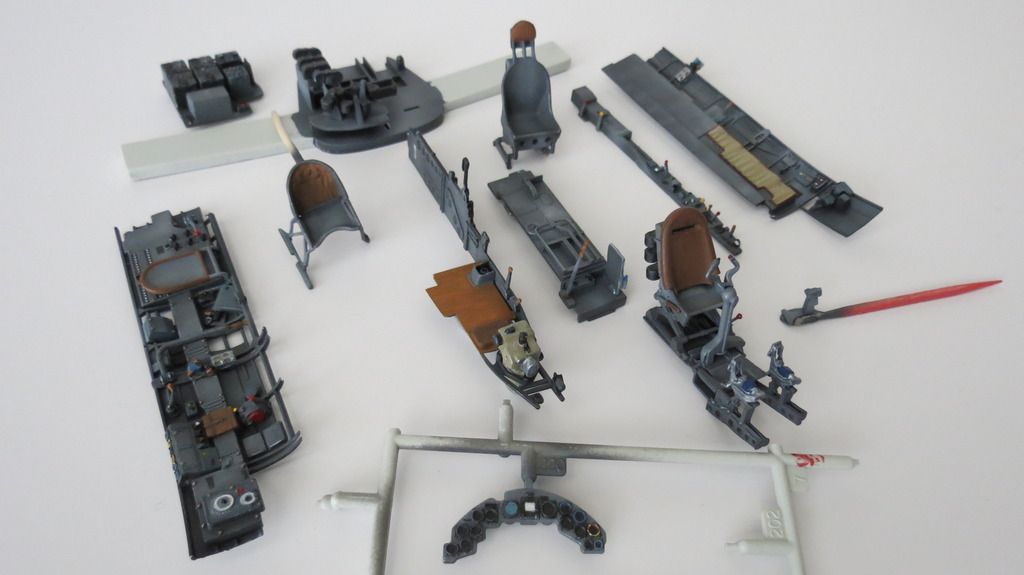
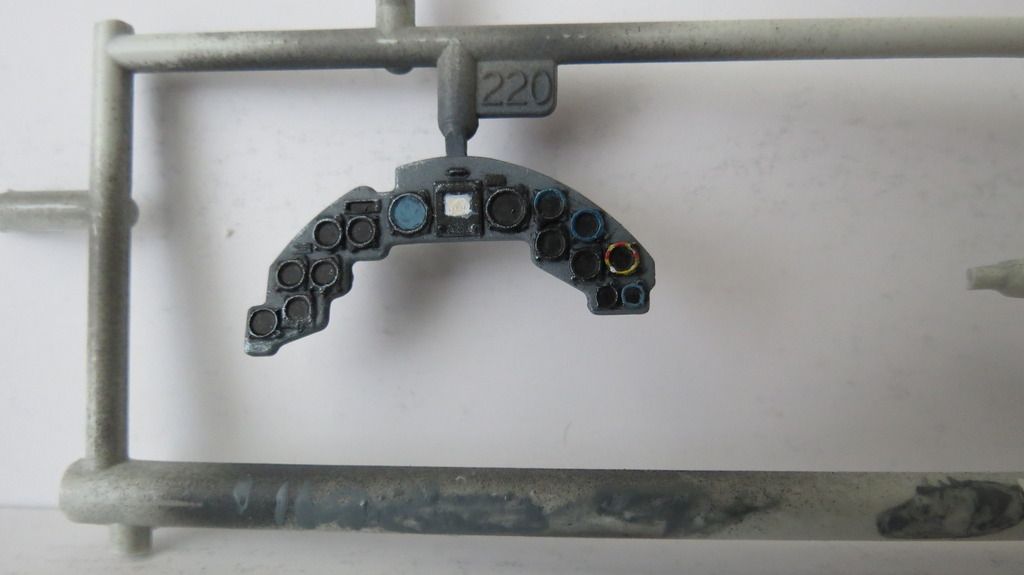
The Instrument Panel:
The rear bulkhead with magazines upon racks:
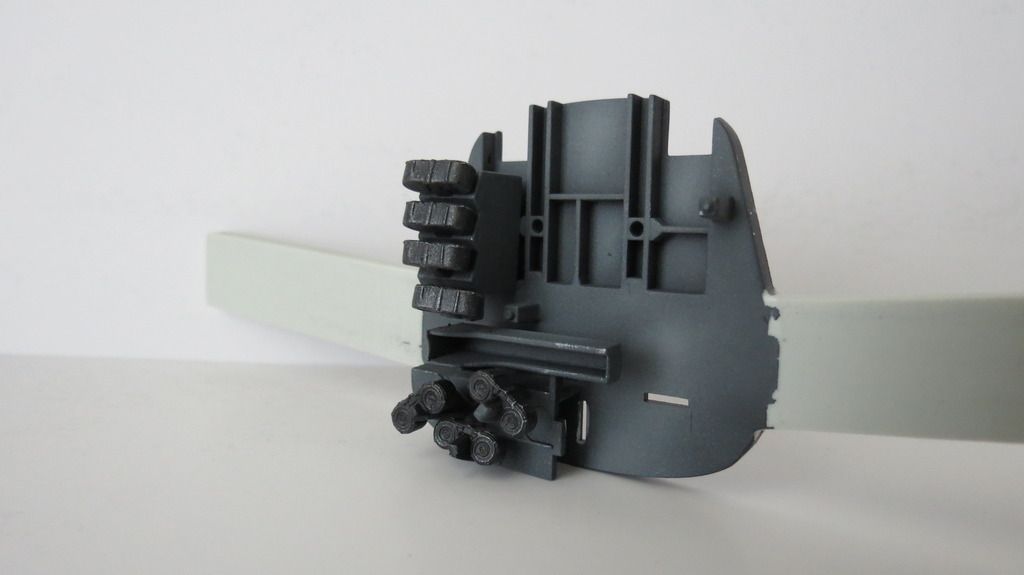
The radio/transmitter panel:
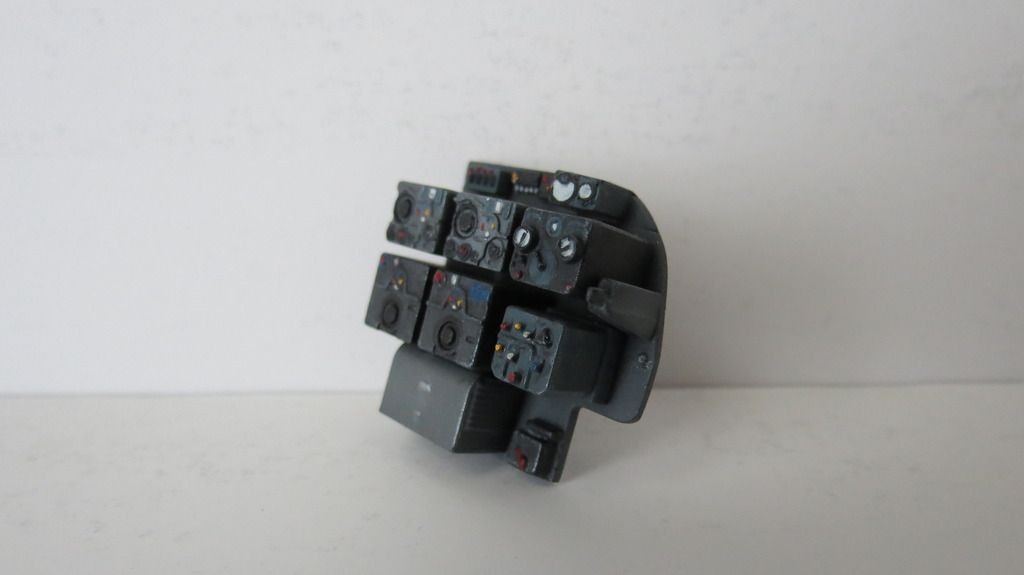
The bombardier/front gunners seat:
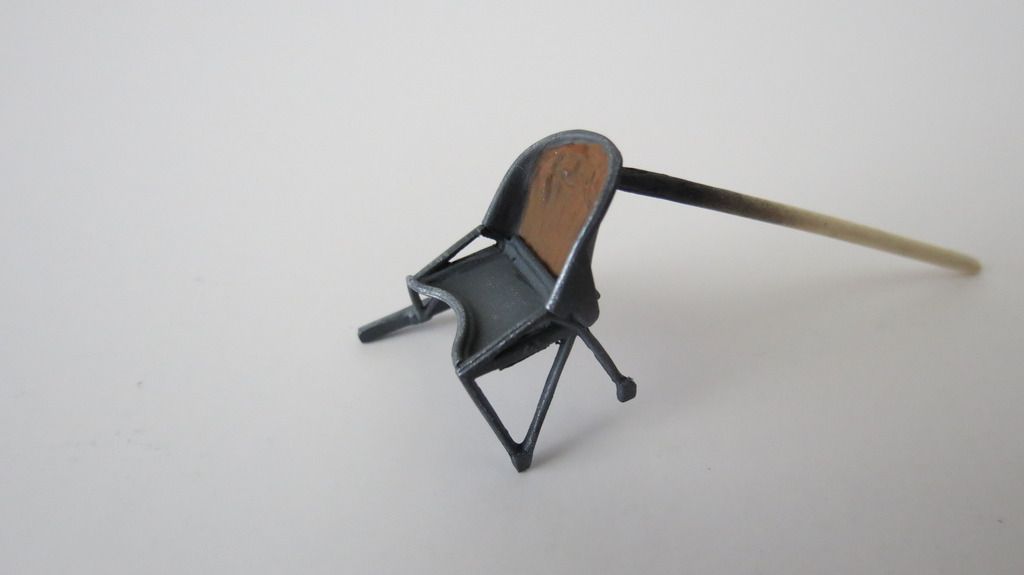
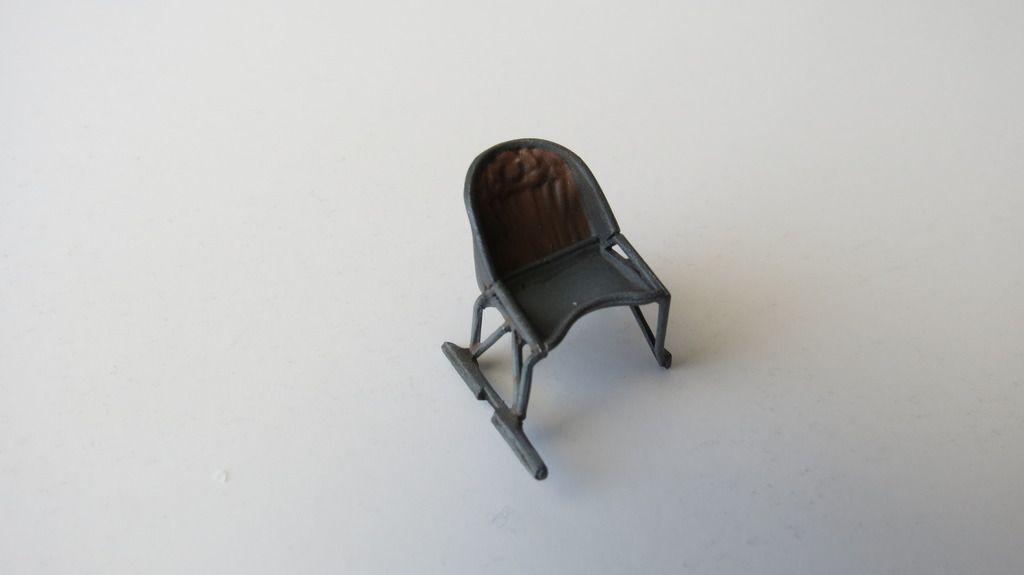
The Radio Operator's seat:
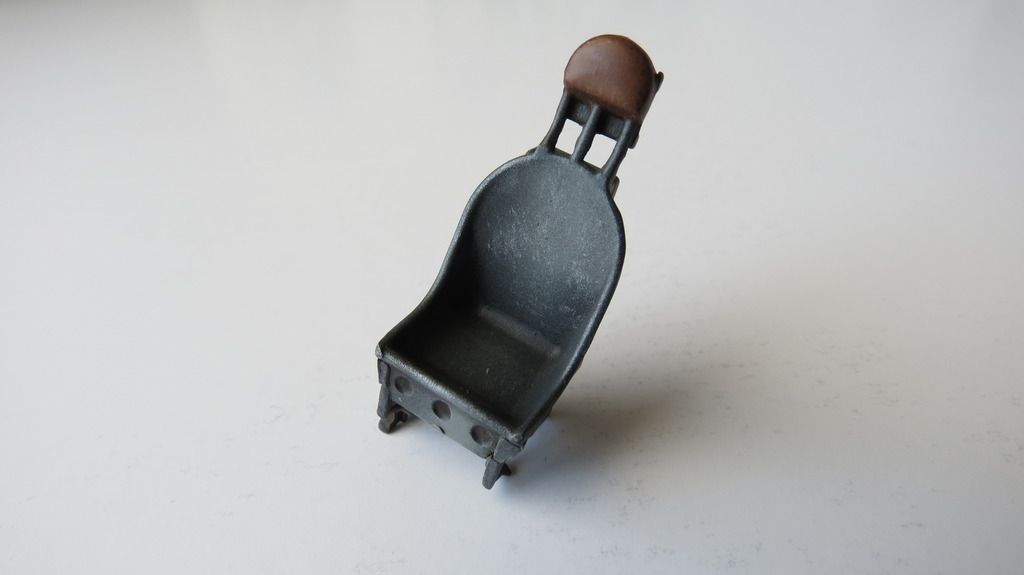
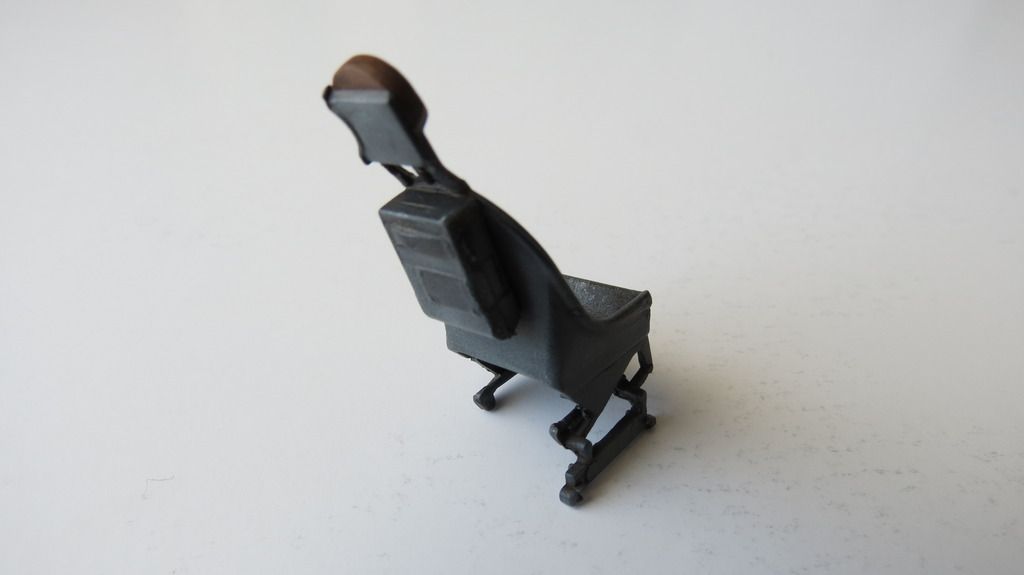
The Pilot's seat:
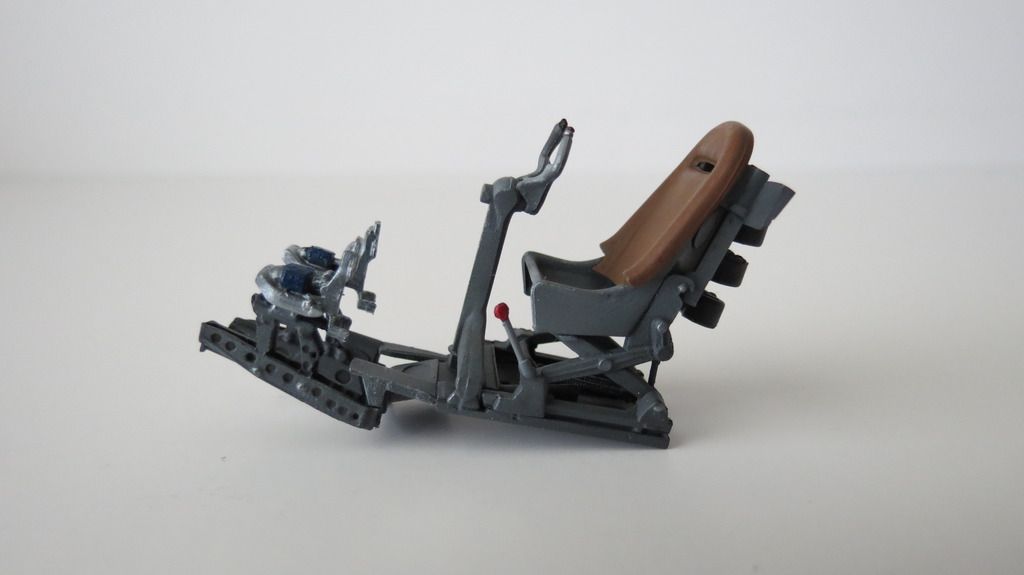
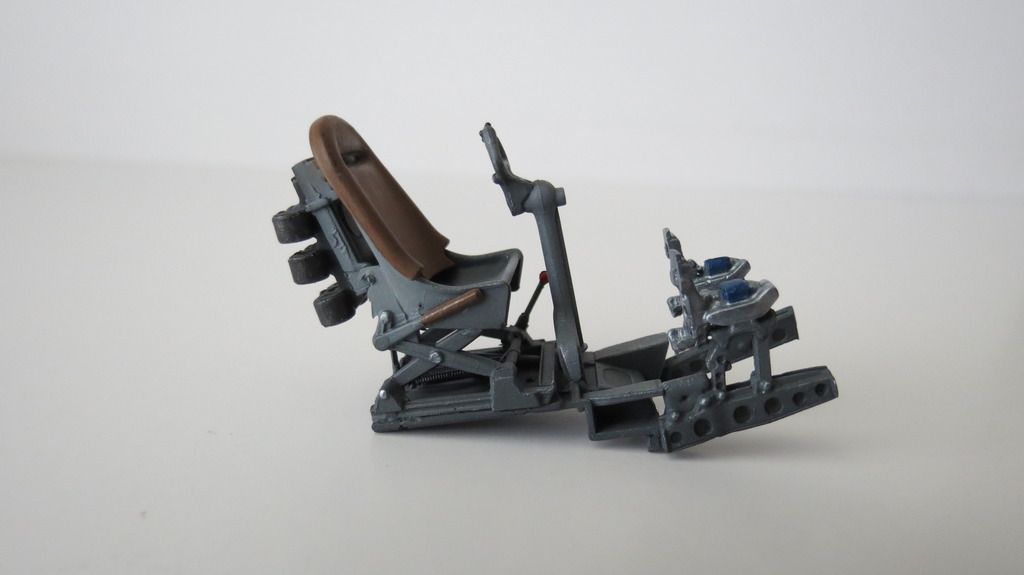
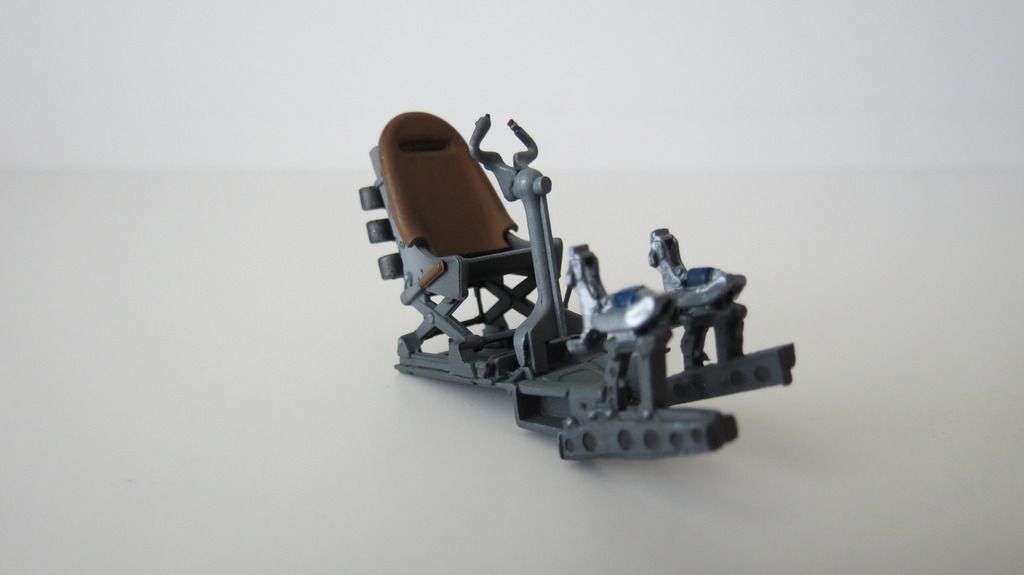
The Portside Console:
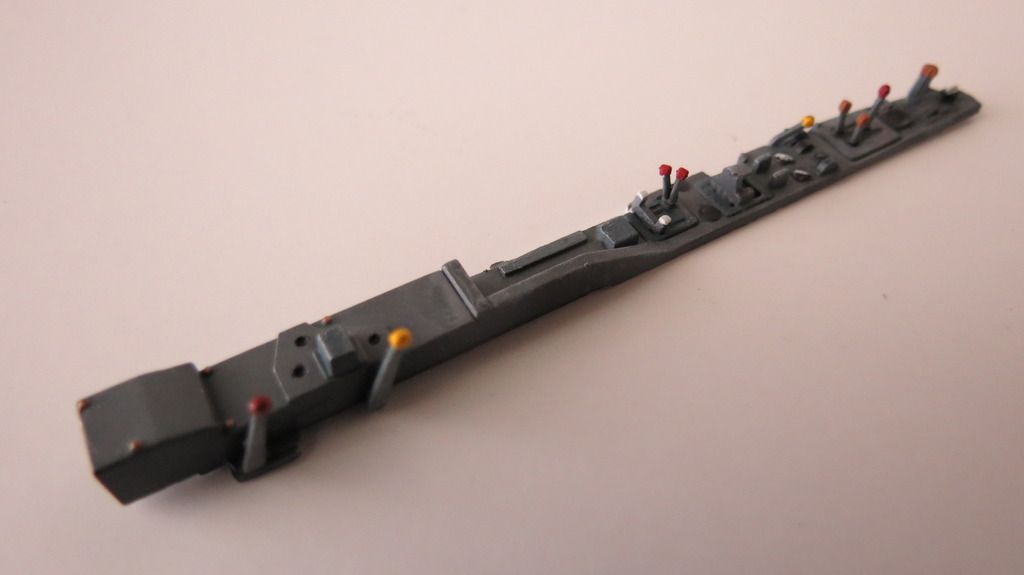
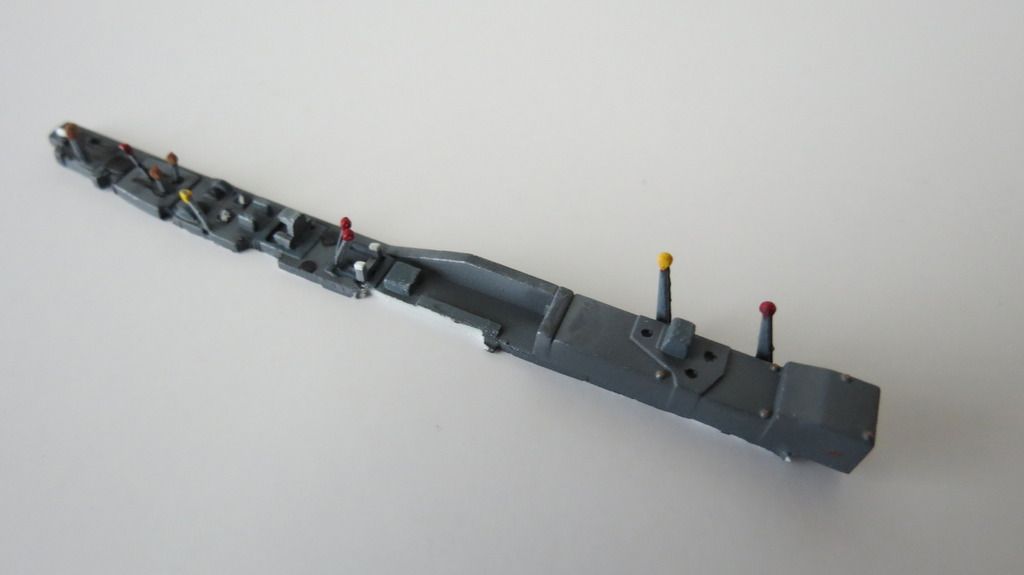
The Portside Inner Wall Assembly:
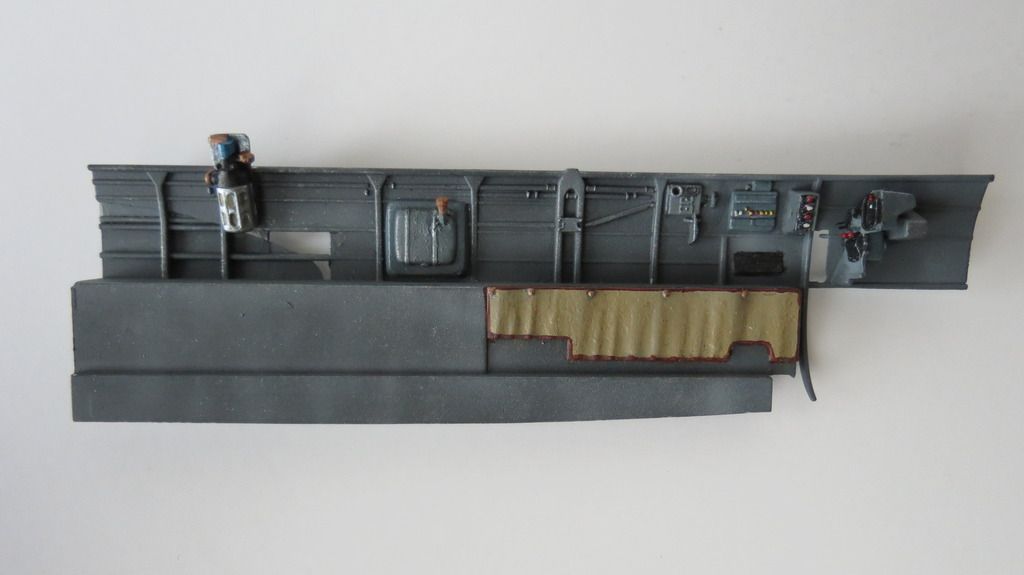
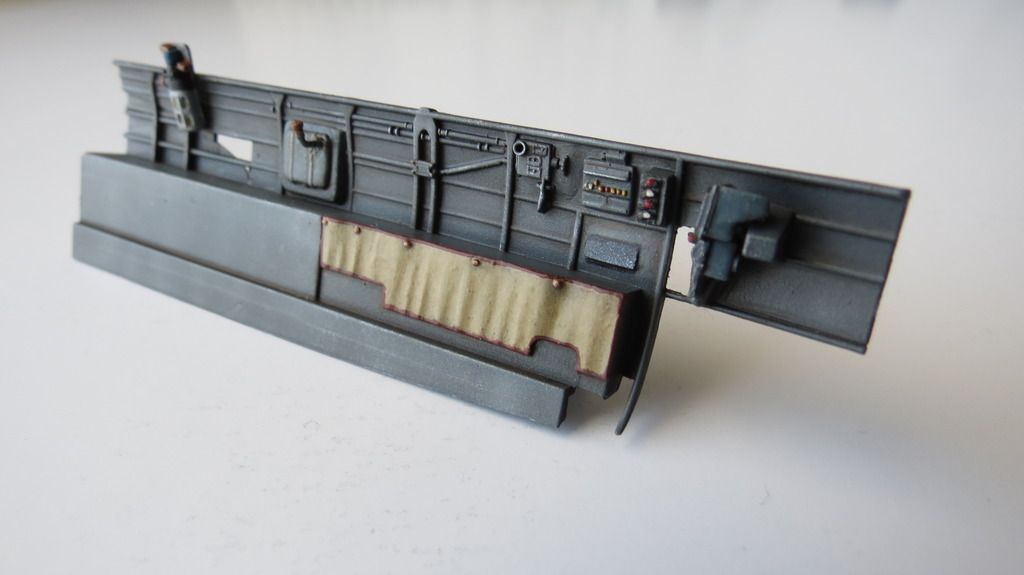
The Center Bulkhead and Bombadier's Floor and Bomb Aiming Device:
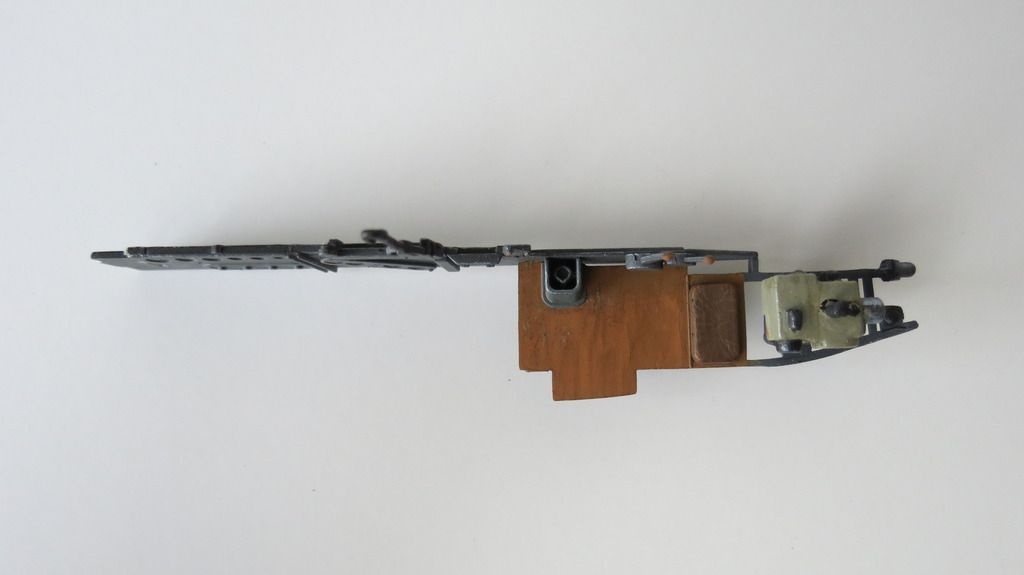
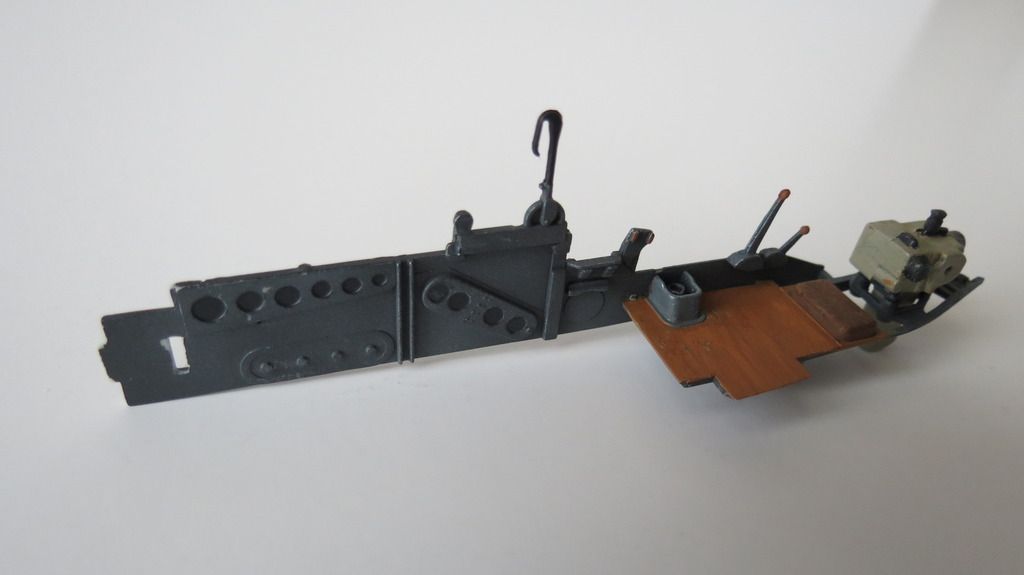
The Radio Operator's Floor Assembly:
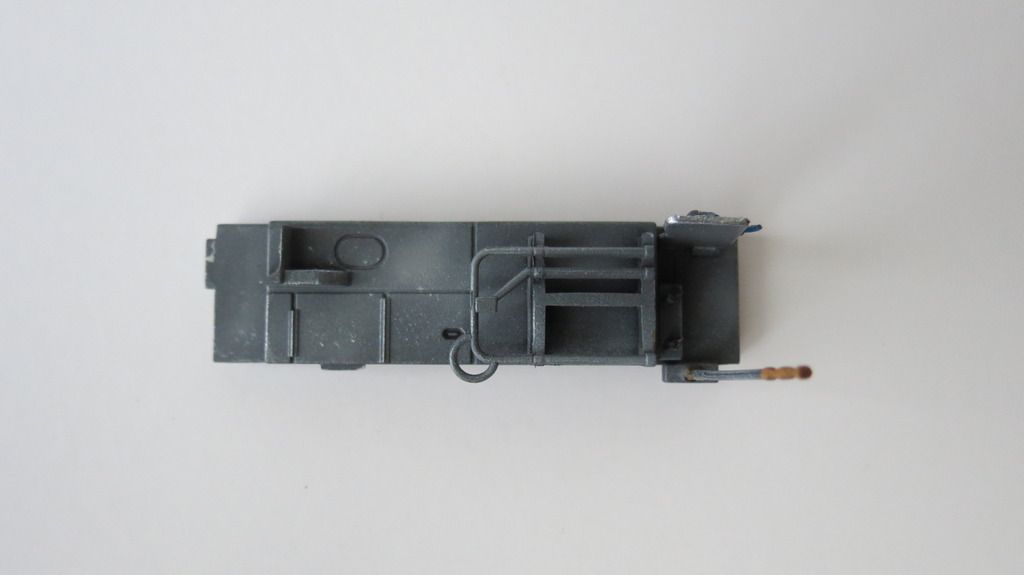
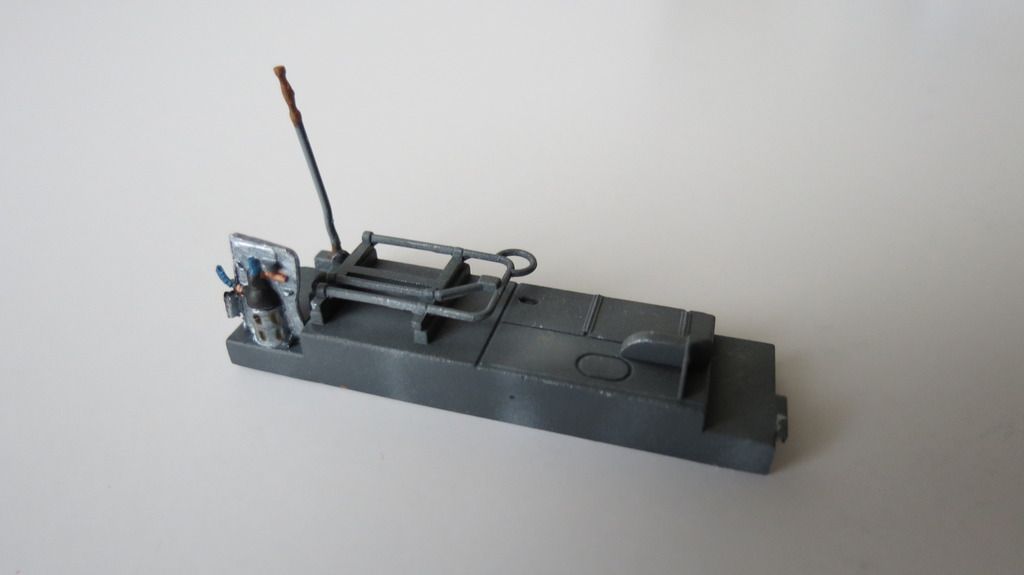
The Starboard Side inner Wall Assembly:
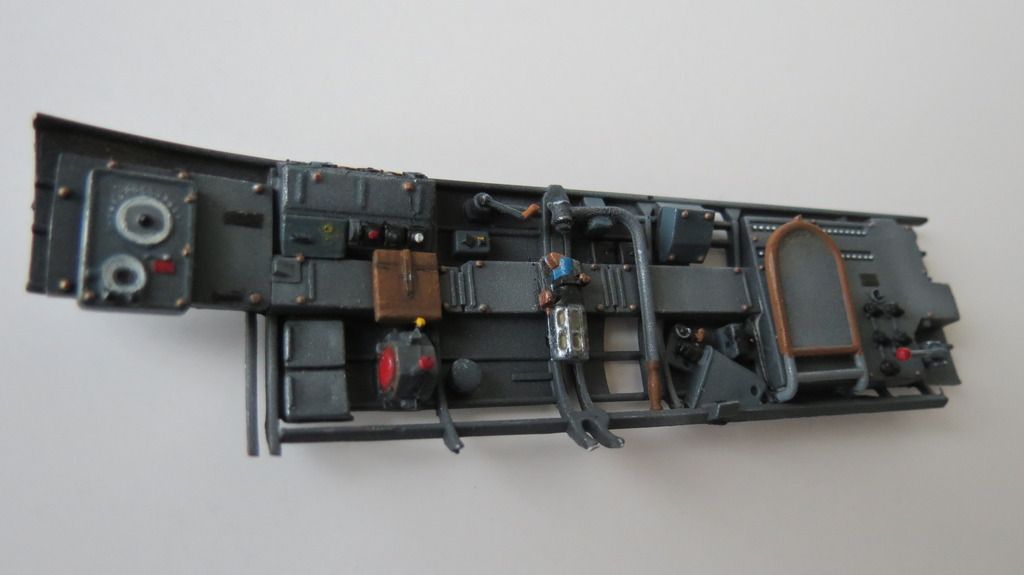
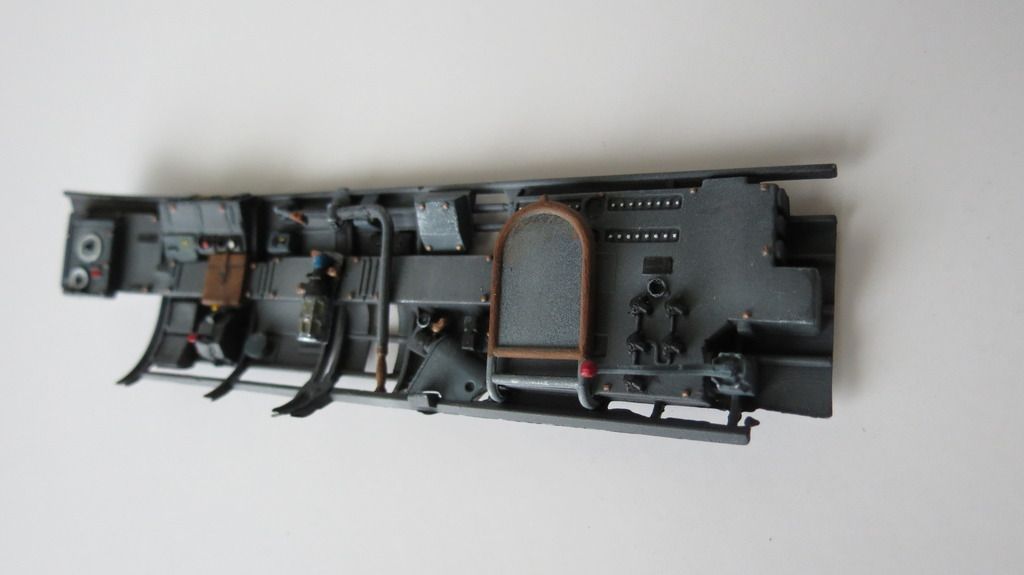
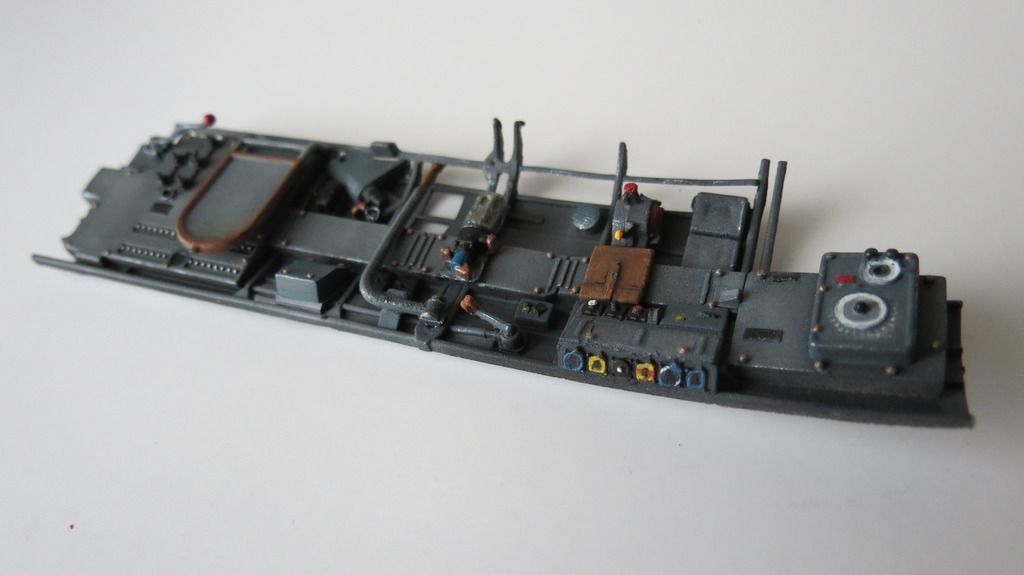
When I had finished detail painting all of the sub-assemblies, I then airbrushed a gloss clear coat onto them in preparation to apply weathering washes and the instrument panel decals:
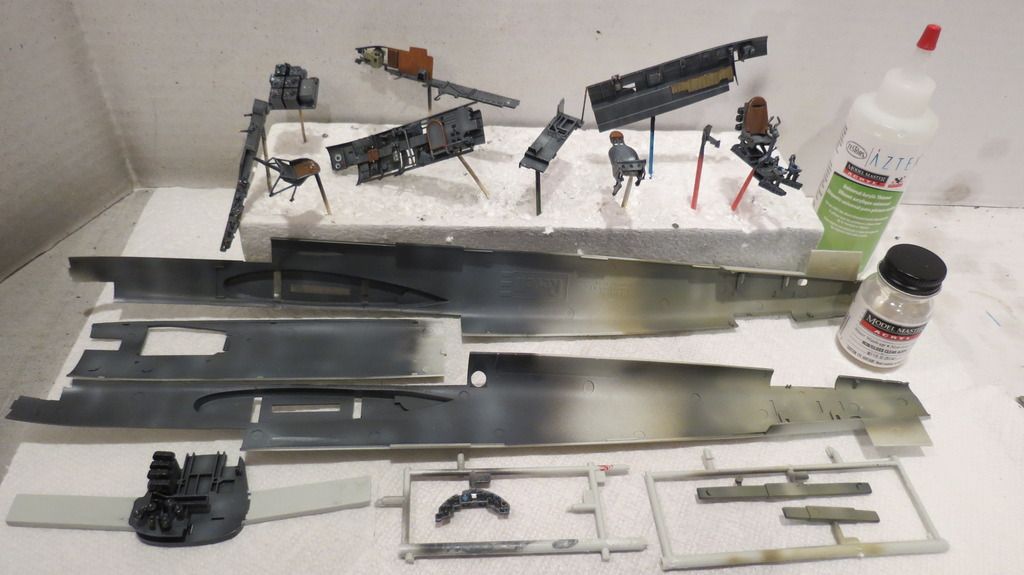
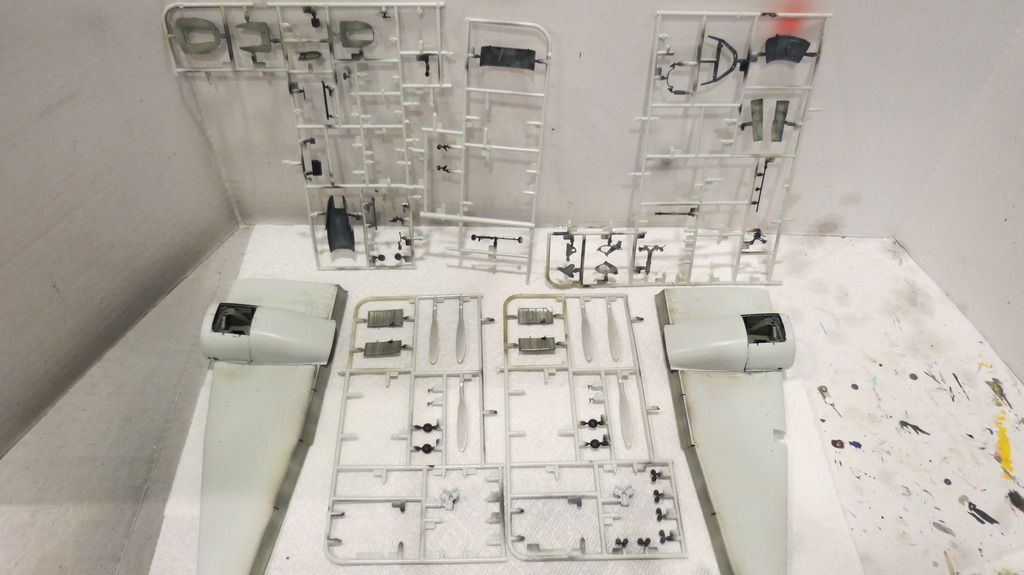
I allowed the gloss clear coat to dry overnight and then, the following day, I mixed a dirt wash with oil paints and odorless mineral spirits and brushed it liberally onto the parts. I allowed this to dry for 30-40 minutes:
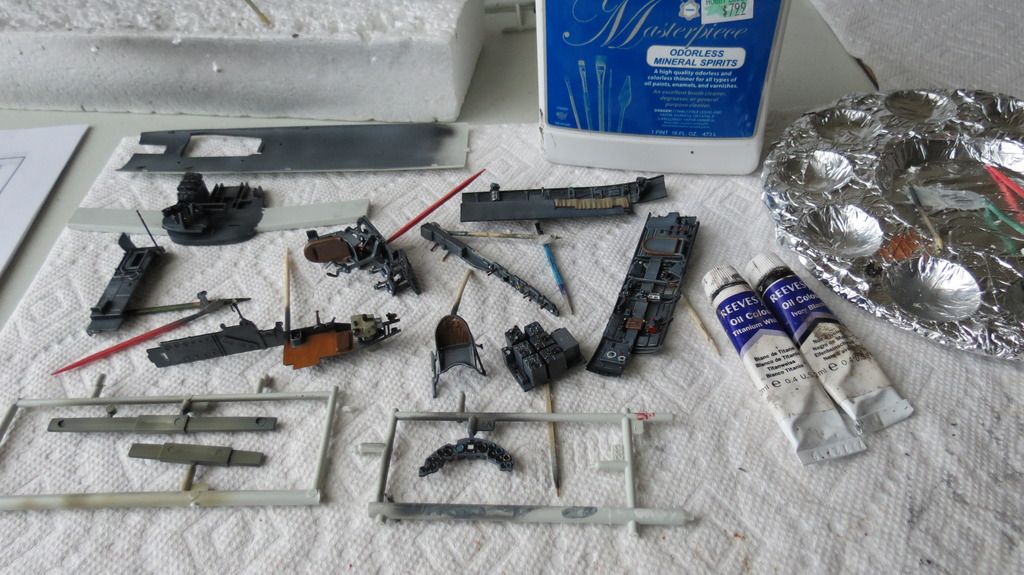
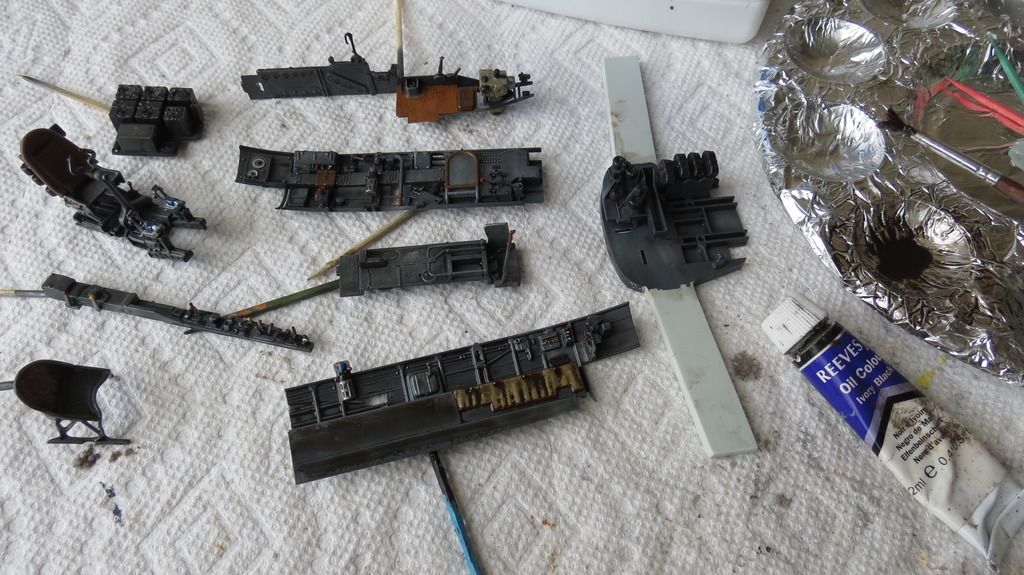
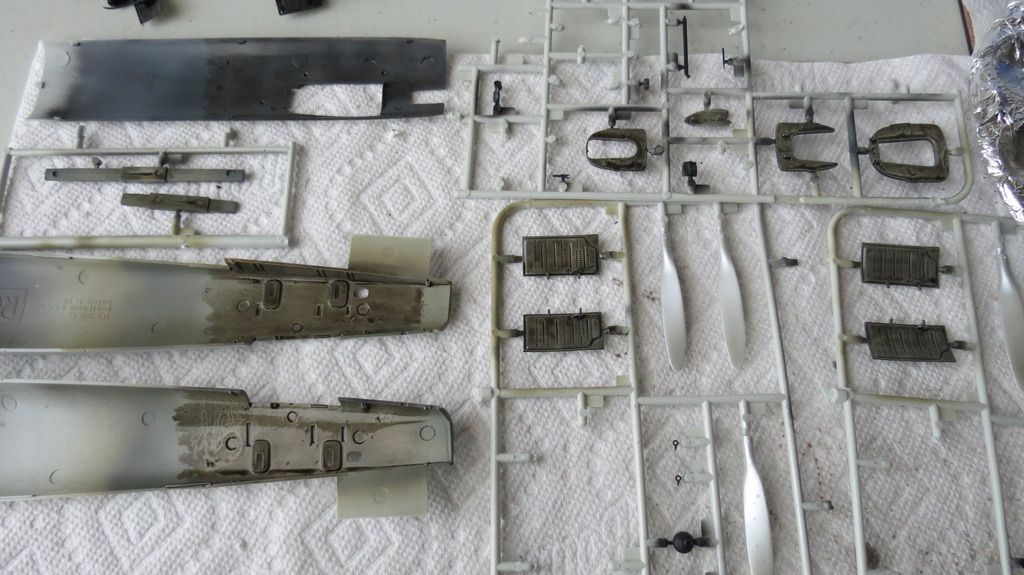
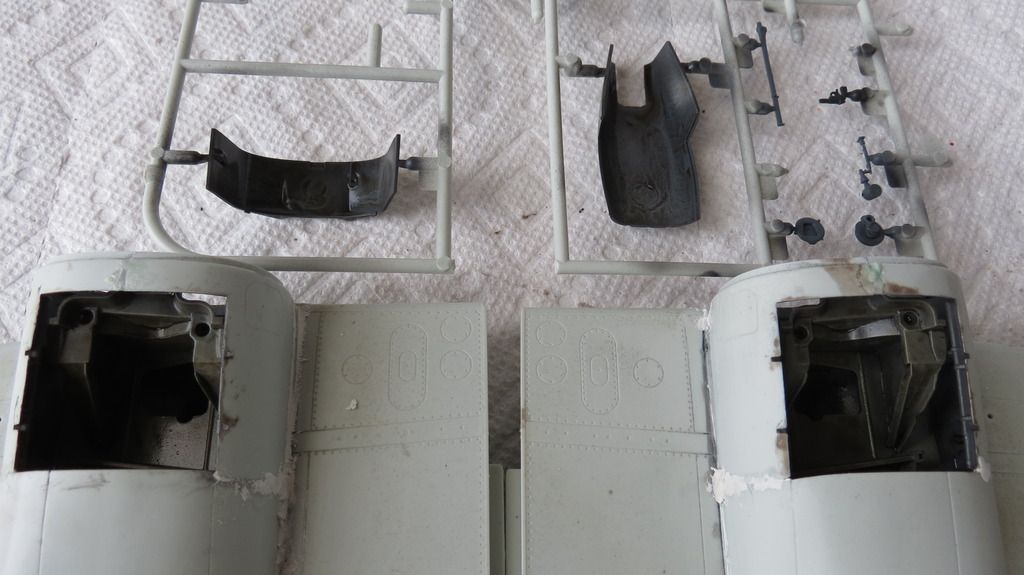
While the dirt wash was drying, I applied the decals onto the instrument panel using Walther's Decal Setting Solution:
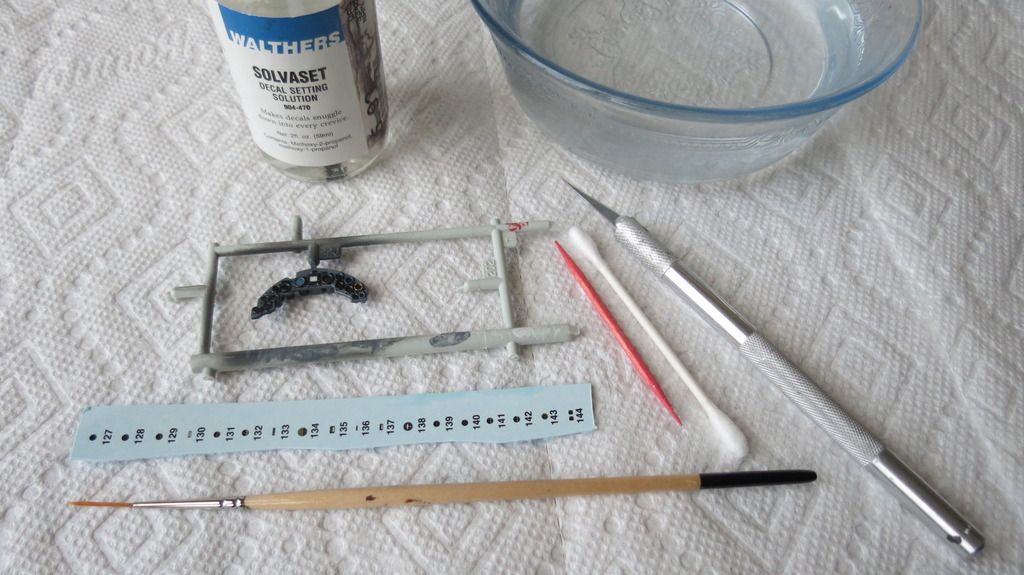
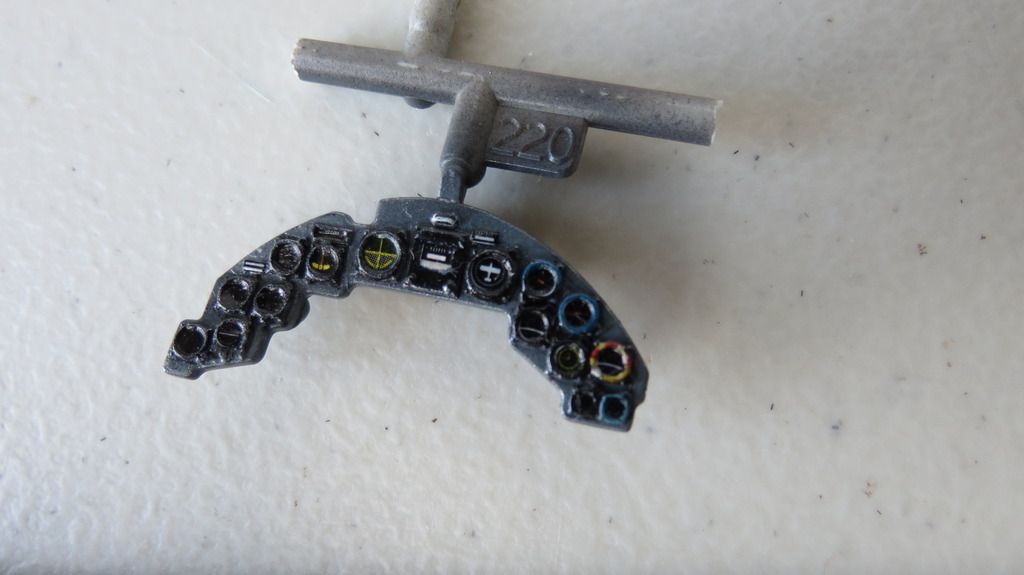
With the decals applied, it was back to the dirt washed parts. Using kitchen roll and Q-Tips, I rubbed the dirt wash off the parts leaving behind a subtle shade of the wash on areas of the assemblies:
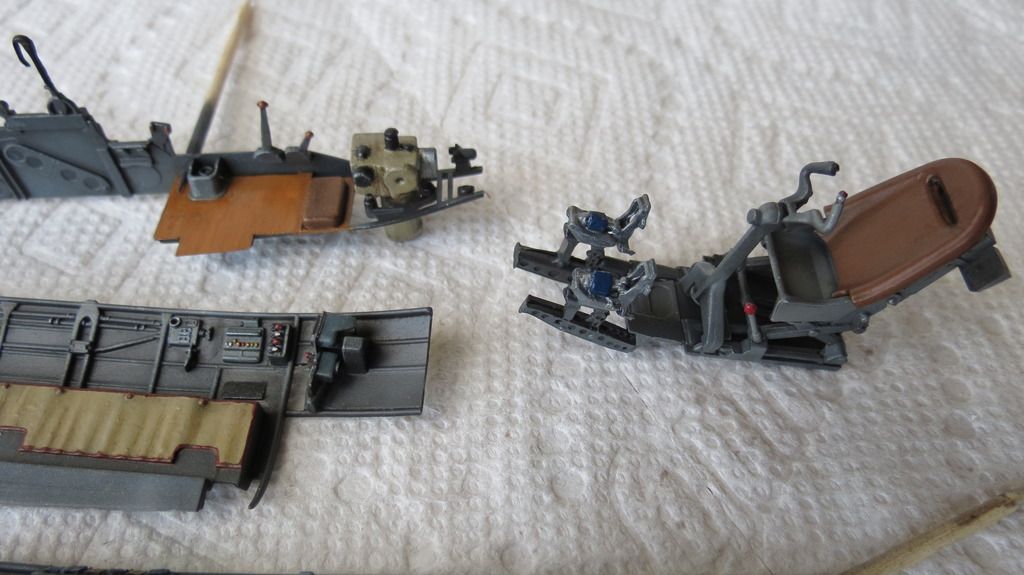
After allowing the dirt wash to dry for a few hours, I sealed it in with a final matt clear coat:
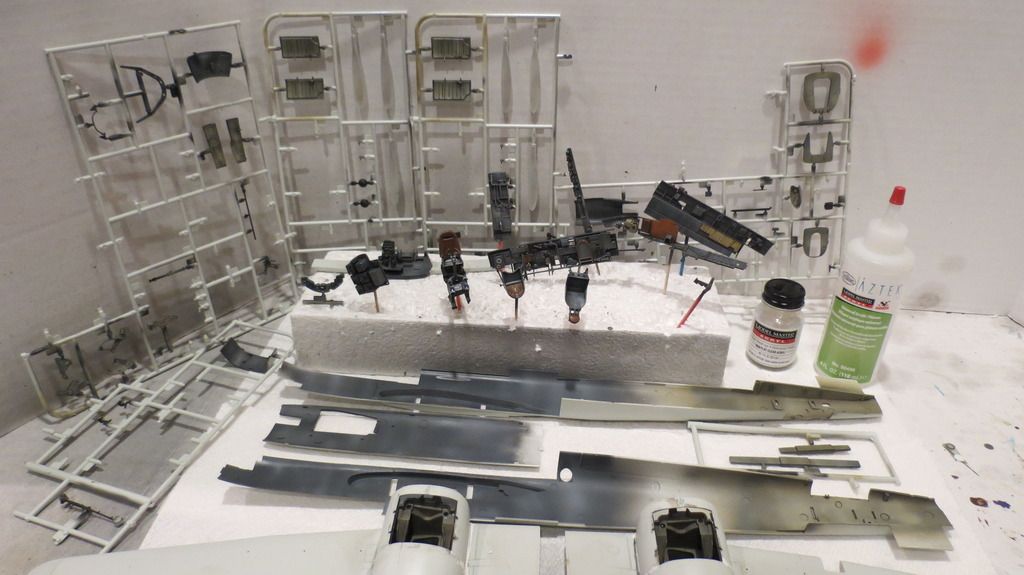
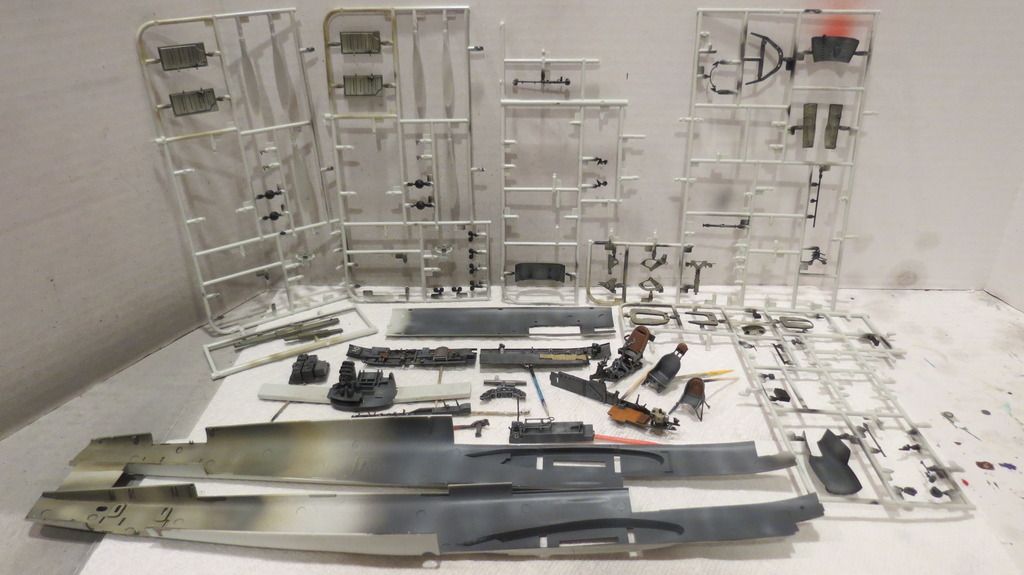
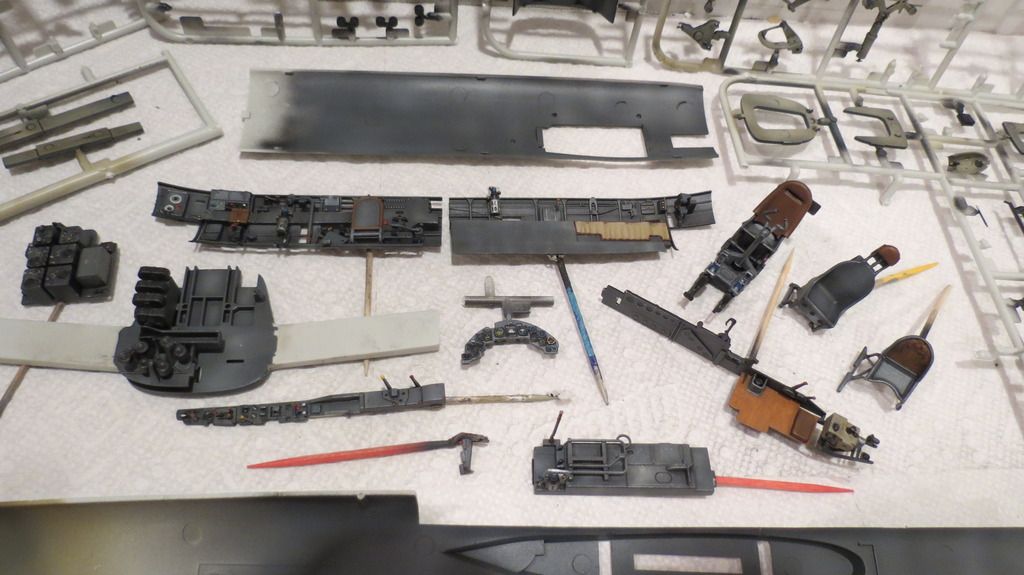
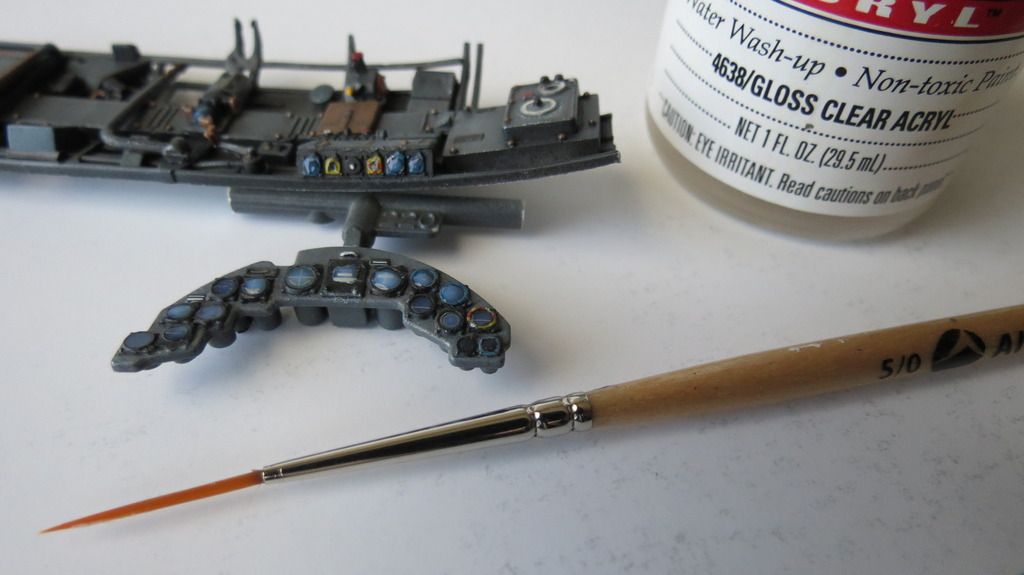
When the matt clear coat had dried, I then applied gloss clear coat into the dials on the instrument panel and the dials on top of the starboard side control panel. Once it dries it will give the appearance of glass covers:
Next, I mixed a mud wash and brushed this onto the Radio Operator's floor and the foot panels beneath the Pilot's seat:
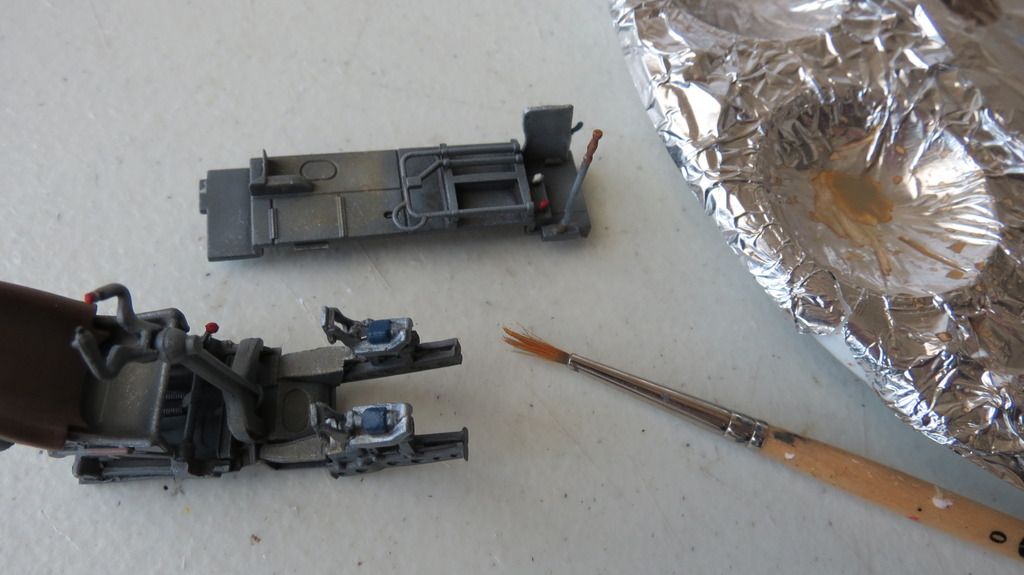
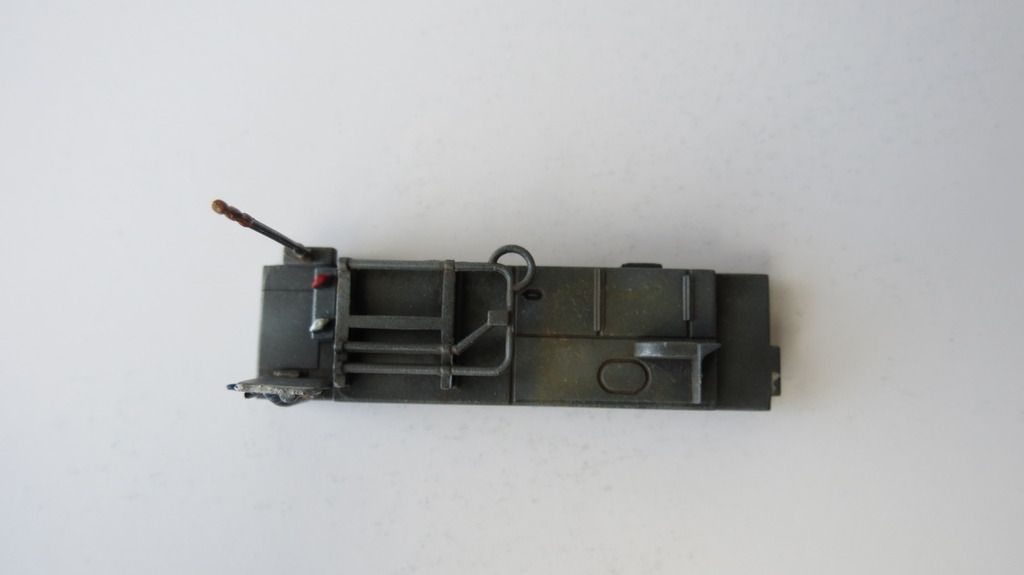
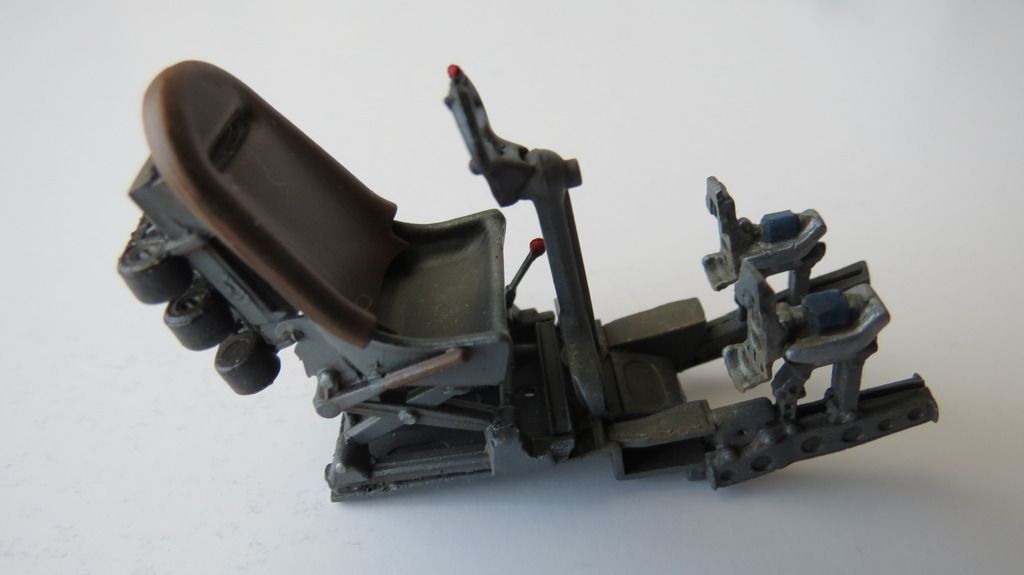
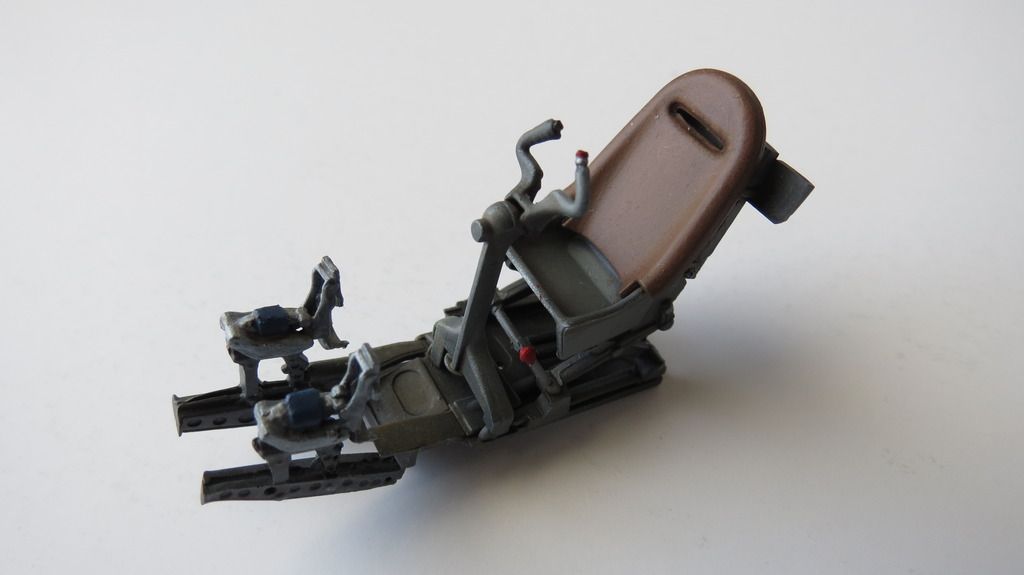
I then laid everything out to see how the sub-assemblies looked before proceeding with assembling them into the fuselage:
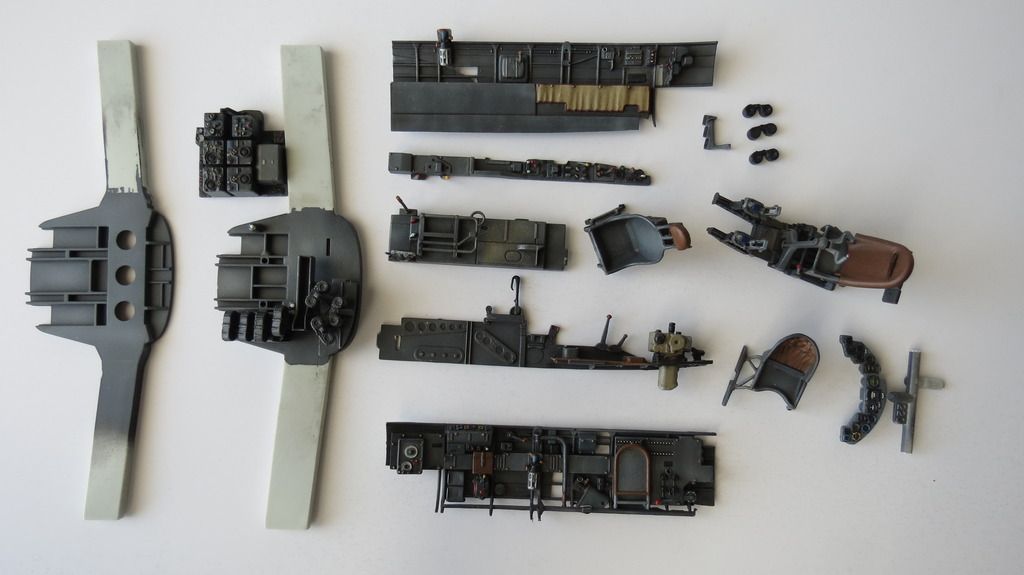
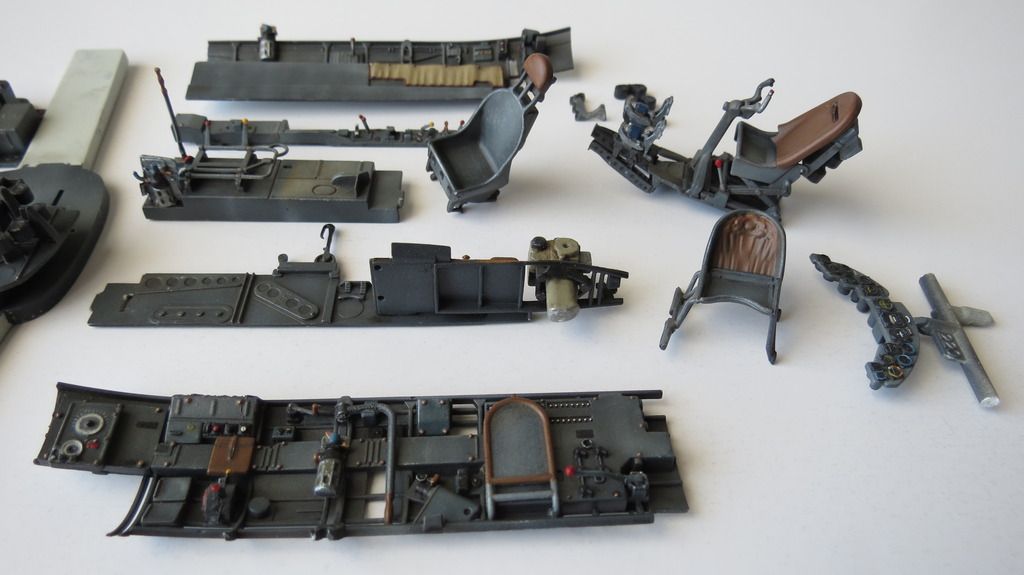
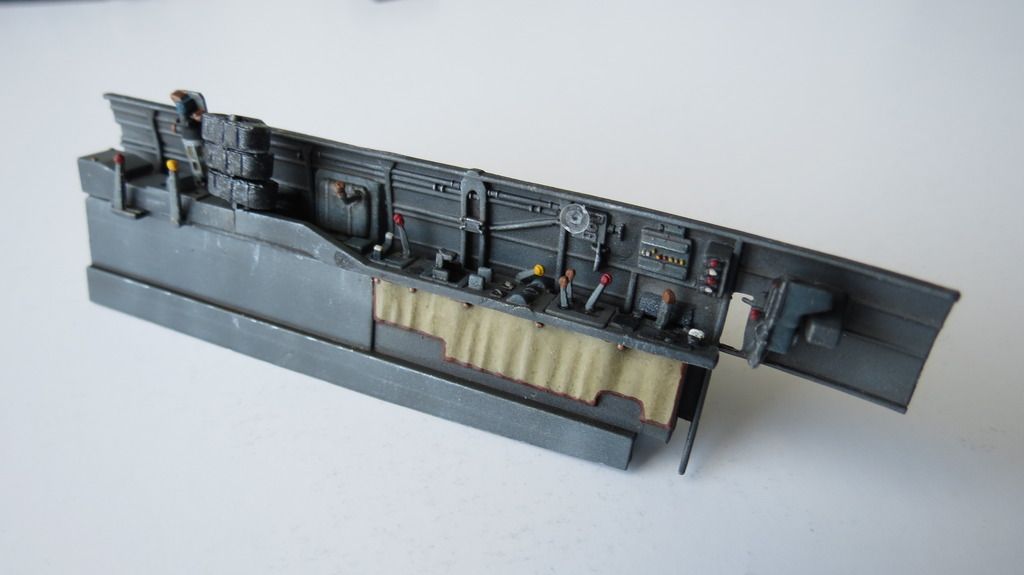
It was now time to assemble everything together into the starboard side fuselage half, but before I did that, I assembled a magazine rack and glued that onto the portside inner wall along with gluing the console to complete the portside inner wall assembly:
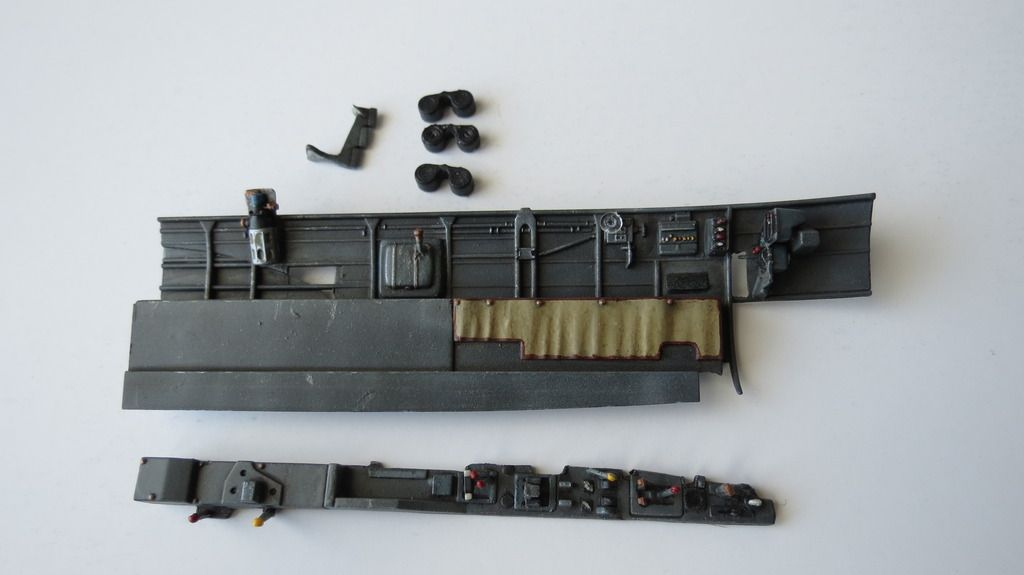
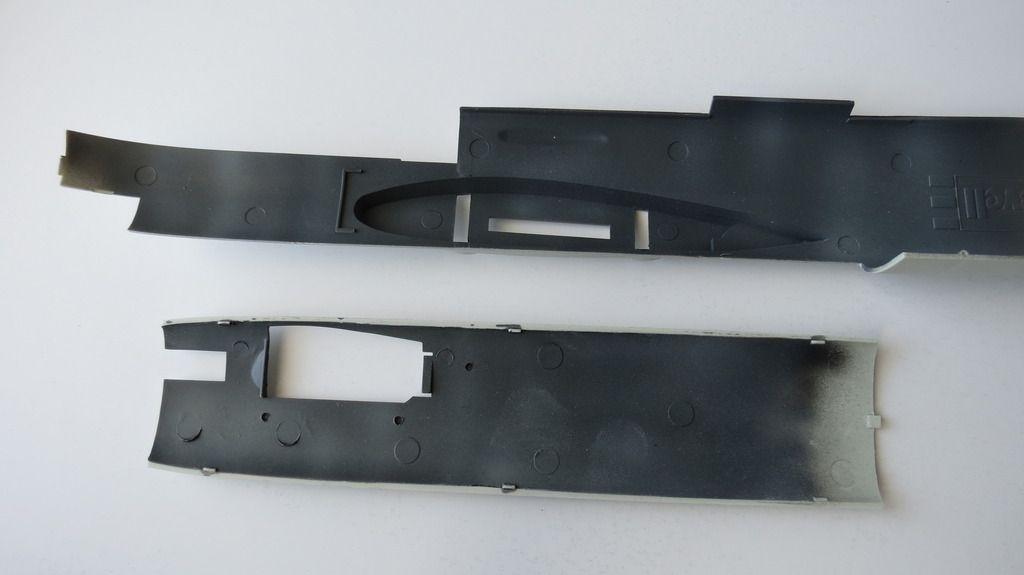
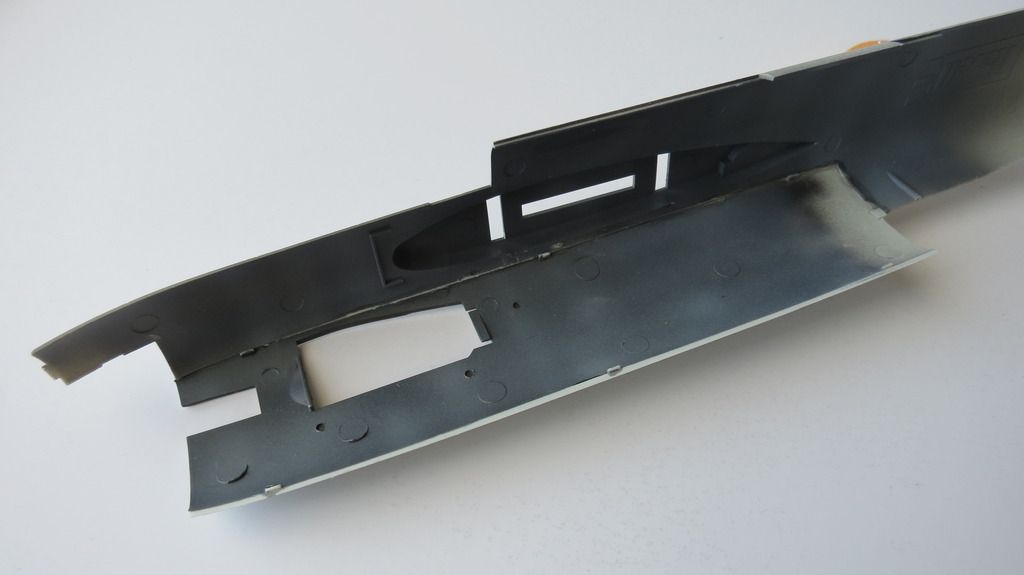
I then assembled the bottom forward fuselage panel onto the starboard side fuselage half:
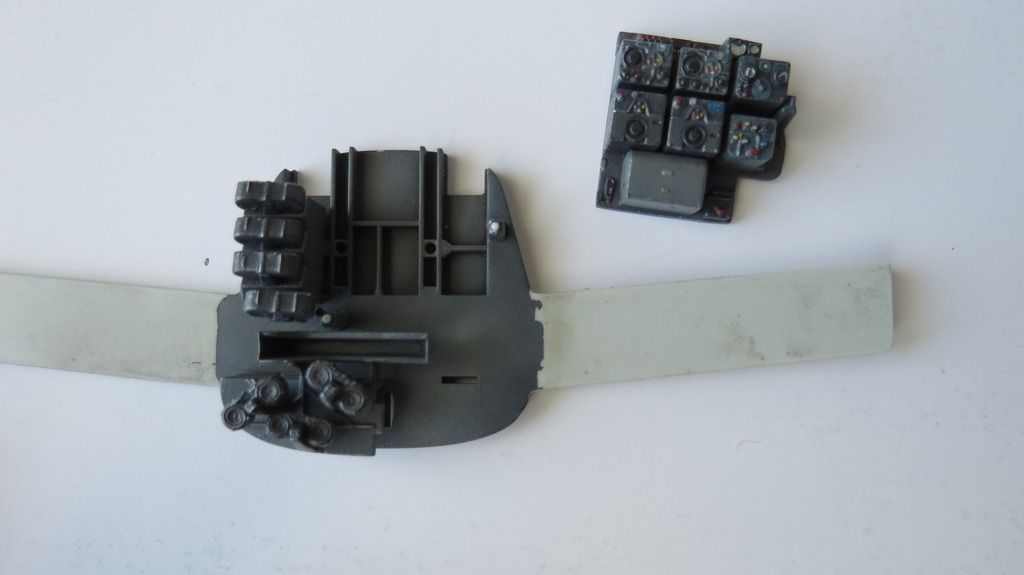
Followed by assembling the radio/transmitter panel onto the rear bulkhead:
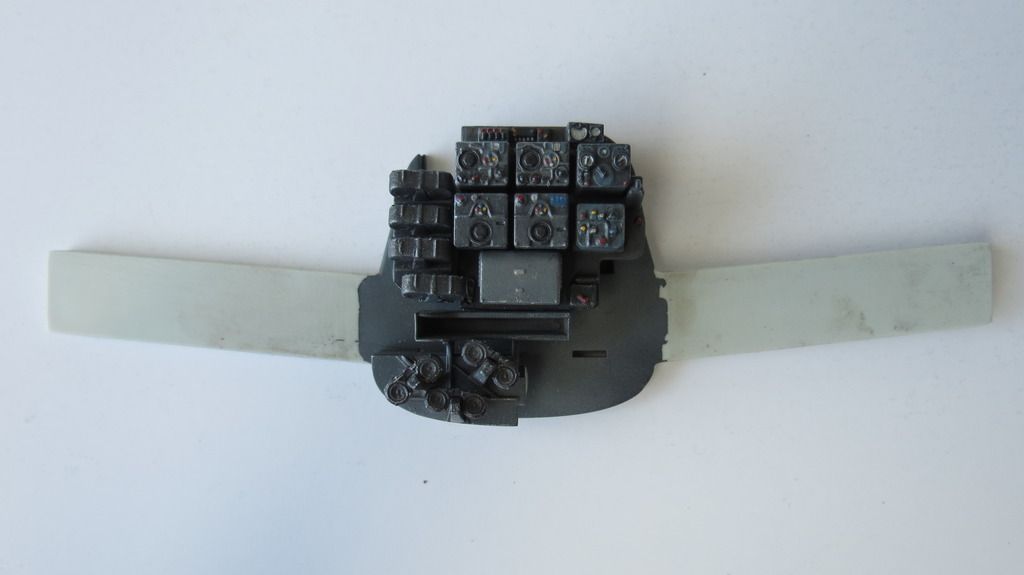
This assembly was then glued into the starboard side fuselage half:
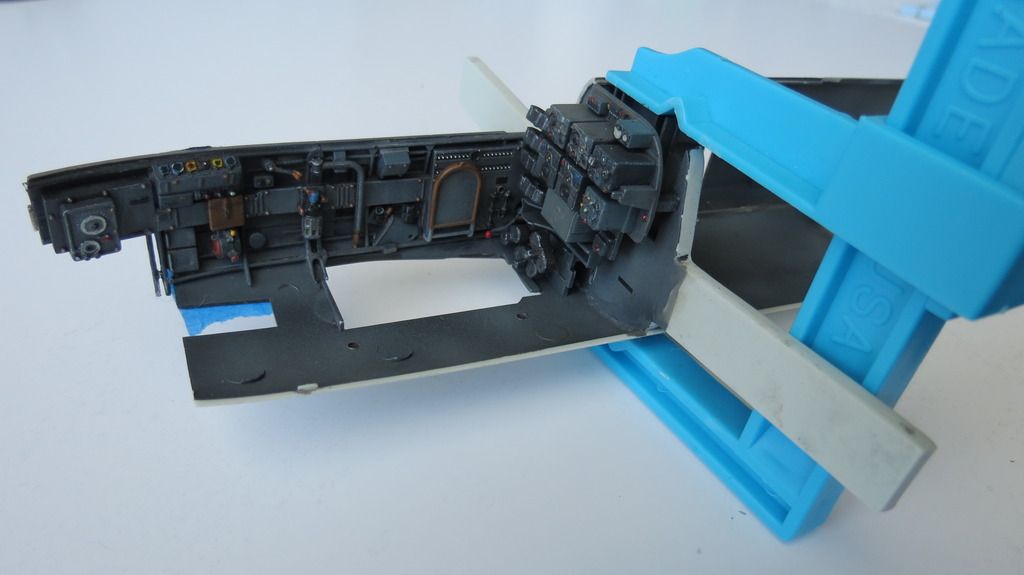
Next, I glued the bombardier's seat into the central bulkhead and floor assembly and fitted that into the fuselage:
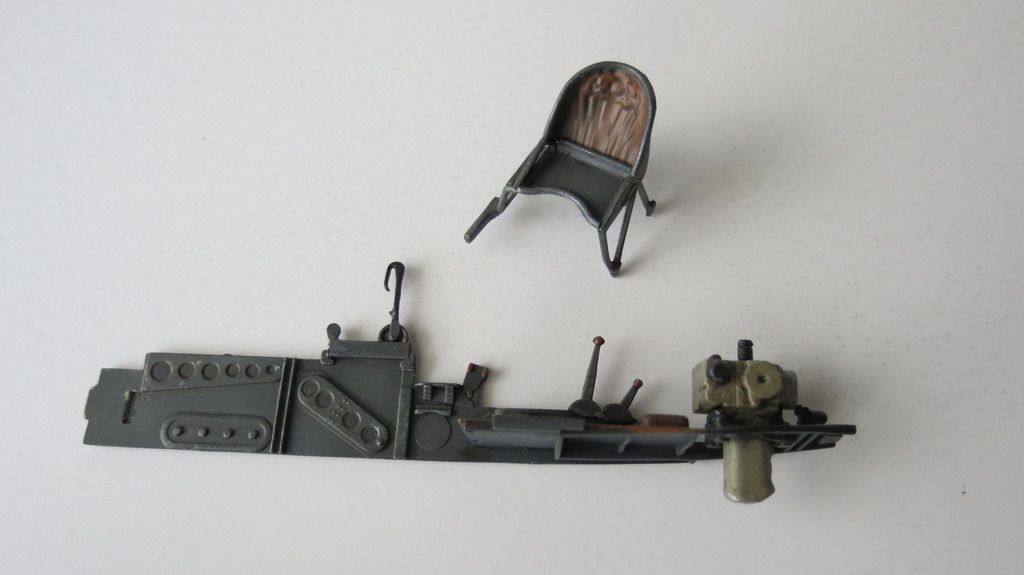
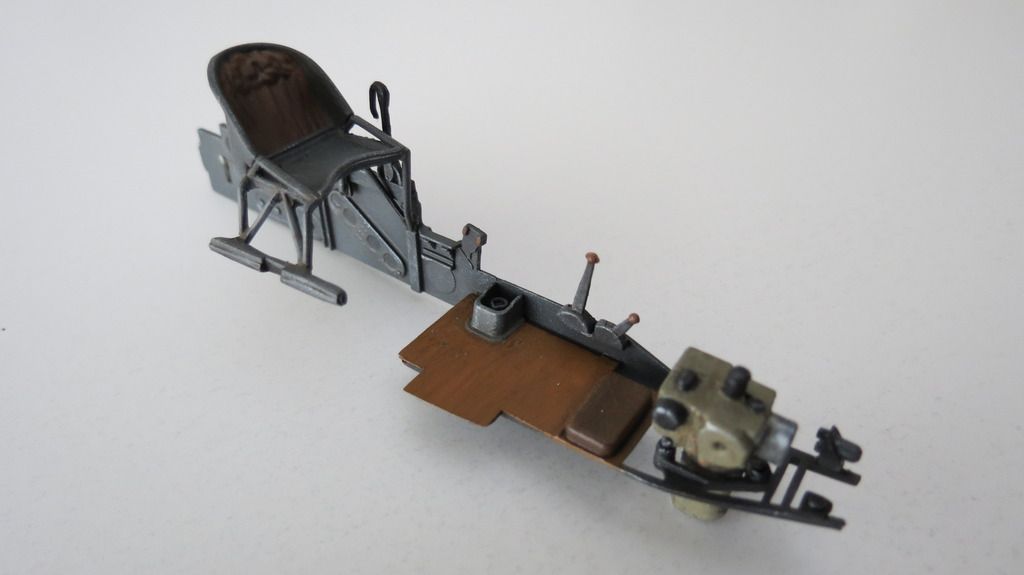
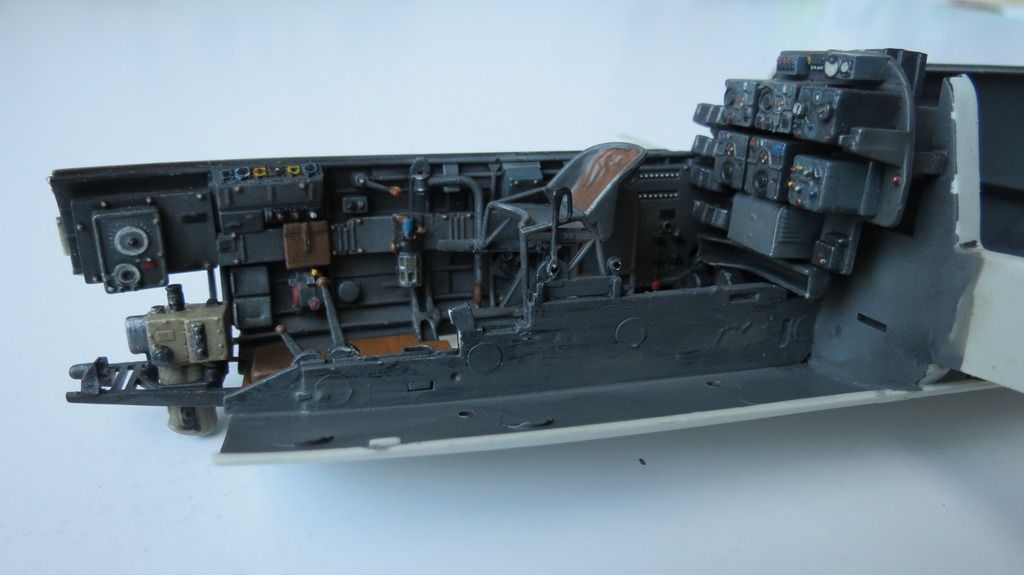
I then glued the second bulkhead into the fuselage along with the radio operator's floor assembly:
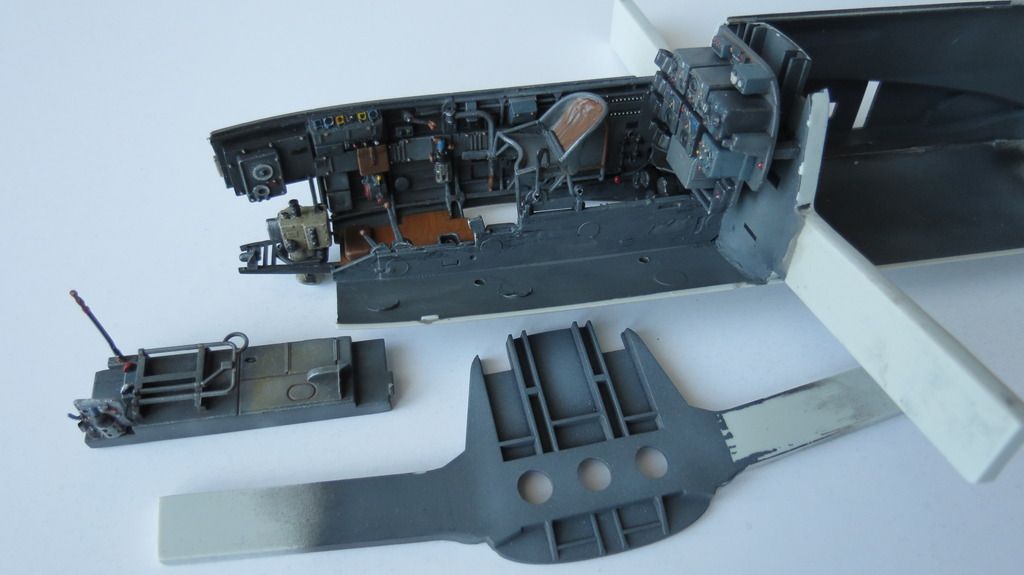
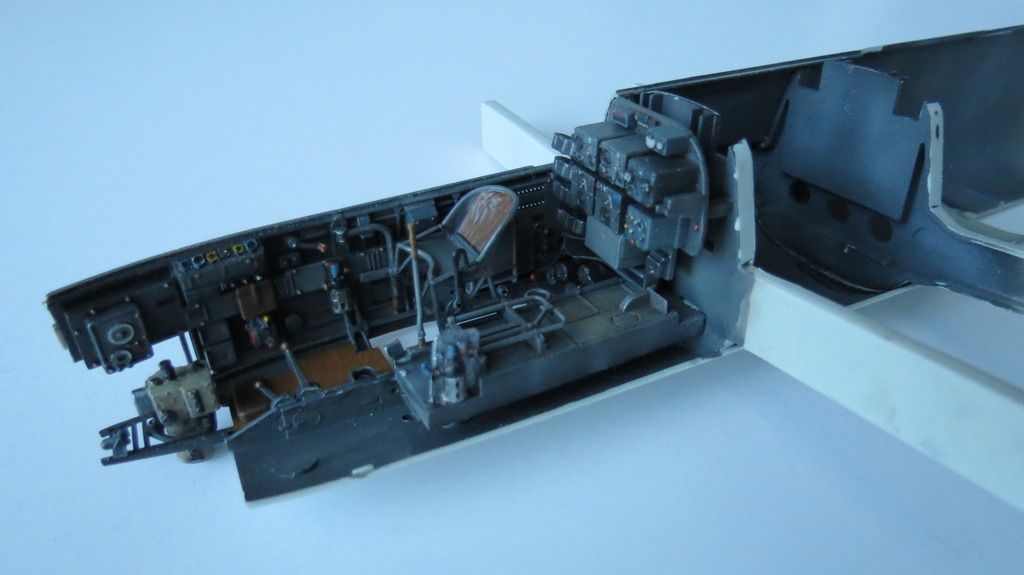
Following those items, I then glued the portside inner wall assembly into position:
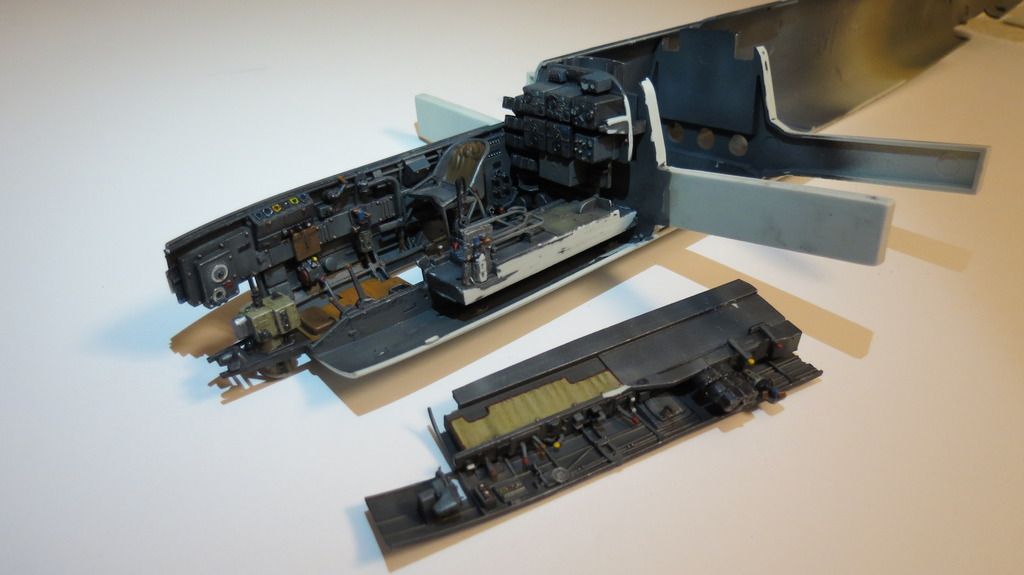
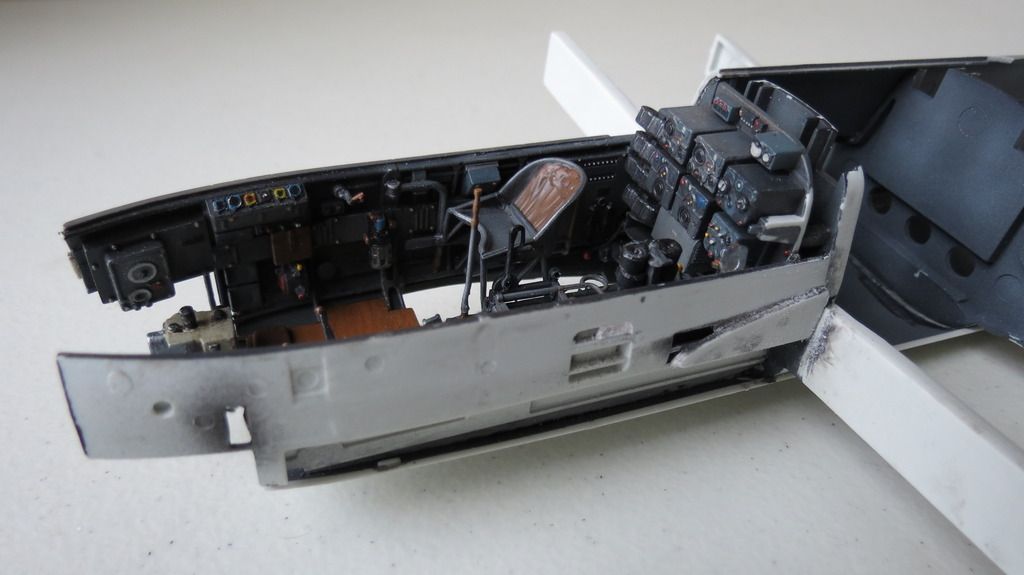
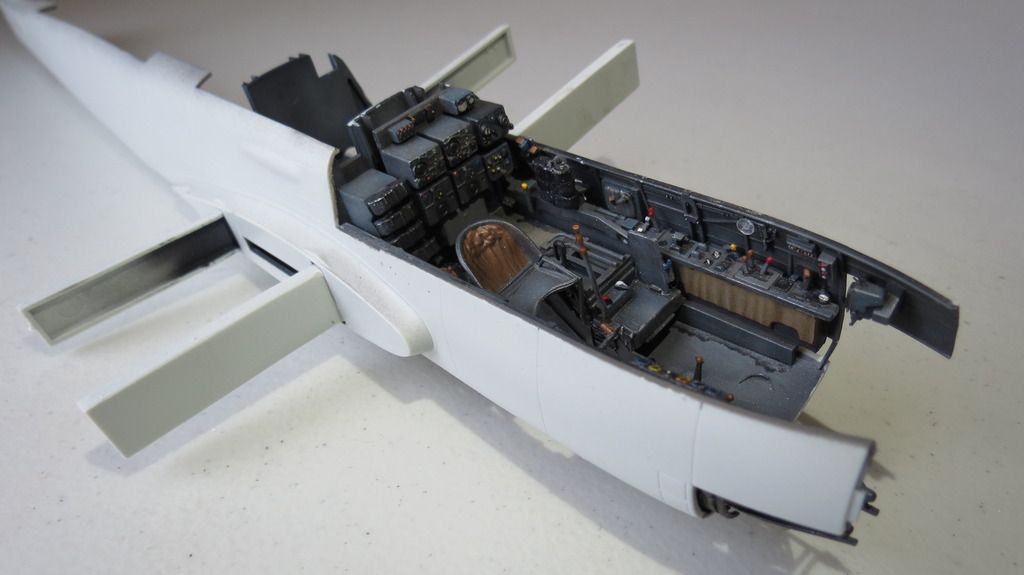
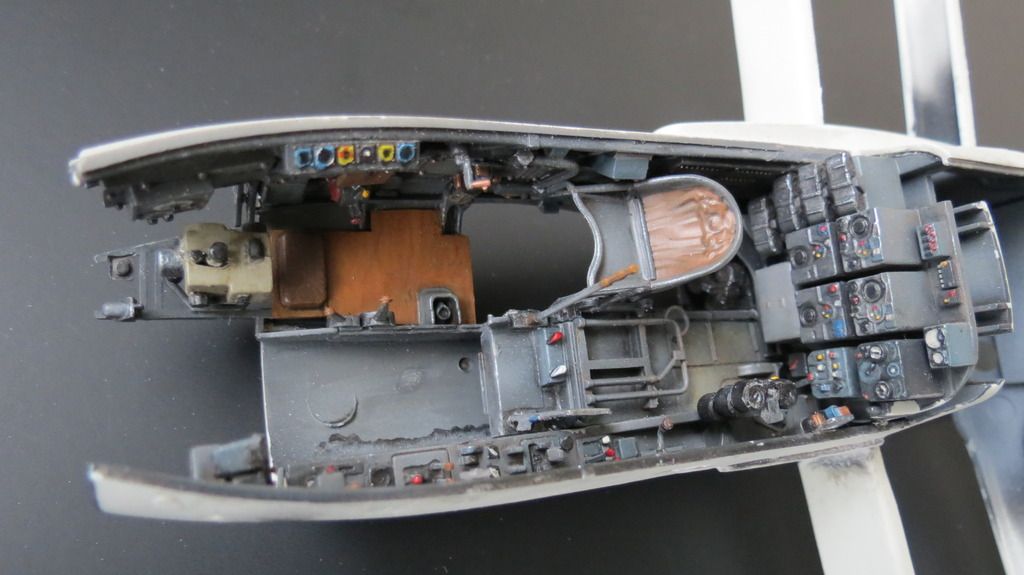
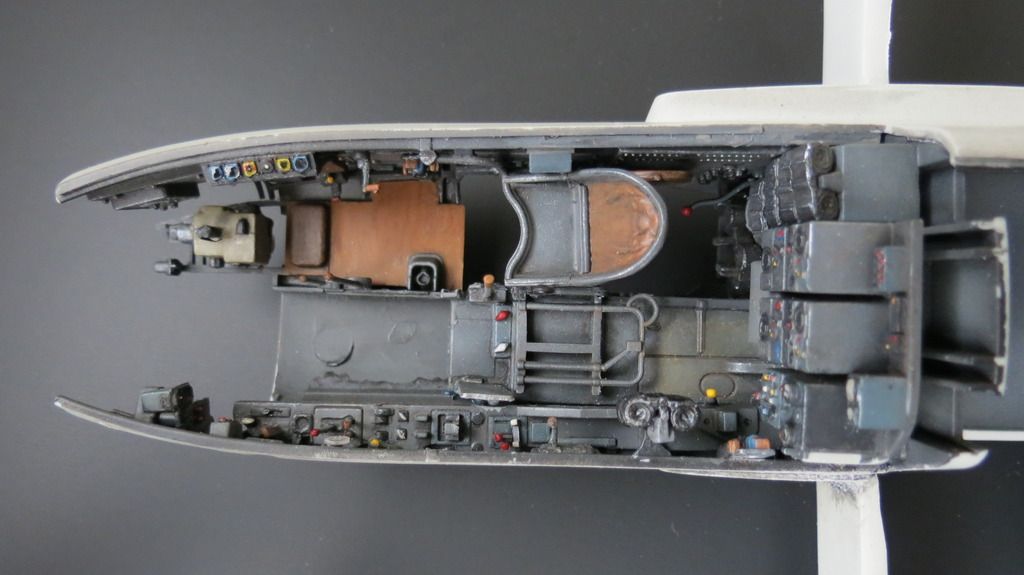
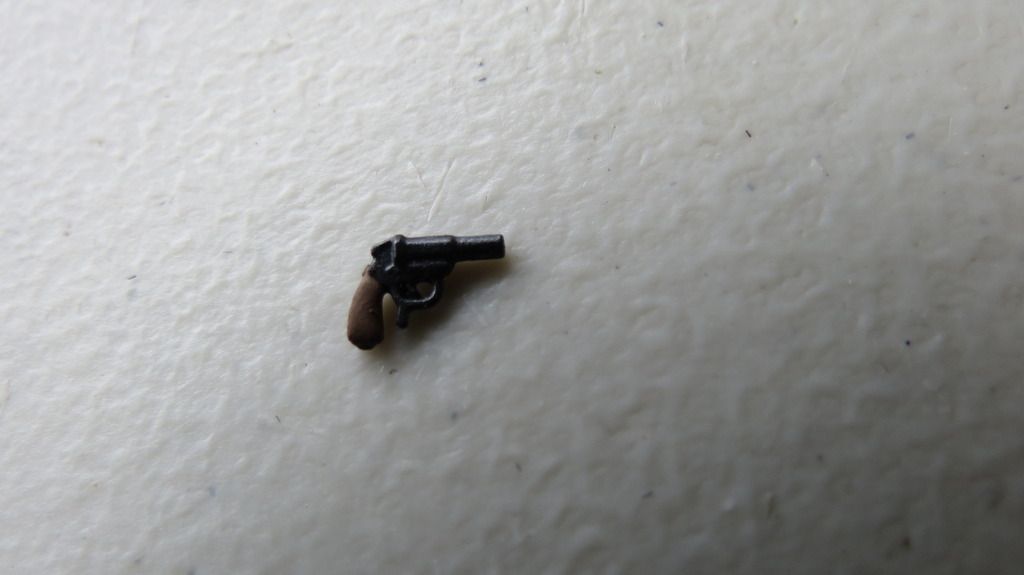
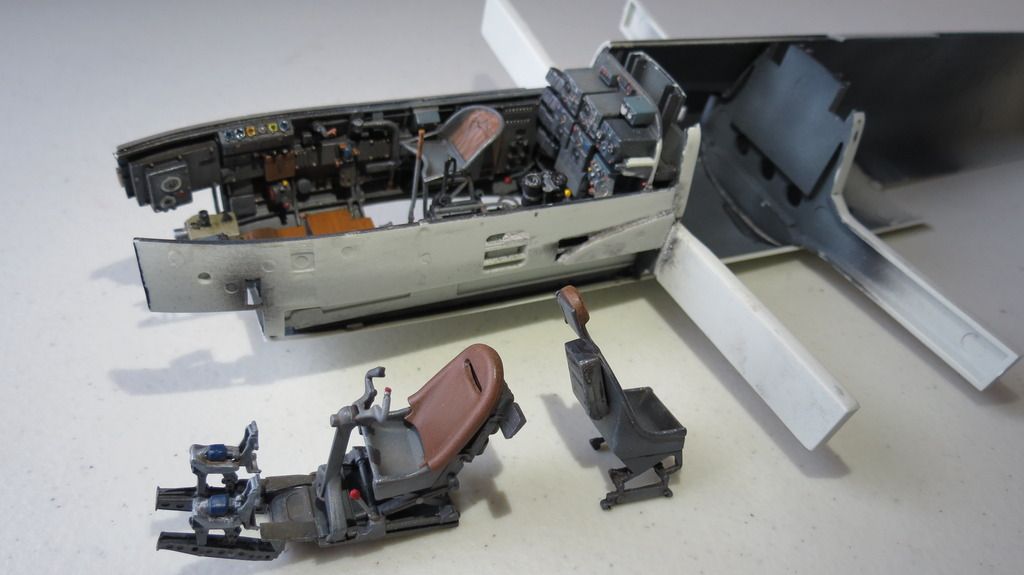
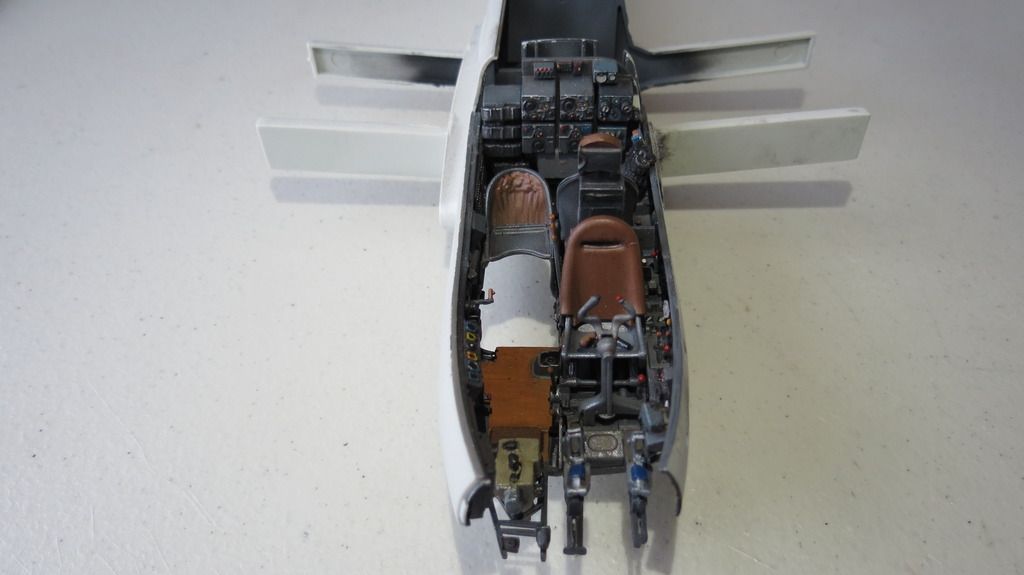
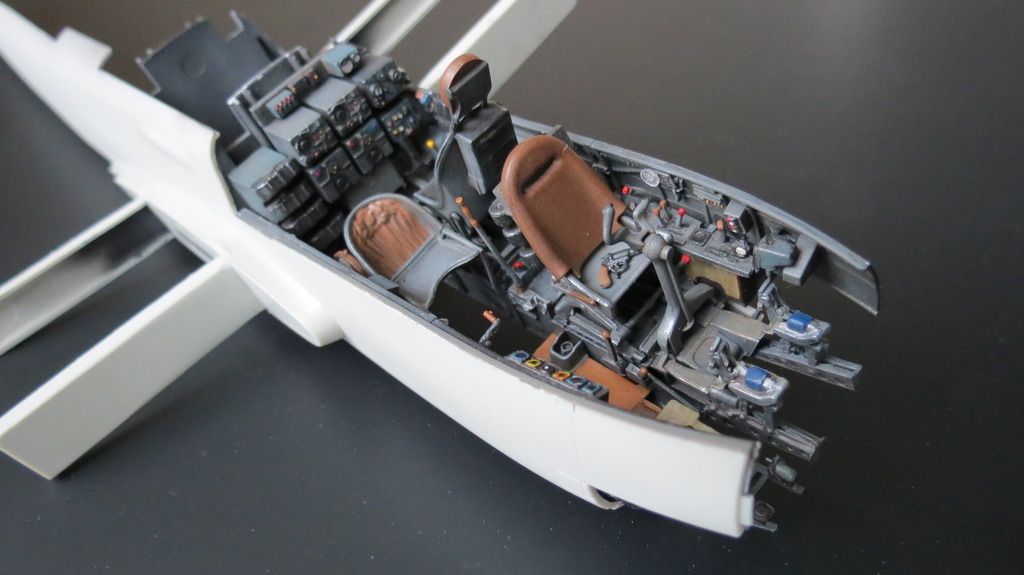
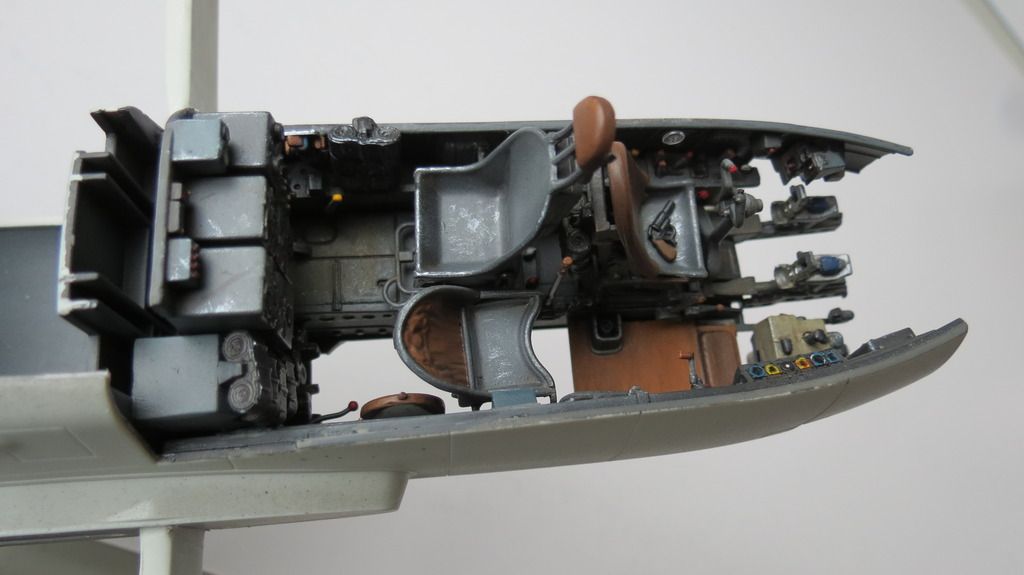
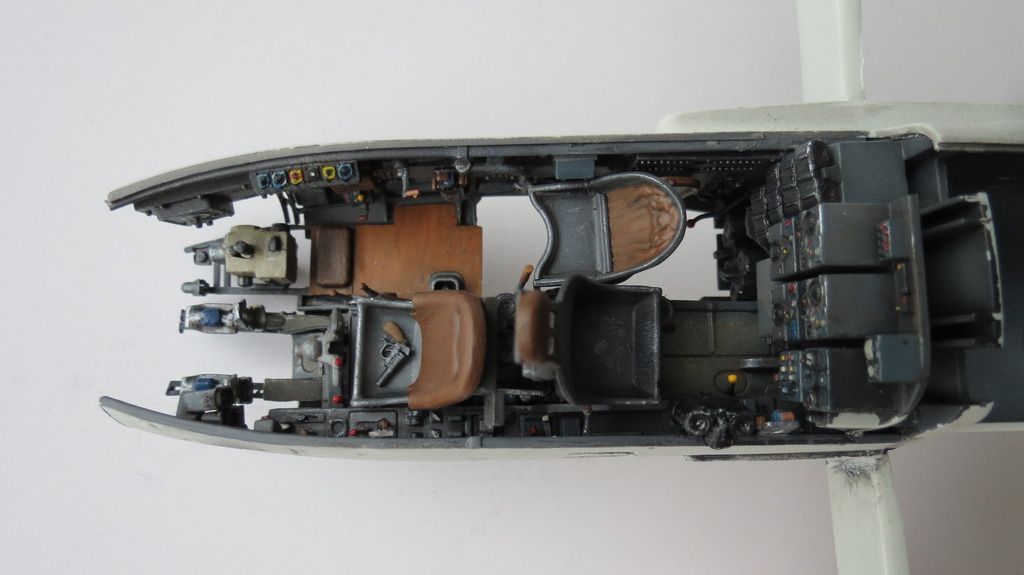
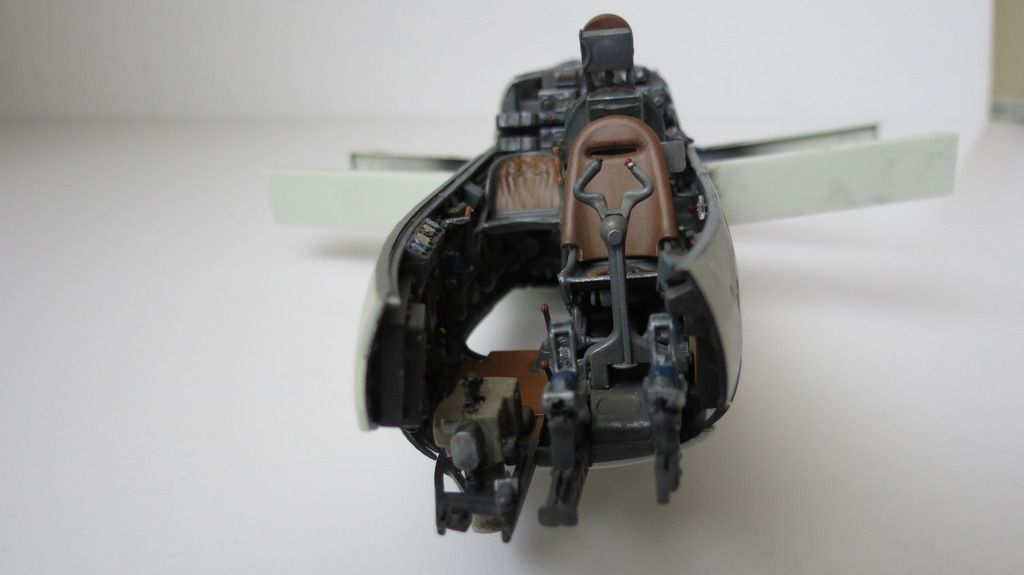
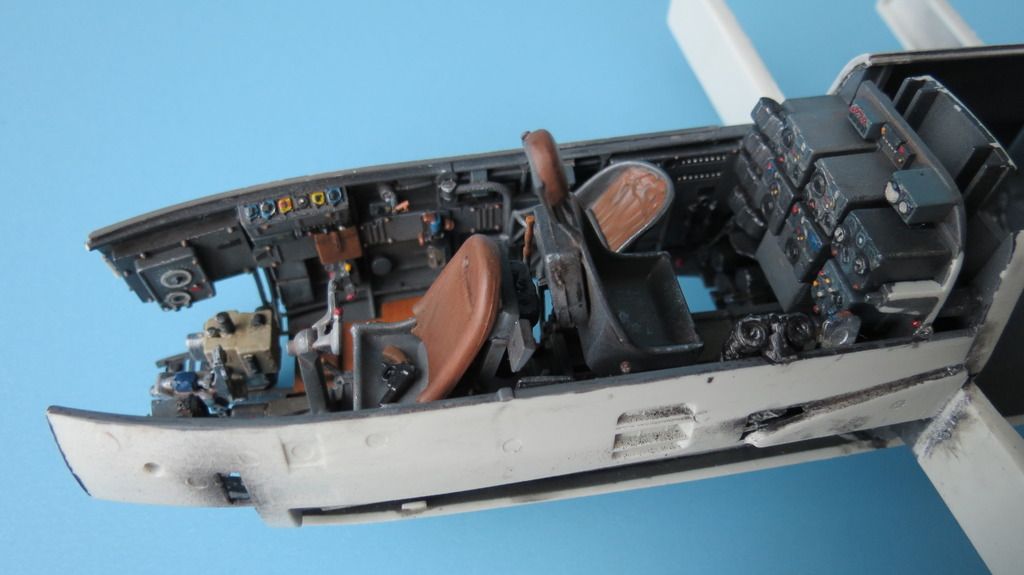
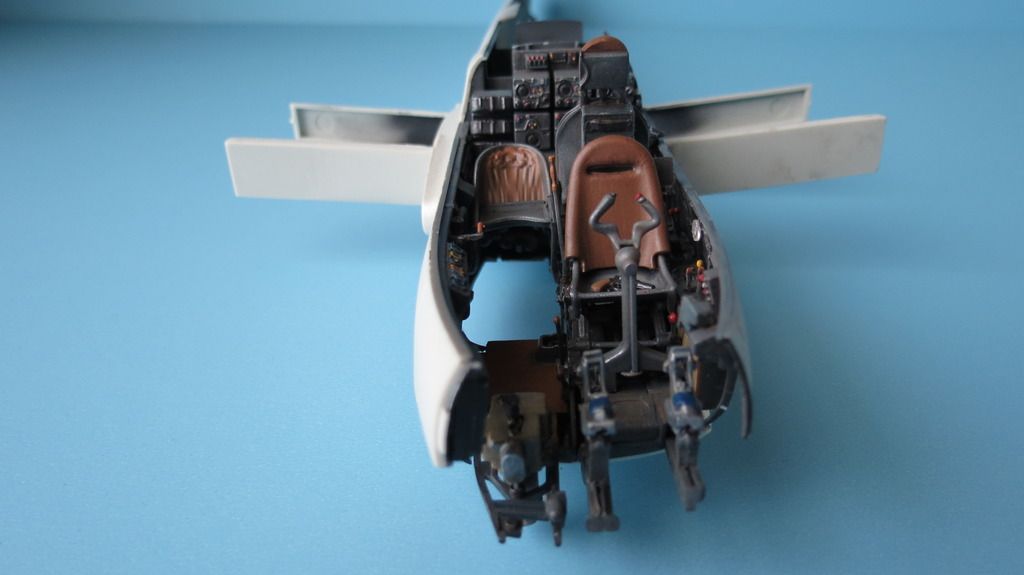
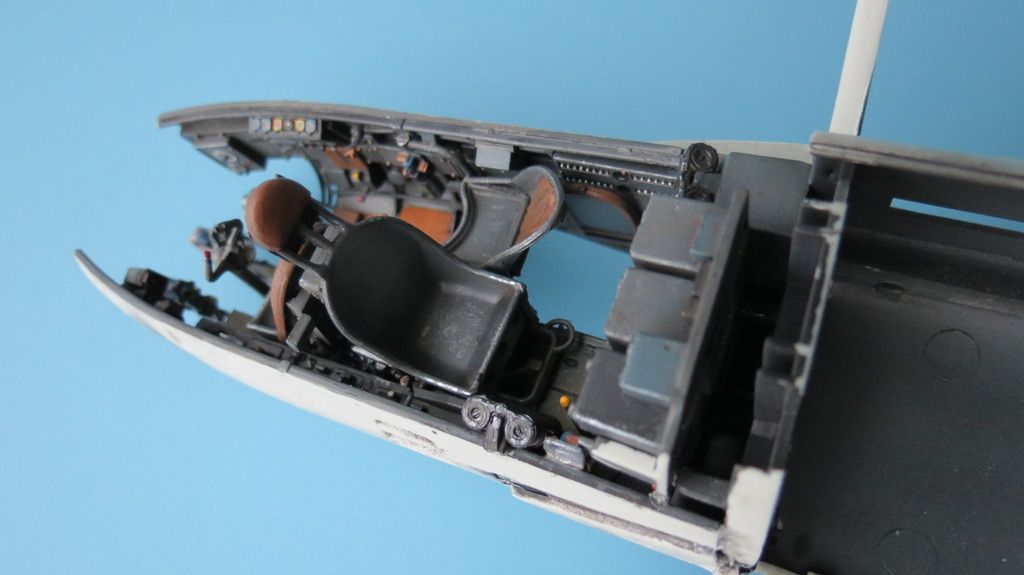
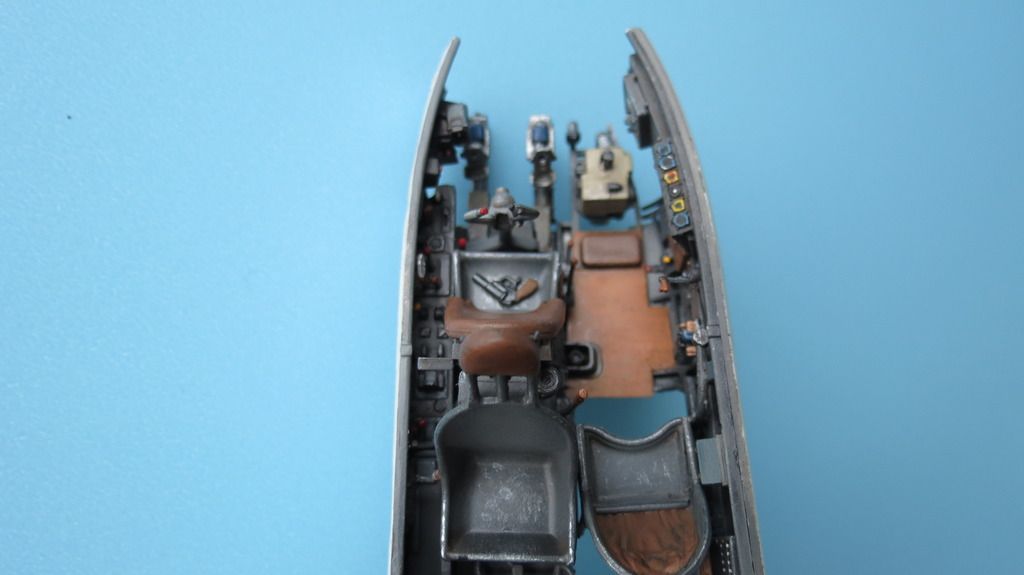
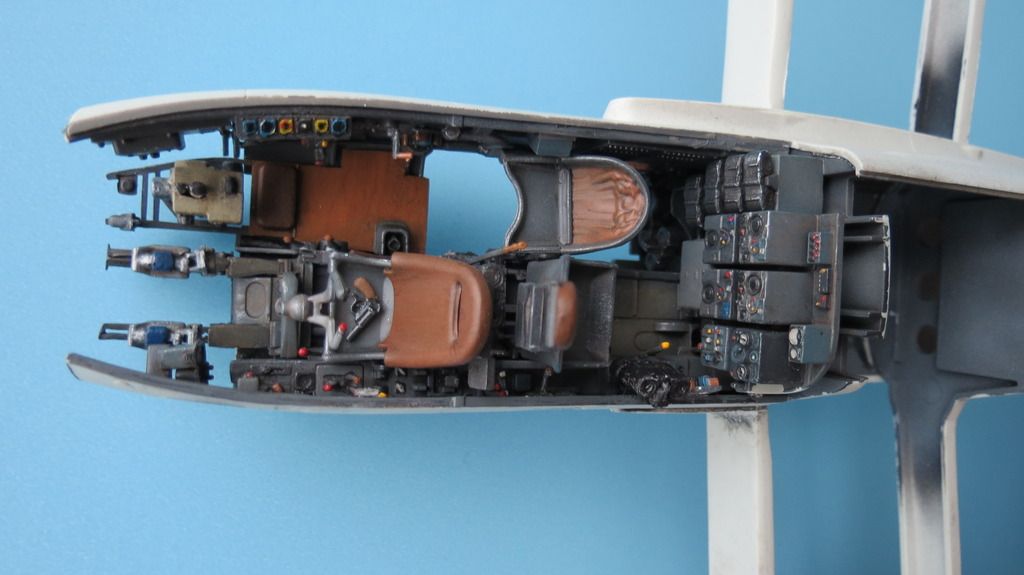
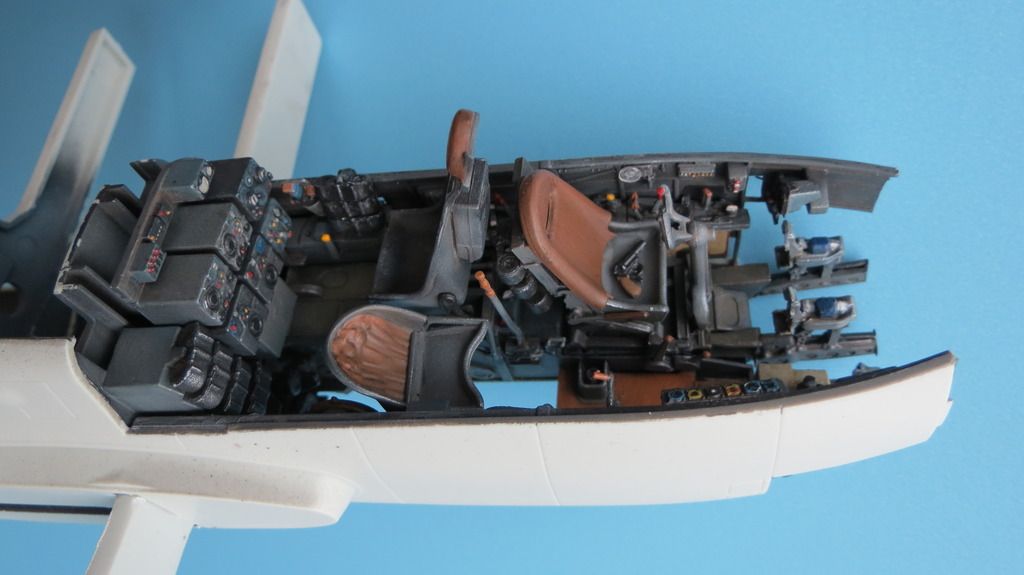
All that was left to complete the cockpit assembly was to fit the radio operator and pilot's seat. But before that was done, there was a small flare gun to paint and glue into the Pilot's seat. With the cockpit complete, I took a set of photographs for prosperity before most of it is hidden behind the canopy sections and upper and lower fuselage sections:
Next, I fitted the three rear wheel well bulkheads, the wheel hydraulic suspension cylinders and the two horizontal braces for locating the horizontal stabilizers onto. I temporarily located the portside fuselage half until all the parts were set solid in their locations:
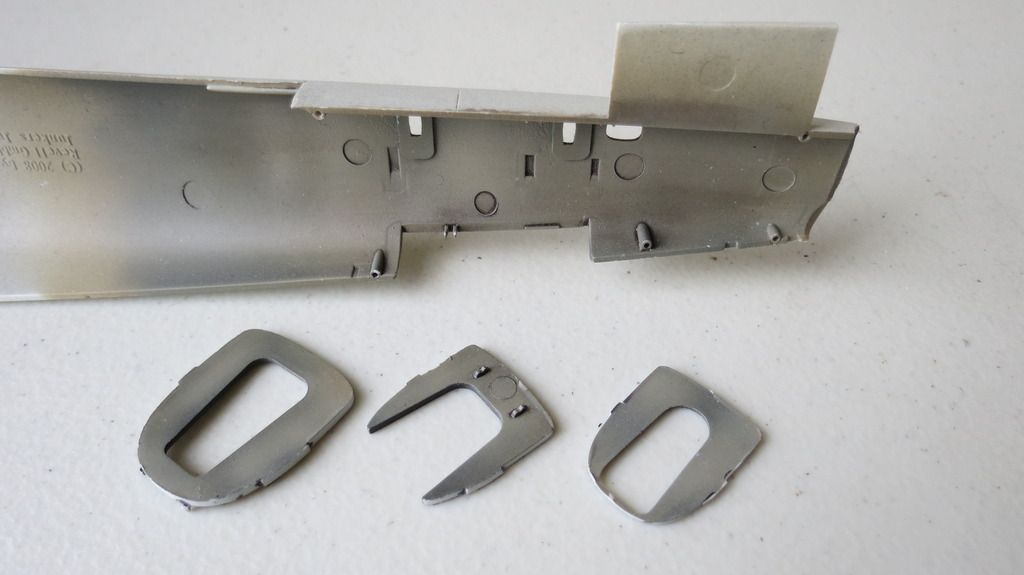
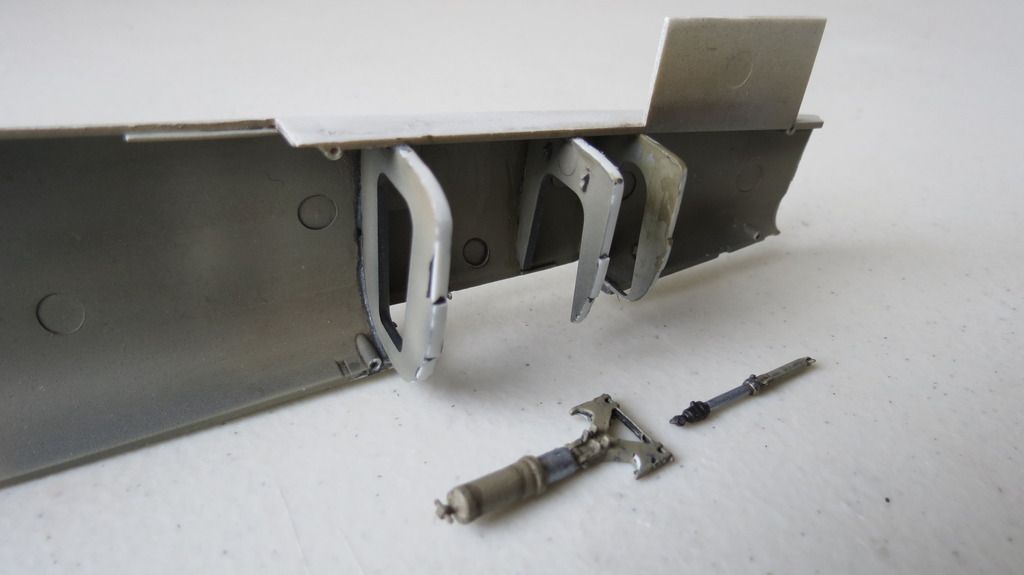
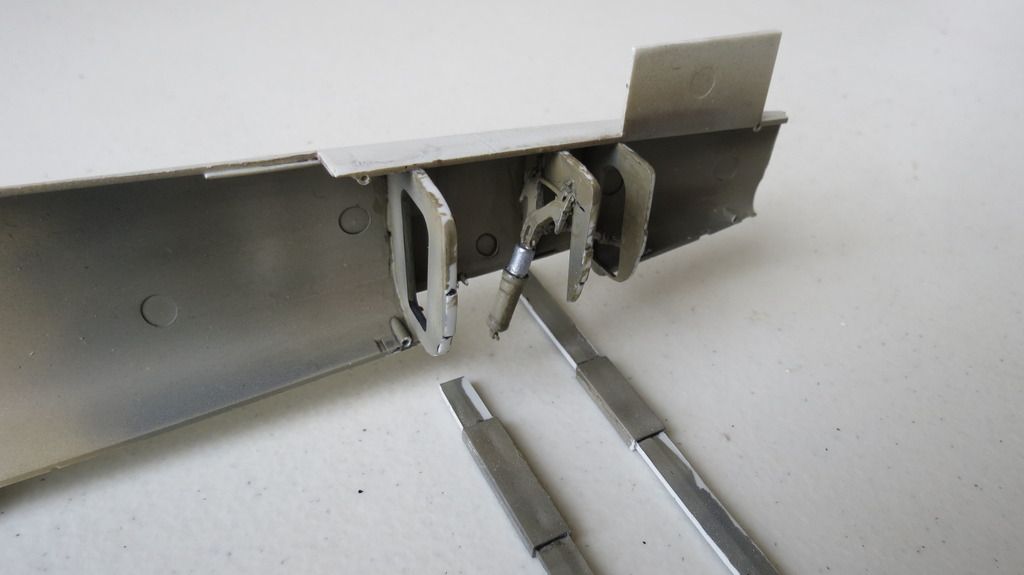
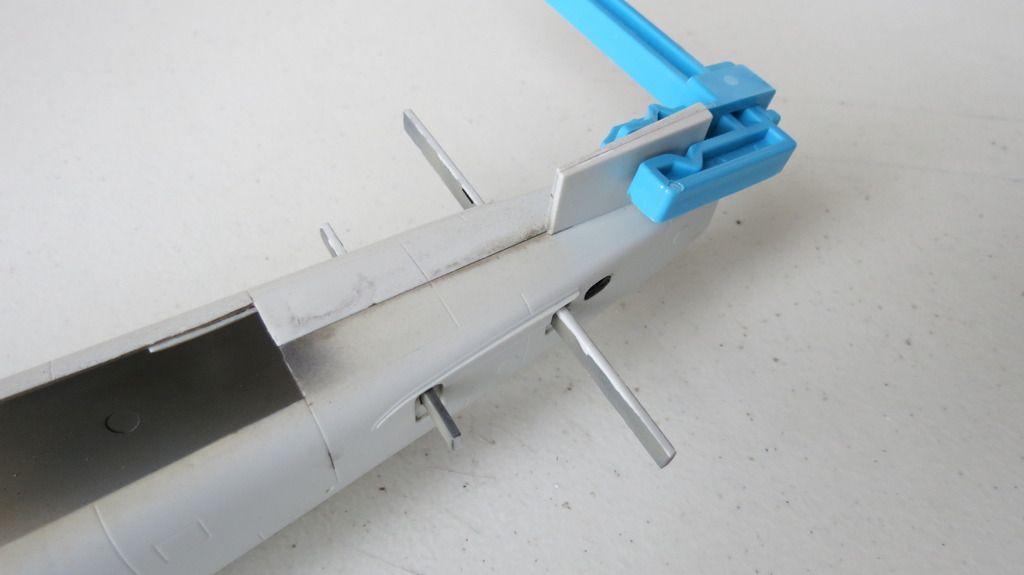
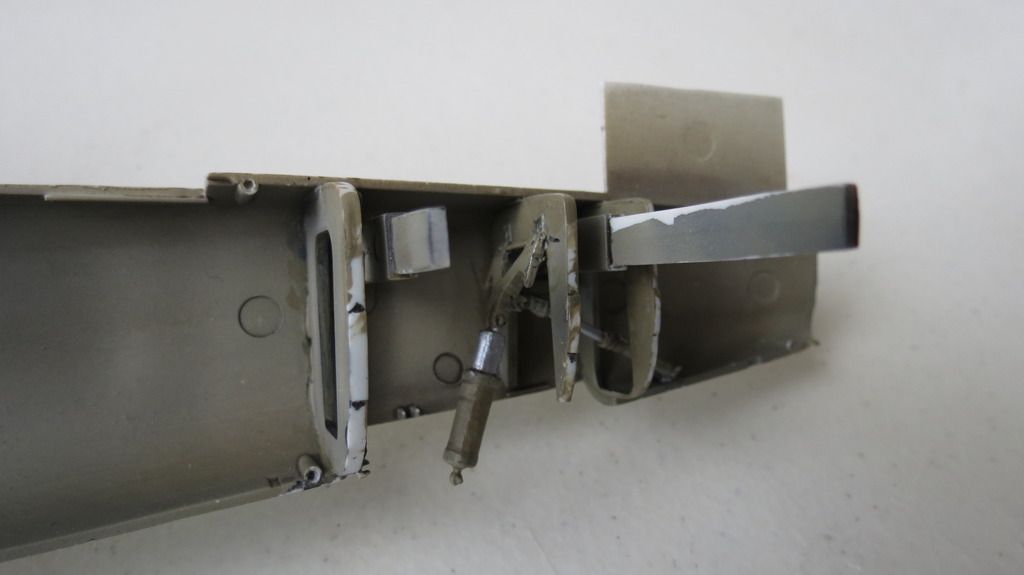
Before gluing the two fuselage halves together, there was a clear lens/window to be glued into the portside fuselage half:
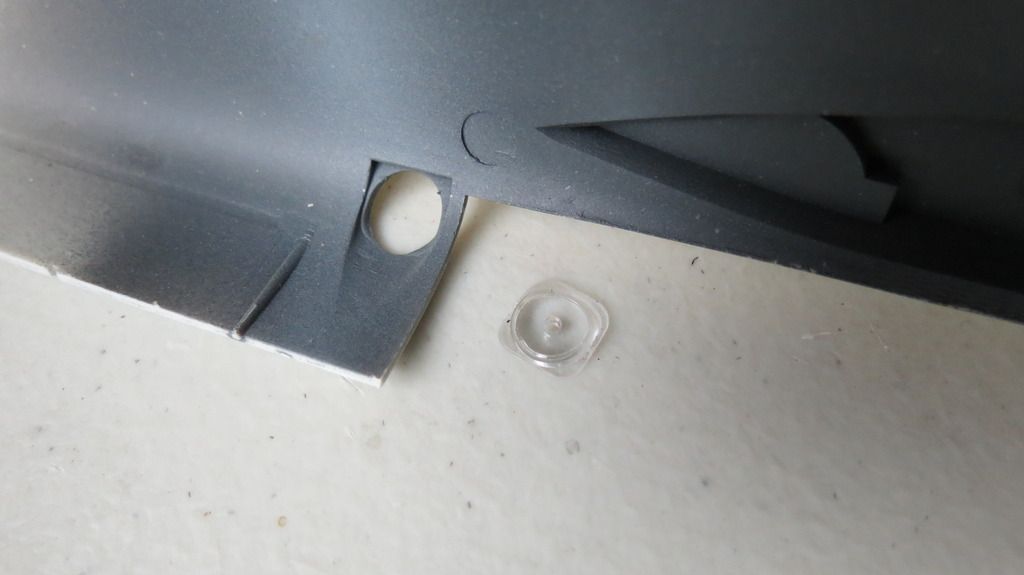
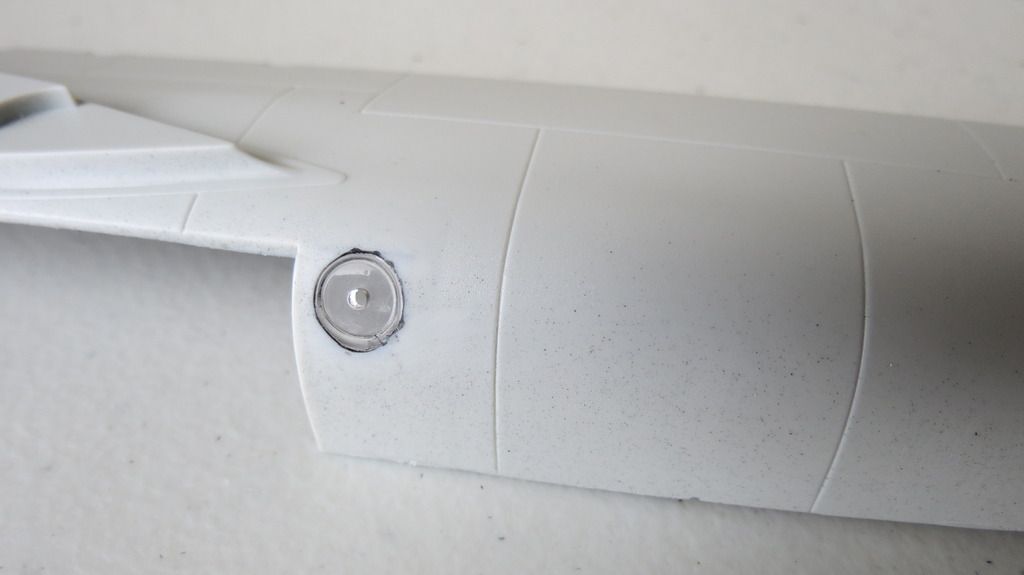
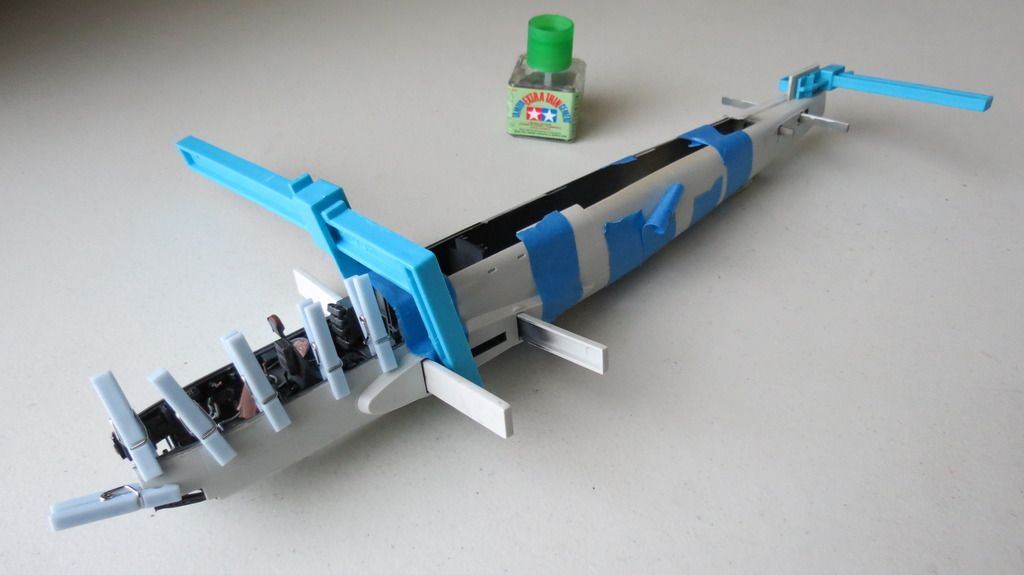
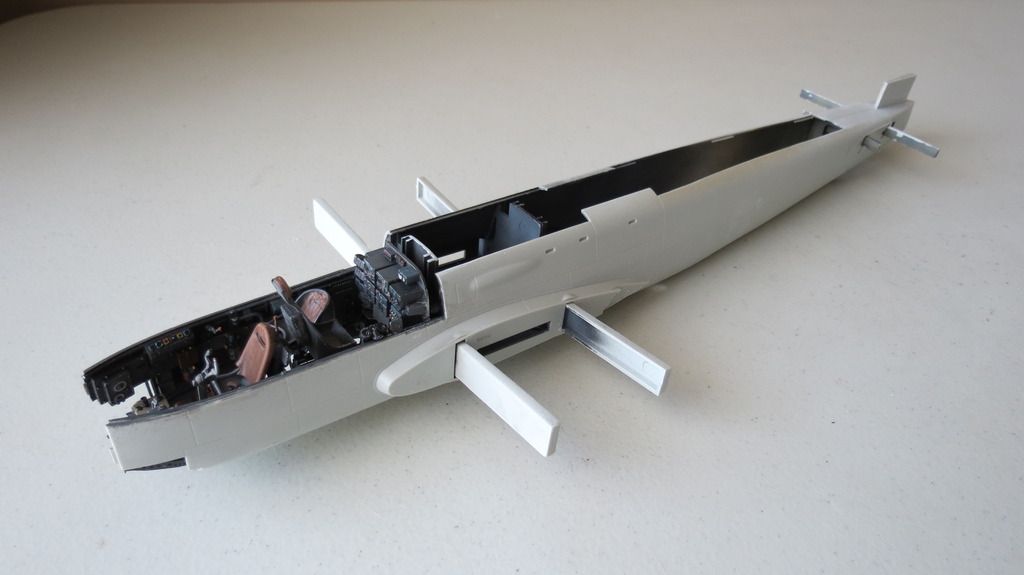
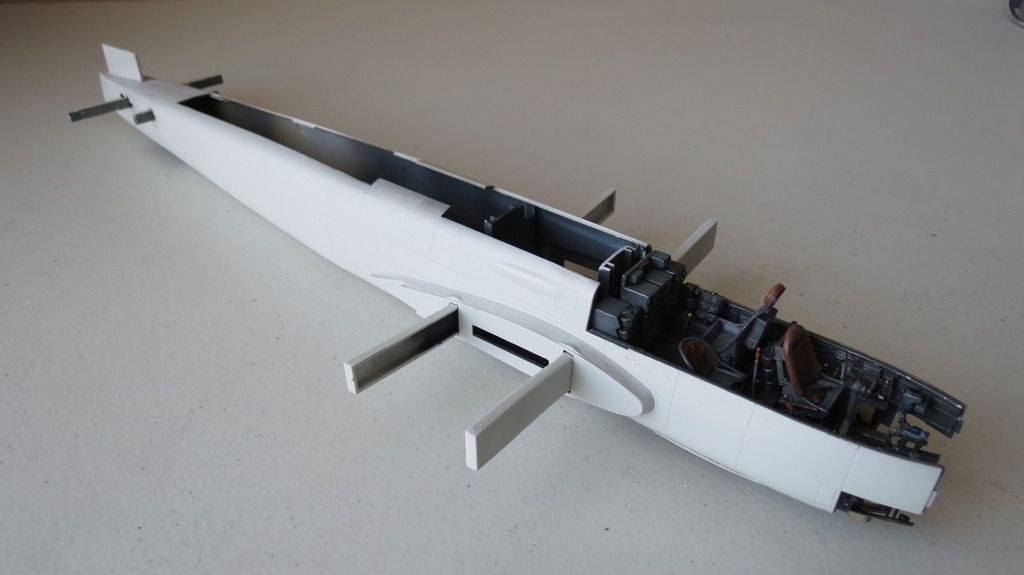
When that window had set solid, I then glued the two fuselage halves together and taped and clamped them until they had set. I then removed the tape and clamps and took a couple of photos:
So, that's it for this update, I hope you like what has been done so far?
Next, I will build up the plane, fill sand and smooth all seams, mask the canopies, wheel wells and radial engine fronts, prime and pre-shade in preparation for moving onto the painting stage.
In the meantime, if you'd like to watch my YouTube Channel "Build Update #2" video, then here is the link to that: https://youtu.be/vd8SPlxe6BM
Thanks in advance for watching this thread, leaving any comments and watching my YouTube video should you choose to do so! 
Until my next update, happy modeling and have fun!
Cheers 

Martin