I have been in a bit of a rut lately, and haven't finished a model since July, for a number of reasons, so when I saw that Lewbud ishosting a weekend group build, I really wanted to give it a go, and took the plunge this past weekend.
I picked up the kit - Tamiya's 1/48 RAF Mustang III - for $16 on sale at one of the local hobby shops, and having built the P-51B before, I knew the fit and whatnot would be good to give it a go on the weekend.
Also, the plane I chose to build didn't show too much wear and tear, which means less work overall.
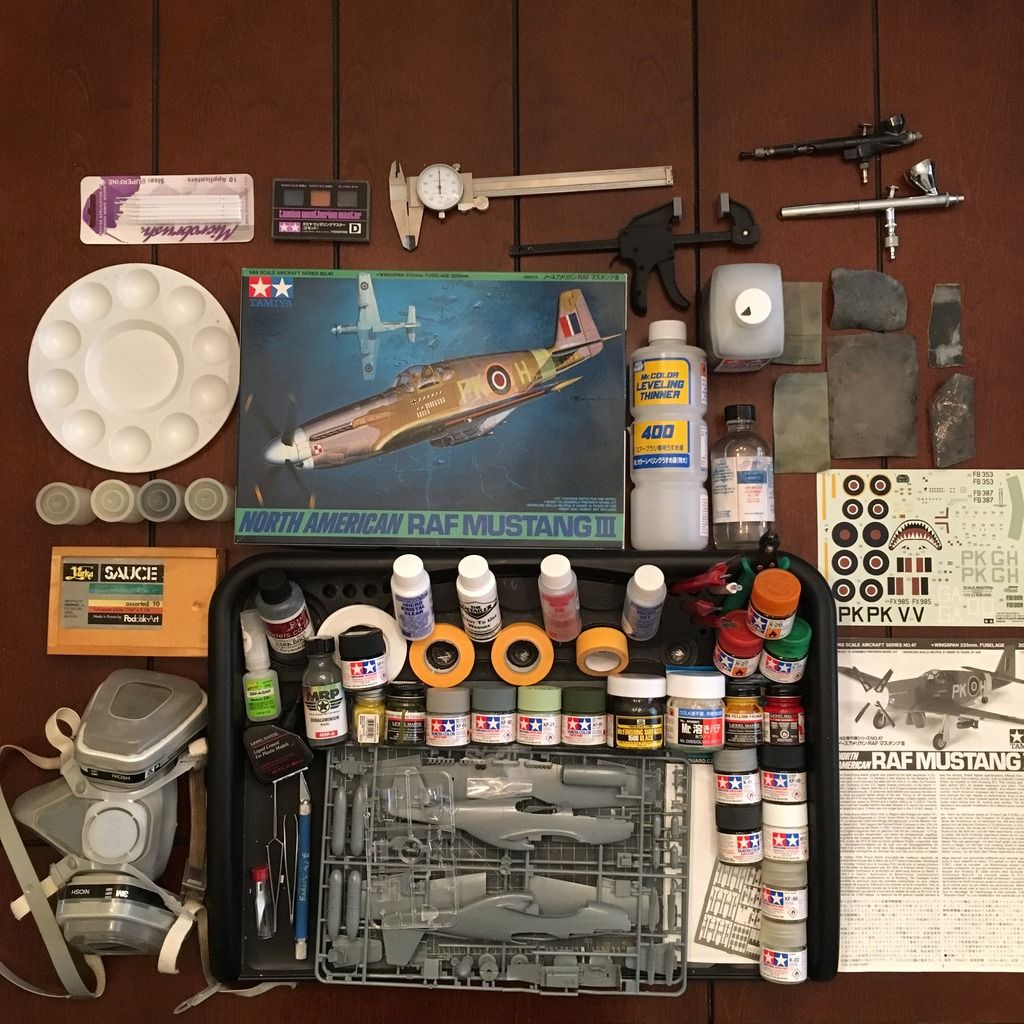
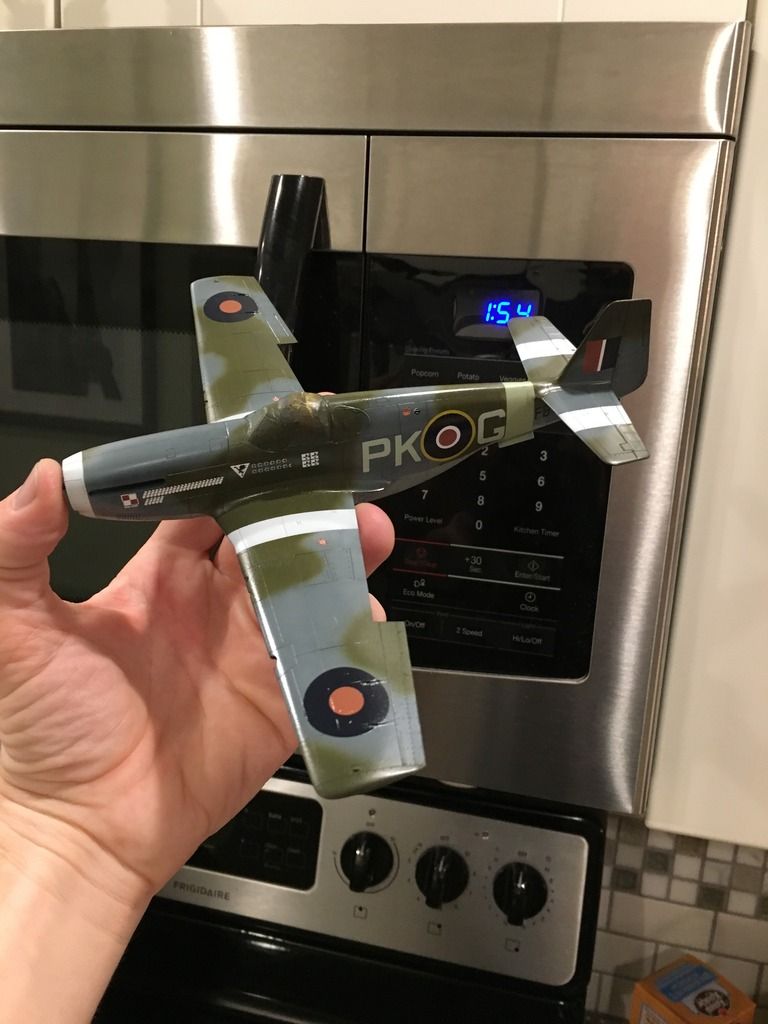
I took this shot on Thursday, and planned to start the build on Friday.
I realized that completing something in a weekend - my normal rate is about one a month - would be a challenge, so I made a list of everything I needed to do, and set benchmarks for when they needed tobe completed to keep on schedule.
The plan was to skip out of work a bit early on Friday and get started by 4:30, and have the plane primered by bedtime, with some seam work probably left to do Saturday morning.
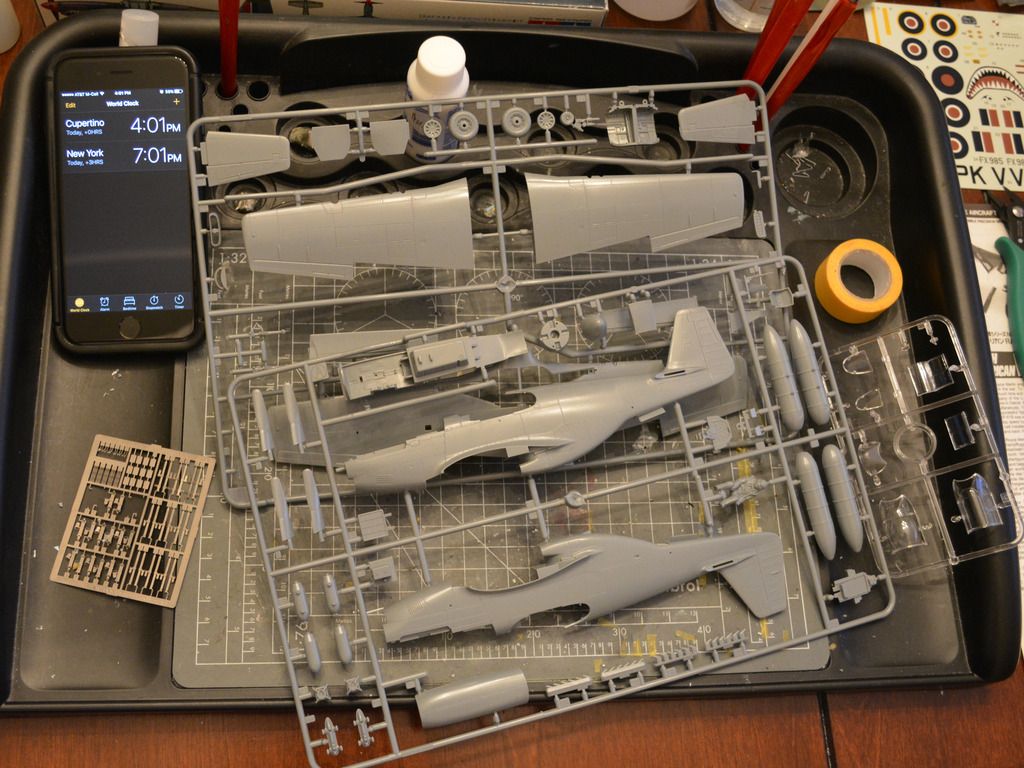
I got started right at 4 p.m.
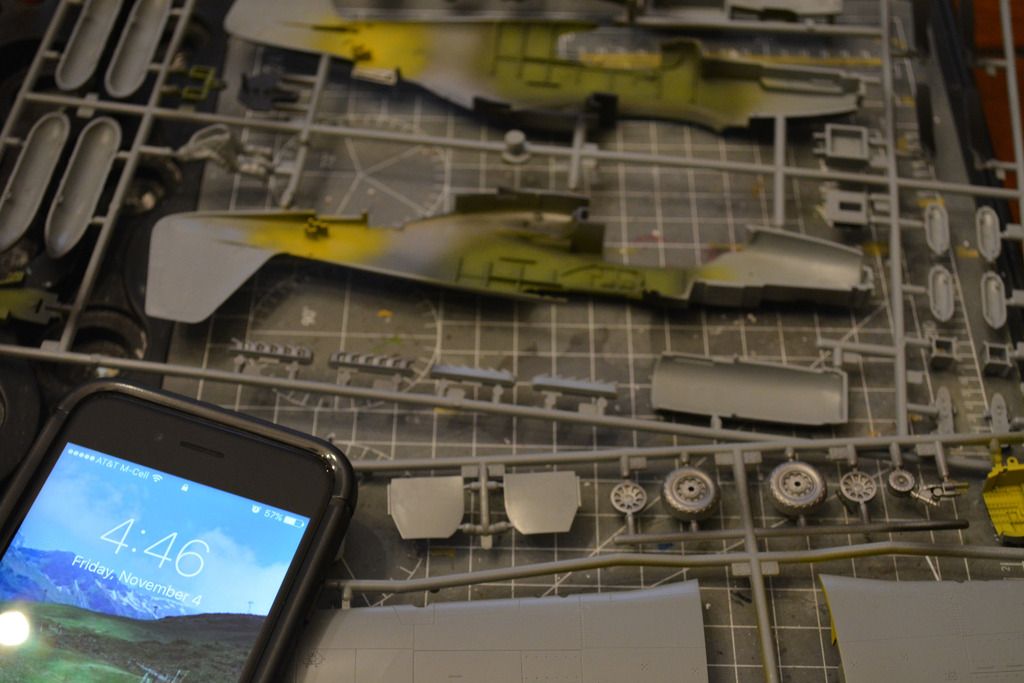
Step one was to shoot Mr. Surfacer 1500 Black primer on most of the interior surfaces. As soon as I was done, I quick-cleaned the airbrush and shot Testors Yellow Zinc Chromate on the wheel wells, then Mr. Paint Duraluminum on the bare metal parts (flap innards, geat legs, gear doors, etc.), and then Model Master Interior Green on the cockpit tub.
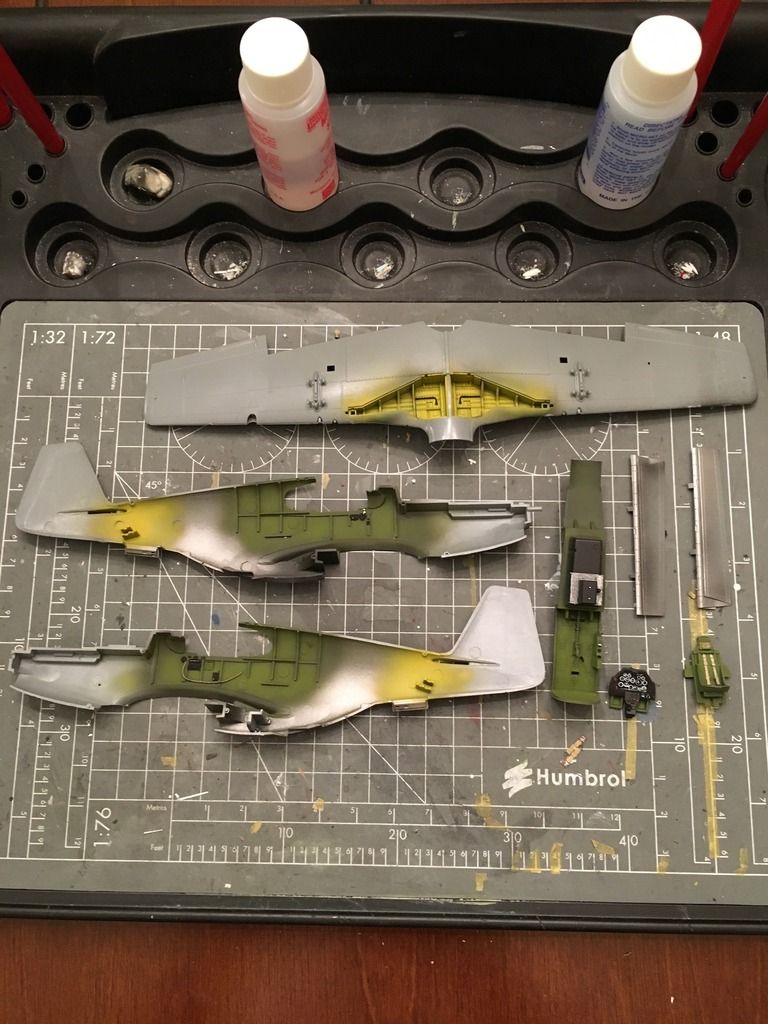
It assembled quickly, and I had to be a little careful because the paint was just mostly dr to the touch.
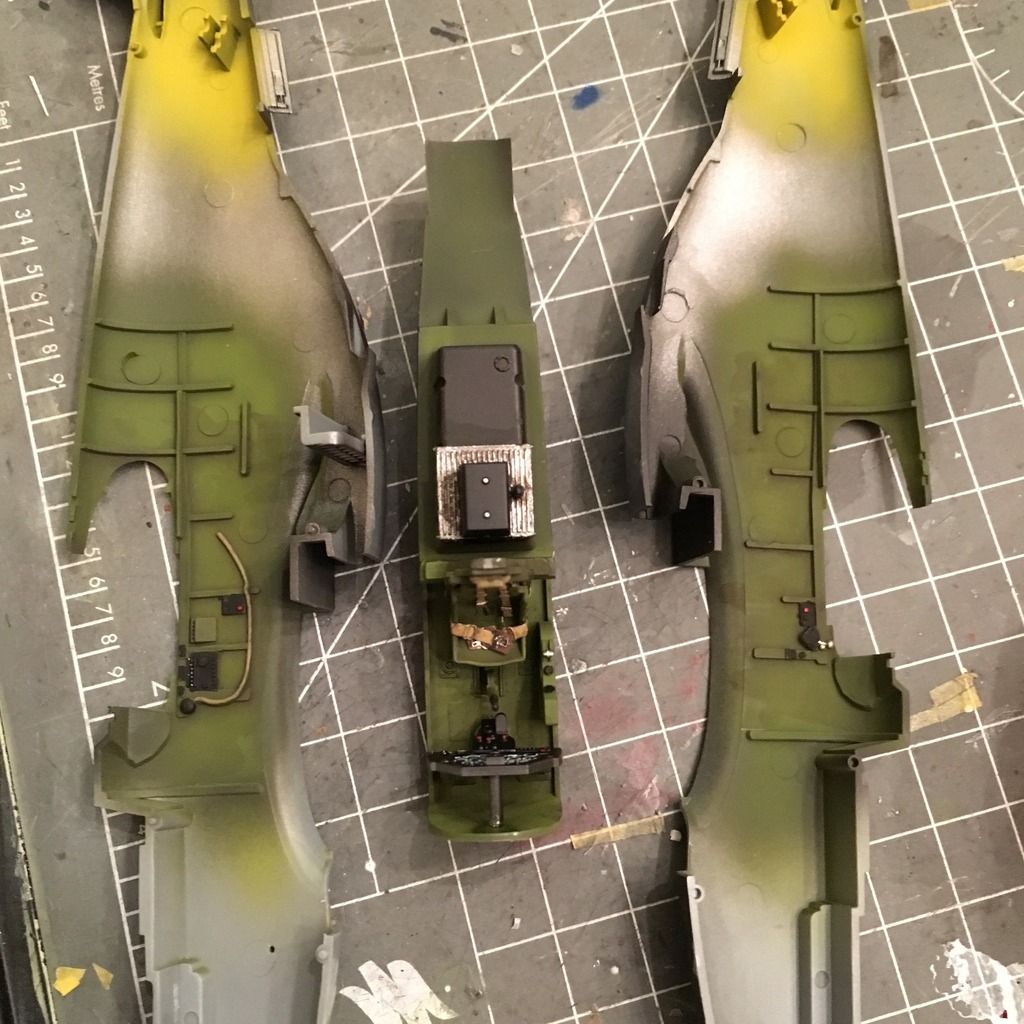
The belts are Eduard, and I was fresh out of my stash of pre-painted harness, so I used an older set of plain ones and just painted them quickly (closed canopy, so not too visible, but just visible enough that if I didn't include them, it would feel like a glaring omission).
I gave all parts a quick wash with Flory Dark Dirt, then assembled the airframe.
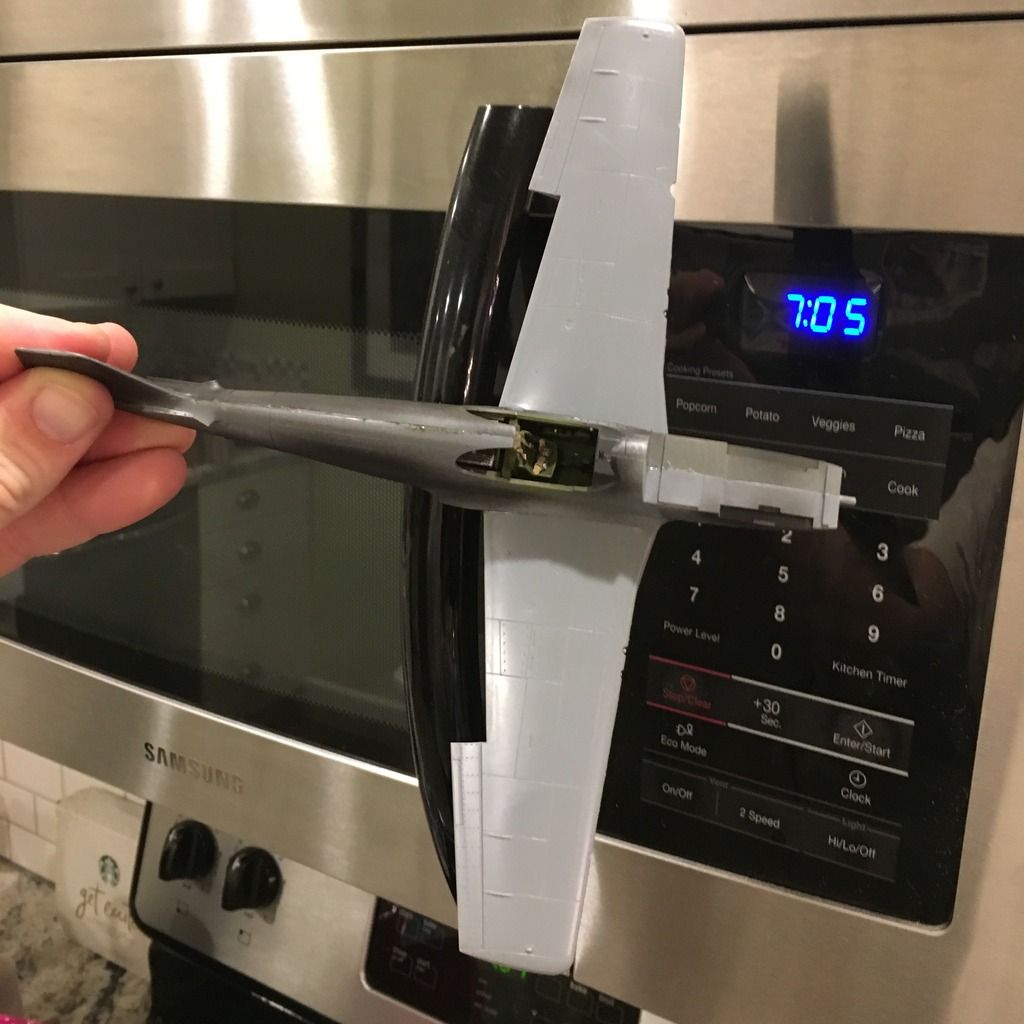
As you can see, that was done by 7:05 p.m. To give the glue some time to set up, I grabbed dinner and went to work masking the canopy.
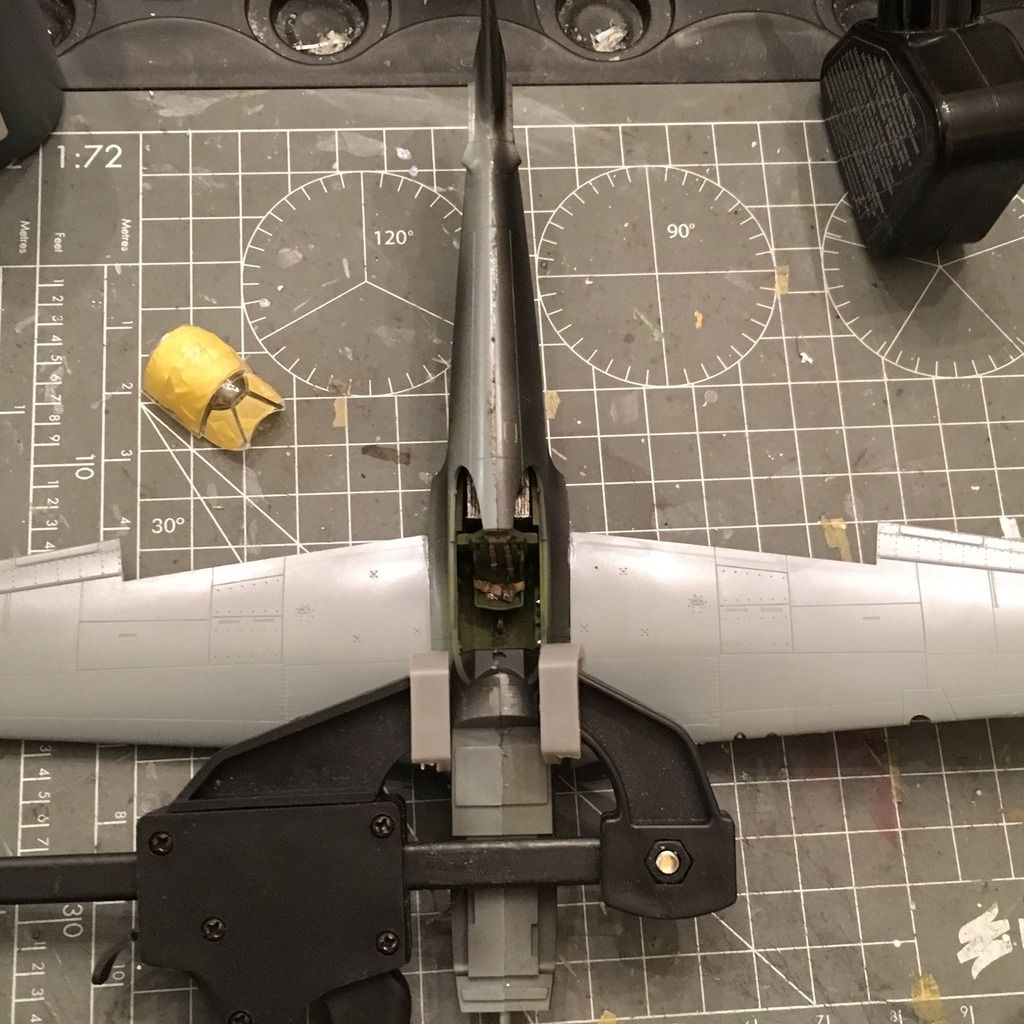
It needed some help holding together in front of the canopy, so I gave it a clamp.
I laid down some super glue to fill the seam, then sanded it and primered.
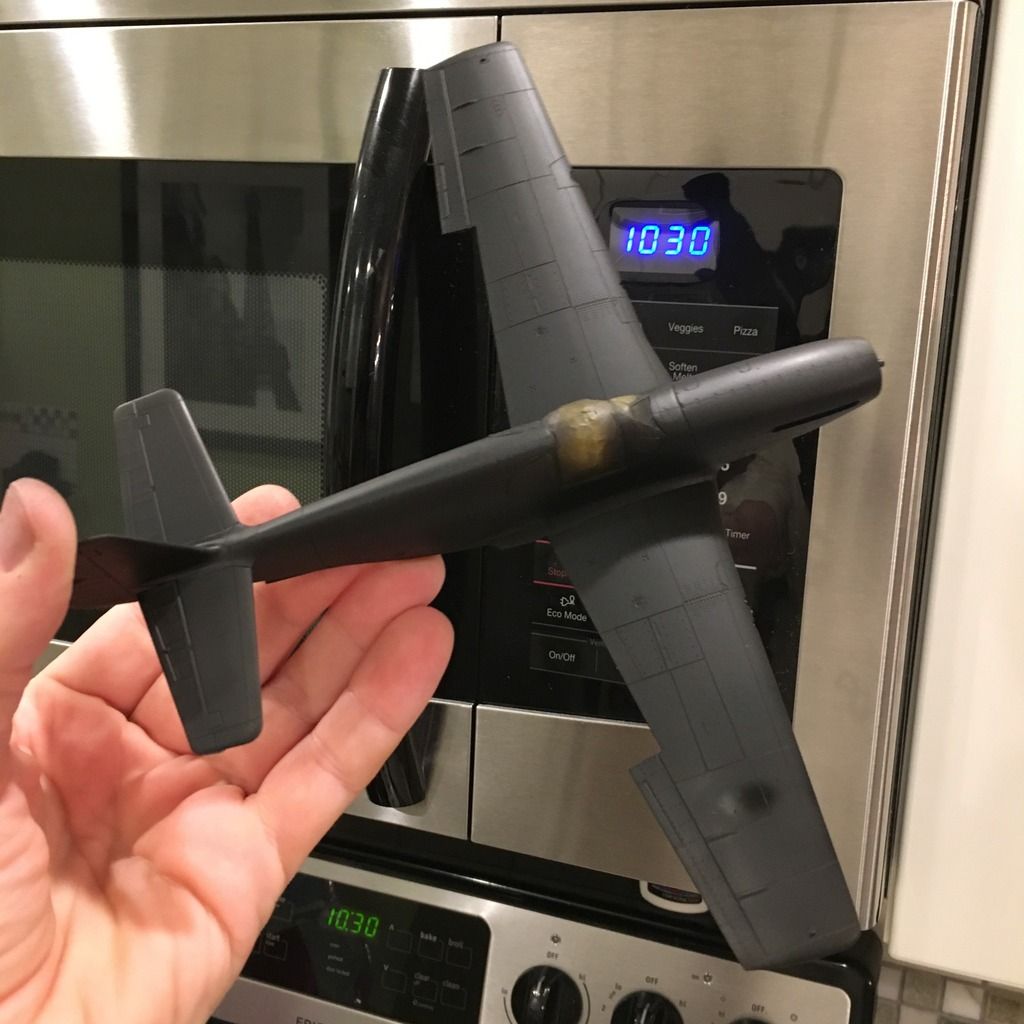
I had that done by 10:30 p.m., and noticed there was still a seam. I ran a thin line of Mr. Dissolved Putty along it, then sanded it once it was dry, getting rid of the seam for good.
Tamiya's color call-out does not show any stripes on the wings of the No. 315 (Polish) squadron commander's bird, but reference photos I have showed them, so I went ahead and shot the white stripes, nose band and prop spinner before bed.
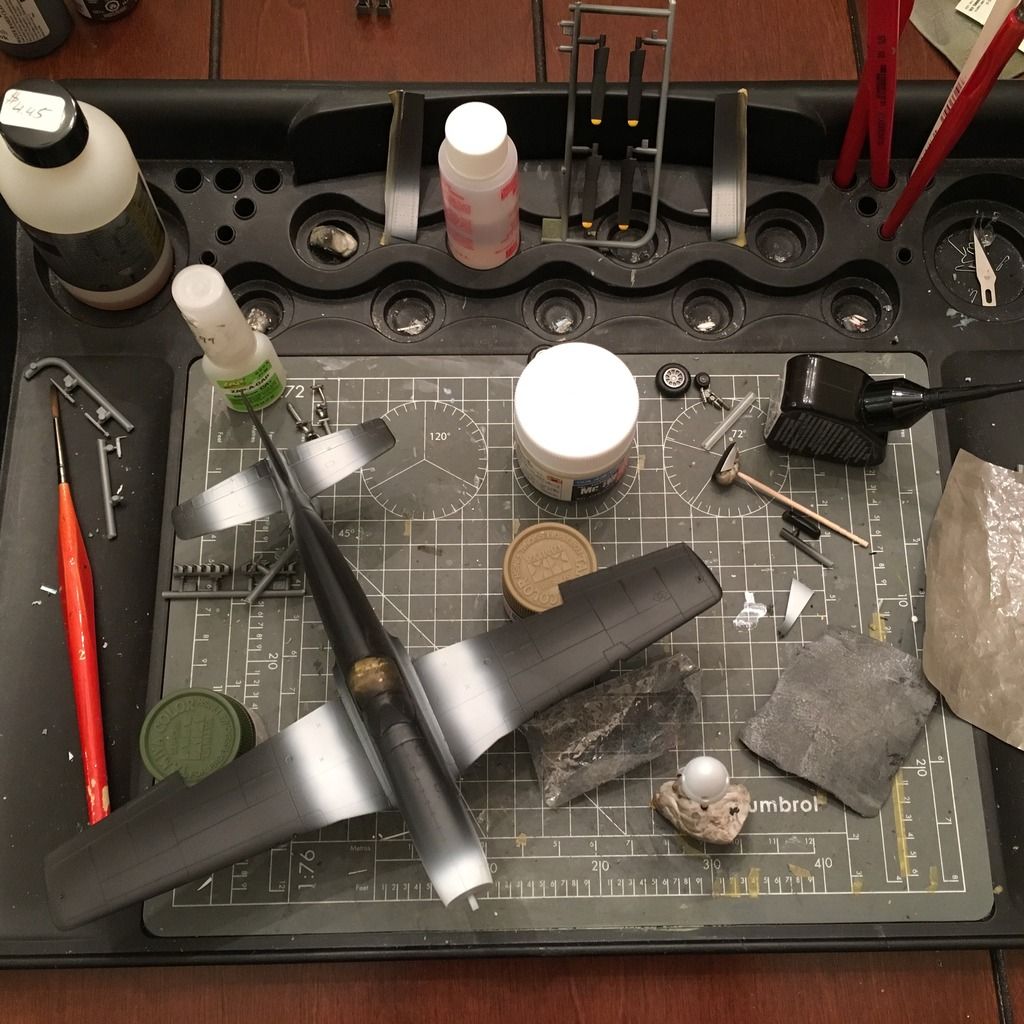
And that was the end of day one.
When I woke up on Saturday, I took the dog outback and let her run around while I masked the white bits, then I sprayed the fuselage band Sky.
I went for a run while that dried, then came back and masked it.
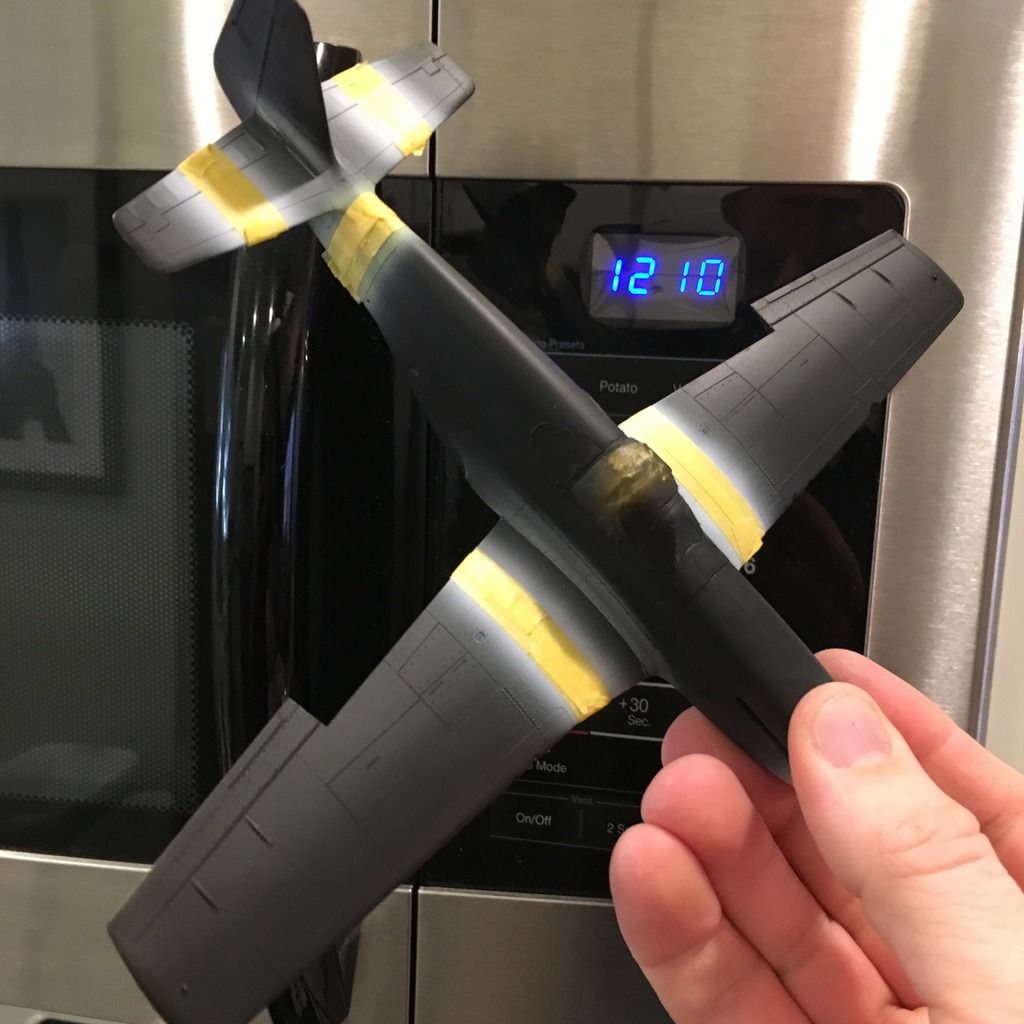
ANd this is where I got rushed for time.
Saturday was my dad's birthday, and I was planning to leave to head to my parents' house at 3 p.m. As you can see, I had the thing ready for paint by 12:10, which doesn't leave a ton of time for a three-color scheme, but I was feeling confident.
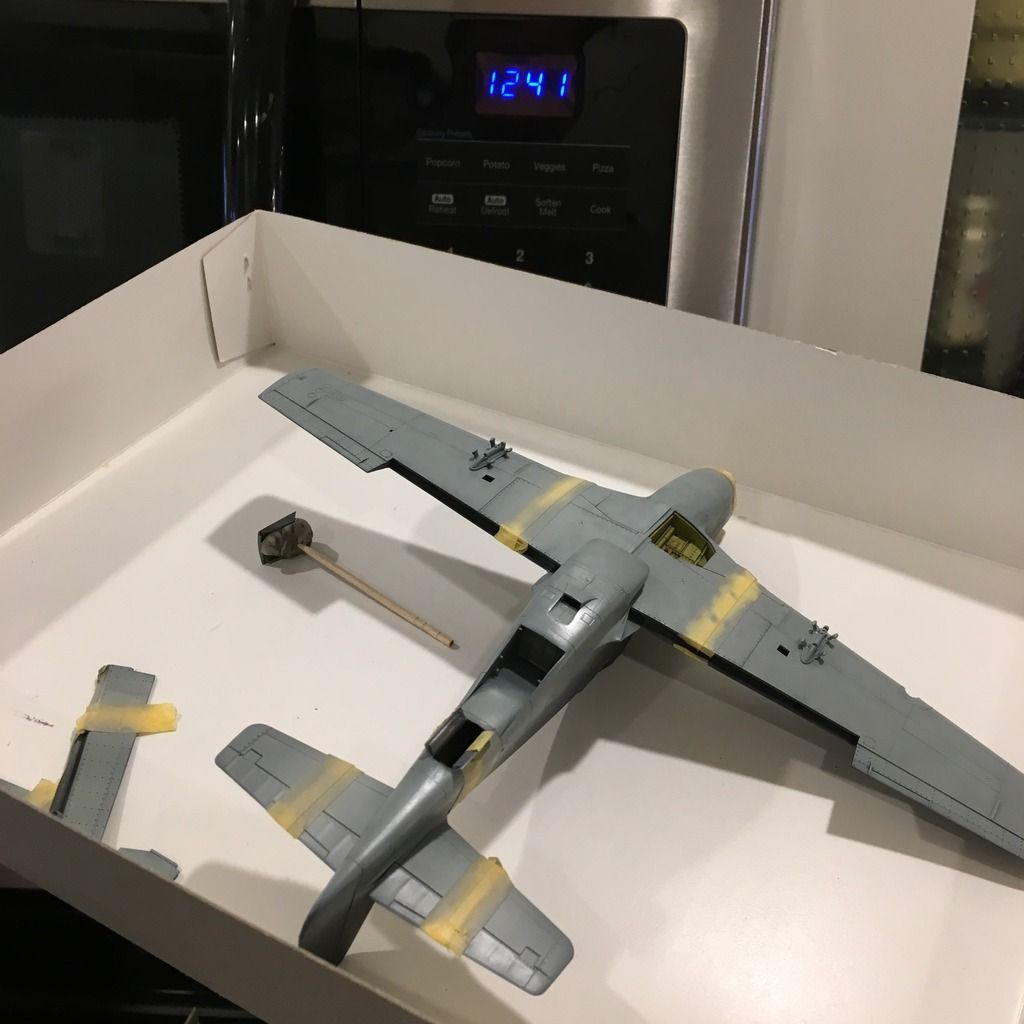
Medium Sea Gray went down easily on the underside, and I went and grabbed a coffee while the paint was drying so I could mask it.
When I got back, I masked with Tamiya tape de-tacked by sticking itto my forearm before applying to paint I normally would wait longer to let dry.
Then I started shooting the Ocean Gray, and I ran into a problem - my airbrush clogged, and no amount of work could get it un-clogged. Of all the times for this to happen!
But no, it wasn't clogged. I'd just forgotten to turn the air compressor on, and with a 3 gal. tank, you can actually spray quite a while before you realize that!
So I finished the Ocean Gray and switchted to RAF Dark Green (all these colors are Tamiya acrylics, by the way). I freehanded the green for the camouflage scheme and took itinside to remove the masks.
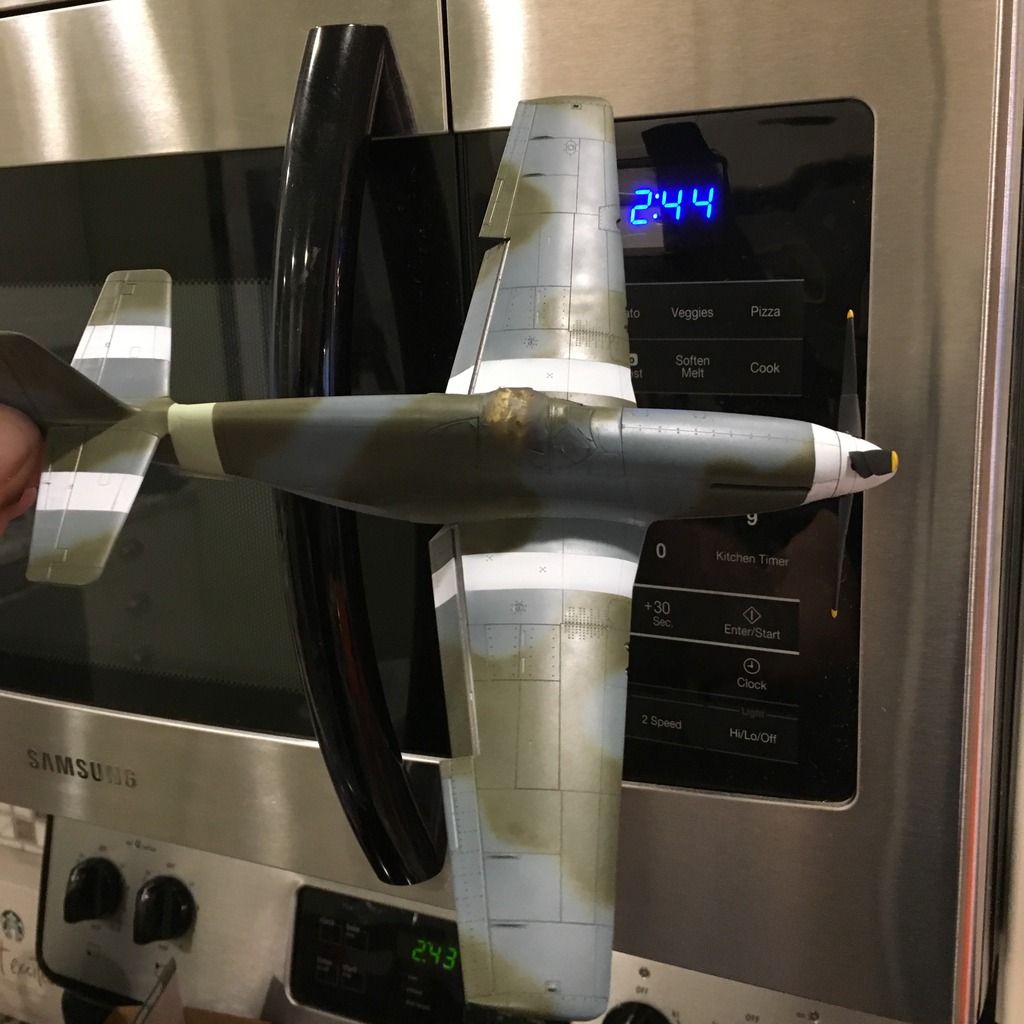
Et voila. My benchmark for Day Two was to have decals on before I went to bed, so I needed to clear it before I left for my parents' house.
Right after this pic was taken, I went back into the garage and shot the X-22 Clear coat, then misted it with thinner for a glassy surface for the decals, then hurried off to see my dad.
I got home just before midnight and set to work on the decals, finishing them up just before 2 a.m.
I did't want to kick on the compressor to lay down another gloss coat, but there was enough pressure left in the tank to spray over the decals, which was all I really needed to do.
I generally don't care for Tamiya's decals, but these ones were Scale Master or whatever Tamiya used sometimes in the kits from this era. They went down pretty well for the most part. I did cut some corners I normally wouldn't have. For example, the roundels on the upper wing surface didn't want to snug down over the detail, so instead of applying repeated coats of Micro Sol, I applied one, waited until the decals wrinkled up, then used a moistened paper towel to carefully smooth them out and press them down. Fortunately this didn't cause any problems.
Unfortunately, I'd planned to use the yellow leading edge decals, but they disintegrated when I put them on the plane, so I knew I'd have to mask and shoot them in the morning.
That was the end of Day Two.
For Day Three, I had until 3 p.m. to finish (becuase of the time change). But I knew I had to pick up my girlfriend at some point between 12 and 2, so I had to work fast.
I masked and sprayed the wing leading edges with Model Master Insignia Yellow, super-glued the main gear legs, added the doors and really felt like I was cruising.
And at 10:50 the girlfriend texted me and said she was ahead of schedule and could I leave to pick her up right away.
NOOOOOO!
But I said yeah, and then rushed to the finish, painting the gun barrels, formation and nav lights and gluing the gun camera lens in place while everything was decidedly wet. I took a couple pics just in case, but managed to come home to rotate my laundry, hang the bombs and shoot completion pics a bit later.
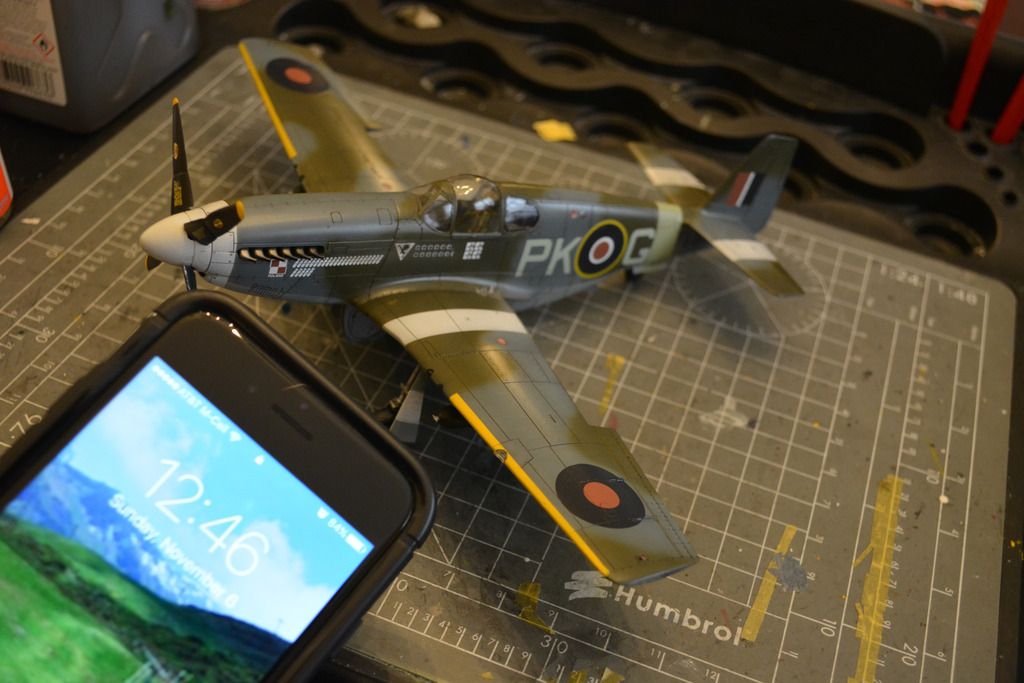
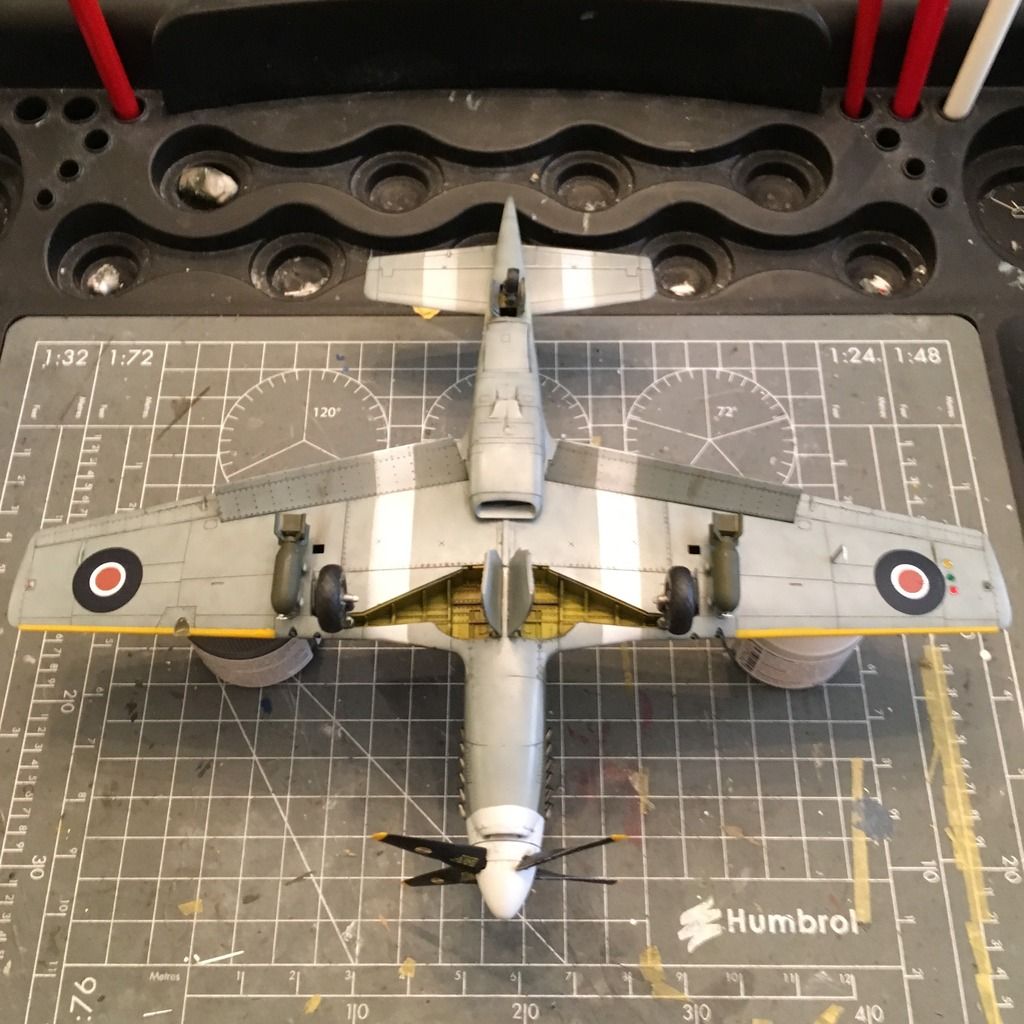
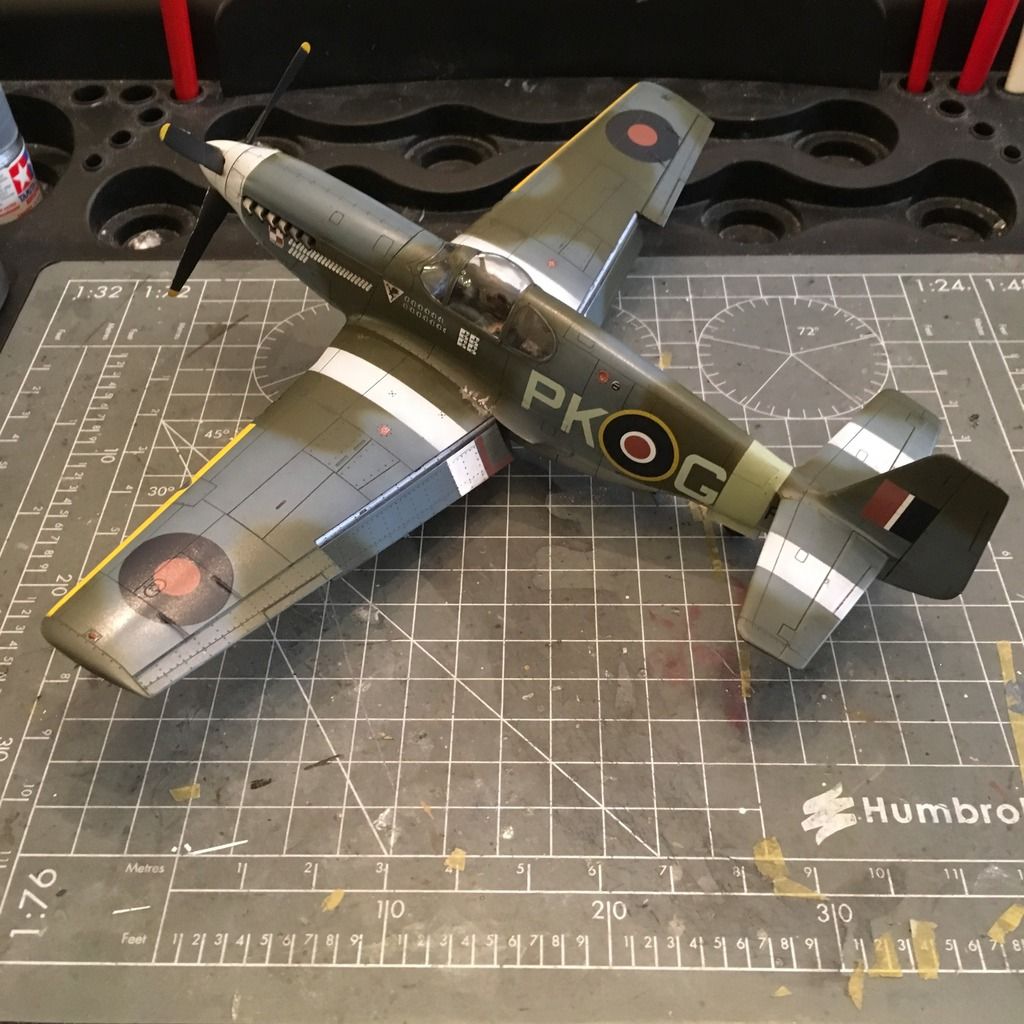
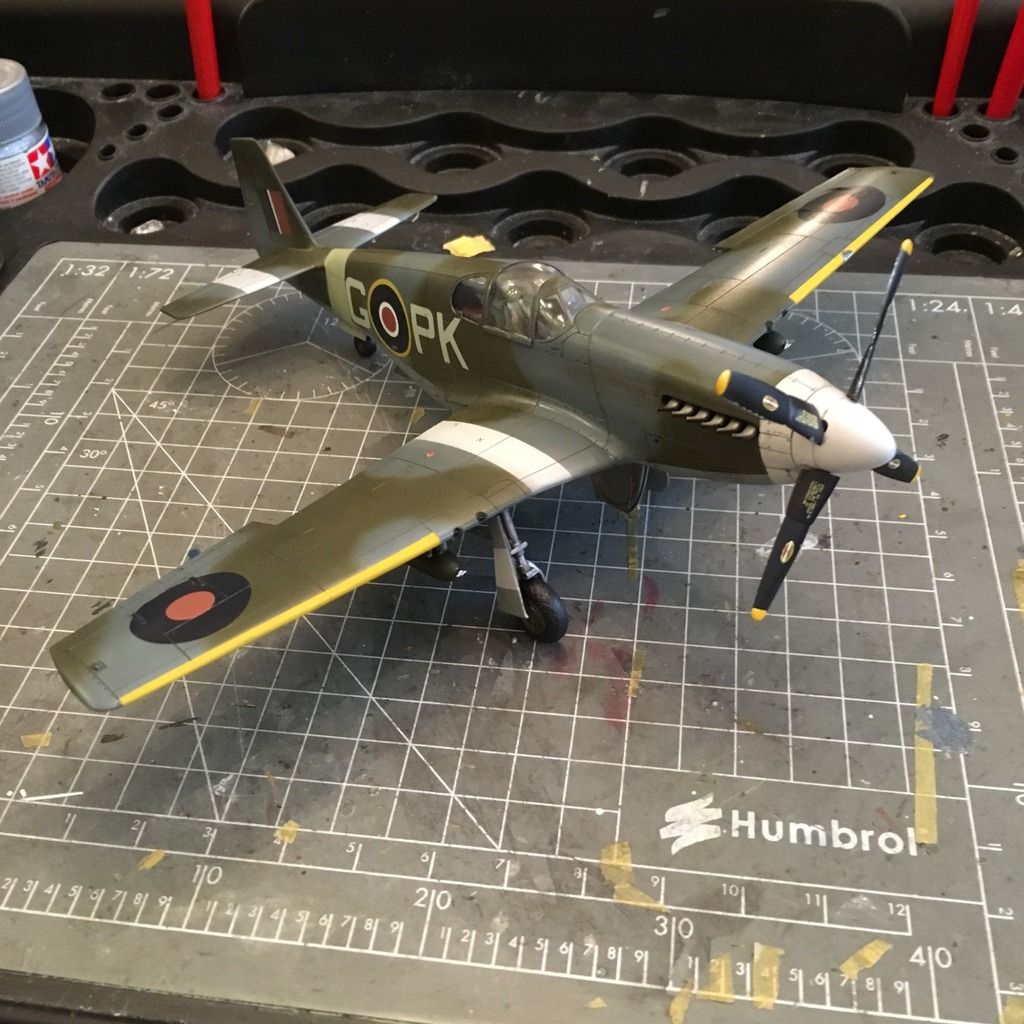
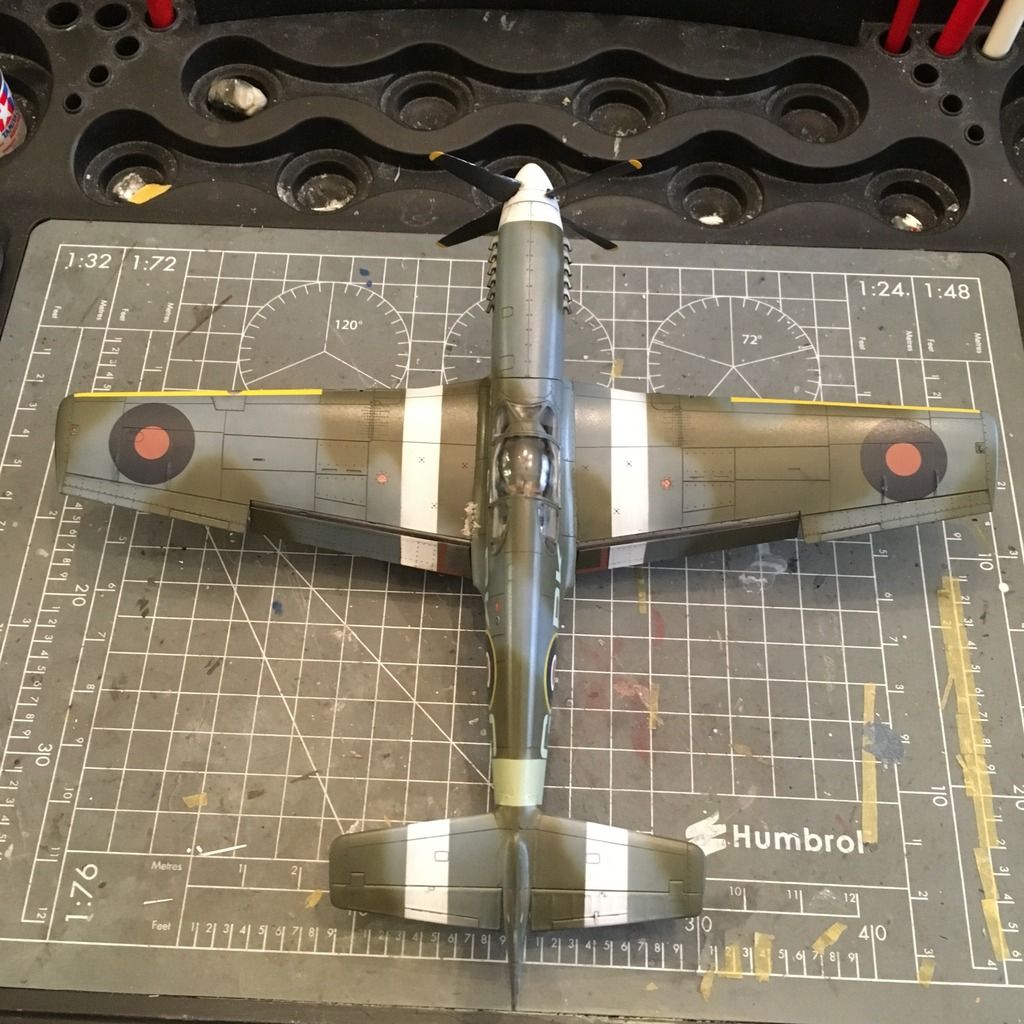
I actually forgot to take the last bit of canopy mask off before I did this, and you can see it at the top of the windscreen. I pulled it off right after, but didn't have time to take more photos before I rushed out the door.

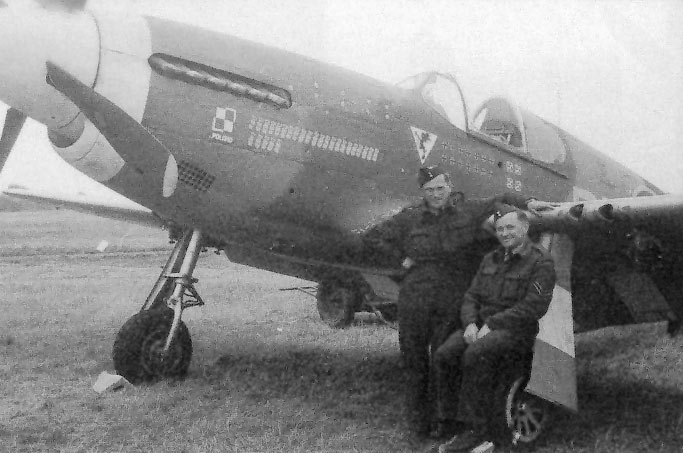
ANd here are some pics of the actual aircraft. It was lost in 1944 along with the pilot, Eugeniusz Horbaczewski, after a dogfight with some Fw-190s in which he downed three.
Note that Tamiya doesn't have the white stripes on the wings in the color call-out, and also instructs you to use the shrouded exhaust, but these pics show theexhaust without shrouds.
Anyway, I barely finished thisone in the time I had, but it was honestly the most fun I've had modeling in a long time. The challenge was a blast, and I highly recommend you all go join the group build. I can't wait to see what everyone else builds in it, and I hope to see your builds, too.
Thanks for reading this long post, or even just looking at the pics 
-BD-