SEARCH FINESCALE.COM

Enter keywords or a search phrase below:

Completed! Kitty Hawk Super Etendard WIP

4019 views
23 replies
1 rating 2 rating 3 rating 4 rating 5 rating
  • Member since
    December 2004
  • From: Florida
Posted by ReccePhreak on Friday, July 28, 2017 1:34 PM
I can't see any pictures. Any chance of you reloading them? Larry
  • Member since
    January 2009
  • From: hamburg michigan
Posted by fermis on Thursday, June 8, 2017 6:12 PM

"She's a beaut, Clark!"

That finish is slick looking!

Impressed, I am!Toast

  • Member since
    January 2015
Posted by BrandonD on Thursday, June 8, 2017 6:04 PM

Thanks, everyone! I really did enjoy this kit and glad you like it too.

Bossman - The stencils were many in number, but not as bad as an F-4 at least. I took it in small batches, and my girlfriend kept asking me, "Are you still working on that same plane? It looks exactly like it did three nights ago." It sometimes feels silly saying, "Well, no, see the red circles on the wings now?" :)

PJ - That's good to know. I still have the old bottle so I'll drop some water in and go from there. THanks for the tip!

-BD-

  • Member since
    August 2016
Posted by Keyda81 on Wednesday, June 7, 2017 9:34 PM

Very nice!  Love the paint job!Yes

  • Member since
    November 2003
  • From: Naples, FL
Posted by tempestjohnny on Wednesday, June 7, 2017 8:19 PM
You are really getting it done with these French planes. Great looking build


  • Member since
    November 2008
  • From: Central Florida
Posted by plasticjunkie on Wednesday, June 7, 2017 7:35 PM

That is a beautiful looking plane and your paint is A+. Great looking build BD.

Hey all you had to do to the PPP was to add a little water and it becomes a putty again. Mine is kind of dry too and I just add a drop or two to bring it back.

 GIFMaker.org_jy_Ayj_O


Too many models to build, not enough time in a lifetime!!

  • Member since
    December 2002
Posted by 7474 on Wednesday, June 7, 2017 7:23 PM
Beautiful sir
  • Member since
    December 2002
Posted by Bossman on Wednesday, June 7, 2017 5:59 PM

Brandon - that looks really nice (literally) all around.  

Superb paint work and weathering.  Decals look quite intimidating (in number) and very finely done.  Canopy looks sparkly.  Underwing stores look nicely detailed (a drawback for many kits).  And the Super Etendard is just a really nice looking jet.

Great job man.

Chris

  • Member since
    April 2015
Posted by Mopar Madness on Wednesday, June 7, 2017 4:42 PM

Weathering is perfectly subtle!  Fantastic!

Chad

God, Family, Models...

At the plate: 1/48 Airfix Bf109 & 1/35 Tamiya Famo

On deck: Who knows!

  • Member since
    December 2002
Posted by 7474 on Wednesday, June 7, 2017 1:55 PM
Beautiful
  • Member since
    March 2015
  • From: Streetsboro, Ohio
Posted by Toshi on Wednesday, June 7, 2017 2:03 AM

Another beautiful masterpiece!

Toshi

On The Bench: Revell 1/48 B-25 Mitchell


Married to the most caring, loving, understanding, and beautiful wife in the world.  Mrs. Toshi


  • Member since
    December 2002
  • From: Bury St Edmunds, Suffolk, England
Posted by Bish on Wednesday, June 7, 2017 12:43 AM

Thats a cracking build, really nicely done.

I am a Norfolk man and i glory in being so


On the bench: Airfix 1/72nd Harrier GR.3/Fujimi 1/72nd Ju 87D-3

  • Member since
    June 2017
Posted by Chemteacher on Tuesday, June 6, 2017 10:43 PM
Nicely done. Your shading and weathering are excellent.

On the bench: Revell-USS Arizona; Airfix P-51D in 1/72

  • Member since
    January 2015
  • From: Tumwater, WA.
Posted by M. Brindos on Tuesday, June 6, 2017 10:39 PM

That is gorgeous! <3 love it!

- Mike Brindos "Lost Boy"

  • Member since
    June 2014
Posted by BrandonK on Tuesday, June 6, 2017 10:35 PM

That turned out very nice as well. I love these modern birds but the stenciling is a nightmare. Well done.

BK

On the bench:

A lot !! And I mean A LOT!!

2024 Kits on deck / in process / completed   

                         14 / 5 / 2  

                              Tongue Tied

  • Member since
    January 2015
Posted by BrandonD on Tuesday, June 6, 2017 10:03 PM

Ok, after much life getting in the way, this one is done!

The kit was fine, though there were about 5-7 pieces missing from the instructions (most of which were obvious). Maybe there's more, but I wouldn't know :)

I really enjoyed this kit save for the off-color decals for the plane number and the "MARINE" writing on the fuselage. It should match the lighter gray color. I considered getting new decals, but really didn't want to sink the extra cost, so here it is.

Thanks for looking!

-BD-

  • Member since
    August 2013
Posted by Jay Jay on Thursday, April 20, 2017 10:57 AM

Clever how you cut the bulkhead in half to facilitate the fsg. joining. I never cease to learn from you guys and ty for the excellent W.I.P.


 I'm finally retired. Now time I got, money I don't.

  • Member since
    January 2015
Posted by BrandonD on Wednesday, April 19, 2017 11:58 AM

Thanks, all. I've been plugging away at this one intermittently. I wanted to use Perfect Plastic Putty on the seams where the rear of the fuselage meets the front, and mine had dried up, so I was waiting on a delivery.

It came, and I puttied the seams to lessen the gap and make it look more like a panel than two disparate parts coming together.

After that, I closed up the cockpit and slotted it into the front part of the fuselage. Fit was really good here. For some reason, however, Kitty Hawk decided to mold the fuselage spine aft of the cockpit as two pieces, where it would havebeen really easy to make a seamless single piece. And the fit between the two pieces wasn't great, so it's taken some filling and sanding.

When I added the intakes, I needed a small bead of Perfect Plastic Putty on the starboard side at the top, but otherwise fit was really good here, too.

Now that I have it at this stage, I need to add the tail fin and wings. The fuselage has a high point in the middle where the tail goes, possibly due to the way I added the rear part of the fuselage. So I will carefully sand it down to prevent need of putty. The wings look like they should fit great.

-BD-

  • Member since
    February 2012
  • From: Olmsted Township, Ohio
Posted by lawdog114 on Saturday, April 1, 2017 1:04 AM
Great start Brandon. I've never heard of this particular brand. I look forward to your progress.

 "Can you fly this plane and land it?...Surely you can't be serious....I am serious, and don't call me Shirley"


  • Member since
    April 2016
  • From: Parsons Kansas
Posted by Hodakamax on Thursday, March 30, 2017 7:05 PM

Hey Brandon, really good report and photography (and work!) on a brand that I haven't purchased or delt with. Looks to be a good build and project---Watching!

Max

  • Member since
    November 2003
  • From: Naples, FL
Posted by tempestjohnny on Thursday, March 30, 2017 5:15 PM
Great start


  • Member since
    June 2014
Posted by BrandonK on Thursday, March 30, 2017 4:46 PM

I loved how my KH AH-1Z went together, so I'm hoping you'll have the same success with this one too. I'll pay attention to this one for sure.

BK

On the bench:

A lot !! And I mean A LOT!!

2024 Kits on deck / in process / completed   

                         14 / 5 / 2  

                              Tongue Tied

  • Member since
    January 2015
  • From: Tumwater, WA.
Posted by M. Brindos on Thursday, March 30, 2017 1:18 PM

I love your way of getting around potential problems. 

Excellent beginning, BD! 

- Mike Brindos "Lost Boy"

  • Member since
    January 2015
Completed! Kitty Hawk Super Etendard WIP
Posted by BrandonD on Thursday, March 30, 2017 1:09 PM

I snagged this kit a couple of weeks ago and have spent some time on it lately, because I really like the gray/gray paint scheme these things wear, and I do love French aircraft.

Kitty Hawk and Kinetic both make kits, and I picked up the Kitty Hawk for the markings, then realized that I'm going with some of the most generic ones in the kit, but anyway, I also haven't built a Kitty Hawk kit and just wanted to see what they're like.

The fuselage consists of several pieces. Two halves cover the portion from the intakes to the break for the engine cover on the rear. The cockpit is two halves, and slots into the rest of the fuselage sort of like how the Hasegawa Harrier does. This creates a four-way seam, but that is covered by a two-piece spine (I wish it was one piece, but oh well).

In test fitting, I realized the rear portion of the fuselage was going to be a pain if I built it up per the instructions.

Much like the Hasegawa P-40 kit, I think this one is best approached by mating the rear part to the middle part in halves, then working any issues out on the top and bottom seams (especially since the tail covers much of the top seam and the arrester hook covers much of the bottom one.

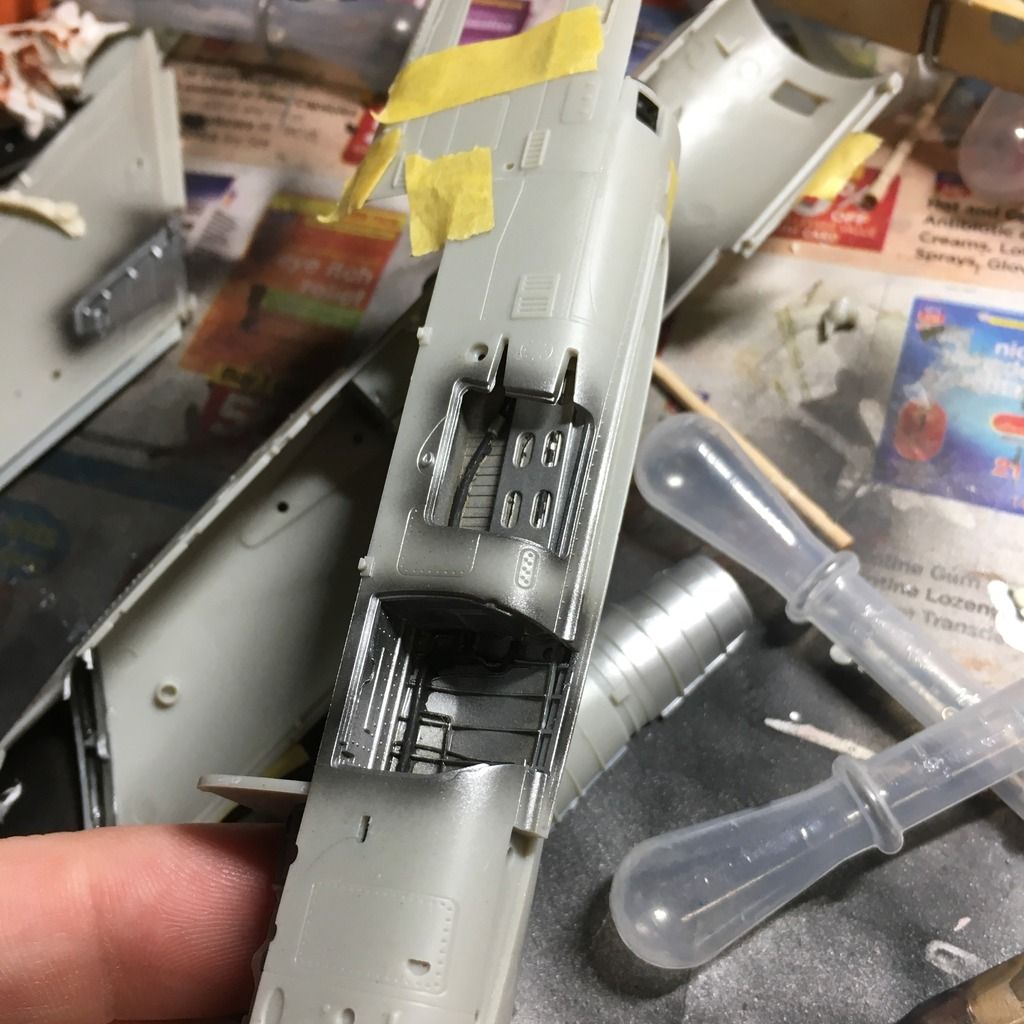
The hard part of this is that the plastic is pretty thin where the joints butt together. The instructions show the rear halves going together around a circular framework (B13 in the pic below), but they don't show any similar bulkhead/framework on the middle part. The piece does, however, exist and it, when installed, provides a better butt join, but there are no locating tabs or anything like that on it.

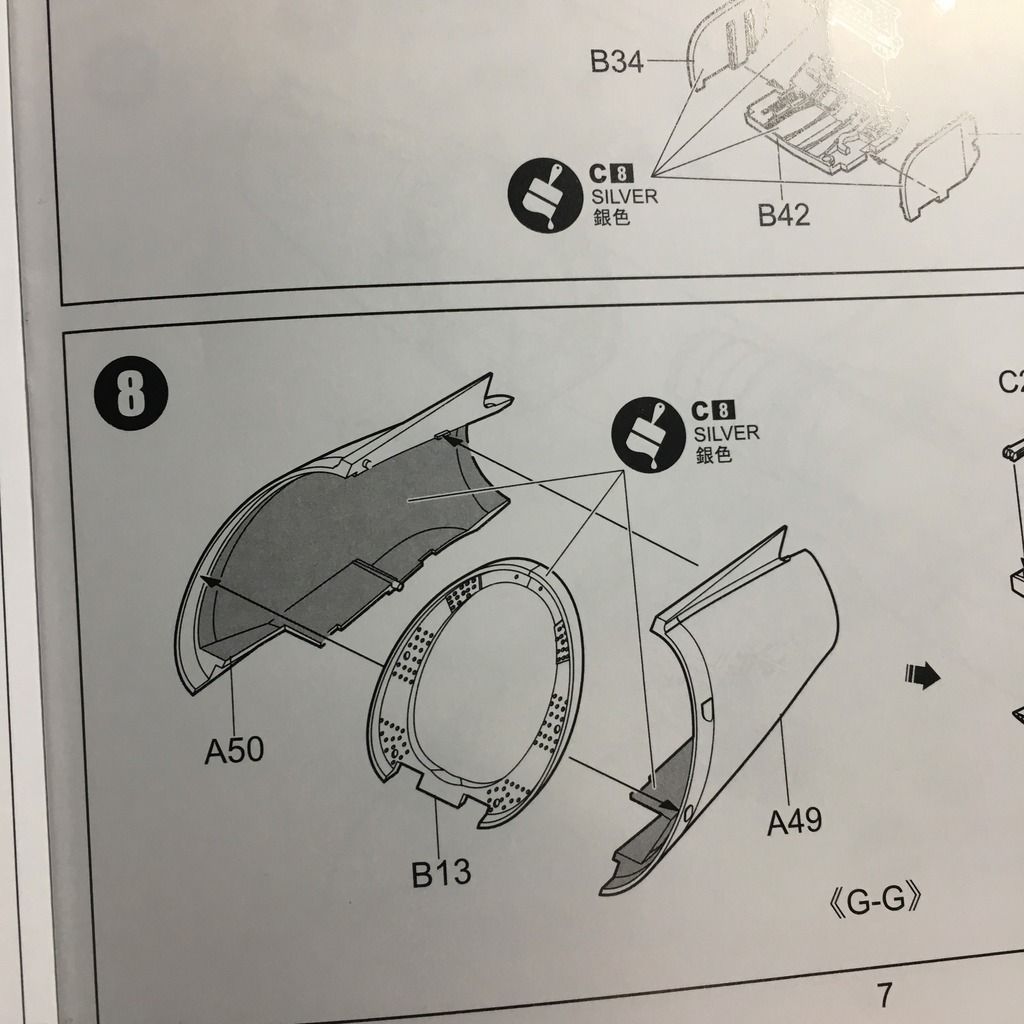
I decided the best way to approach it was to glue the two framework pieces together, then cut them at the top and bottom so I had two framework halves to match the fuselage halves I was building. This gave the fuselage pieces something to grip while being put together.

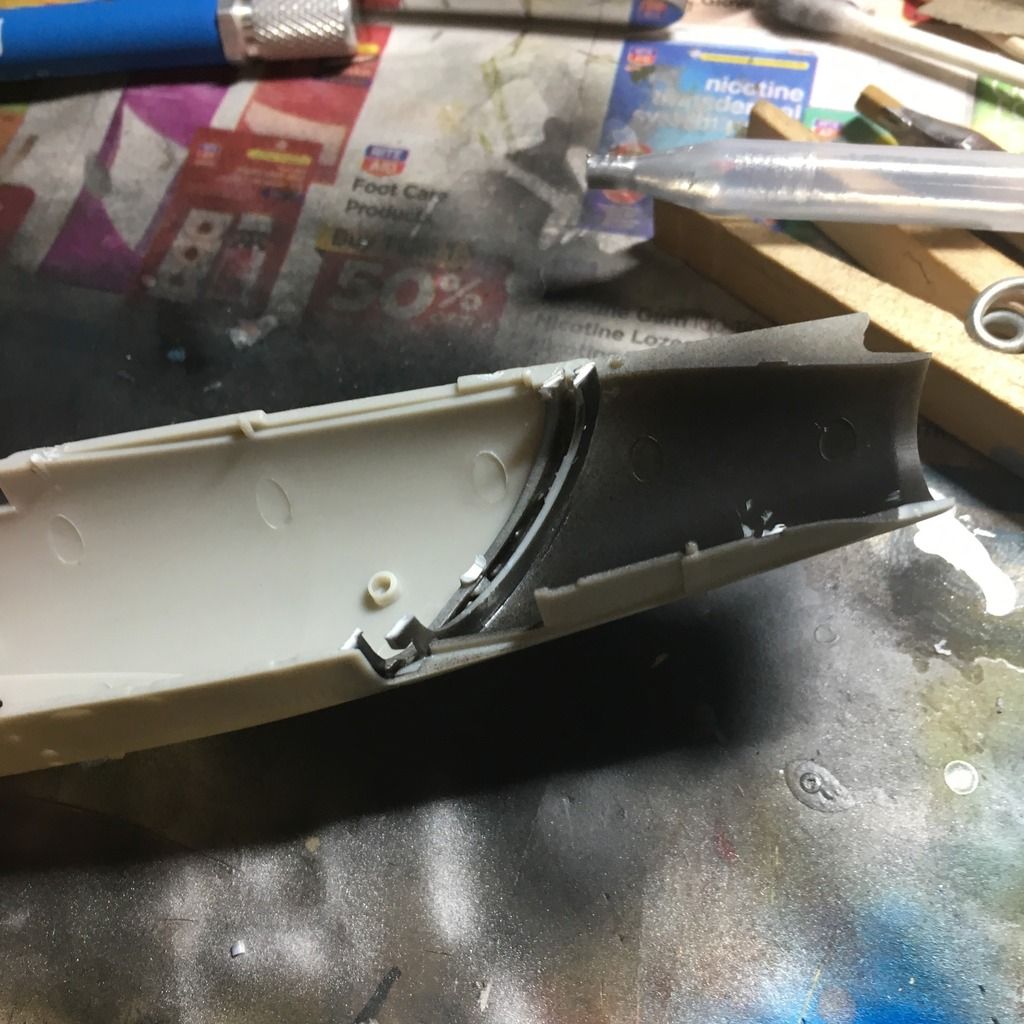
Above, you can see the halved B13 connected to half of its opposite number in the middle fuselage piece.

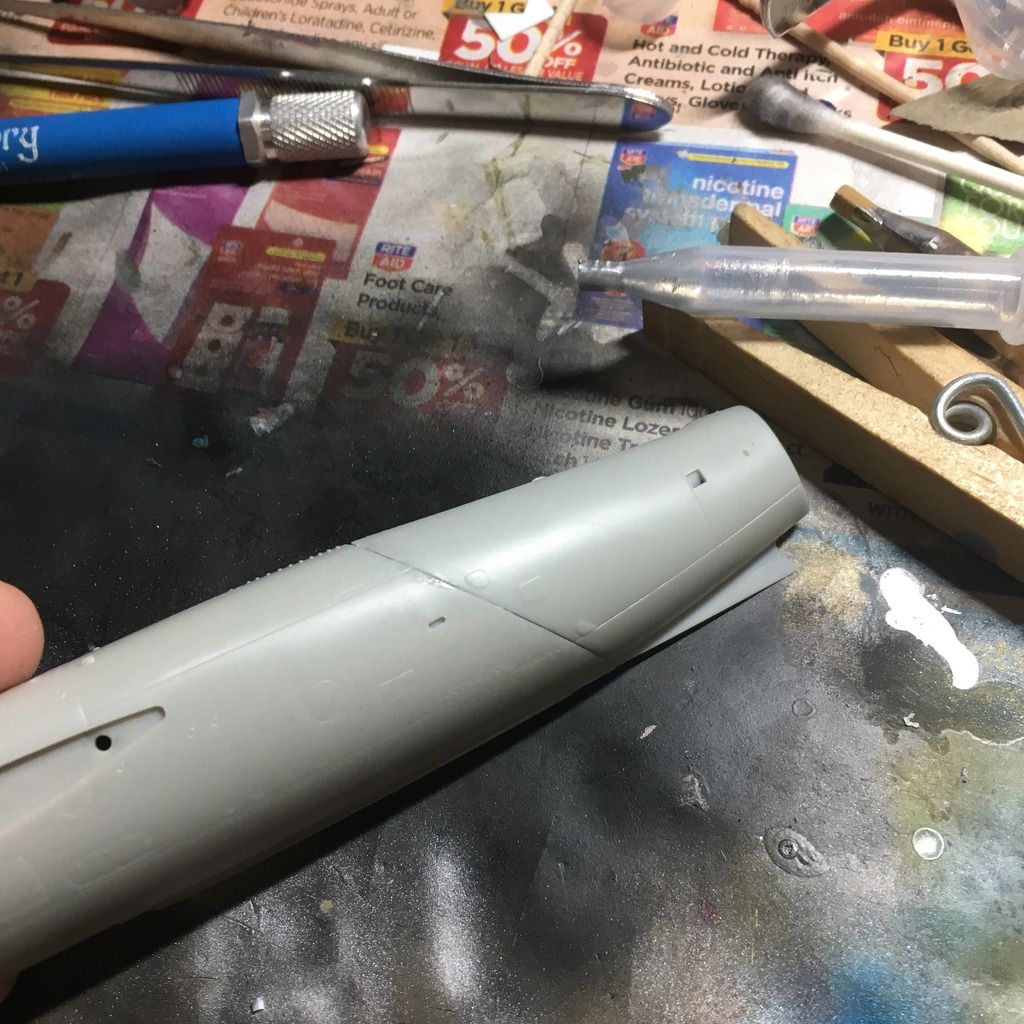
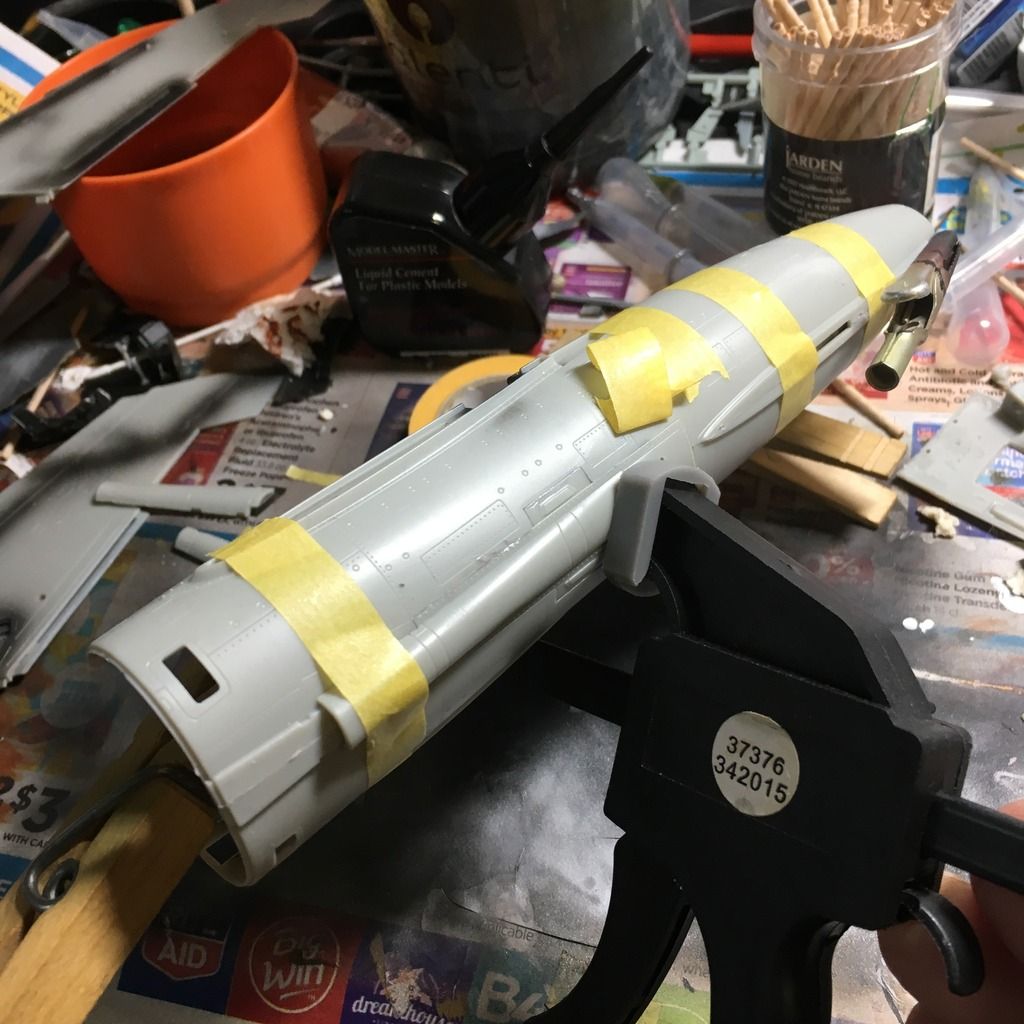
That gave me this on the exterior. I was able to match the curvature, but the joint is a little overscale. I'll force some Perfect Plastic Putty into it and then lightly scribe it so it more closely matches the rest ofthe panel lines.

Once that was done, I built up the multi-piece tail fin and most of the wings, then dry-fit the major components of the aircraft to see how well it went together.

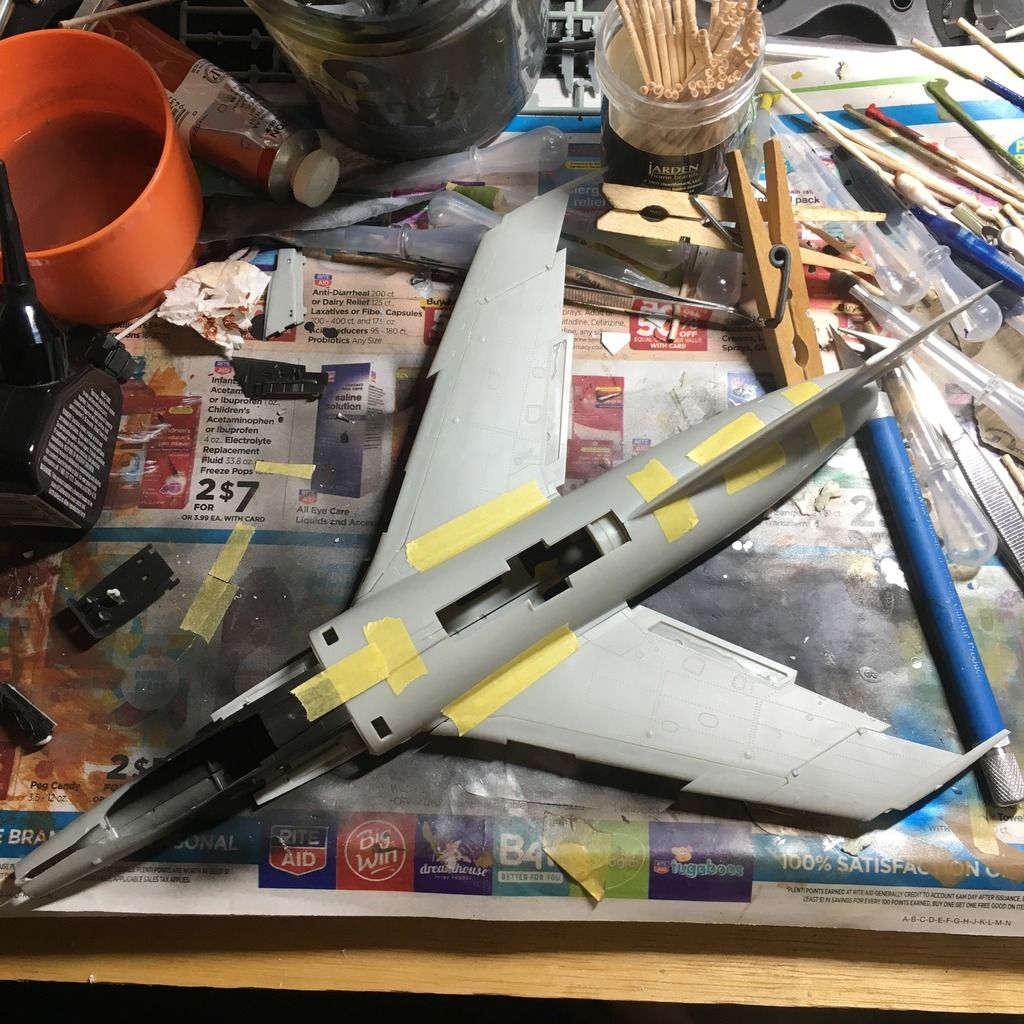
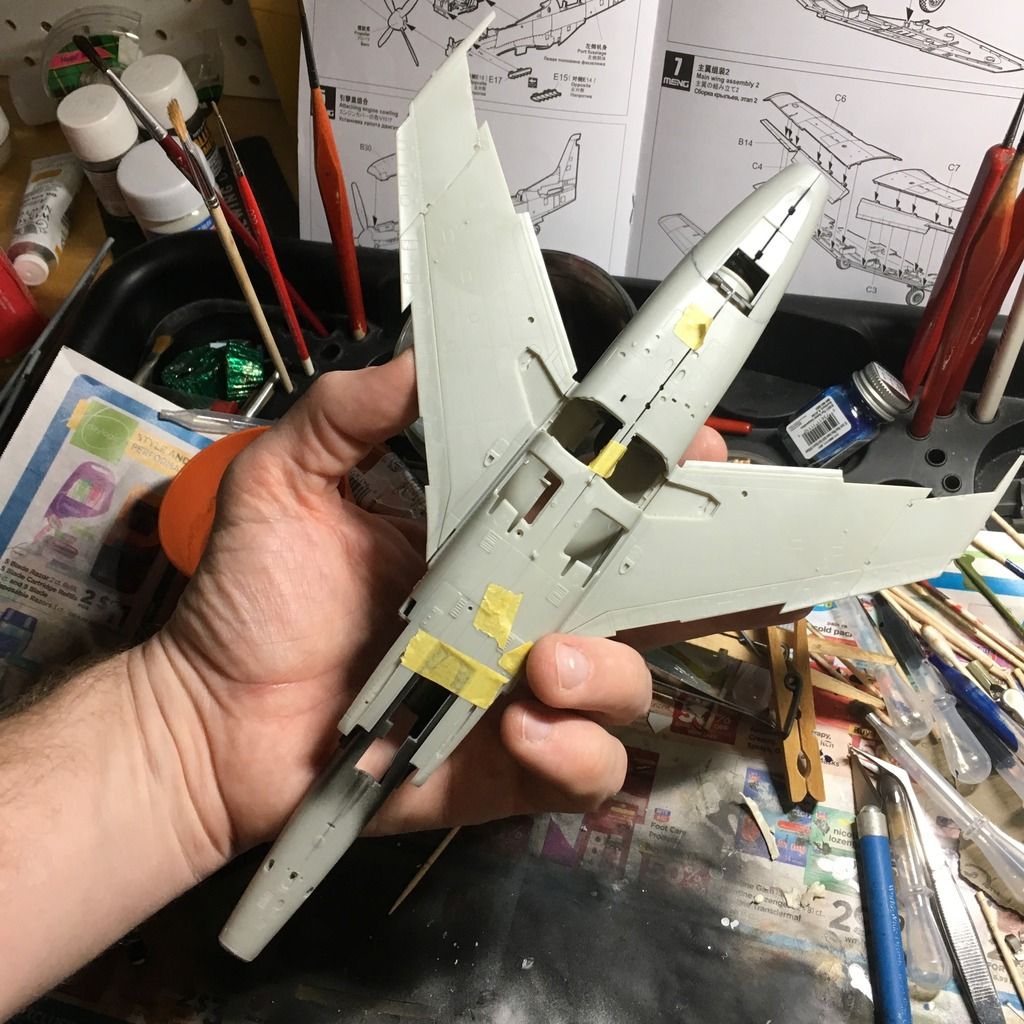
At this point, it was time to start painting the internals, so I built up the gear bays and some of the cockpit and got to work.

They insist on giving you a full engine, which is cool, I guess, but in my take just necessitates more nose weight. It's hard to see the engine, so I just painted the fan blades and bulkhead and left it, then glued the fuselage halves together around it.

The fuselage halves went together ok, but there is only one locating pin on the bottom, and this led to a step that I missed when I was assembling them. If I were doing it again, I would have cut some styrene and made tabs on each side to better fit them together. Oh well.

I do like the way the separate pieces on top cover the main dorsal seam.

After this pic was taken, I fiddled with the part a bit to make the mating surfaces more even. Then, some Mr. Dissolved Putty went on the seams, and once dry, I wiped it smooth with a paper towel dipped in Mr. Leveling Thinner.

Next up was the cockpit while I worked the seam on the bottom of the fuselage.

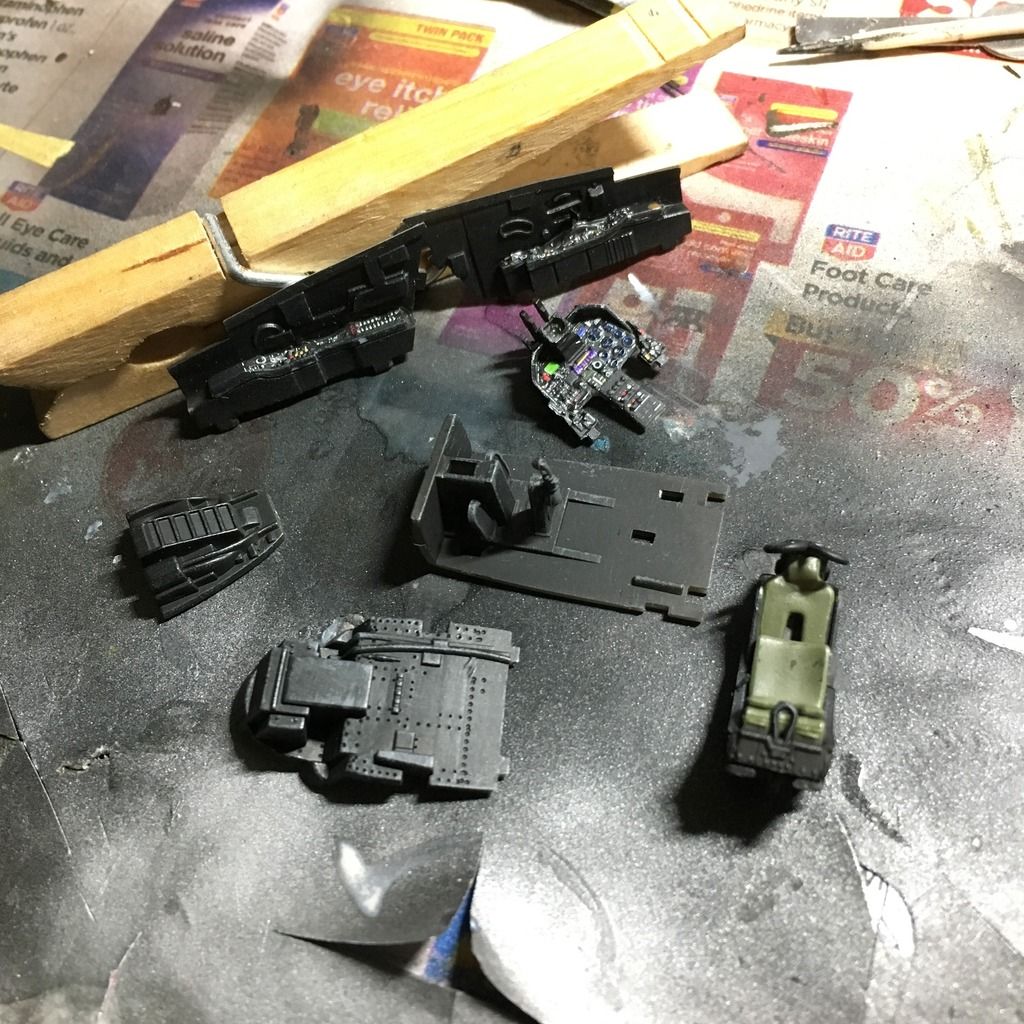
It's pretty straightforward. I used all the kit pieces here because the bang seat was good enough on detail. I built it up, puttied the top seams, then built up much of the rest of the pit before painting it black. I then heavily drybrushed it with NATO Black, then lightly drybrushed it with dark gray.

The instrument and side console details are provided as decals, but Kitty Hawk doesn't note this in the instructions. The instrument panel was four decals, but it was clear where they went, and they snugged down nicely with Micro Set/Sol.

Next up is closing the cockpit and forward wheel bay in the nose piece of the fuselage, then adding that to the already-assembled bits.

And NOT FORGETTING NOSE WEIGHT!

-BD-

JOIN OUR COMMUNITY!

Our community is FREE to join. To participate you must either login or register for an account.

SEARCH FORUMS
FREE NEWSLETTER
By signing up you may also receive reader surveys and occasional special offers. We do not sell, rent or trade our email lists. View our Privacy Policy.