SEARCH FINESCALE.COM

Enter keywords or a search phrase below:

WIP: 1/48 Meng P-51D

1713 views
14 replies
1 rating 2 rating 3 rating 4 rating 5 rating
  • Member since
    February 2012
  • From: Olmsted Township, Ohio
Posted by lawdog114 on Tuesday, April 11, 2017 12:27 AM

BrandonD


I treated the canopy centreline seam the same way, which was nerve-wracking as I have never done that on clear parts before. However, after sanding it smooth with 600 grit paper and then movine on to 1500 grit, I finished it with 12000 grit micro mesh, then the polishing wheel on the dremel. It was still slightly hazy, so I dipped it in Future (which I hate s a clear coat but which I keep around for this), and it came out clear.

-BD-


I may try this if I ever build this one again.  At least it comes with two in case I really mess it up...  


 "Can you fly this plane and land it?...Surely you can't be serious....I am serious, and don't call me Shirley"


  • Member since
    January 2015
Posted by BrandonD on Monday, April 10, 2017 12:01 PM

One thing to note for those building this kit - some of the pieces have extra lines where there shouldn't be any -- notably the cowl pieces and canopies -- due to the slide molding process.

If youy look at the cowling from the front, with the top facing up, there are seam lines at 2:00 and 10:00. These didn't exist on the real thing, so I sanded them off, then buffed it with a polishing wheel in a Dremel tool.

I treated the canopy centreline seam the same way, which was nerve-wracking as I have never done that on clear parts before. However, after sanding it smooth with 600 grit paper and then movine on to 1500 grit, I finished it with 12000 grit micro mesh, then the polishing wheel on the dremel. It was still slightly hazy, so I dipped it in Future (which I hate s a clear coat but which I keep around for this), and it came out clear.

-BD-

  • Member since
    January 2015
Posted by BrandonD on Monday, April 10, 2017 11:57 AM

1943Mike

I've read several reviews and seen one or two WIP on this kit. Looks like you're doing a great job.

I'm still a novice - I've only built 4 aircraft since I started doing this plastic model hobby again a few years ago. From what you've noticed so far, would the Meng kit survive with someone of my skill level? (i.e. - very basic skills and still toward the bottom of the learning curve).

I have the Revell P-51D in my stash. Is it a decent kit?


Mike - I have been thinking about this, and I'll say that, yes, it's definitely within your skill set. I believe it's easier to put together than the Revell/Monogram kit because of the engineering to eliminate seams, which is especiallynice on a plane largely found in natural metal finish. I built the Revell kit a few times as a kid, so it's been 20+ years, and while I remember it going together well, I cn't imagine the fit is as good as the Meng one, but the price difference is noticeable.

I'd say build theRevell one, then find one of the Tamiya kits in 1/48, which can be had for $25. Fit and detail are great, and it takes less finagling than the Meng one, though I think the detail on the Meng is superior.

-BD-

  • Member since
    January 2015
Posted by BrandonD on Monday, April 10, 2017 11:54 AM

Thanks for the comments, all. I've always wanted to build this scheme, and finally just ponied up and did it. I'm glad I did. But now I don't want to dirty it up at all.

Fortunately, my references show this one being pretty clean.

-BD-

  • Member since
    January 2015
Posted by BrandonD on Monday, April 10, 2017 11:53 AM

lawdog114

Ahhh....I feel your pain. I guess it wasn't just me as we had the same issues. I was not impressed with this kit. The Doll is coming together though.


I have mixed feelings, because I really like the approach on engineering to eliminate seams. Trumpeter's MiG-3 largely does that as well, and I wish more would trat them that way because I hate filling seams. But yeah, i don't like the snap-together approach because I think more dry fitting would have solved some issues.

-BD-

  • Member since
    February 2012
  • From: Olmsted Township, Ohio
Posted by lawdog114 on Friday, April 7, 2017 7:02 PM

Ahhh....I feel your pain. I guess it wasn't just me as we had the same issues. I was not impressed with this kit. The Doll is coming together though.

 "Can you fly this plane and land it?...Surely you can't be serious....I am serious, and don't call me Shirley"


  • Member since
    February 2003
  • From: Green Bay, WI USA
Posted by echolmberg on Thursday, April 6, 2017 8:40 AM

Great work on the Meng Mustang!  Like many, I think, I ordered mine about a month ago based on all the hype surrounding this kit.  I'll be building mine real soon once I get a couple of other kits off my workbench.  From what I've seen from this build and others, it'll be a pretty fun kit!

1943Mike, you mentioned you had the Monogram Mustang.  Yes, it's a decent kit.  Build with absolute confidence.  It goes together well.  I just finished one about five months ago and that venerable kit holds up well to the newer Tamigawas out there and for about half the cost.  Enjoy!

Eric

  • Member since
    November 2003
  • From: Naples, FL
Posted by tempestjohnny on Thursday, April 6, 2017 5:36 AM
Wow BD you hit a home run on this one. Or for you European guys it's a 6


  • Member since
    December 2002
  • From: Bury St Edmunds, Suffolk, England
Posted by Bish on Thursday, April 6, 2017 5:00 AM

Great job on the build and some really nice info on the kit. Is this the same kit lawdog wasdoing.

I am a Norfolk man and i glory in being so


On the bench: Airfix 1/72nd Harrier GR.3/Fujimi 1/72nd Ju 87D-3

  • Member since
    March 2015
  • From: Streetsboro, Ohio
Posted by Toshi on Thursday, April 6, 2017 4:52 AM

As always, I can't reiterated enough on all the wonderful information you give us in out of your WIP!  Thanks for  the tutorial!

Toshi

On The Bench: Revell 1/48 B-25 Mitchell


Married to the most caring, loving, understanding, and beautiful wife in the world.  Mrs. Toshi


  • Member since
    April 2015
Posted by Mopar Madness on Wednesday, April 5, 2017 9:25 PM

Lookin' good man!

Chad

God, Family, Models...

At the plate: 1/48 Airfix Bf109 & 1/35 Tamiya Famo

On deck: Who knows!

  • Member since
    June 2014
Posted by BrandonK on Wednesday, April 5, 2017 7:33 PM

I love the Doll. Very nice.

BK

On the bench:

A lot !! And I mean A LOT!!

2024 Kits on deck / in process / completed   

                         14 / 5 / 2  

                              Tongue Tied

  • Member since
    December 2010
  • From: Salem, Oregon
Posted by 1943Mike on Wednesday, April 5, 2017 4:15 PM

I've read several reviews and seen one or two WIP on this kit. Looks like you're doing a great job.

I'm still a novice - I've only built 4 aircraft since I started doing this plastic model hobby again a few years ago. From what you've noticed so far, would the Meng kit survive with someone of my skill level? (i.e. - very basic skills and still toward the bottom of the learning curve).

I have the Revell P-51D in my stash. Is it a decent kit?


Mike

"Le temps est un grand maître, mais malheureusement, il tue tous ses élèves."

Hector Berlioz

  • Member since
    November 2009
  • From: SW Virginia
Posted by Gamera on Wednesday, April 5, 2017 2:02 PM

She looks pretty friggin' awesome so far!!! 

"I dream in fire but work in clay." -Arthur Machen


  • Member since
    January 2015
WIP: 1/48 Meng P-51D
Posted by BrandonD on Wednesday, April 5, 2017 1:48 PM

I've hesitated to post this yet because I am building it as Big Beautiful Doll and wanted to make sure it wasn't going to be a mess before sharing it.

I bought Meng's P-51 because I was itching to try out the kit that is engineered to eliminate annoying seams. And it largely does this well. The build/paint sequence for the cockpit was awesome, and worked to allow easy painting and then construction with minimal masking and headaches.

The things I don't like are tha the "cement-free" assembly (yes, I cemented every part because otherwise it will come loose) makes dry-fitting hard. Those fuselage halves REALLY want to stay together. Also, the need to install radio mast and all gear legs before full assembly was rather annoying, and I broke one of the gear legs while sanding something, which caused me to drop the plane, and that caused the tail wheel to break off. So those will be fun fixes...

The worst-fitting parts of the kit are the upper cowling, which is too long, but only requires a bit of sanding, and the gun inserts, which just don't fit well and needed some putty and sanding (that's then I broke the gear leg).

Mostly, however, it goes together well and locks up tight.

I have an Eagle Editions decal set that I used for Petie 2nd on my Tamiya Mustang, and I opted to use Big Beautiful Doll on this build, despite my worries about fitting the 22 pieces that compose the chessboard and stripes portion of the scheme.

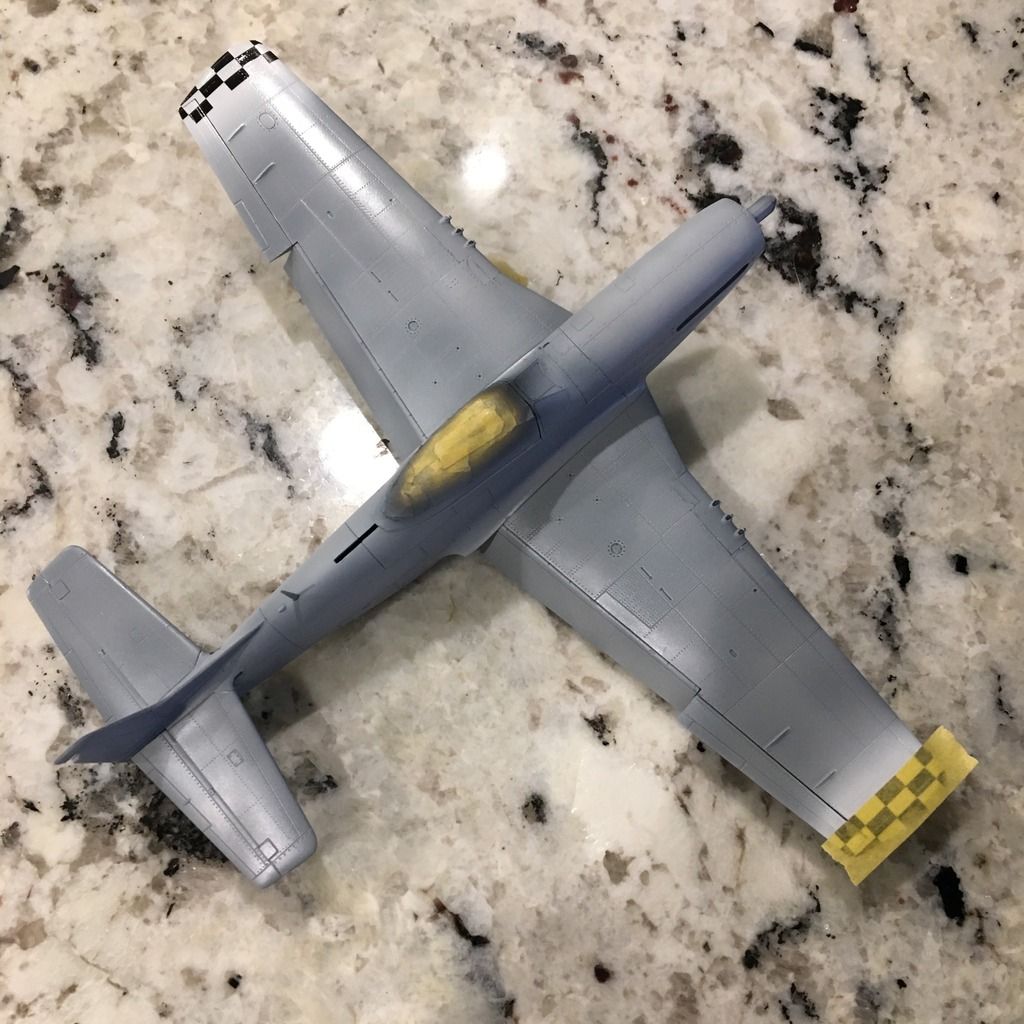
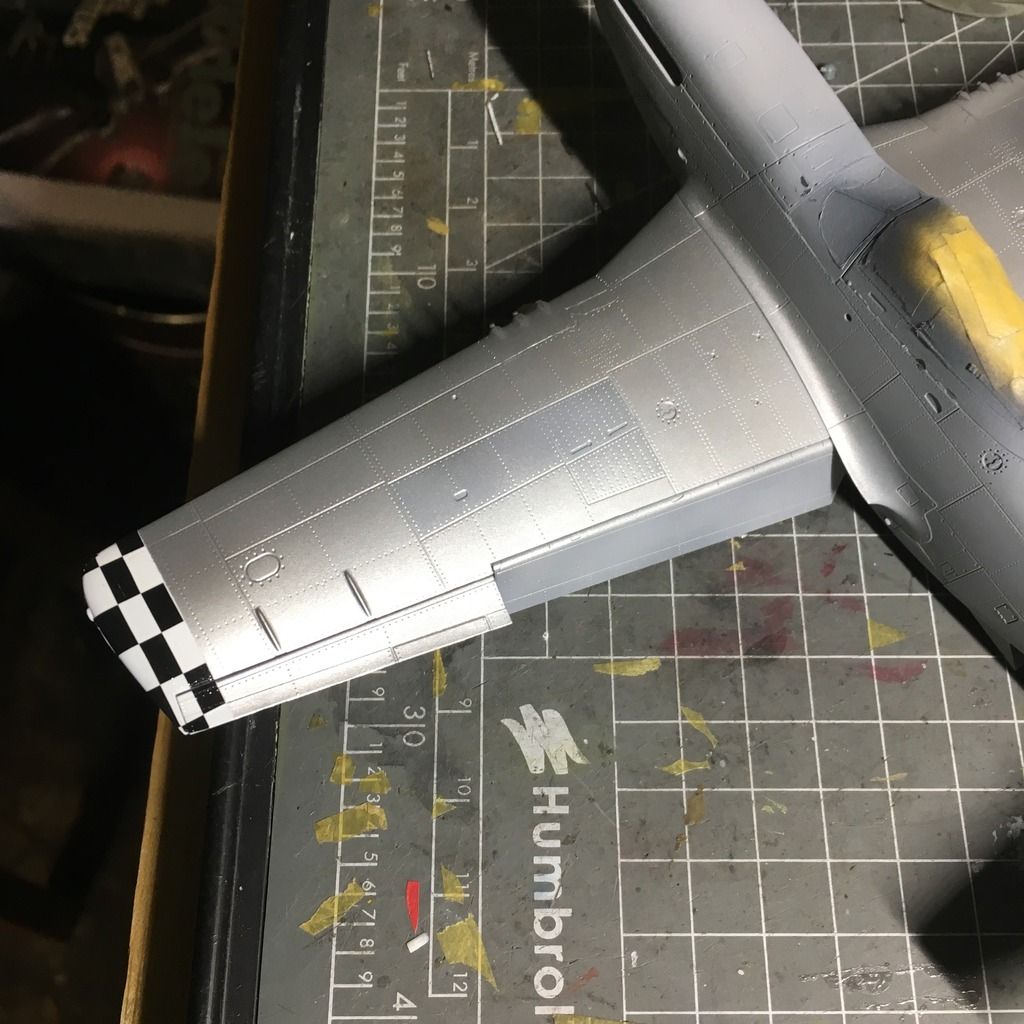
First up was the wingtips. Eagle Editions did not include the white on those, which was super annoying because it meant I had to either measure perfetly (not my strong suit) or take another approach.

I opted to primer the wings in Tamiya gray primer through the airbrush, and paint the wingtips white. I then gave the wings and wingtips a gloss clear coat, then applied the black chessboard decals and another hefty clear coat to protect them in the masking process.

Fortunately, that worked well. I had to cut the decals around the aileron, as Meng molded it as a second piece and I didn't want the decals to rip when it flexed. That was good, as I later broke off the right aileron (easy fix).

After masking the wingtips, I painted the wings what I thought was Alclad RAF Hi-Speed Aluminum, but what was actually Hi-Shine Aluminum. Oops. With Mustang wings being painted, it was way too shiny. So I masked off the ammo bays and then sprayed over the wings with Mr. Paint Duraluminum.

Once that was dry, I masked off the wings and horizontal stabilizers, leaving their tips exposed, and sprayed the nose with Tamiya Olive Drab before masking it and spraying the whole fuselage Tamiya Gloss Black.

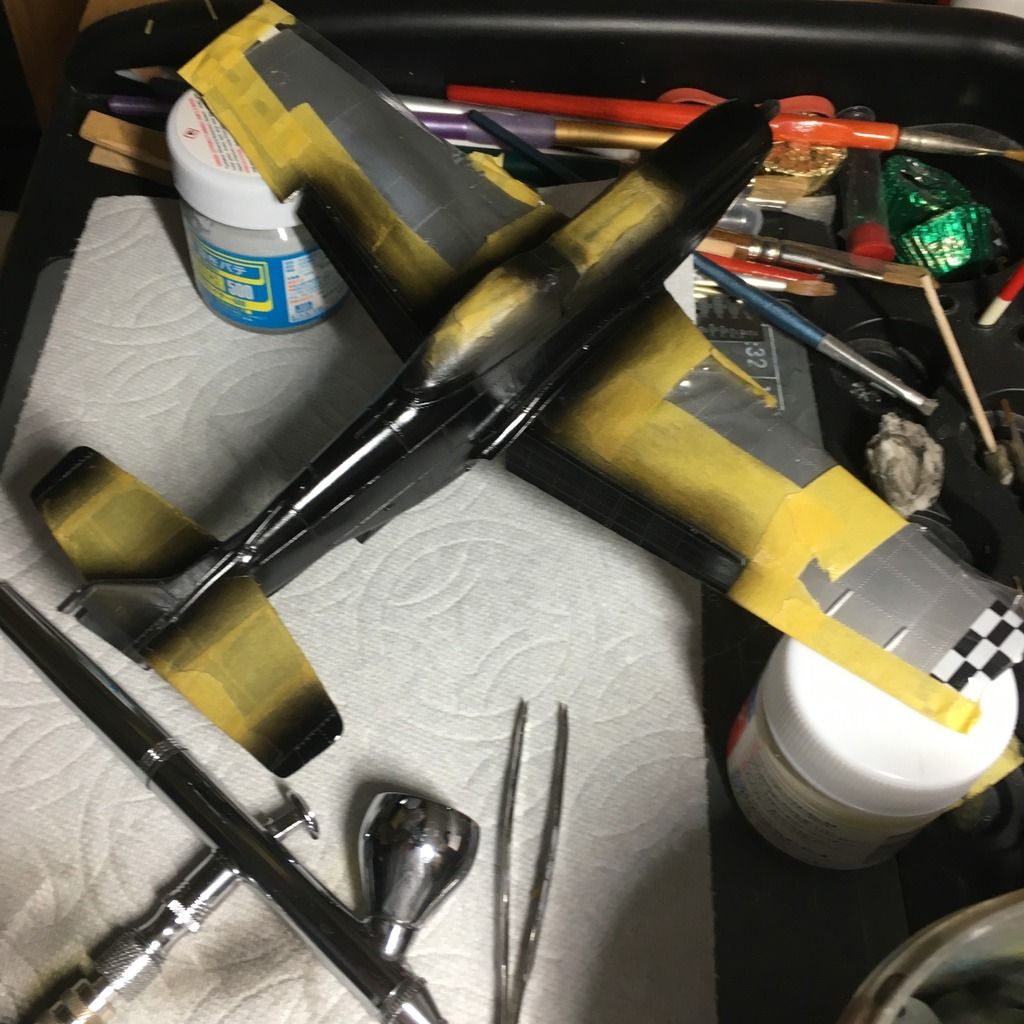
Next up was Alclad Airframe Aluminum, and I do love this paint so much.

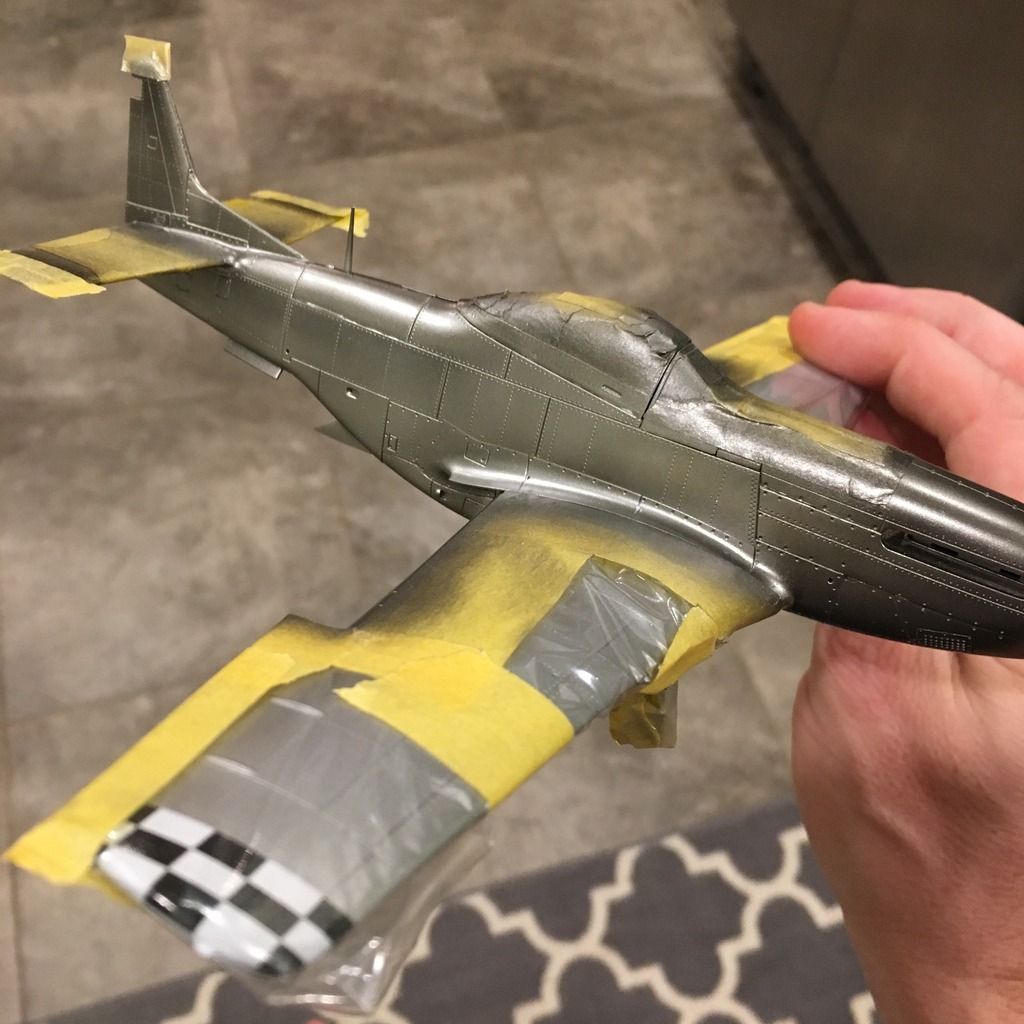
I waited an hour for that to dry, then masked off the rear fuelage saddle piece, a spot on the tail and the pieces behind the exhaust and sprayed hi-shine aluminum on the forst two, and magnesium on the exhaust parts.

After that, I got to pull off the masks and see how she looked. Then it was the moment of truth.

I started with the top two decals for the chessboard. I had estimated pretty well where the lines would be and masked off the olive drab around it so that I wouldn't be putting white decals down over high-contrast colors (shiny aluminum and matt olive drab).

And they fit! So next up were the bottom portions, which run from below the exhaust ports to the chin and front of the gear bays. They were slightly off, but a small amount of paint touching up will fix their overlap on the chin.

After that, I added the red outline decals, which also all fit very well, with the exception of the thin red lines around the exhaust opening, but that can be fixed with paint (it's hard to gauge exactly where they go when the chessboard wraps around the opening slightly).

After that, it was pretty easy. The Cartograf-printed scheme decals went down like a dream and sank into all the fine surface detail with only Micro Set being used.

For the national insignia, I had to use the Meng decals, which are also Cartograf-printed. Oddly, the fuselage stars and bars were printed with the letters, which meant they have a ton of carrier film that needed tobe cut away. But that was pretty easy, and they layed down nicely as well.

I also applied the red lines around the wingtip chessboard at this time, which I had left off as a way to cover imperfect masking.

So, after two hours of decals, this is where I was:

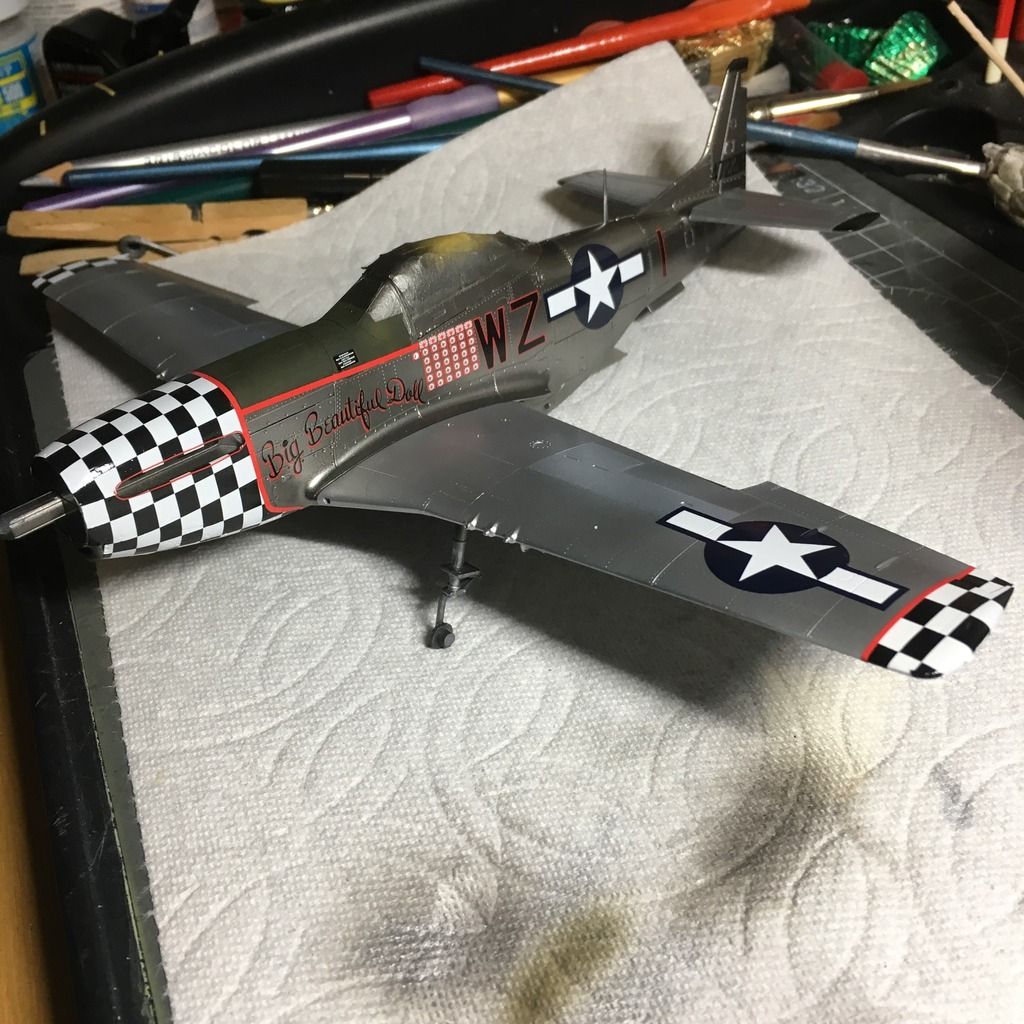
It's definitely not perfect. The chessboard isn't 100 percent, and there are a few small imperfections that I didn't fully iron out before paint, but they're hard to see, and given this is my first time using chessboard decals, I am pretty happy withhow they came out. I am hoping to get the rest of the decals and stencils on in thenext few days and then get those landing gear legs fixed.

Thanks for looking!

-BD-

JOIN OUR COMMUNITY!

Our community is FREE to join. To participate you must either login or register for an account.

SEARCH FORUMS
FREE NEWSLETTER
By signing up you may also receive reader surveys and occasional special offers. We do not sell, rent or trade our email lists. View our Privacy Policy.