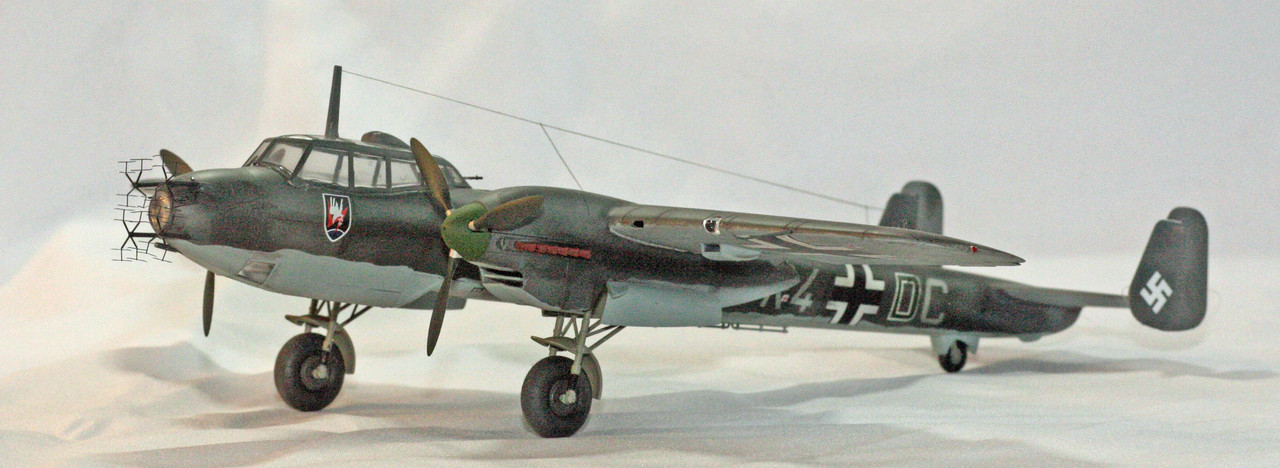
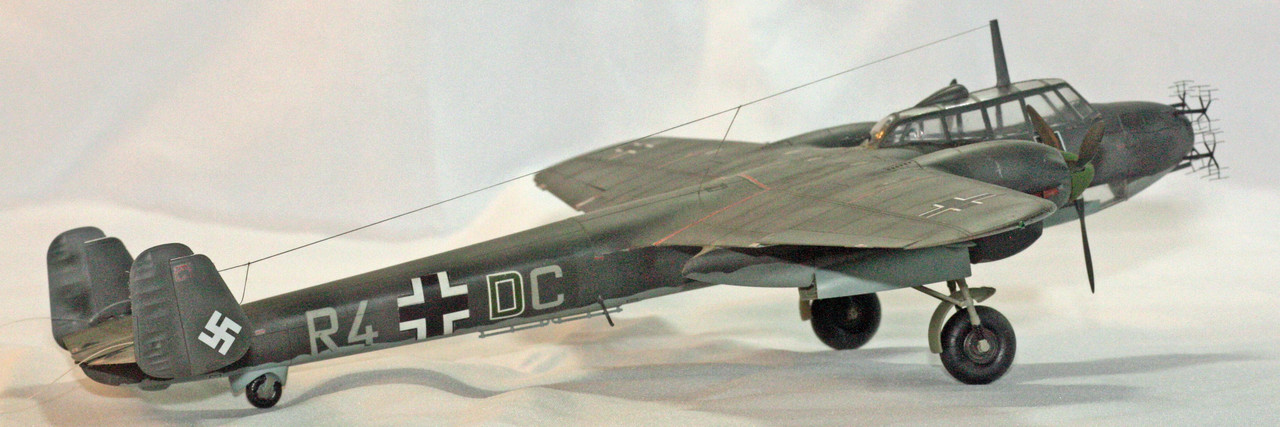
The 10th entry in my Year of the Axis build is a not-so-well-known nightfighter from ICM, Dornier's Do215B-5.
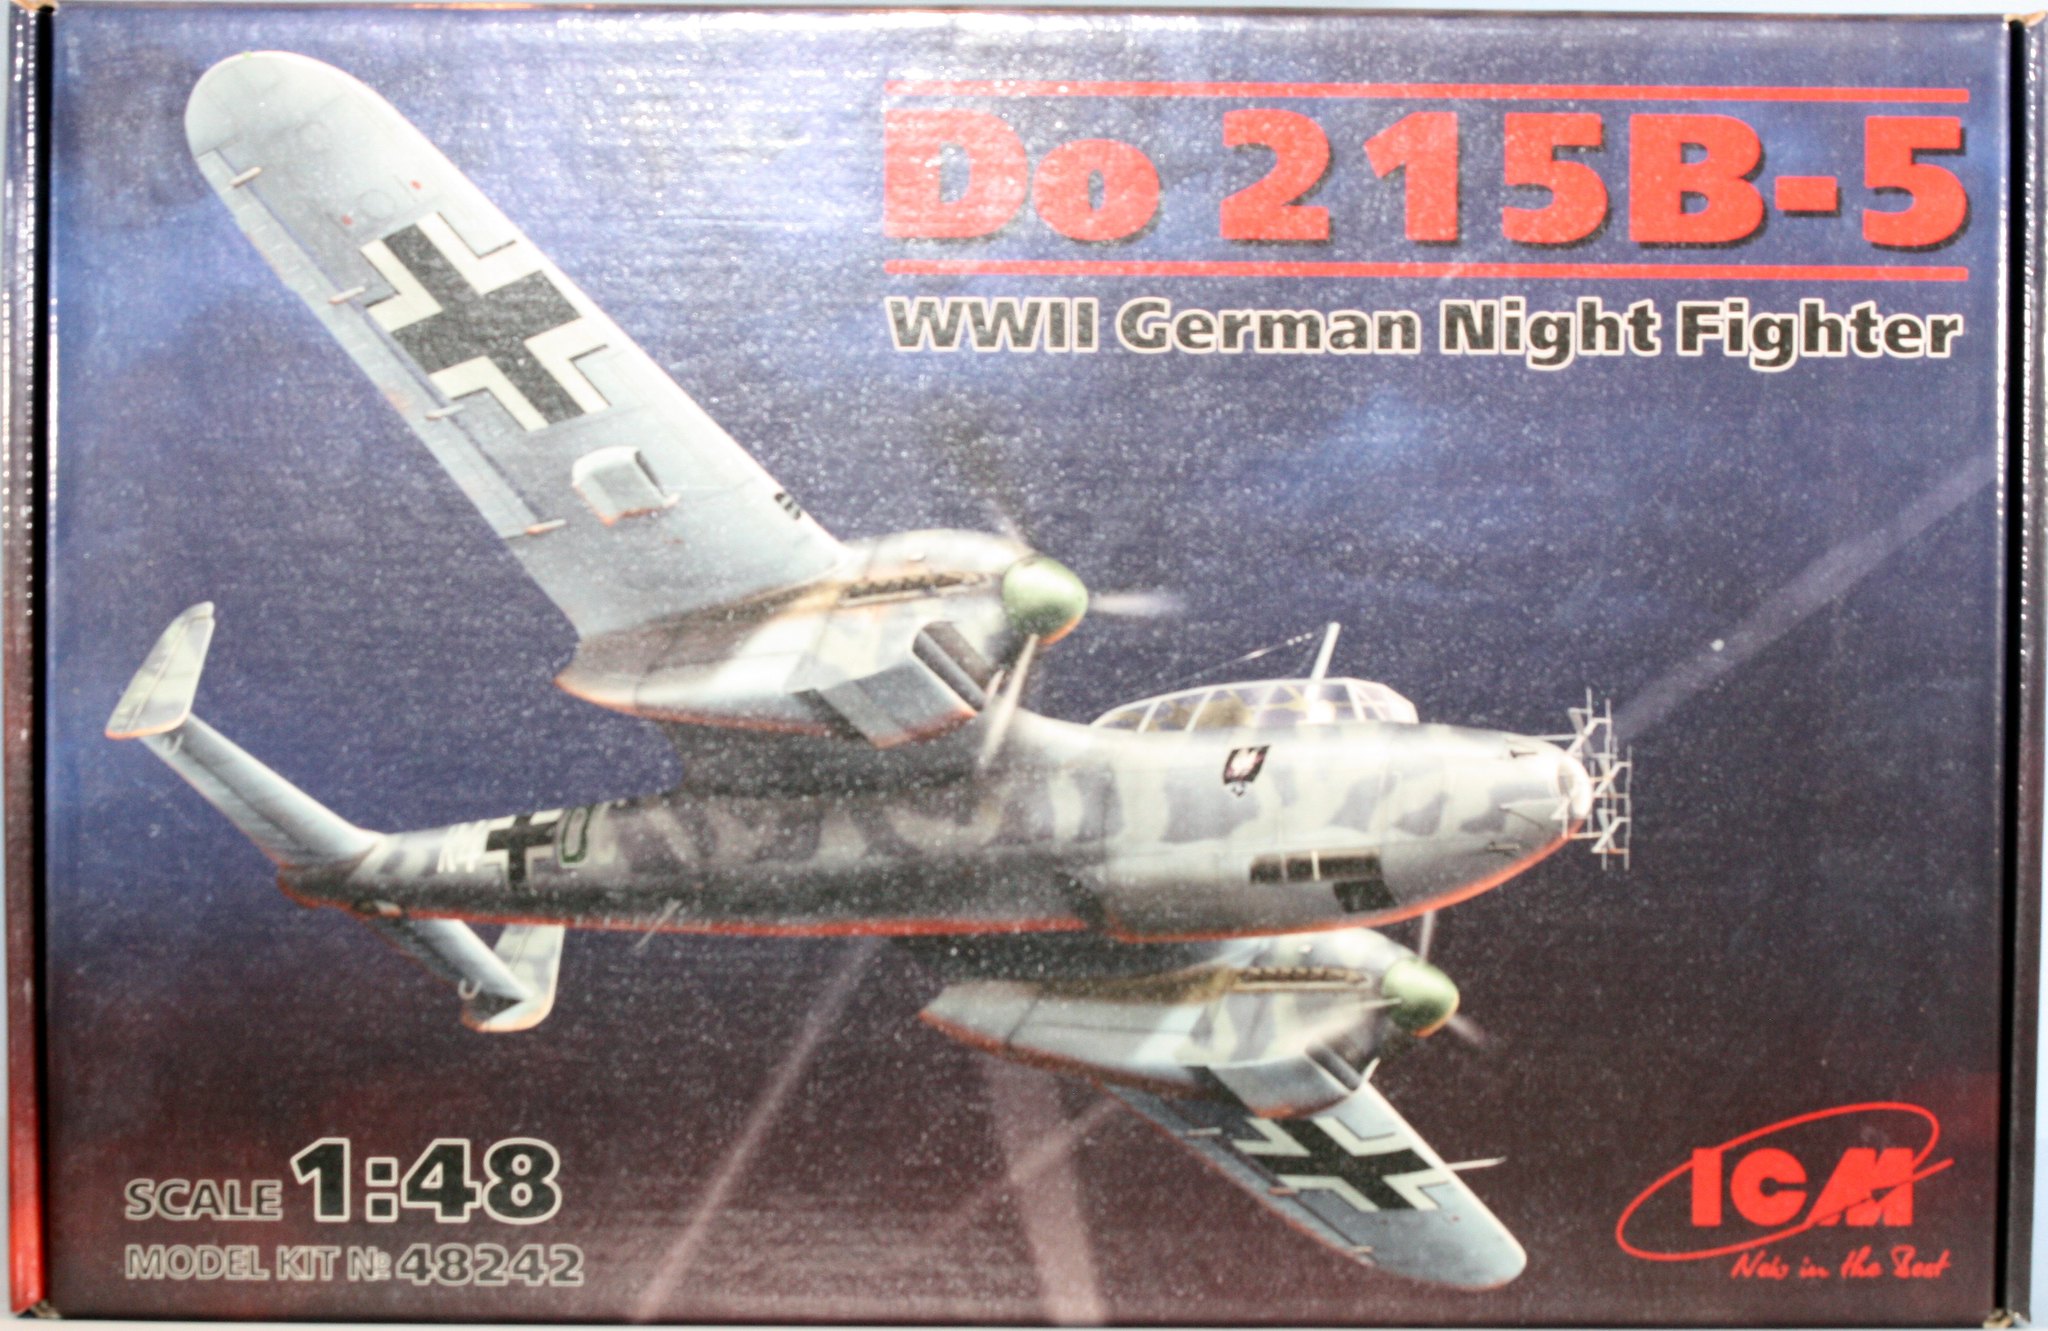
I took some time away from the bench since completing the Japanese Irving, and started work on this build September 1. Pretty quick to completion even for me, coming to the finish line a week later, with probably 85% of the work done on September 1 and the last two days.
This was my first ICM kit. When this kit was first released in about 2014, I had been looking for a Do17Z-2 (Battle of Britain veteran). I honestly didn't know much about the 215, but I knew the Do215B-4 (the first variant ICM released) was not the BoB bomber. I opted for the nightfighter variant given that I wanted that glass nosed Do17Z-2 (that has subsequently joined my stash as well).
So my experience with the ICM kit is not terrible, but also not great. I think the panel lines are a smidge too deep. Fit is pretty good overall, although the nacelles are not good. Yes, they are well-detailed but I had a lot of problems getting the forward nacelle (the chin, if you will) aligned properly. Consequently there is a noticable seam there that I was unable to completely disappear with putty, sanding and scraping.
Detail is quite good, though. The cockpit is full of stuff, and surprisingly, a lot of it is quite visible through that huge, crystal clear canopy. The kit includes two complete engines that appear pretty well detailed, although I doubt one could do much scratch building additions and still get the cowling covers to fit properly. The bomb bay is full of details like bomb racks and what I think was a huge fuel tank, but since this is a nightfighter, I opted to close all of that up.
The kit instructions have some problems, most notably in paint callouts but also in simply not indicating where some of the parts actually go.
There is a whole lot of crystal clear "glass" included on this kit, parts that are not intended for this build, etc. The underside has a part where there is a "bulb" that juts out from the underside surface; this "bulb", probably a bomb sight, is not part of the variant that I built. Not sure I understand why the part was molded with the "bulb" - but to arrive at some form of accuracy, I had to remove the "bulb". I drilled out that offending portion then carved the remnants away. Finally, I glued a piece of sheet styrene to the interior of the clear part (which was to be painted over), and then filled in the carved away opening with infrared glue until it was mostly smooth. My work on fixing this was okay, but not as smooth as I would have liked.
Revell re-released this kit that included a gun emplacement mounted to the underside (near where that "bulb" was). This is not in the ICM kit. I never could get a definitive answer as to whether the B-5 actually carried this gun emplacement, but I did find a photograph of what was identified as a B-5 with exactly that emplacement. Probably a miss on ICM's part.
Finally, my build is missing one key feature - the radar arrays. The kit pieces are too scale-thick, so I opted to purchase the Eduard PE set. The PE set has you take the kit piece and remove the arms where the radar prongs are attached. I did this for one and was not particularly happy with the result. The prongs were not correctly aligned straight up-and-down, but it was not obvious to the naked eye. So I moved on to the second and did the surgery, and that's when all hell broke loose. The PE parts broke. After I recovered from that, I attempted to re-assemble the original kit pieces, but yeah, that went over about as well as ACC referees attempting to call a football going out at the 3-yard-line (controversial call in the Clemson-Texas A&M football game Saturday night). In short, I was unable to re-assemble the kit parts to any degree of visual acceptability, so I opted to call the build complete with the idea that perhaps the Do215B-5 was undergoing some kind of maintenance on those radar arrays (and therefore the ground crew had to take them off the airframe). Sounds good to me, and keeps me from banging my head against the wall over maddening PE parts.
I used Vallejo acrylics for all the exterior painting. The interior is a mix of Vallejo, Tamiya and Model Master. I used MIG washes on the exterior along with some Tamiya weathering compound and ground pastels. Finally, I used a p-Mask set for the markings on this build. Of the masks that I used on this, they worked real well, and unlike my recent experience with Montex Masks, these did not leave any residue on clear parts. The large Balkenkreuzs that are on the wing undersides, however, were poorly formed masks, which would have left extraneous color where it should not have been. I opted to use the kit decals for those markings. The decals were actually quite good for this kit.
Exterior colors are RLM 76 underside, with RLM 74 + RLM 75 topside.
On to the build photos:
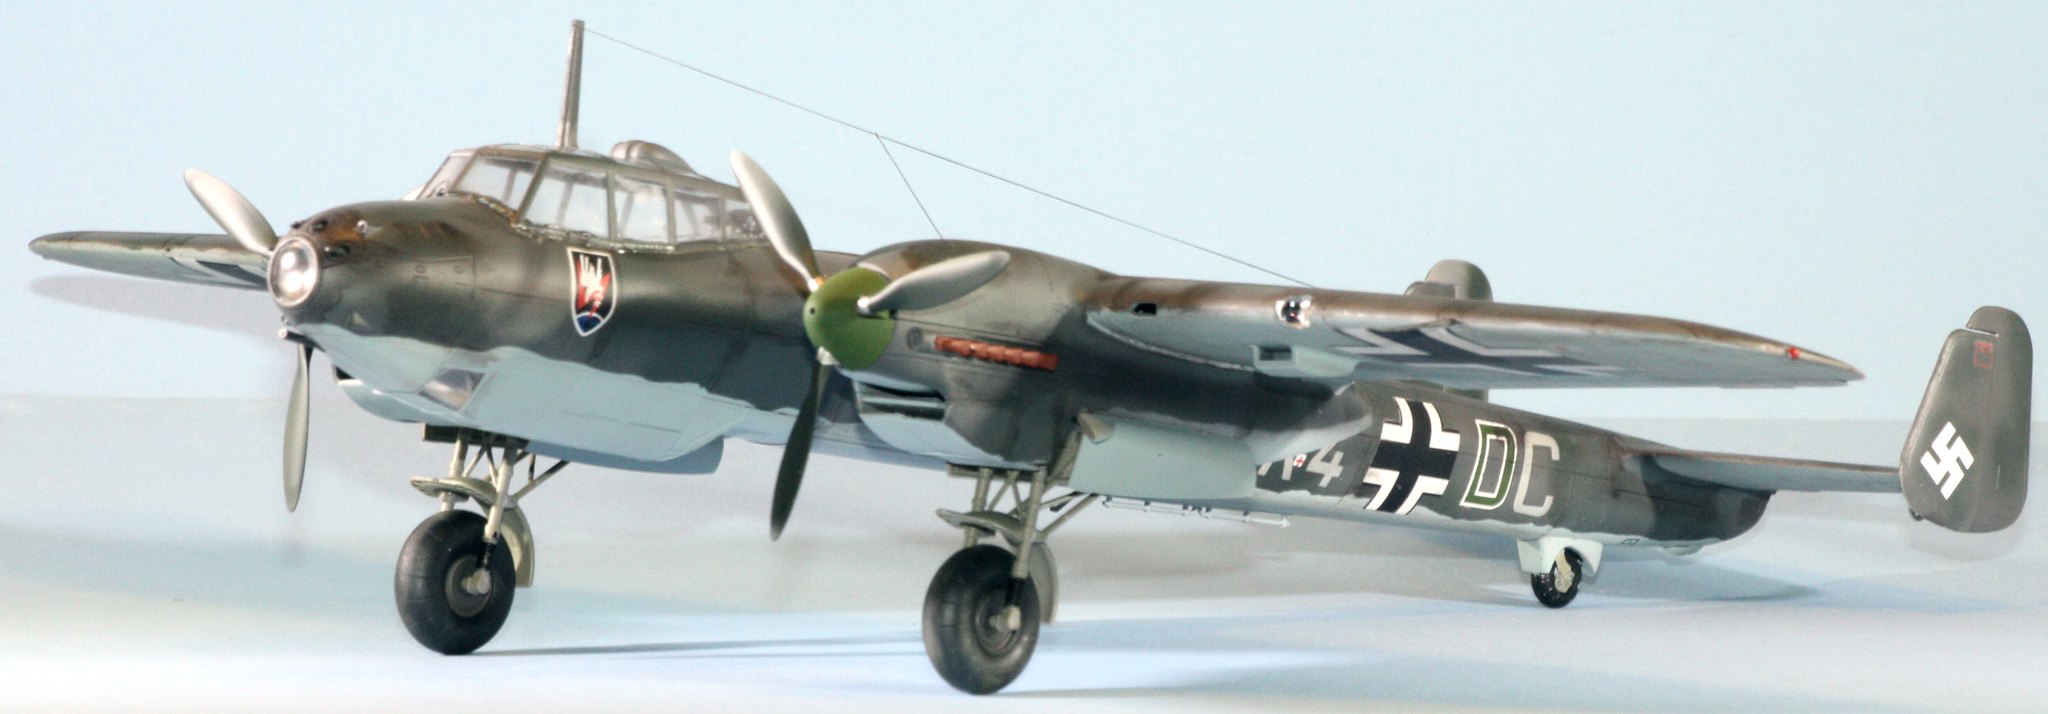
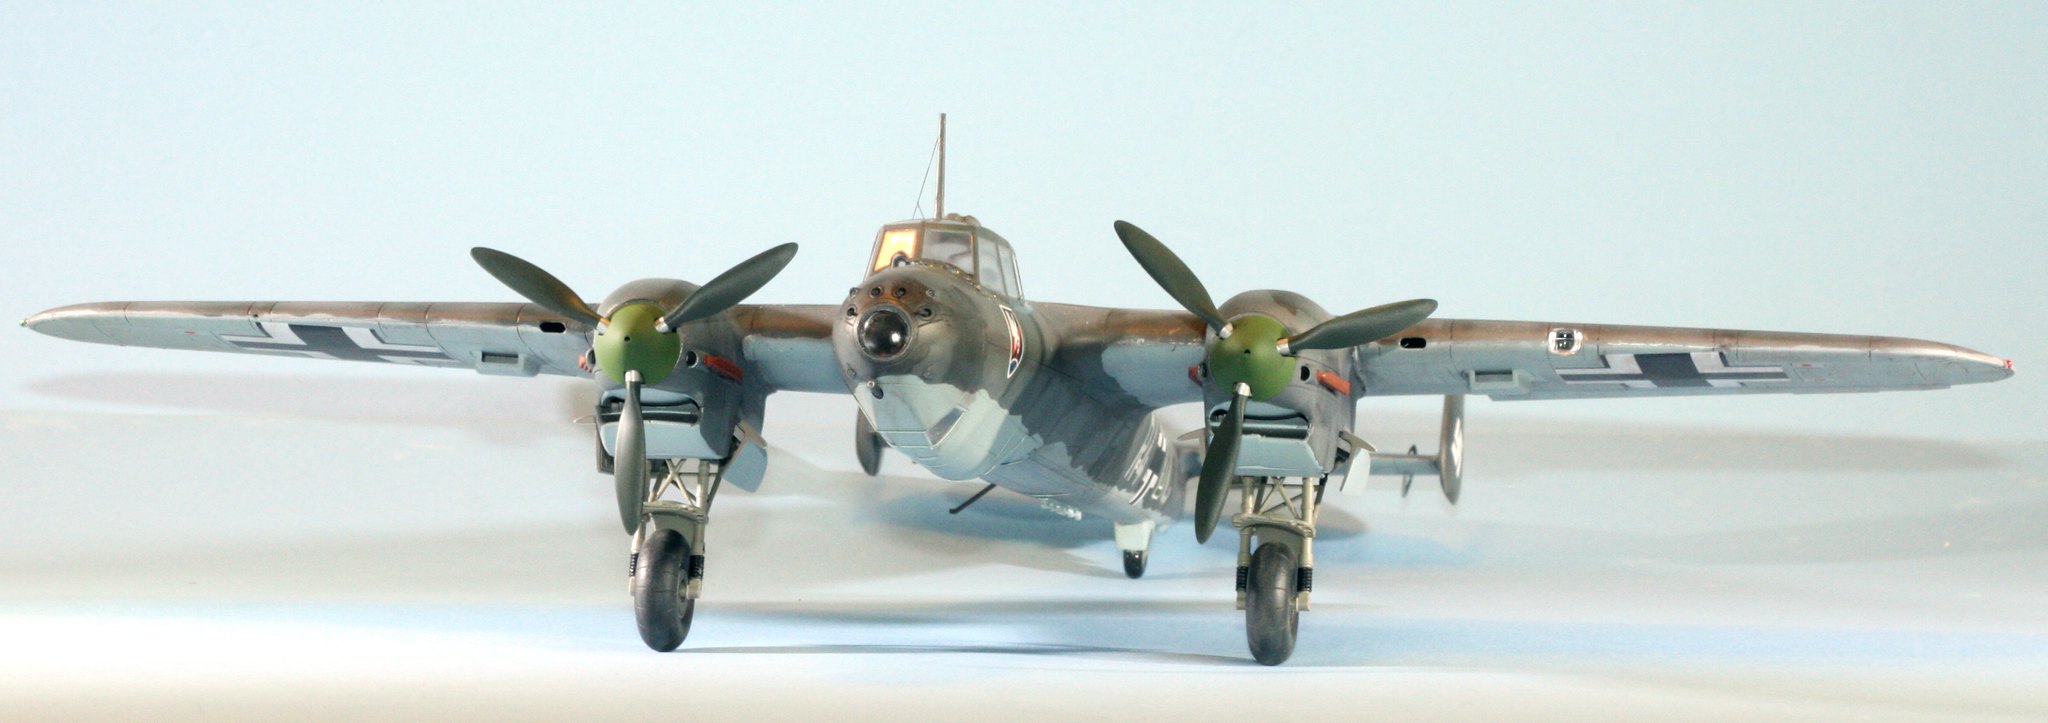
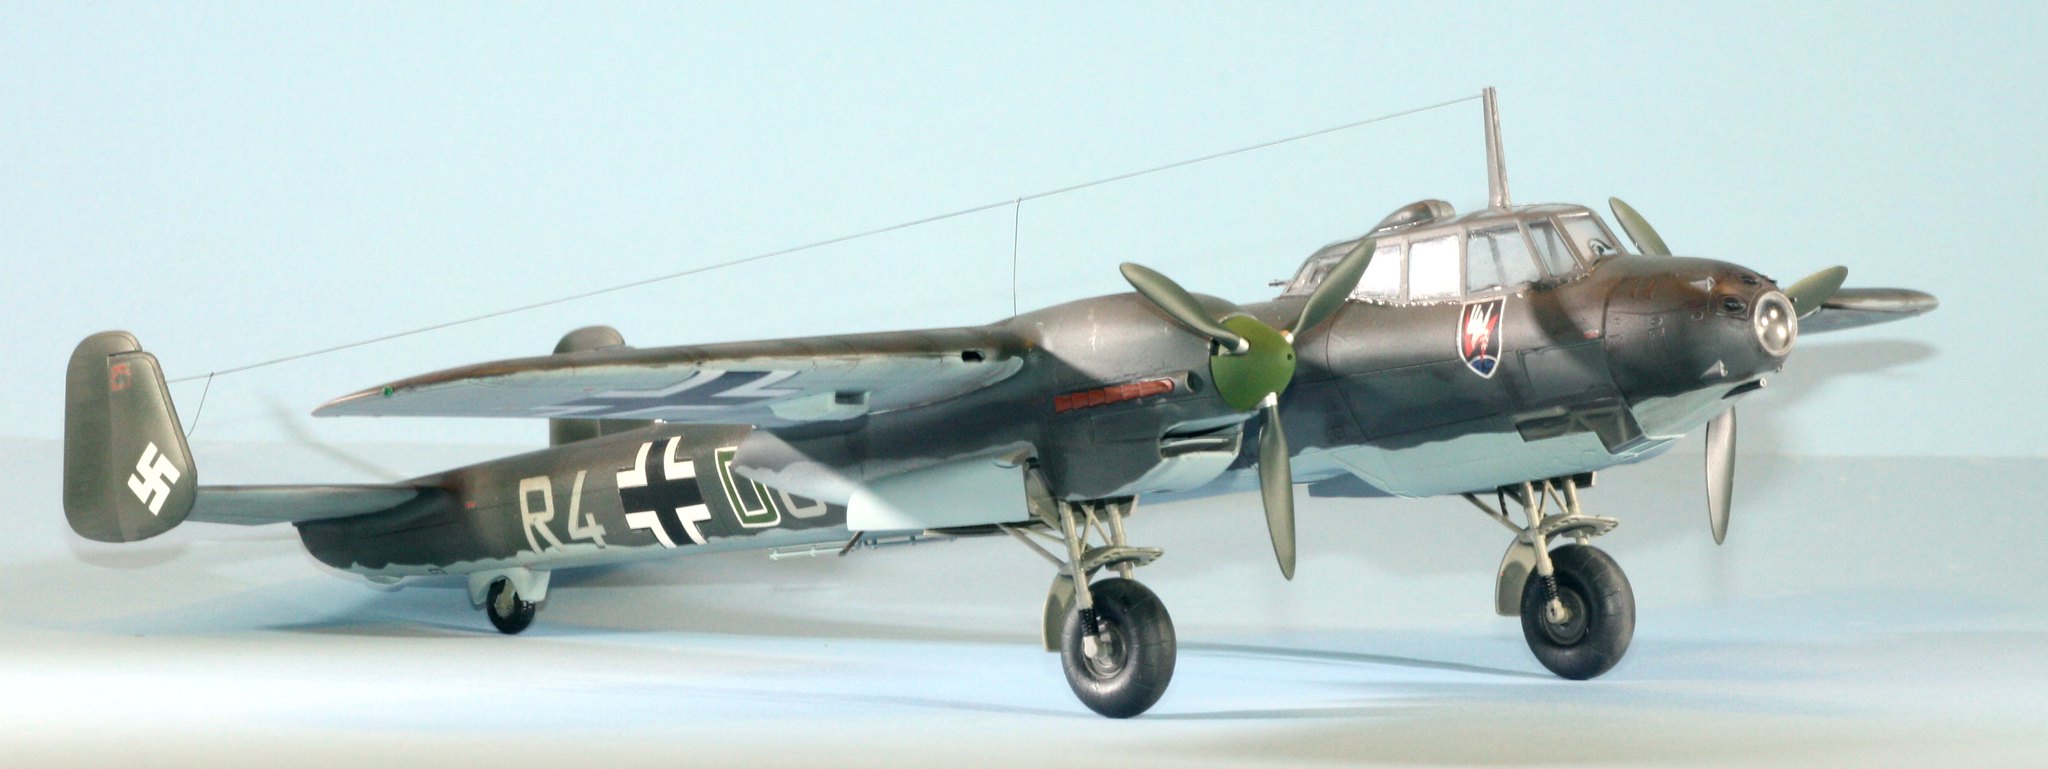

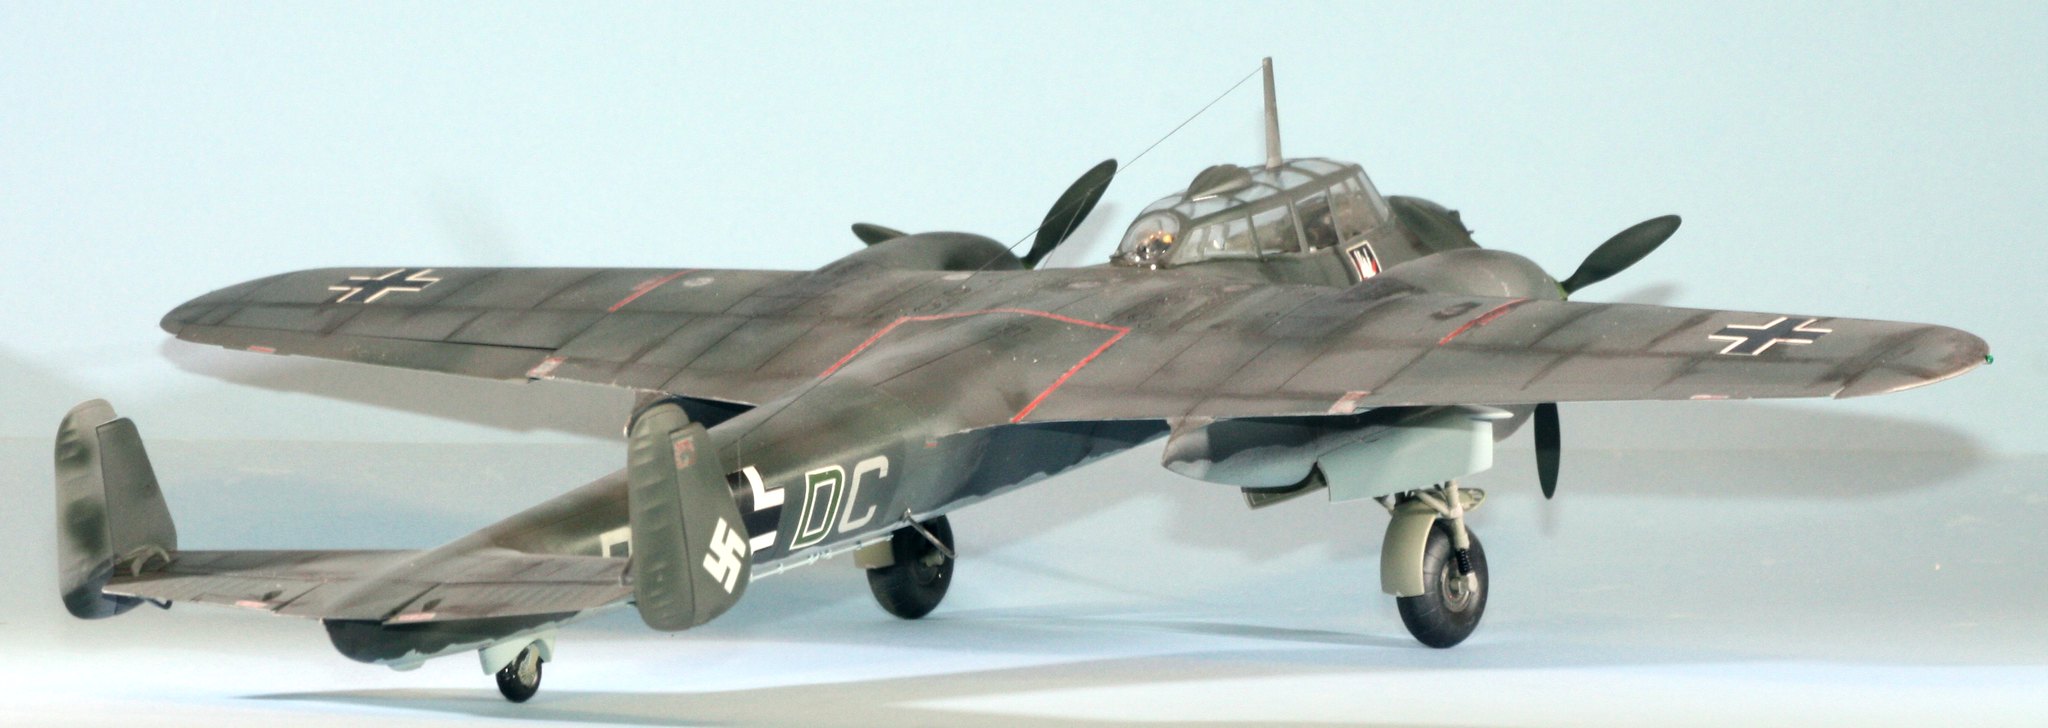

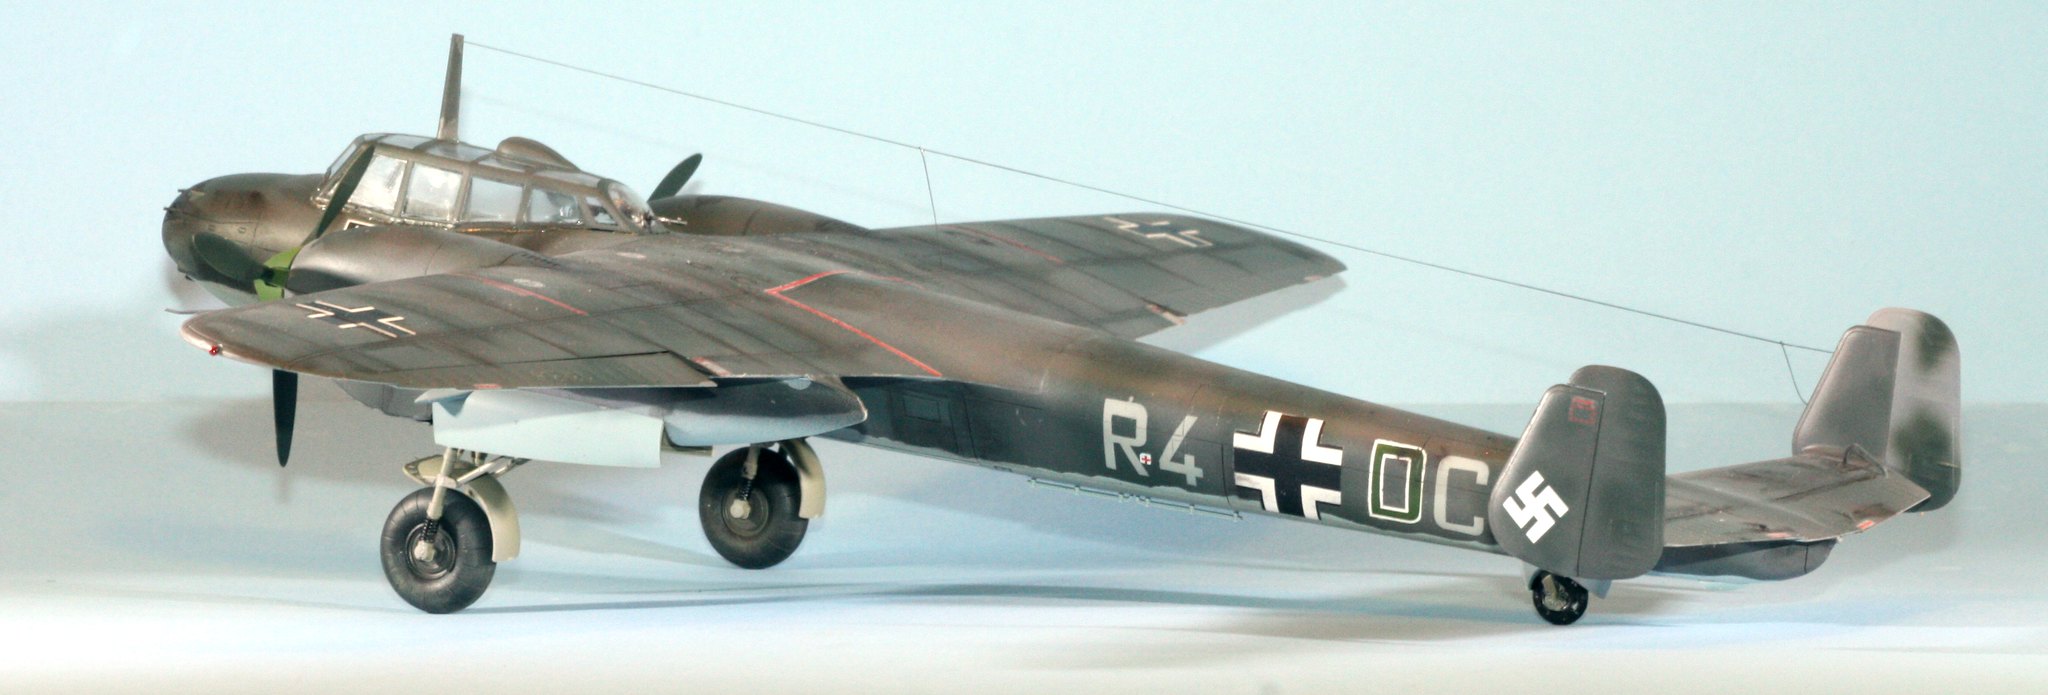

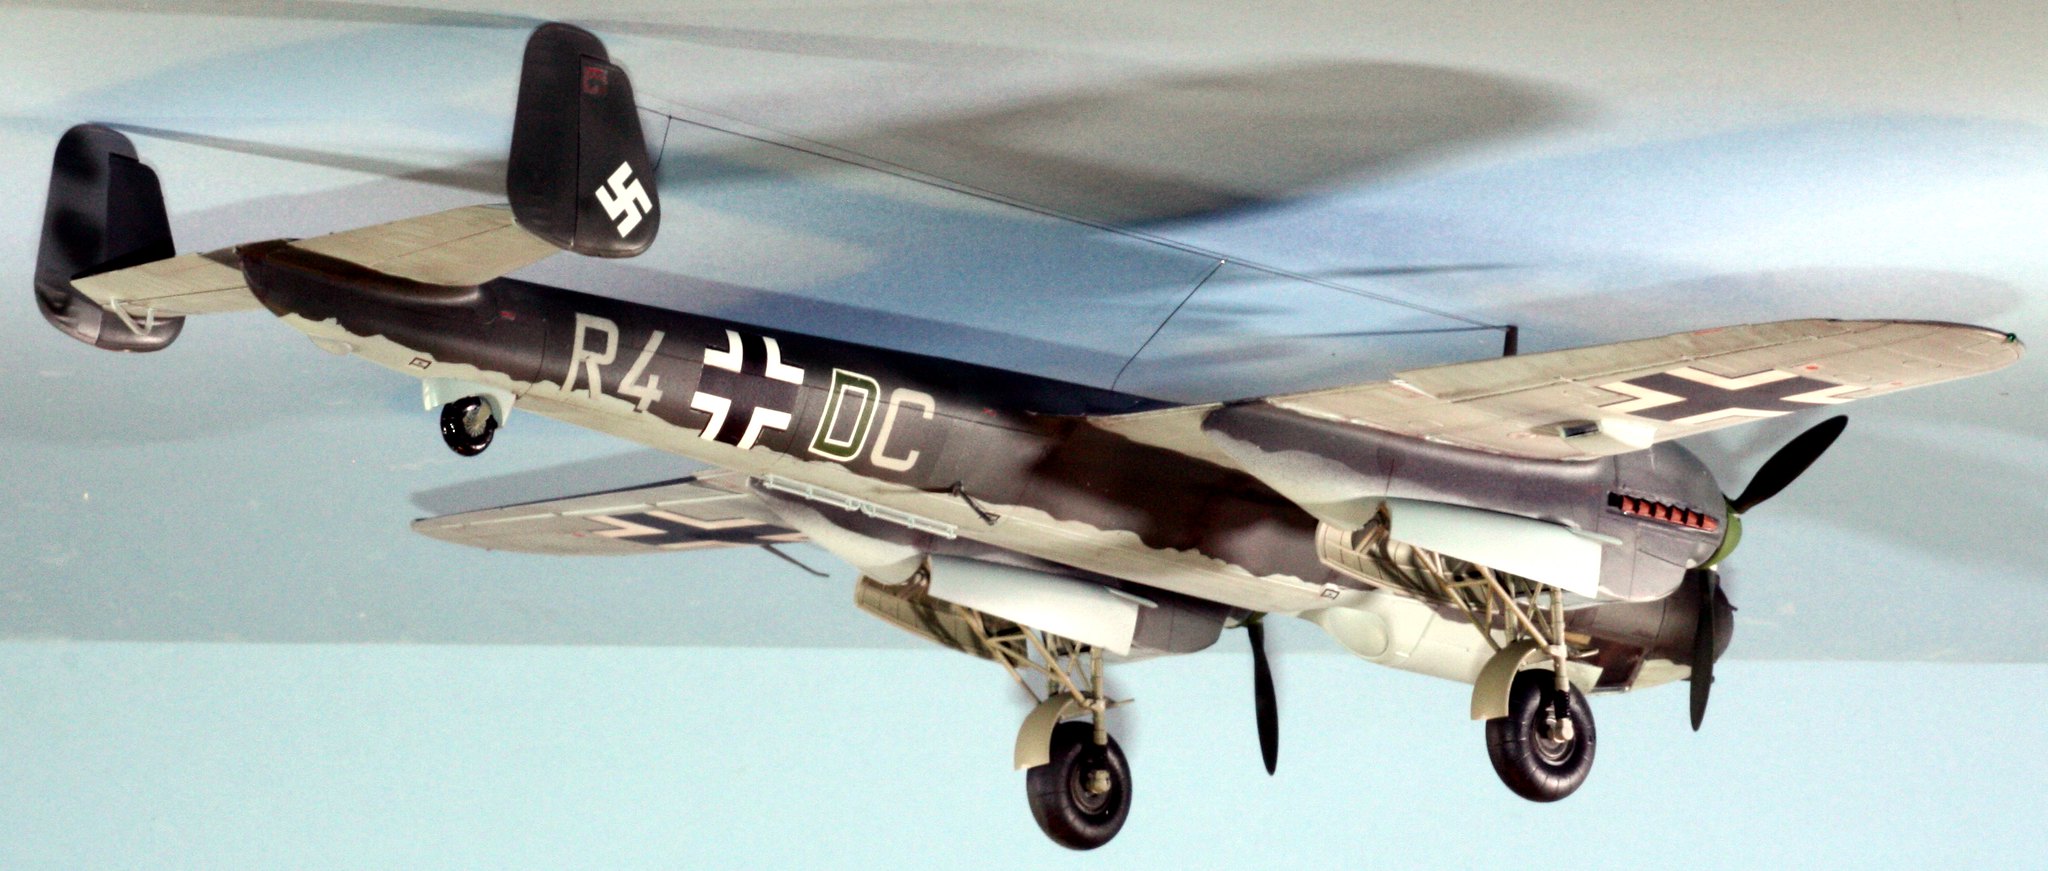
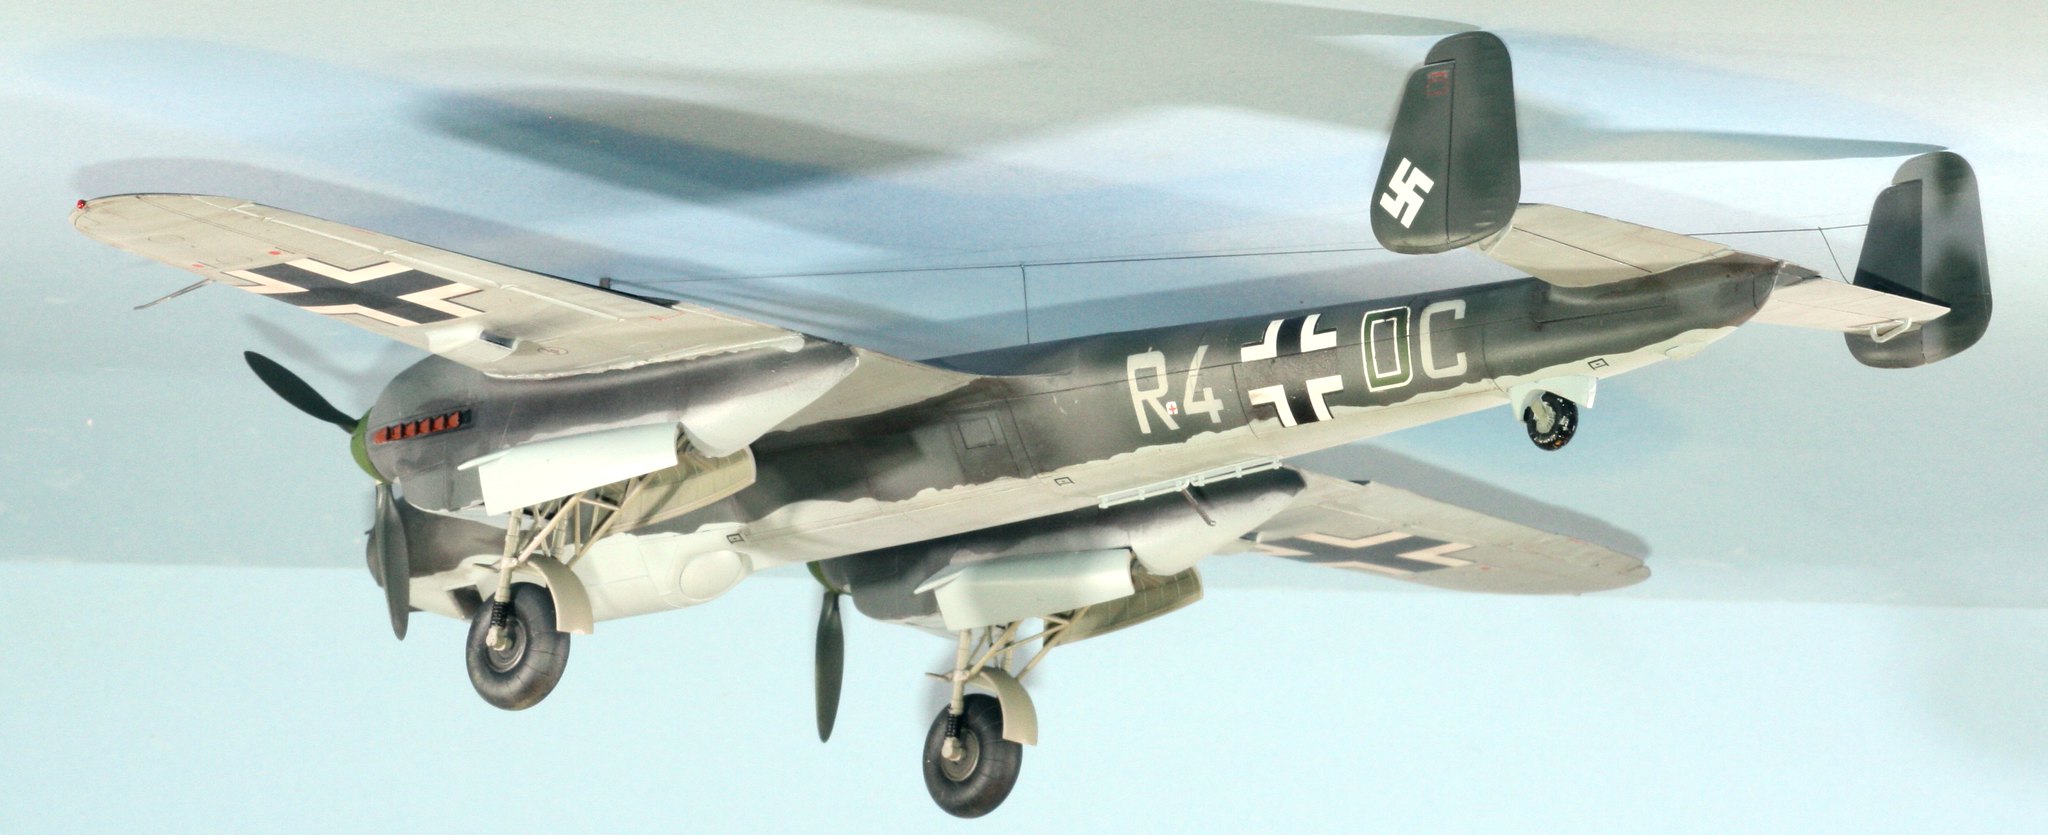
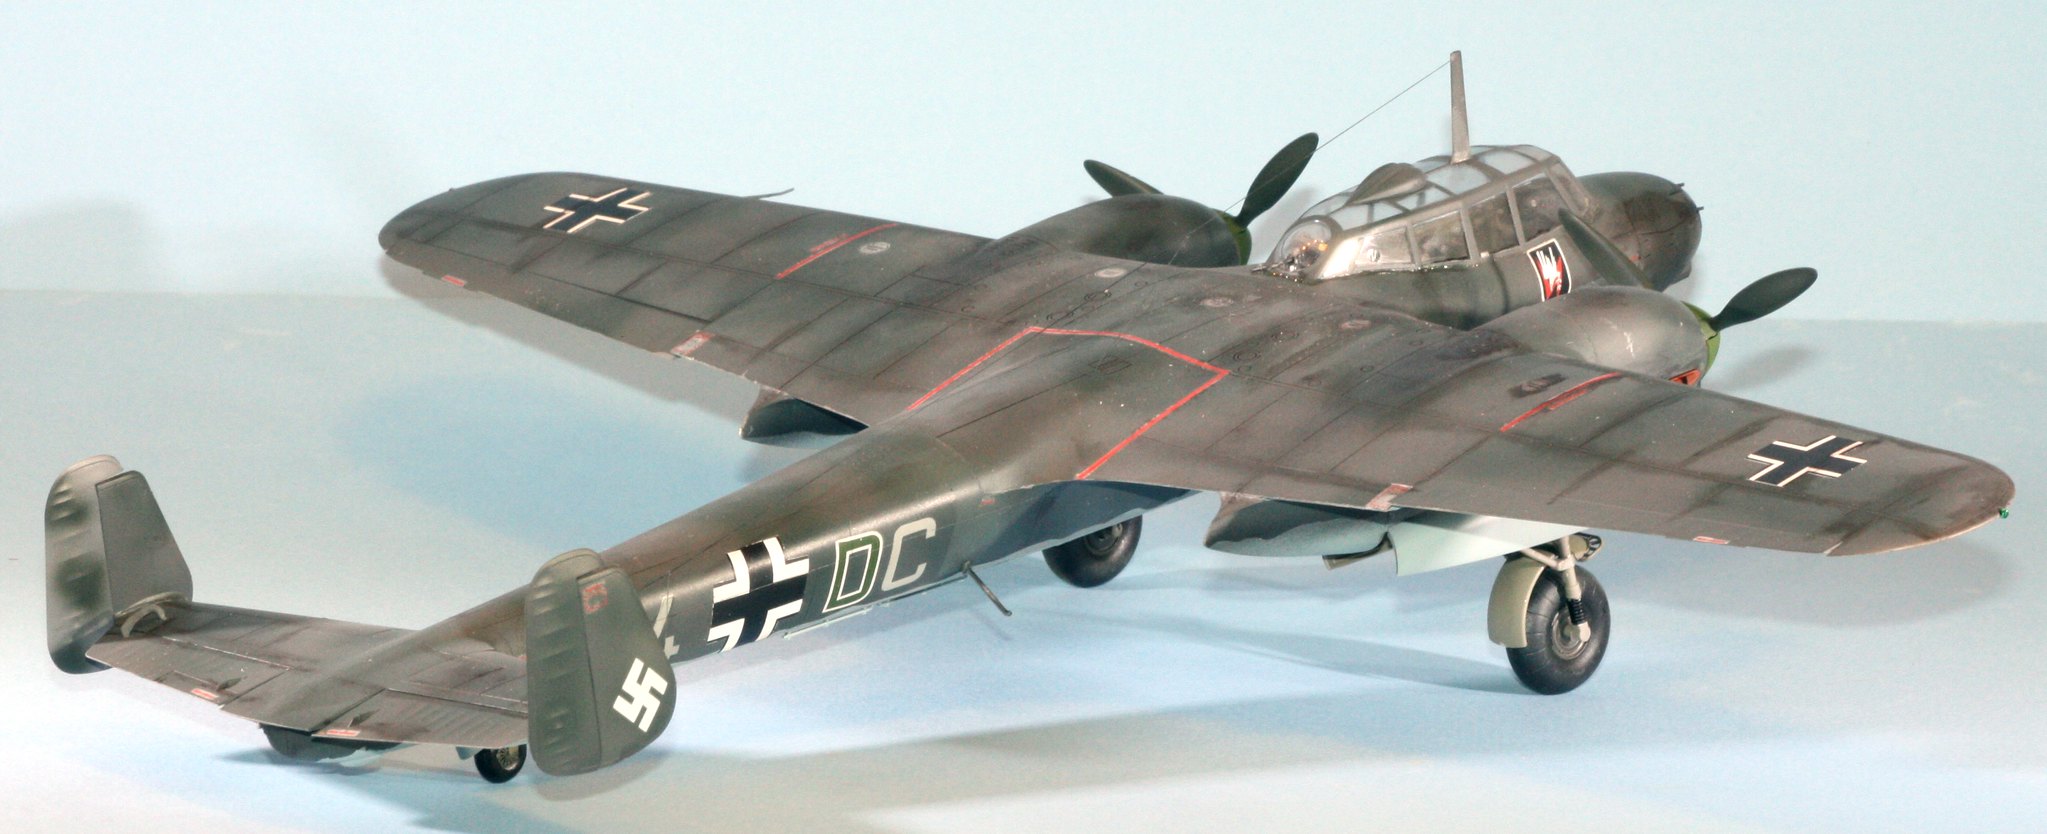
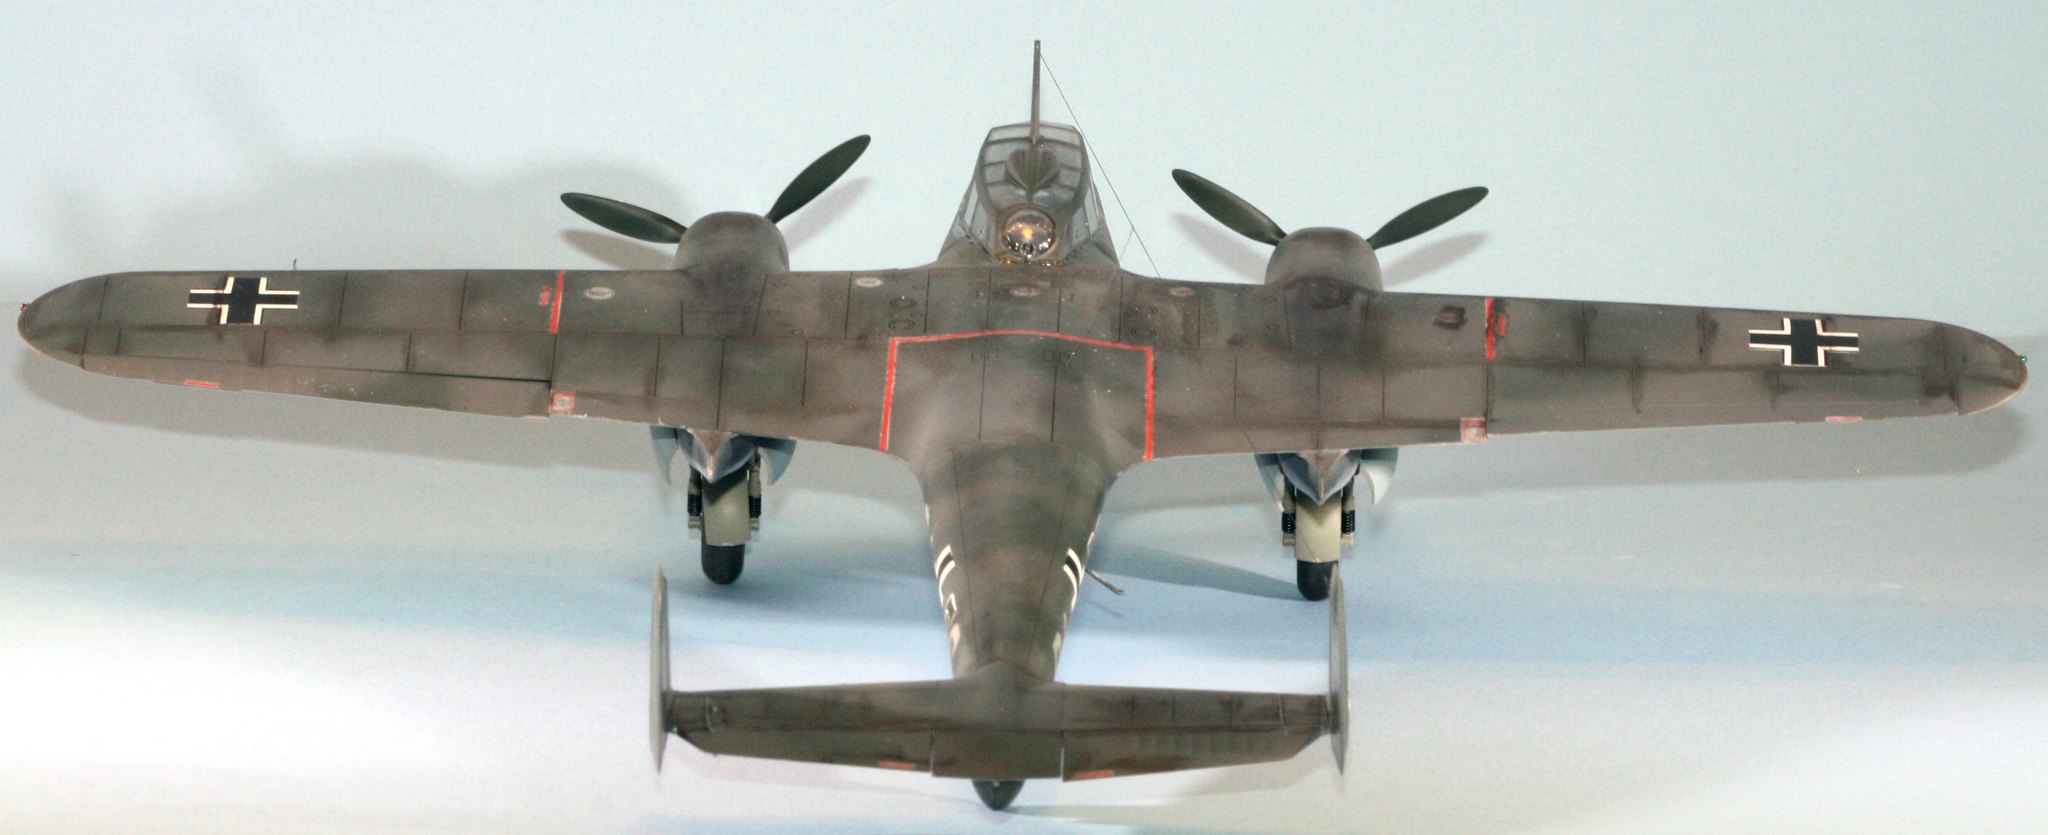
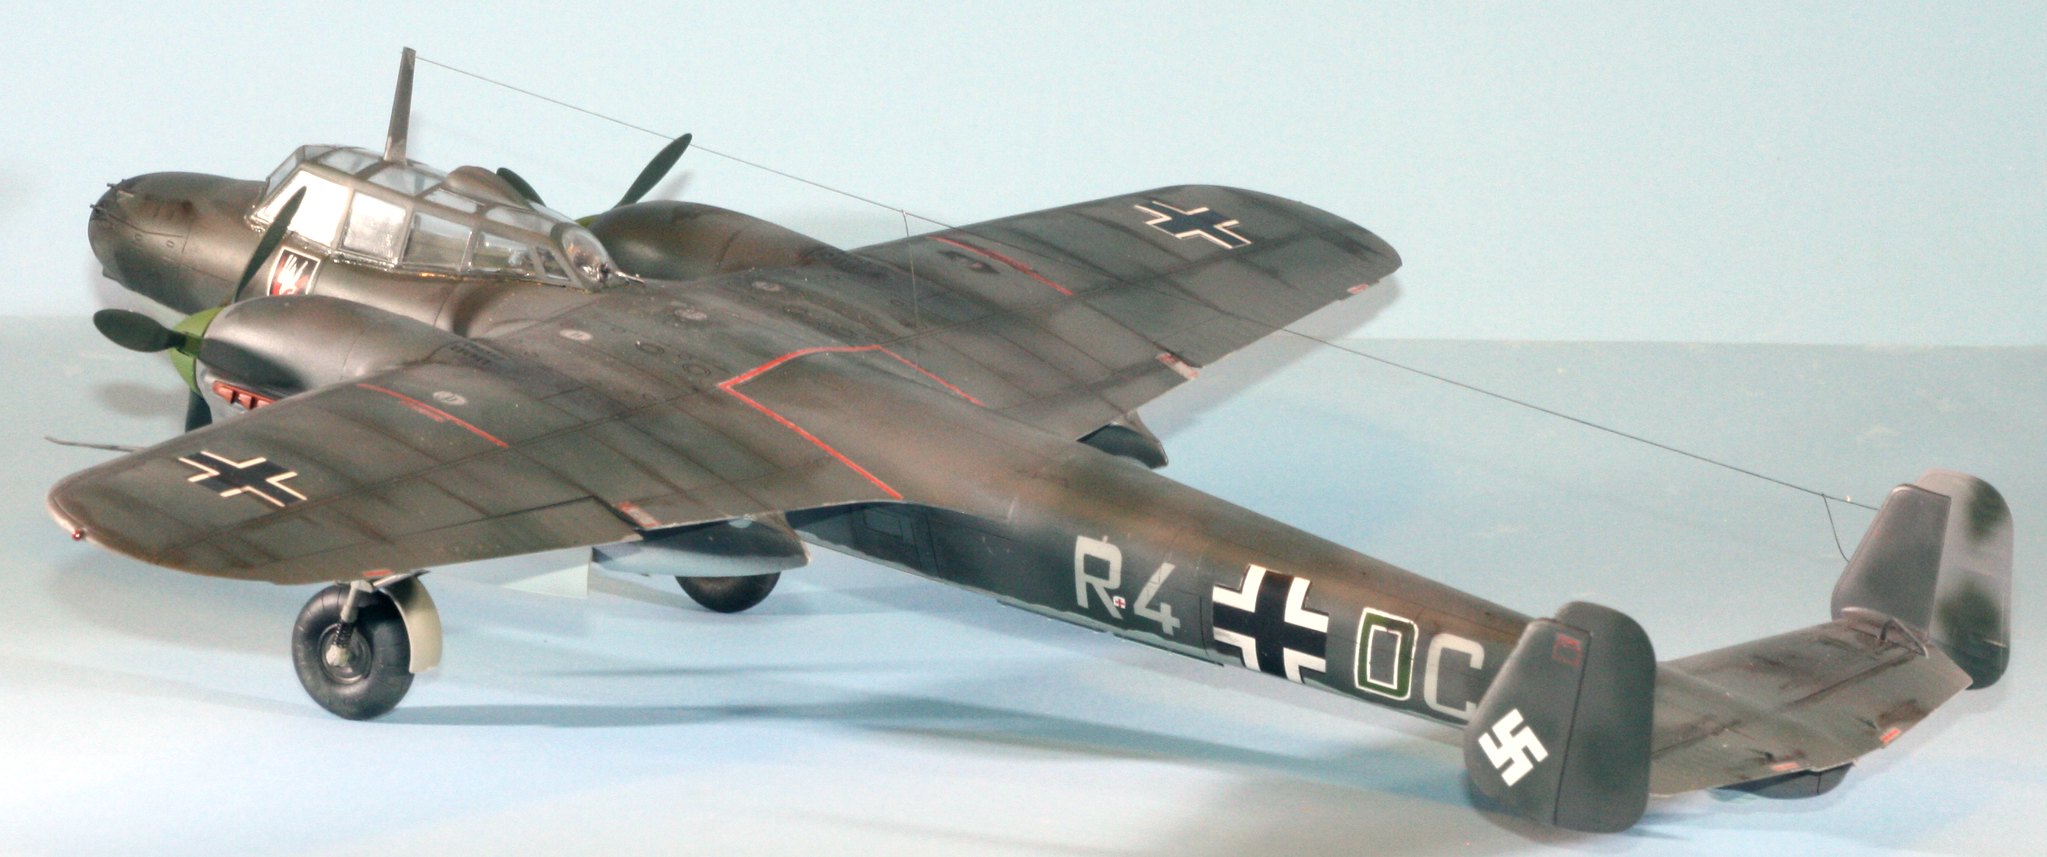
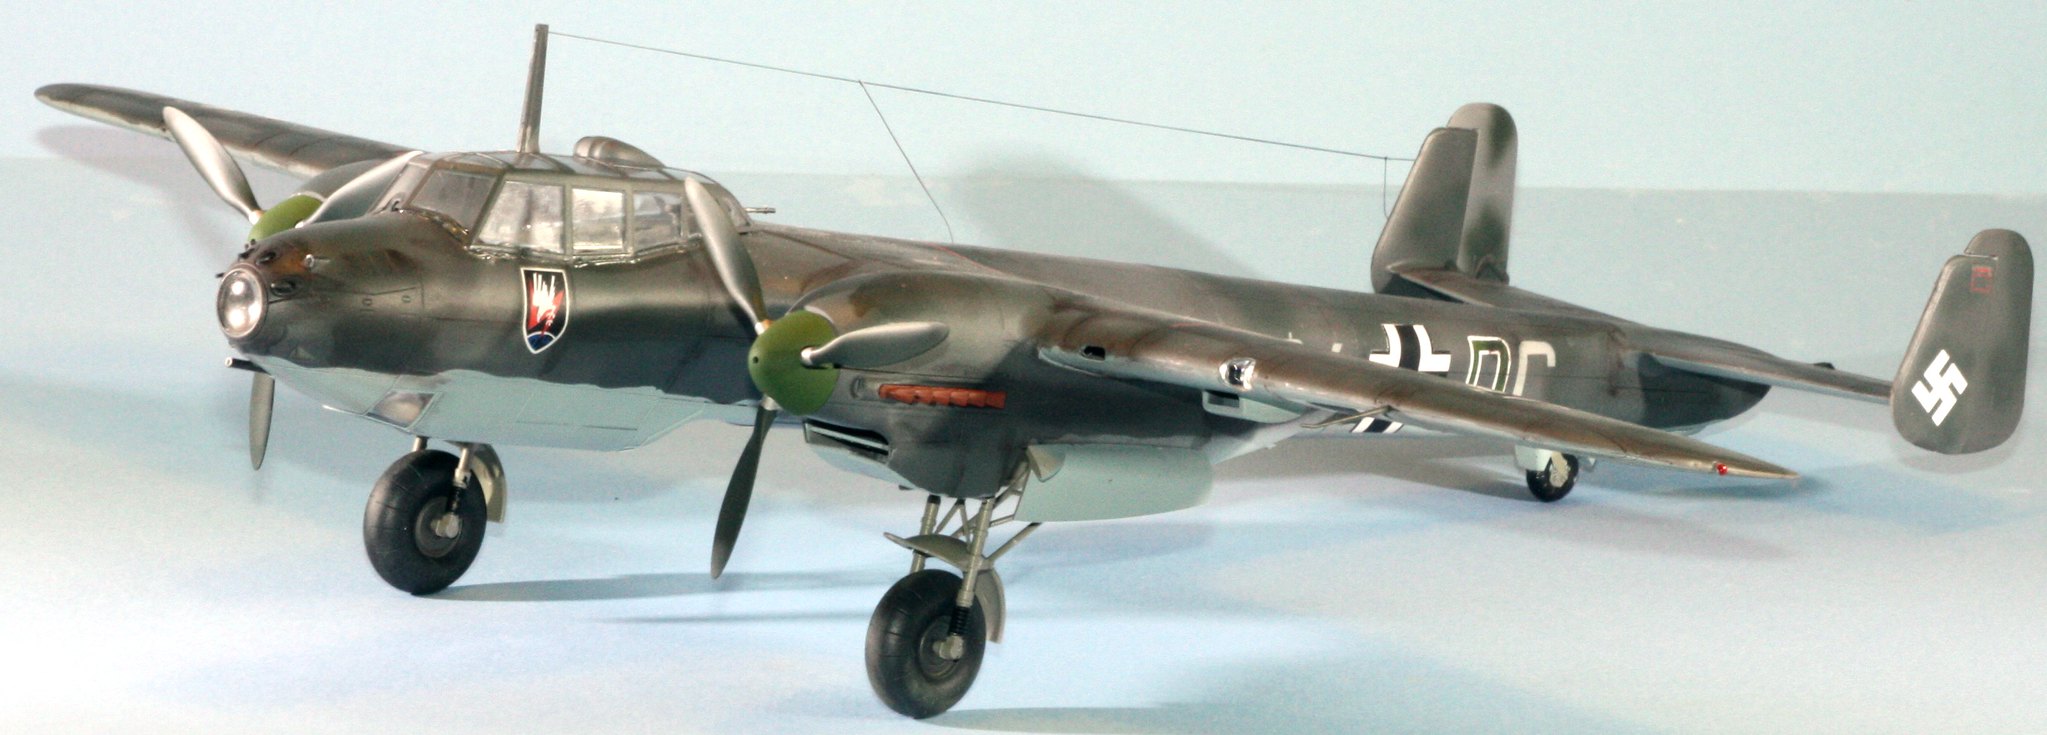
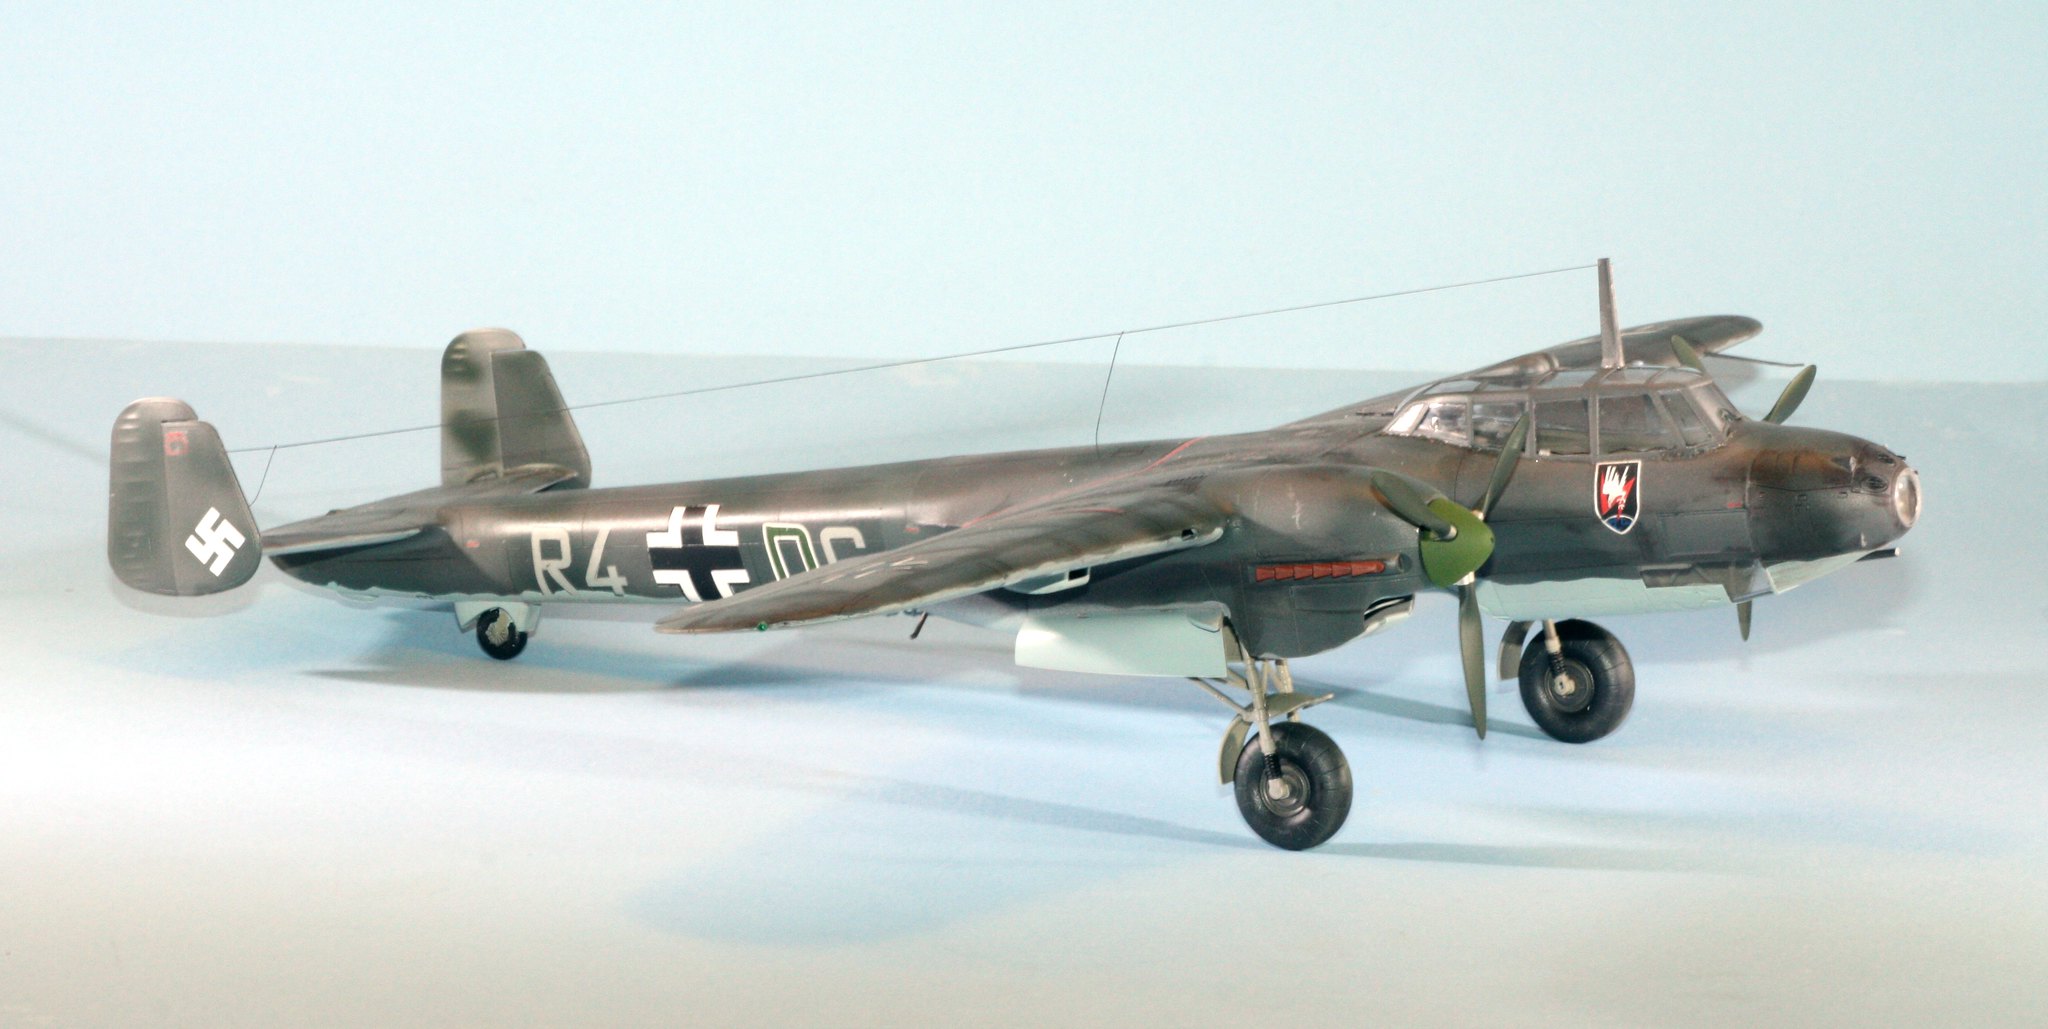
I'm pretty disappointed in my efforts on this kit. It looks okay, yes, but the MIG wash seems a bit over-done, and the RLM 74 + RLM 75 doesn't really seem to be different colors unless you actually look upclose at it.
Next up - a 51-year-old kit, Monogram's original Bf 110E in 1/72 scale.
UPDATE March 27, 2022
The radar array issue I had with this kit bothered me more than I thought it would. At the time I built this, I was out of work with a very tight budget, so when I butchered the PE parts, I had little choice but to complete the build without the radar arrays.
I have been fortunate now to be gainfully employed for the last year. At some point recently, I happened to look at this build where it had been hanging on a wall in my house since completion four years ago. I thought, yeah, I'd like another go at those radars. So I picked up another set (the original set had seen one-too-many radar parts break, so even though there were still several on the fret, there were not enough to complete the full array).
Turns out I have more tweezers now than I did then, and using tweezers kept me from touching the really fragile part of these radars. Once I figured out that was the problem, I was able to put together a set of clamps to keep the styrene rod in place while I attached each of these PE radars. Painstaking, but worth it. The arrays are likely not correctly aligned, but right now I'm just happy to see the arrays on this bird.

