Scorpiomikey- That fire orange sure makes this build look fast and striking! Can't wait to see the paint scheme all finished up, it will certainly look amazing.
*****************************
Alright now I finally have some work done worth posting about(everything else was just little tid-bits here and there). That said the two main lights are done, the searchlight and IR searchlight. ALong with a rear tow cable and FINALLY the two gas tanks.
Tamiya includes not one clear piece in the entire kit, yet their are multiple lights where a clear lens in necessary. Why Tamiya took the easy way out, I don't know..... That said, I had to get out the srcibe and drill out the plastic piece which is what Tamiy calls a "light lens." Had some mishaps with the IR searchlight (cracking the lens holder) but I think I fixed them pretty nicely. Ater drilling out both prominent lights on the turret, I scratched some lenses for them. The lenses were also given a coat of Tamiya acrylic clear Smoke, it makes the lenses more realistic and the instructions orginally called out for the lens to be painted black, thus this variant is right on line.
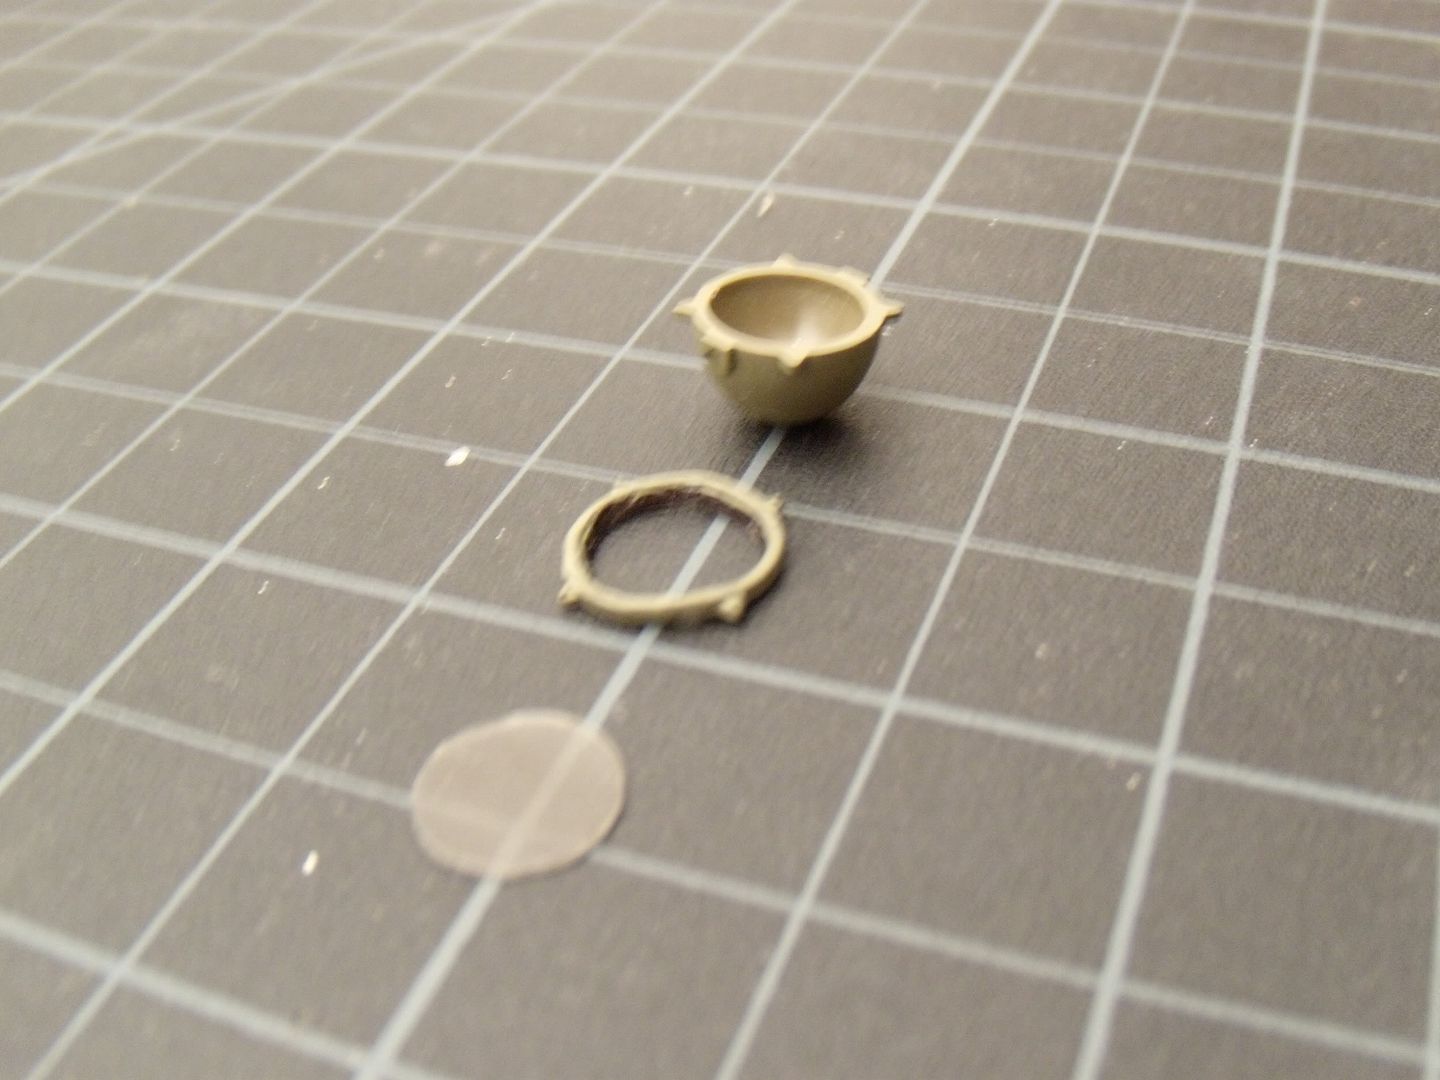
After drilling, and lens making, I tried something new for my lights. Instead of going the usual route of painting the interior of the light, I used gift wrap. Okay a certian kind of gift wrap(though aluminum foil might also be a good way to go), the one that has a shiny reflective color on one side and plain silver reflecting on the other. Not having a color I needed, I took the plain silver side and painted a portion Tamiya Smoke(for regular searchlight) and another Tamiya clear red and over that Tamiya smoke(for the infra-red light).

Once the paints dryed, I took the 'gift wrap' that was painted, applied glue to the insides of the lights, and then stuffed the 'gift wrap' inside.
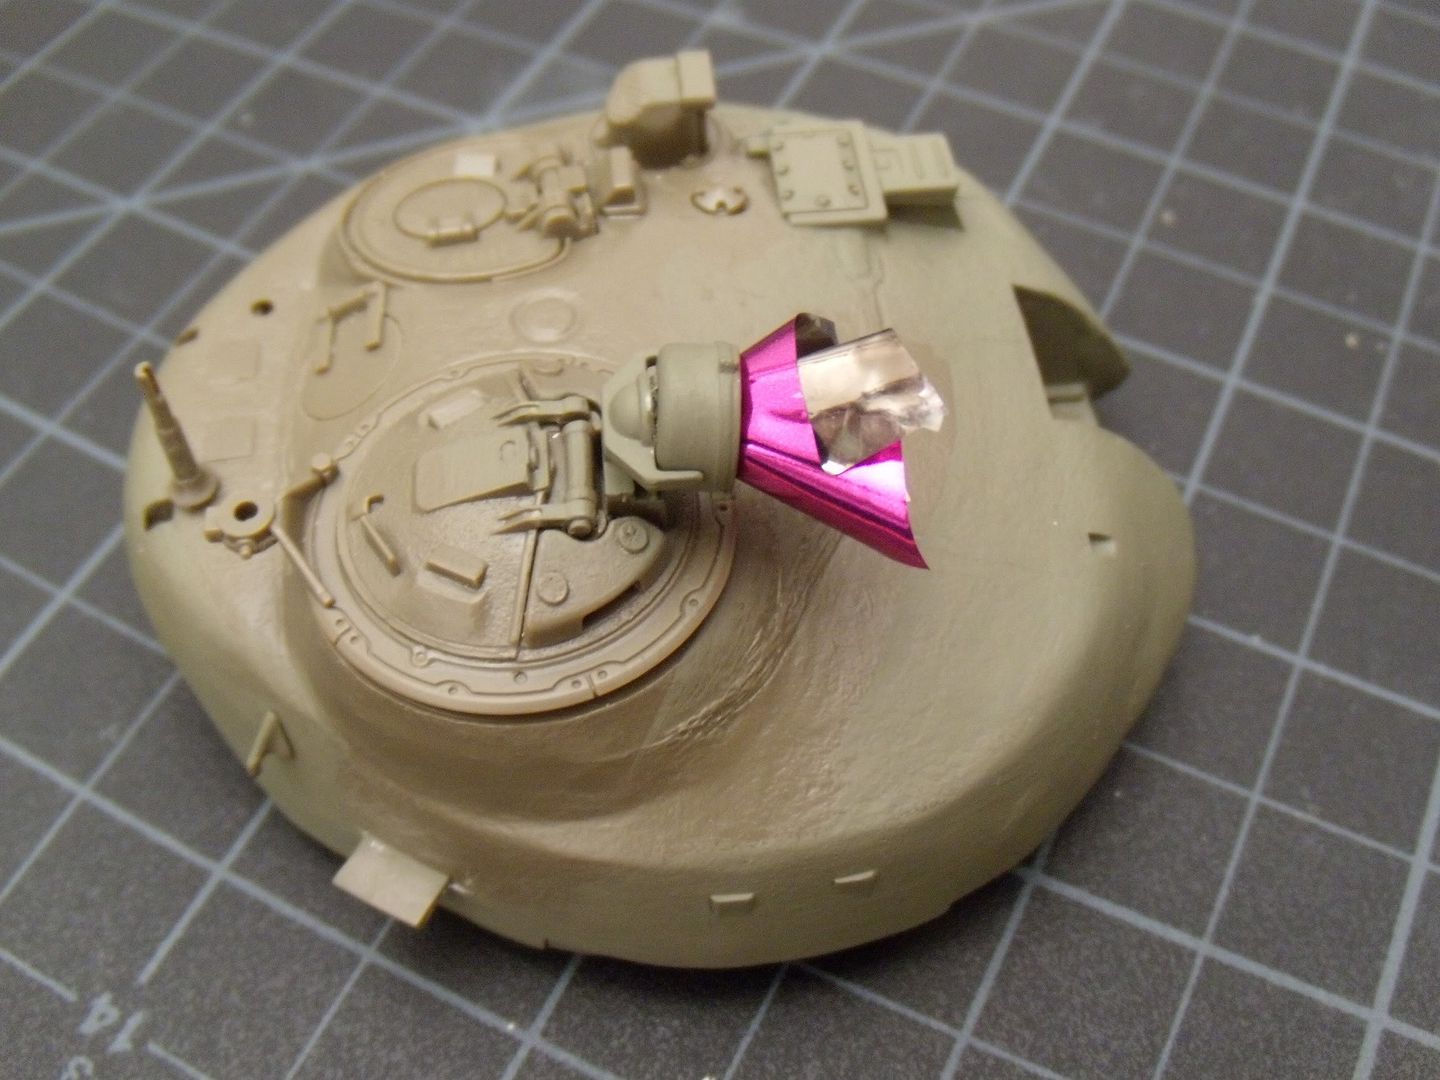
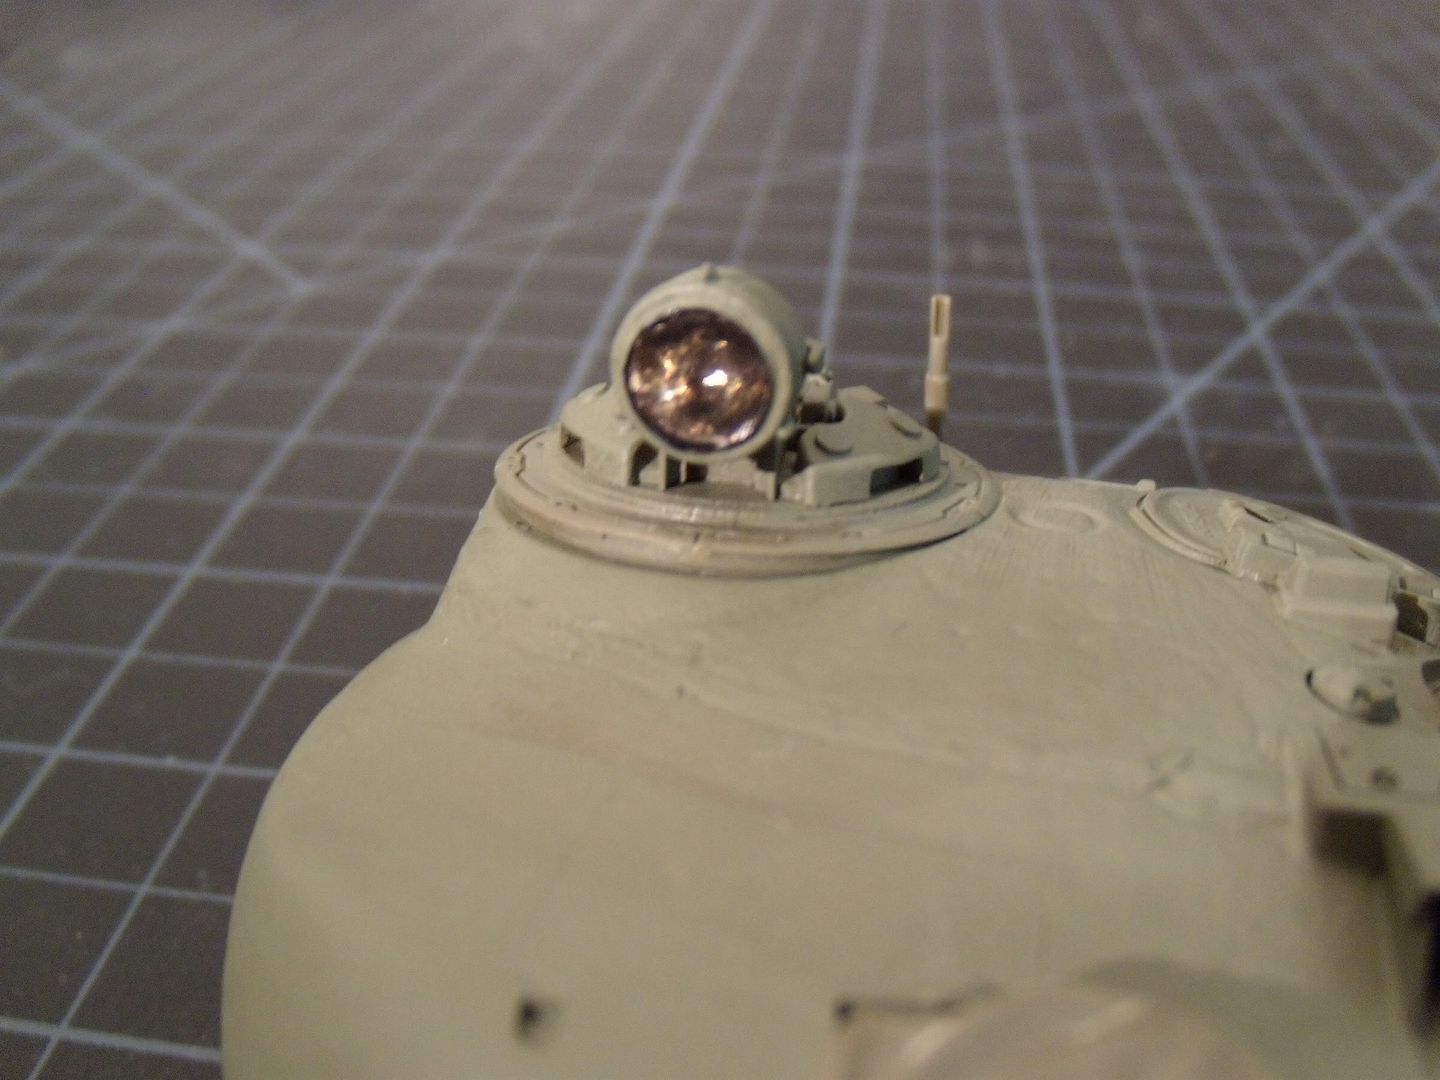
Once the glue dried, I cut off all the excess 'wrap' coming out of the light(which was quite tricky.) Once cut I applied more glue to make sure the 'wrap' ends wouldn't come off the sides of the light. Then it was just a matter of sticking the lens on, and finishing touches. So what do you think?
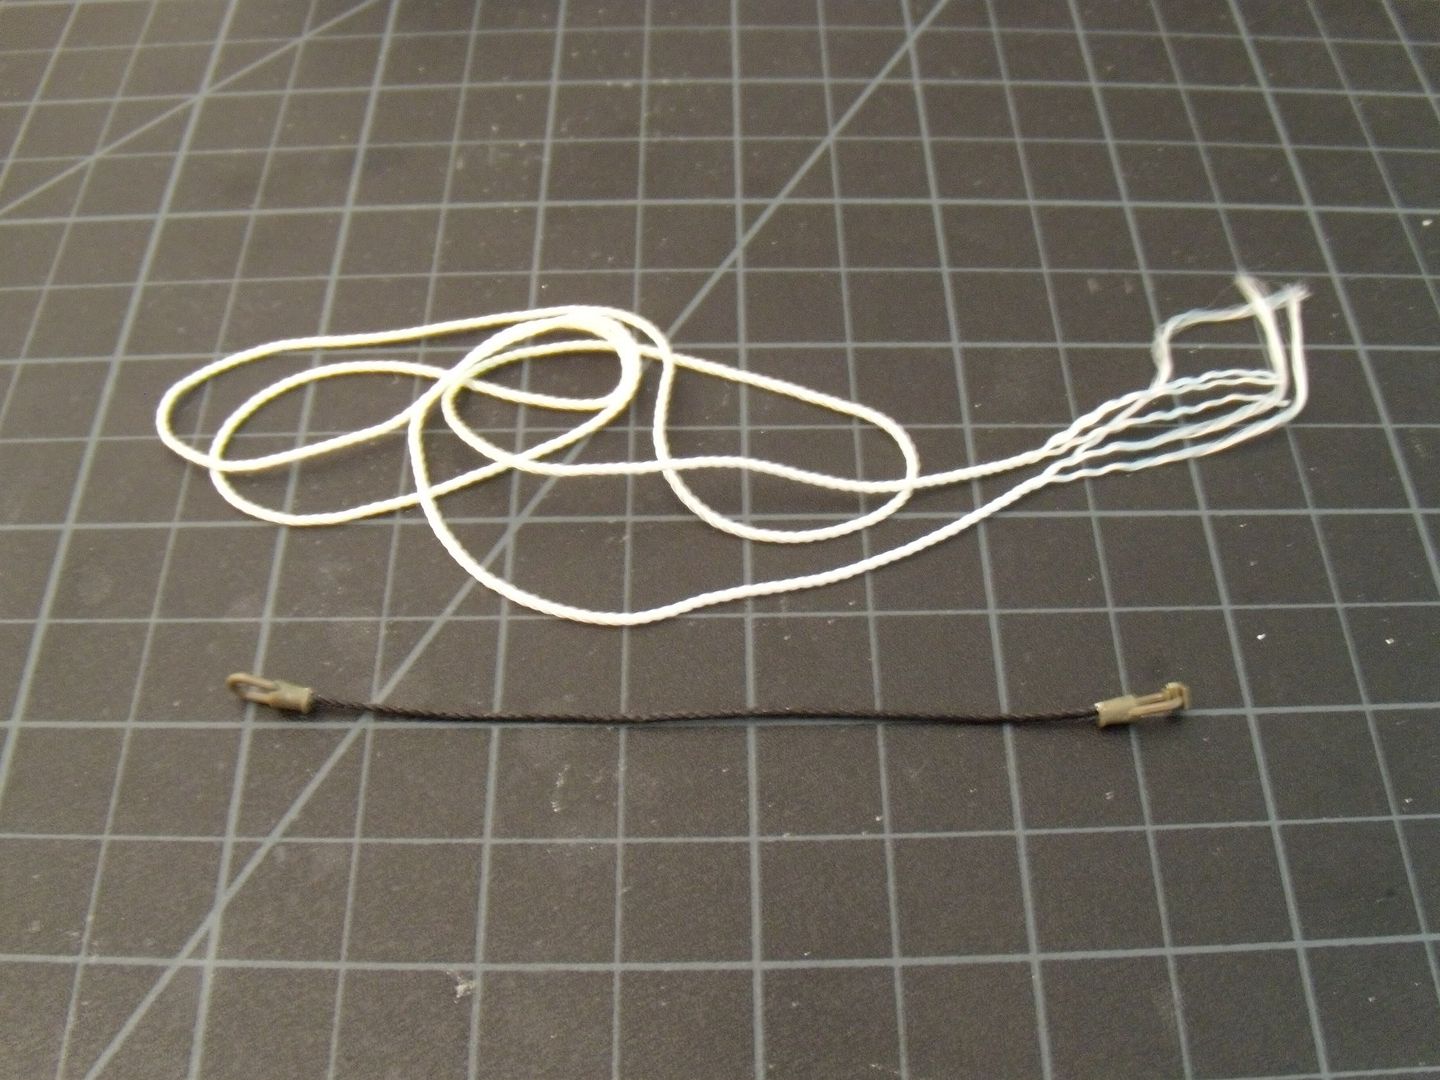
For the towcable, here the Tamiya kit dissapoints once again with the thread given. Sure it's the right scale and looks good, but the ends are all split and coming apart. Even if you cut off the ends, the thread just keeps coming apart, so you gotta use you own substitute.
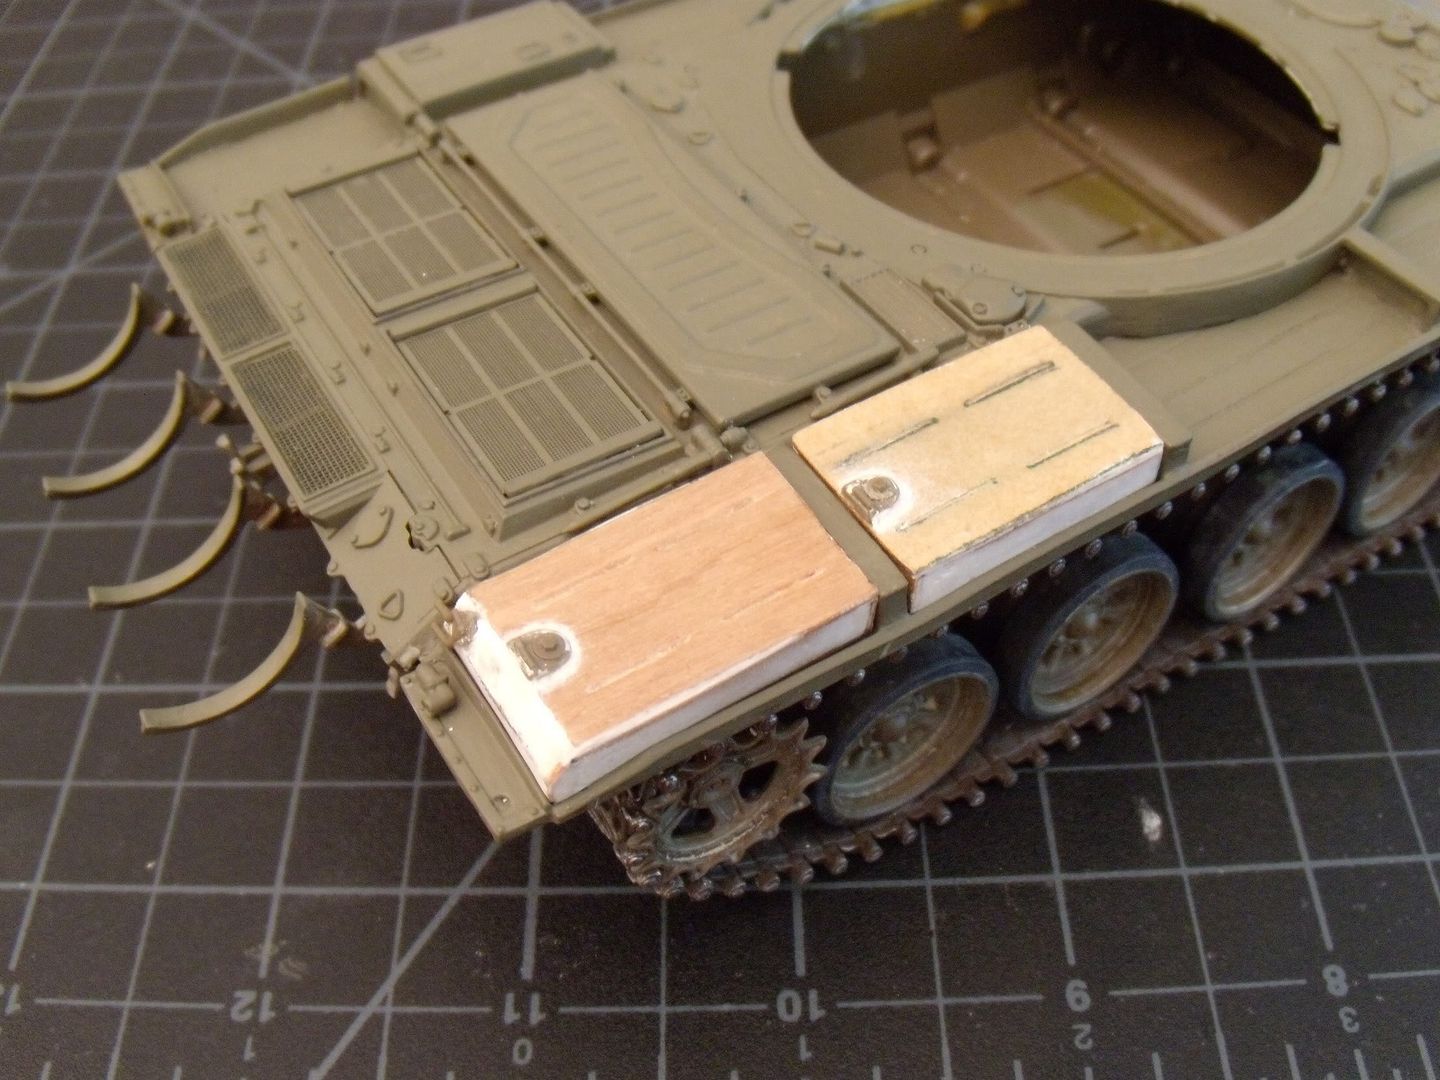
Finally, the fuel tanks. I felt that a T-72 wouldn't have a complete fuel system(all the fuel tanks along with auxillary tanks.) Considering, the T-72 reportedly stuck around base in Afghanistan when going through some field tests. That's why I had orginally scratched the fenders, and now I finally have two fuels tanks to actually power the tank. Scratched using veneer,(I talked about the top piece with the anti-slip marks and detail awhile back, in a past update) their complete fuel tanks, meaning they can essentiall be a stand alone piece since they have a top, bottom and four sides. The one on the right has a scratched cap and handle(the green piece) while the one has a kit salvaged paortion.....hopefully they look the same. A for the one on the left, the only special thing was the angled edge to the fuel tank(which is necessary, considering it was part of the orginal piece too.) To make the angled edge I simply filled it with putty and sanded smooth.

Here's where the fuel tanks will be postioned on the tank. Thankfully all my measurement were right on the money, otherwise I'd be having some serious fit issues.
Thanks for looking!