great piece gamera  want to see how judy grow up
Herchmech i tried to find something about the ki-46 colour but only founded bw pictures and scale drwings sorry 
then the kits arrived today, a seabfat for another gb , the precious ki-27 , other suppies and .. no breguet 693 
so, this is the kit
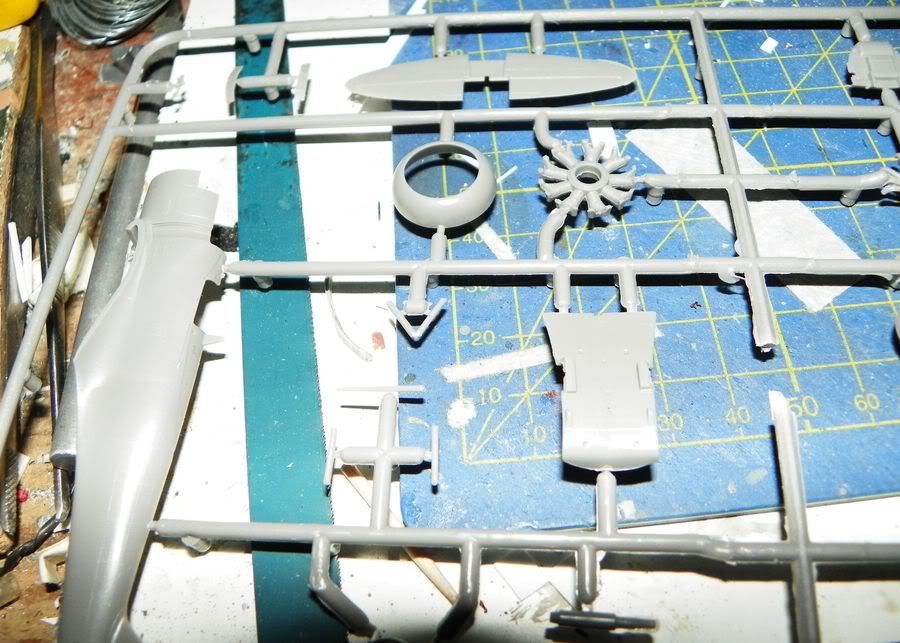

high detailed is this kit  good options have, as the whole good reproduced engine with all opened option (sure i leave it opened)
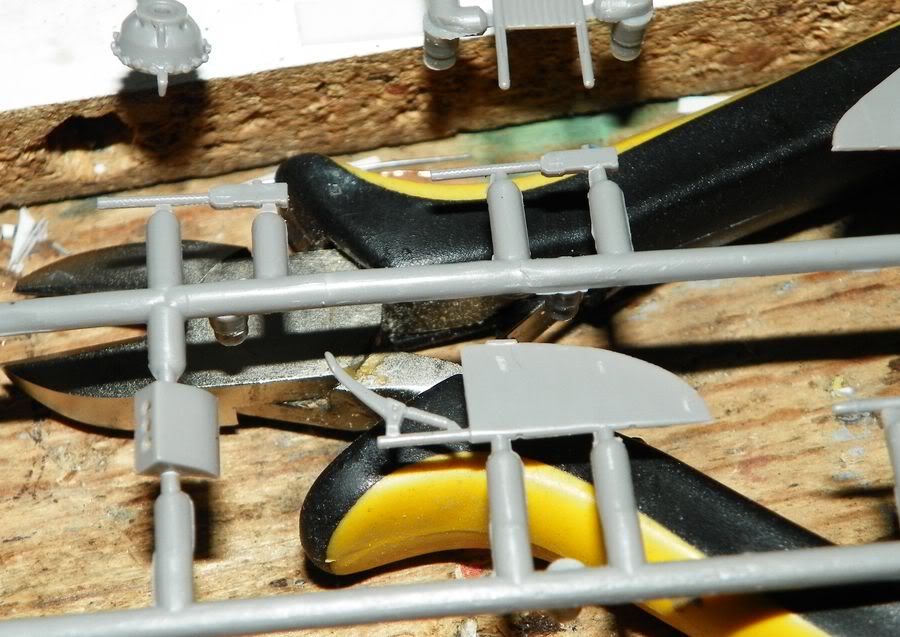
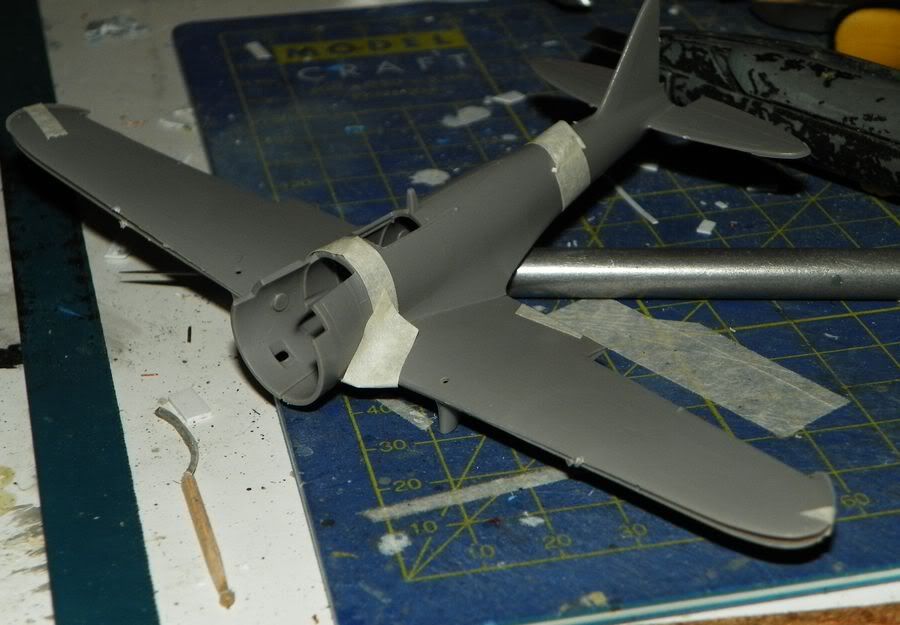
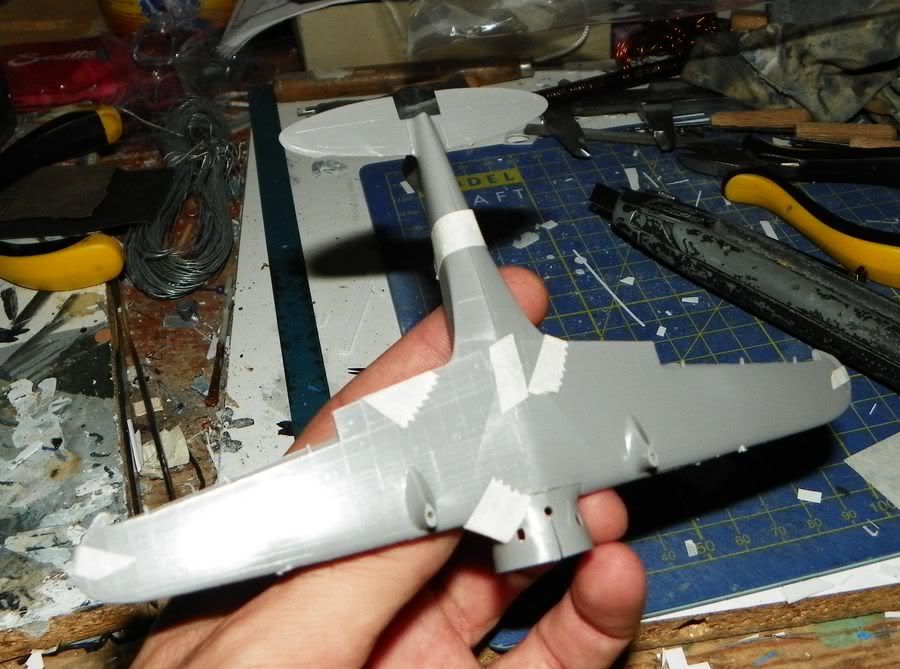
details are (unfortunately for me) as the real , not all recessed or positive panel lines, lots of micro extruded maintenace panels and so on. On the secont picture you can see the under cockpit wing part 
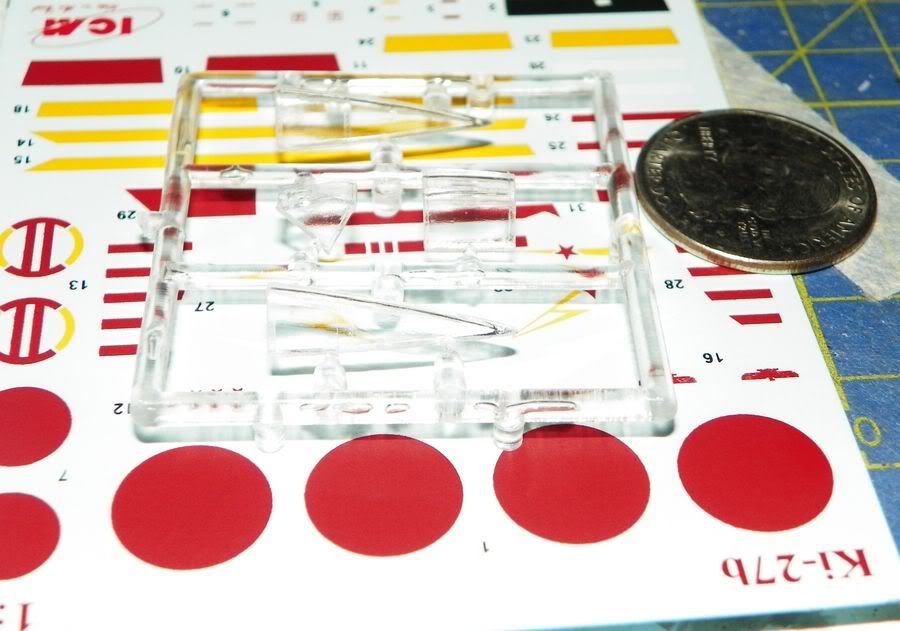
ip , seats , rear engine bulkeads, all detailed at good level, finally i can say (at least before to start) to bild an oob!
the under wing to show the detail type
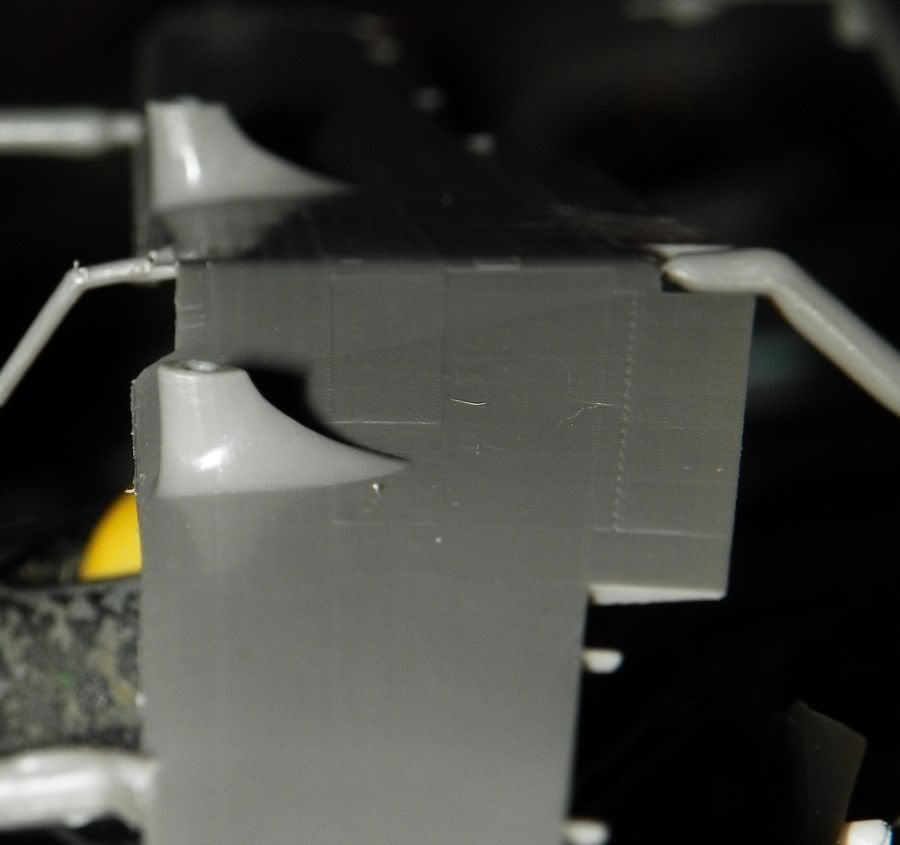
and an istant dry fit , not perfect but after builded an amodel kit nothing can fear me  (only the airfix sm-79)
soon some progress, i just starting the plane now and probably i'll upload some wip pictures with the saturday rising sun 