MK, yes the High Tech series each only have on marking option on the kit decals. I did not know that the markings in the F-4 kit are for the oldest serving Phantom in TAC. Pretty cool.
Big Dog, your two builds are progressing nicely. I really like the late war camo colors on your 109. Just like modern aircraft, the greens are more visually interesting than grays.
Trouble, your Night Lightning looks good. I gotta agree about the new format issues. Before you could bang out a reply and not have to special click for smilies, pics, hot links, etc....
If I was the President and had it my way....
Well here are the latest updates on my Hun...
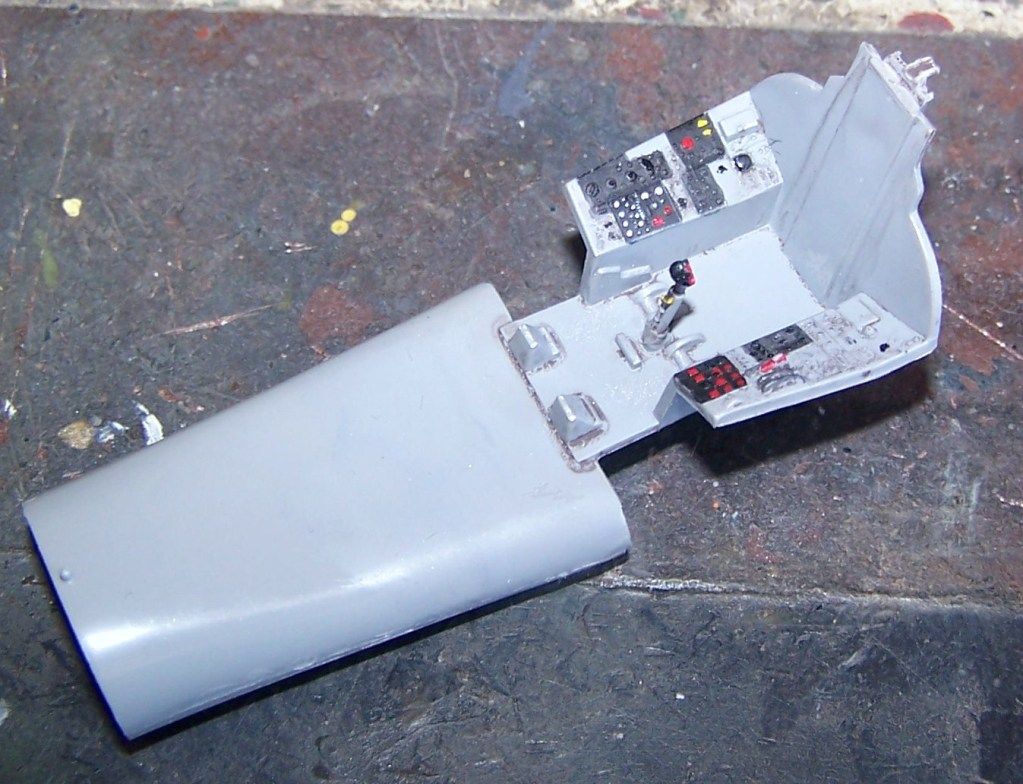
first up I cleaned up the excess wash with thinner this morning, and then some light dry brushing of Aluminum on cockpit interior high wear and edge areas...
cockpit tub
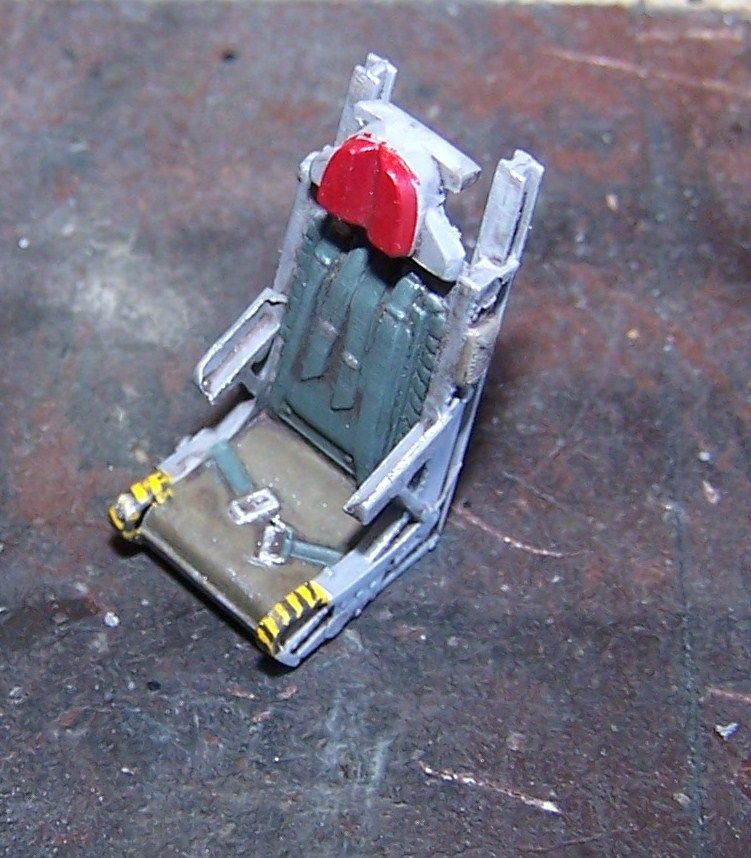
ejection seat
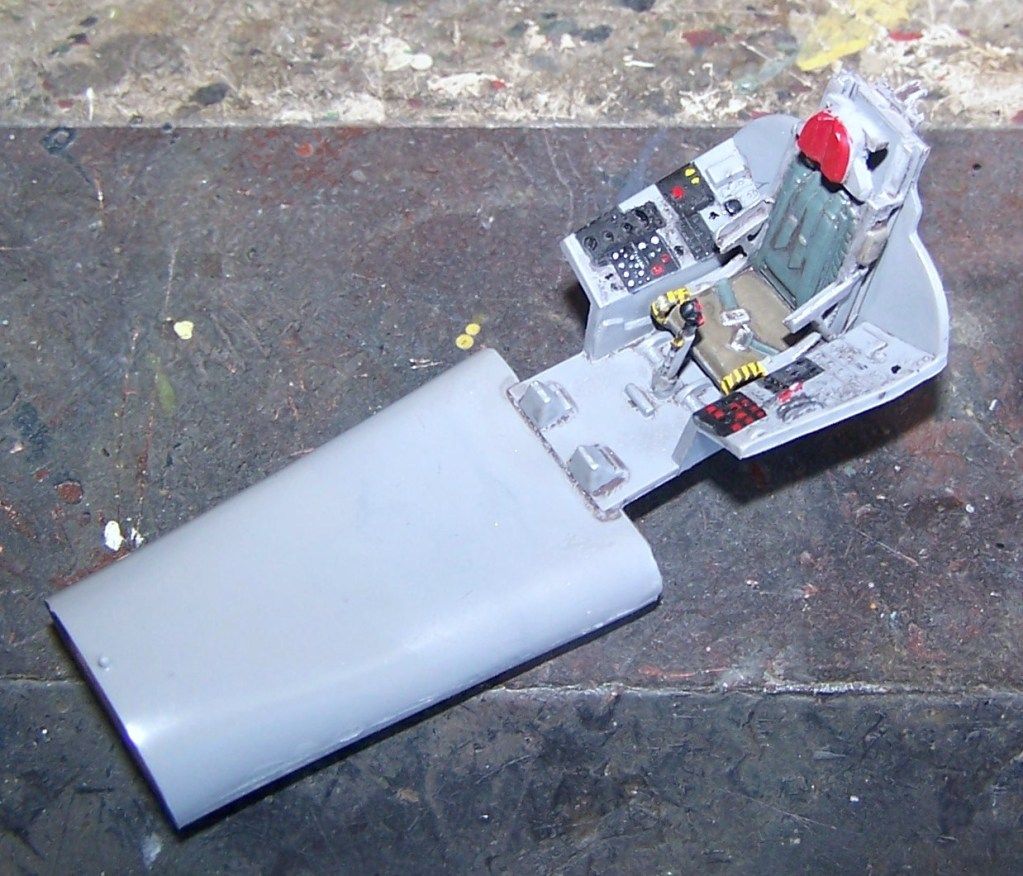
seat placed in the tub
IP glued in place on upper fuselage half

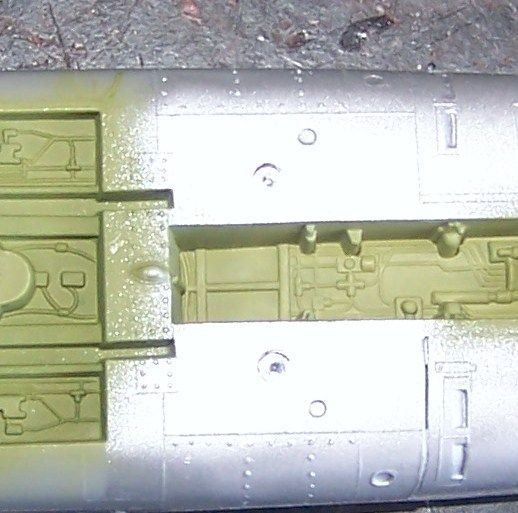
the landing lights I glued in place on the lower fuselage half
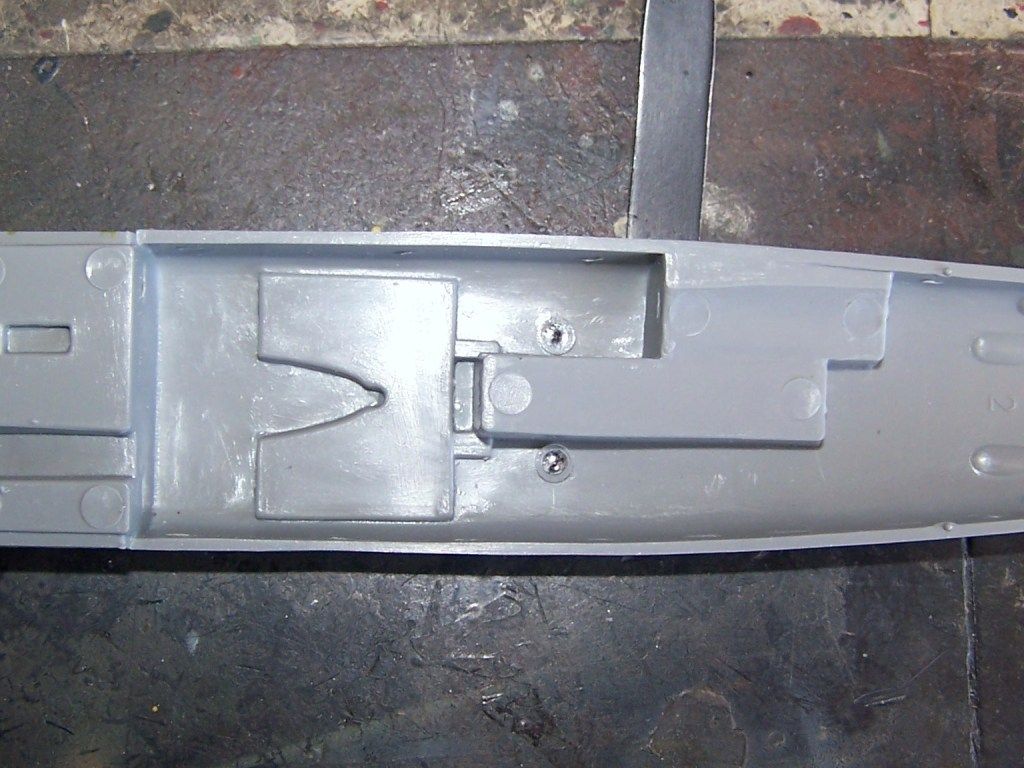
next I appled some Model Master foil to the back of the lights
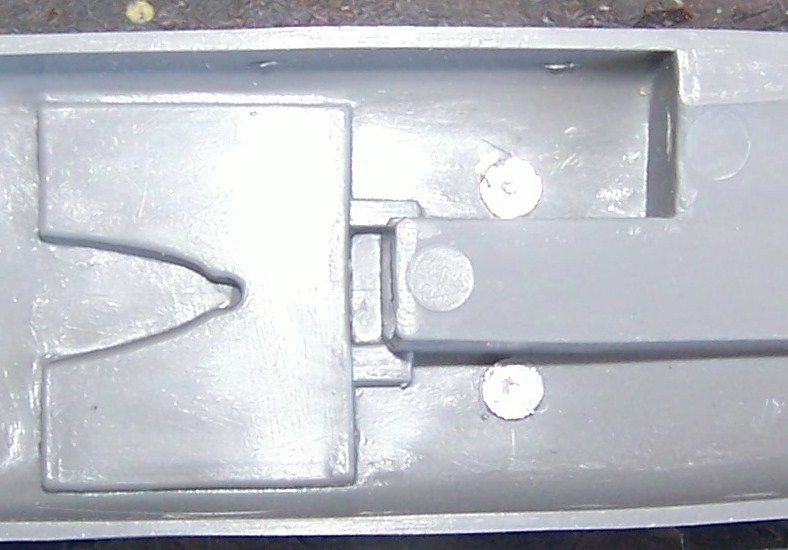
and the view from the outside... unfortnately the pic does not look as good as it does to the Mk.I eyeball due to the glare from the surrounding Aluminum paint
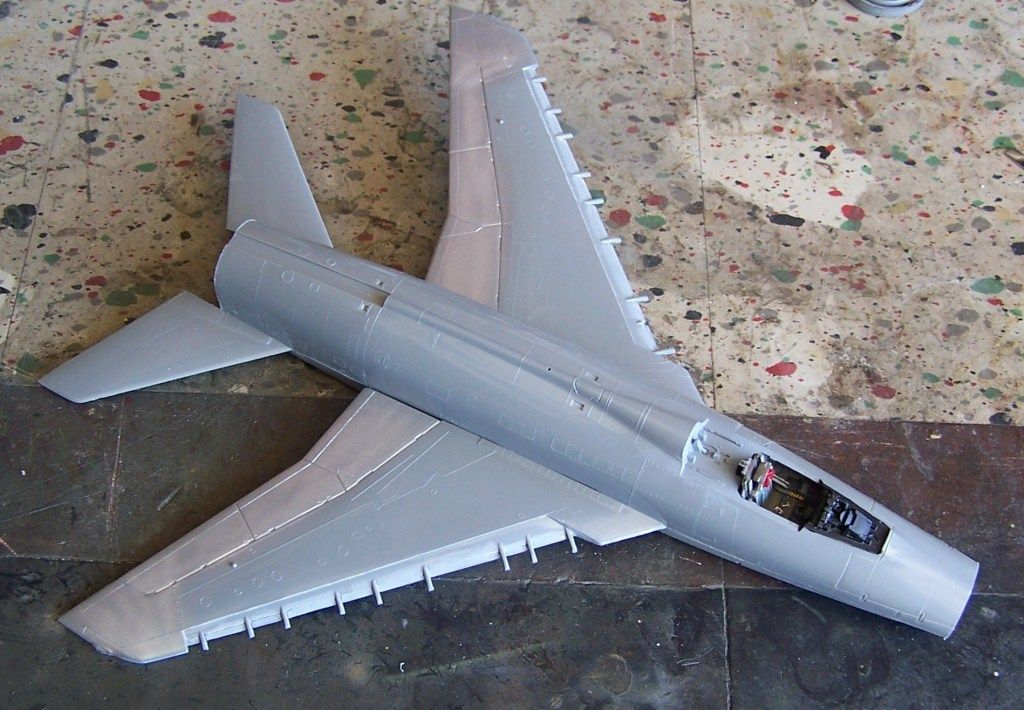
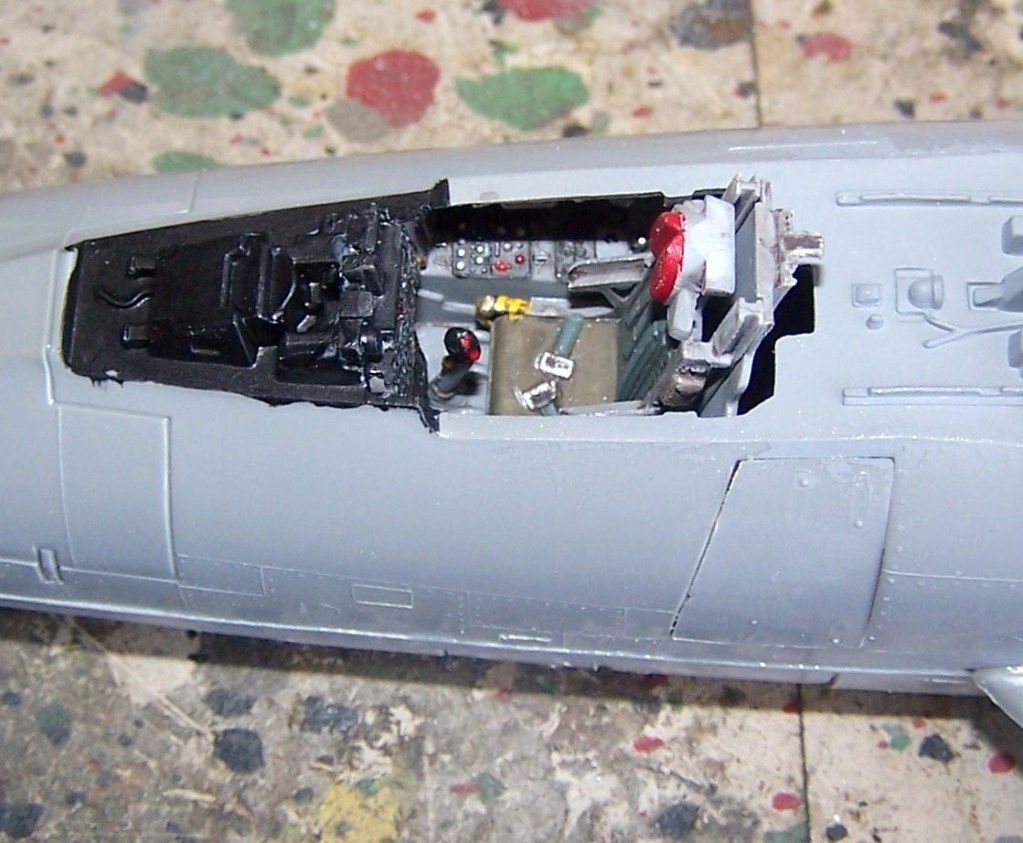
And finally I glued the cockpit tub/intake in place, attached the wings to the upper fuselage, then glued the upper and lower fuselage halves tigether, sandwiching the wings in place...
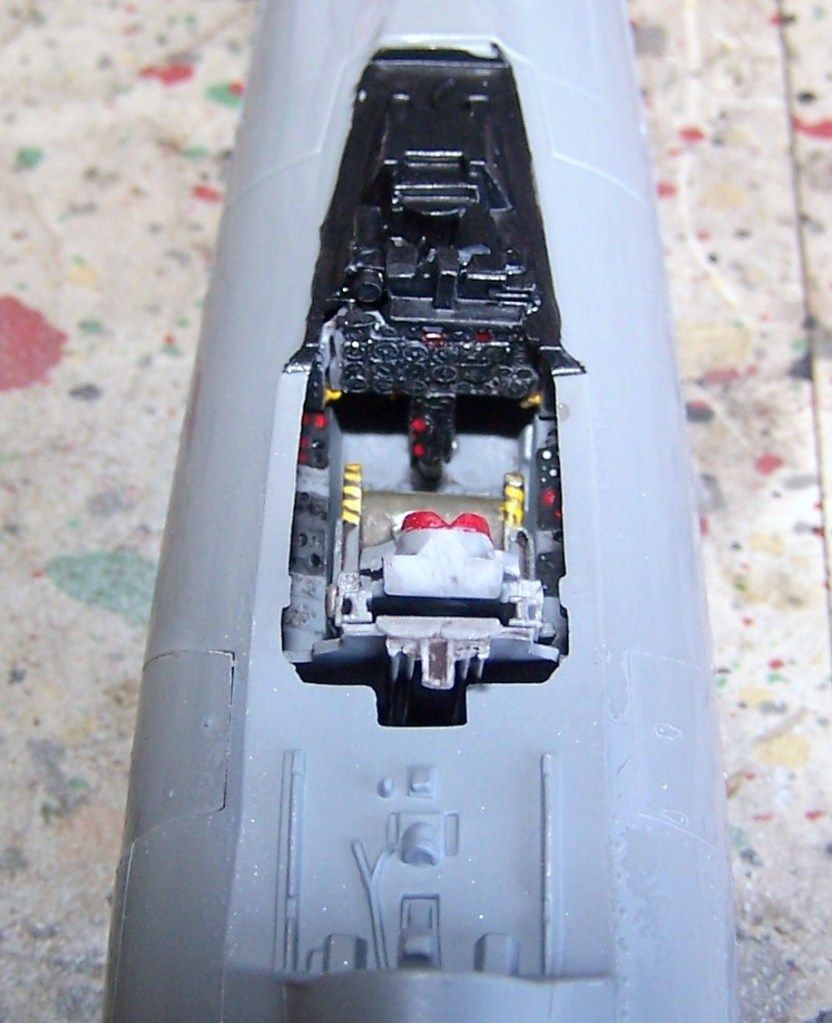
and finally a few close up shots of the cockpit in place
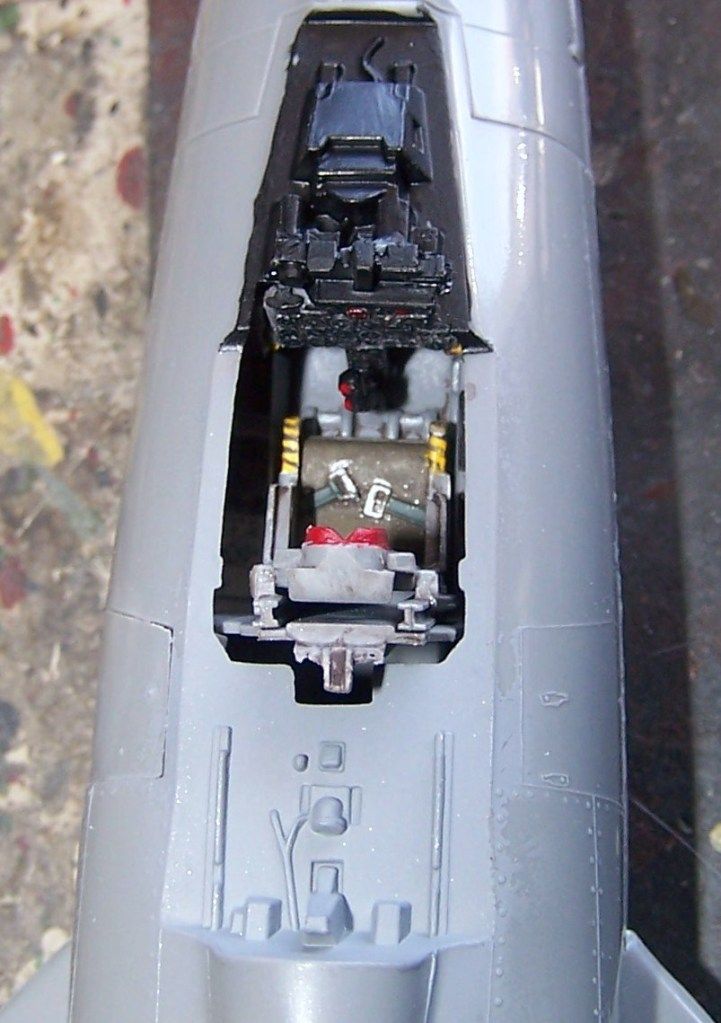
Right now its time fo the cement to dry before I can start on the seam work...