SEARCH FINESCALE.COM

Enter keywords or a search phrase below:

PACIFIC CARRIER AVIATION GROUP BUILD

90311 views
1294 replies
1 rating 2 rating 3 rating 4 rating 5 rating
  • Member since
    August 2009
  • From: MOAB, UTAH
Posted by JOE RIX on Saturday, September 27, 2014 5:25 PM

Thank you very much Steve, Rob and SB.

Rob, DOH! You are absolutely correct and thanks for pointing out my error in terminology. Not quite sure why adonize popped into my head other than maybe I should reassess typing/thinking so early in the morning. Heck, the coffee had barely kicked when I was sitting down rattling this stuff off.Embarrassed

"Not only do I not know what's going on, I wouldn't know what to do about it if I did". George Carlin

  • Member since
    April 2013
Posted by SchattenSpartan on Saturday, September 27, 2014 6:16 PM

Joe (Mustang): It's nice to have you join us!

Joe (Rix): Holy crap, that engine is truly amazing, brutha! I know I say this a lot, but it looks like a way larger scale to me! Admit it, you're actually working on Eduard's 1/48 kit! Wink

Bakster: That's a nice idea for making instrument faces look like glass!

  • Member since
    August 2009
  • From: MOAB, UTAH
Posted by JOE RIX on Saturday, September 27, 2014 7:08 PM

Thank You for the rather high compliment Clemens. I have to admit that I find it quite gratifying to be able to pull off some cool stuff in 1/72. Although, it tends to have the side effect of raising the bar for skill and detail when I get into a 1/48 kit.

"Not only do I not know what's going on, I wouldn't know what to do about it if I did". George Carlin

  • Member since
    December 2012
Posted by flyerduke on Sunday, September 28, 2014 1:06 AM

I found a little time to work on my Hellcat.  I added the wings, horizontal stabilizers, and rudder.  Finally it's starting to look like a airplane.  Big Smile  I used the Tamiya extra thin cement to fill the fine gaps.  That stuff flows real nice.  I have the next two days off, so I hope to make some progress on this sucker.  I just got a Trumpeter F107 the other day, so I'd really like to start on it.  With that said, I want my first GB badge to be the Pacific Carrier.  FLY NAVY!

Craig

  • Member since
    March 2012
  • From: Corpus Christi, Tx
Posted by mustang1989 on Sunday, September 28, 2014 7:28 AM

Looks good Craig. Its that point in the build that I usually have my fingers crossed, praying the the seams are all taken care of enough to just move on to paint. lol

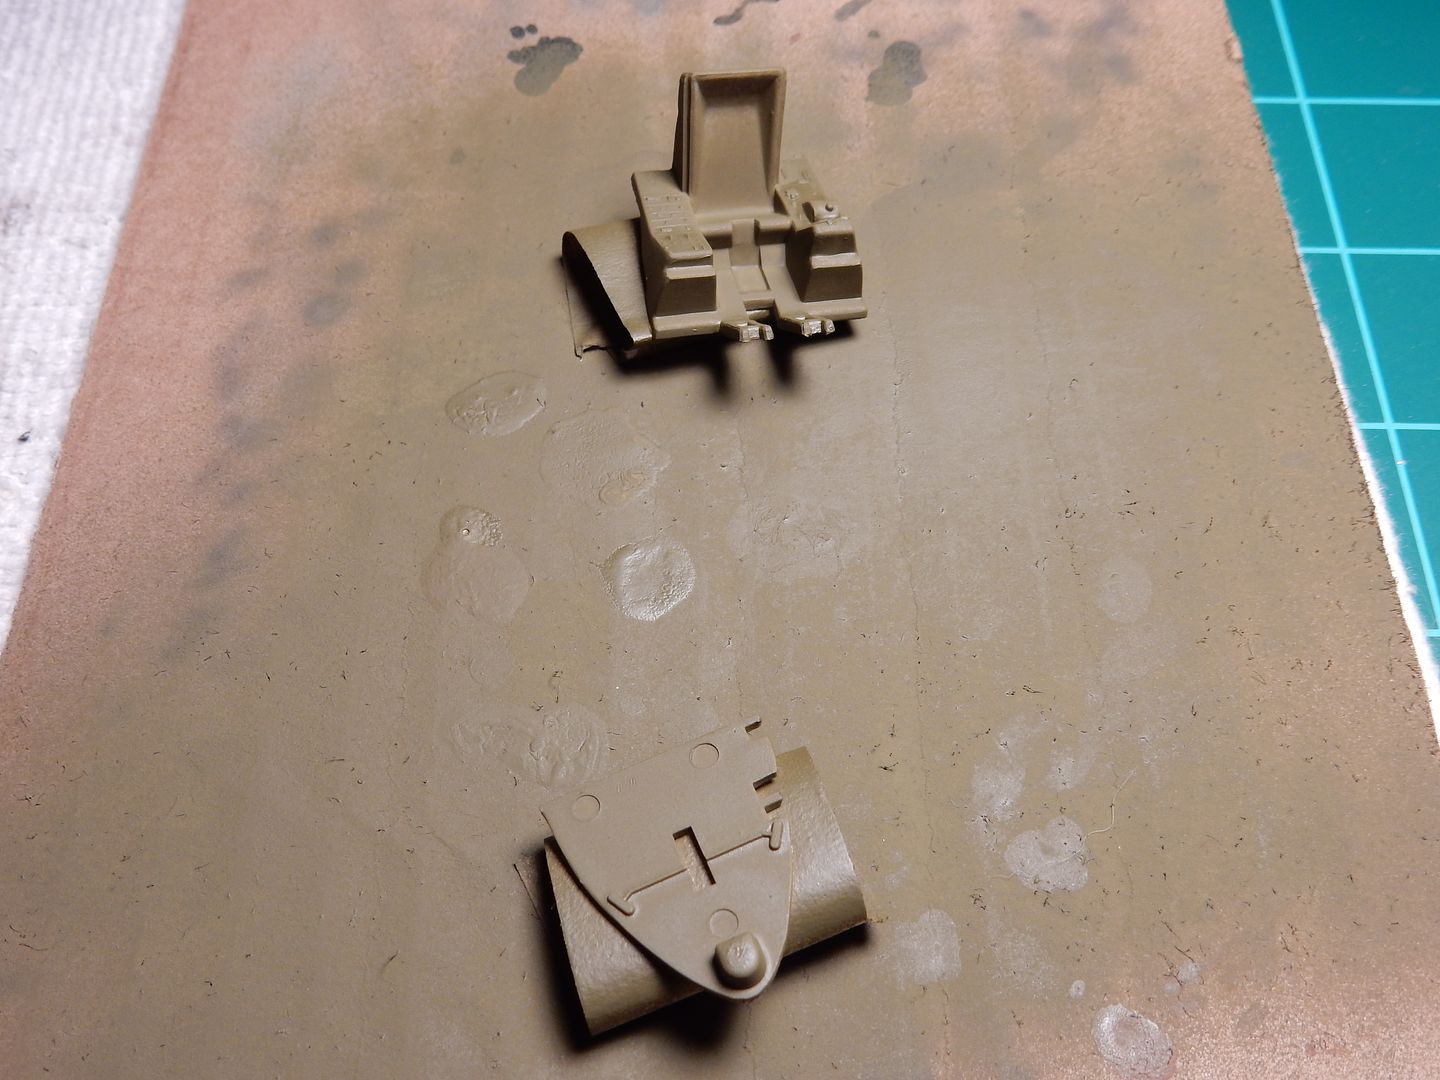
 Ok fellas. I have a small update here in building the cockpit. Mr. Rix was kind enough to give me a link in which to paint and detail it up with. Those who know me also know that I usuall lace the crap out of the cockpits with PE and AM items but I'm holding true to my OOB build. I may add some scratch built seat belts just to take up the emptiness look of the seat. Like most of Revells kits these days, the flash and mold seams were horrible and needed ALOT of clean up prior to painting!!!!

 I started off with a base coat of olive drab for the "pre-shading" process.

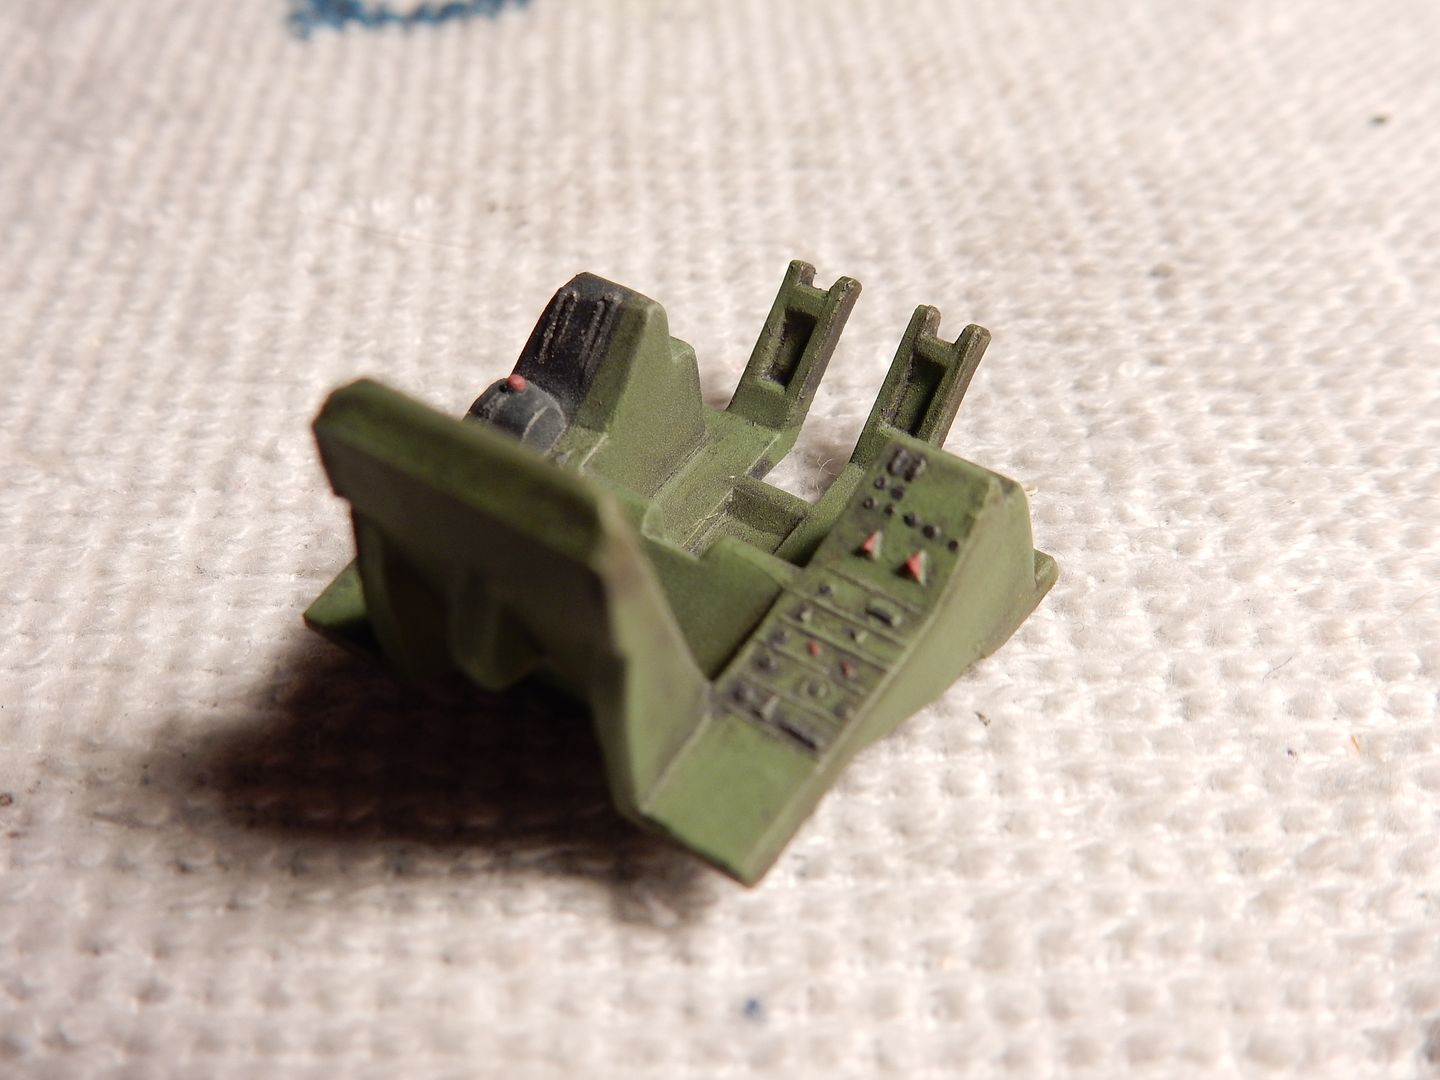
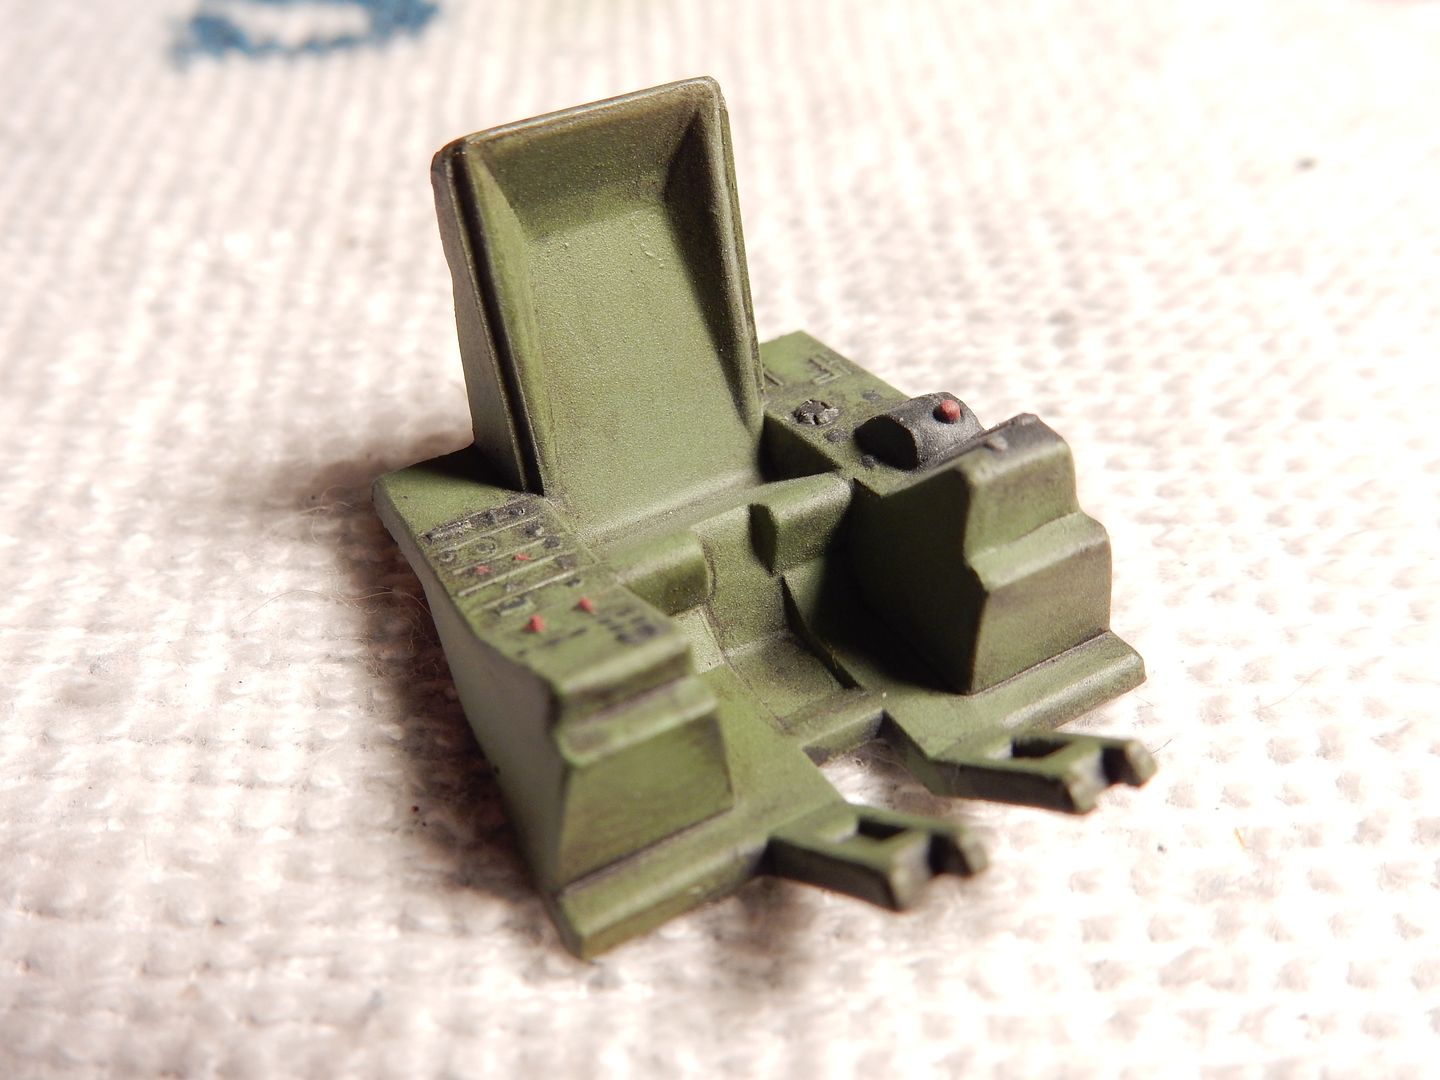
 I then painted a light coat of zinc chromate and painted all of the raised detail. After that I applied a gloss coat then a Mig Productions dark wash (thanks again Joe Rix). After all that dried I coated with a flat coat and brought out the raised and worn areas with a lead silver pencil.

Control stick and bulkhead are next.


 Forum | Modelers Social Club Forum (proboards.com) 

  • Member since
    August 2009
  • From: MOAB, UTAH
Posted by JOE RIX on Sunday, September 28, 2014 12:54 PM

Craig: You're coming along right nicely there.

Joe: Some sweet action you've done to make that rather spartan cockpit look really good. Definitely some harnesses to dress that up. Just my suggestion.

"Not only do I not know what's going on, I wouldn't know what to do about it if I did". George Carlin

  • Member since
    September 2003
  • From: AandF in the Badger State
Posted by checkmateking02 on Sunday, September 28, 2014 2:03 PM

Outstandingly realistic engine, Joe.  Nice work!


  • Member since
    September 2003
  • From: AandF in the Badger State
Posted by checkmateking02 on Sunday, September 28, 2014 2:05 PM

Sharp looking cockpit, mustang!  All those little dials and knobs show up very well.


  • Member since
    August 2009
  • From: MOAB, UTAH
Posted by JOE RIX on Sunday, September 28, 2014 2:11 PM

Thanks CMK. I really appreciate your compliment.

"Not only do I not know what's going on, I wouldn't know what to do about it if I did". George Carlin

  • Member since
    March 2012
  • From: Corpus Christi, Tx
Posted by mustang1989 on Sunday, September 28, 2014 4:39 PM

Thanks Joe and Checkmatking. I'll be seein what I can do about harnesses.


 Forum | Modelers Social Club Forum (proboards.com) 

  • Member since
    August 2014
Posted by avipond on Sunday, September 28, 2014 10:38 PM

Looking good Craig and Joe(s)!  

That 1/72 engine is spectacular!

-Drew

  • Member since
    August 2009
  • From: MOAB, UTAH
Posted by JOE RIX on Sunday, September 28, 2014 11:26 PM

Thank you avipond.

"Not only do I not know what's going on, I wouldn't know what to do about it if I did". George Carlin

  • Member since
    March 2012
  • From: Corpus Christi, Tx
Posted by mustang1989 on Monday, September 29, 2014 4:25 AM

Thanks for the comments Drew.


 Forum | Modelers Social Club Forum (proboards.com) 

  • Member since
    March 2012
  • From: Corpus Christi, Tx
Posted by mustang1989 on Monday, September 29, 2014 4:29 AM

I just took a peek at what's coming down the pipeline here. Yeesh! This things got bigger seams than a pair of Wrangler blue jeans!


 Forum | Modelers Social Club Forum (proboards.com) 

  • Member since
    December 2012
Posted by flyerduke on Monday, September 29, 2014 4:33 AM

It's two in the morning and I can't sleep.  So I thought I'd do a little something with the Hellcat.  First, off I'd like to say what a great job JR and Joe are doing.  Actually, everything I've seen in this GB is awesome.  Really good stuff!  I'd also like to thank everyone for their words of encouragement.  I really appreciate it.  I get derailed fairly easy, so your compliments help keep me on track.  Thanks.

After seeing JR's 1/72 R2800, I thought I should try to make mine look almost as good as his since my R2800 is in 1/48.  The gold wiring really makes the engine pop.  So I went back and painted the wires gold.  I also added another coat of wash which helped bring out the cylinders.  I guess I'm happy with it.  I test fitted it in position on the plane and with the cowling in place.  Looks like a good bit of the detail is lost.  Oh well.  

Sorry about the pics.  I'm not a good photographer and the camera isn't the best.  This GB has been a learning experience all the way around.

Craig

Tags: GO NAVY!

  • Member since
    March 2012
  • From: Corpus Christi, Tx
Posted by mustang1989 on Monday, September 29, 2014 5:07 AM

That engine looks really good Craig! Looks like the PE set it off.


 Forum | Modelers Social Club Forum (proboards.com) 

  • Member since
    December 2012
Posted by flyerduke on Monday, September 29, 2014 9:51 AM

Thanks.  Funny thing about the PE wiring harness.  It came off a gold color fret and the instructions said to paint it black.  So I painted it black before installation.  It got kinda lost with the rest of the engine.  After seeing JR's and Drew's engines, I thought it would be best to paint the wires gold.  I didn't have any copper.

  • Member since
    March 2012
  • From: Corpus Christi, Tx
Posted by mustang1989 on Monday, September 29, 2014 10:12 AM

The only thing I do when I paint the wires that color is to dinge 'em up a little with a light dry brushing of brown pastel ground up to flatten the finish out a tad. Again, that motor looks awesome!!


 Forum | Modelers Social Club Forum (proboards.com) 

  • Member since
    August 2009
  • From: MOAB, UTAH
Posted by JOE RIX on Monday, September 29, 2014 12:32 PM

Craig: Your engine looks great. You did a really nice job on it. As far as the color of the ignition wires go I'd at least hit it with a flat coat to knock some of the shine out of it. Sort of along the lines of what Joe is suggesting there.

Joe: Yeah. It appears your going to have to break out a jar of elbow grease for extensive puttying and sanding. But, if there is a man for the job that would be you Joe. You got this!

"Not only do I not know what's going on, I wouldn't know what to do about it if I did". George Carlin

  • Member since
    December 2012
Posted by flyerduke on Monday, September 29, 2014 1:19 PM

Thanks for the advice.  I'll hit the engine with a quick shot of flat.

  • Member since
    September 2003
  • From: AandF in the Badger State
Posted by checkmateking02 on Monday, September 29, 2014 4:19 PM

Your engine looks very good, flyerduke.  Nicely achieved appearance to it.  


  • Member since
    December 2012
Posted by flyerduke on Monday, September 29, 2014 11:52 PM

I got a little more done today than I thought I would. Having the day off really helps.  I installed the engine and cowling.  I didn't put a lot of effort into detailing the engine compartment since it would be hidden.  The photos I took show that.  Oh well, it was fun working on the engine.  The prop is in place to show how little the engine shows.  If I can keep this pace, I should be done by the end of Oct.

Craig

  • Member since
    March 2012
  • From: Corpus Christi, Tx
Posted by mustang1989 on Tuesday, September 30, 2014 5:03 AM

Man that engine really looks the part there flyerduke!! Wow! (That extra bench time is nice aint it.)

Small update on mine here. I got the IP painted and detailed but need to touch up a couple of items. You gotta love pics, they show everything and are unbiased.


 Forum | Modelers Social Club Forum (proboards.com) 

  • Member since
    December 2012
Posted by flyerduke on Tuesday, September 30, 2014 8:19 AM

Sweet.  How do you paint the gauges?

  • Member since
    March 2012
  • From: Corpus Christi, Tx
Posted by mustang1989 on Tuesday, September 30, 2014 12:47 PM

Thanks. Use a white pencil for the dial and silver lead pencil for the gauge rings.


 Forum | Modelers Social Club Forum (proboards.com) 

  • Member since
    January 2011
  • From: Commonwealth of Virginia
Posted by Tal Afar Dave on Tuesday, September 30, 2014 6:58 PM

Hey Flyerduke, your engine work looks great; sorry to see so much of the detail getting lost as you put on the cowling and prop.......top notch!

TAD

2022 New Year's Resolution:  Enter 1 group build and COMPLETE a build this year!!  Why Photobucket did you rob me of my one Group Build Badge???  Must be part of the strong anti-Monogram cartel!!!

 ]

  • Member since
    August 2009
  • From: MOAB, UTAH
Posted by JOE RIX on Tuesday, September 30, 2014 7:48 PM

Craig: Everything seems to be coming together for you quite well. It all looks really nice. I'm ready to see some paint on there.

Joe: Way to make that IP pop. Nicely done.

"Not only do I not know what's going on, I wouldn't know what to do about it if I did". George Carlin

  • Member since
    March 2012
  • From: Corpus Christi, Tx
Posted by mustang1989 on Tuesday, September 30, 2014 8:23 PM

Joe Rix:Thanks Joe. I'm on a budget with this build and don't want to spend any more than around 40 dollars total on it otherwise I would have sprung for an interior detail kit. I model kit itself cost me 16 or so. I just had to get some seat belts for it today for 11 bucks and that leaves me just enough for canopy/ wheel masks. I saw that Academy mask you mentioned today. I wish ed there was a mask for the Revell F4U -4 but I guess I'll have to make do with an alternate offering. Thanks for all your help so far buddy.


 Forum | Modelers Social Club Forum (proboards.com) 

  • Member since
    December 2012
Posted by flyerduke on Tuesday, September 30, 2014 10:17 PM

Thanks for the Kudos guys.  Gonna tackle the landing gear next.

  • Member since
    August 2009
  • From: MOAB, UTAH
Posted by JOE RIX on Tuesday, September 30, 2014 11:34 PM

Joe: I'm just really glad to help you in any. Keep the requests coming. That goes for all of you out there, anything I can do to assist you please ask.

Craig: I'm working on my landing gear also. The only difference, I believe, is that I picked up the Eduard PE exterior detail set for my Hellcat and it includes quite a bit of pieces for the landing gear. Trust me, I'm being challenged with these small PE parts. I'll get some pics of my efforts prior to priming the landing gear.

"Not only do I not know what's going on, I wouldn't know what to do about it if I did". George Carlin

JOIN OUR COMMUNITY!

Our community is FREE to join. To participate you must either login or register for an account.

SEARCH FORUMS
FREE NEWSLETTER
By signing up you may also receive reader surveys and occasional special offers. We do not sell, rent or trade our email lists. View our Privacy Policy.