Marc, your RE8 looks absolutely beautiful. Rocker, thanks very much!
Ok, update time.... bottom rigging is done, and so far Rob and Mike have proven correct about the rigging being easier than it looks (although I'm not out of the woods yet). Not having an second wing means that with planning, most of the work can be done in open space, which greatly simplifies things. The trickiest part, so far, was figuring out where that spider web of lines runs to and from. With that in mind, here are a few shots of the pre-assembly work:
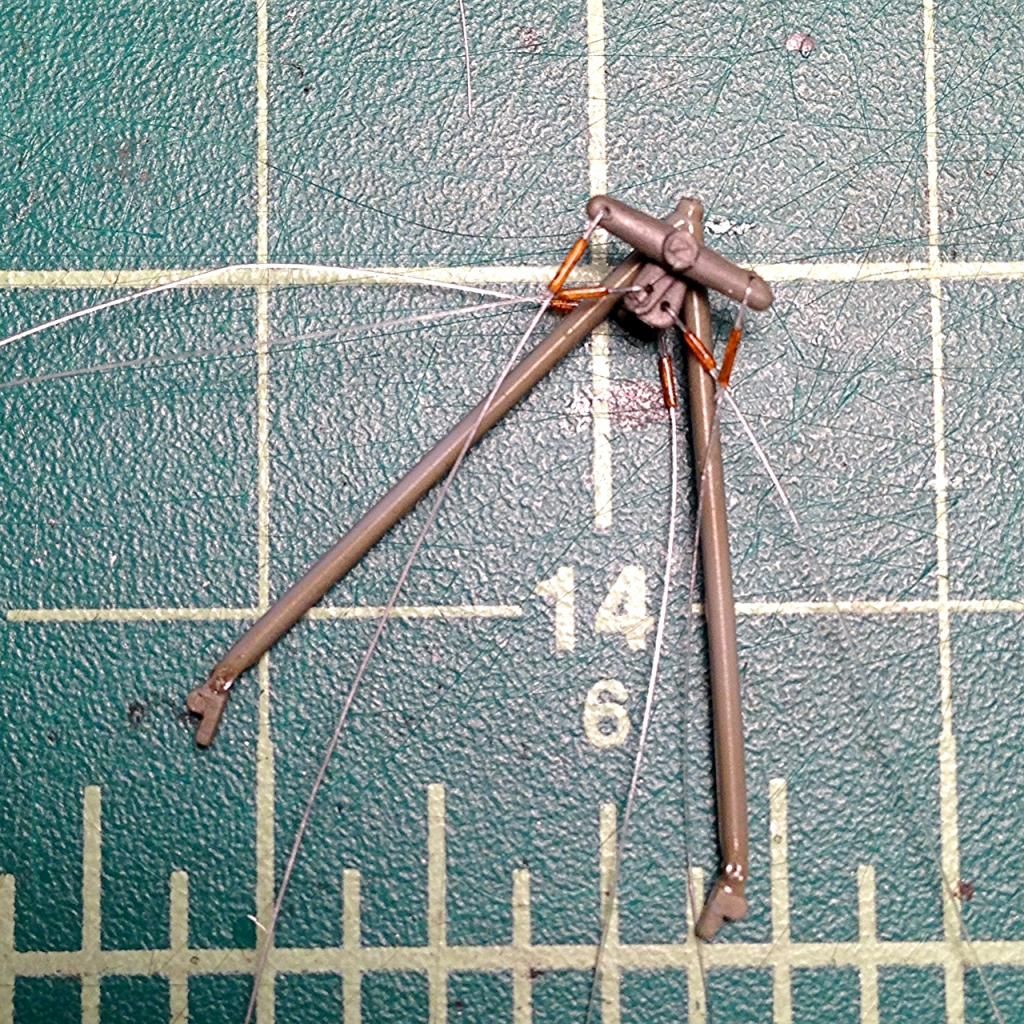
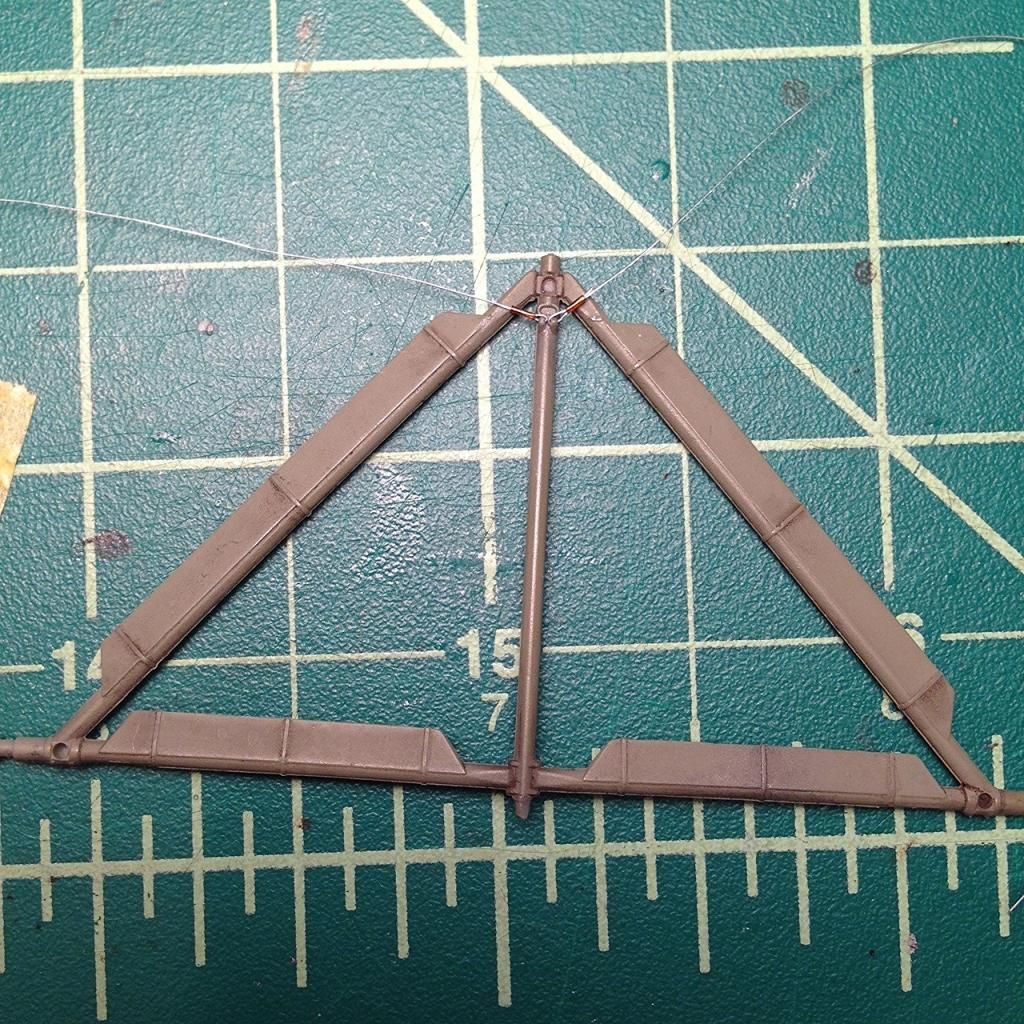
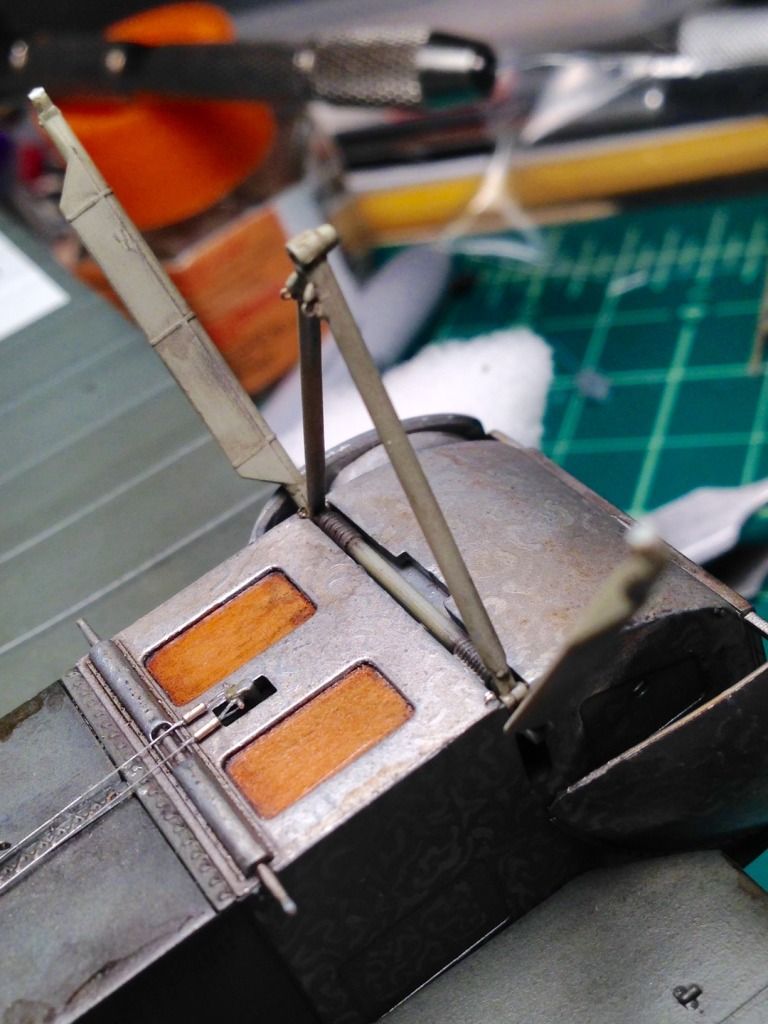
I decided to use monofilament for all of the rigging (mostly .127 mm), and am using a combination of polyimide (the brownish plastic) and nickel silver tubes for the connectors. I use the polyimide to represent the whipping around the rigging wire where it splices back on itself, and the metal to represent connecting hardware around as I'll explain. (The picture above breaks that scheme by using metal connectors for on the elevator lines where they connect to the control rod. I did that rigging about a month ago before I settled on my strategy, and didn't re-do it.)
The pictures show a number of eyelets that I made from twisted wire and installed into holes that I drilled (there were already mounting holes in the bottom of the fuselage behind the front of the landing gear supports seen above). The bottom piece of the undercarriage assembly had two molded bumps where the rigging would connect, so I just drilled out the plastic and used them rather than adding wire.
Here are the in progress pictures:
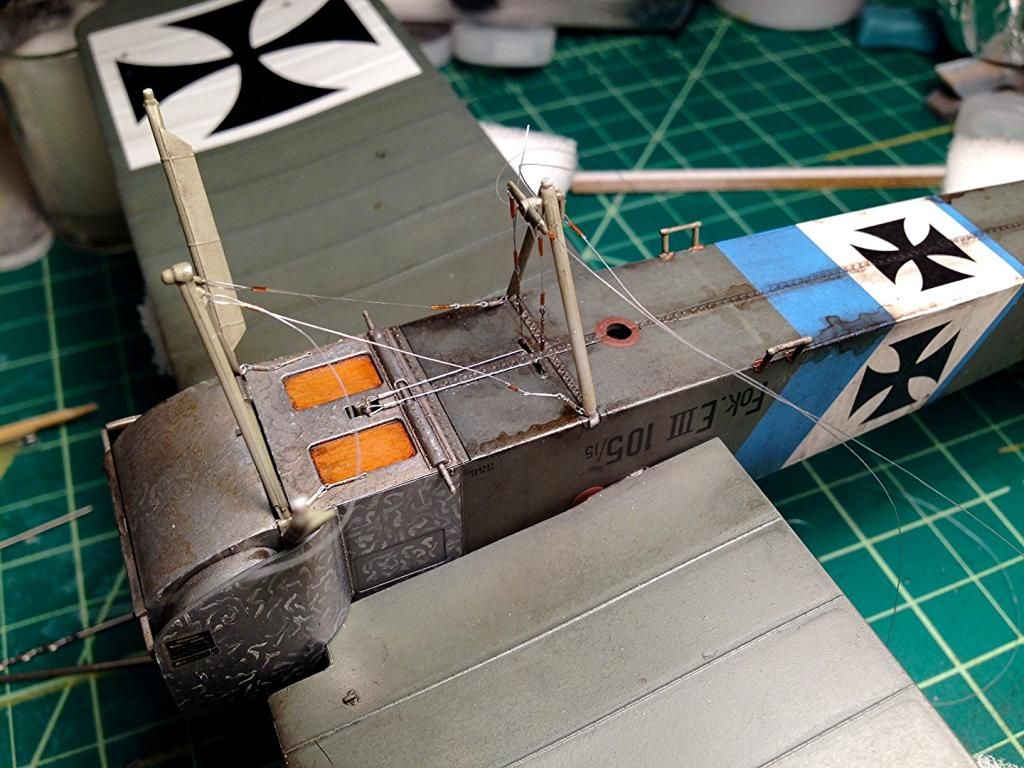
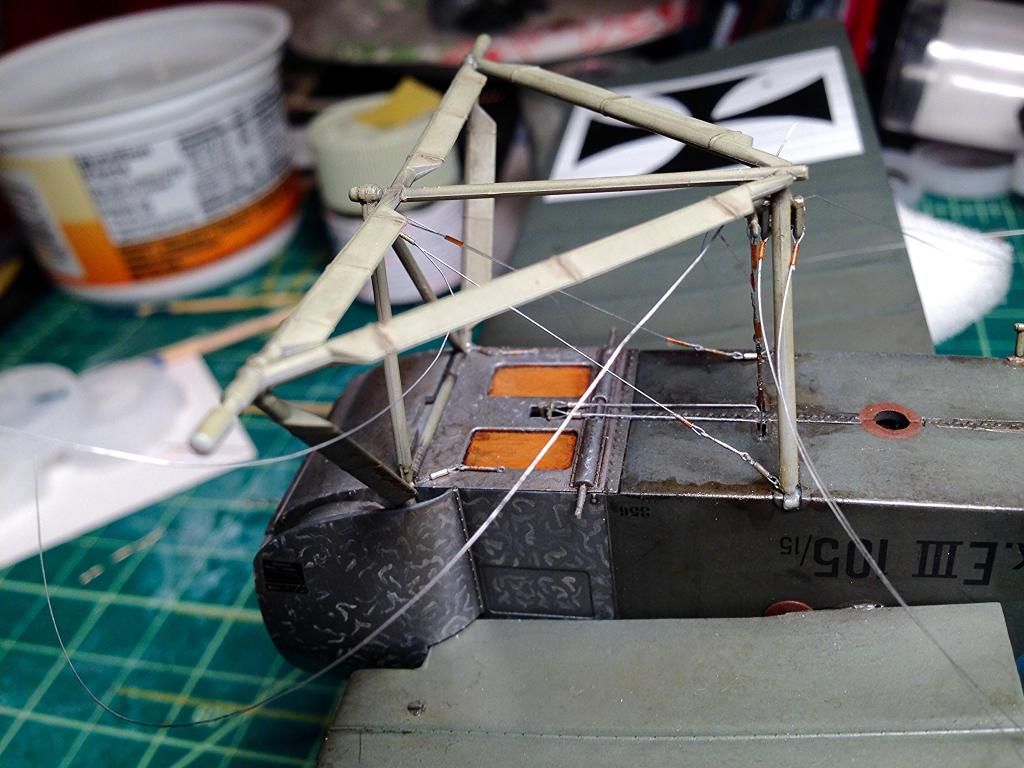
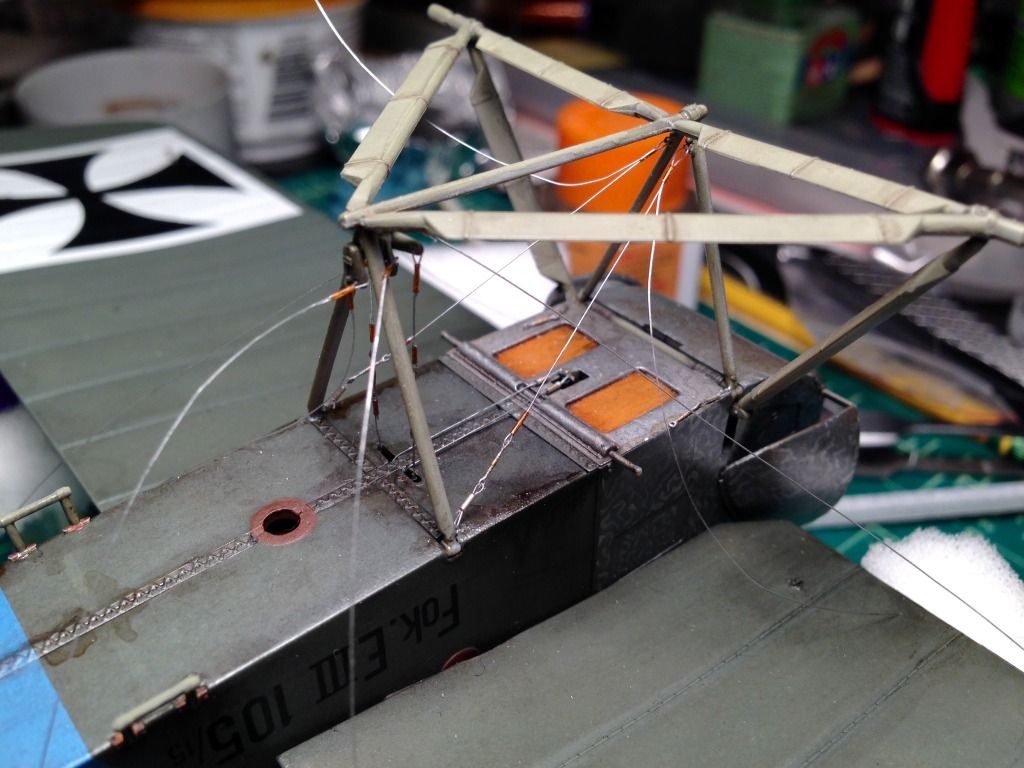
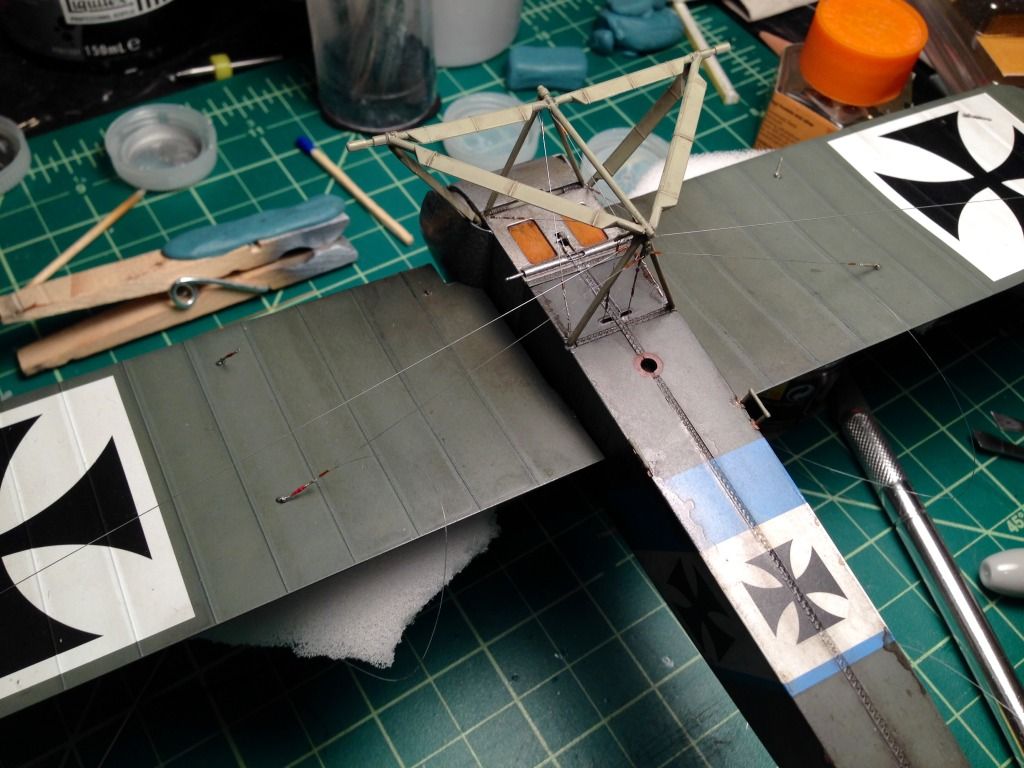
None of the lines have been tightened and glued in those pictures. I have since glued and trimmed the rigging that does not attach to the wings (center supports, control lines, etc.), but am going to hold off tightening the wing lines until the plane is flipped and the top is finished due to my concerns over sag.
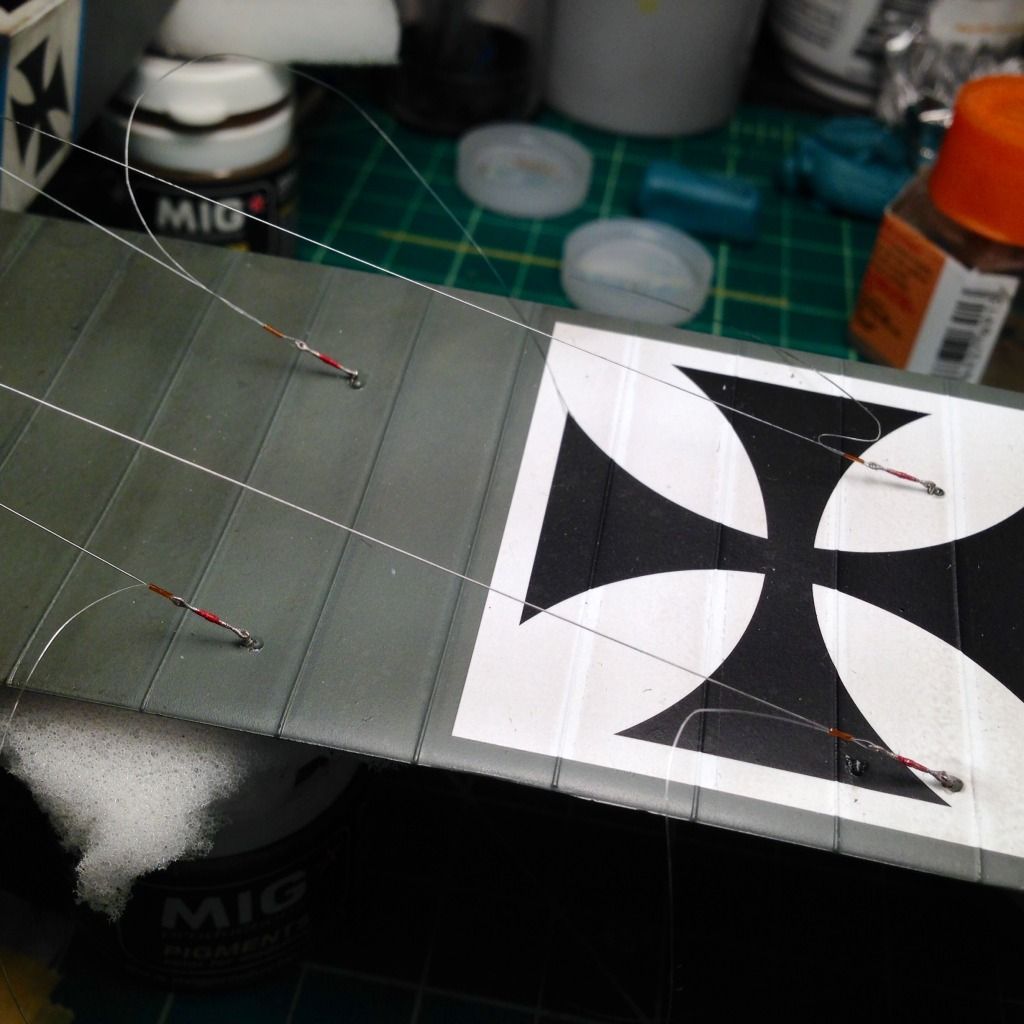
I am using Gaspatch turnbuckles, 1/48 for the inline rigging, and 1/32 for the wing attachment points and the arms on the wing warping control pylon. The Eindecker's wings were removable for transport, and the turnbuckles were color coded to simplify re-assembly. Red for starboard, green for port (weird, I know), and blue for the top center lines. To attach the turnbuckles to control horns, etc. I use small pieces of the metal tubing, plus .1mm monofilament to make the conectors. I pass the mono through the tube, then the control horn, then back through the tube, then through the turnbuckle's eye, then back through the tube for a third time (which I why I use the finer mono). Pull the tag ends until the two loops are very small, and you get a flexible but relatively neat connection to the control horn or eyelet. For the wing attachments, I wanted something more direct, so I put a small piece of wire through the turnbuckle's eye, and holding the tag end together, twisted the turnbuckle until an eyelet was formed. Snip off the wire leaving a tag to stick in the mounting hole, and the turnbuckle is free to move to the correct angle when the rigging is tightened:
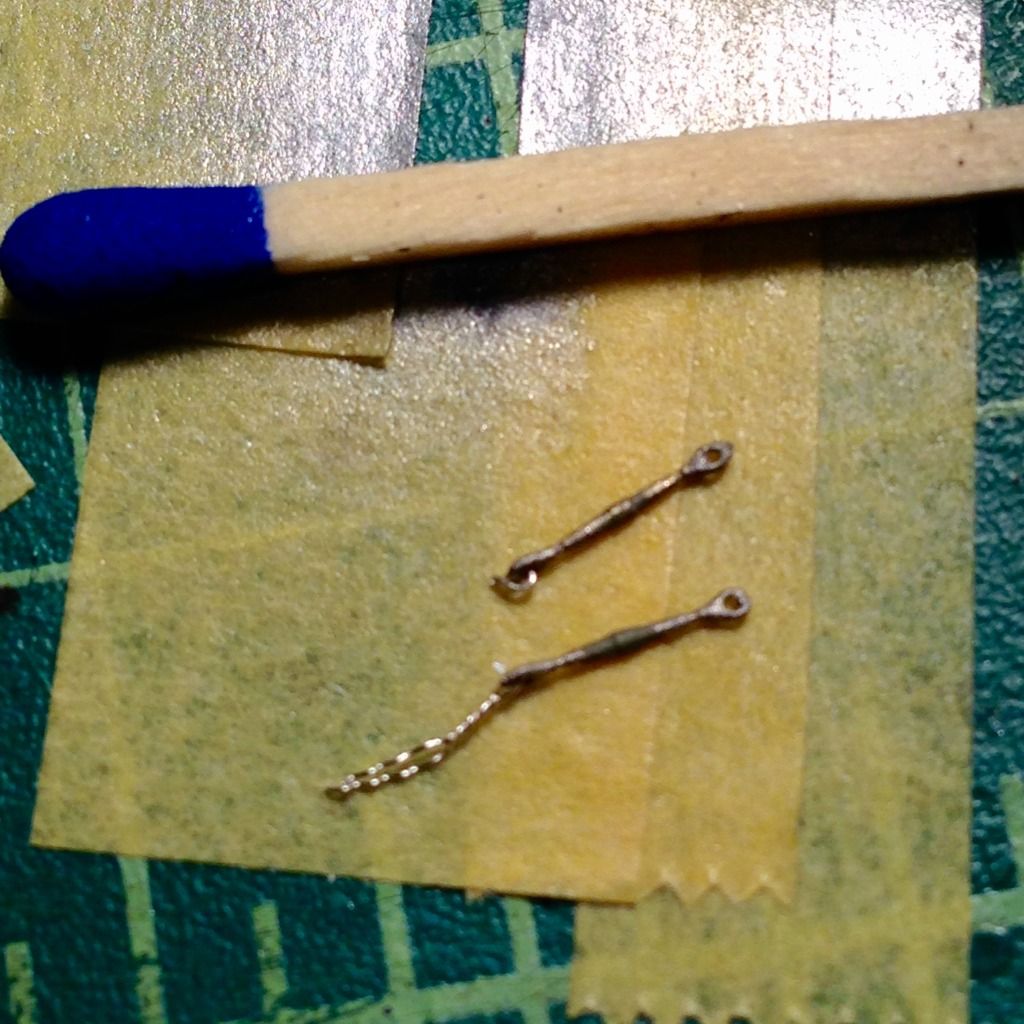
Finally, I mounted the 4 front wing lines to the post that runs down the center of the undercarriage. The two innermost lines connect to the knob end that stick out in front of the cross supports, so I added a drop of CA to the underside of the knob to hold them in place:
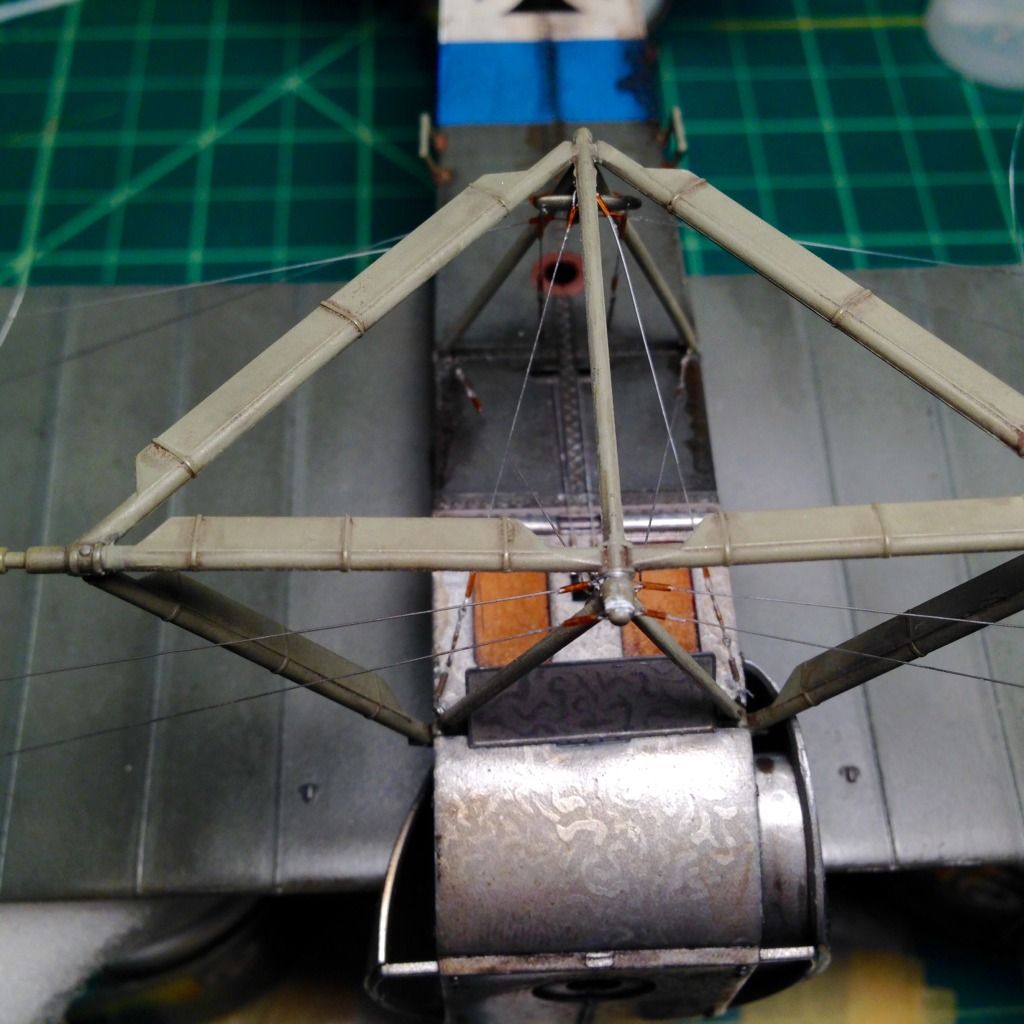
And that's the underside rigging.
Blue