Here's a quick update. Reposted from my WIP.
I think I've got this Allison back on course. I have had to be very patient for things to set up before moving on. Everything is so tiny at this scale. But.. I'm back on DEFCON 5...so crisis averted. =P
I had hoped to be a little further than this so I can move this along and get her off my bench before the deadline of the P-40 GB. Here's where I'm at now:
I've put all this back together and finally made a few more additions. Also, I was able to marry the Allison to the mounting brackets.
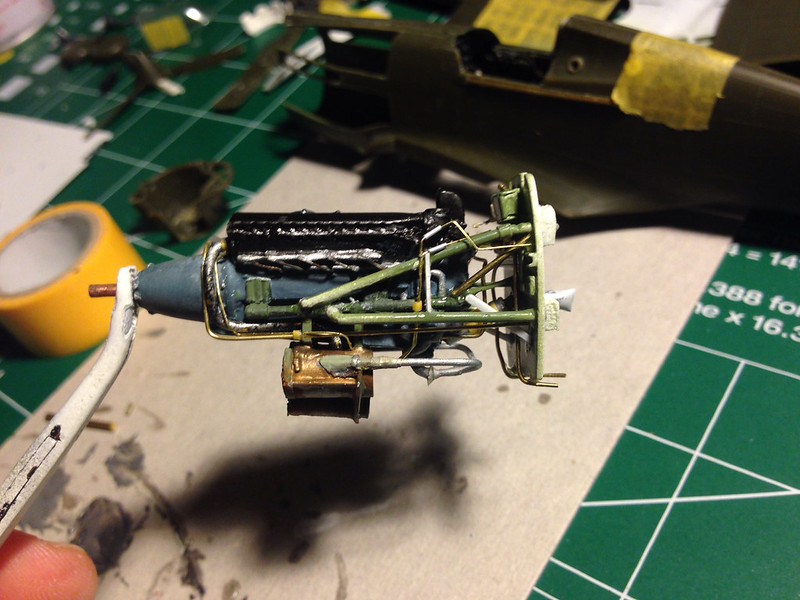 image by brittvallot, on Flickr
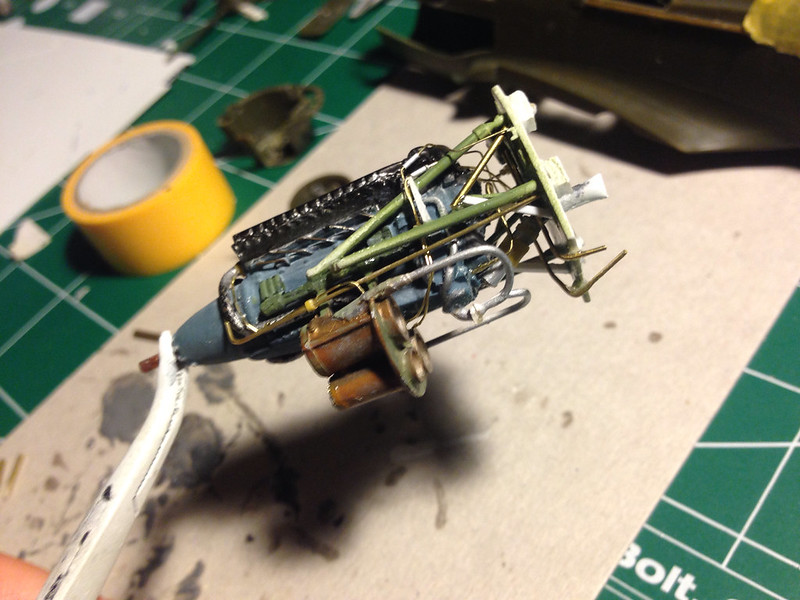 image by brittvallot, on Flickr
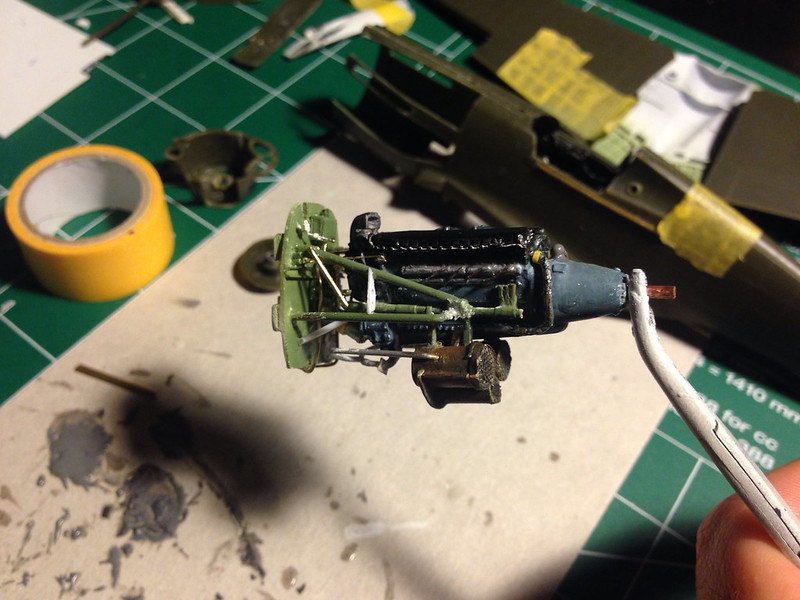 image by brittvallot, on Flickr
Just a few more odds and ends and I'll have the .50 cals back reinstalled, then I can finally put this part to rest and move on to the fun part...painting! =D
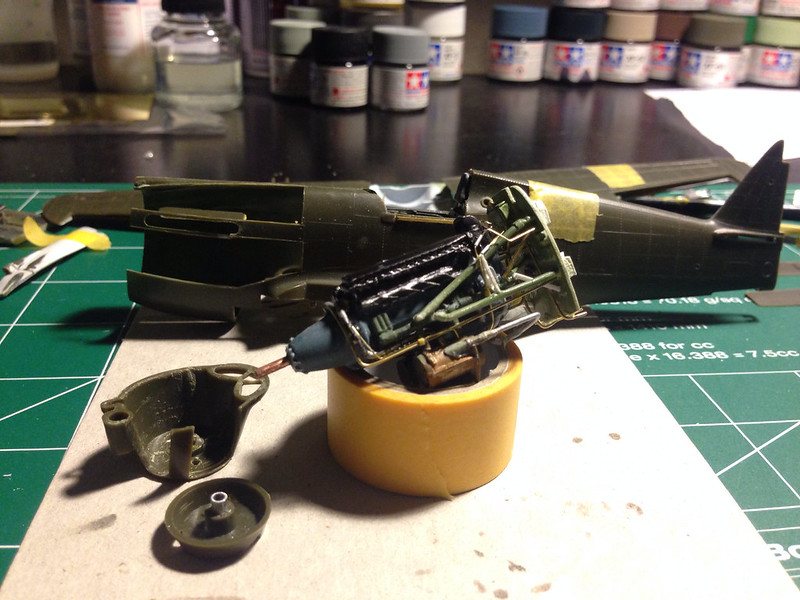 image by brittvallot, on Flickr