The Be-10's bare-bones cokpit tub contrasts sharply with the tiny box-encrusted fuselage sidewalls, so plastic rod instrument bodies with motor winding wire dressed up the IP while some Fine Molds' WW II Luftwaffe PE belts went on the seats. And some phony throttles were made up from punched discs and plastic strip. Still need to make a gunsight and make sure the control yoke will fit.
https://flic.kr/p/Q69BGM]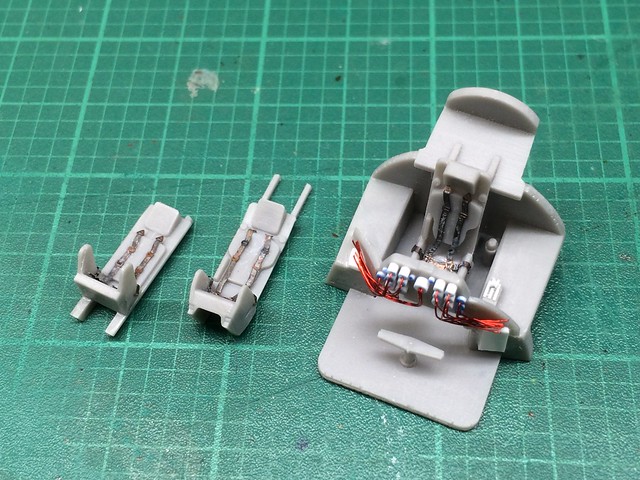 [/url]Be-10-36 by N.T. Izumi, on Flickr
I also added a sheet plastic bulkhead behind the pilot's station, to block "see-thru" from the nose. I used a contour gauge to get the profile, but there are no in-progress photos because it was total chaos (measure once, cut twice, throw away part because I made an error, try again with card stock to make sure no more screw-ups happen, verify fit, finally cut a new plastic bulkhead, sand-sand-sand, trim-trim-trim, OK it fits, apply glue, done).
https://flic.kr/p/PVrhvx]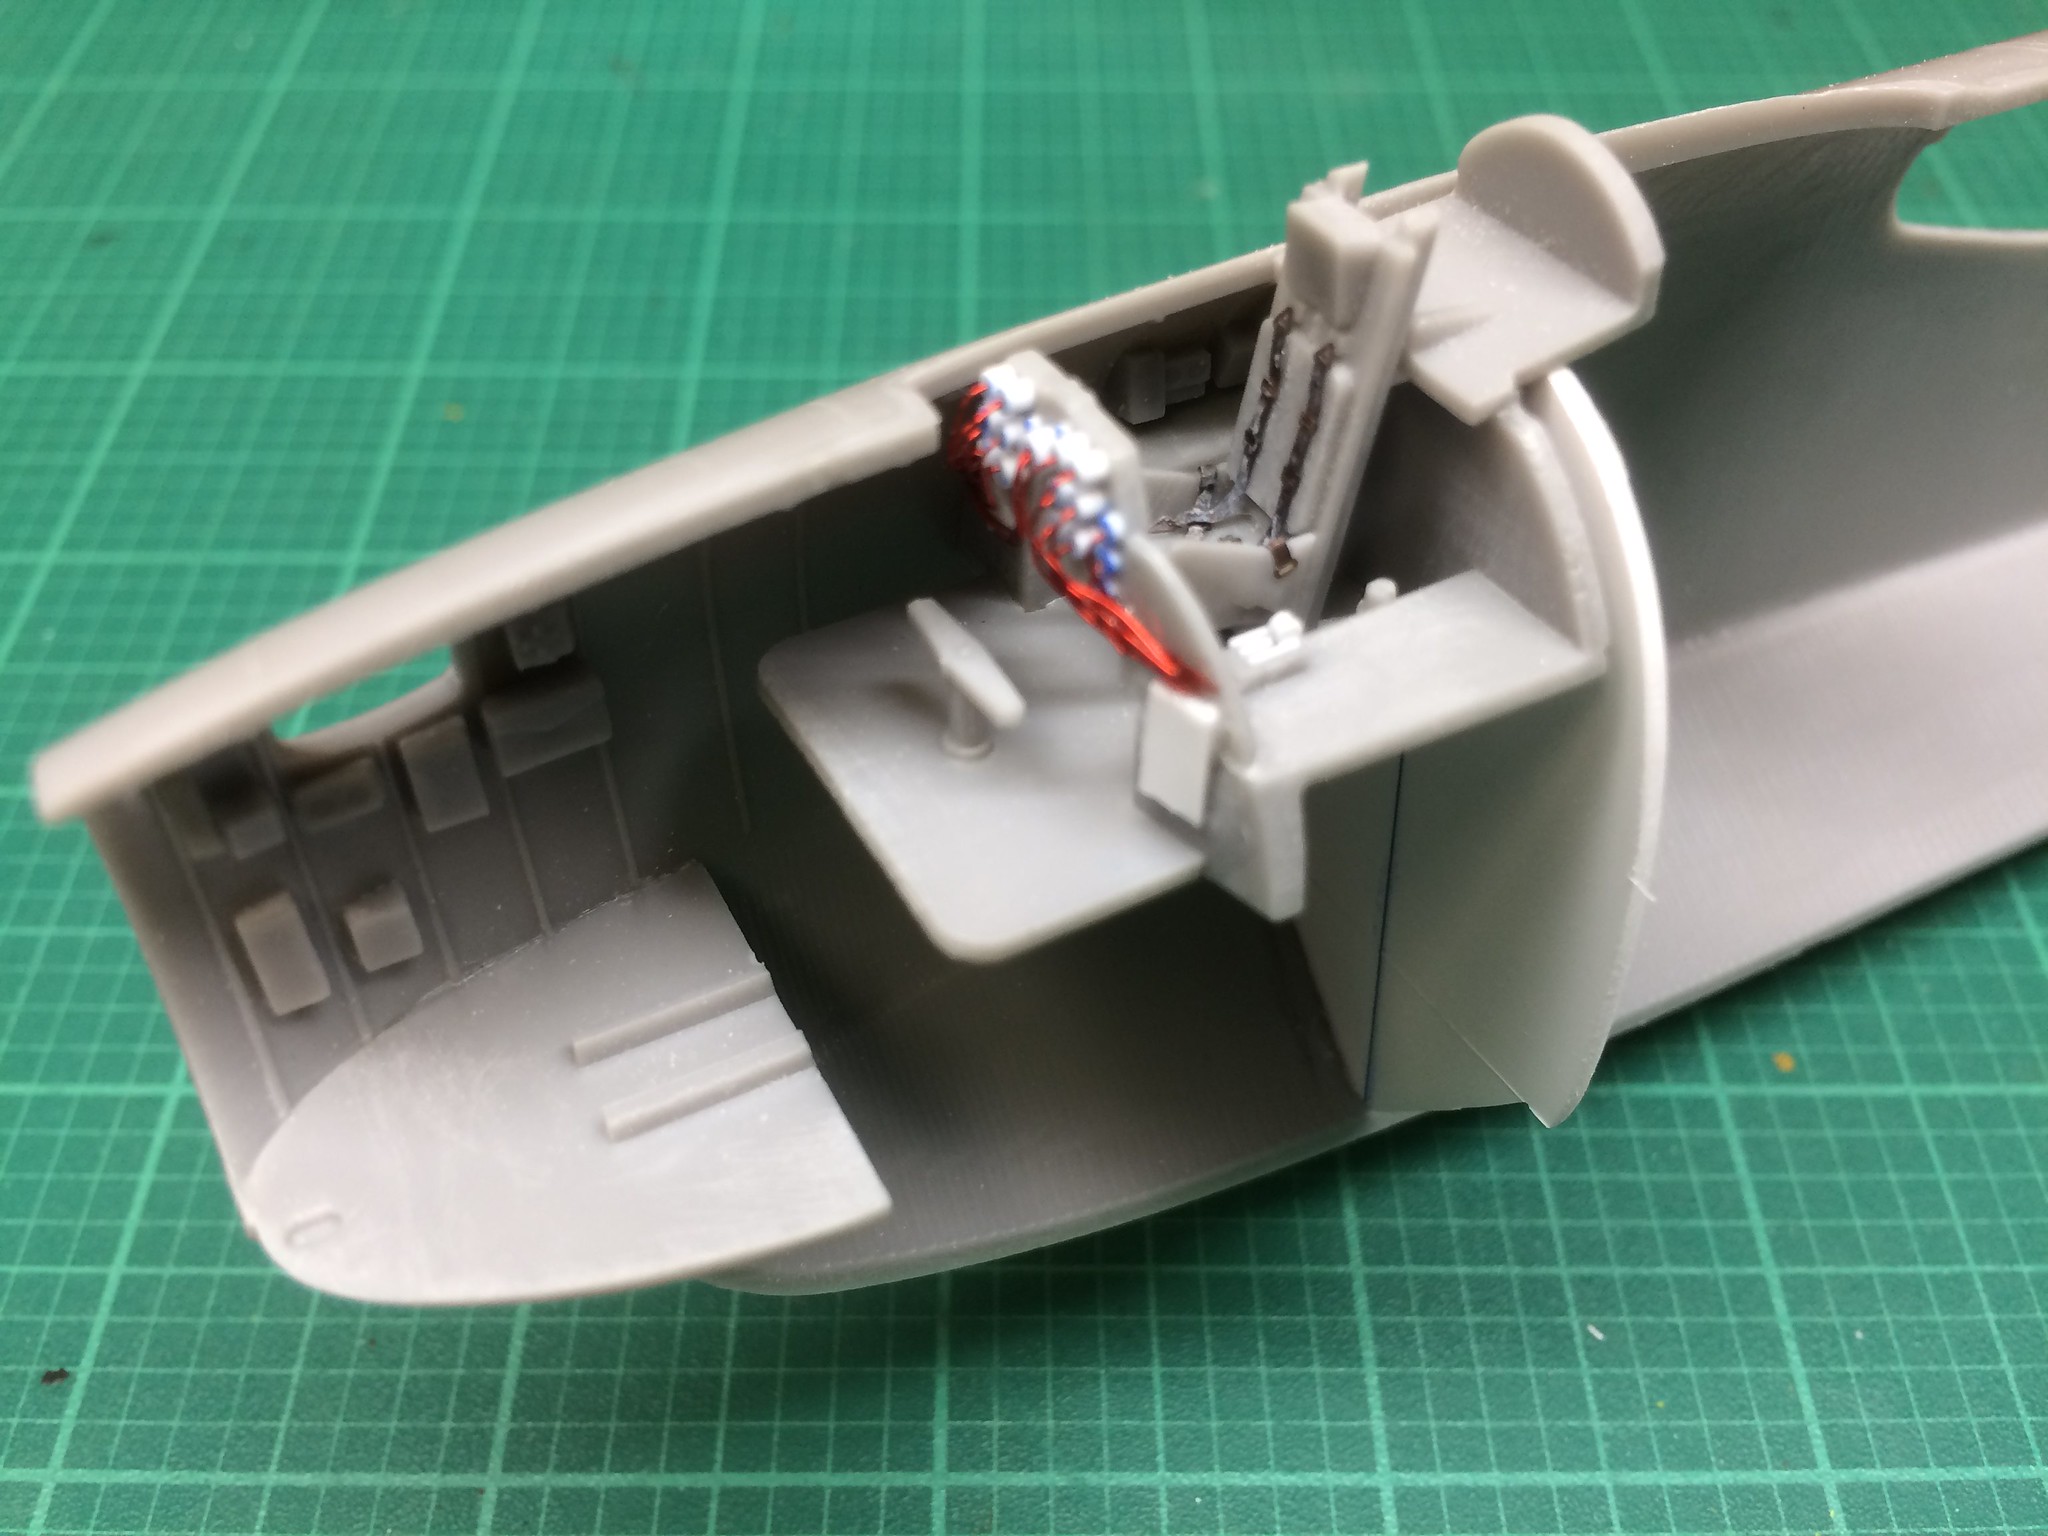 [/url]Be-10-43 by N.T. Izumi, on Flickr
The short-shot engine side scoops were repaired by cutting away the malformed inlets, adding some kit sprue heat squashed to the approximate size, then drilled, carved and sanded to shape. I am pretty pleased with this fix.
https://flic.kr/p/PwgBhN]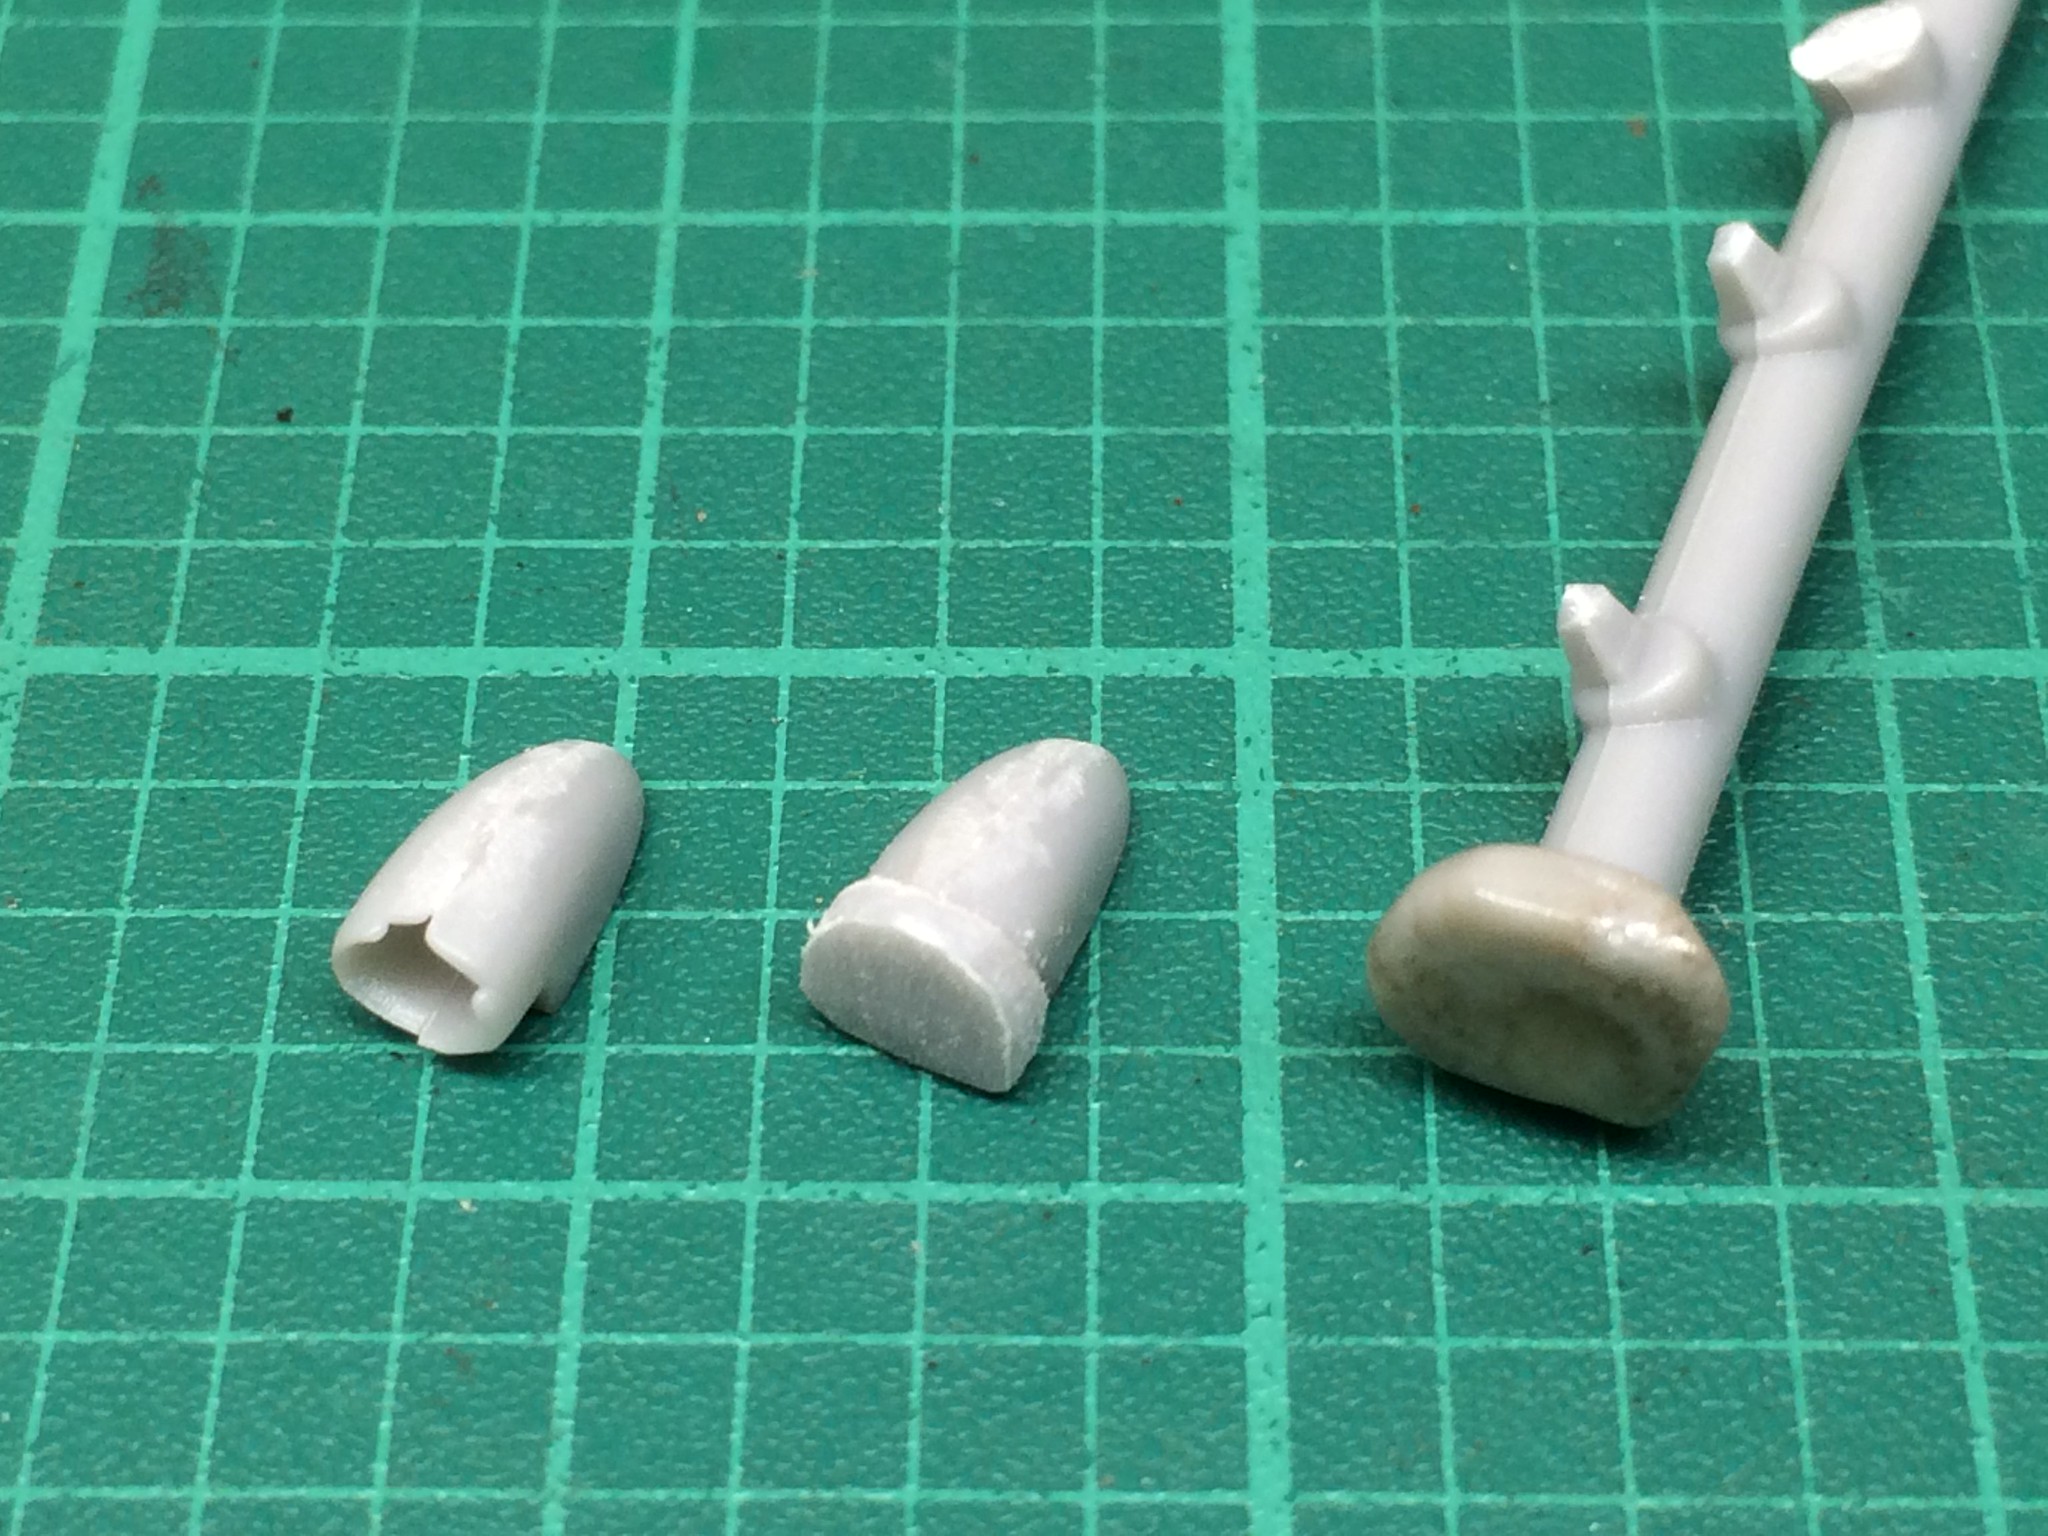 [/url]Be-10-37 by N.T. Izumi, on Flickr
https://flic.kr/p/PSdzJW]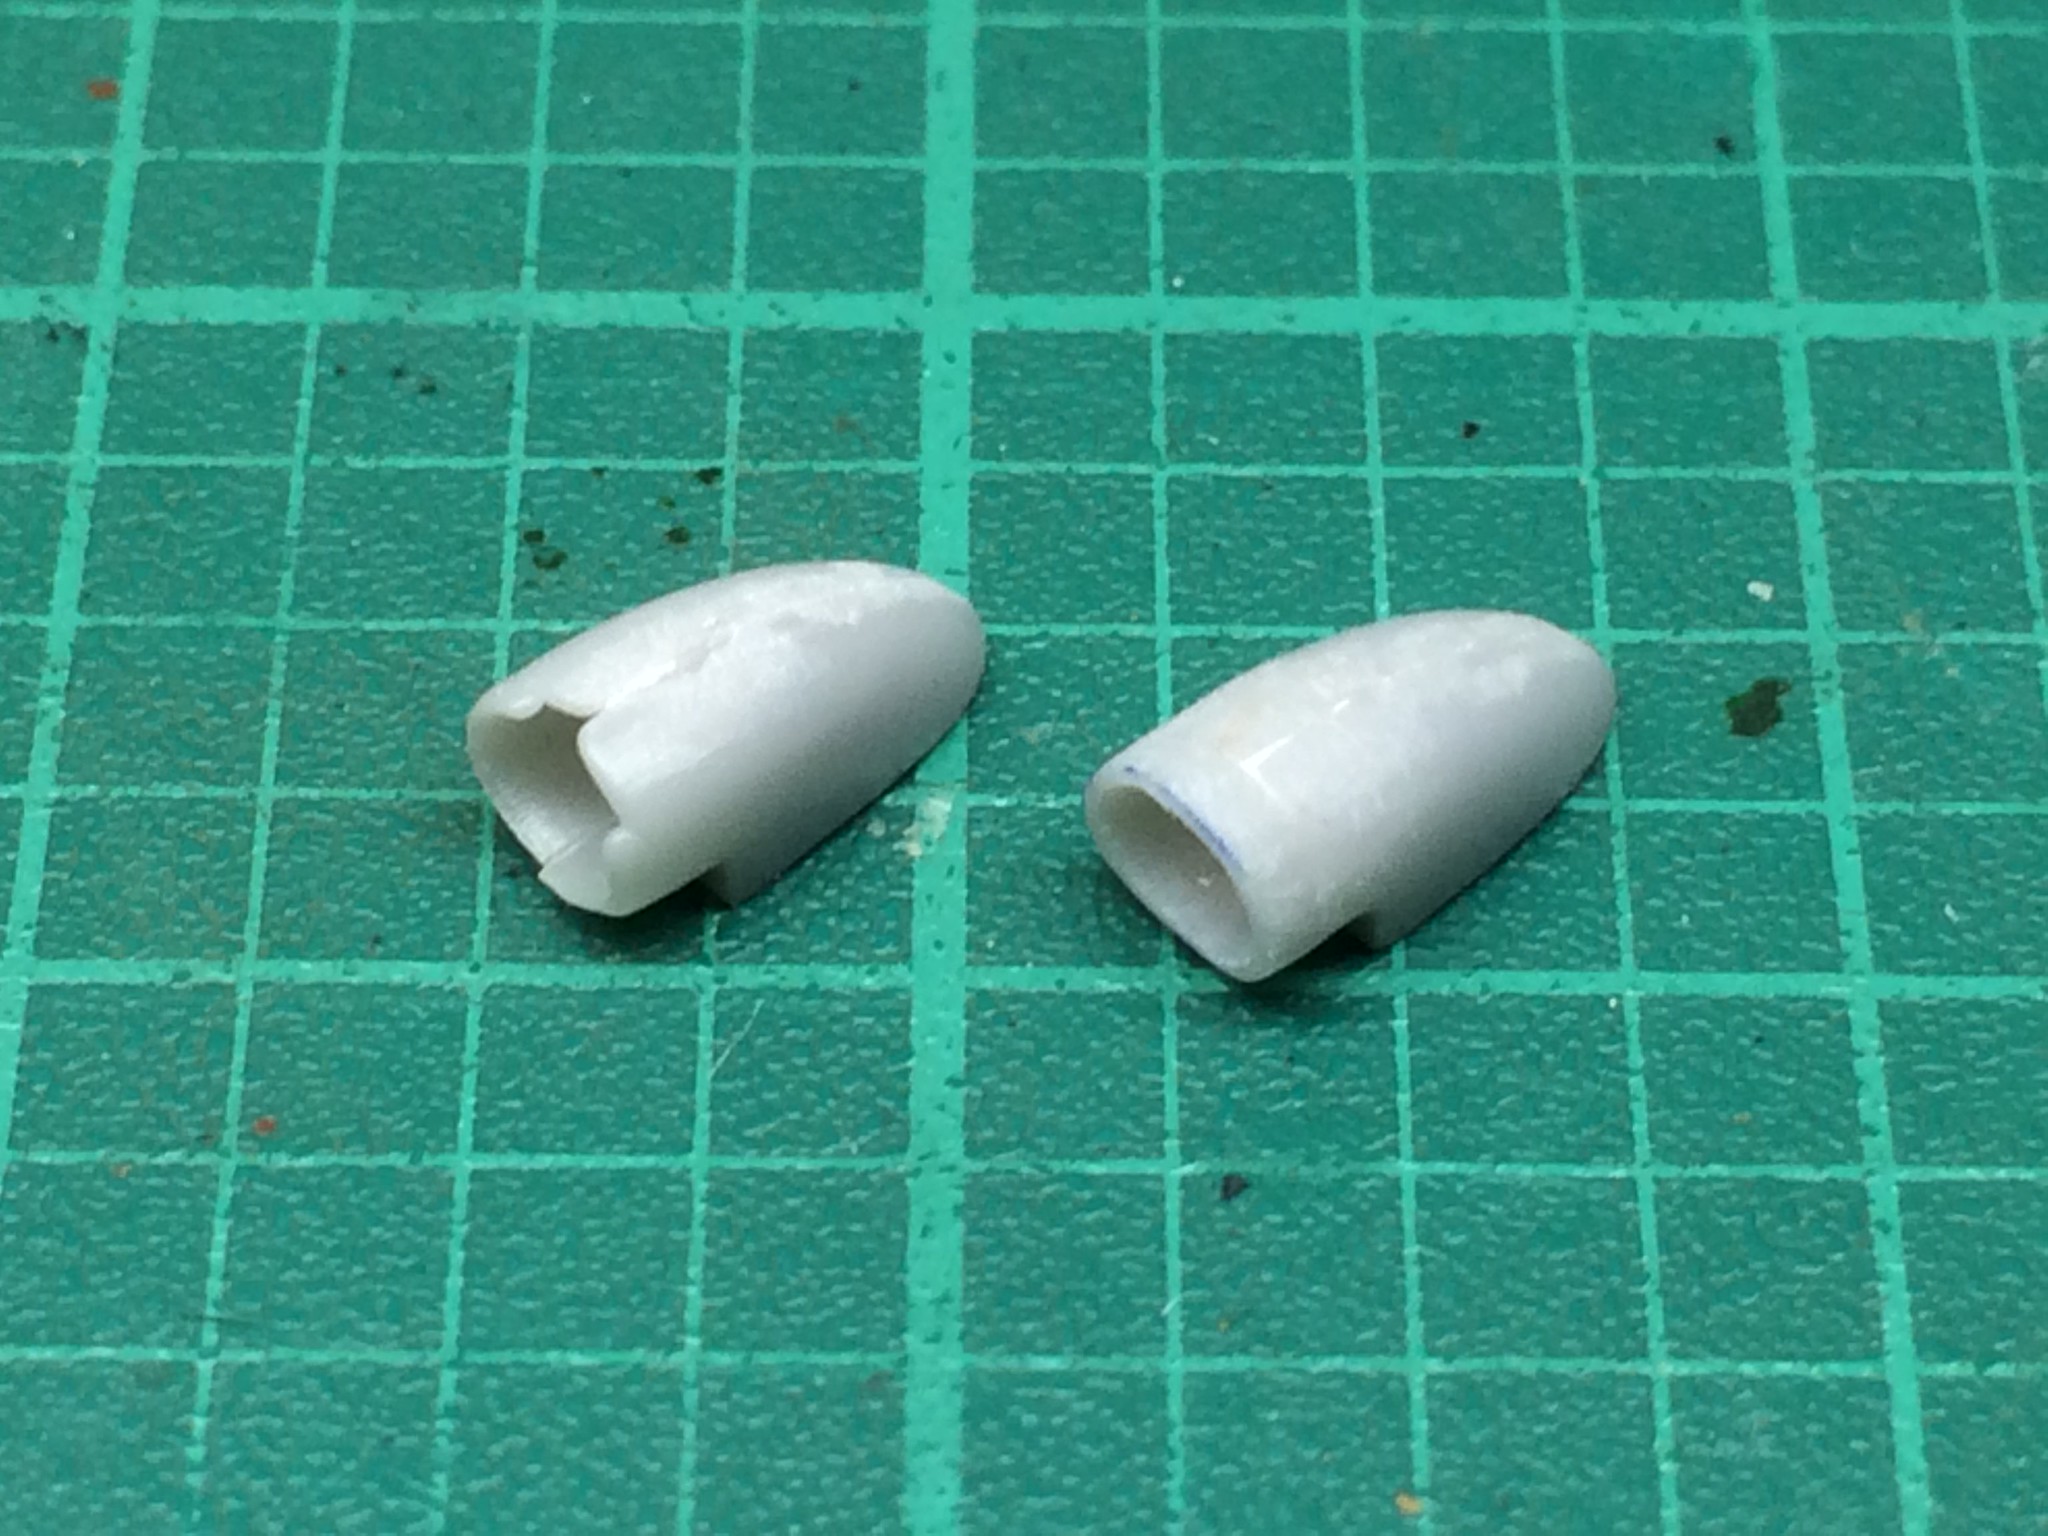 [/url]Be-10-38 by N.T. Izumi, on Flickr
https://flic.kr/p/NRE4eF]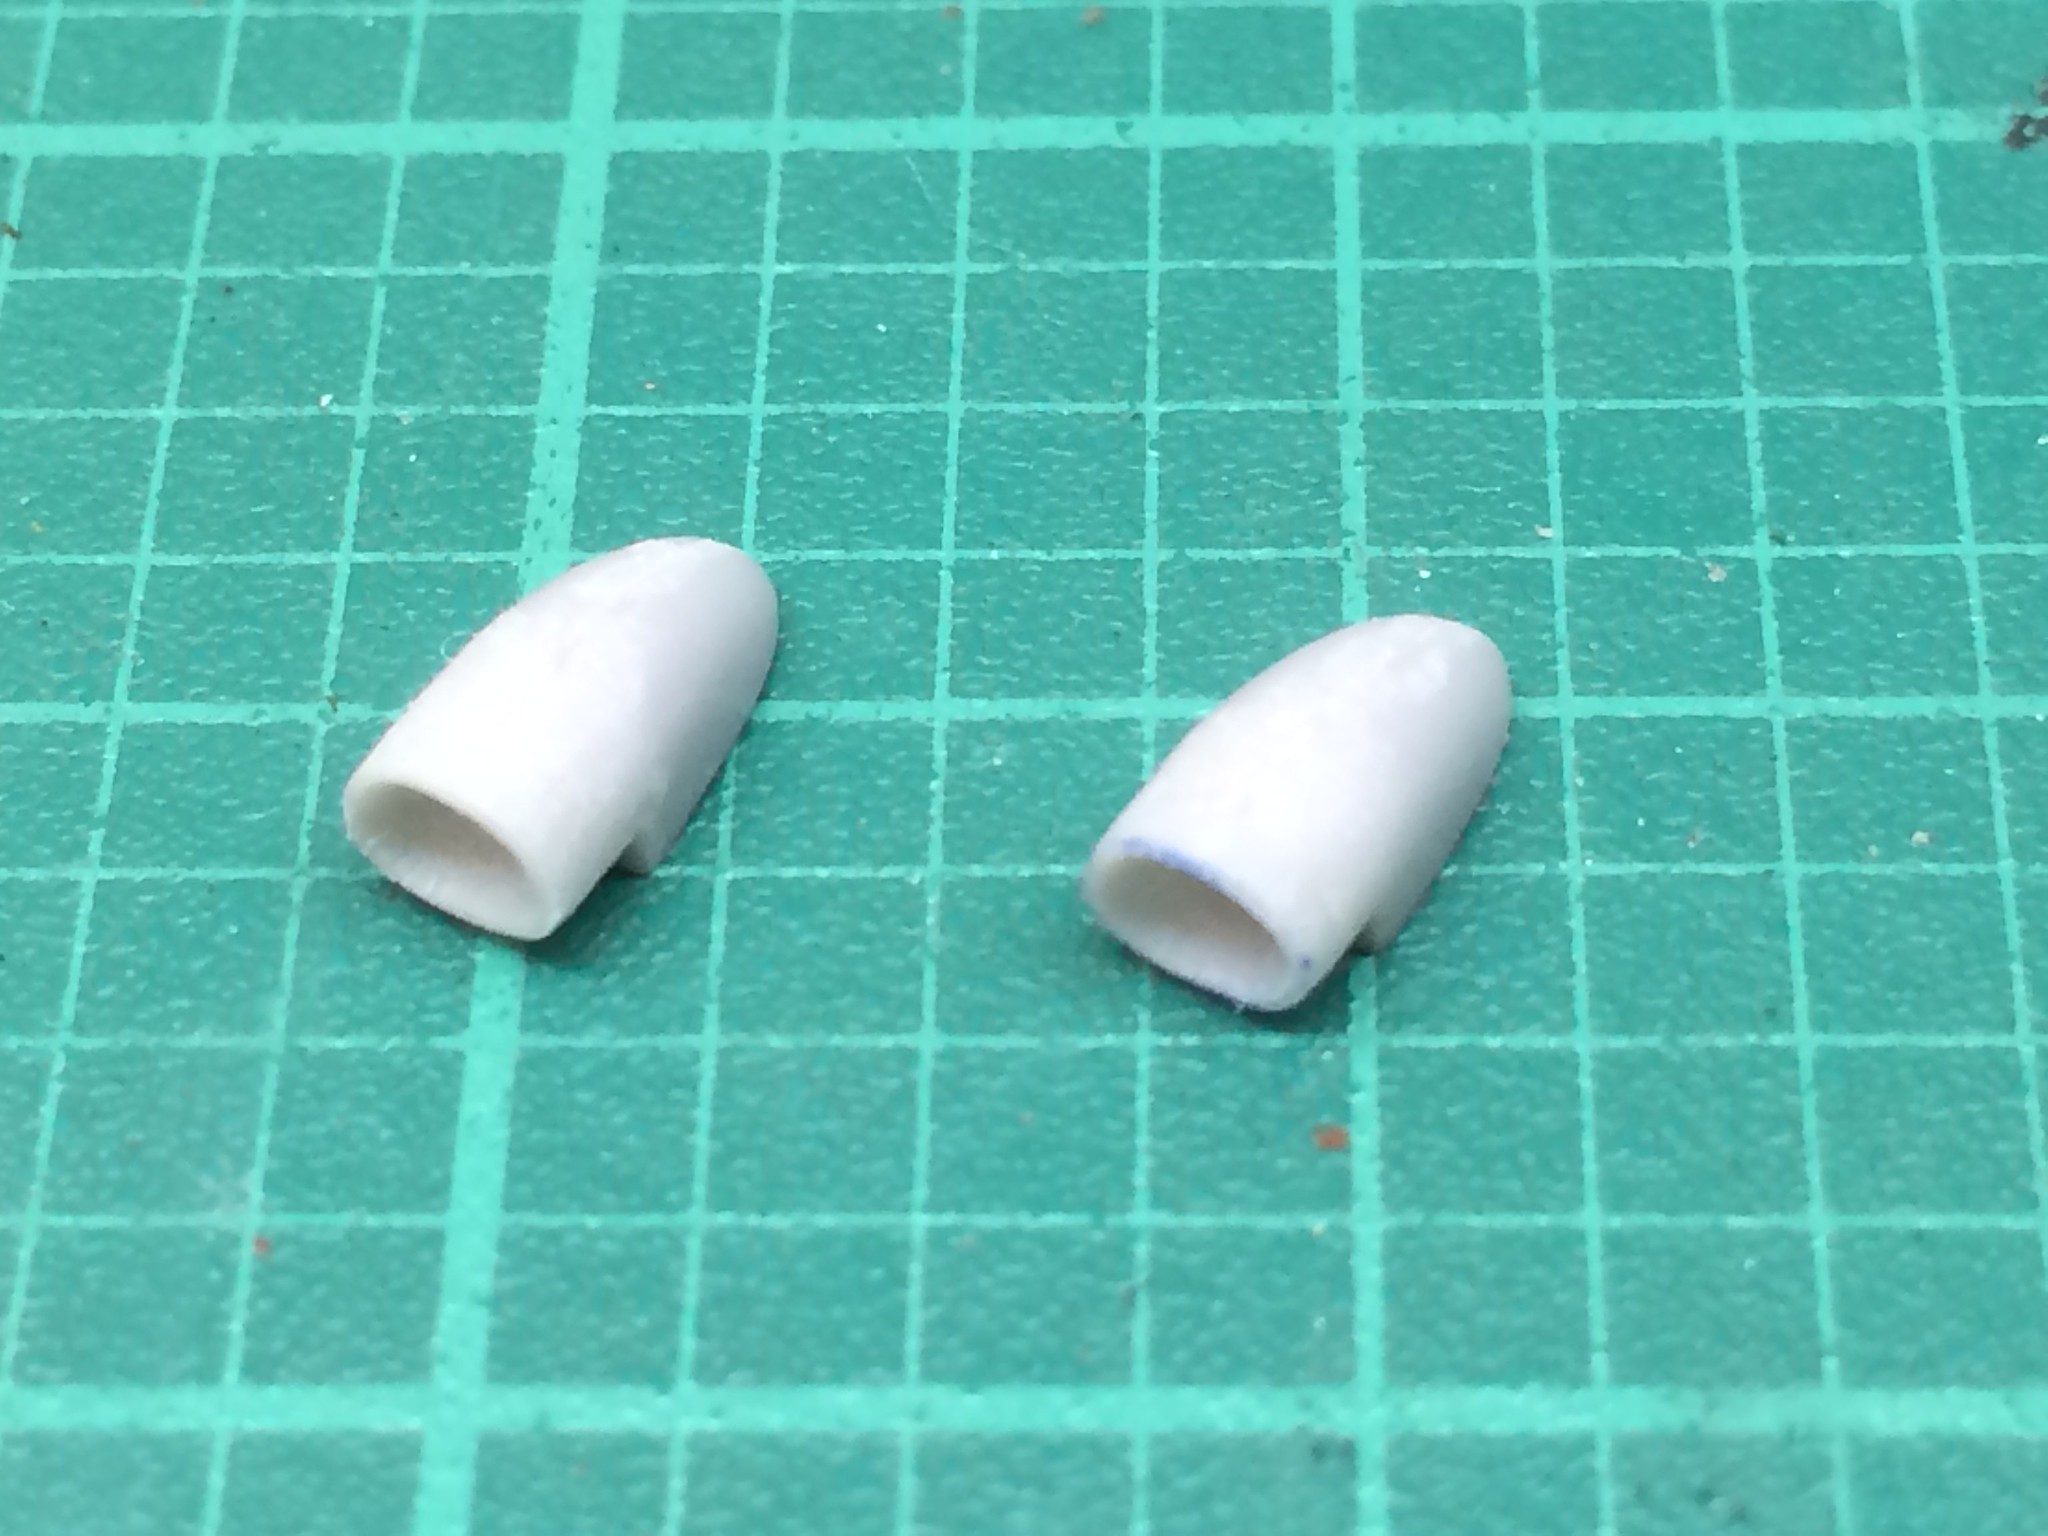 [/url]Be-10-39 by N.T. Izumi, on Flickr
The beaching gear was another adventure getting the parts to fit, but fit they eventually did. But all parts have mold slip lines, so some putty work will be needed.
https://flic.kr/p/Q6bAr6]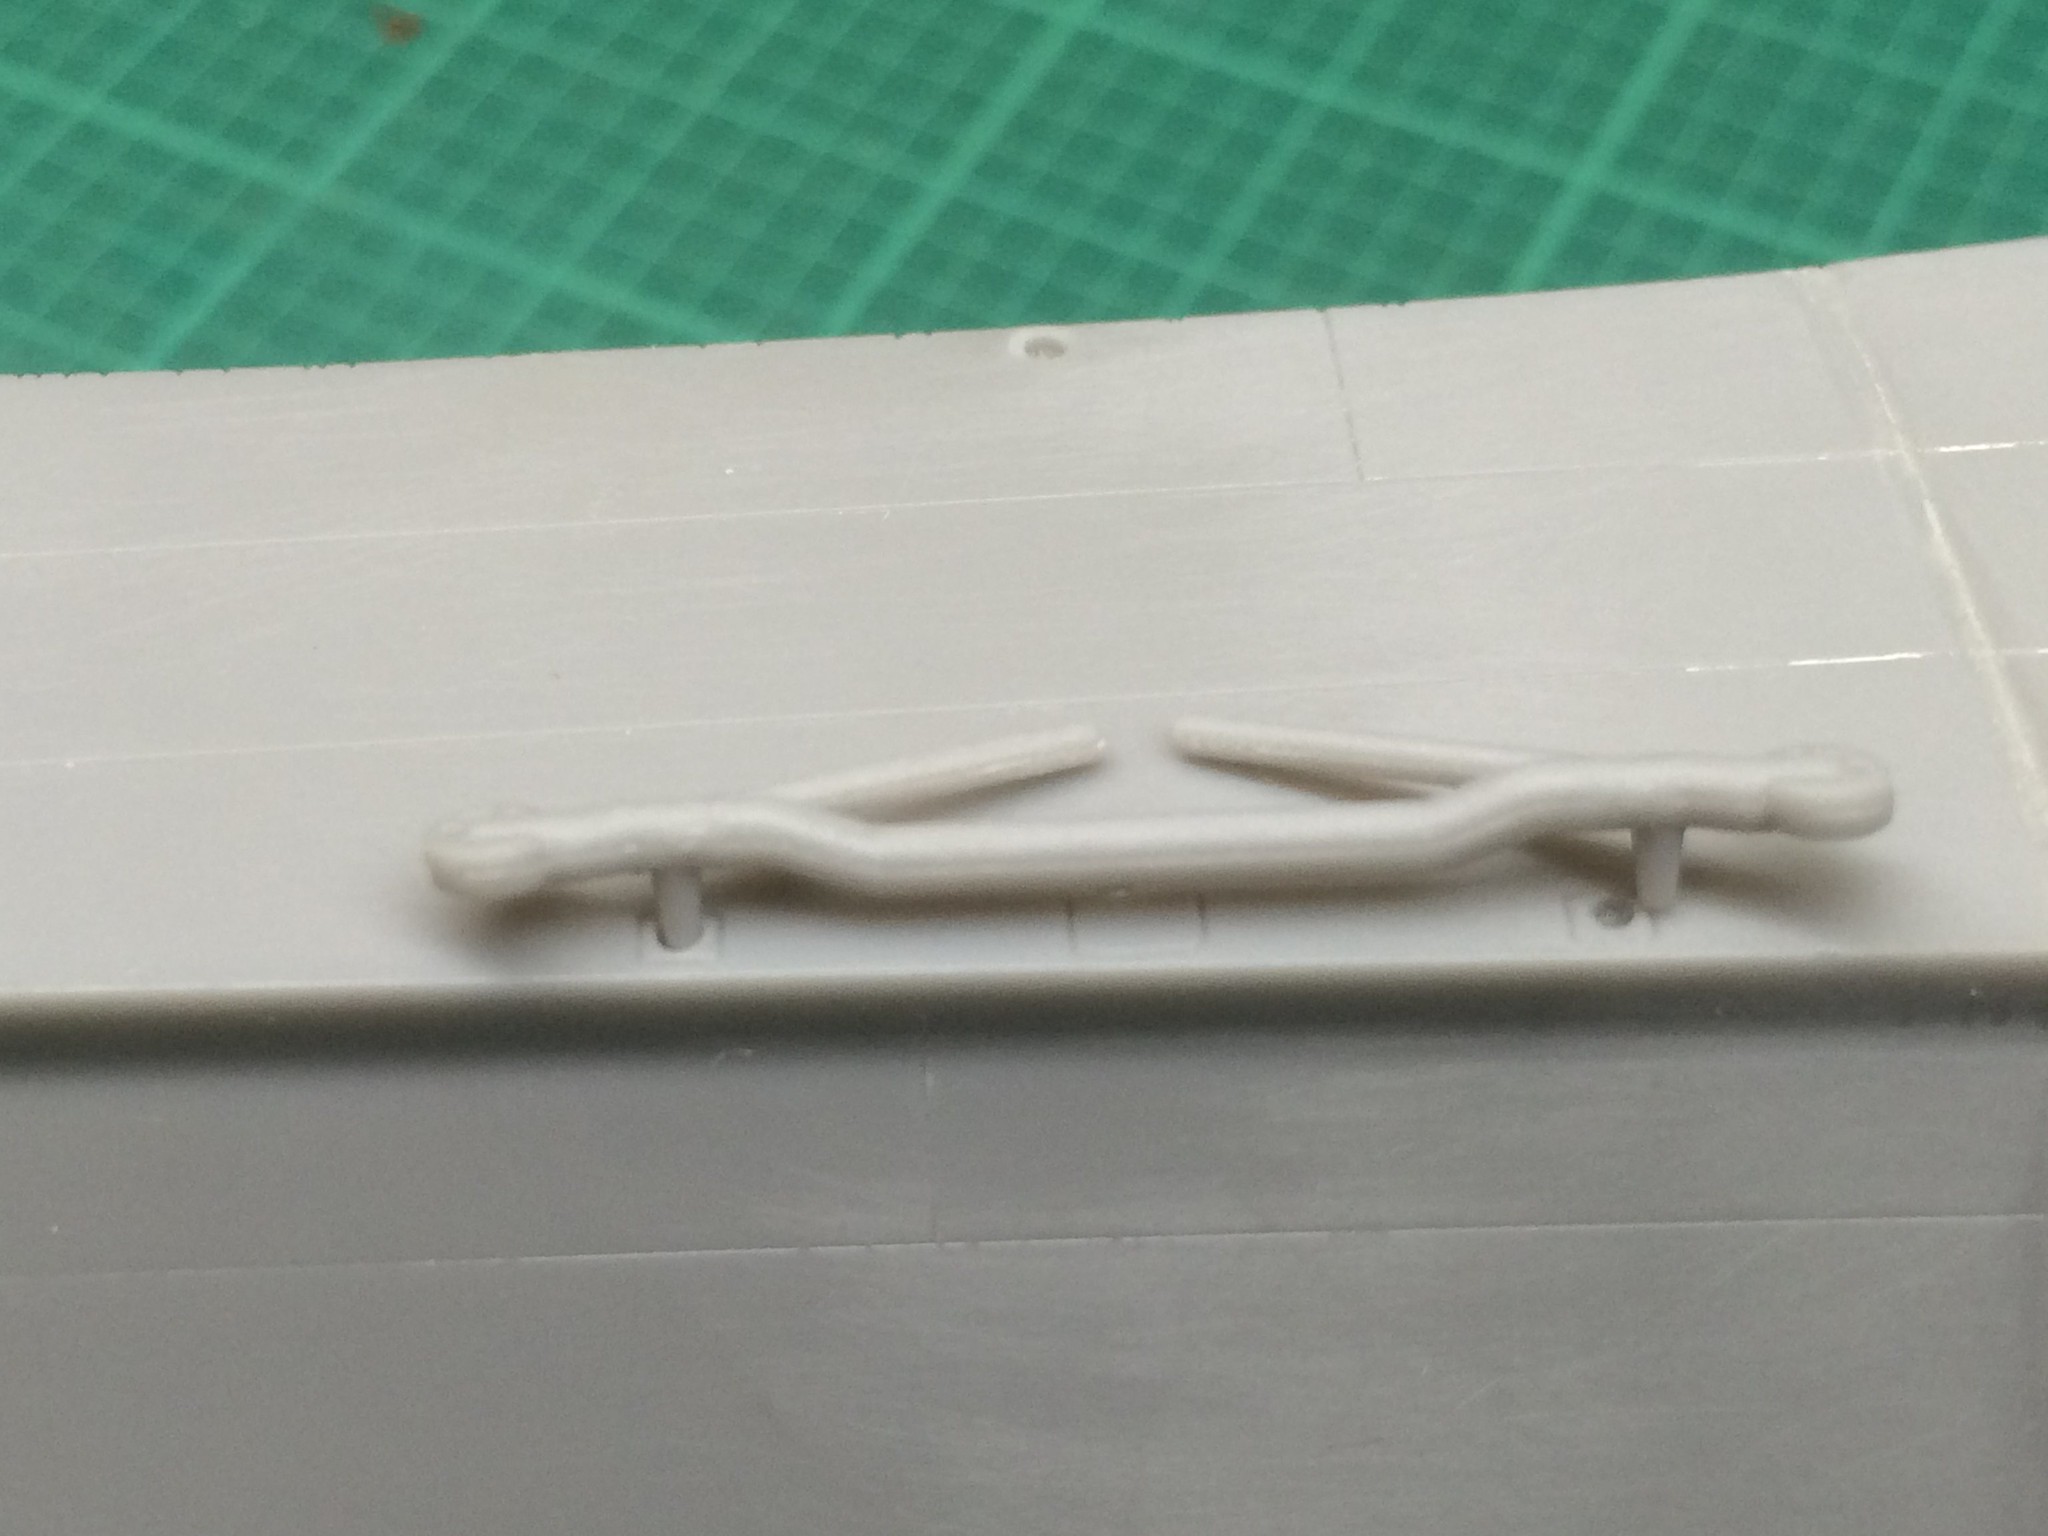 [/url]Be-10-40 by N.T. Izumi, on Flickr
https://flic.kr/p/Pwix93]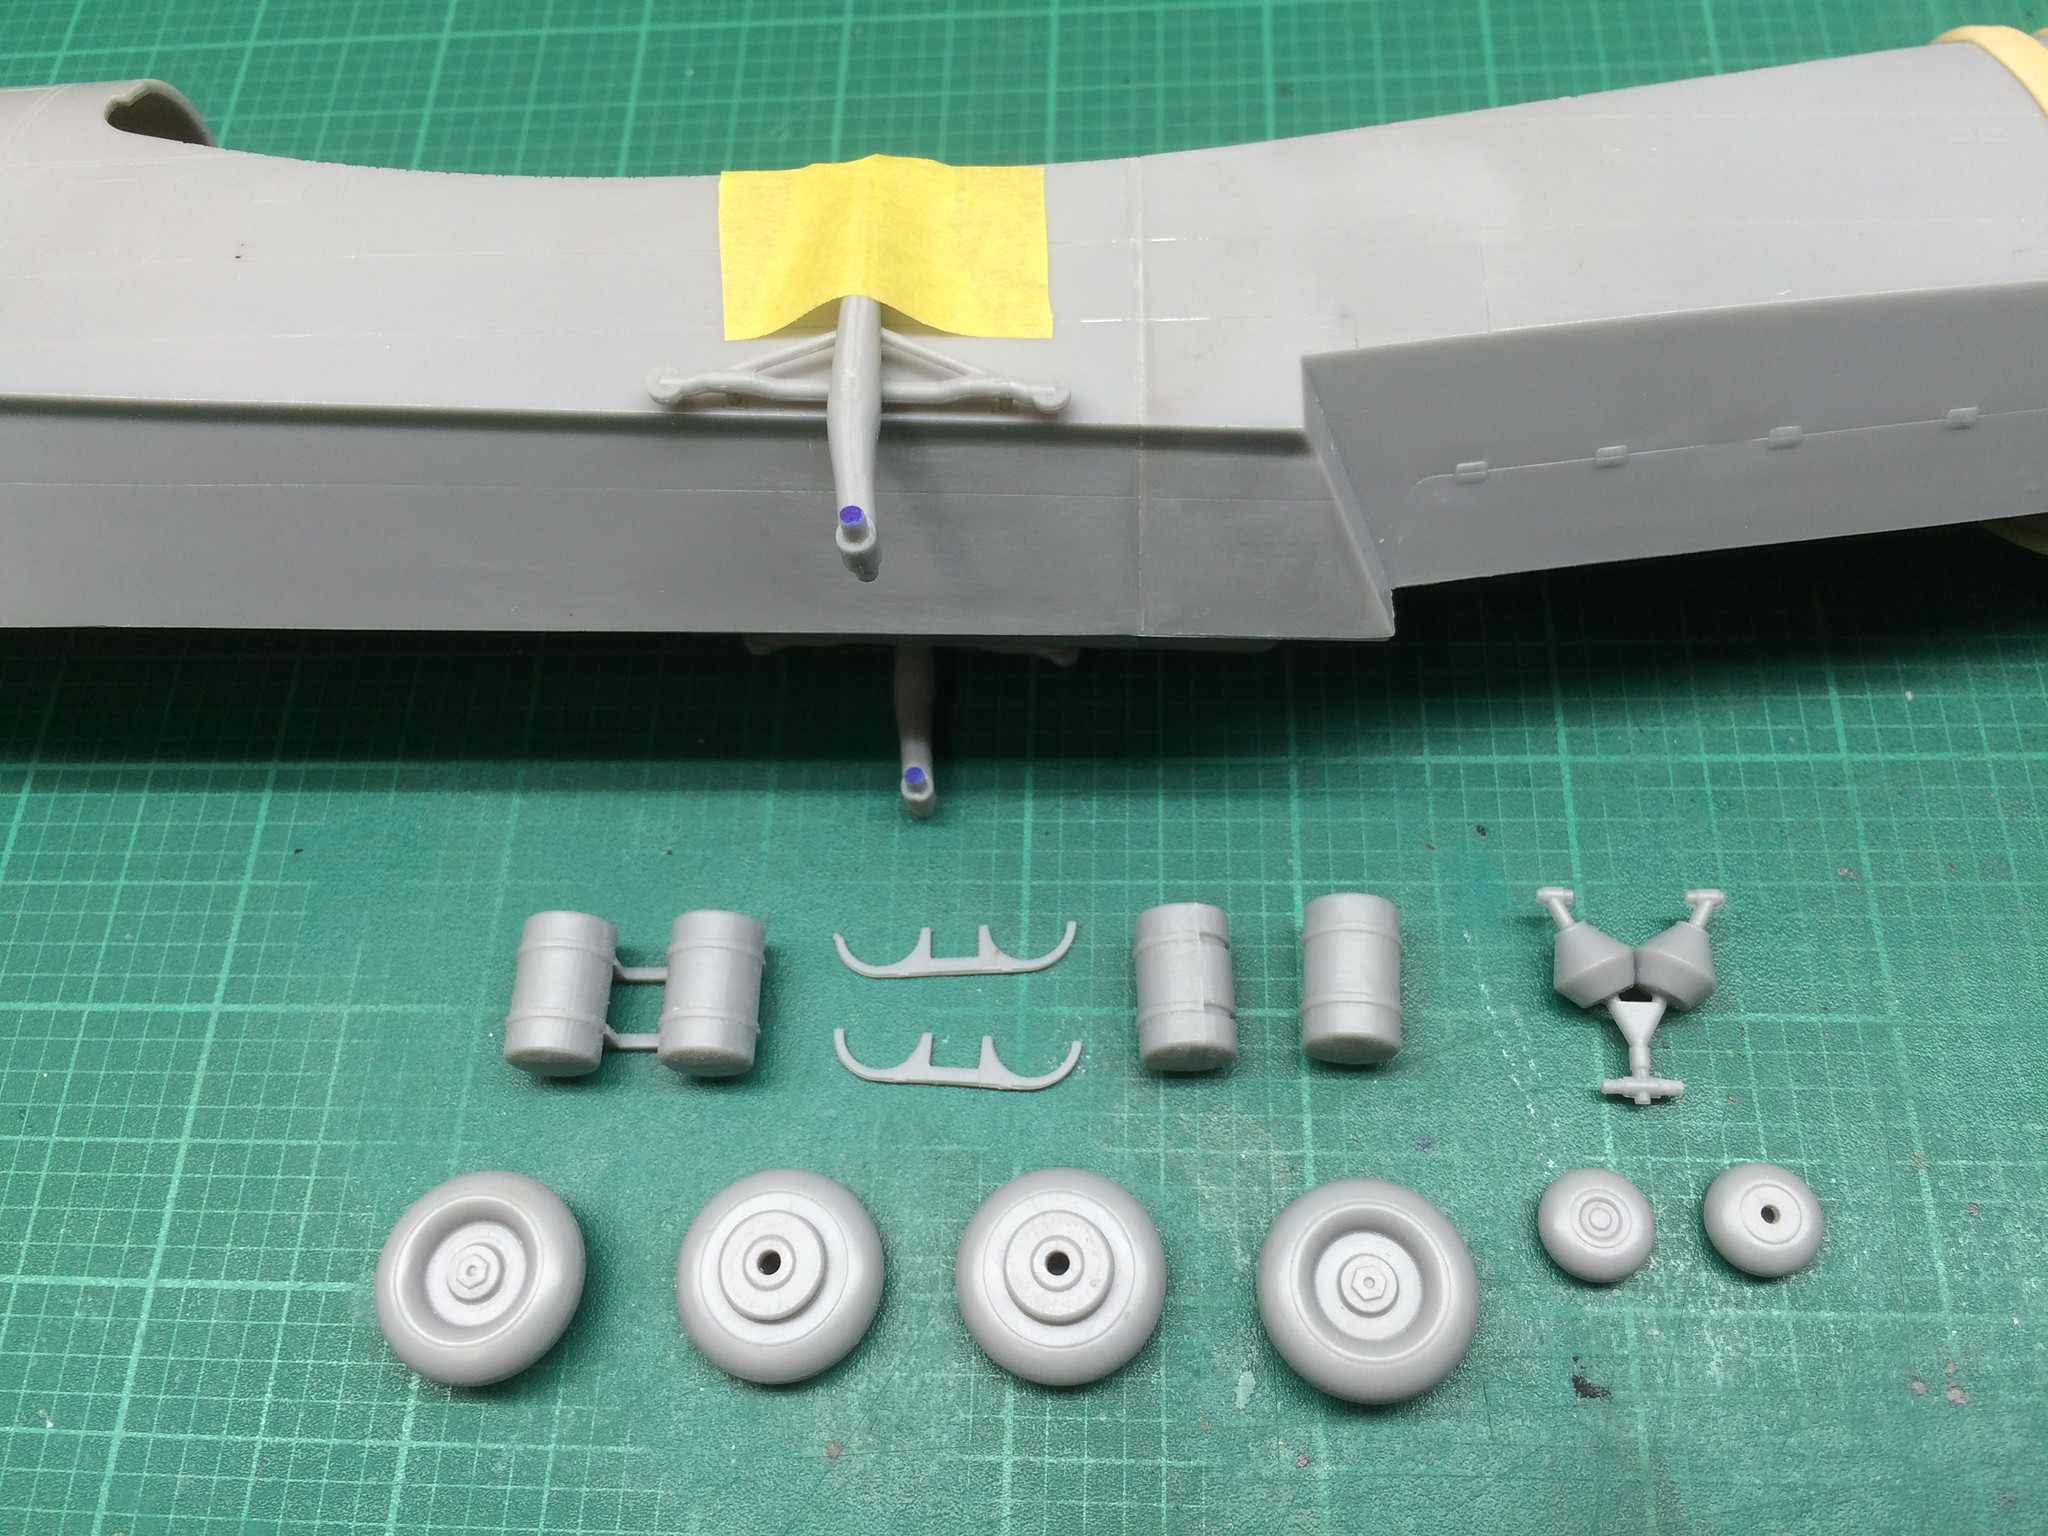 [/url]Be-10-41 by N.T. Izumi, on Flickr
Painting of the interior will now commence - yay!