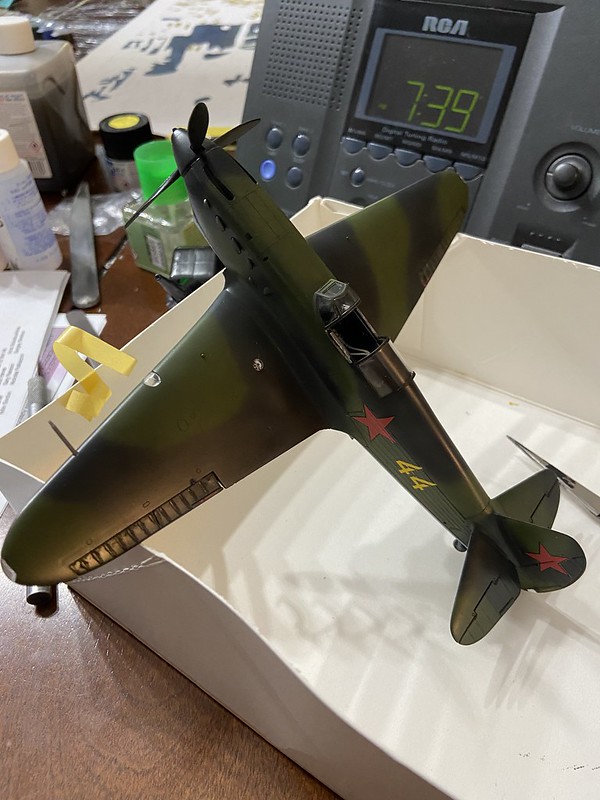
I'm approaching the finish line with this one. I've got the landing gear legs installed, and the reason it's sitting at this awkward angle is because I stupidly put the tailwheel in with liquid cement instead of super glue, and that's the angle it needs to dry at. I'll hit the joint with super glue later tonight to finish it up.
I got the washes done, some light staining on the underside with some oils, and once everything is attached, I'll dirty up the underside a bitmore.
wingtip light lenses, fuel sight gage covers and the rudder light lens are all in place, as well as the landing light in the wing, which fortunately still fit well despite the sanding I had to do on the wing leading edges yesterday.
Looks like I'm on track to finish tonight.
-BD-