I am on to another fire mission. This one is the Hobby Fan M667 Lance missile carrier which when set with the M740 El is the M752 Self Propelled Lance missile Launcher.
The kit
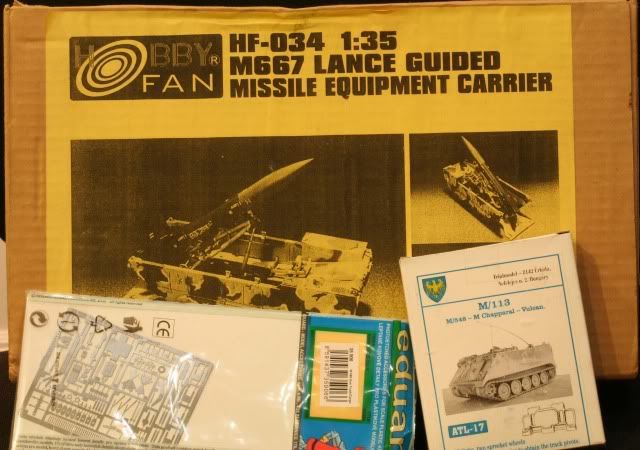
The Hobby fan kit is marked as the M667 but comes with the M740 so built it is the M752. This is an almost all resin kit as the road wheels and some small parts are from one styrene sprue included from the AFV M730 Chaparral kit. I will also use the Friul T130 tracks to dress this guy up and of course my usual number of other scratch details. I will be painting this one in 4 color camo for the late 70s look.
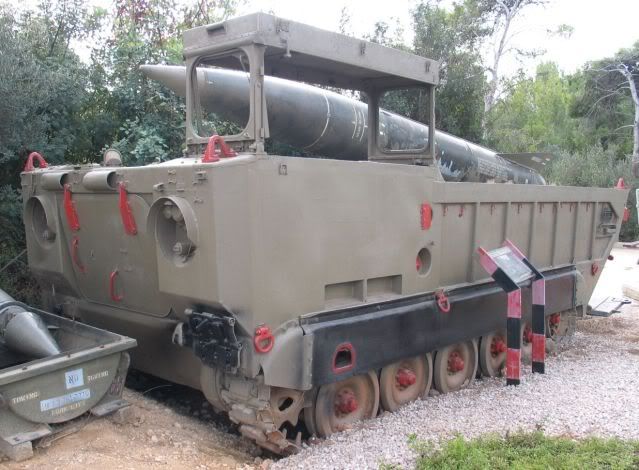
The vehicle itself is a derivative of the M548 cargo carrier which is a product of the M113 family of tracked vehicles. If the vehicle is setup with a crane and missile cradles it is the M667 Lance carrier. That equipment can be removed and the M740 air transportable Lance erector launcher can be put into the bay. This transforms the vehicle into the M752.
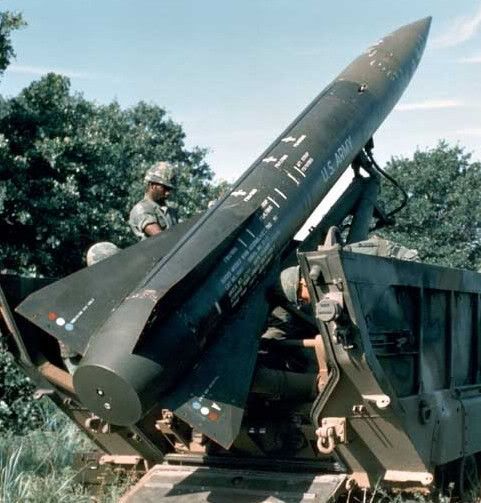
The Lance missile replaced the Honest John missile and was a medium range nuclear weapon (though there was also an HE warhead available) deployed in Germany during the late 60s through the early 80s. It was also the great “neutron” bomb carrier. It was replaced by the MLRS and the nuclear ability was taken away by the Salt treaties.
Originally deployed in OD, these were changed to 4 color camo in the mid 70s and 3 color camo in the early 80s before being taken out of service.
Pre Build
As an engineer, we begin everyday on a work site with a safety briefing. With this being a resin kit build, I thought I would go through a few items.
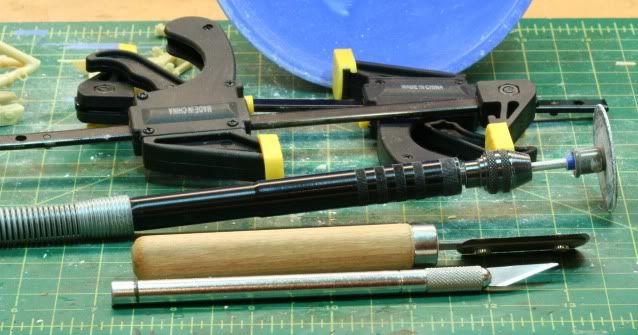
First is protection. Unlike styrene, resin kits have pour blocks on all their pieces which have to be removed. The small delicate items can be done with a sharp x-acto blade. A bit thicker and it is time to move to a fine hand saw and for the main chassis items with thick blocks a Dremel with a cut off grinder is required. Also a nice set of small clamps comes in handy for gluing!!
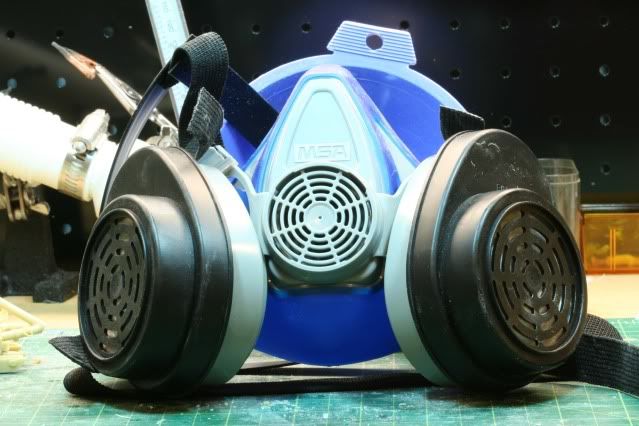
When using the dremel to cut or to sand, the resin will make a large volume of fine dust which tends to hover and cover everything. When using the Dremel for this purpose, you will need at a minimum, a good dust mask for protection.
What is much better is to rig up a wet/dry vacuum or even a regular vacuum to act as a dust collector.

Here I have taken an old wet dry vacuum, extended the hose using 1 ½ inch hosing and used a enlarged funnel as an air scoop. When using the Dremel I run the vacuum and try to work in front of the air scoop thus collecting the bulk of the dust. This will keep you bench, paint area and lungs clear.
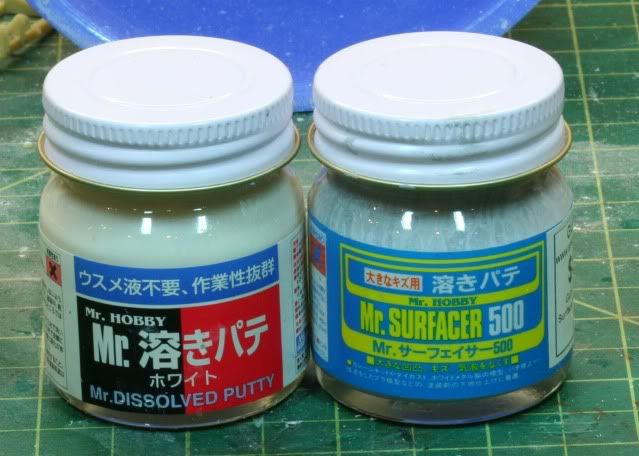
Because of sanding off the pour block, some filling and cleanup will also be required. Rather than using standard putty, I much prefer Mr. Hobby liquid putty and Mr. Surfacer 500 depending on the depth and nature of what has to be filled. The Mr. Hobby liquid putty can be brushed into required spots and has a better working time and adhesion to resin than standard styrene putty.
The build
OK…enough preparation. The chassis is made up of 6 major parts not including the rear ramp. The Hobby Fan parts are of excellent quality with no voids or bubbles and quite well made. There is a bottom hull section, cab, 3 parts to make the side panels and the driver compartment roof.
The M667/M752 is a bit unique in that when the vehicle goes into firing mode, the windows all fold down and the roof collapses to the cab where it is secured to protect the cab during missile launch. Since I will show the missile in a launch position, I will have the cab closed and covered.
After cutting off the pour blocks and rough sanding here is the assembled chassis.
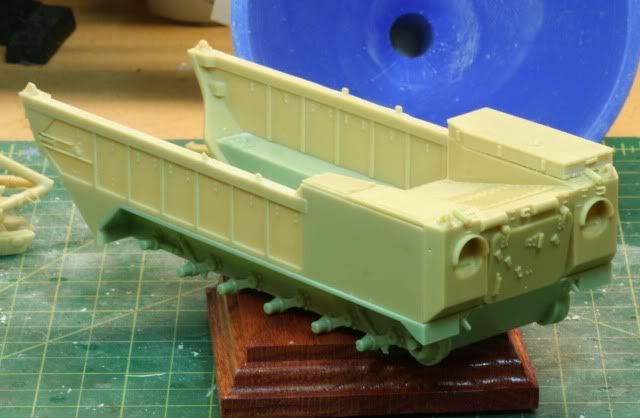
After assembly I used the liquid putty and Mr. Sufacer to dress up the rough areas and did the general seam filling.
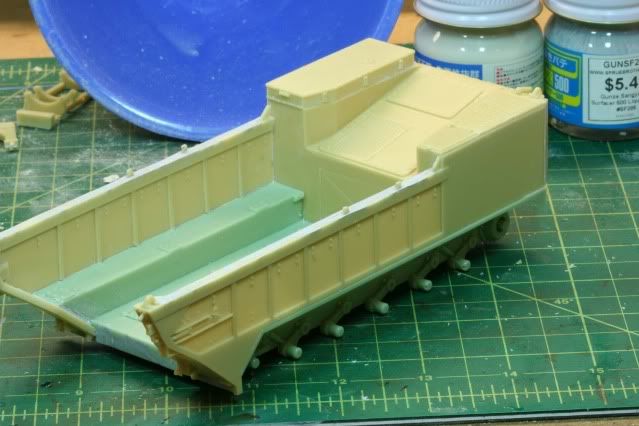
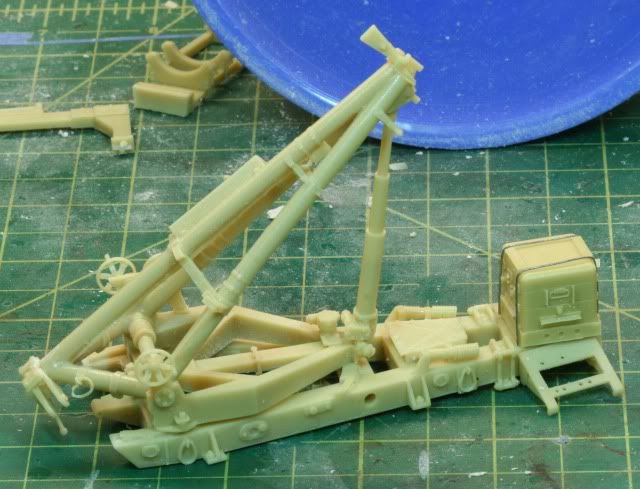
Keeping with the resin assembly, I moved to the M740PZL which is the air liftable and towable lance missile launcher. When the tires and front tow section are removed the frame can then be locked into the cargo area of the empty M667 turning into a M752. Here is the M740 assembled except for the hydraulic lines which I wile replace the “hard” resin supplied with thin tubing.
Well, I’m off on another adventure. Next, I will be adding and replacing details on the vehicle with PE and adding a lot of weld lines.
As always, all comments are welcome and thanks for stopping by.
Rounds Complete!!