Hello everyone,
It's been forever since I've been on FineScale, but after recent events I have gotten back into the hobby and I figured I'd kick it off with a Tamiya M60A1, the Marine Corps reactive armor kit. It's out of the box (as all my stuff is), done with Tamiya acrylics and pastel chalks. In fact this kit is kind of a poster child for Tamiya, but hey, it's great stuff and it works.
All comments welcome, thanks for looking!
I used pastels for the dust, rust, and black "streaking" weathering.
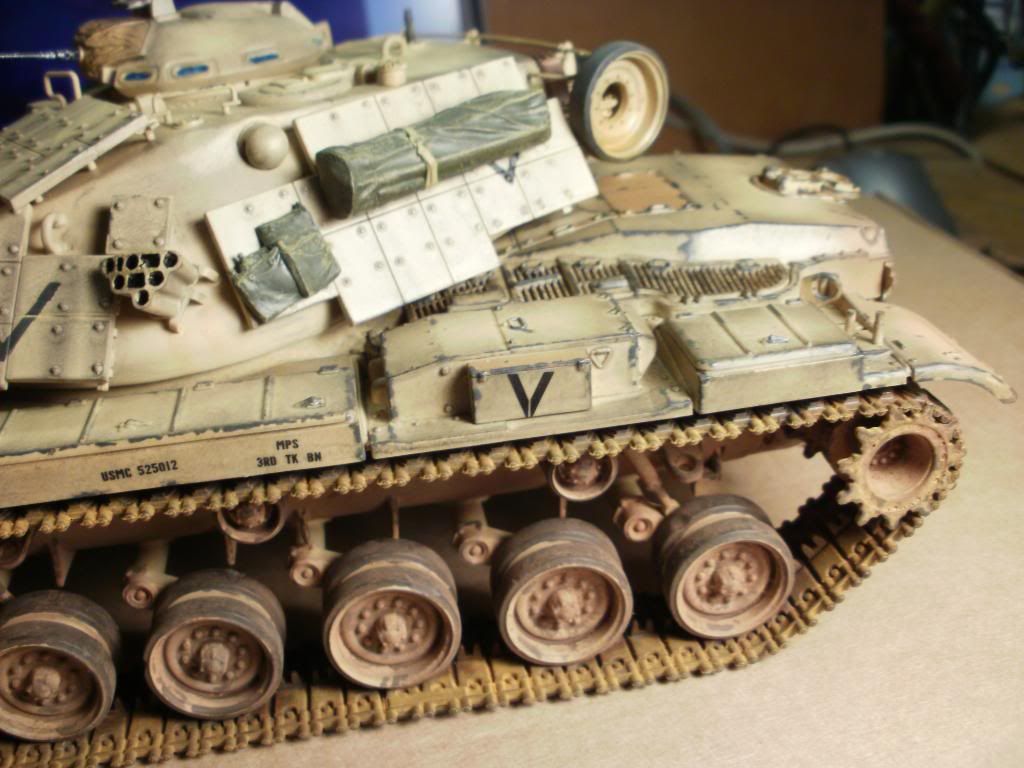
I still have to paint the headlights amongst other things.
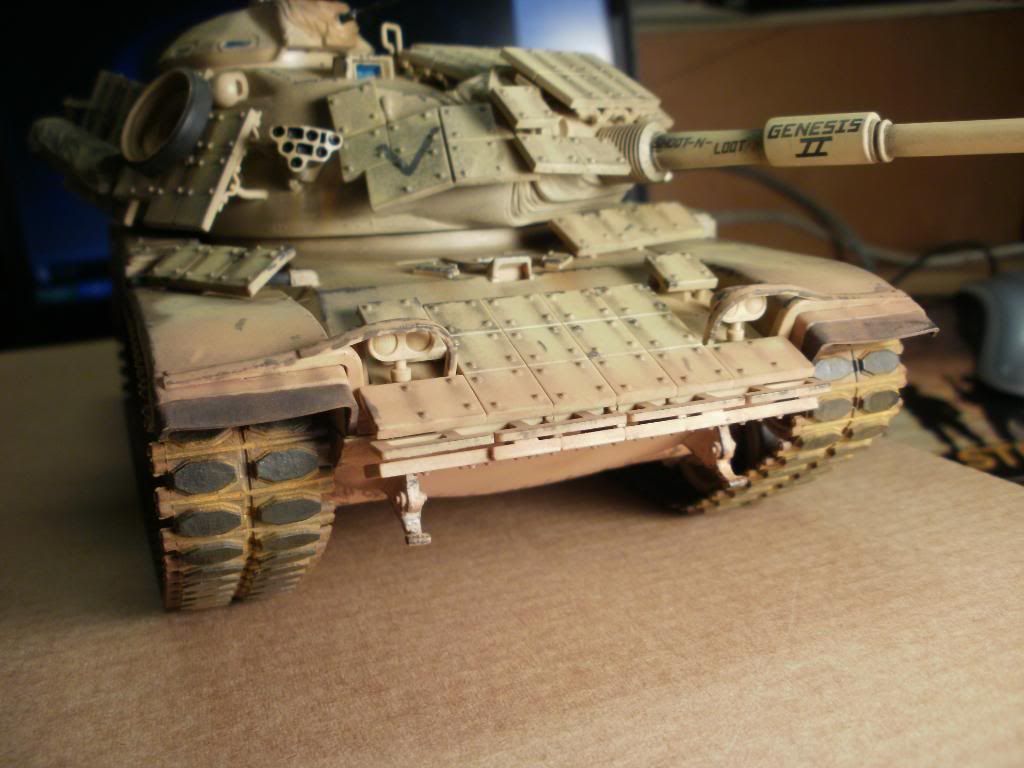
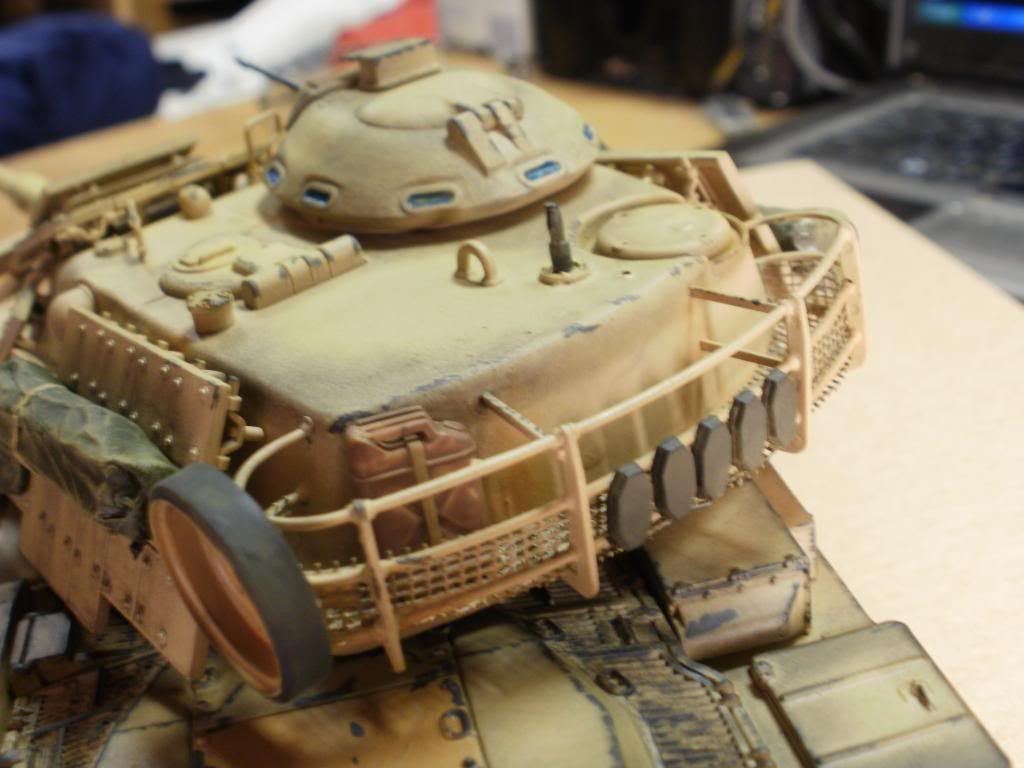
Close up of the front end.
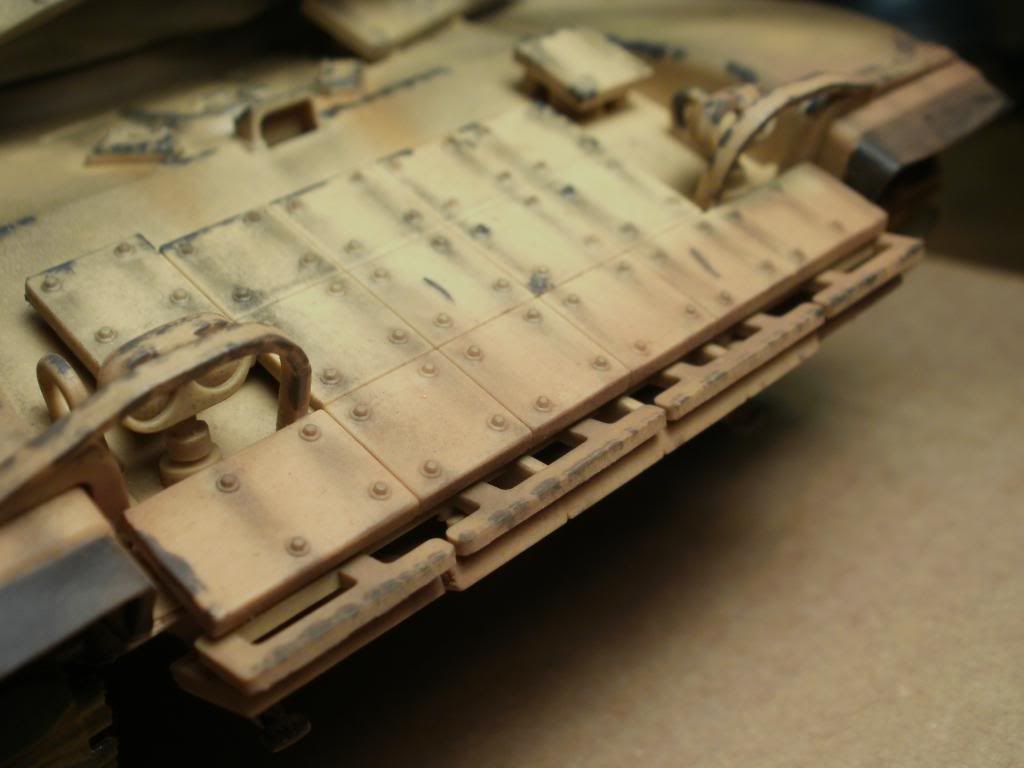
I tried some chipped paint effects with some grease stain on the side.
I'm still going to add a couple more things in the basket and possibly the tow cables, but the cables for this kit are horrifying.
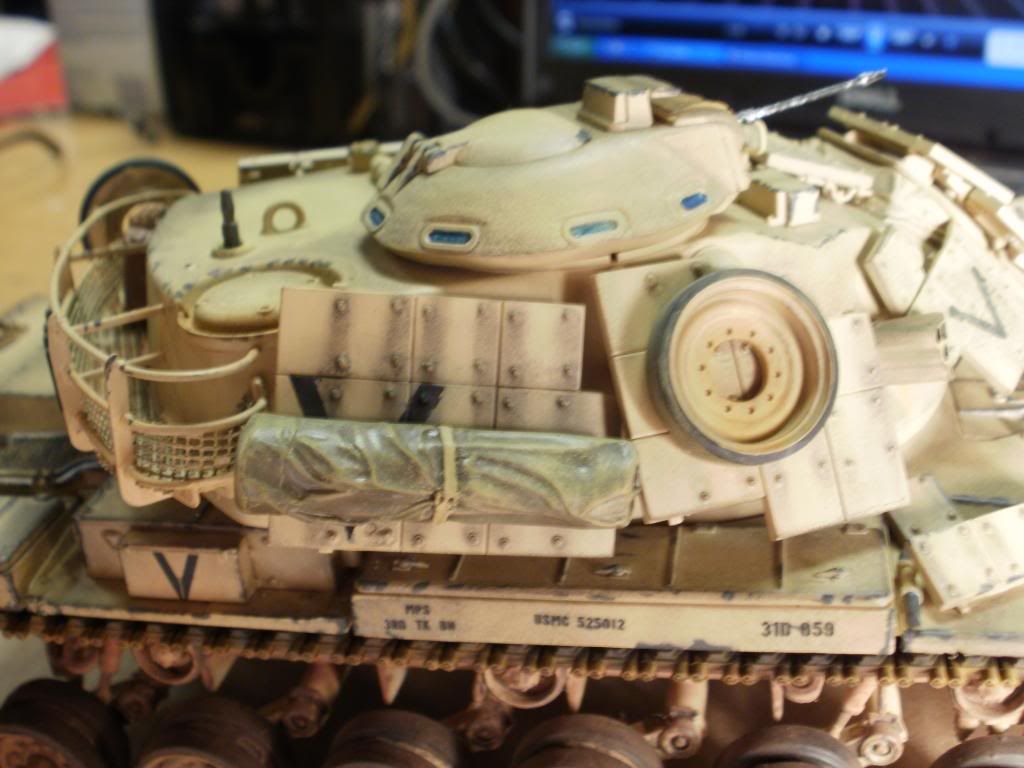
The basket is kind of empty, more stuff to come!
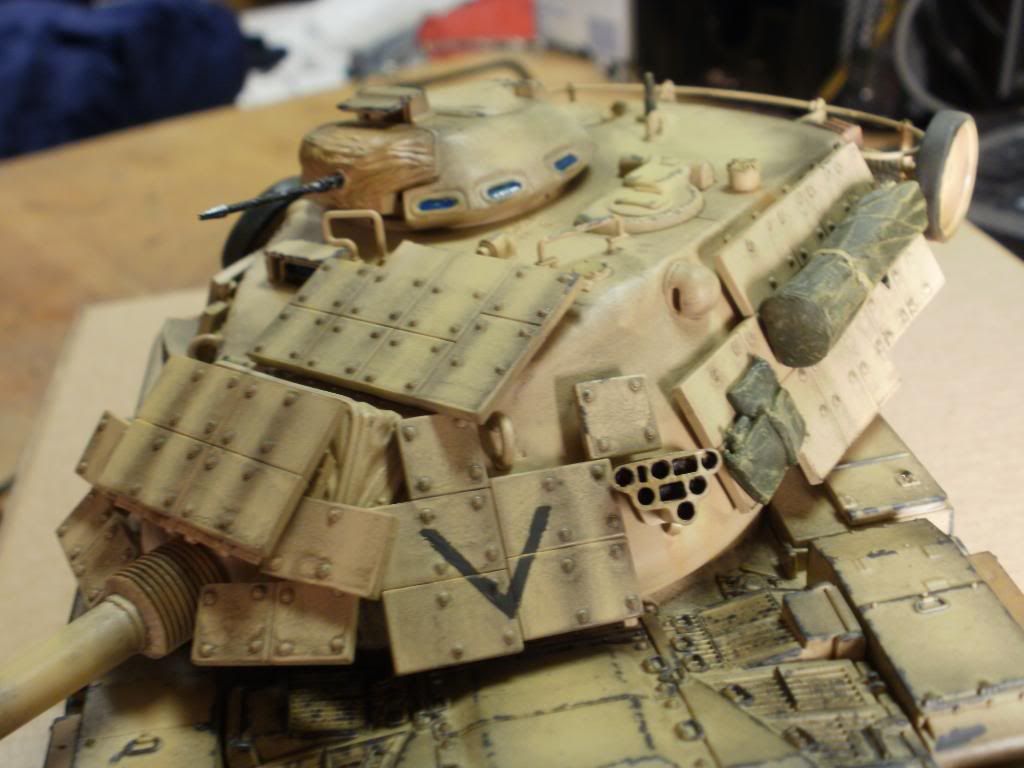
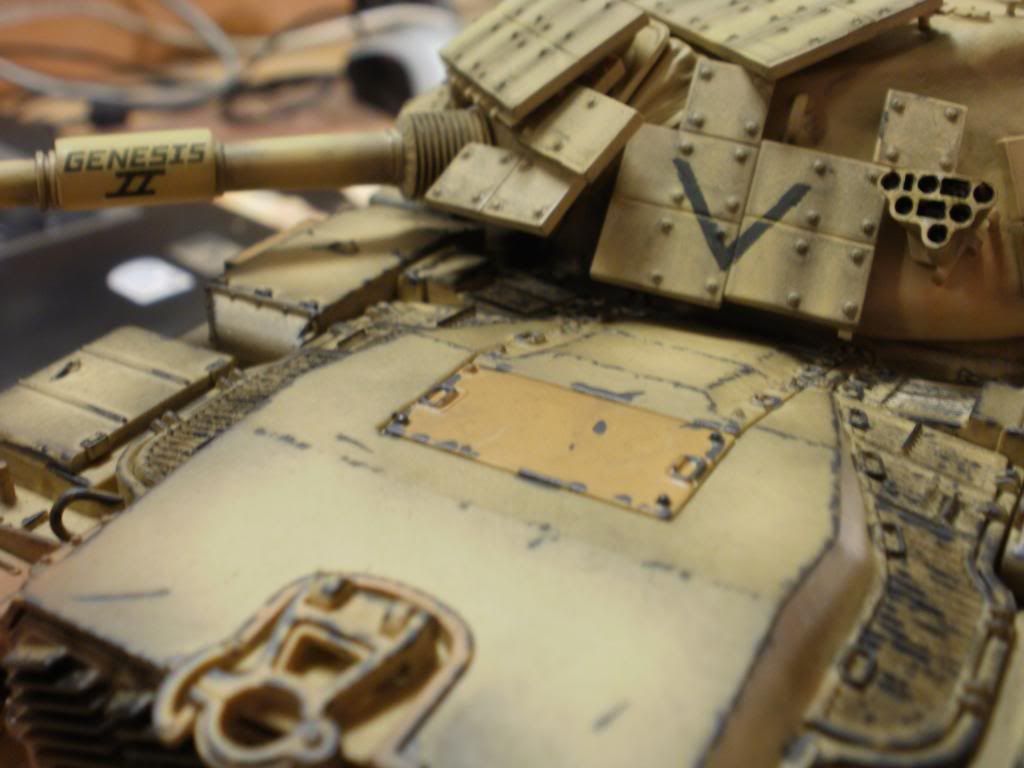
The decals were also horrifying, so I had to improvise and paint my own "Vs" on the turret. If you noticed, I'm trying to hide them with junk strapped onto the turret.
The last time I was really into making armor models I was in high school. A couple years in the Army later, and I've realized that my "used and abused" philosophy has changed completely. I used to make "clean-cut," brand-new looking tanks. After my experience in the military so far, I've realized everything we get, ride in, or have is used and abused and neglected beyond repair. I know that the Marine Corps gets a lot of hand-me-downs militarily speaking, so their equipment is usually old, broken, used, and out of date especially.
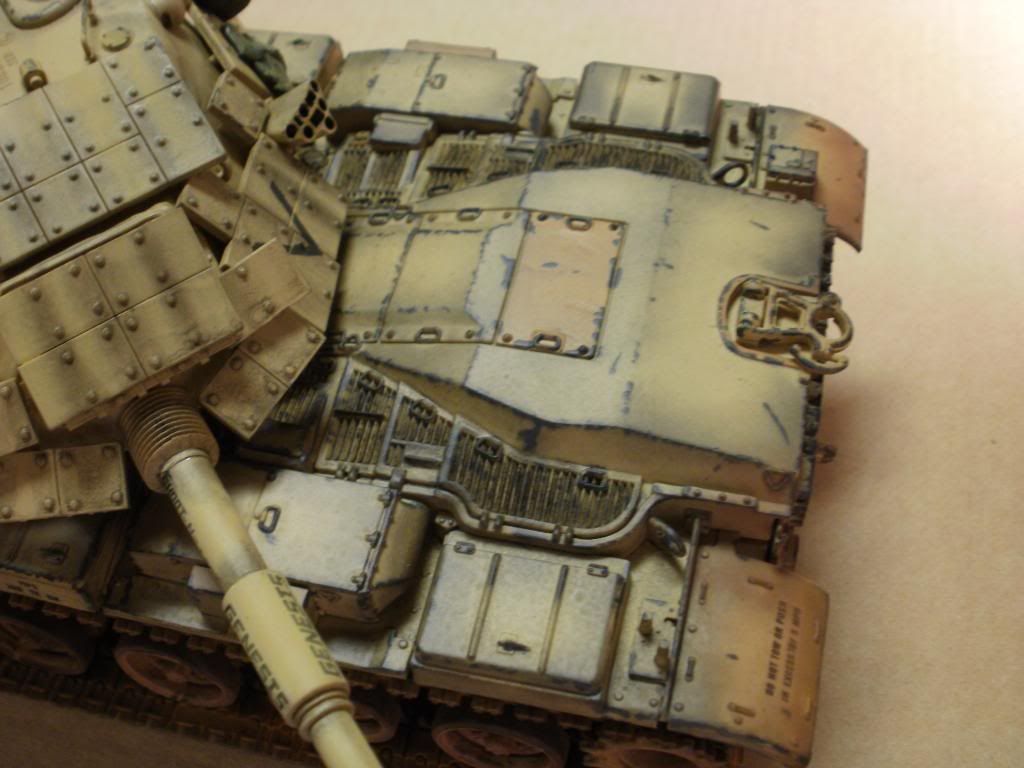
The bare metal paint chipping was done with a fine brush and Tamiya's "German Gray" (XF-63).
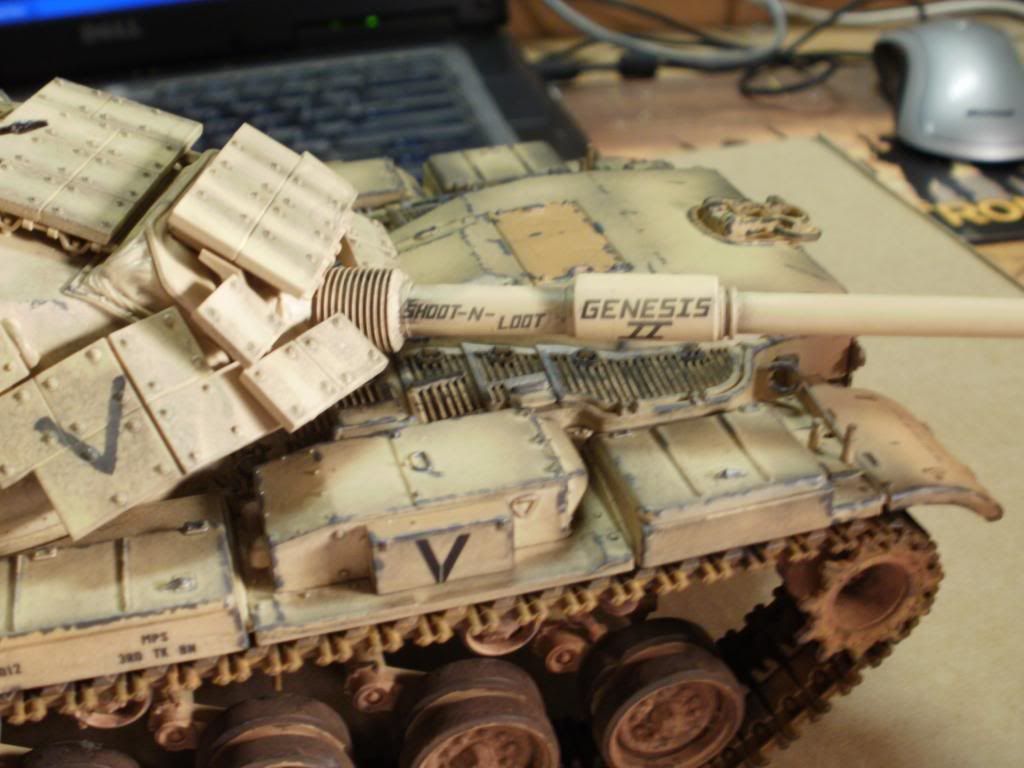
A close-up of a modeler's worst nightmare: bad, thick, non-wrapping, old decals trying to go over a bolt-riddled surface. Time to bust out the Model Master fine point brush!
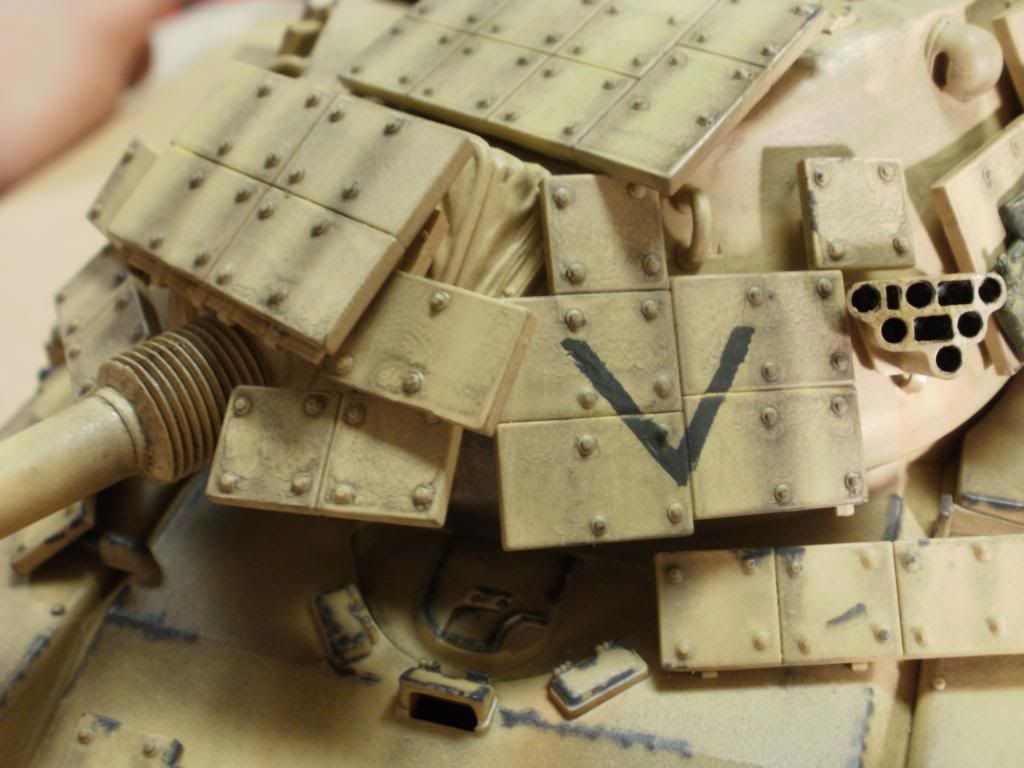
Tamiya "Clear Blue" saves the day with the portholes, while yellow pastel takes the highlights, and black pastel hugs the shadows. I'm not quite sure if those numbers are supposed to be on the turret, but from what I remember I think they are casting marks?
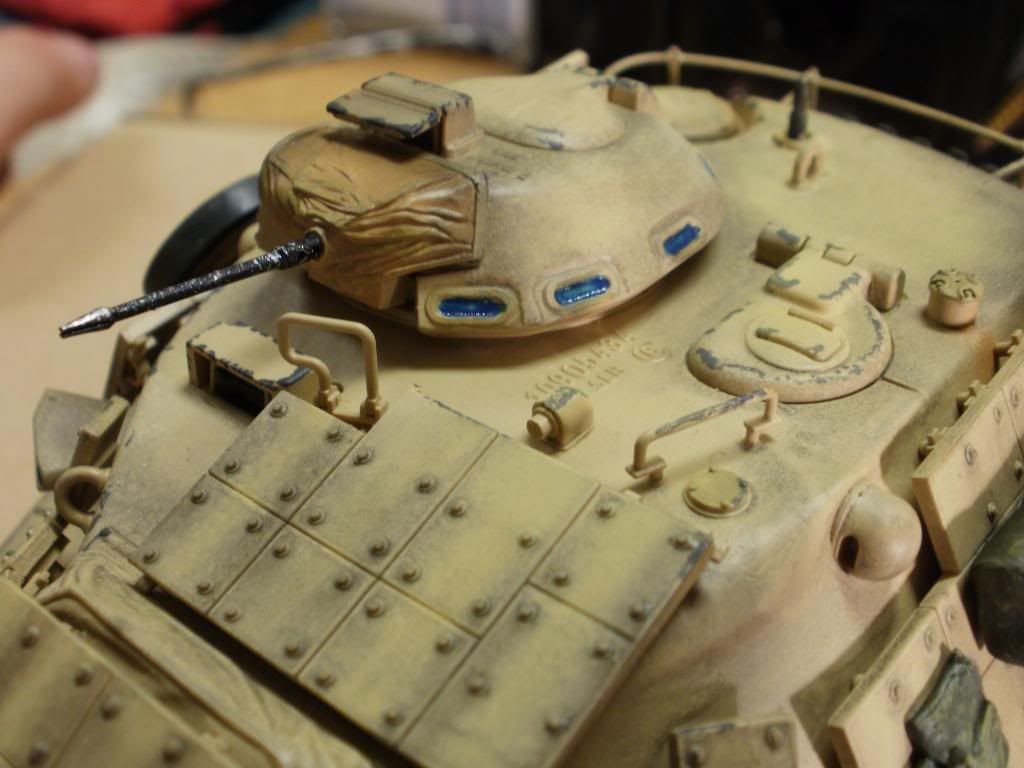
105 millimeters of rolling Hell to influence the fight!
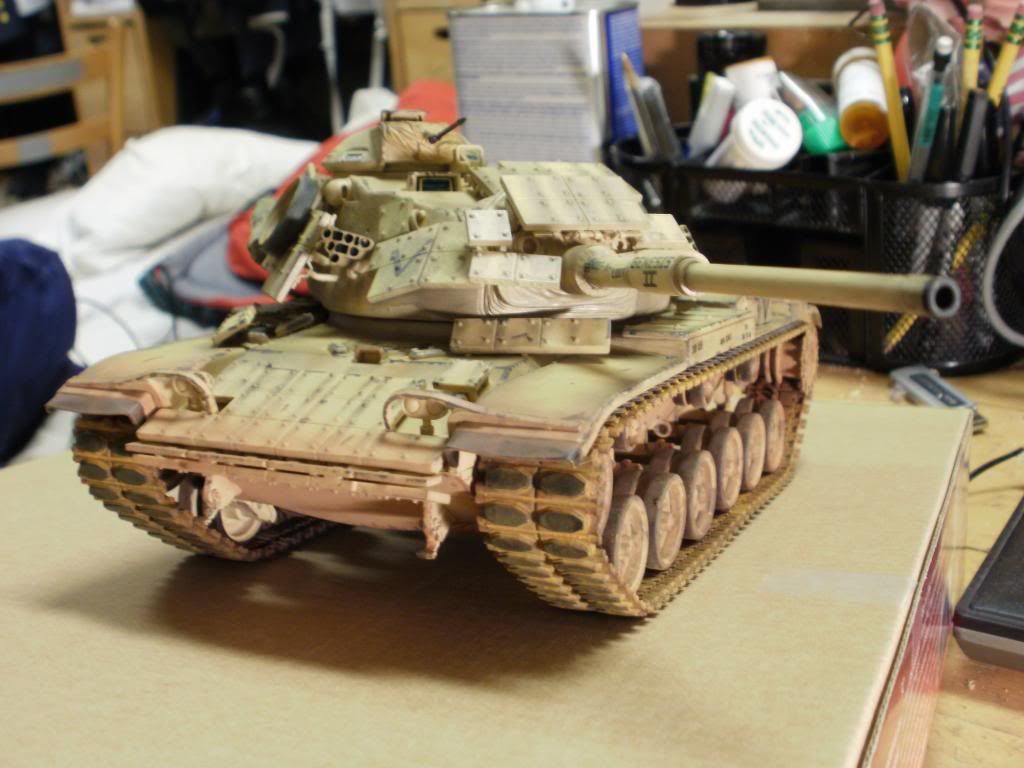
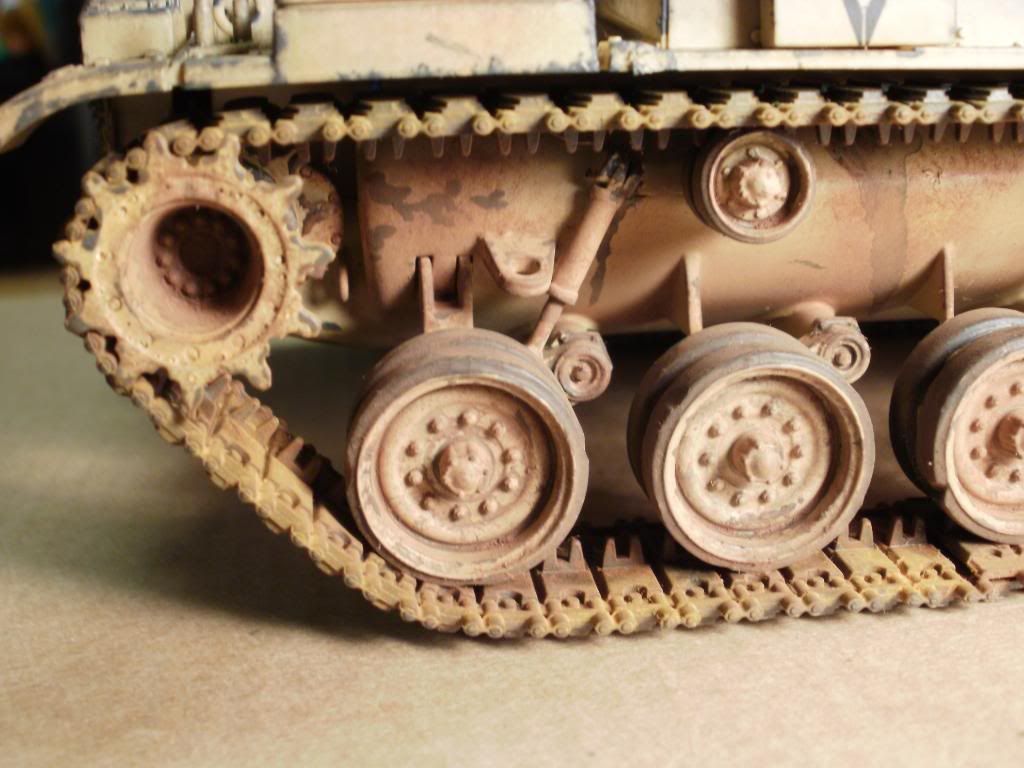
From the front. Orange pastel for rust between the rubber pads of the treads, and brown for the dirt/dust.
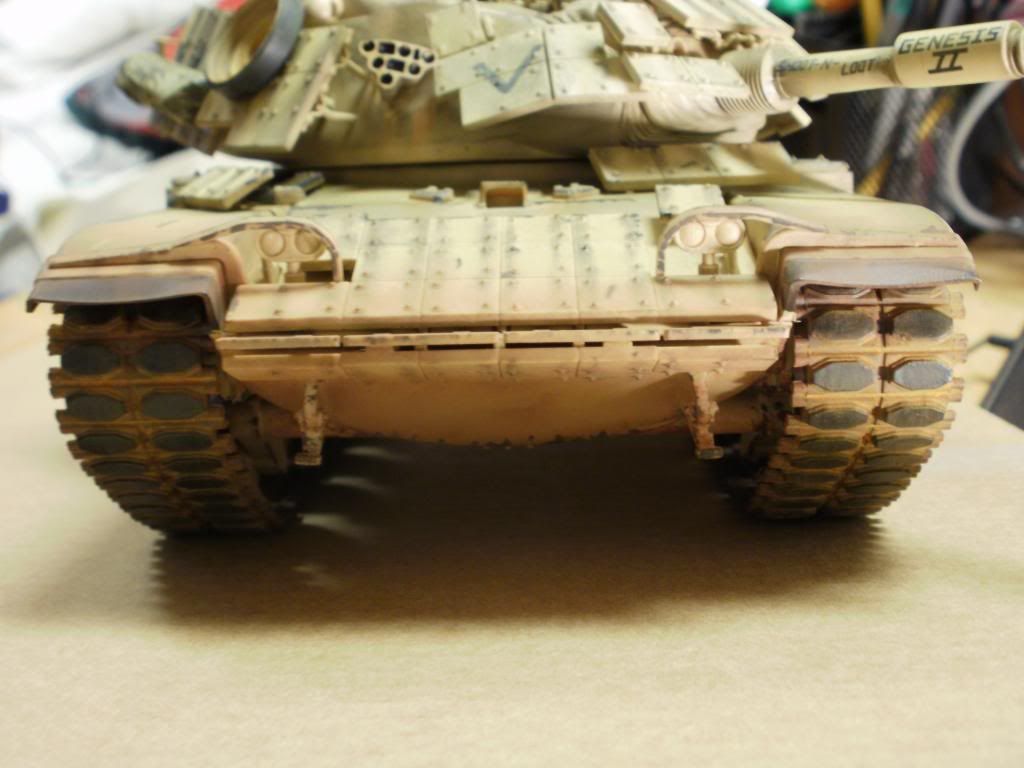
That basket is looking real empty right about now, I got some more gas cans and other miscellaneous stuff that came with the kit, I'll throw them in there.
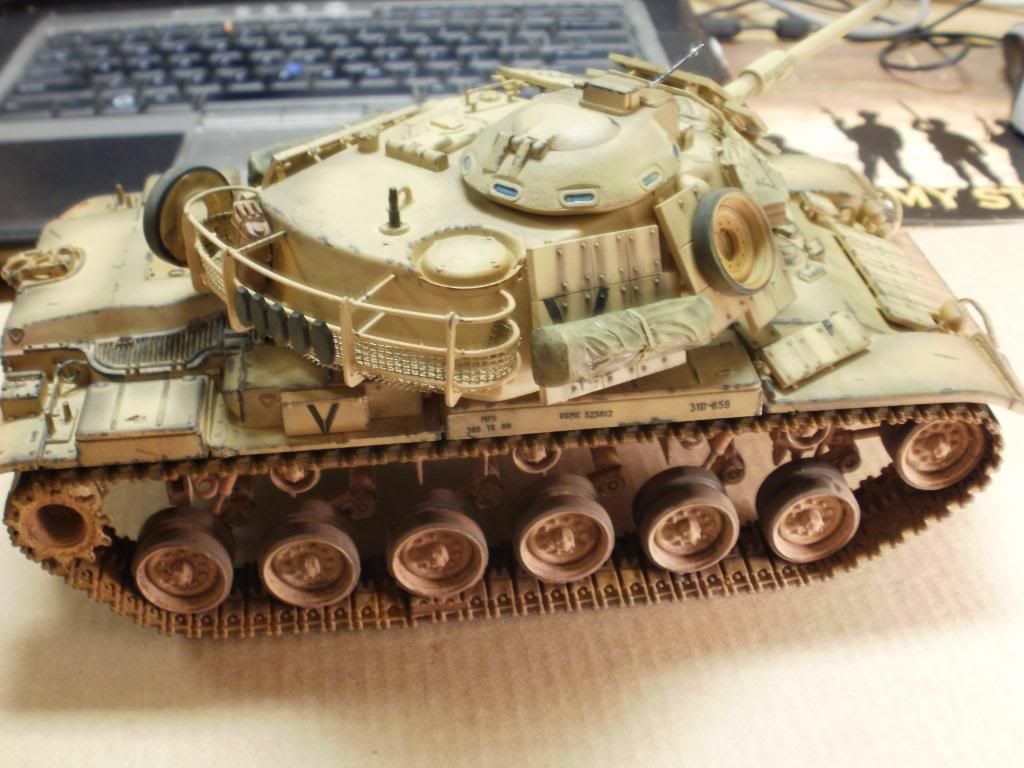
More basket, along with lonely gas can.
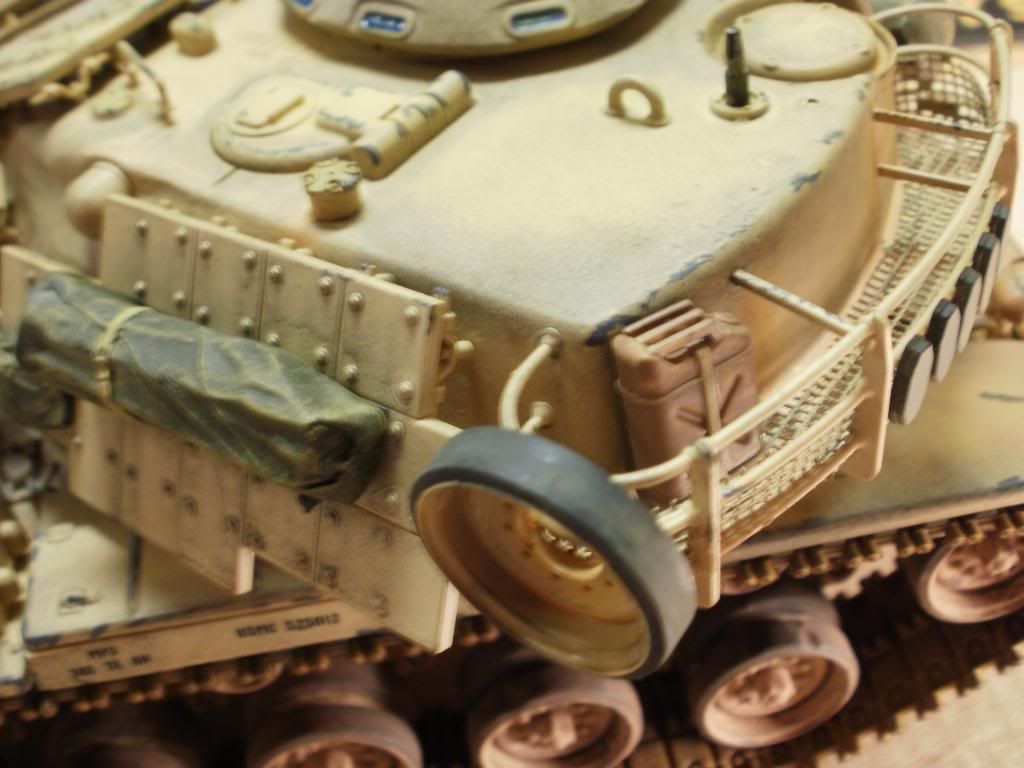
I have no experience with this type of tank, they phased these things out long before my time, but I had to make some serious educated guessing along with artistic license to make it work.
Still need to paint the lights, but "used and abused" is the name of the game. The treads are dry-brushed with Model Master enamel "rust," then the pads were painted with Tamiya "flat black," orange pastel was dusted into the crevices, Tamiya "German gray" highlights the tread pads, and it's finished off with a light dusting of brown pastel.
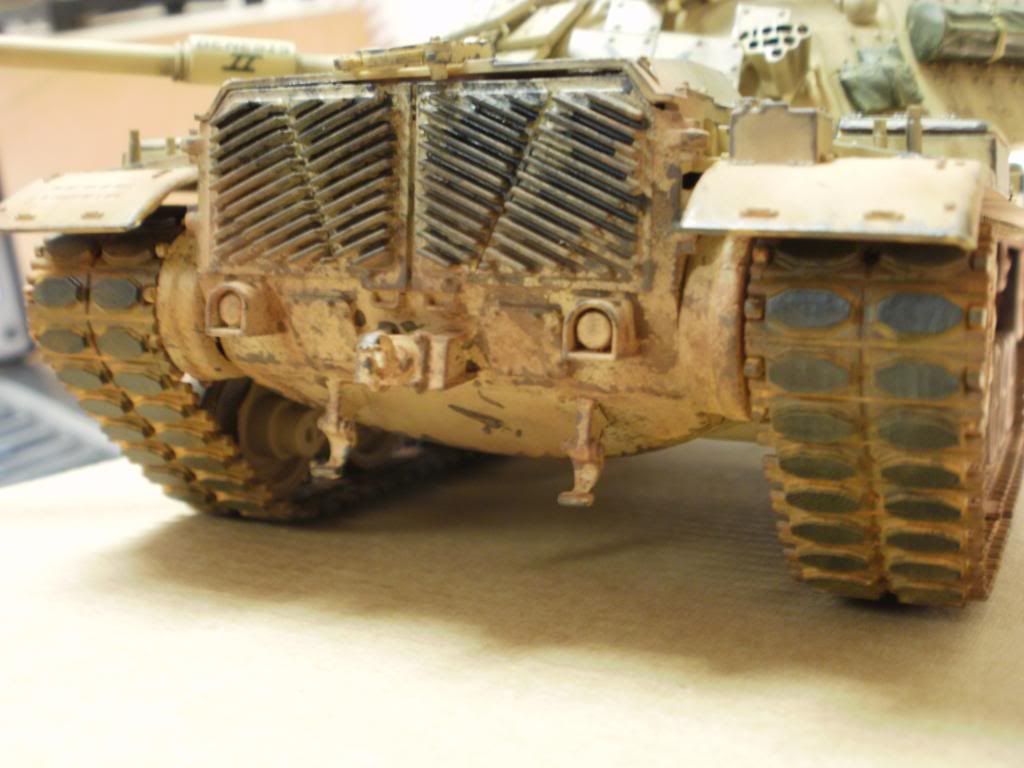
Maybe it's just me, but with the reactive armor configuration this tank kind of looks like an Israeli Merkava to me.
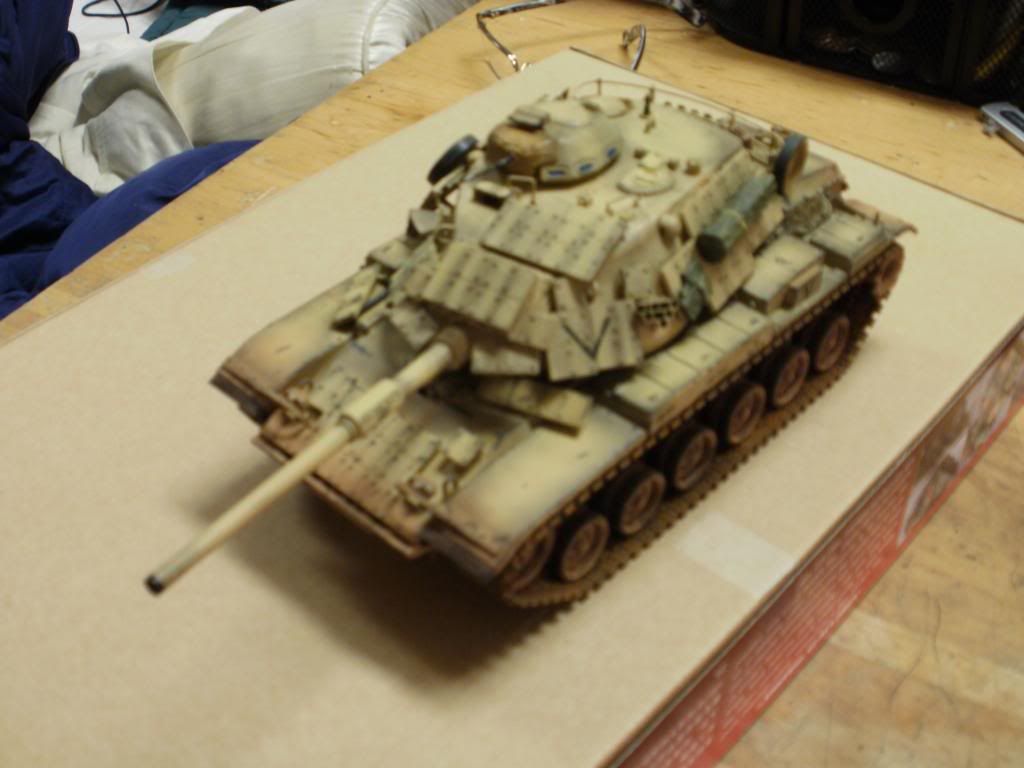
Done! Well, sort of. Still have some minor things to add. I remember I always worried about adding "too much" weathering and details and whatnot, so maybe it's good to fix the essentials and stop here. The M60 is sitting on the box of the next project: Trumpeter's "USMC LAV-25."
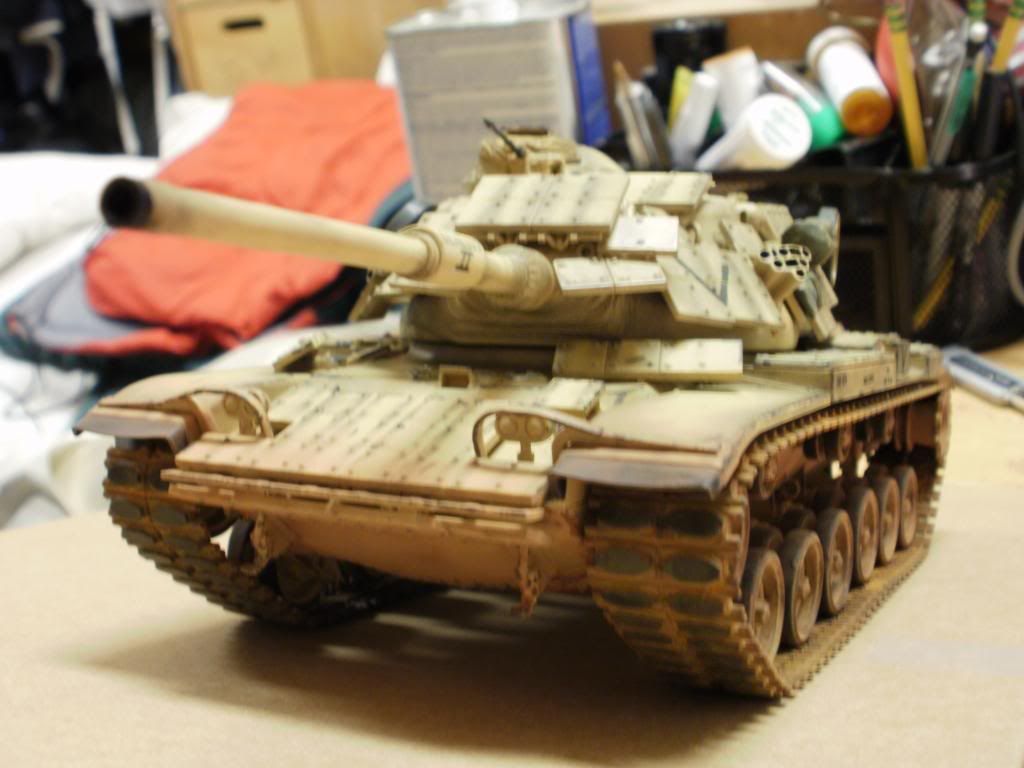
Afterthoughts:
The kit was pretty enjoyable, it's been a long while since I've done this kind of stuff and it was fun taking liberty in town to rummage through the local (one and only) hobby shop and piece together the stuff I needed for this. With my airbrush back home and in storage somewhere, I utilized (for the first time) Tamiya spray cans and Model Master Lacquer sealants and I had a good experience with them. The kit itself is kind of old, and the decals are downright rancid. The kit also had this funny tendency to put seam lines at the most inopportune places. For example, the turret is two pieces, with a nasty seam line right in the middle of the turret towards the bottom all the way around. The hull has a nasty seam line where the two parts (top and bottom of course) meet, the line is right about where the top road wheels are. The mini-turret with the 50 cal on top is also cursed with this. The most horrifying of all was the barrel, with the unique "waffle"-looking base to the gun, but it worked out alright. For sustains, the kit had good fitting throughout the entire thing, I never had a problem with fit issues. The parts are detailed and the aged kit still competes with modern kits (at least I think it does, you decide). Worth building? Absolutely! It was a lot of fun, build time was several days (with nothing to do in the barracks, limited formations, and no guard duty, it got done fast enough).
Thanks for looking everyone!
-Mr. 2nd Amendment