Fire Mission
M104 – 1 ½ Ton Trailer.
Introduction
A number of AMPS members are working on a “group build” to build a diorama of the Thunder Run of the 3 Infantry Division into Bagdad for the Fort Stewart museum. These models need to be finished by 2014. As part of that group build I was asked to take care of a number of details and to also construct an M104 trailer for the engineer M113. So before I begin my M1009 I thought I would get this quick build out of the way.
Background
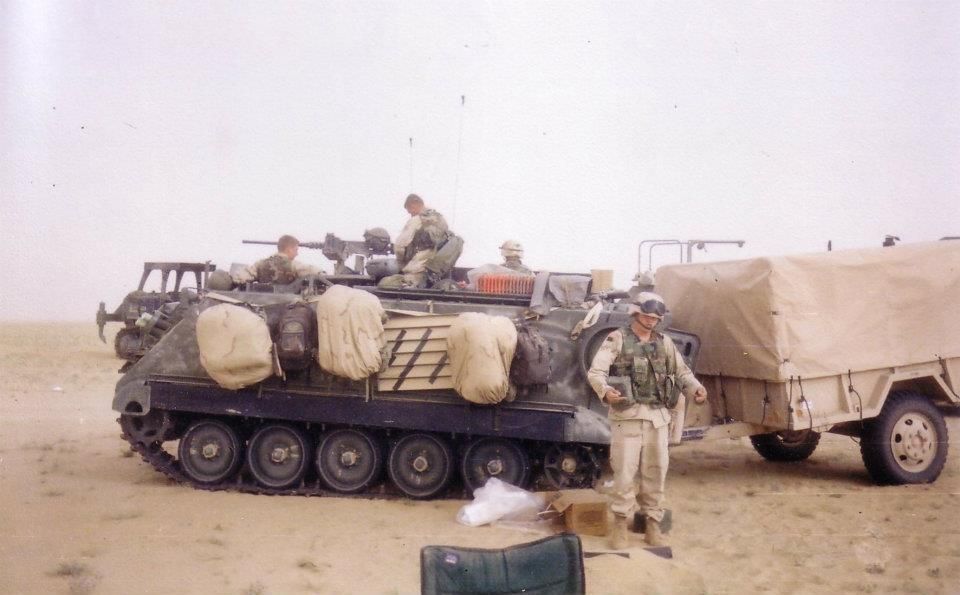
The M104 trailer has been around from the 1960s and is the standard 1 ½ ton cargo trailer used by the US Army. It’s general dimensions are X feet long by X feet wide and X feet high with a cargo area of X cubic feet under the canvas.
Build
After my last build I decided to fit in this quick build as a change of pace after my last long build. For this build I will be using the Azmut M104 trailer resin kit.
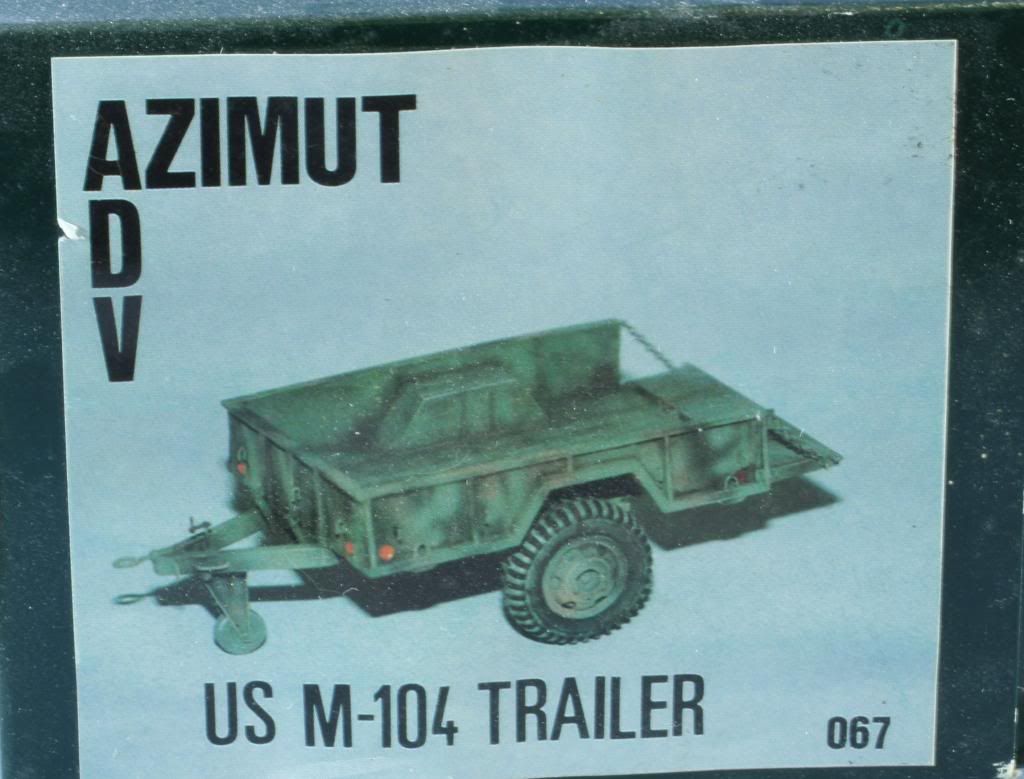
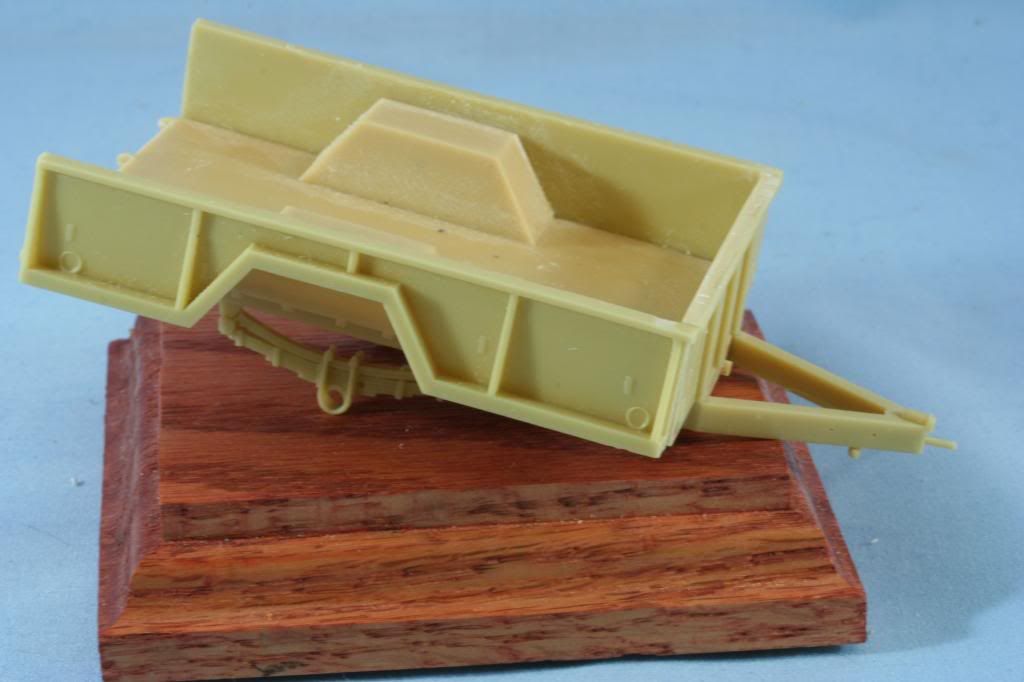
The kit itself is quite simple and contains less than 30 parts. The first steps are to assemble the main trailer itself, which consists of the trailer floor, three wall panels, tail gate and front towing bow. The resin itself is well cast but the longer side walls had a slight warp to them which required clamping to glue. After assembling the three side walls and front bow I attached the leaf spring suspension.
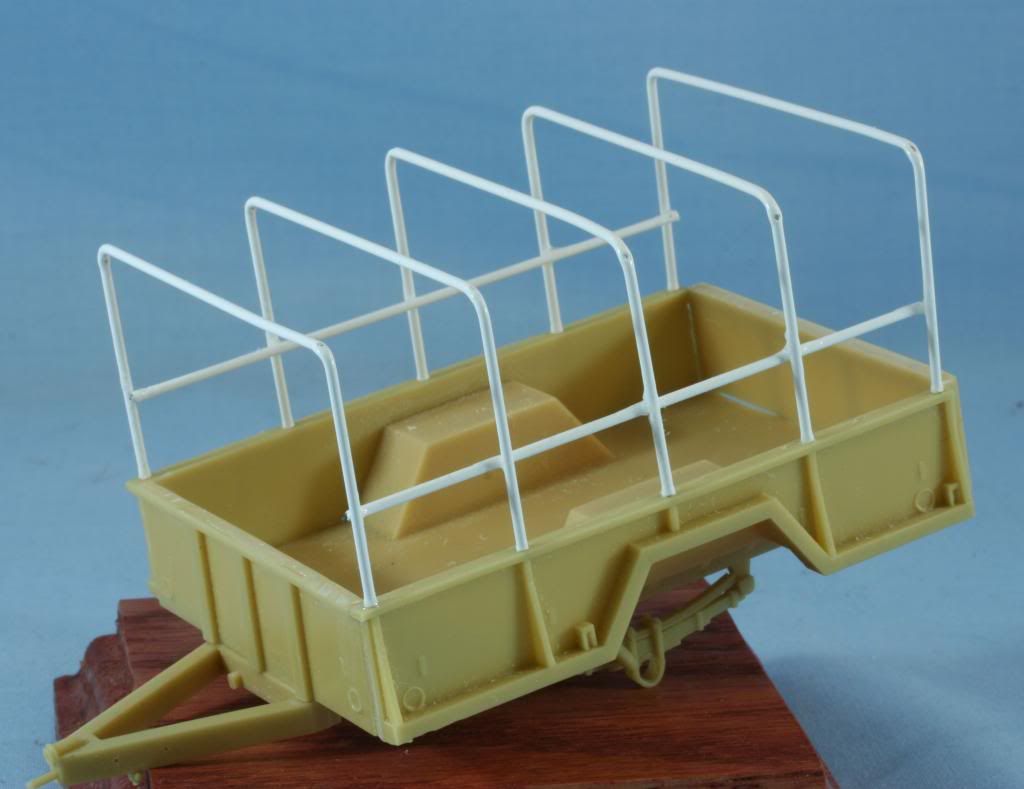
After the base assembly and attaching the tail gate I went to work scratch building the canvas cover bows. The kit does not come with bows or a canvas cover. After measuring, the bows were made using .020 styrene coated wire. Five bows are required. Prior to attachment, and after marking, I drilled .020 attachment holes along the top of the side walls and then attached the bows using CA glue. To stiffen the bow set a lateral connector was made from .020 wire and attached to each bow on each side about ½ inch from the top of the side walls.
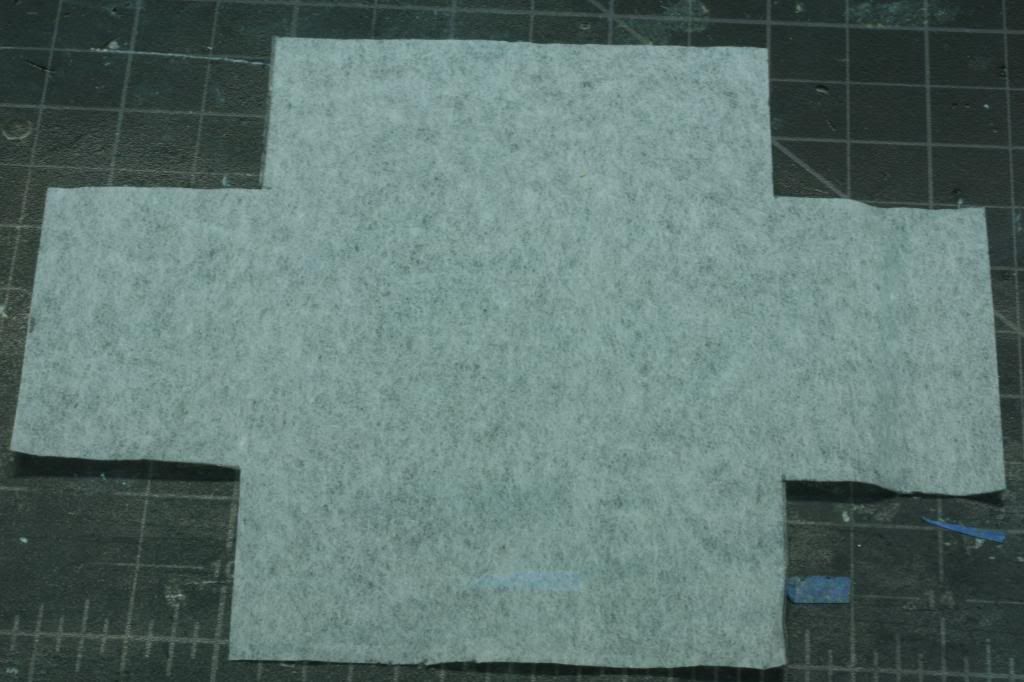
Next was the canvas cover. The actual cover is one piece so I made the model canvas in the same manner. After determining the length and width, I marked a sheet of airplane (jap) tissue allowing an extra ¼ inch in each direction. This allowed for 1/8 inch folds on all sides to crate a hem and have a clean straight line at the attachment point.
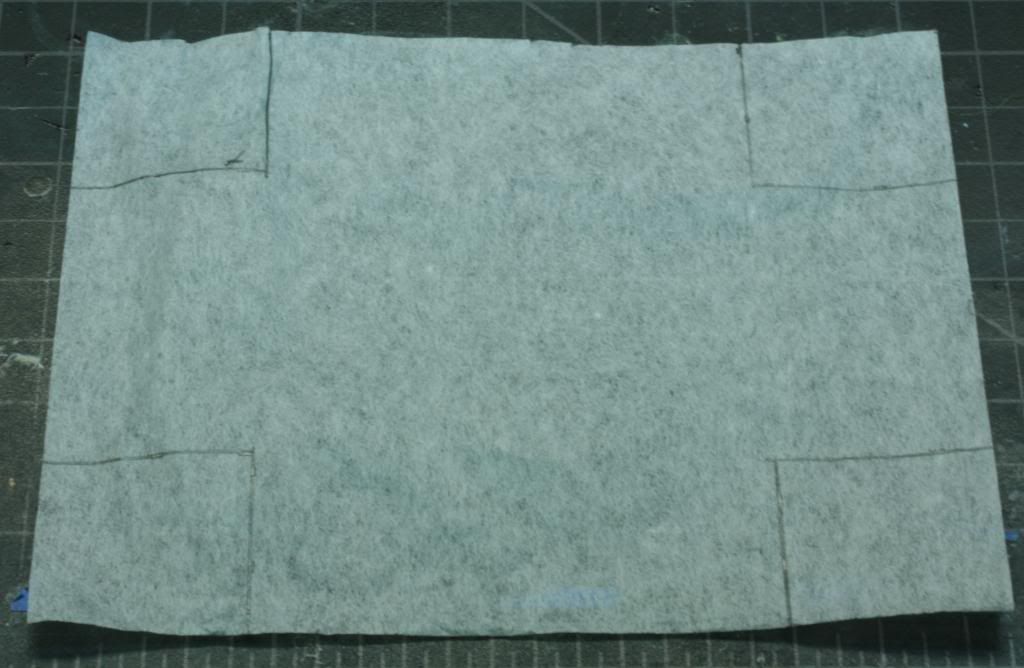
After cutting the canvas from the sheet, using a steel ruler to create the hem folds, I created the folds on all sides and coated the folds with landscape glue (watered down white glue) to hold the folds together. These folds were allowed to dry overnight before handling the canvas to apply it to the trailer.
I applied the canvas by first applying thin coat of white glue on one side wall panel and positioning the canvas. Then as I form the canvas over the bows, I applied a tin coat of white glue on the inside of the tail gate and attached the bottom of the rear cover. Now while holding the canvas in place, I applied landscape cement to the canvas in the areas of the bows and the attached the opposite side wall with a thin layer of white glue. While everything is still wet I carefully check and make minor adjustments for positioning. With everything in place the sides, top and back are completely coated with landscape cement and allowed to dry.
Once dry I applied a thin coat of white glue to the front panel and attached the forward end of the canvas. With the forward end in place the forward canvas was folded onto either side and held in place by landscape cement. Once in place the forward end was coated with landscape cement and allowed to dry.
With everything in place, a second “sealing” coat of landscape cement was applied to the whole canvas, completing the application.
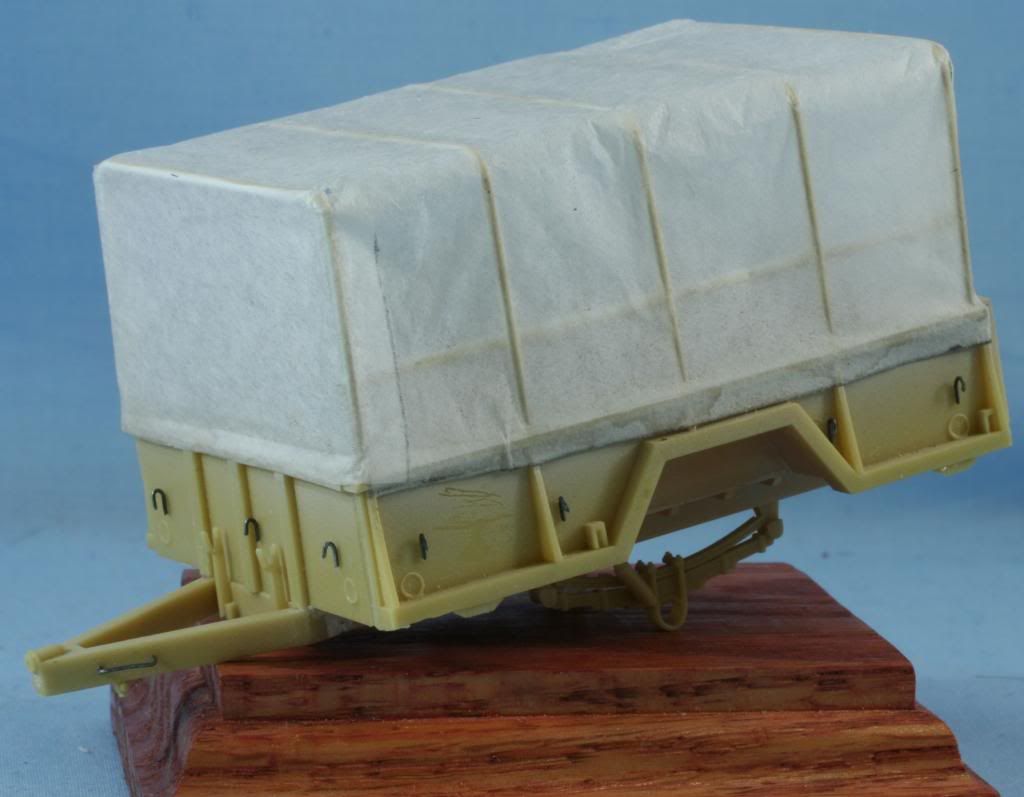
With the canvas applied I made the canvas tie down hooks from 20-gauge stainless steel wire. Fourteen are required all around and were attached using CA cement. Also four small under carriage details, which are supplied with the kit were also attached.
On the front bow there are two lifting handles, one on each side. These were also made from 20-gauge SS wire and attached with CA glue. The trailer brake handles were attached to the front of the trailer at this time also. In the rear, I applied the tail light assemblies to each side of the rear bumper.
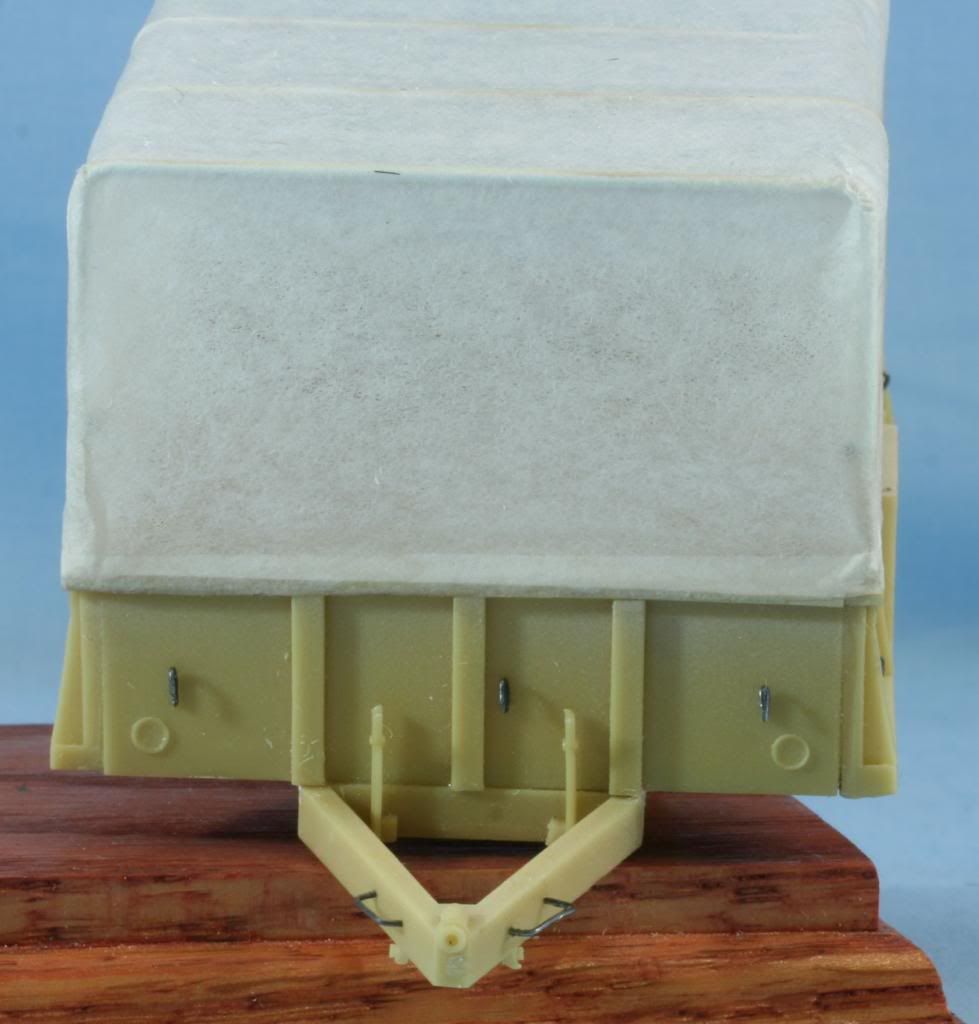
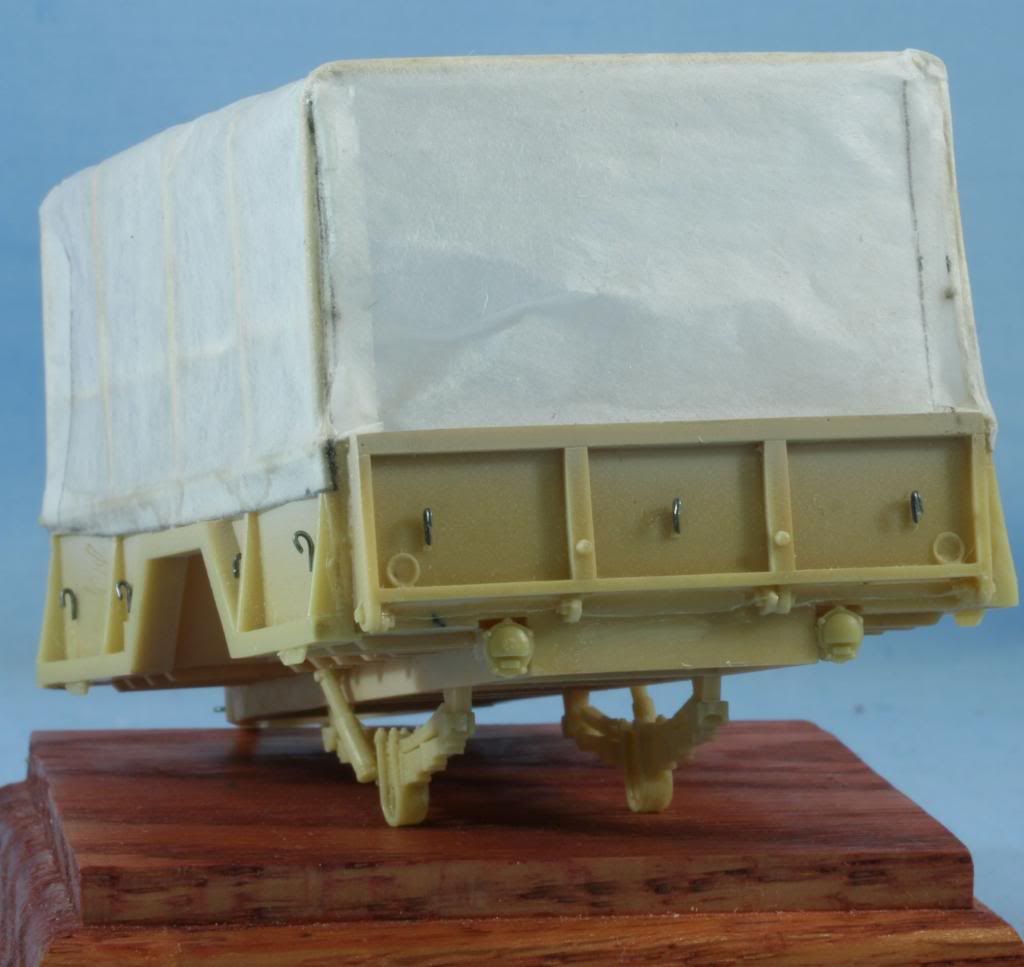
The third wheel assembly also has lifting handles, which are also fabricated using 20-gauge wire.
At this time I also cleaned up the tires and the brake/wheel assemblies and it was time to head to the paint booth.
These trailers were usually painted NATO camouflage and then painted sand for use in Iraq. With that in mind, I primed the trailer and assemblies with Vallejo OD primer. After allowing a day to dry, I applied Testors Acryl Sand to the trailer.
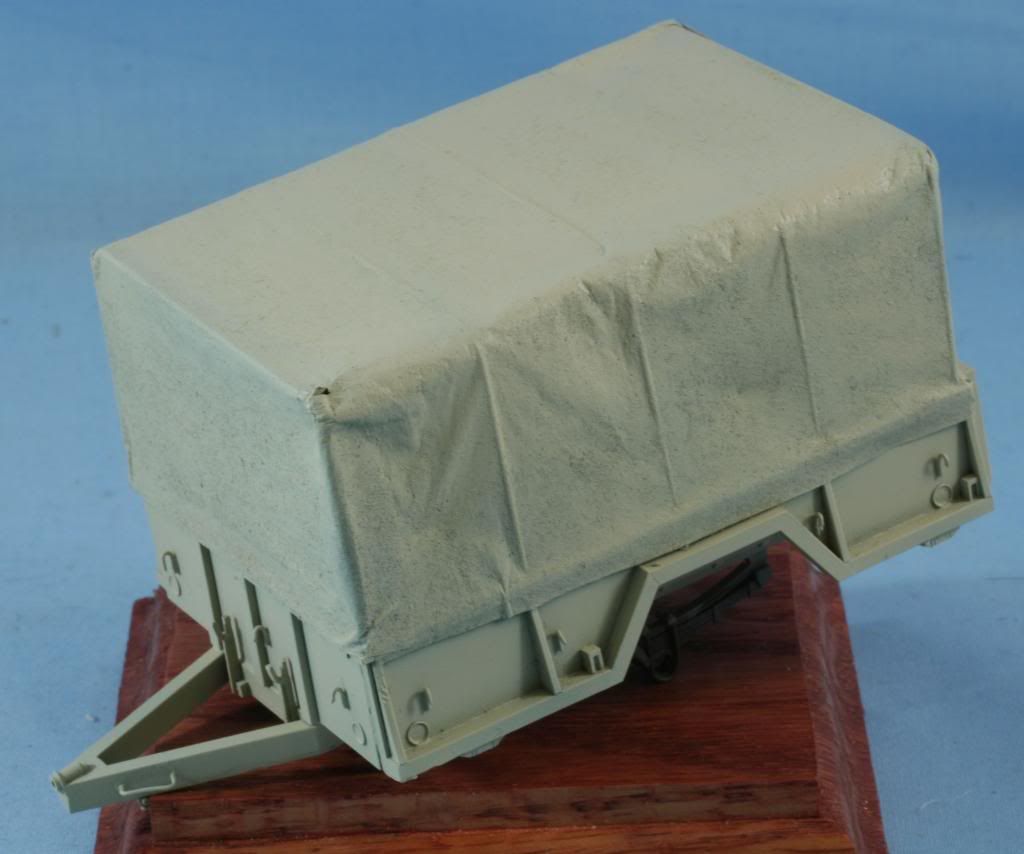
That is it for now.
As always, all comments are welcome
Rounds Complete!!