Fire Mission
1/35 M114A1 Howitzer in Viet Nam
Introduction
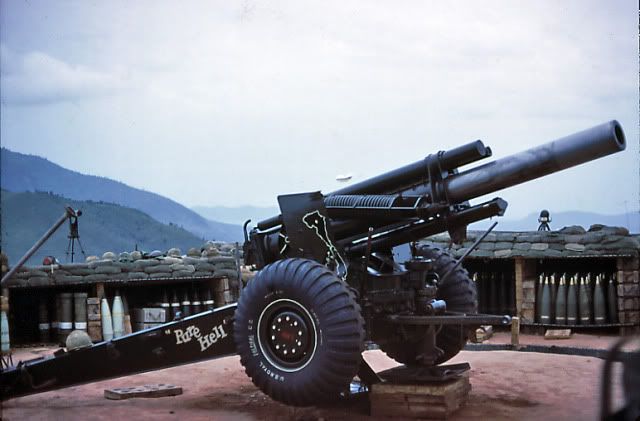
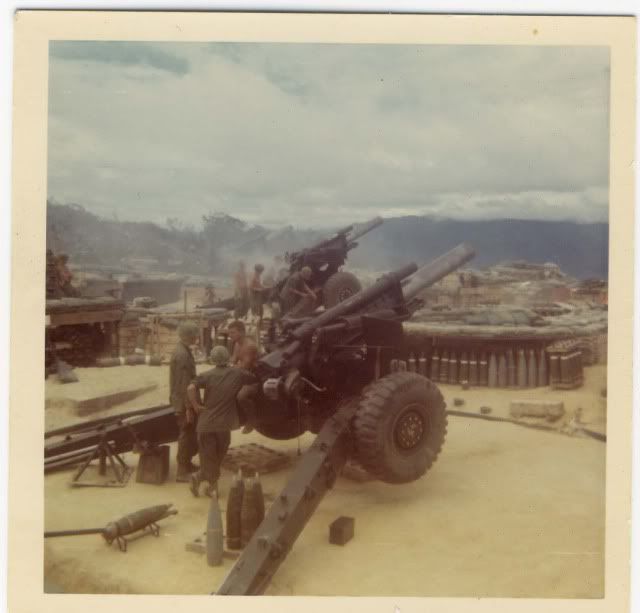
The M114A1 began development in the late 1930s as a replacement for the aging M1918 howitzer. Introduced in early 1942 as M1 155mm howitzer, the carriage was also used in limited production to mount a 4.5 inch gun. The howitzer went thru some modifications thru time to the brake system and firing pedestal becoming the M1A1. By the Korean War the weapon was also mounted on a M26 Chaffee chassis to be the M41 155mm HMC. In 1962 the M1A1 was re-designated the M114A1 howitzer. It had a few more changes in the mid 70s to become the M114A2 which included a newer barrel. The howitzer remained in service until the mid 1980s when it was phased out by the new M198 155mm howitzer which has recently been phased out for the new M777 155mm howitzer.
Known affectionately as “the pig” the M114A1 was a notable site on many firebases in Viet Nam.
The Kit
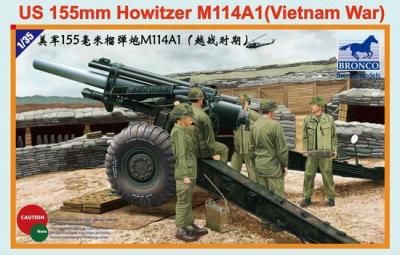
I will be using the new Bronco M114A1 155mm Howitzer kit. The kit is far superior to the old Italeri kit with much more detail. The kit has 8 sprues, two for the tires, two for projectiles and powder cans, a small sprue of powder bags and the rest for the howitzer. It also includes a small PE fret. As usual I will be adding other items to emplace the howitzer when finished.
The Build
The first five steps in the instructions involve assembling the breech, barrel and recoil cylinders. I will be using the Bronco metal barrel. You need to use the Bronco barrel for the M1 to be correct for the M114A1. Their metal barrel for the M114A1 is actually for the M114A2.
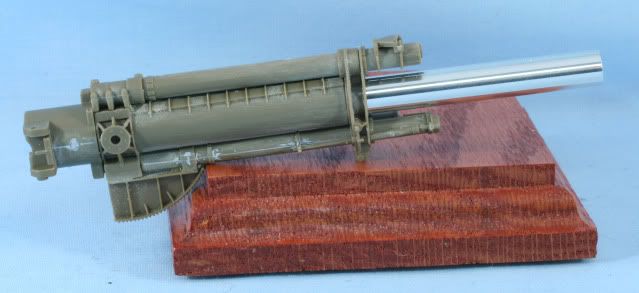
As for the kit assembly, all of the recoil cylinders and the rear barrel sleeve are all split cylinders. Also the plastic is hard and when removing from the sprue leaves a divot in the plastic. Needless to say all the cylinders needed to be sanded and seams sealed with Mr. Surfacer. The forward brackets had pin marks which would be visible and had to be filled and sanded. The breech though cast as one piece had a bad mold seam and a divot from removing from the sprue. The heat vanes on the side of the barrel also had a few pin marks which were a royal pain to fill and sand.
After a bunch of time spent filling and sanding here is he cannon assembly with breech.
While waiting for coats of the Mr. Surfacer to dry on the cannon parts, I decided to assemble the tires. The M1 kit uses a number of rings to create the tire with treads. The M114A1 used a military tire so Bronco went with a solid cast tread ring. The rim is actually the rim and part of the tire side wall. After careful assembly there is still a fine seam on the sidewall portion which will need Mr. Surfacer. The inside rim is not quite flush and will require some sanding before sealing. These will be a project while waiting for other parts to dry as I go along. Here is what the assembled tires look like.
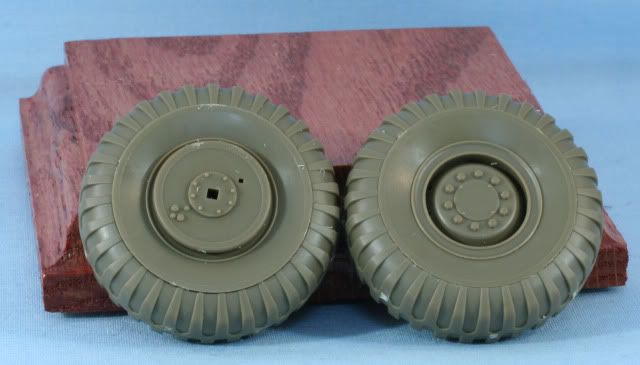
We are off and running. Next I will skip forward to the lower carriage assembly.
As always if you have any comments, please feel free to drop in.
Rounds Complete!!