With my Valentine built the plan had been to next build a diorama for it, but .... well .... there was another box sitting there and I just couldn't resist. So the diorama is on hold, and I've been tank constucting again 
I've been building British Second World War Tanks and I'd decided that it made sense that the last tank in the series should be the Centurion as although it did not see active service (getting over to Europe before VE day but not getting to the front line), it does represents where British tank design got to by the end of the war.
Although a Mark 1 kit has recently become available, I managed to persuade myself that a later mark would still be in the spirit of British Tanks of World War Two, and I fanced the look of the IDF Shot version by AFV Club.

It's certainly been interesting comparing the Centurion with the other British tanks I've built this last year. The first things to build were the suspension units. I had assumed that the suspension would be along the lines of the Cristie systems in the Crusader and Centaur I've build. But they are very different, being more like Sherman easy eight suspension units to me.
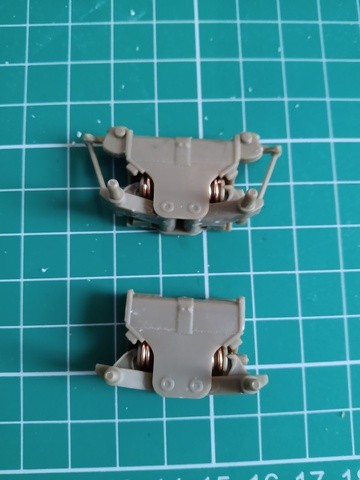
It's nice having real springs in the units so that the suspension moves realistically.
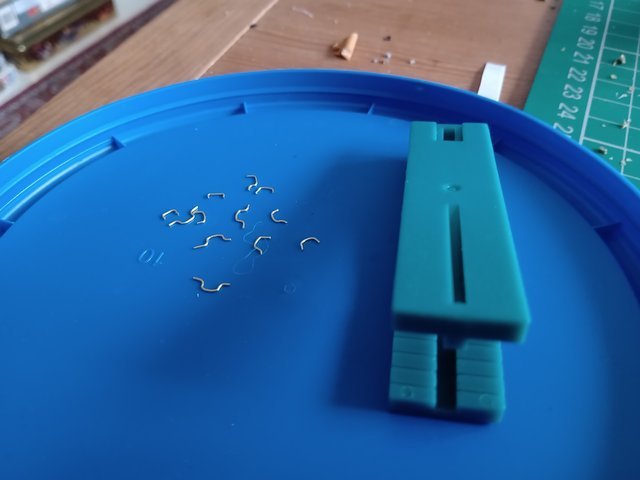
Building the hull was straight forward. I was a little worried that the upper plates wouldn't align as there are a number of panels that abutt against one another. But in fact they went together fine. My only problem was that I struggled to cut the handles off the spues in one piece, and therefore decided to use wire instead (a chance to use my new handle benders).
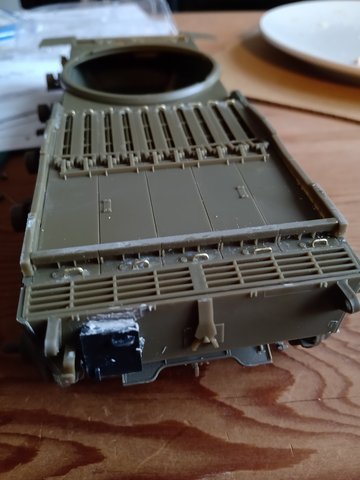
Today I have finally finished the hull build. It's not as clean as I would hope but I think with a little more preparation work it will be fine.
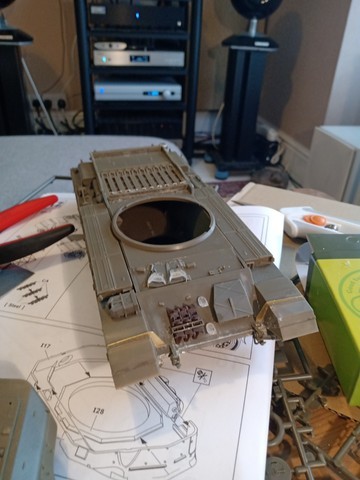
I've also started to build the turret. For me the most challenging aspect of this was that I'd bought a third party mantle cover. To fit it I had to saw off the front of the turret.
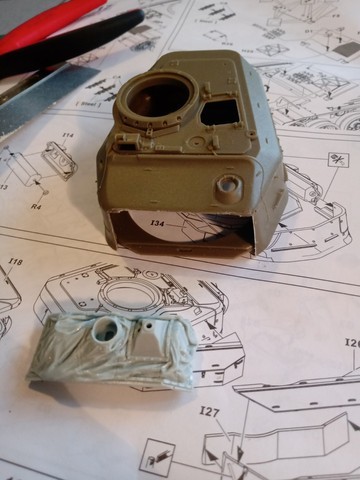
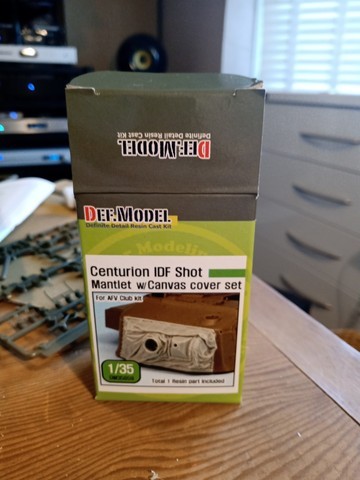
I was surprised how well that went. There is some filling to do, but in fact it wasn't too difficult to work out where to cut though the turret as the hole was square and the resin part fit very nicely. There is a little filling to do, but I expected to have to do more than I do.
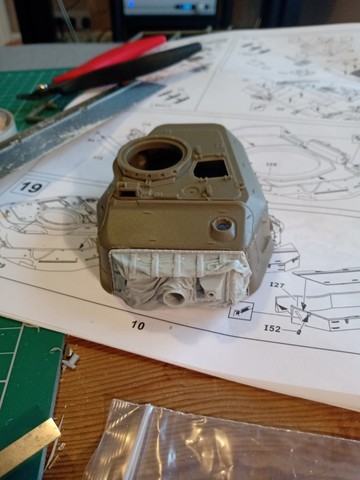
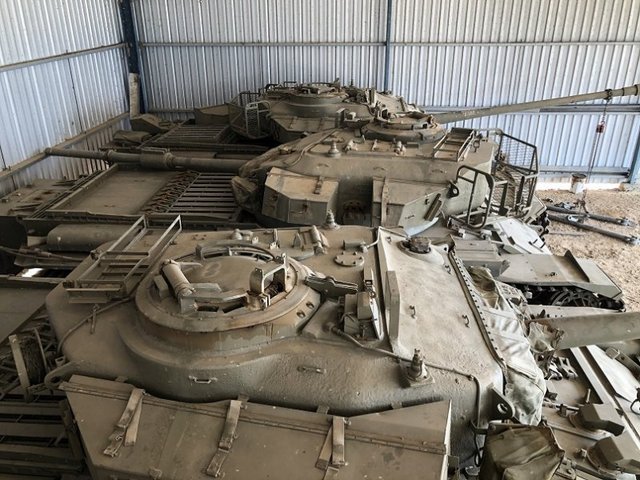
I'll need to do a bit of work to hide the join around the top of the turret where the parts fit together. Looking at photos of Centurion turrets there is no seam there, so I'll need to do some filling and sanding, and apply some surface texture paint.
In fact the fit of the main turret segments is not brilliant - which is a little disappointing seeing how well everything else has gone together.
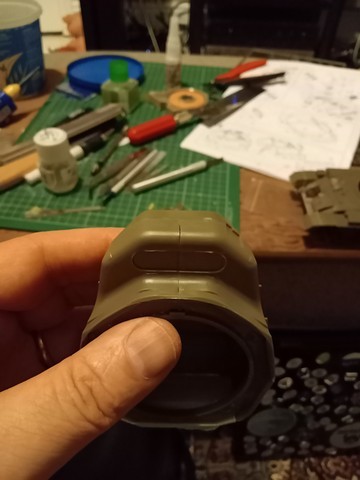
The fit at the front was worse than the back but fortunately the front join was cut away to fit the mantle.
Other than that, the kit has gone together very nicely. The plastic is a little softer than I'm used to. That's fine. The only issue being a slight adjustment to the pressure needed to cut through pieces. So a little bit of getting used to it needed.
An annoyance is that a lot of sprue connections are onto alignment lugs, and I have cut a few away without realising it. For example, one of the exhaust assemblies had to be placed by eye as I'd sheared the lug off in taking it off the sprue.
Overall I've been really pleased with this model. It has gone together very nicely and I'd happily consider getting another AFV Club model, and recommend this kit to anyone considering building one.