Hi all,
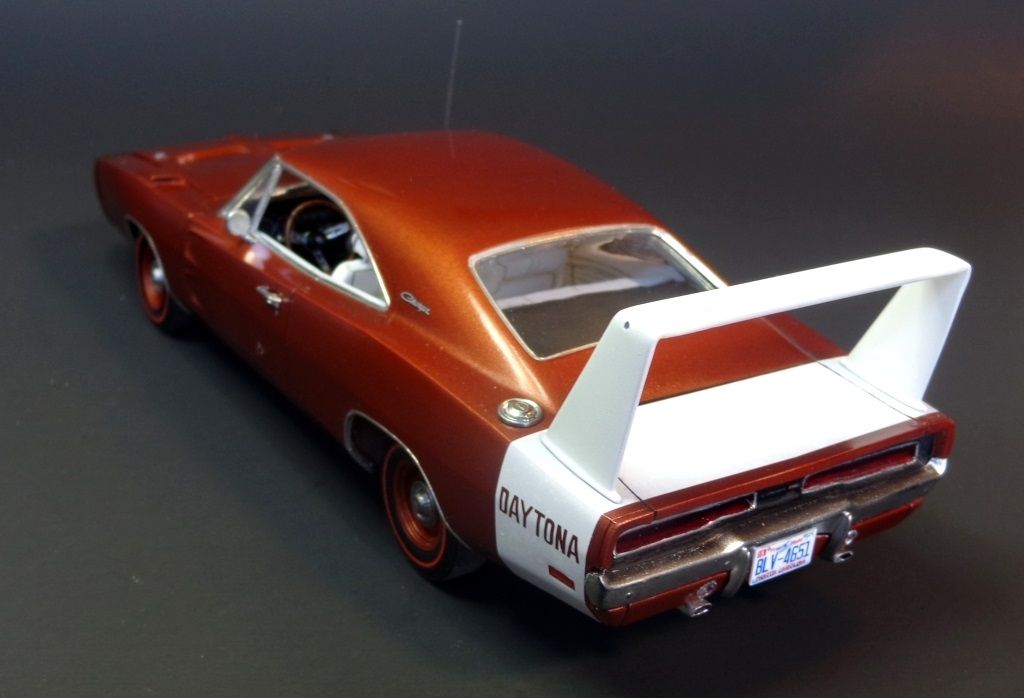
I am happy to say that this one has finally wrapped up. It was a typical auto build for me--full of setbacks and screw-ups and patience-testing minor disasters, but I somehow pulled it off. Here she is....
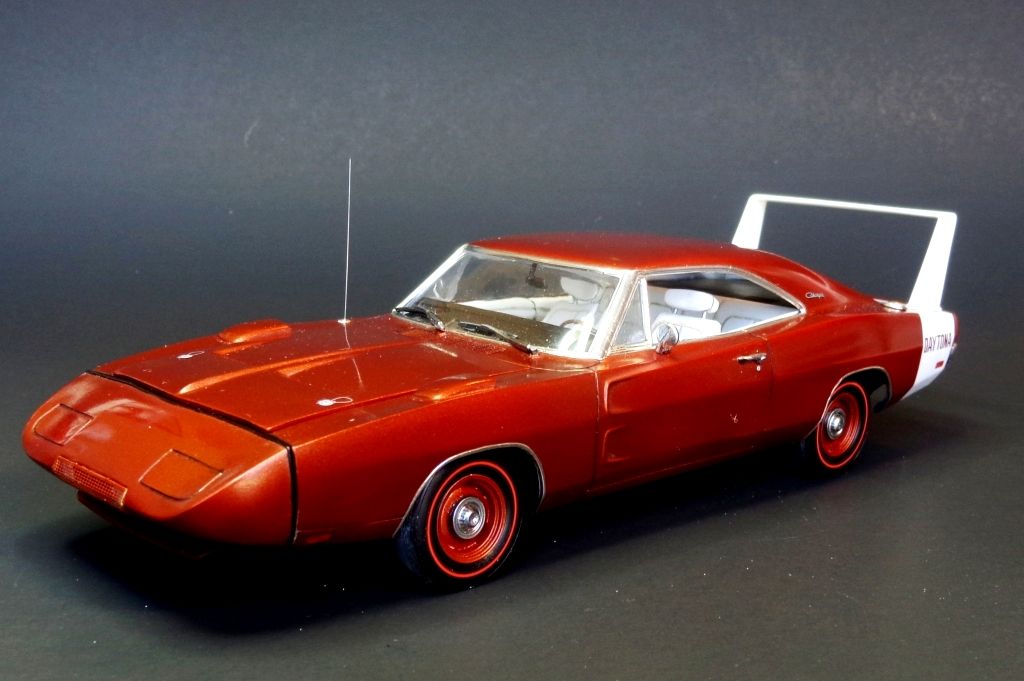
I actually lost the photoetched metal intake screen for the front, and ordered another kit to get the piece after Revell Customer service said that the kit was out-of-production and the part could not be sent. Yesterday I found it; it had fallen into the mesh metalwork over the fan in my spray booth! I am so relieved that I won't have to use an entire kit just to get one impossible-to-replace or replicate part! Now I have another kit to build of this fine-looking car! COOL!
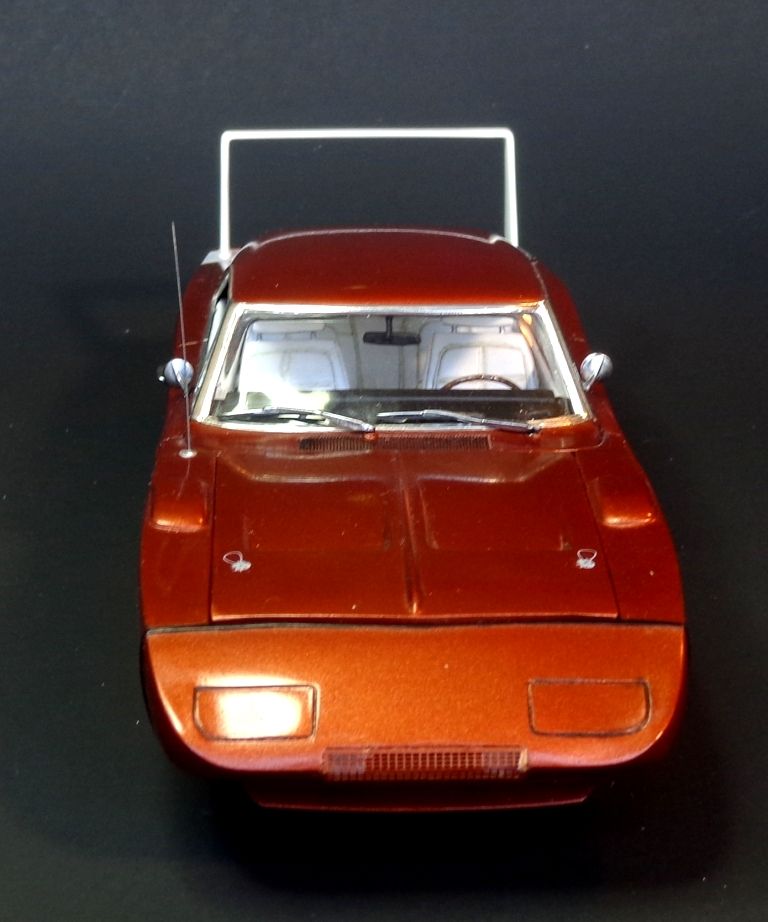
I am also thrilled that I did not have to modify anything to get the wheels to line up correctly and to get a decent sit. By the way, those "poverty caps" are not the stock wheels, either, nor are they available in the kit. The kit comes with mag wheels which look cool, but I got this set off eBay for a few bucks.
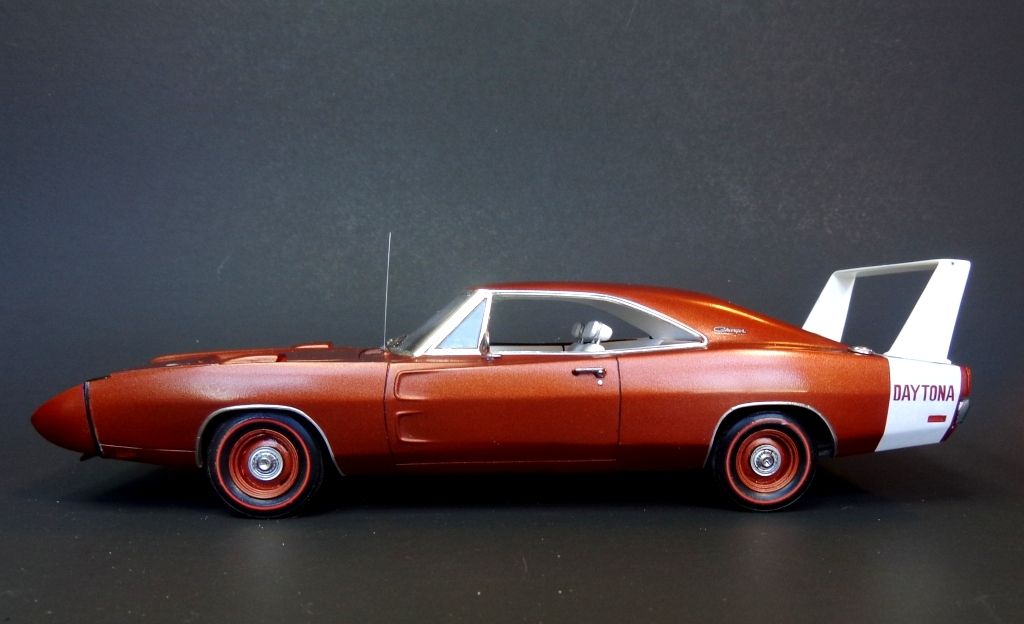
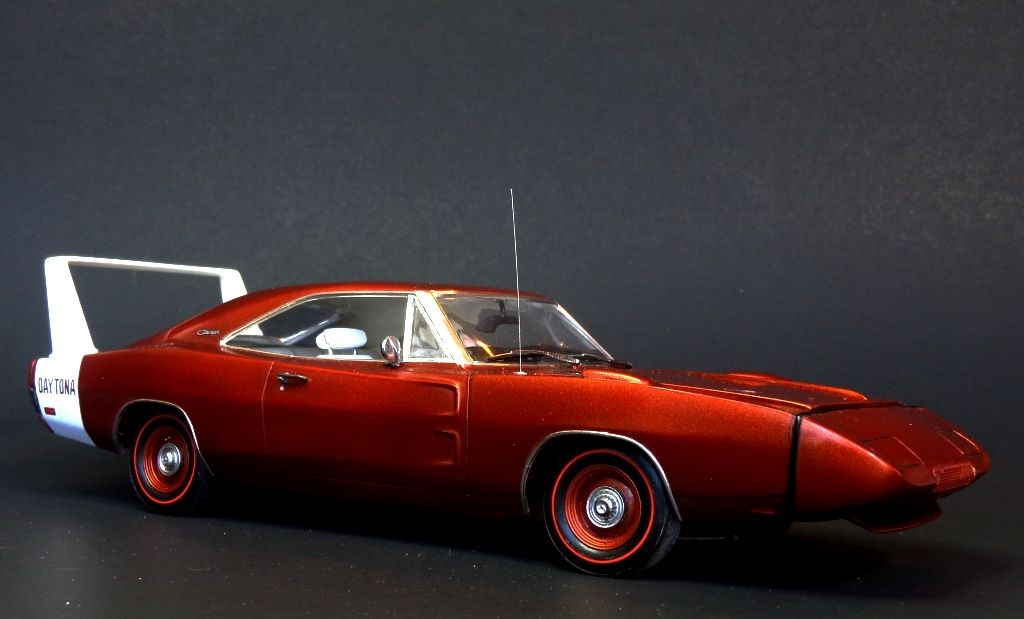
Don't forget to cut the decal through the trunk lines after you apply it.
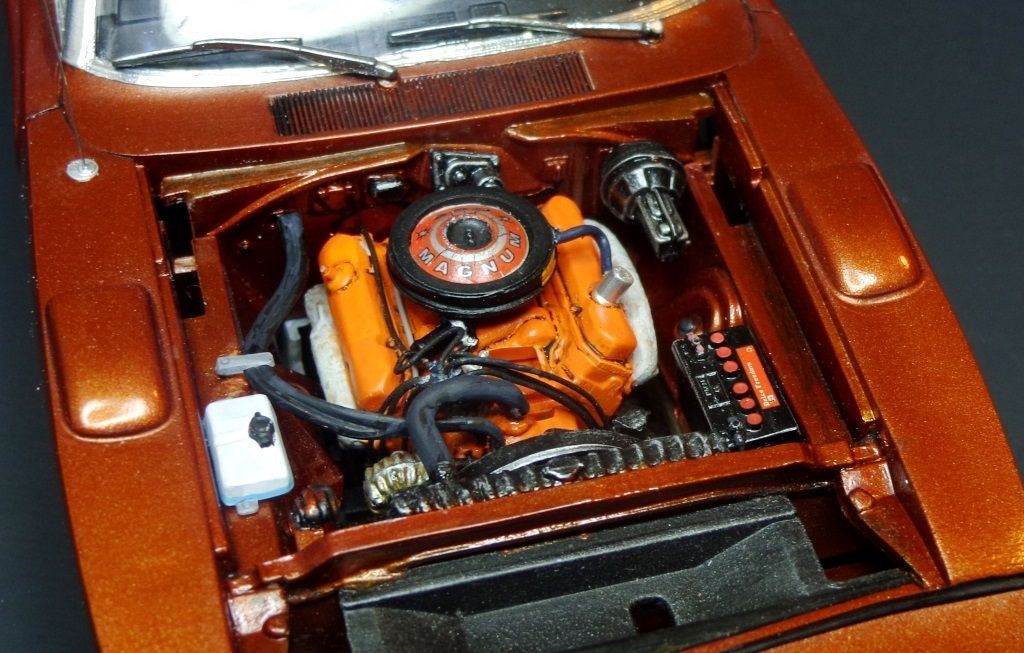
The engine. One thing I should mention is that I did NOT glue on the fan belt assembly to the engine until AFTER I put the body on. I have found that to be a problem area, trying to fit the fan inside the circular radiator shroud when trying to wedge the body on. So what I did was to place the fan belt and propeller assembly into the radiator shroud and then put the chassis into the body, and then, using a pair of tweezers, mated the assmbly to the engine and glued it on. I also used a black oil wash in the vents there.
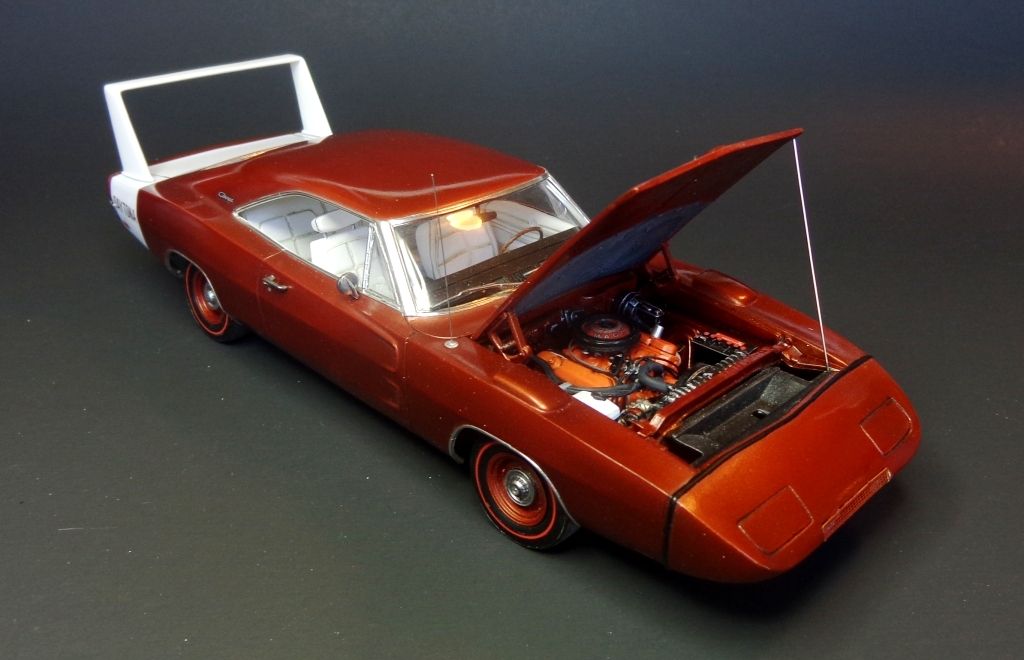
The antenna base was a small circular disc cut from a styrene rod with a razor blade. The antenna is a guitar string, natch.
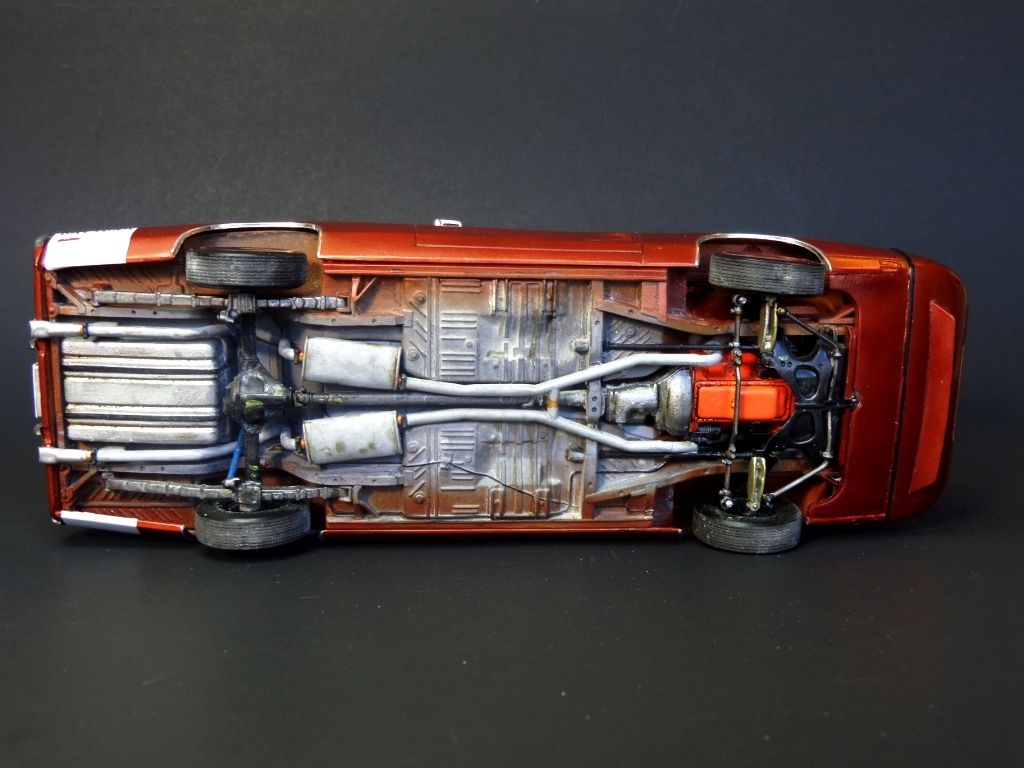
The bottom. I am happy with how this came out. It was weathered ala' Armor-style, with Adam Wilder Nitroline pigments and oil washes.
I had a bit of a problem with the hood closing, and I wound up having to shave the crossbar in front of the radiator with an Exacto blade. I took about 1mm off the top of it--you can't even tell, but it made the hood close more flush with the fenders.
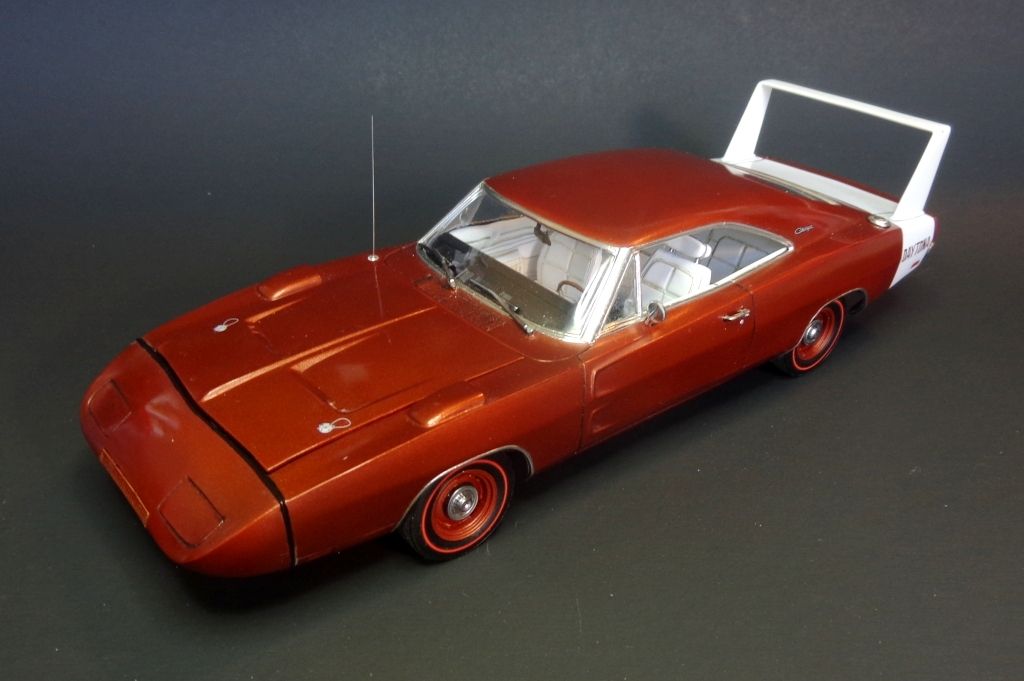
Well, that's it. I"m thrilled to have finished it just in time before I have to do a little bit of traveling for tour rehearsals. Nice to get this one up on the shelf--I always lose parts when I leave a model on the bench!
Thanks for following along everyone, and all comments or questions are of ocurse welcomed. I'll try to back to you as soon as I can when my schedule allows. 