Bouncing around a bit-- here is what I have worked on the last few days. I am quickly coming to the point in this build where my updates are real time and where I am at in the build.
So -- more masking. Because of how I painted these--I probably made my mask job more difficult. Maybe if I painted the wood spokes first it would have been easier to mask. But--I didn't, so I must work with it. Oh-- I suppose I could hand paint it but I am not a fan of my hand painting.

I purchased this punch set for this purpose. In the end-- I am so glad I did, and I wish I had it years ago. It is so handy for making circular masks. And I love the little cutting matt they send with it. I use it to cut all my tape.
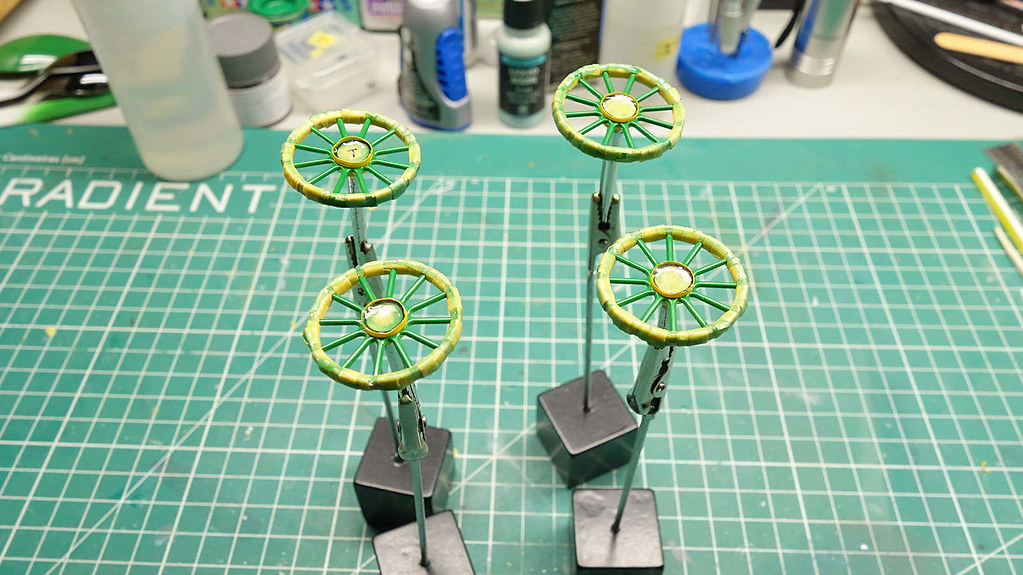
I cut the punched mask in half, then tape the half circles around the base of the wood spoke.

Filler mask is added between the spokes and liquid mask applied over it to secure the tape and to fill any gaps.
Notice the center hub masks. Because the hub has a low profile, I needed a stronger tape to hold it in place. In comes the vinyl tape. It was perfect for this. Then I cut circular masks for the centers and filled them with liquid mask for good measure. Why make circular masks for the center? I try to minimize liquid mask getting on paint. I have found certain liquid masks can affect paint finishes. Anyway--the vinyl still has its purpose in my processes. They are ready for paint.
Oh-- because my VMS Liquid Mask dried out, I had bought what the local hobby store had. They had Vallejo's version and I have to say that I like it. It is watery, giving you the opportunity to push the rubber around before it sets. VMS was the same way and that is what I liked about it. The sales guy said people like it for masking canopies too. I have not tried that, so I can't speak to that. I always prefer tape when it comes to canopies, but he said people can make this stuff work. FYI.
And to the paint. Ugh. Once again, I reach for what I was limited to buy in the local HS. They had the Ochre I needed but in Revell Acrylic. I have written about Revells Acrylic paint before. It is awful in an airbrush. Tip dry is horrendous. I had to wipe the tip every two or three sprays. The tip is a mess just after one spray. Terrible. I used their thinner and I tried various mixtures. I got a little improvement but still-- terrible tip dry. I won't be buying their paint again...if I can help it.
In spite of all that-- I managed to lay a good spray without any major disasters.
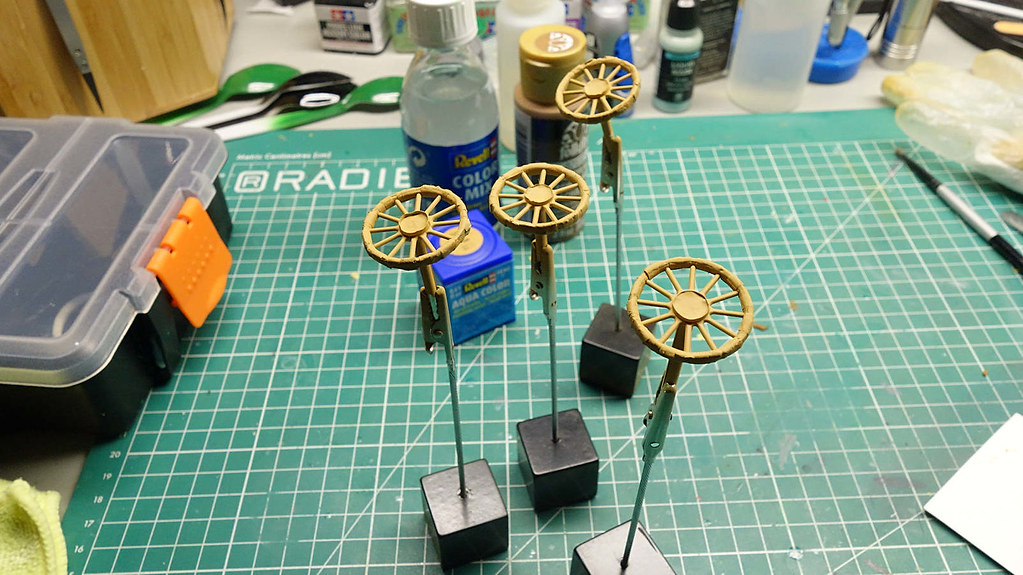
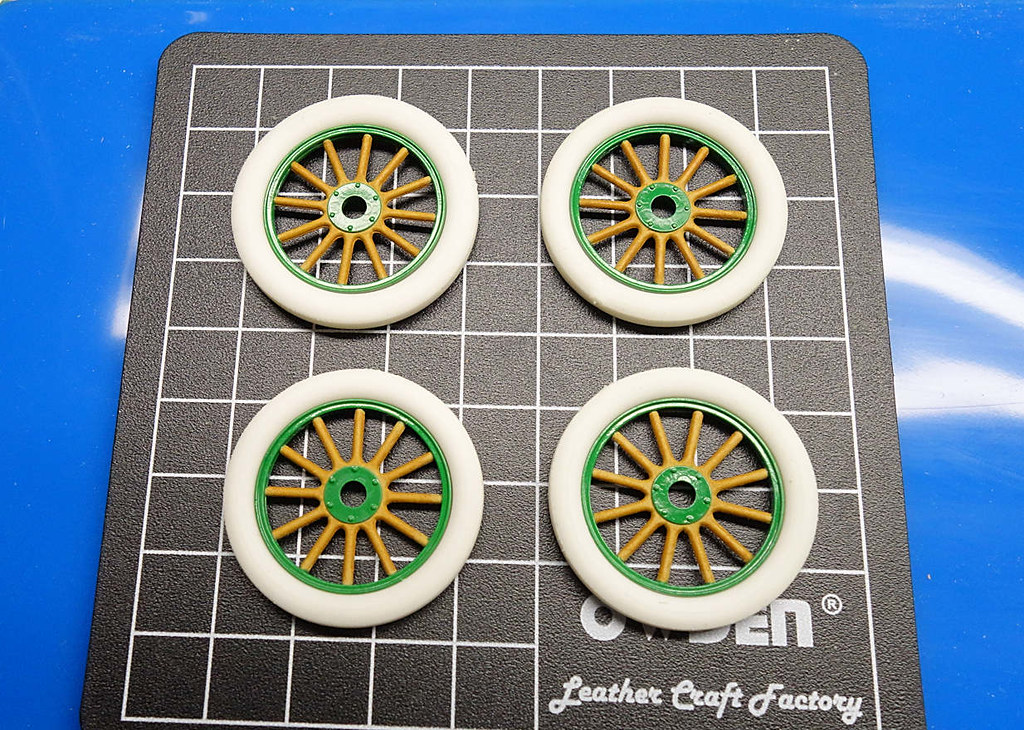
Demasked, the rubber is not attached. After paint I dry brushed FolkArt Raw Sienna. The dry brushing really pulls things together.

And that is my update for today. Cheers.