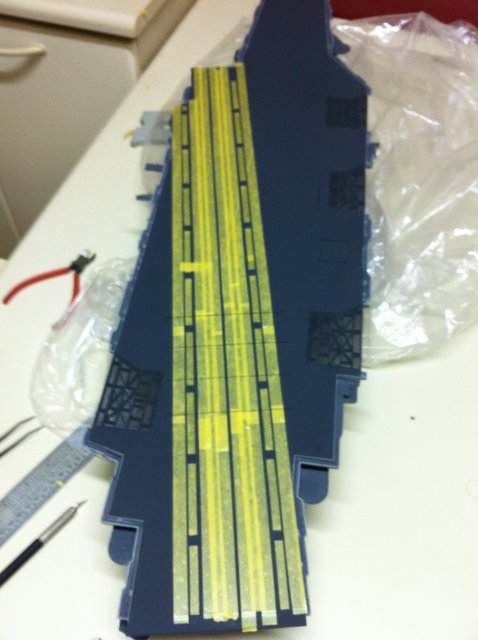
Flight deck, chapter two: masking the landing marks. Despite being one of the most rewarding task when the mask is removed, put the tape in place with some precision takes a long time.
Starting a new mask ...
Tape never seems to be sufficiently accurate. I think using decals could be a good idea.

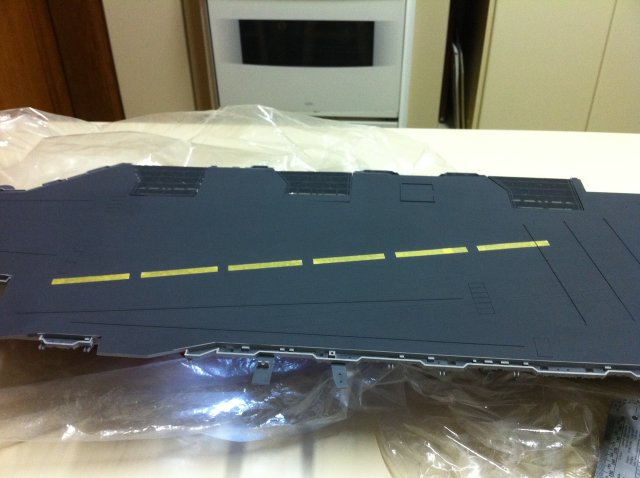
Two hours later ...