Dear friends,
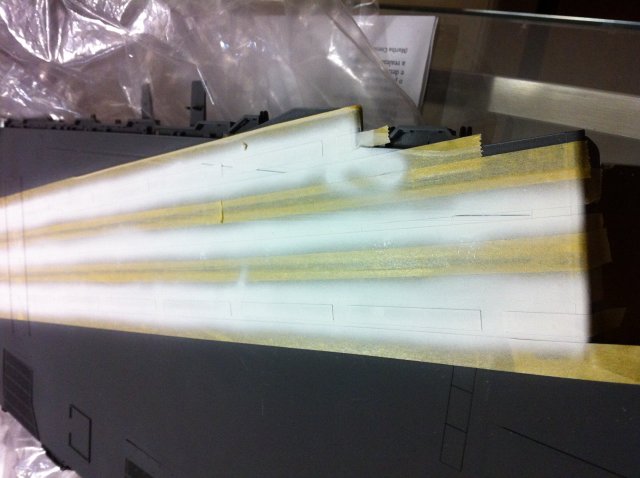
I'm still on the rush, but at least we have removed the masking tape. I'm wanting to redo the painting for several reasons: it was a bit thick, it is with some risks, I still can not decide whether the color is similar, and, anyway, I'll have to redo because of spray of white paint that has tainted the entire deck.
The white markings also were a little thick, and when removing the tape, they fouled the dark a bit. It would be easier if all the paint used was gloss, but still have a lot of flat paint.
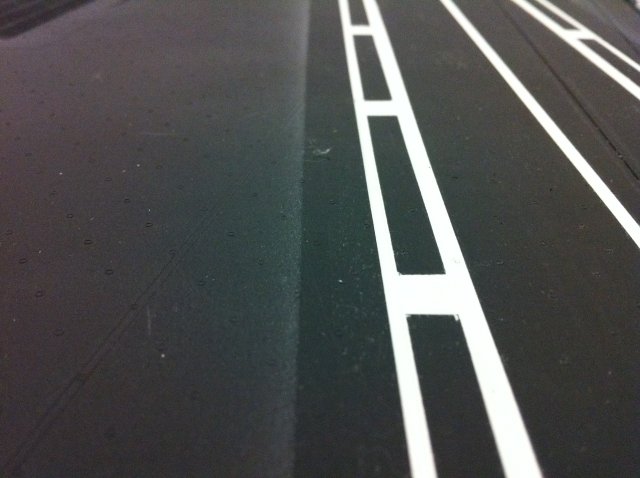
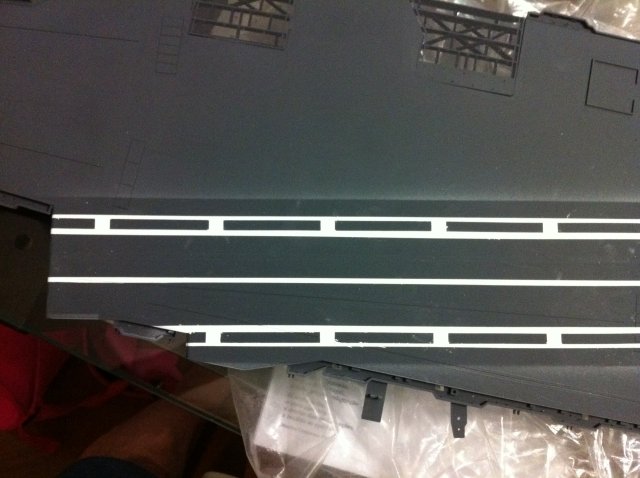
Let's remove the tapes:
See some defects: the most serious is the part that was not masked became whiter.
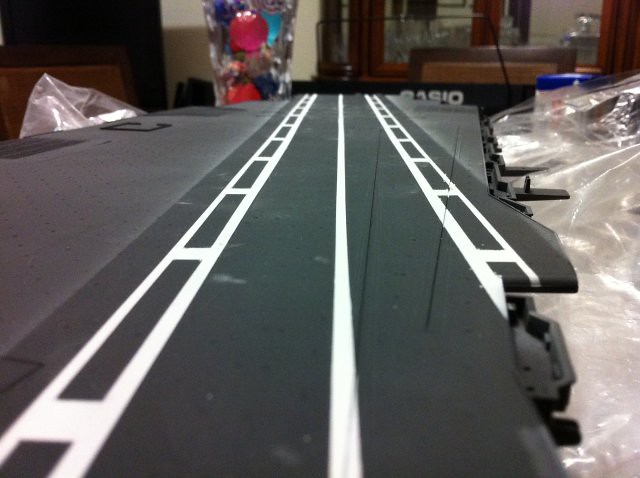
Top view:
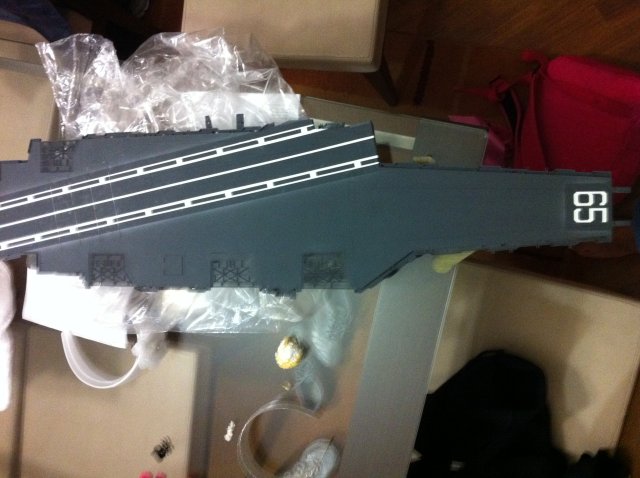
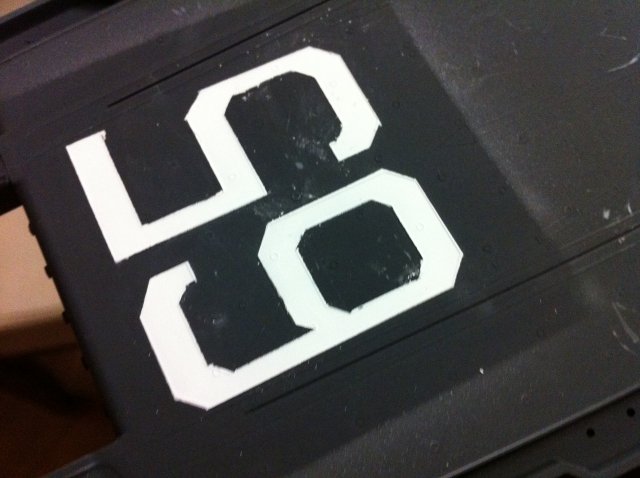
Some defects in the marking of "65" beyond the paint is too thick.
Does it snowed on the left?