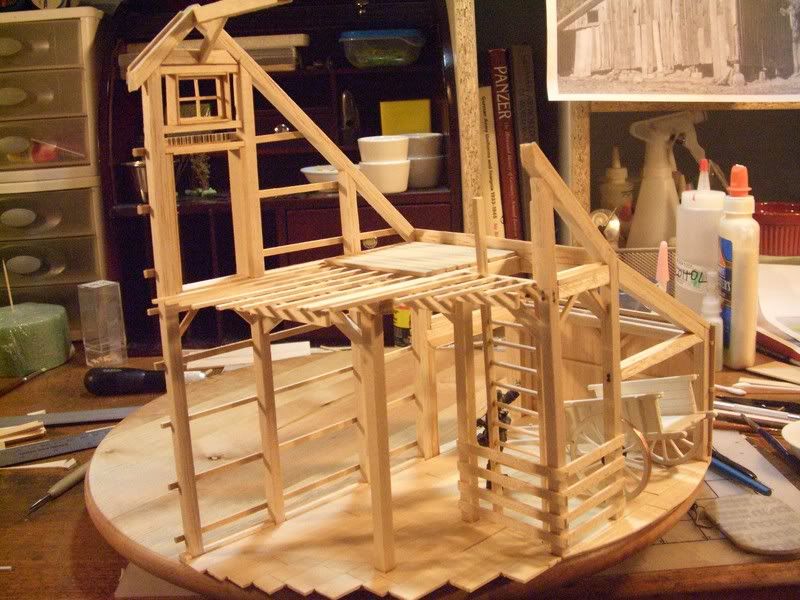
Continued working on the 2nd floor last night. Took some SBS shots, just for laughs.
One thing I wish I started doing at the beginning of this barn's construction is to make the wood look a little more real, more like scale lumber, with texturizing before I attached it. I can still go back and do that to the structure, but realized some areas would be harder than others to retro-texturize. I figured I'd do it to the flooring before I laid it. Here's what I did:
Cut 7cm planks (about 8 scale feet):

Made deep grooves with embossing tool:

Made lighter gooves, with razor saw, to texturize:

Sanded this down with fine grit sandpaper:

Here's what it looks like:

On the planks that will have exposed ends, I texturized in cross-hatching pattern:

Glued 'em down with carpenter's glue, with (hopefully) equal spacing. Some ref shots showed floors with about 3 - sometimes 4" spacing, others had no gaps at all between planks. I opted for gap:

With a dental tool, I "hammered" in the planks:


Here's the rear of the dio so far:

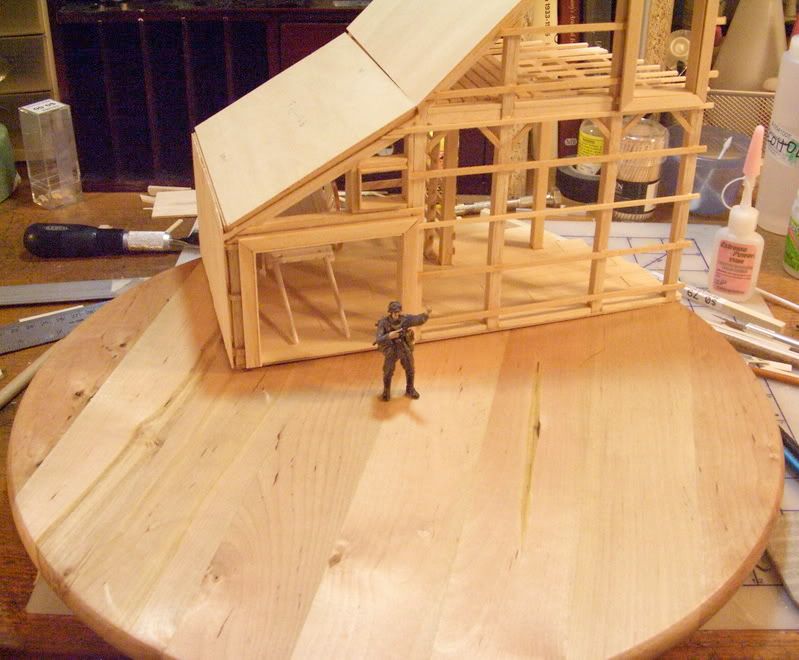
How the barn sits, from the front:

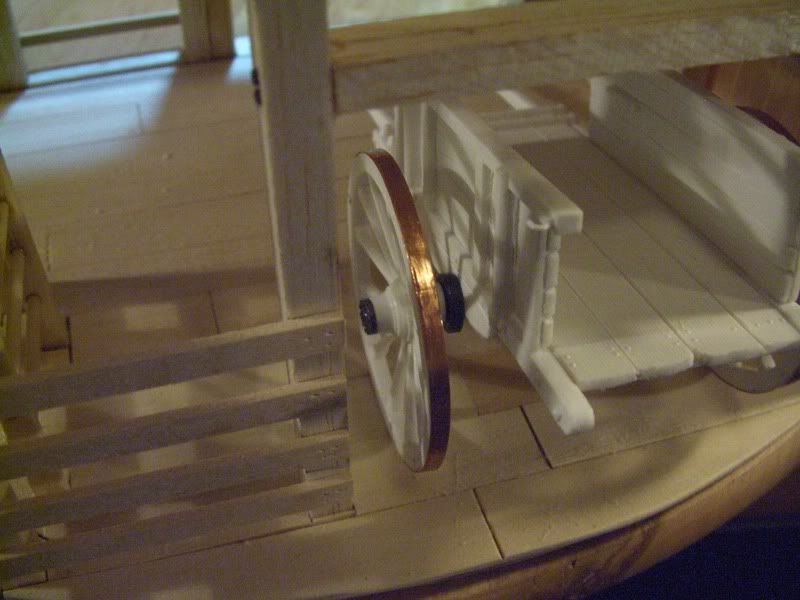
The unfinished farm cart, where it will be parked... I just wanted to get the cart built up enough to be able to see how much room it would need. Will detail later:

That's as far as I got last night. Tonight, finish 2nd floor, and continue on with roof detail.
If you're looking, thanks. Comments and suggestions always welcome. I haven't stepped foot in a real barn in years, so chime in if you see missing detail, or if I've added something that shouldn't be there. I'll be glad to hear it.
Steve