stikpusher - Thanks, A lot of us cut our teeth on these type of kits. But I dont remember spending as much time building one back then.
richs26- get that kit out and on the bench, 39 years has been long enough. Thanks for commenting.
Harv- You were not suppose to see this..![Whistling [:-^]](/emoticons/icon_smile_whistling.gif) Thank you my Friend
Thank you my Friend ![Smile [:)]](/emoticons/icon_smile.gif)
Frank - Im happy you like the sidewalls because I could always still put in the kit supplied ones.![Mischief [:-,]](/emoticons/icon_smile_mischief.gif) I did decide on the markings as of yesterday. Thanks for looking in and the Great comment. You know how I like playing with P/E
I did decide on the markings as of yesterday. Thanks for looking in and the Great comment. You know how I like playing with P/E ![Dead [xx(]](/emoticons/icon_smile_dead.gif)
rick - Thank You more pics coming up...
Roy - Thank you ![Smile [:)]](/emoticons/icon_smile.gif) Now about your P-40 ?
Now about your P-40 ?
Guy - Could it be Aarons Fault this Time ? ![Laugh [(-D]](/emoticons/icon_smile_newlaugh.gif)
gspatton44 - Fantastic, these older kits are a blast. I have been having great time on this project as I have rediscovered my modeling skills instead of my assembling skills.
Ok where did I leave off....
Eduard supplied a new IP, to use the kit supplied IP as a backing looked like too much work so once again .030" styrene was used for the upper and lower panel. I did use the Kit panel to copy the angle. I test fit this piece many times using Krystal Clear canopy cement to hold it in place.
Starting to pick out the details on the completed panel. The scrap of sprue was C/A glued on the back for a handle .
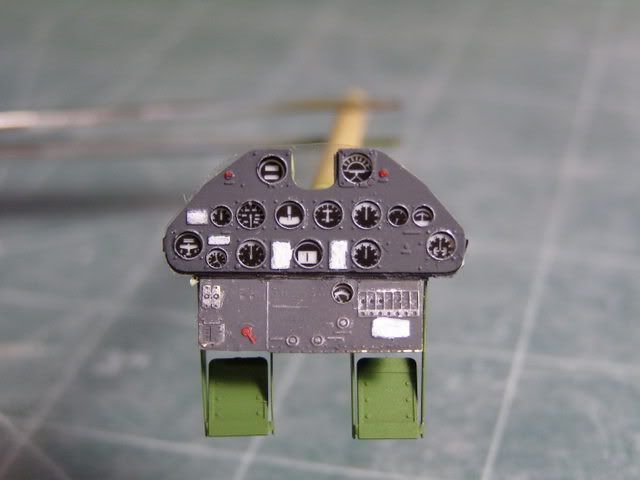
The fit was very good due to all the care taken with test fitting. I sawed the sprue handle off leaving a stub so I could still have a holding spot with the tweezers. It was still tricky to get in position .
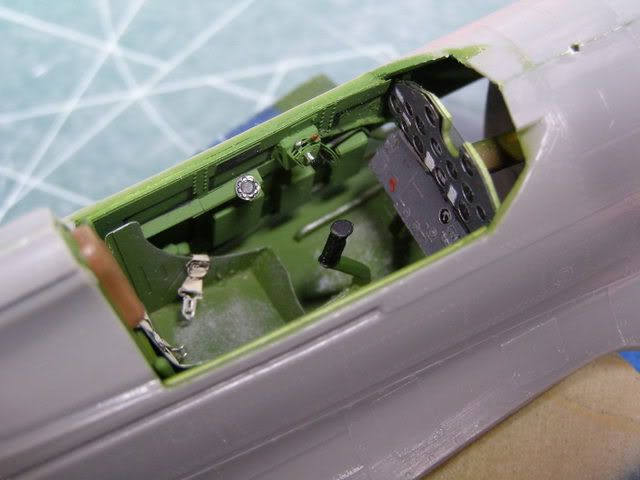
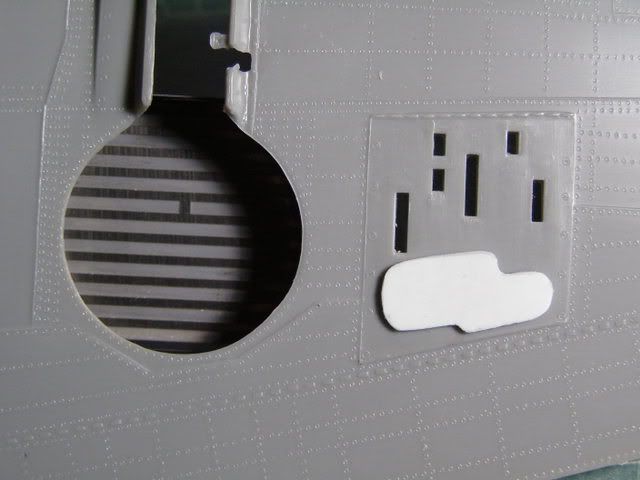
Next up was wings and things, P/E was used for wheel enclosure. Looking at many references I noticed the shell ejector panels was lacking the bulge. Using the Squadron Books as reference I sketched out a pattern on paper then tranfered it to styrene.
Attaching the wing I discovered there would be gaps unless I wanted some extreme dihedral. Dry fitting using and masking tape to hold the wing I found the best fit was to attach the starboard side and fill the gap on the port. And what a gap it was
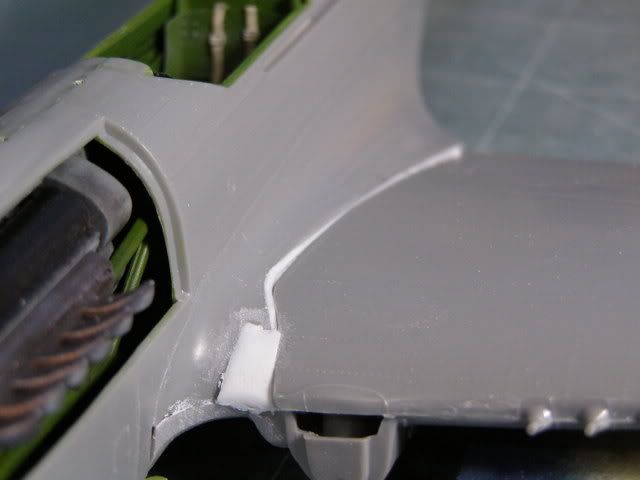 I even addes a styrene shim to fill in a low area towards the leading edge.
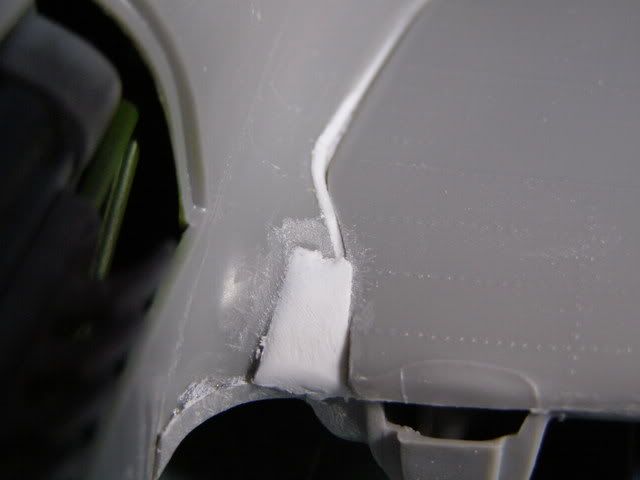
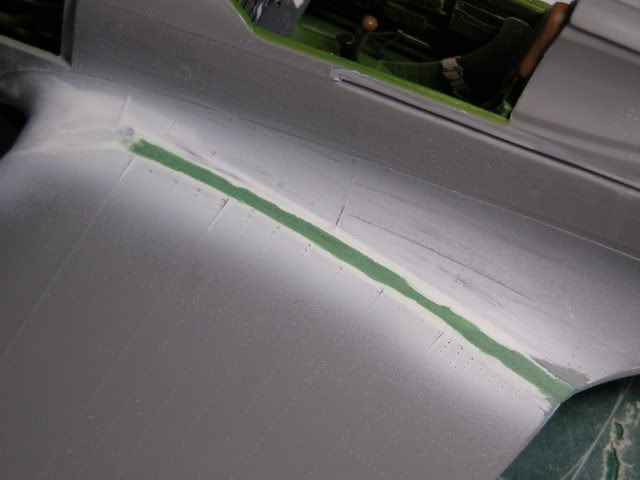
After a little filler and shaping ![Smile [:)]](/emoticons/icon_smile.gif) I also closed up the sliding canopy gap with a .020" styrene shim.
I also closed up the sliding canopy gap with a .020" styrene shim.
The kit featured hinged Ailerons and elevators. I did away with that option and narrowed up the gaps with styrene.
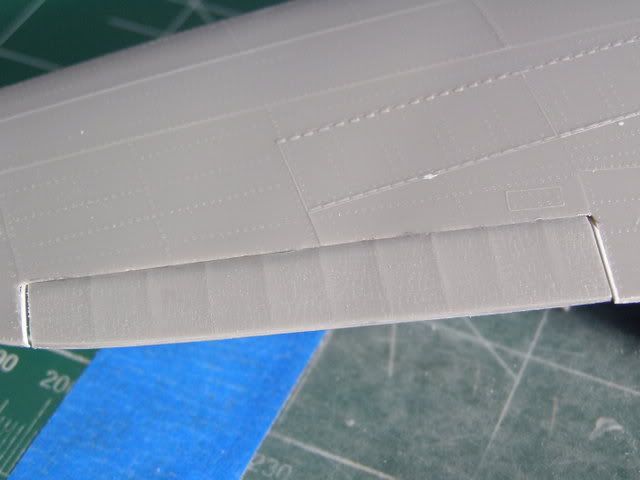
Left side Revell hinge , Right side no more hinge.
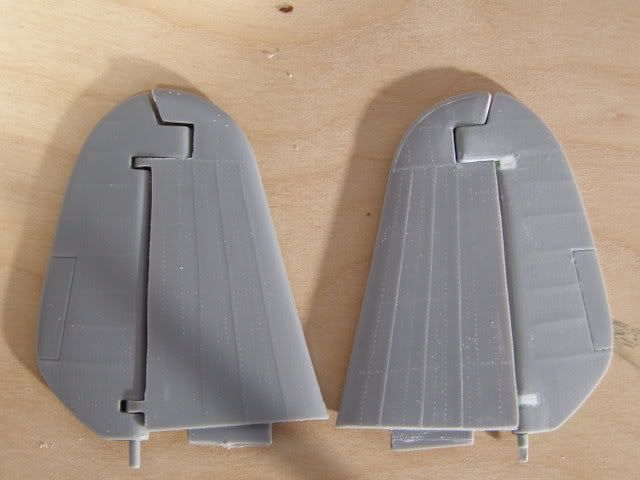
This is a rudder buillt OOB on an earlier 1/32 Revell P-40 E build
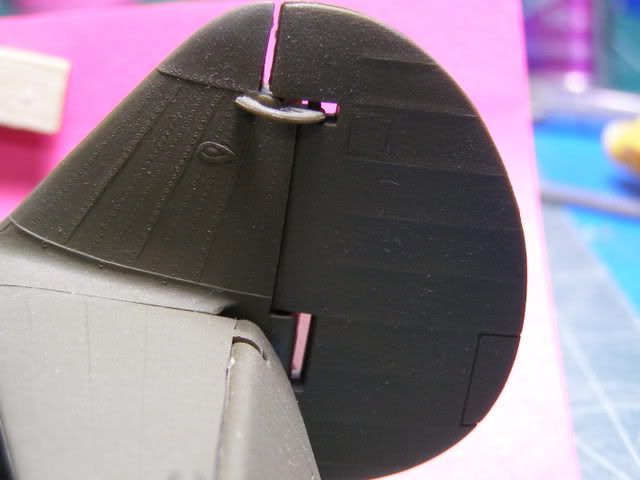
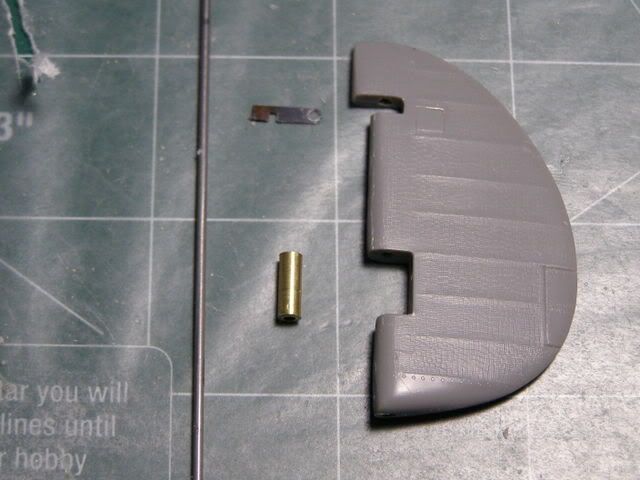
I was not happy with the hinge setup or the gaps. Meet the players for the new Rudder hinge. Yeah It still works as It was really easy to do.
Two pieces of Brass tubing sleeved together, Scrap piece of Music wire, and a leftover hinge from the "dreaded" Trumpeter Corsair.
Parts in place
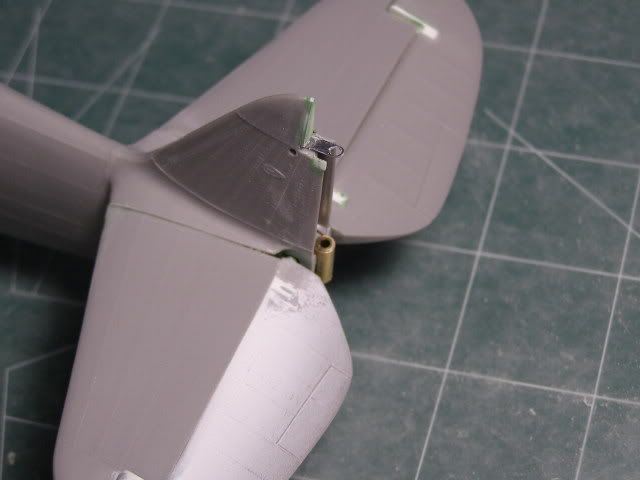
And the rudder attached. The control arm has been left off as I dont want to play the game of knocking it off and searching for it.
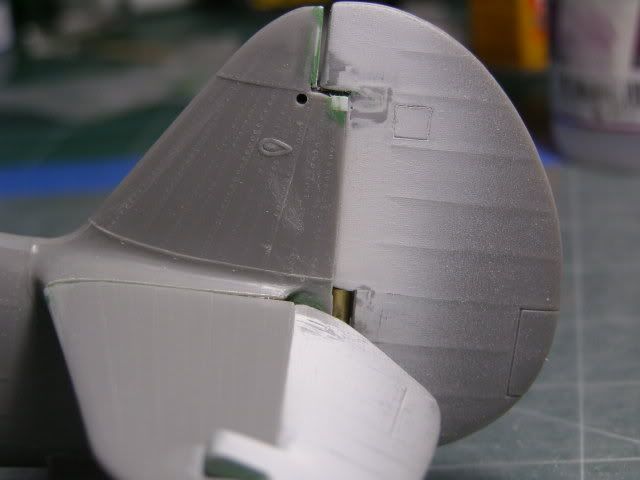
Next time around landing gear.