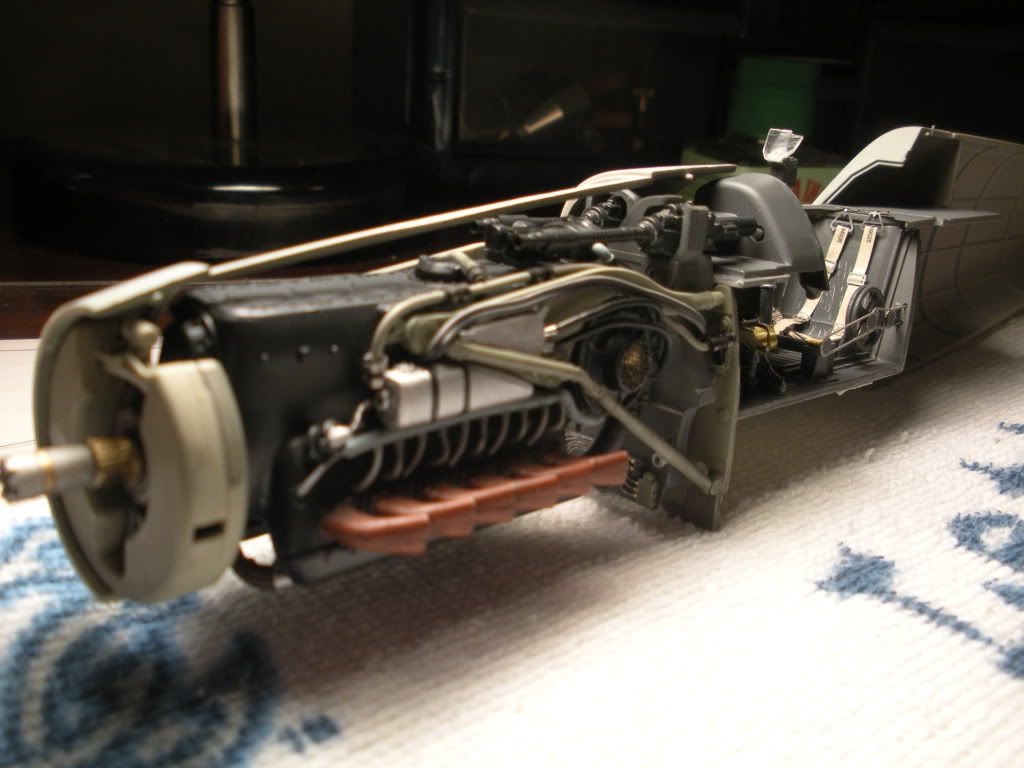
Hey folks. I finished this up around this time last year and though I would post some pictures of the finished build here. It all started as a 1/24 Trumpter Bf109 K-4 and with a couple of mods (as many as I could think of or find) I modeled it as a G-14 A/S. It has the Verlinden update set for the cockpit and cowl gun area, AM wheels, and Eagle Strike decals and Master models cowl MG131 gun barrels. It was my first all out attempt at building something this detailed and my first attempt at weathering. First I started with started with the engine:
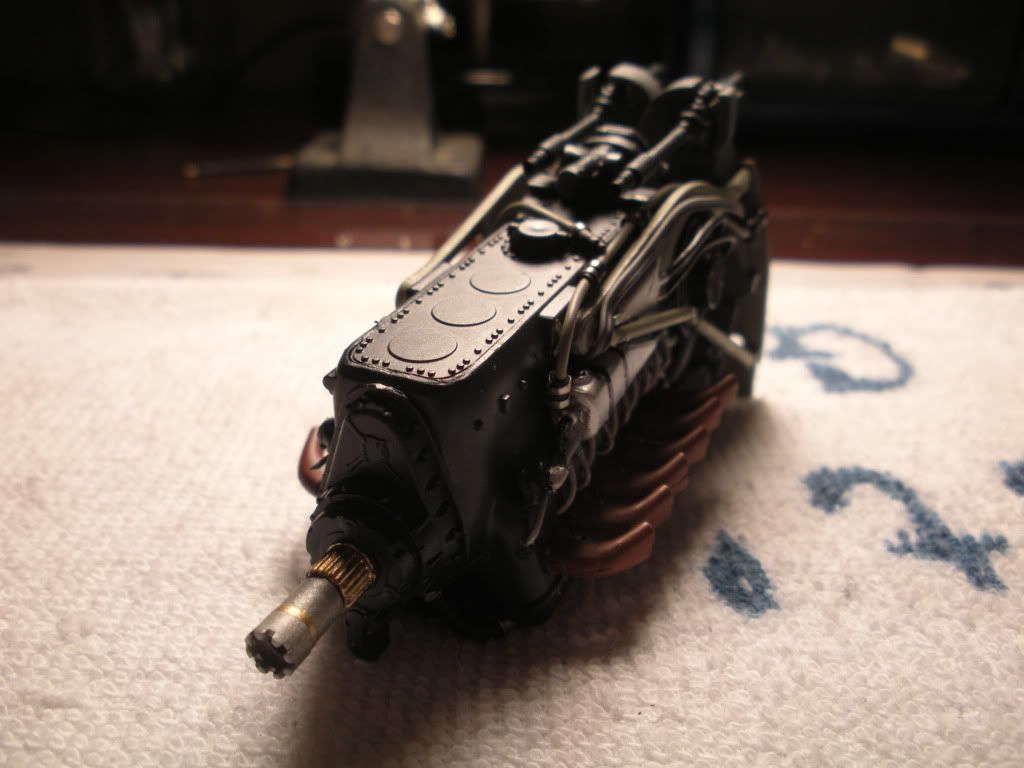
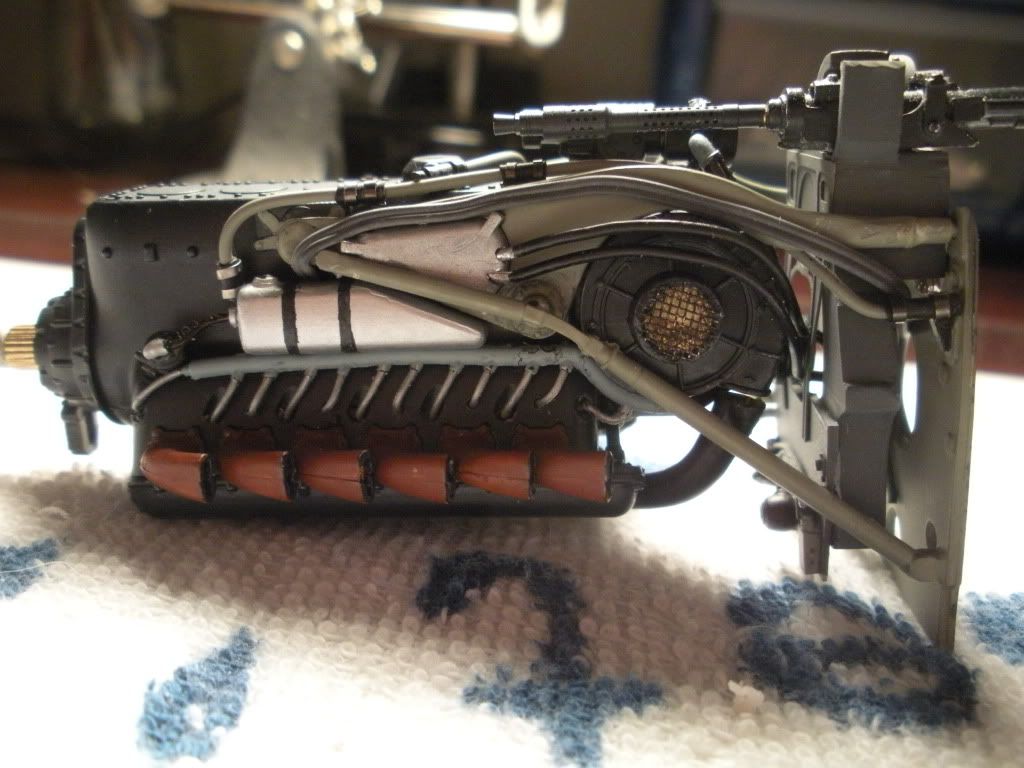
The coolant hose/pipes going along the top of the engine mounts were the copper tubing supplied in the Verlinden update set and for the rubber sections I used electrical wire heat shrink cut to short sections to replicate rubber hose. The hose clamps were spare strips of PE that I rolled with a toothpick and applied onto the hose sections. The supercharger screen was taken from a Chevrolet 4.3 liter V-6 distributor at my dealership during a recall. I had to remove the screen as part of the recall so why waste it???? Still learning alot as far as washes and other weathering techniques here at this point in my model building.
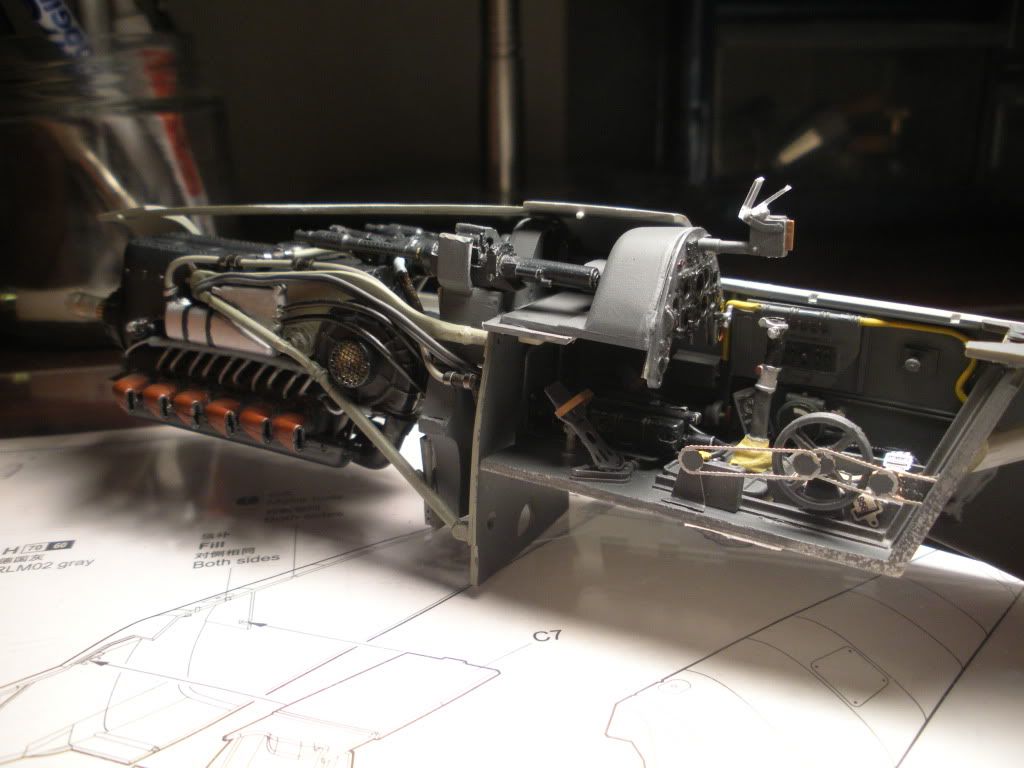
I then turned to the cockpit:
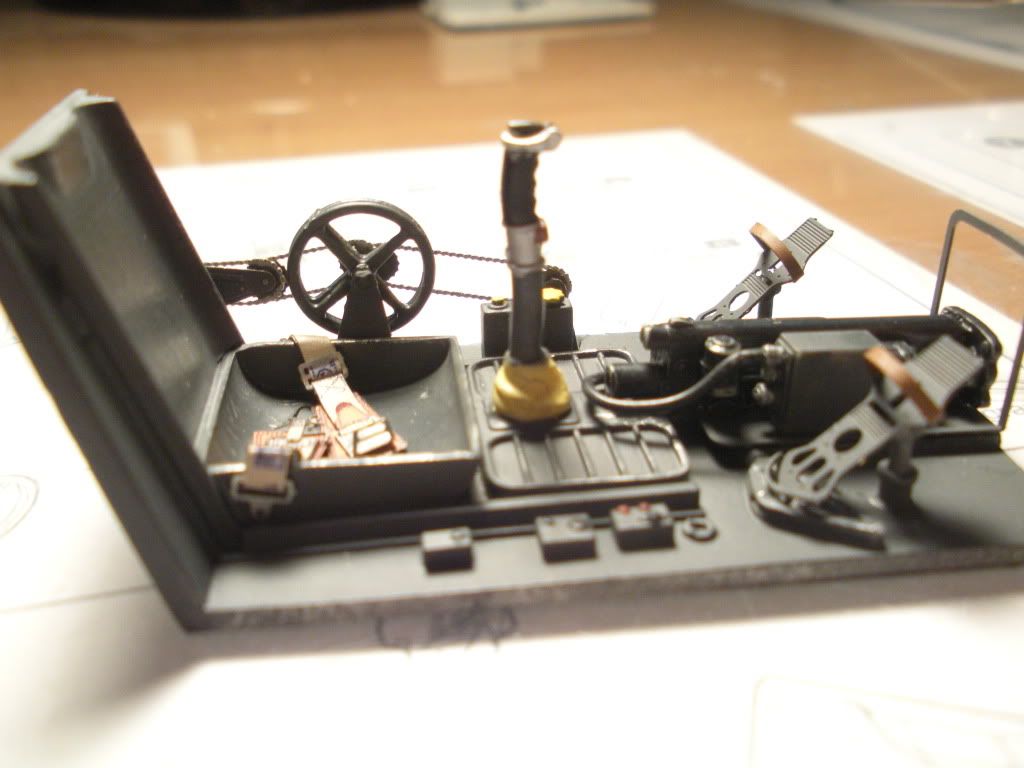
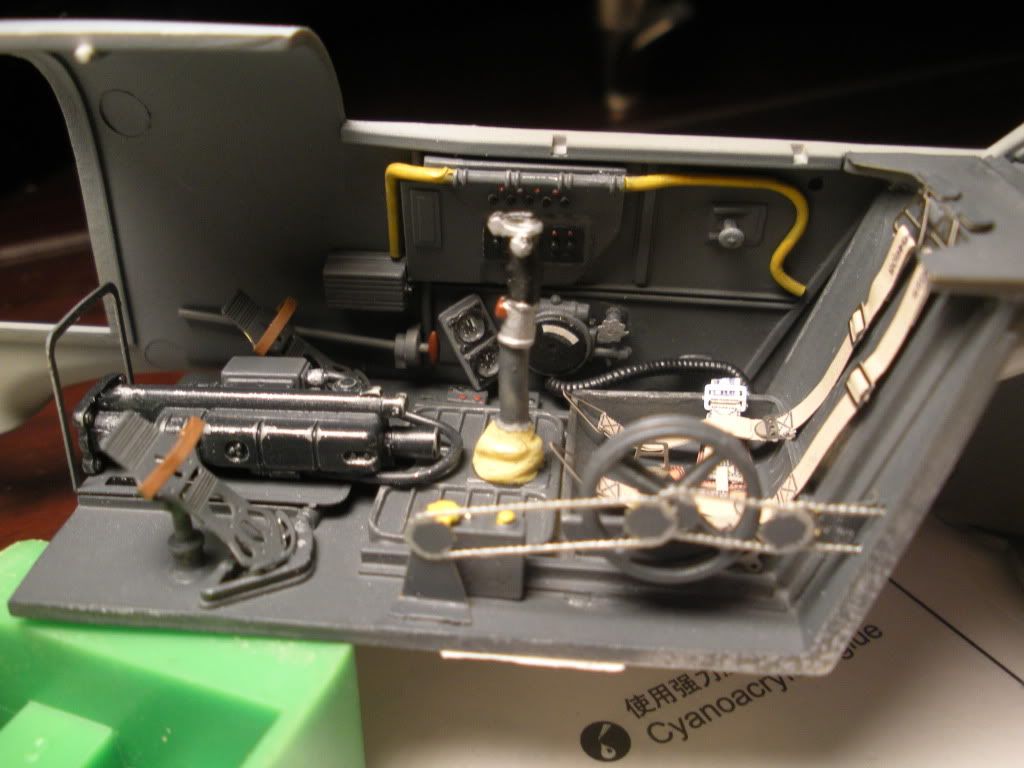
I had alot of fun in here! The chains/sprockets in the foreground were a little off center but you couldnt/ cant tell it when looking at it from the only way you can view it when the fuselage is put together. The next couple of pics is just prior to the fuselage halves being assembled together:
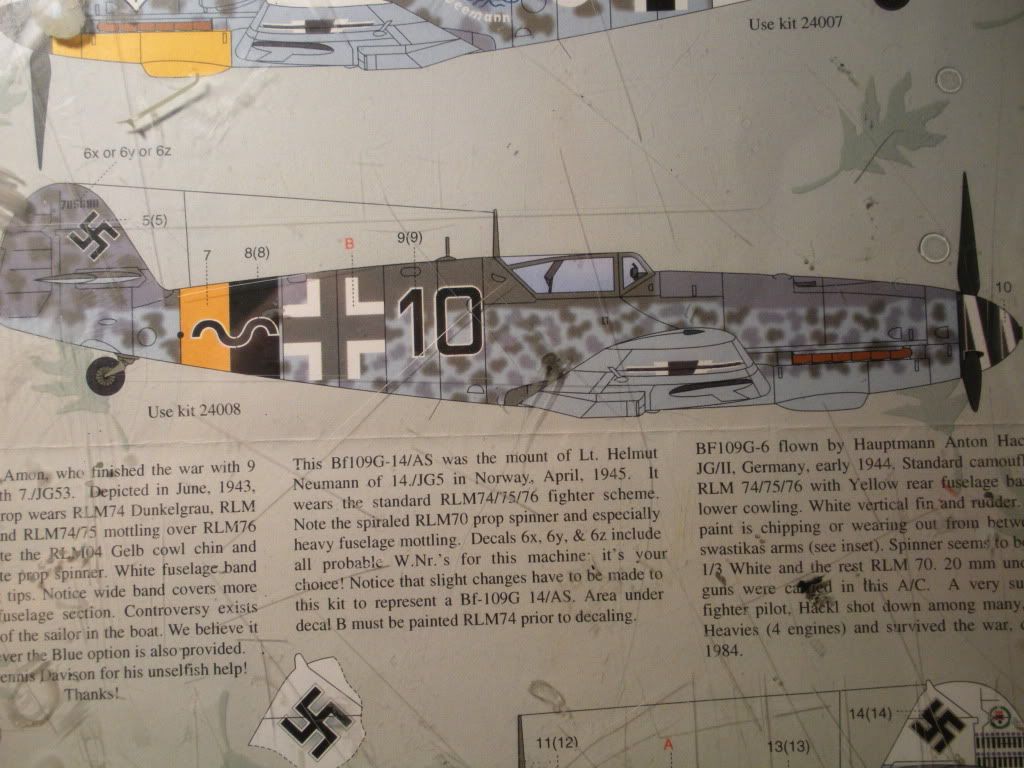
Fast forward to paint scheme and paint. I chose this scheme "Black 10" as a G-14 flown by Helmut Nuemann of JG5 at the end of the war. It was just too cool looking to resist so I went for broke!
Never attempting something like this before was chore enough. Doing it proved to be a time consuming and tedious process. Looking back I wished I could have applied the mottles with a little more faded appearance but hey , learning is a process.
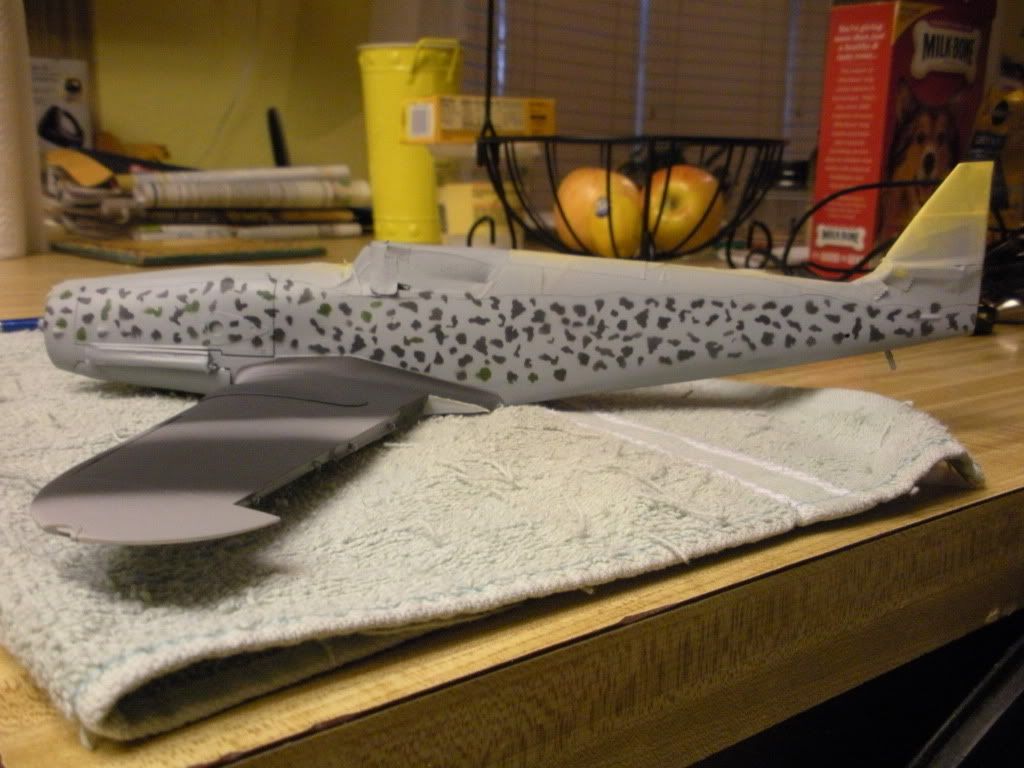
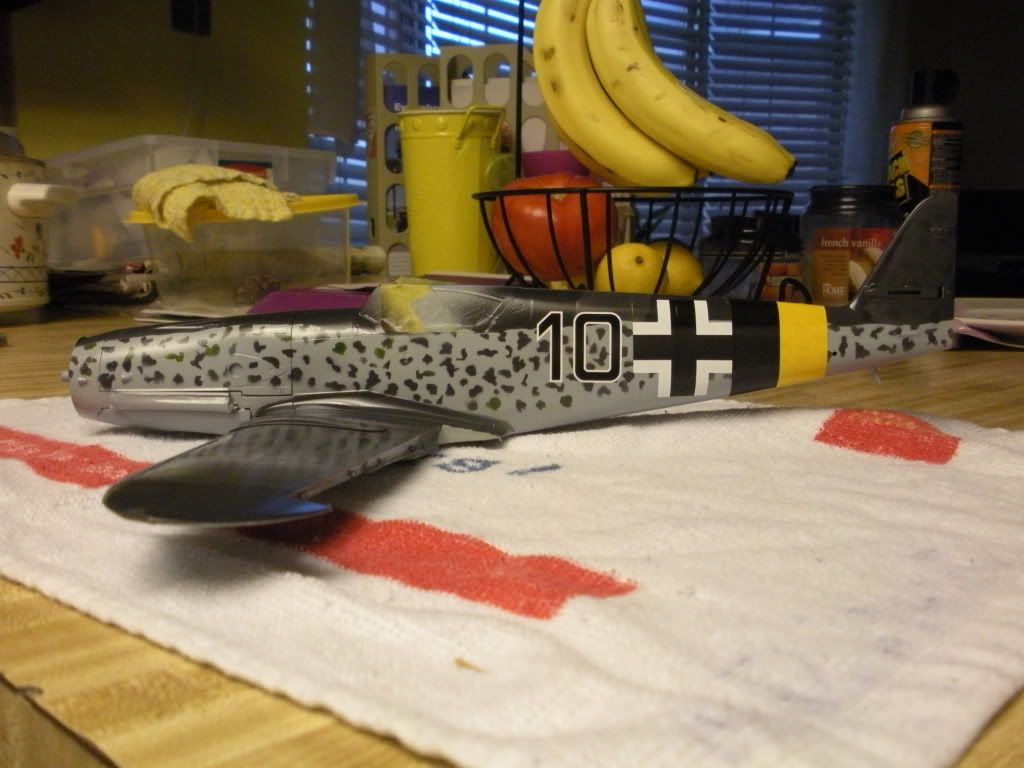
I applied the mottles with a mask painting anywhere from 1 to 5 at a time and did manage to change out colors from time to time. I even let my 8 year old son apply one of the mottles.( I forgot which one was his!!!!).
A close up of the engine and nose prior to the prop being installed:
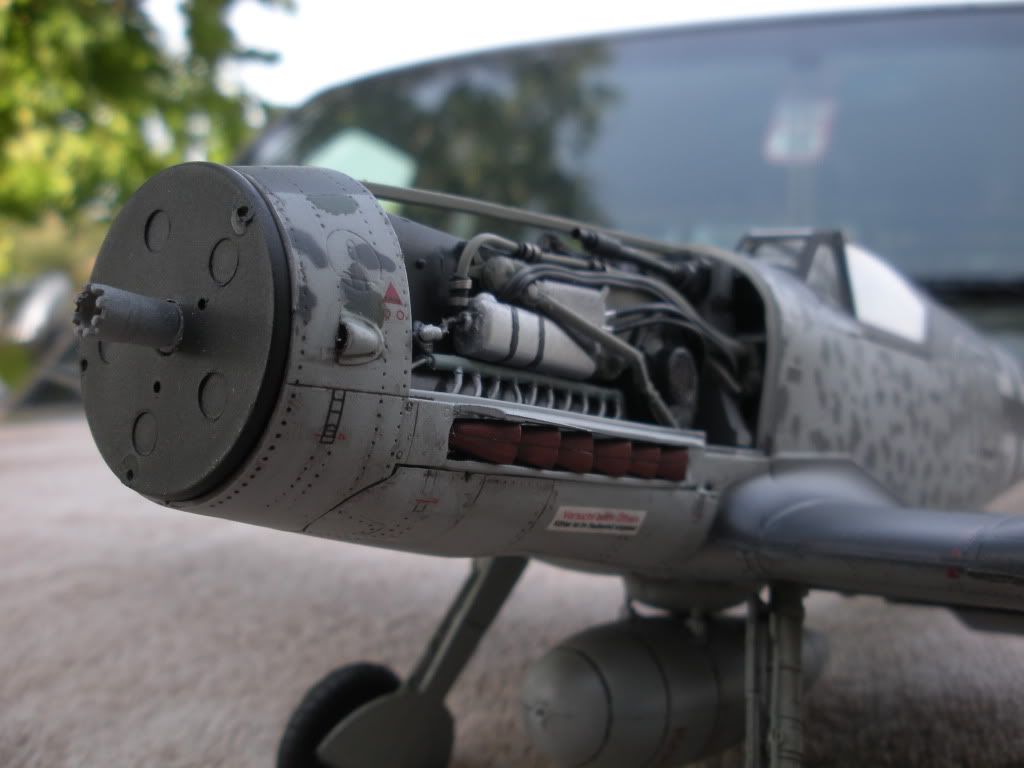
On to the near completed pics. I need more of these kinds of pictures of this thing in sunlight because 1) the lighting in the house sucks and 2) so does my camera!
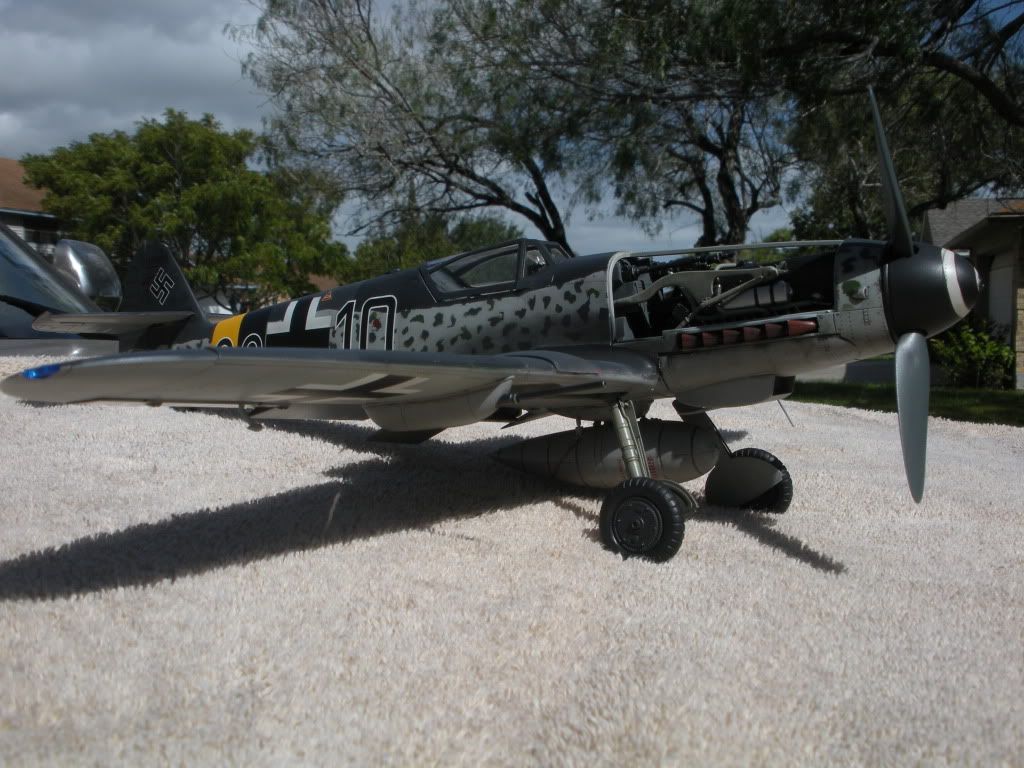
and finally the finished photos: Bear with the lighting and camera please
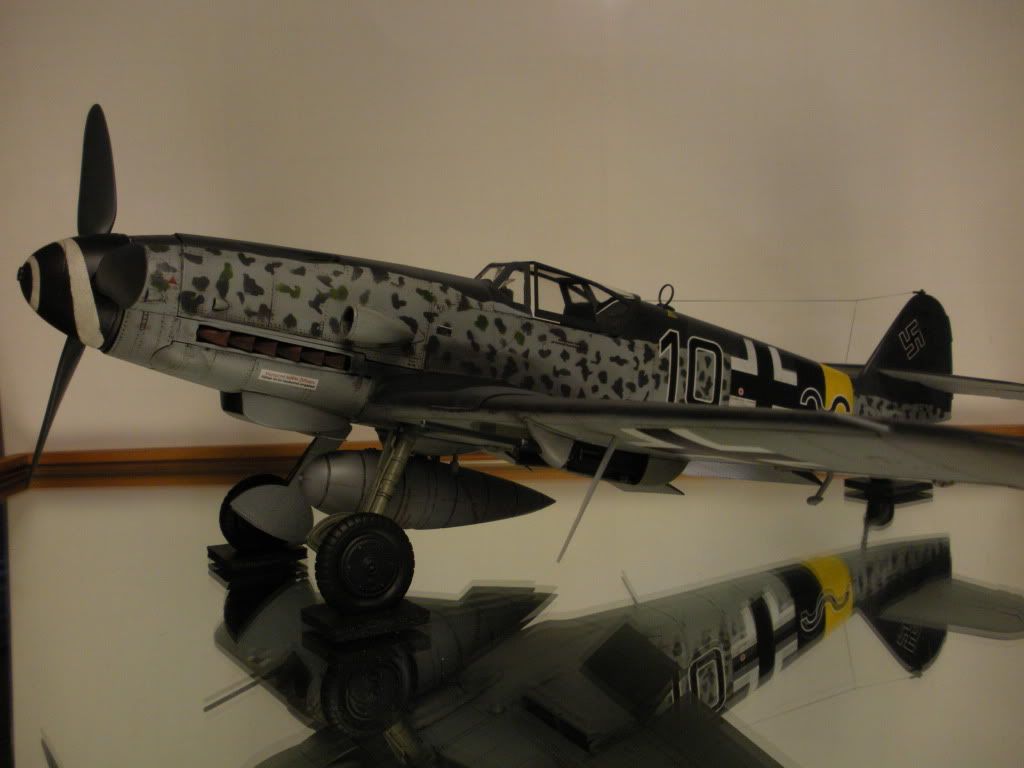
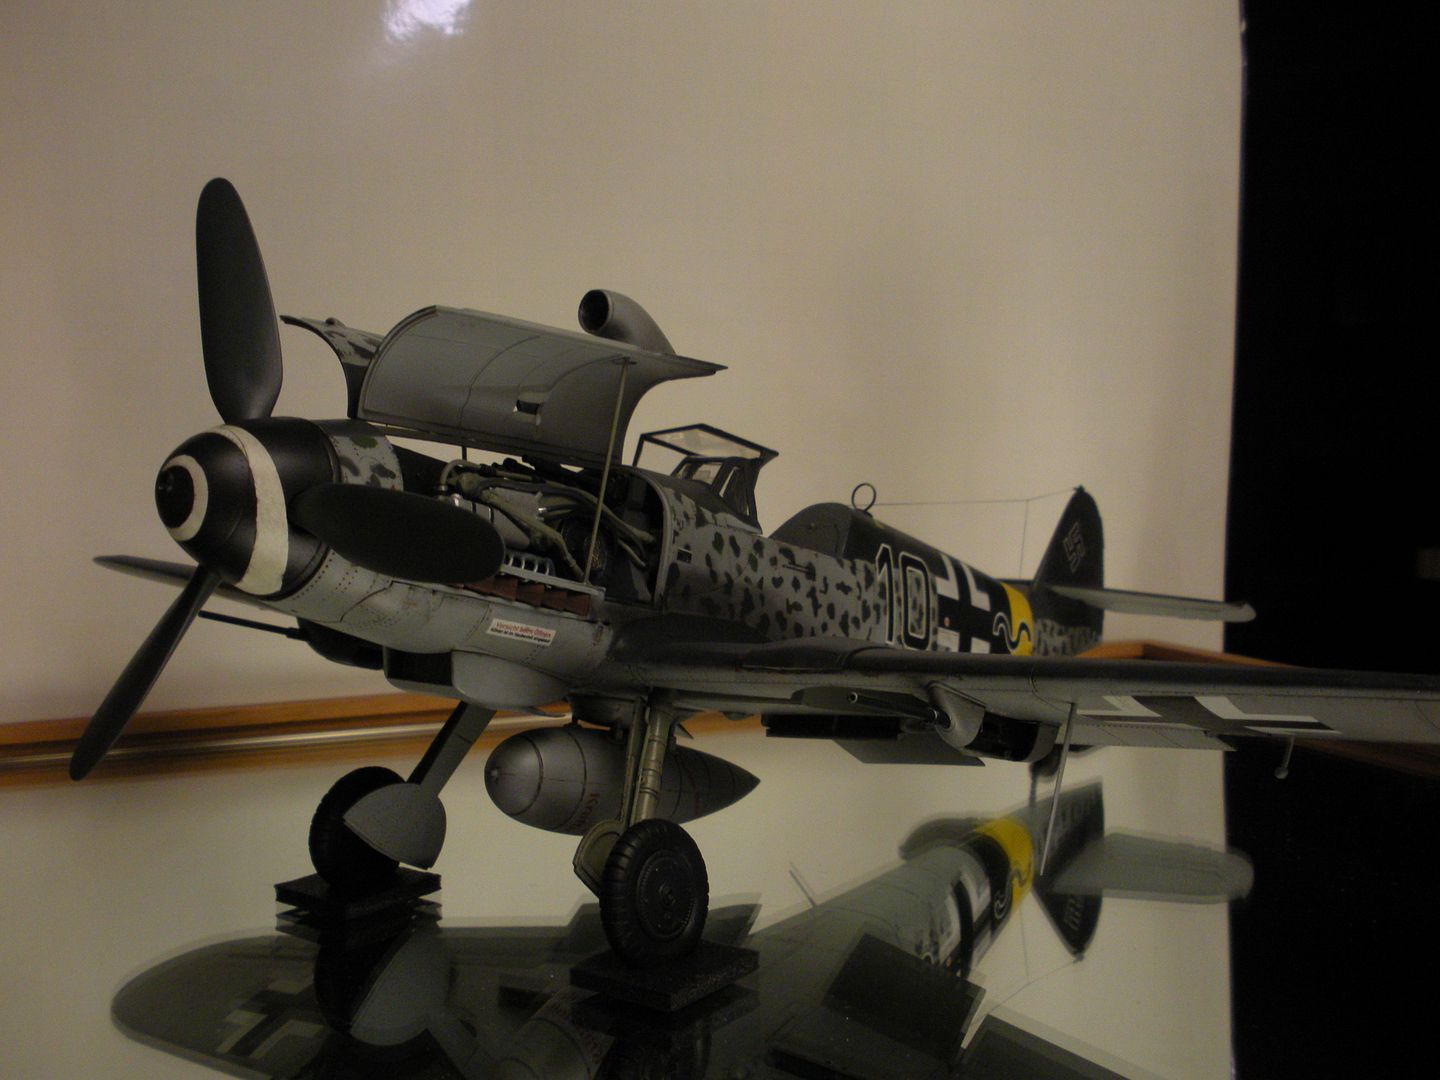
I just had to install the wing mounted cannons. They were screaming for attention though. I ended up buying some 1/35 scale 40 mm shells, cutting them to proper length and scratch built the belt links with aluminum tape. Then weathered the shells and links:
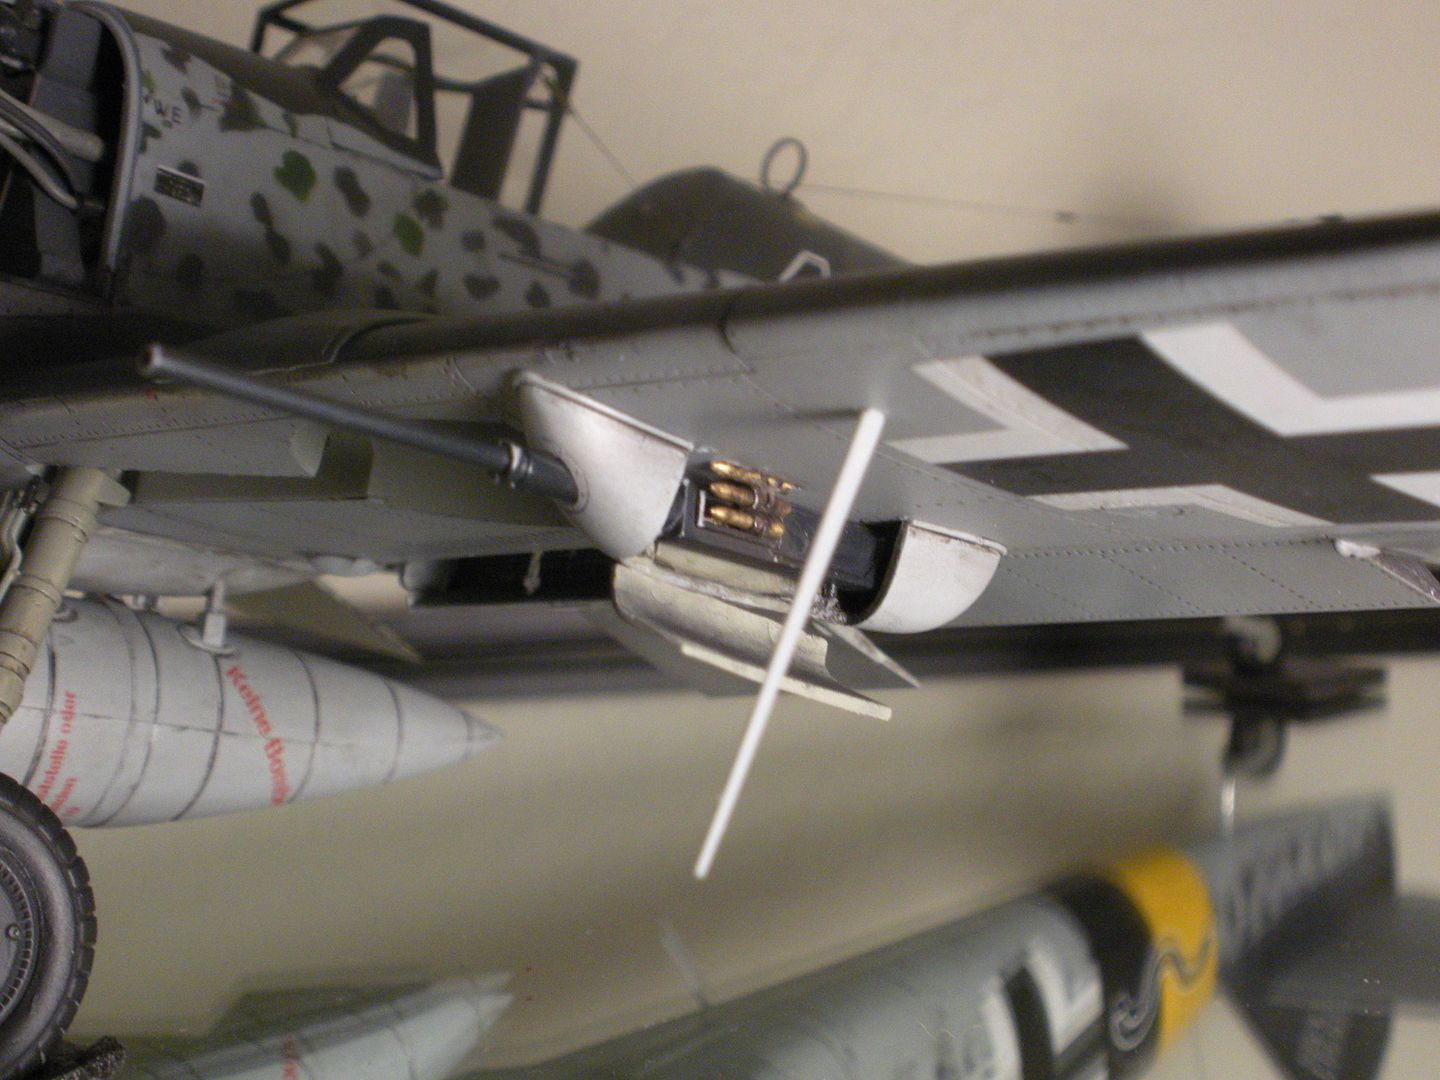
All in all it took 8-1/2 months to get this puppy done. I learned alot from building this model and from the folks that I built it with in the Group Build. Thanks for looking, Joe