Build Log: 1/72 Hasegawa Su-33 Yellow 13...
I saw this kit and had to have it because I have already built two from-scratch RC versions of this aircraft/scheme. This is my fist plastic kit build in 32 years so who knows what will happen. Your comments, suggestions and criticism are welcome and would be greatly appreciated.
First off...here's my RC Flanker (26" Wingspan):
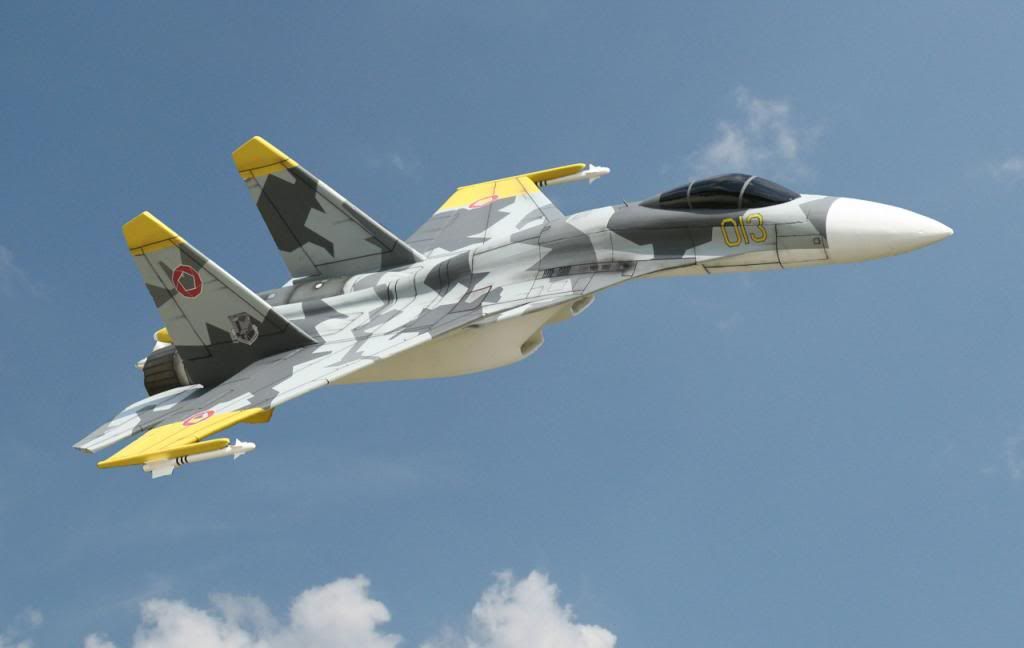
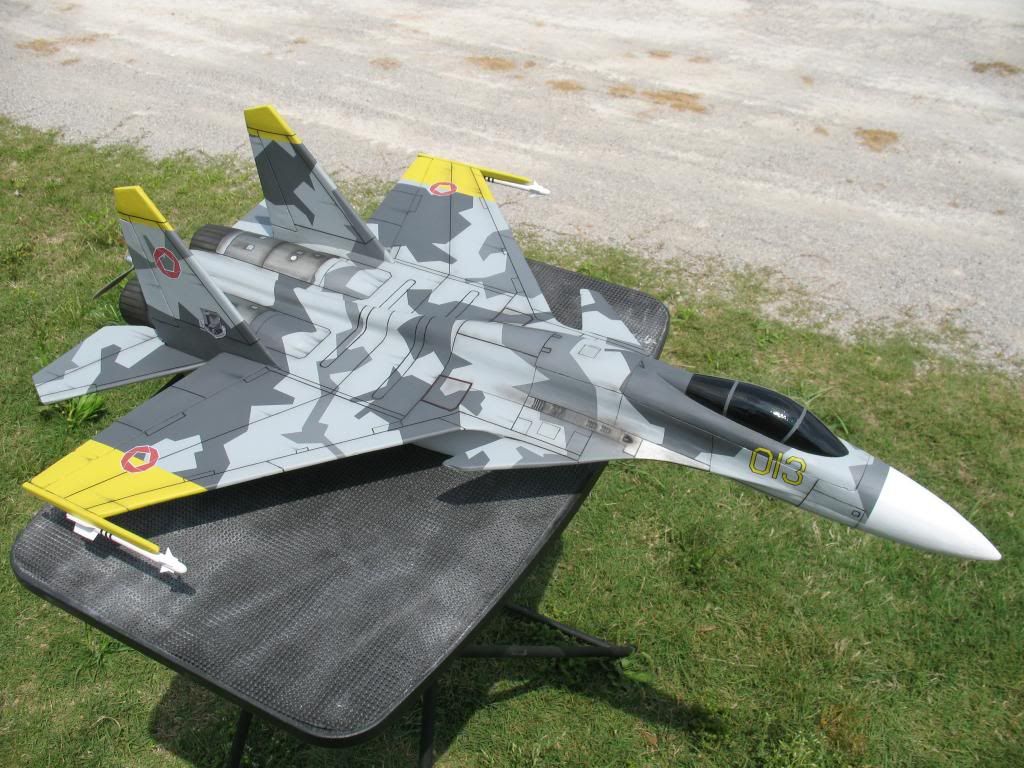
...and the video.
Skip to the pictures of the completed model here.
Now for the plastic kit build. This will be an out-of-the-box build. I live in northern Alabama, and we've been "snowed-in" for two days now and I've made some decent progress while trying not to go stir-crazy.
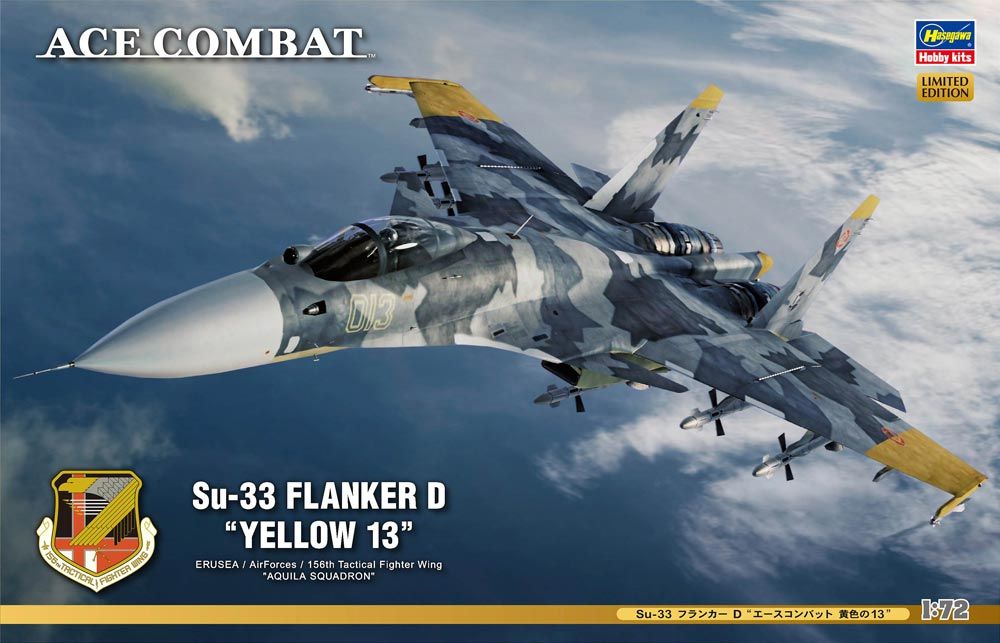
Here's the box:
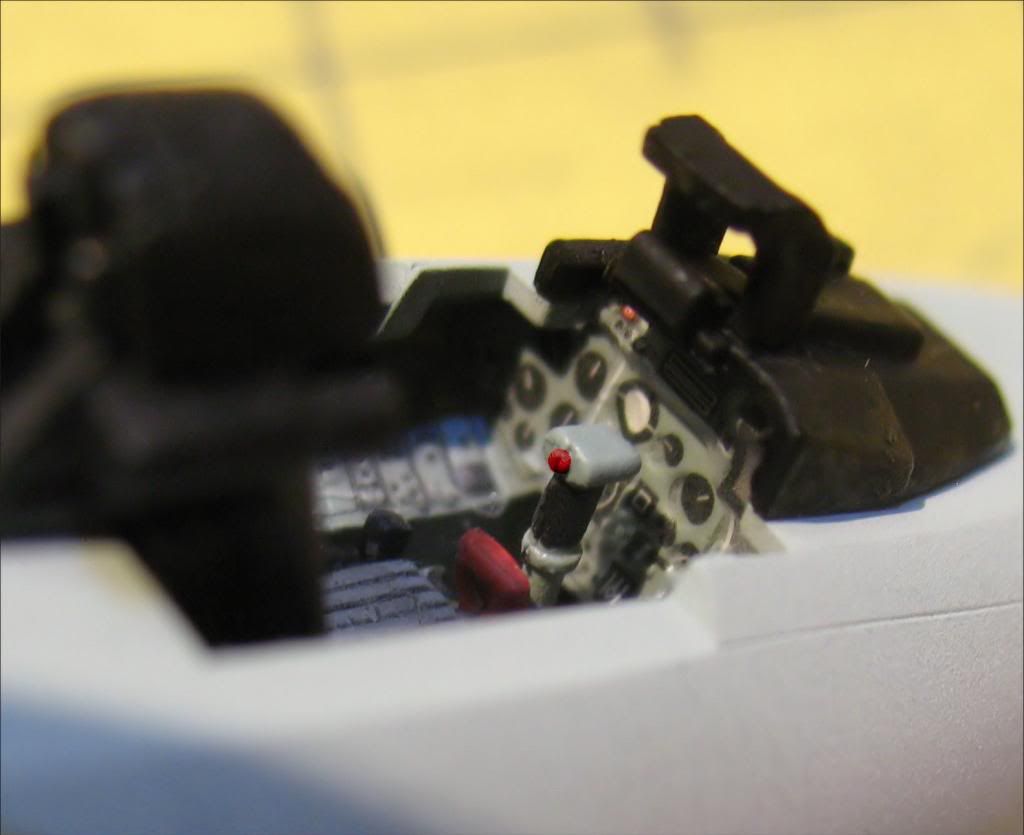
COCKPIT: The main instrument panel decal was off on the right when I placed it. I guess I need an optivisor because I didn't notice it. I used Micro Set and Micro Sol.
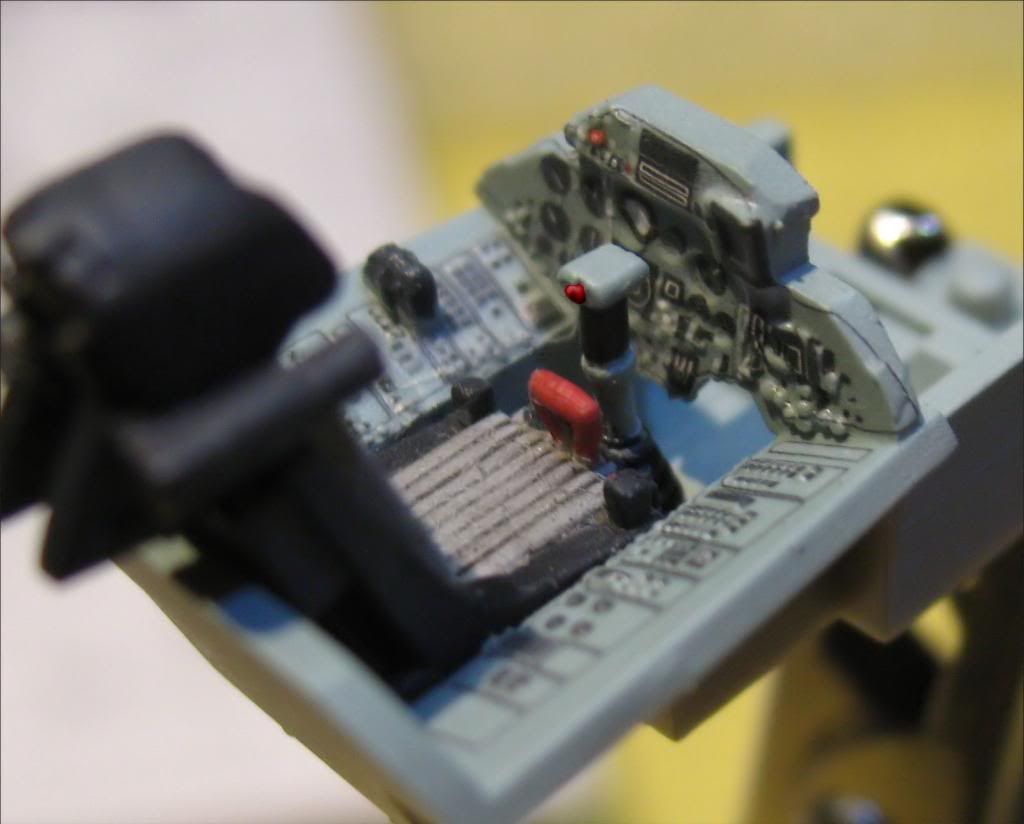
Once installed, you don't even notice the decal being off.
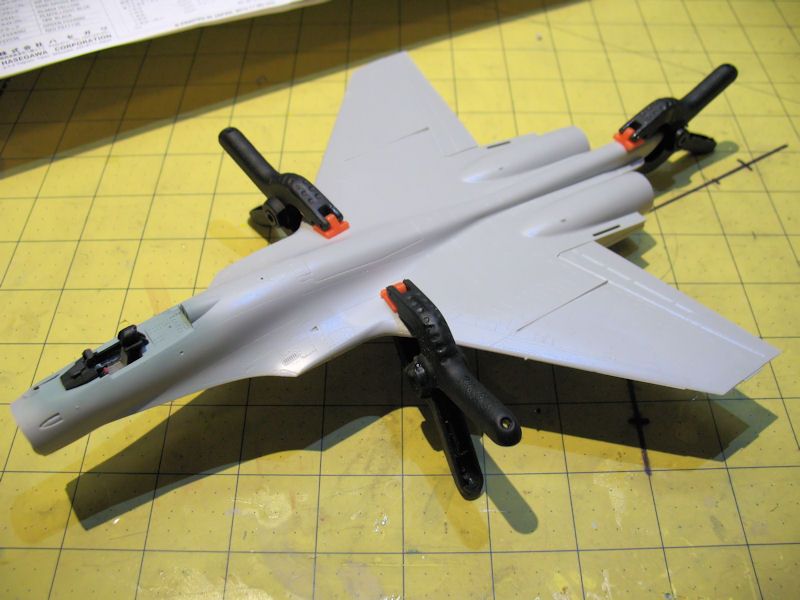
GENERAL ASSEMBLY:
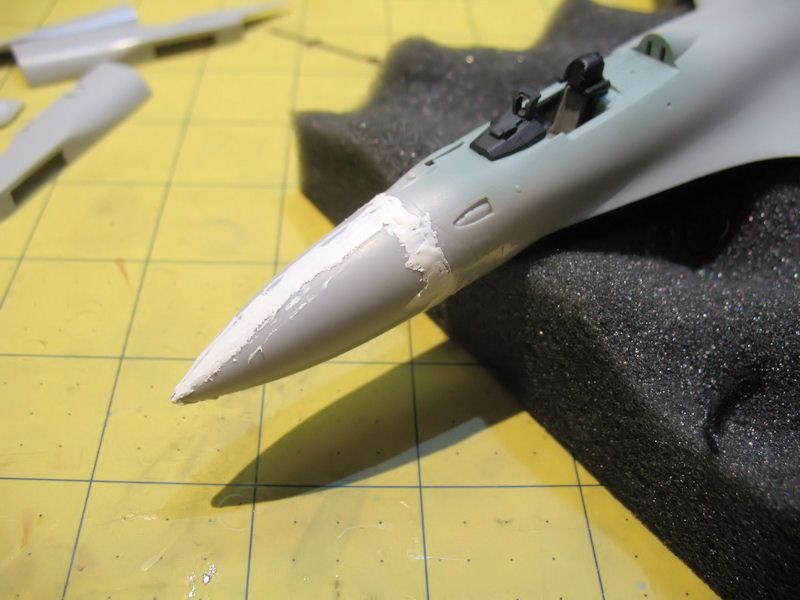
Nosecone doesn't fit very well...lots of sanding to do.
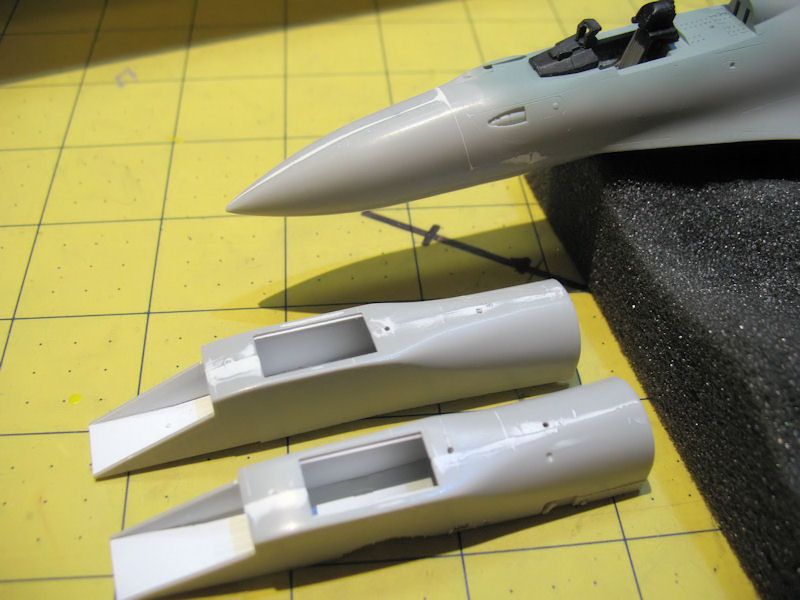
Engine Intakes don't fit very well...lots of sanding to do.
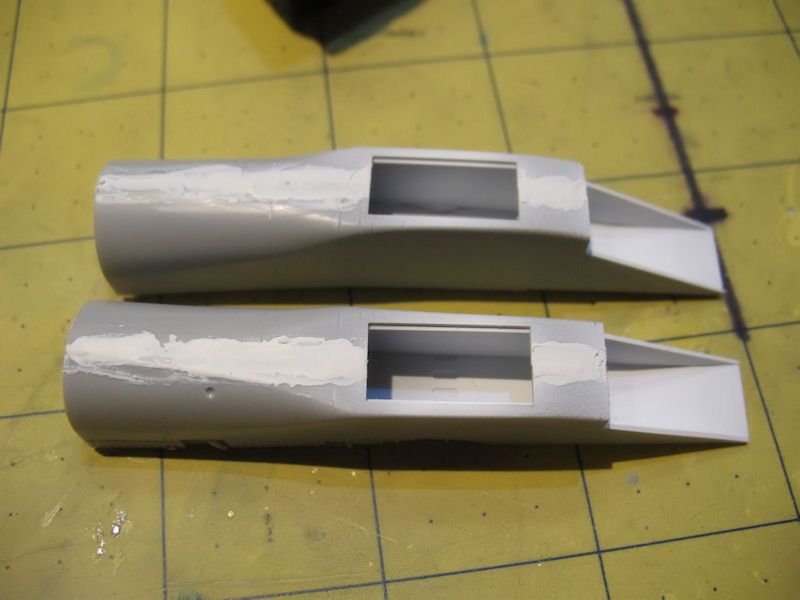
Whew...that was a lot of sanding...
I don't know if this is just how kits are made these days, but this kit doesn't want yo to do a gear-up configuration. The doors fit horribly in general and aren't even molded for closed assembly...
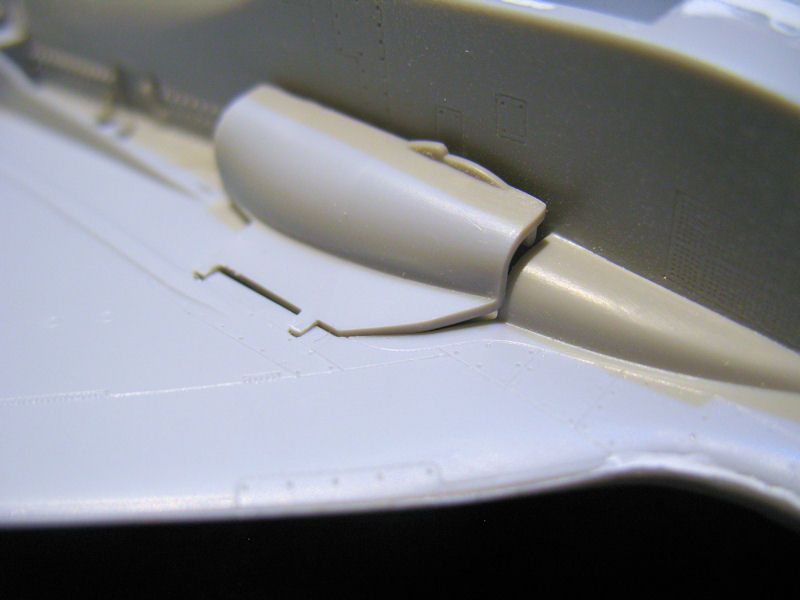
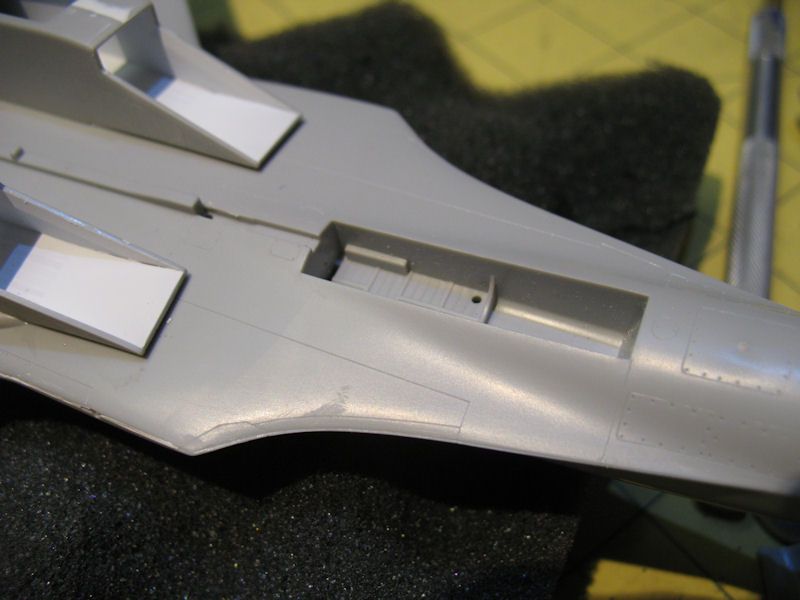
There was no way to get the nose gear door glued in there....so I stuffed a rolled-up paper towel in there to support it from the inside while I assembled it.
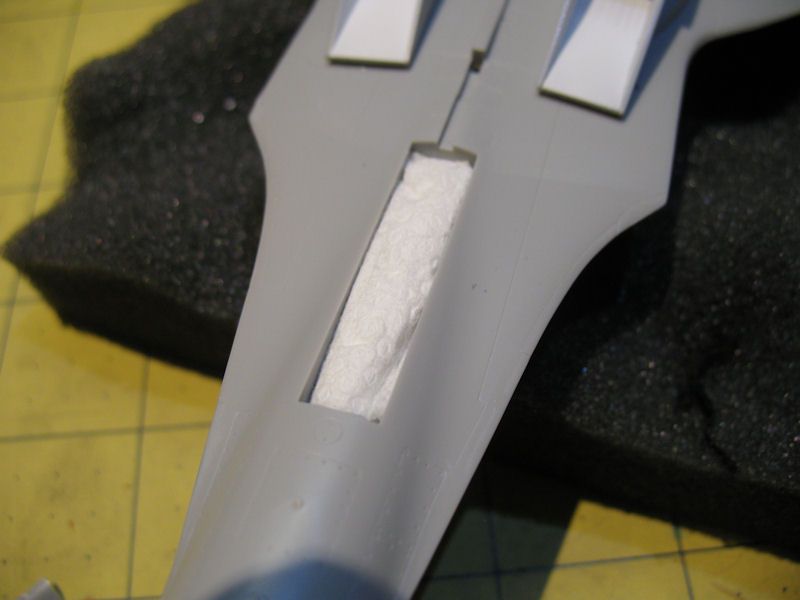
There...
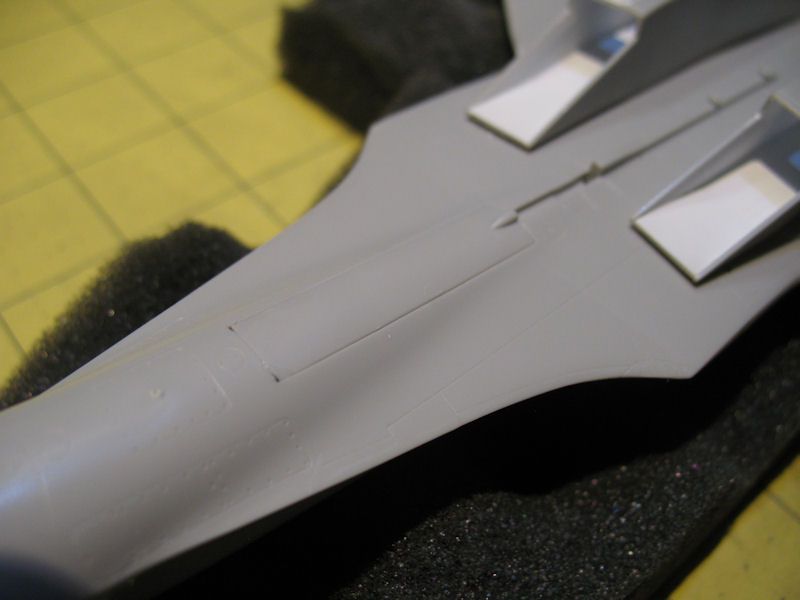
Next problem: there is no rear nose gear door. What little assembly you can get from cutting up the would-be rear support, is completely the wrong size:
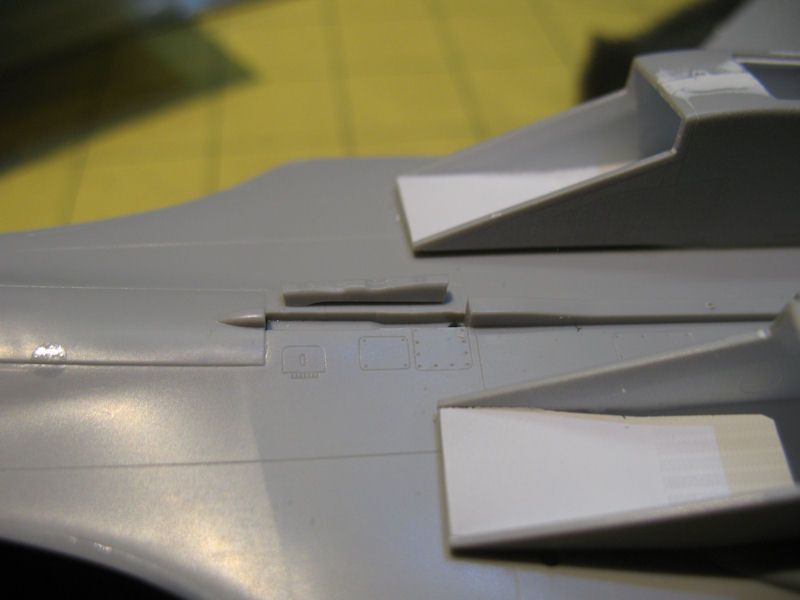
So...I made the part from some left over kit plastic...
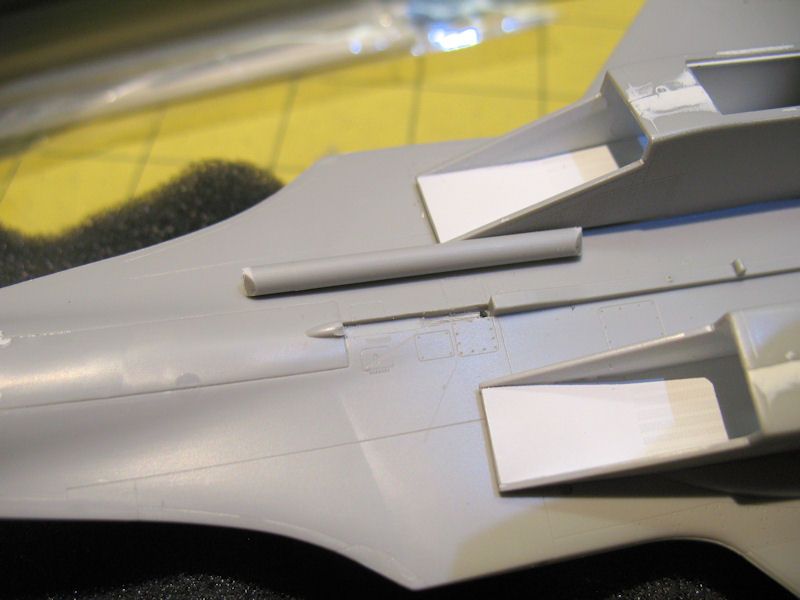
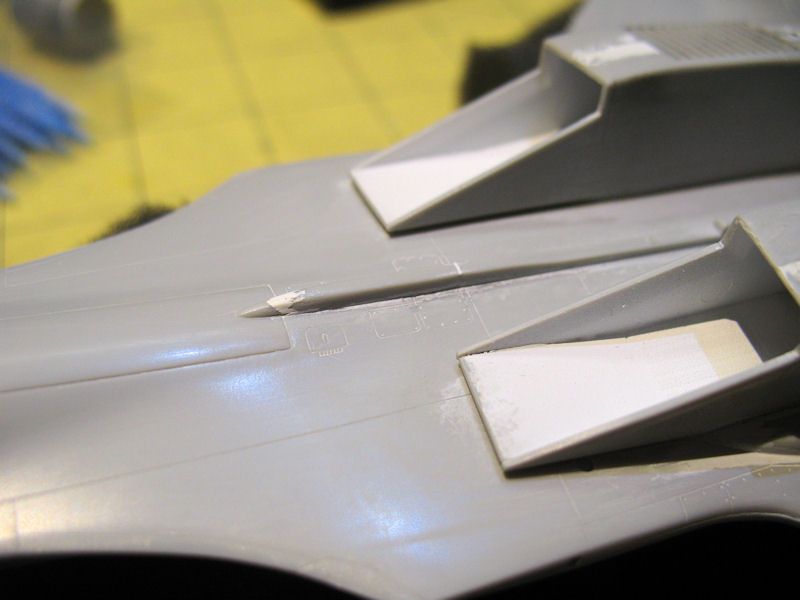
Back to the doors...lots of cutting and sanding to do. I had to cut a section out of each main gear door in order to mount them closed.
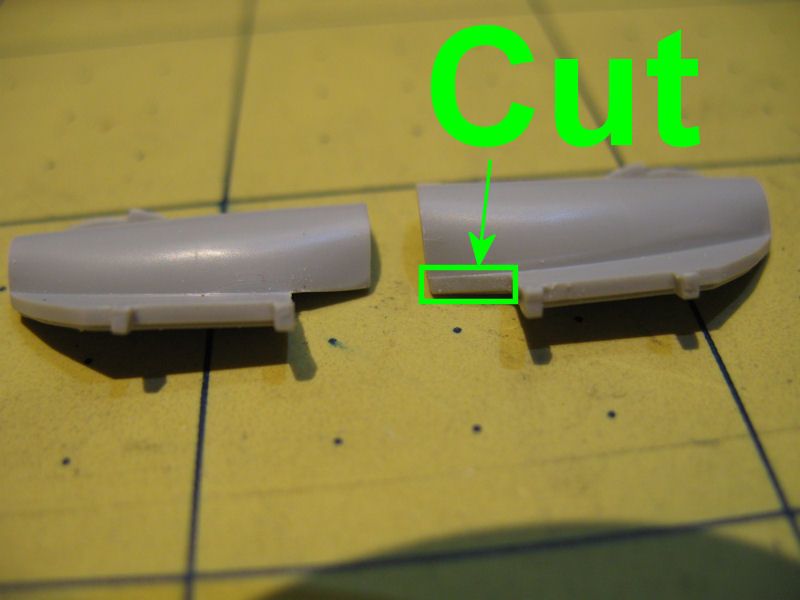
Much better...
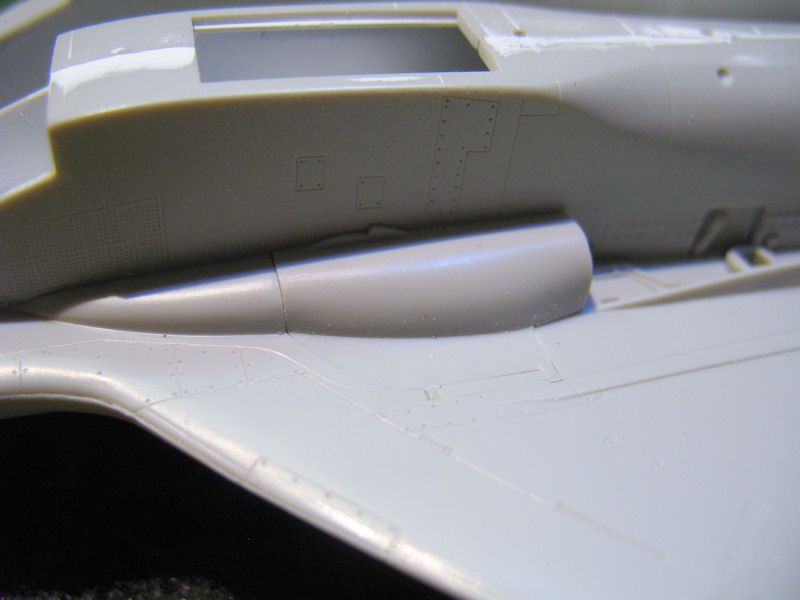
Putty and sand, putty and sand....almost ready to prime.
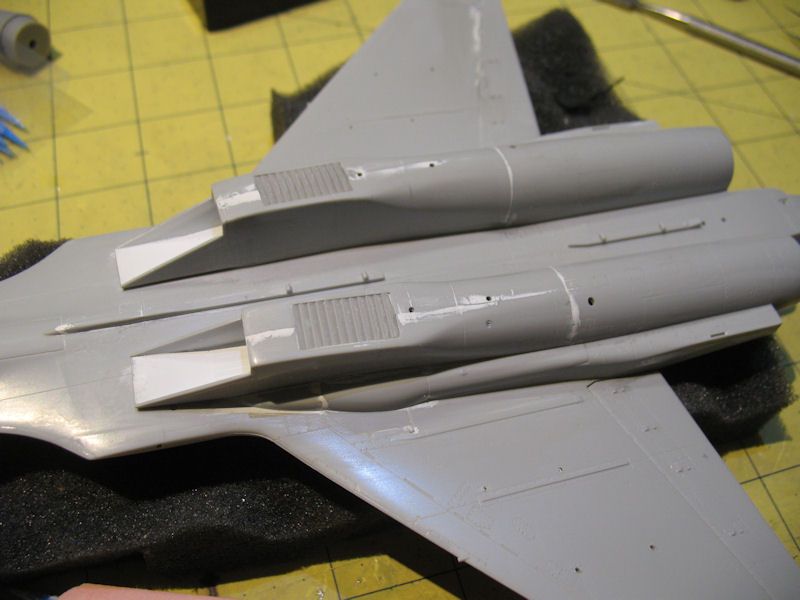
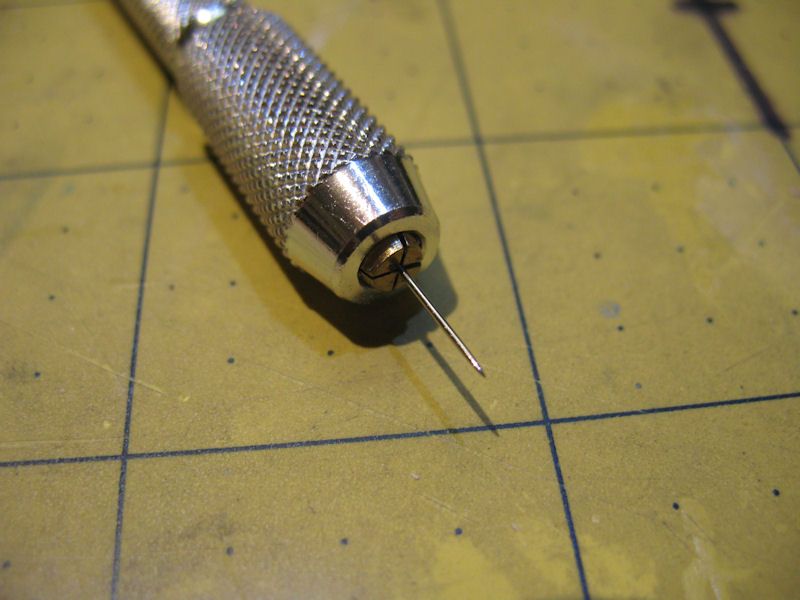
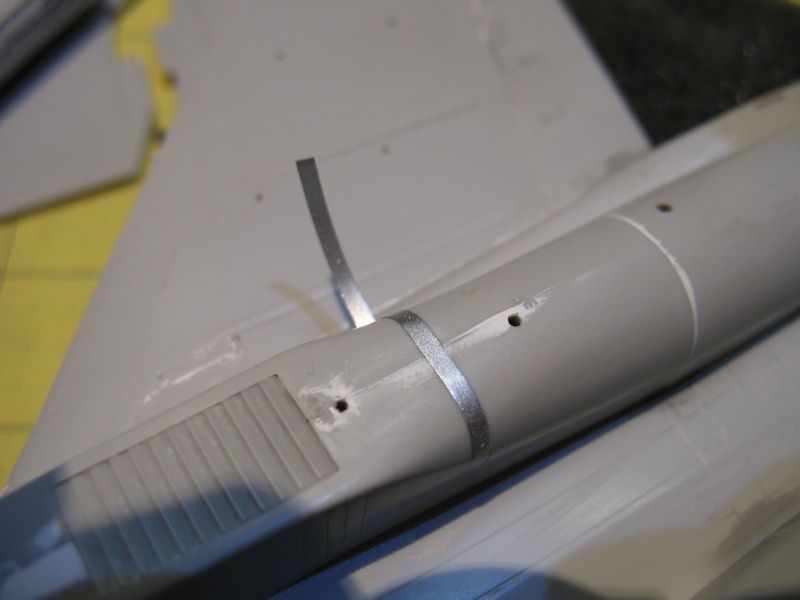
...but I had to do so much putty and sanding, I've got some re-scribing to do. I used a sewing needle in my pin vise. My Dymo tape is a work and I can't get there, so I decide to use pinstriping tape and it worked pretty well. I've never done any scribing before. I must say, it's a pain in the rear and somewhat stressful. 
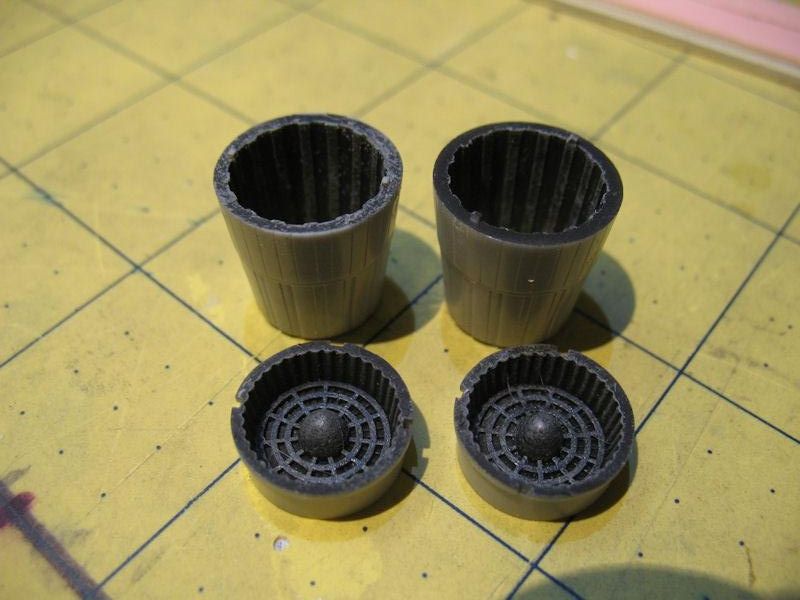
Now I'm about ready to prime. Here are the cans. Black inside with some light gray dry brushing to get that charred look.
I hope you enjoy the pics. I will update as more progress is made.