Next the weapons were primed and checked for flaws as well.
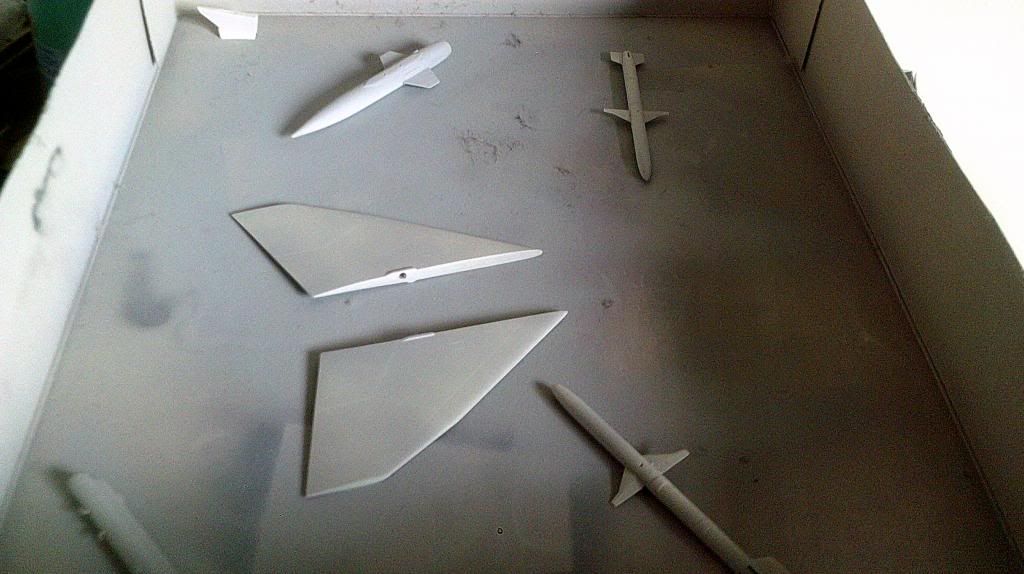
Well I say weapons, all two of them!
After priming I smoothed the surface with micromesh and washed the aircraft.
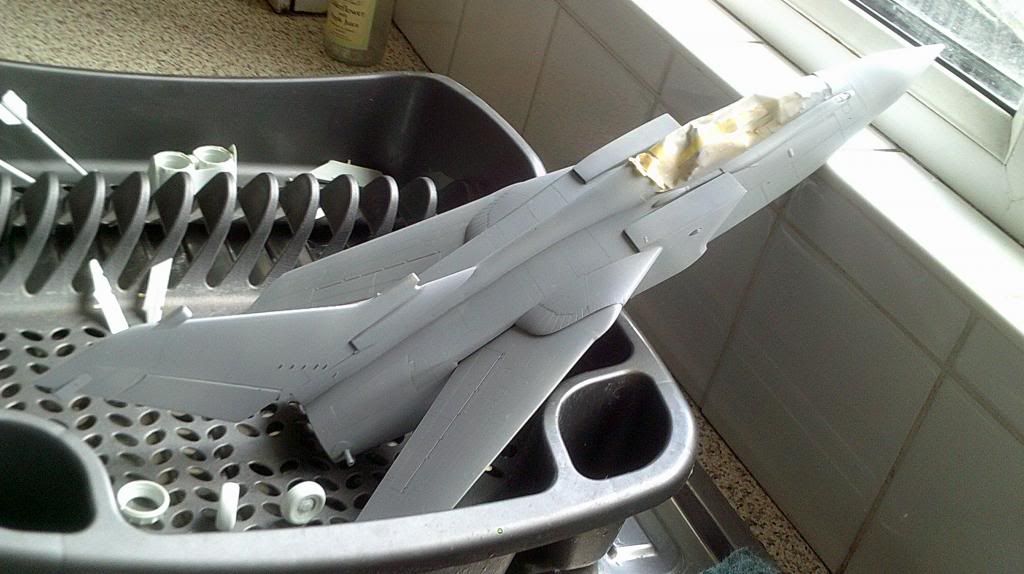
Then the nose was sprayed flat black and again smoothed with micromesh
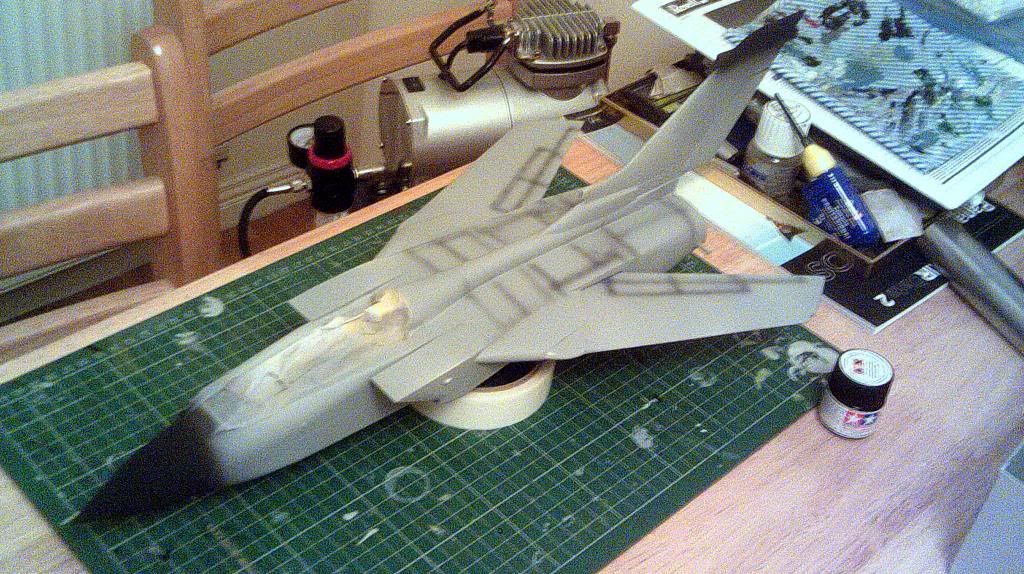
The nose was them given a gloss coat with klear several times.
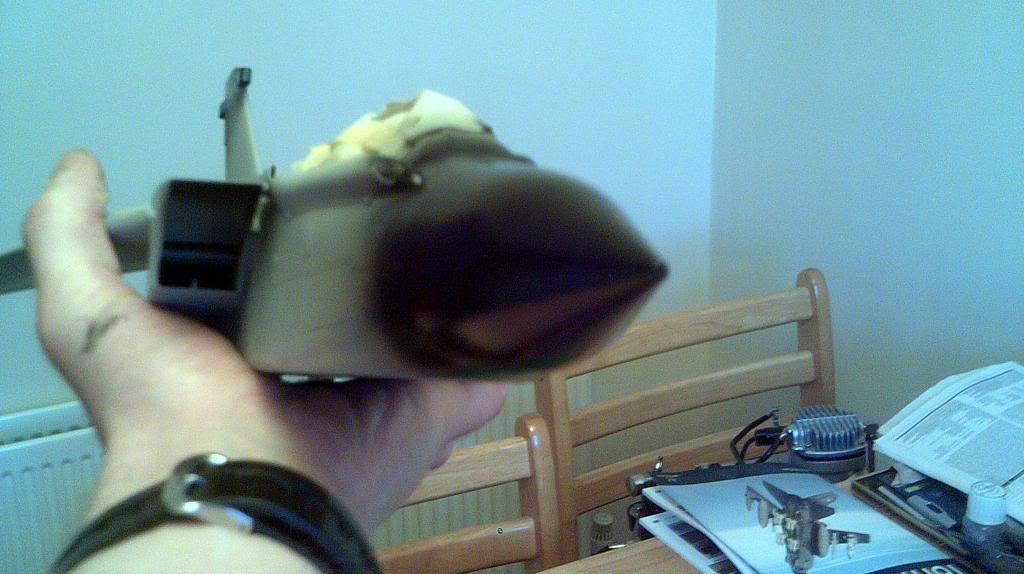
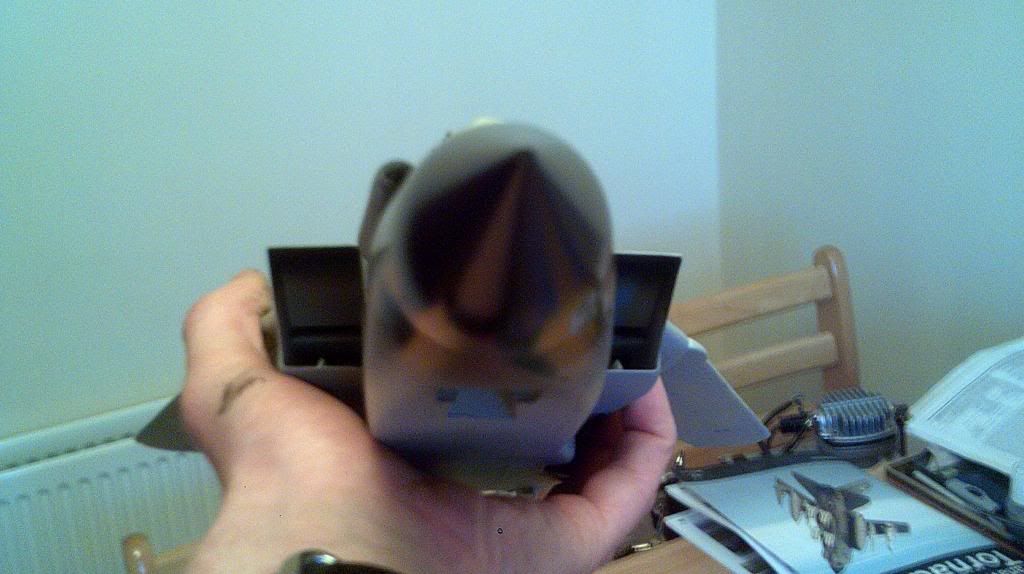
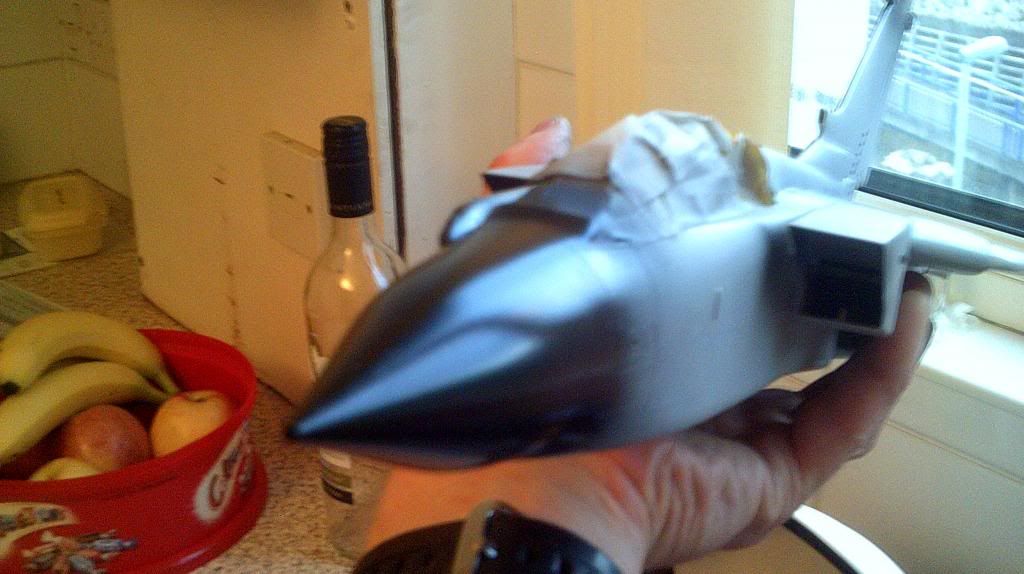
Seems smooth enough and shiny enough for me!
So a coat of enamel grey was sprayed over the plane, the finish was rough as sandpaper and all round terrible.
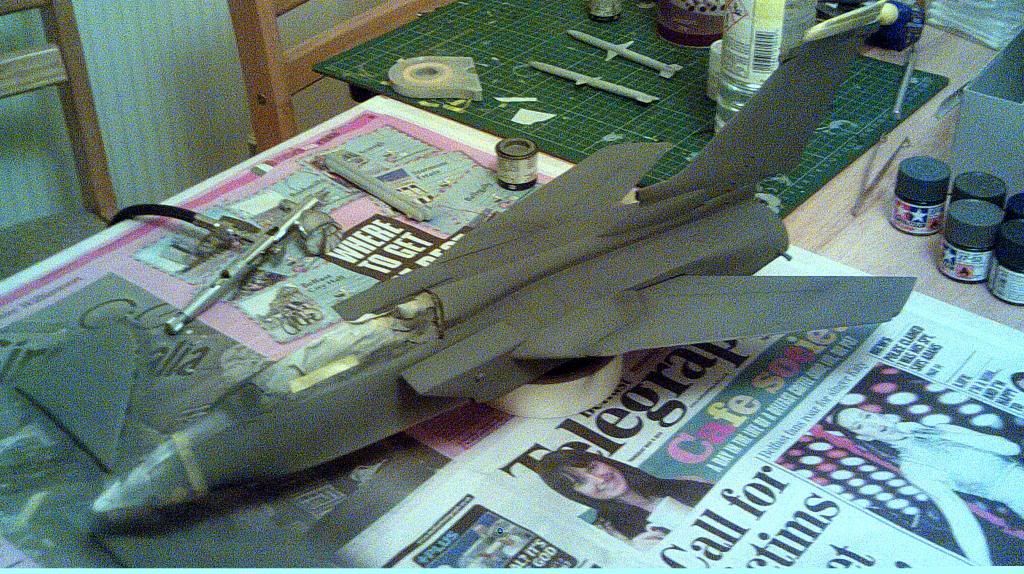
I had to sand the grey back and go over the area again.
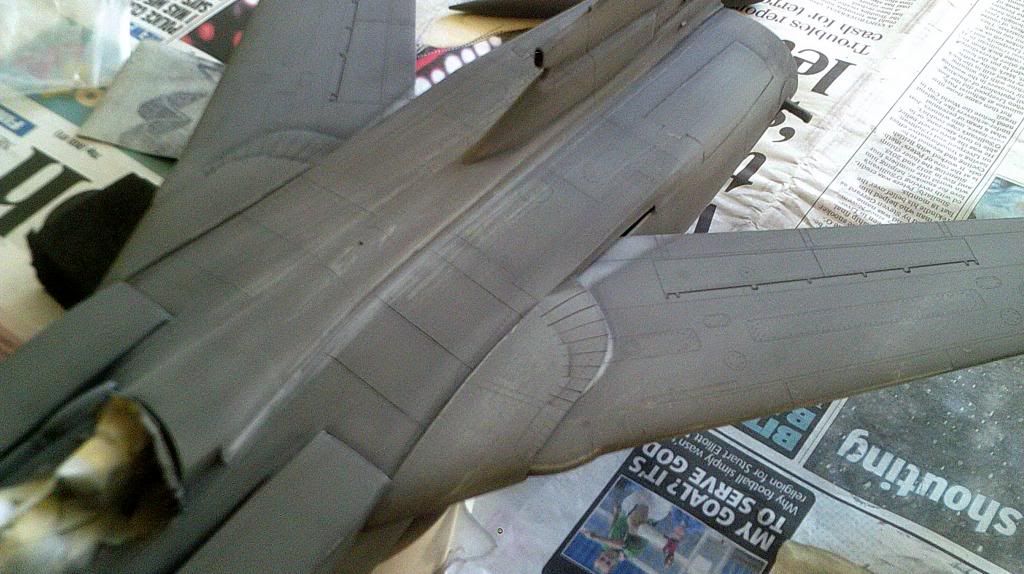
More sanding and smoothing as there's no point in putting so much effort into construction if the paint job is going to be terrible.
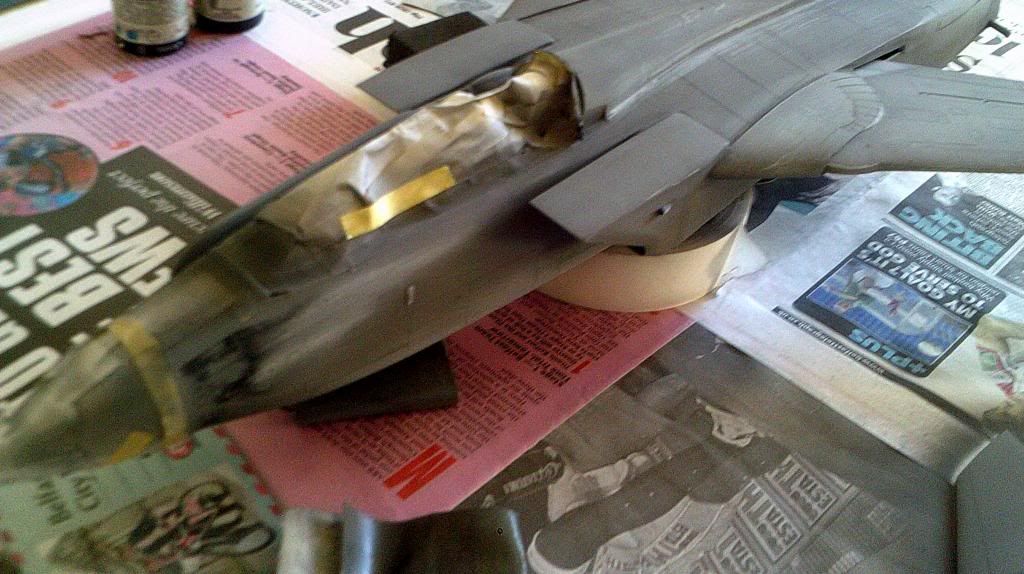
Again I washed the aircraft to get rid of dust before respraying.
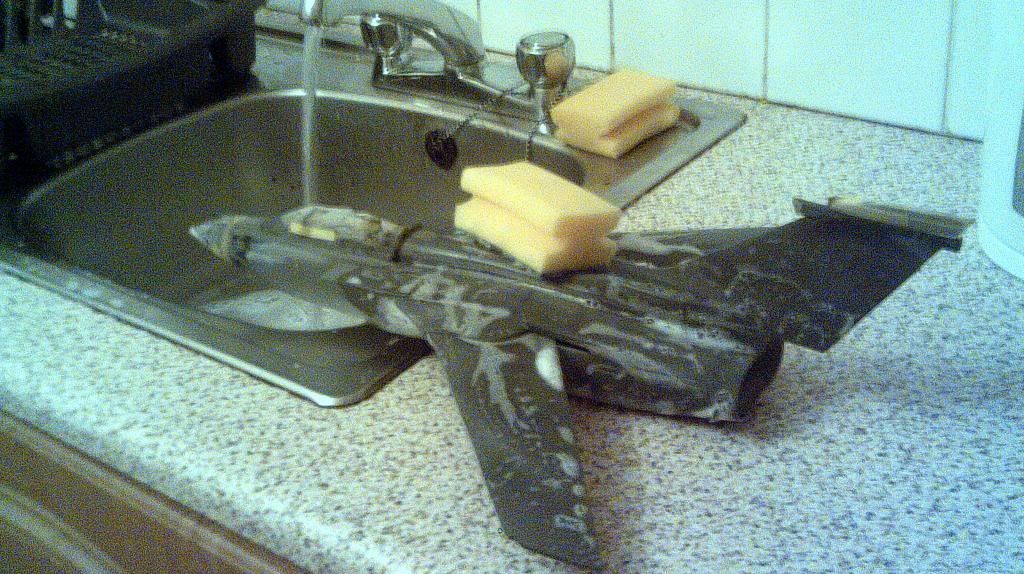
After drying I decided to use the awful patchy grey to my advantage as it will add variation to the grey surface on the aircraft, (I basically thought about what Fly n hi did with his F-15).
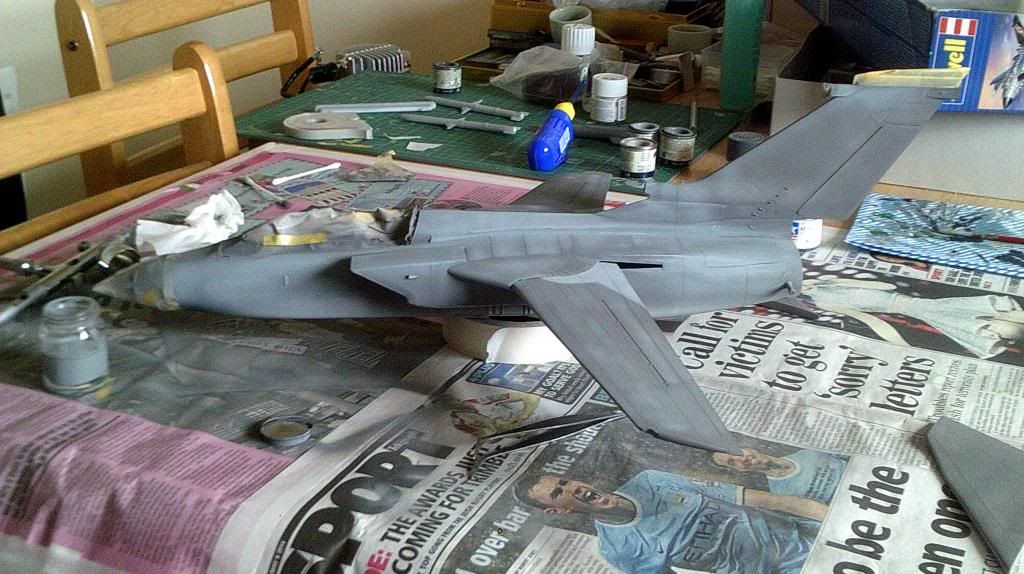
I deliberately shaded various areas with different greys and made the patterns random and it started to look like a weather worn airframe.
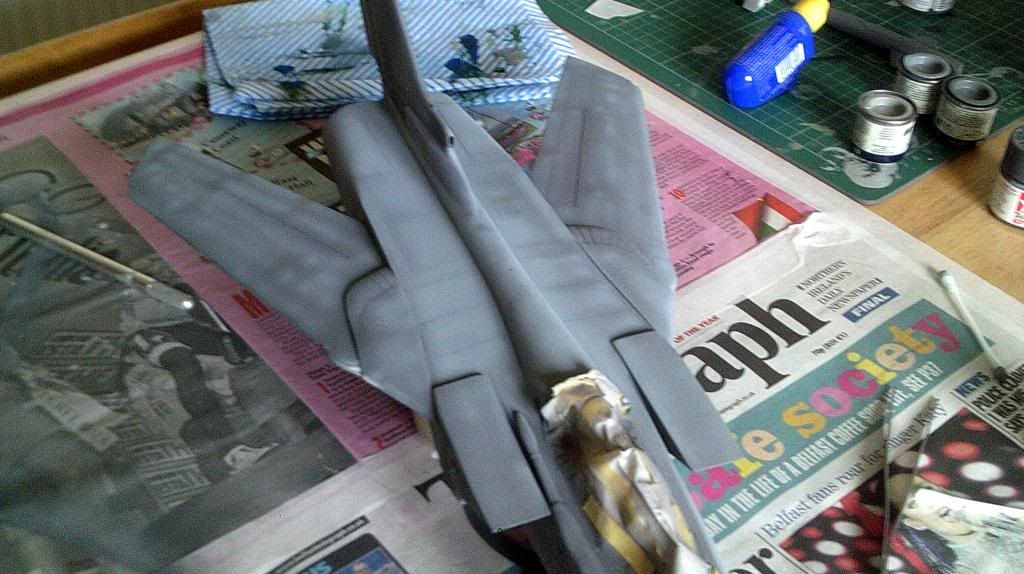
Next I got my scalpel and started to scratch the paint on purpose to give an impression of worn paint that had been walked on.
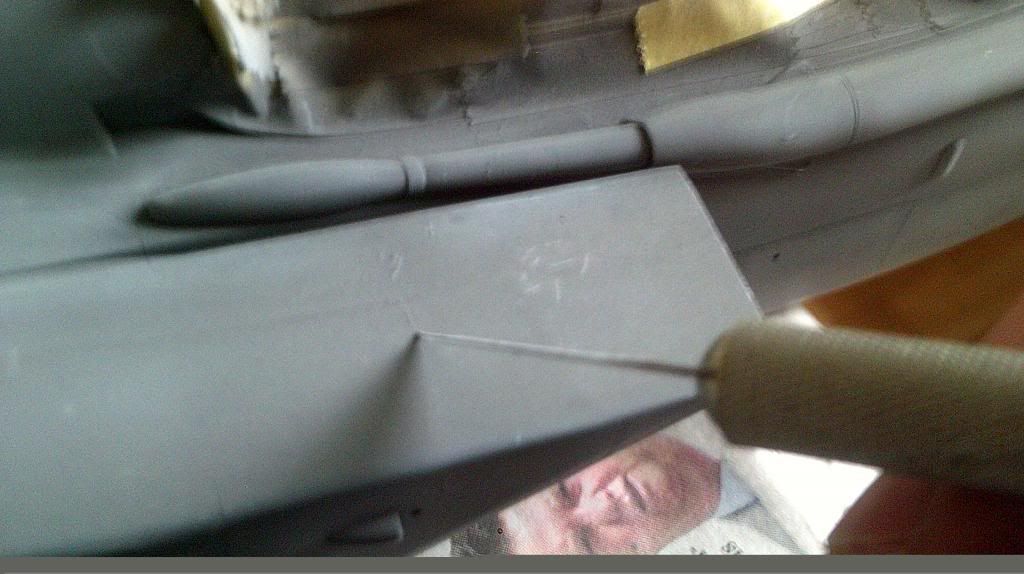
I'm not wanting the plane to look heavily weathered or broken, just something that's in good condition but frequently used if that makes sense.
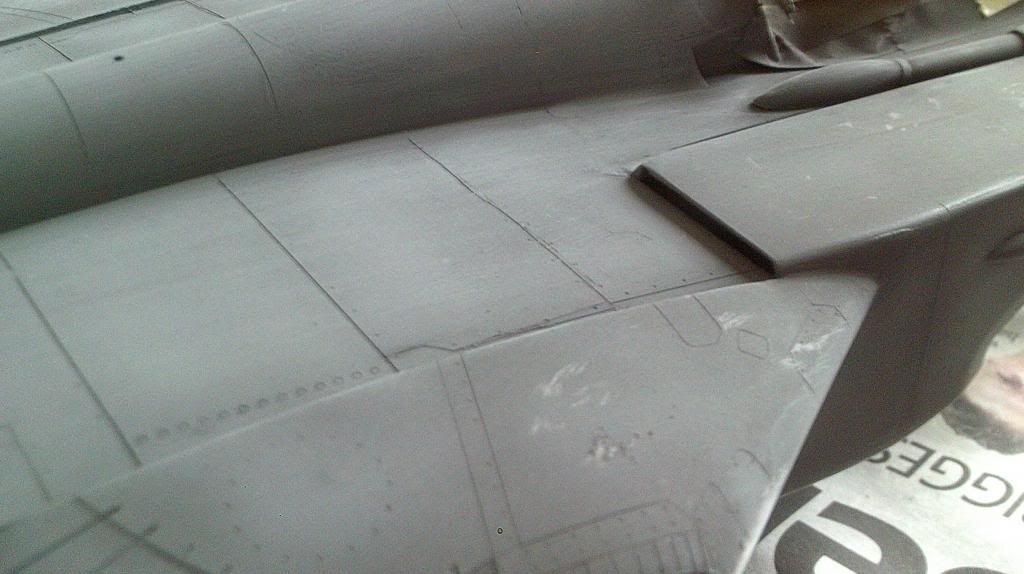
Under the next few layers of paint (very light layers) I managed to get the aircraft to look suitably worn with a good finish.
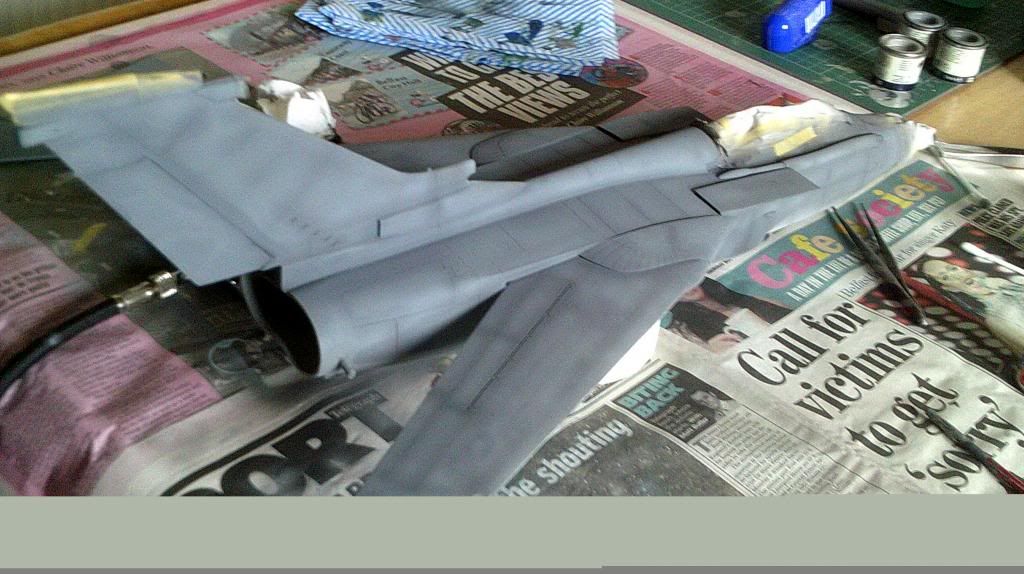
This was followed with a gloss coat to ensure the paint was protected, about 5 coats of klear was applied.
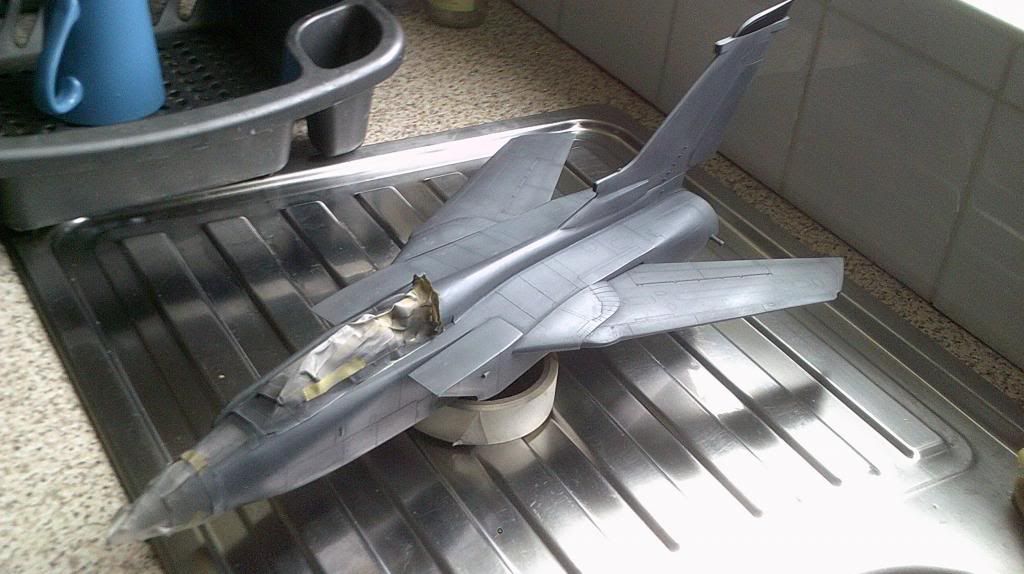
The top half is completed with the sort of shine I like to have on my models, next I will be doing the bottom half, it is not obvious in the photo but from different angles the model looks different colour wise with regards to weathering.
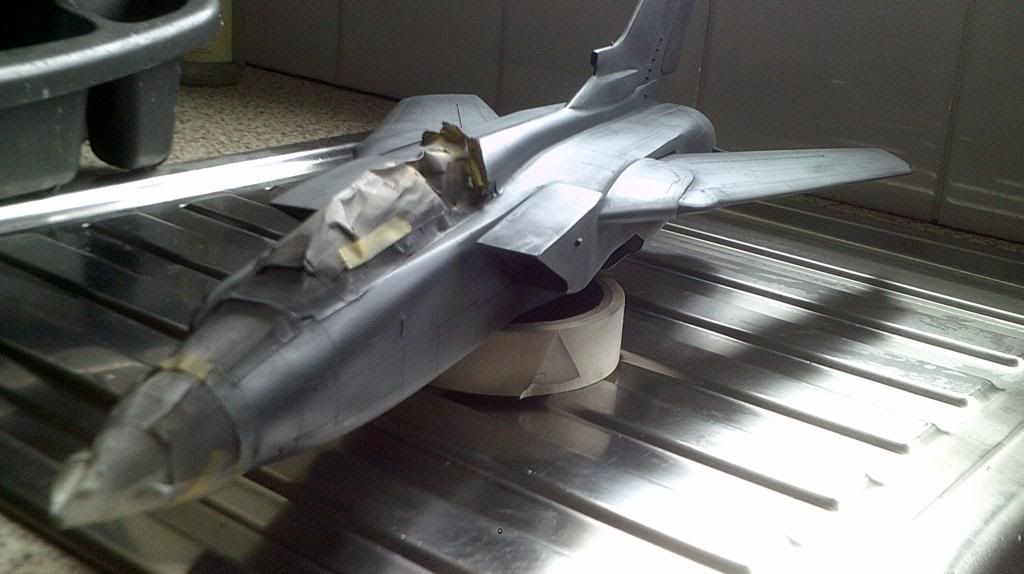
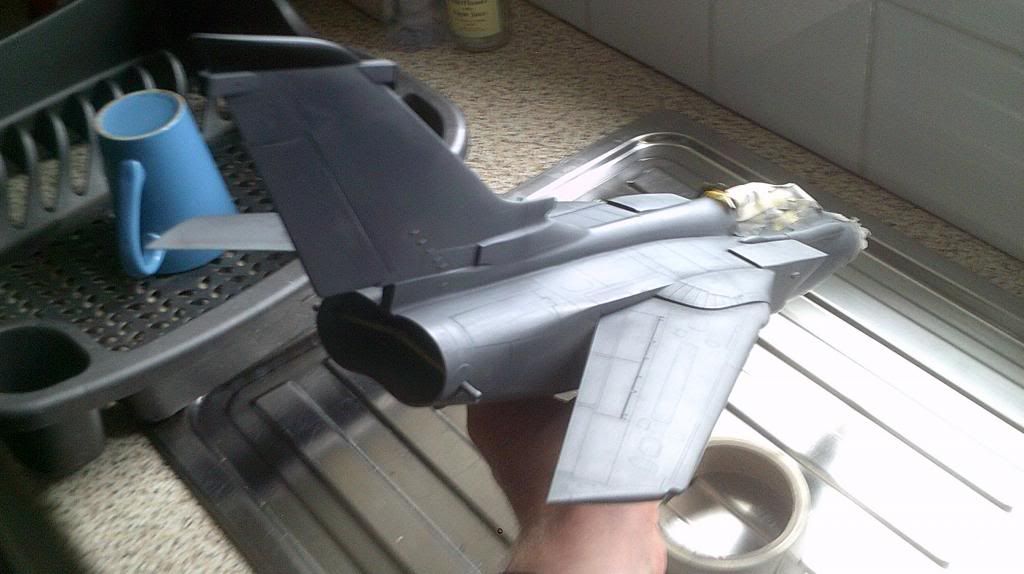
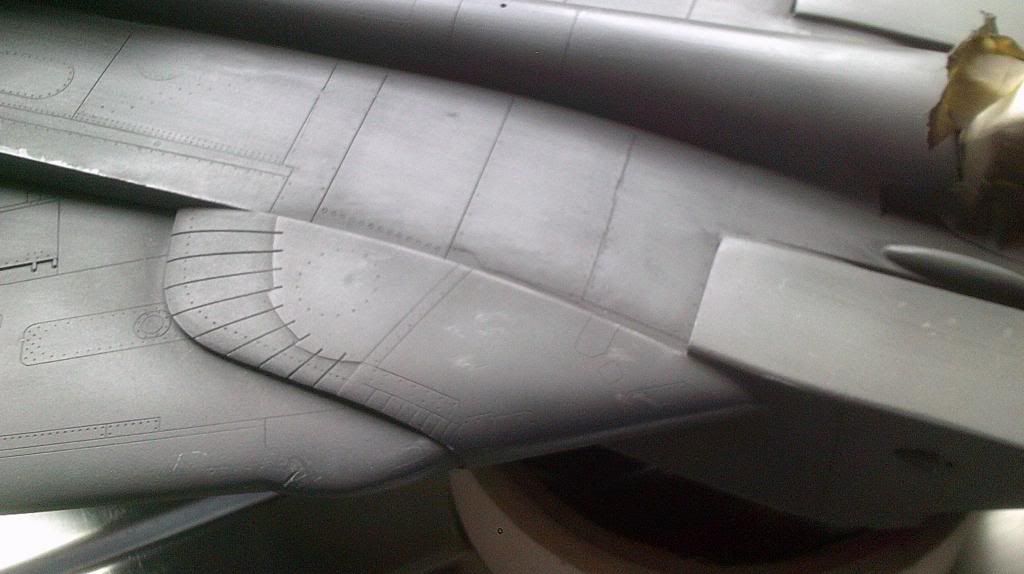
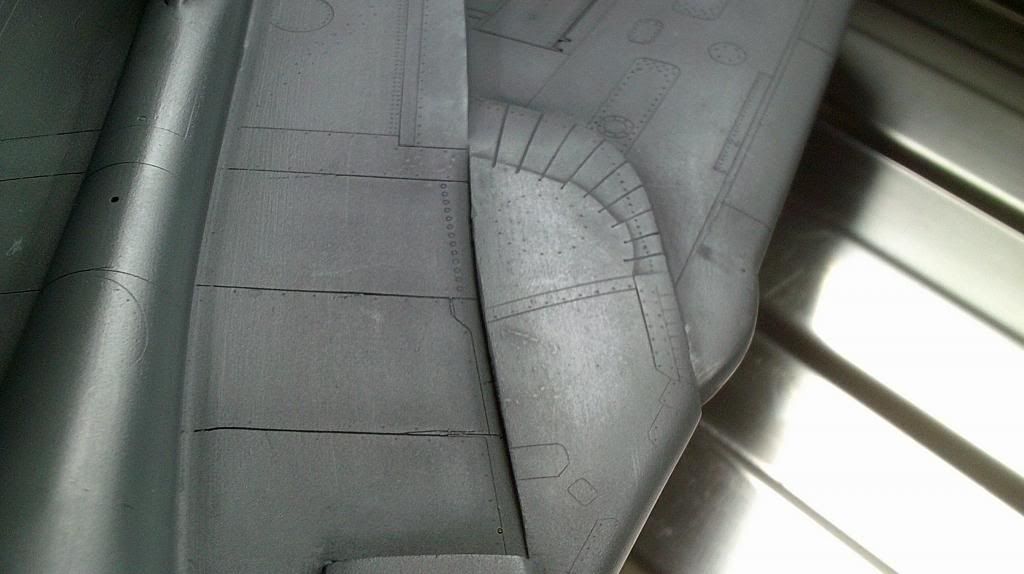
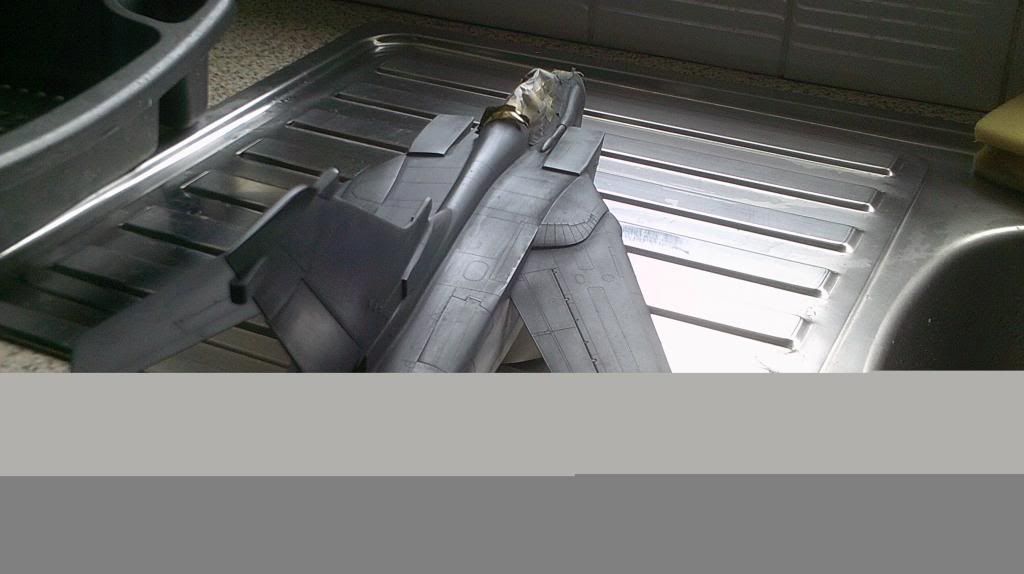
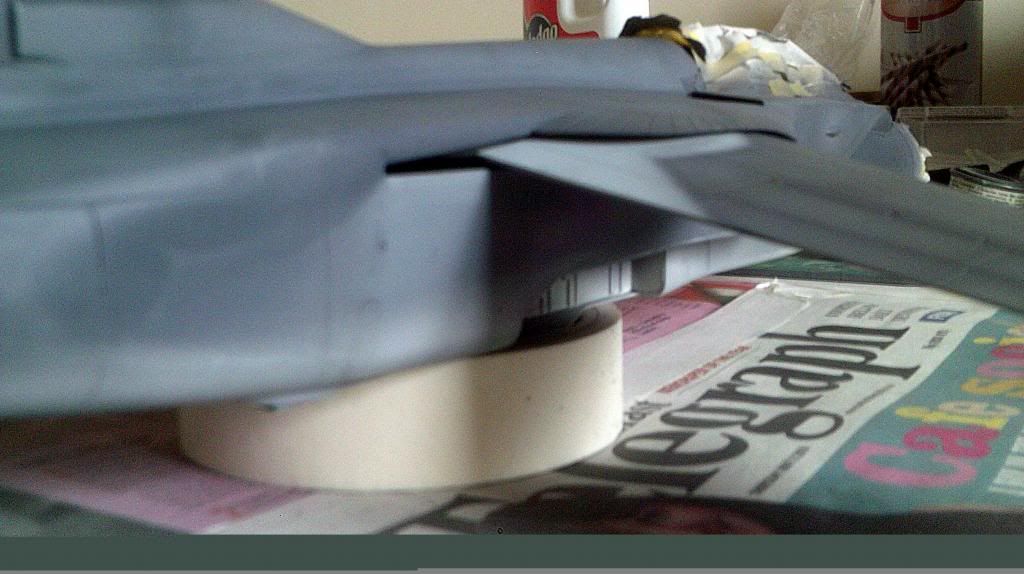
Well that's all for now, I have to spray a few more parts of grey under the wing as I missed it when painting but no big deal, I will be doing the white bottom next post and ot will be decalled by then too.