SEARCH FINESCALE.COM

Enter keywords or a search phrase below:

ESCI 48th scale Tornado, another dinosaur

12262 views
135 replies
1 rating 2 rating 3 rating 4 rating 5 rating
  • Member since
    February 2014
Posted by USMC6094 on Saturday, June 28, 2014 11:01 AM

nothing but canopy work today...........

Started building up the forward corners of the windscreen frame, am pretty satisfied with the end result, the rest of the filling will be with Mr Surfacer

I had to take a break from the belly racks, I've sanded so much lately it looks it snowed all over my bench  

  • Member since
    April 2014
Posted by r13b20 on Friday, June 27, 2014 4:10 PM

Don't know about ordinance, but you are doing great work! Maybe this started life as a toy, not a model? It "seams" to have that look about it. You have a stout heart handling this project. Bob

  • Member since
    February 2014
Posted by USMC6094 on Friday, June 27, 2014 2:12 PM

next is the almost completed, accurized rack with the new pallets

Now does anyone know a good source for 48th scale British ordnance? 

  • Member since
    February 2014
Posted by USMC6094 on Friday, June 27, 2014 2:10 PM

thanks stik. It is coming a long nicely all things considered

I got to work on the belly bomb racks last night, for the life of me I couldn't let such a bad inaccuracy as them go. So I broke out the old Monogram 72nd scale model and used its belly racks as a pattern and eyeballed the two pallets as well as their strakes. Now these are by no means correct, they just look right to me as compared to the originals.

Heres the base line rack

other than the filler, this is box stock

Here is the .050 styrene I cut got the pallets and the stock I'm carving the strakes out of


  • Member since
    July 2004
  • From: Sonora Desert
Posted by stikpusher on Friday, June 27, 2014 10:57 AM

excellent progress.... some more feint hearted folks might call a kit like this "unbuildable". You are certainly wrestling ths into shape very nicely!


F is for FIRE, That burns down the whole town!

U is for URANIUM... BOMBS!

N is for NO SURVIVORS...

       - Plankton

LSM


  • Member since
    February 2014
Posted by USMC6094 on Friday, June 27, 2014 5:26 AM

and I took some overall shots just to show the progress

And here was my house keeping project that gave my all my work space back  

I've got some putty curing on the canopy assembly to cover up some uneven and low spots from the styrene filling session, I'll post more pictures later today  

  • Member since
    February 2014
Posted by USMC6094 on Friday, June 27, 2014 5:23 AM

here are a few other shots, I've closed the speed brakes and have a tad bit of filling to do on them.


  • Member since
    February 2014
Posted by USMC6094 on Friday, June 27, 2014 5:22 AM

after some experimentation, I gave the entire filled area a light coat of Testors liquid cement and then rubber banded it to the fuselage, that way the cement and the tension from the rubber bands could compress and fill in the really tiny spots would otherwise have had to fill with CA


  • Member since
    February 2014
Posted by USMC6094 on Friday, June 27, 2014 5:19 AM

  • Member since
    February 2014
Posted by USMC6094 on Friday, June 27, 2014 5:18 AM

the majority of my bench time has been getting the canopy/windscreen gap filled.

the red lines are the plastic from a plastic bread bag tie. I figured it looked and felt like styrene, so I sectioned it and it reacted to cement so I used it and Plastruct strip stock to fill the gap.


  • Member since
    February 2014
Posted by USMC6094 on Friday, June 27, 2014 5:15 AM

here we go, took pictures of the last few days as well as last nights progress.

First is the exhausts, MM metalizer all around


  • Member since
    February 2014
Posted by USMC6094 on Thursday, June 26, 2014 2:58 PM

not just simple, I see a Tamiya He-162 Salamander in my future after this one

  • Member since
    November 2009
  • From: SW Virginia
Posted by Gamera on Thursday, June 26, 2014 2:42 PM

I know that feeling, whenever I build a limited run kit (and this seems pretty darn close to one) building something simple does provide a chance to decompress!

"I dream in fire but work in clay." -Arthur Machen


  • Member since
    February 2014
Posted by USMC6094 on Thursday, June 26, 2014 2:33 PM

I think the major puttying is past, now its just dressing the low spots with Mr Surfacer and prepping for paint, don't get me wrong, I love detail work, but this kits starting to wear on me. I need to pick something painless to build once I finish this one

  • Member since
    November 2009
  • From: SW Virginia
Posted by Gamera on Thursday, June 26, 2014 2:21 PM

She's coming together pretty well- I hope you stocked up on putty though!

"I dream in fire but work in clay." -Arthur Machen


  • Member since
    February 2014
Posted by USMC6094 on Thursday, June 26, 2014 12:43 PM

working the canopy/windscreen assembly seams and have painted the jet exhausts with MM Metallizer as well as the thrust reversers. The ejection seats are coming a long as well.

Once I get the silver paint cleaned off the cockpit will be masked and I'll be about ready to preshade the fuselage in preparation for final painting.

  • Member since
    February 2014
Posted by USMC6094 on Monday, June 23, 2014 8:47 AM

still working on the final surface treatment before the pre-shading starts. I took her to my clubs monthly meeting on Saturday and heat from the trip (closed up car while I was in BAM) made the finished filler contract once it got warm and then cooled off, so its touch up filler time almost all around.

In other filler news, I gave all the seams a coat of Testors silver to see what the seams really looked like and by and large they came out well, except for the whole shrinkage thing

  • Member since
    February 2014
Posted by USMC6094 on Sunday, June 22, 2014 10:07 AM

last night was more of the same, brushing Mr. Surfacer on the spine seam and filling pin holes that used to be air bubbles on other seams. Mr. Surfacer 1200 is great brushed on for this purpose.

I started filling the gap between the cockpit sill and canopy assembly with square styrene stock, its slow going but its getting there.

As I promised, here are the bang seats.

You wouldn't believe the amount of plastic that had to be removed for me to get the pilot figures to fit theses seats, probably a third of the total plastic in the seats came off between the xacto knife and the grinding bit on the dremel tool

  • Member since
    February 2014
Posted by USMC6094 on Saturday, June 21, 2014 1:53 PM

After I had a few things worked as far as I could take them for the moment, I decided to take a few pictures of everything together at this stage

I'll have some pictures of the ejection seats tomorrow.  

  • Member since
    February 2014
Posted by USMC6094 on Saturday, June 21, 2014 1:50 PM

while said Grand Canyon seam was setting up I went to work on the canopy and windscreen.

Five minute double-bubble did the trick here. then I cemented the canopy assembly to the windscreen assembly since one part seemed to be easier to work with, then I got a surprise.......

Sorry its a little out of focus, but notice the gap between the canopy sill and the fuselage, more filling.......yippeeeeee

So I shimmed the area immediately in front of the windscreen, with plastic stock and then started on the cockpit enclosure


  • Member since
    February 2014
Posted by USMC6094 on Saturday, June 21, 2014 1:46 PM

thanks MAgather, I have some more progress to report.

First, the vertical tail is on and anchored, and square to the rest of the fuselage.......then I started filling the HUGE gap at the front of it.

I've filled it twice and may possibly have to add more later today, the last few hits of filler will be Mr. Surfacer, as the putty has done all I asked and expected it to.

I've layered three coats of Tamiya grey putty in an attempt to even out the contours before I hit the area with Mr. Surfacer 1000.

The seam is just in the most awkward place to fill, sand and contour.........


  • Member since
    April 2007
  • From: Twin Towns, MN
Posted by MAgather on Saturday, June 21, 2014 1:28 PM

Yeah, she is definitely a labor of love. She will definitely look good flying from the ceiling tho!

Good Modeling,
  • Member since
    February 2014
Posted by USMC6094 on Friday, June 20, 2014 11:34 AM

On another note, I'm still filling the gaps on the side fairings outboard of where the exhausts will sit, I've started painting the ejection seats am debating the lengths I want to go on the ordnance

  • Member since
    February 2014
Posted by USMC6094 on Friday, June 20, 2014 11:32 AM

  • Member since
    February 2014
Posted by USMC6094 on Friday, June 20, 2014 11:31 AM

  • Member since
    February 2014
Posted by USMC6094 on Friday, June 20, 2014 11:31 AM

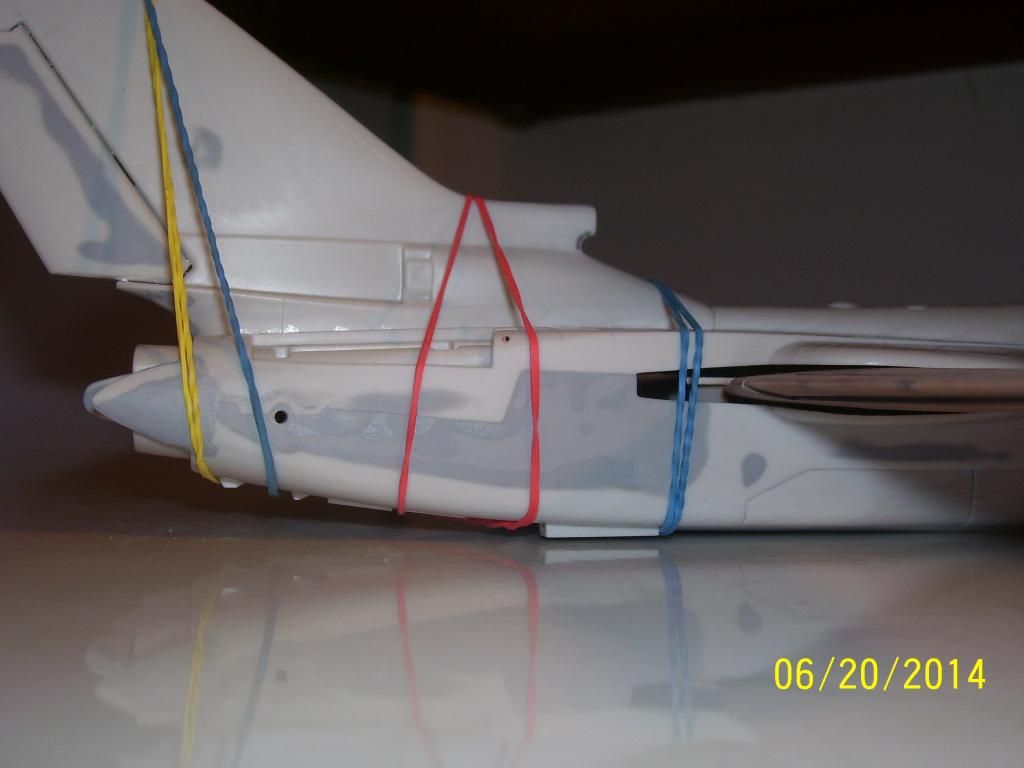
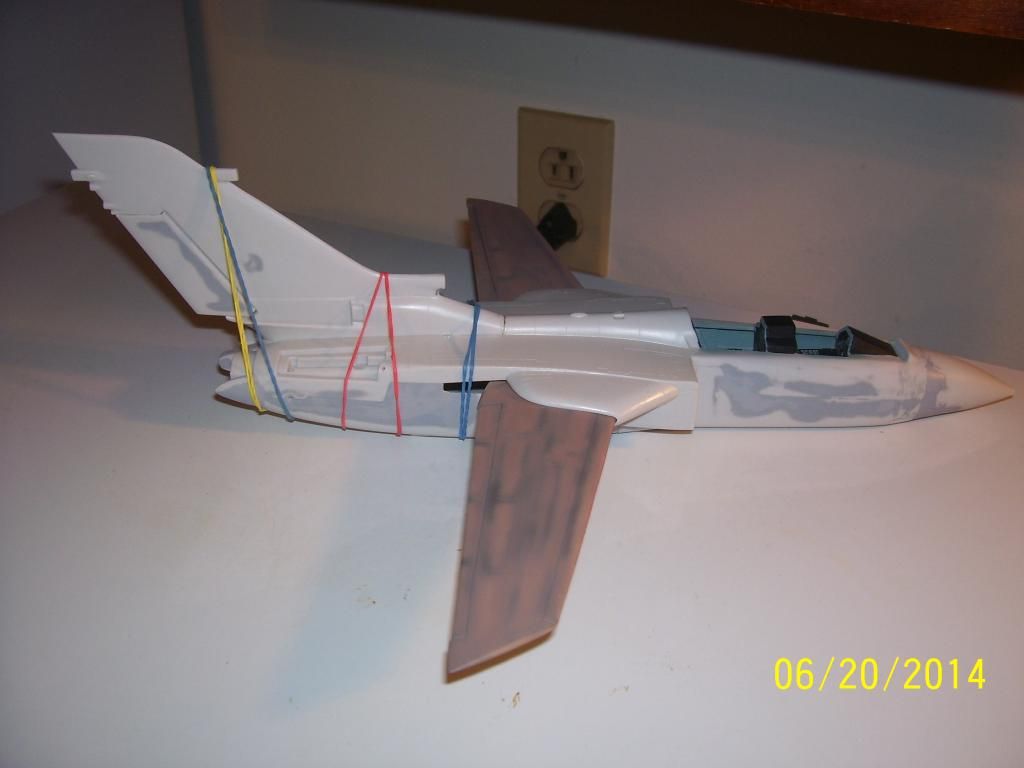
I tackled my biggest worry this morning.........the vertical tail. I figured I couldn't get around it, so off I went.

I hollowed out the area ahead of the front end of where the tail attaches to the upper fuselage, then added a piece of sprue to give the tail more purchase when I cemented it in.

A heads up to you fellas with this kit in your stash, think about three steps ahead of where you are as you assemble this model, there are so many variables and trouble spots not thinking ahead could come back to bite you as it almost did me. Bottom line, you'll have almost as much thought energy in this one as you will labor to build it.

Now, the sprue attachment I added was CA'd and accelerated to anchor it to the vertical tail assembly, then I soaked it with Ambroid Pro Weld and rubber banded it to the fuselage, then soaked the seam that ran the length of the tail to the stinger between the exhausts.

Heres how she looks as of the radio show this morning.
  

  • Member since
    February 2014
Posted by USMC6094 on Thursday, June 19, 2014 12:41 PM

I had to extend the areas I already filled to blend the areas I sanded already because of the way the seams were misaligned, while I was at it I treated the low spots left from this mornings sanding session to Mr. Surfacer 1000 and now its at the house setting up so I can sand it after work tonight. Then I'll treat the exhaust side fairings to a CA reinforcement and then fill the gaps on either side of them.

  • Member since
    February 2014
Posted by USMC6094 on Thursday, June 19, 2014 12:36 PM

next is the rear fuselage, I'm beginning to think this model and some of the others I bought from an LHS may he spent some time in an attic or garage because of the warpage and resultant misaligned seams, but that's life in this hobby right.


  • Member since
    February 2014
Posted by USMC6094 on Thursday, June 19, 2014 12:34 PM

for some reason in up close mode the camera isn't focusing as it usually does, but you get the idea lol


  • Member since
    February 2014
Posted by USMC6094 on Thursday, June 19, 2014 12:32 PM

more progress has been made, namely sanding, and filling, the wash and repeat, lol.

Heres a look at the now three tone grey the model is transforming to

The stinger between the burner cans and the side fairings have been attached, the fairings will require filling and sanding to fair them into the surrounding area. 


JOIN OUR COMMUNITY!

Our community is FREE to join. To participate you must either login or register for an account.

SEARCH FORUMS
FREE NEWSLETTER
By signing up you may also receive reader surveys and occasional special offers. We do not sell, rent or trade our email lists. View our Privacy Policy.