SEARCH FINESCALE.COM

Enter keywords or a search phrase below:

ESCI 48th scale Tornado, another dinosaur

12262 views
135 replies
1 rating 2 rating 3 rating 4 rating 5 rating
  • Member since
    July 2004
  • From: Sonora Desert
Posted by stikpusher on Wednesday, June 18, 2014 5:05 PM

Lol! I have the Airfix (ADV)& Italeri (GR.1)Tornados in my stash. Both are similar vintage. I hope they won't be quite as challenging as this one here. One day...


F is for FIRE, That burns down the whole town!

U is for URANIUM... BOMBS!

N is for NO SURVIVORS...

       - Plankton

LSM


  • Member since
    April 2014
Posted by Sandbox on Wednesday, June 18, 2014 2:23 PM

While I am big fan of the Tornado, I was thinking I'm glad I'm not trying to wrestle this bird...oh, wait a minute, I just checked my stash.  I've got one of these birds too.  Keep up the good work.

  • Member since
    July 2004
  • From: Sonora Desert
Posted by stikpusher on Wednesday, June 18, 2014 11:33 AM

Thats it! See the learning value in a challenging project! Yeah it may be a beast to wrestle into shape, But I think  more pride comes from that sort of work. I like how it is shaping up here!


F is for FIRE, That burns down the whole town!

U is for URANIUM... BOMBS!

N is for NO SURVIVORS...

       - Plankton

LSM


  • Member since
    February 2014
Posted by USMC6094 on Wednesday, June 18, 2014 7:48 AM

sorry they're slightly out of focus, they looked better on the camera screen when I took them earlier this AM

Here is the view from the rear

From my experience this layering of Mr. Surfacer will take a day or two to dry completely, so all my work will be on the little parts I havent gotten to yet, like the aircrew, seats and thrust reversers

  • Member since
    February 2014
Posted by USMC6094 on Wednesday, June 18, 2014 7:45 AM

LOTS of filling last night and early this morning.................

I made the mistake of caffeine late last night and was up till three this morning slathering on filler.

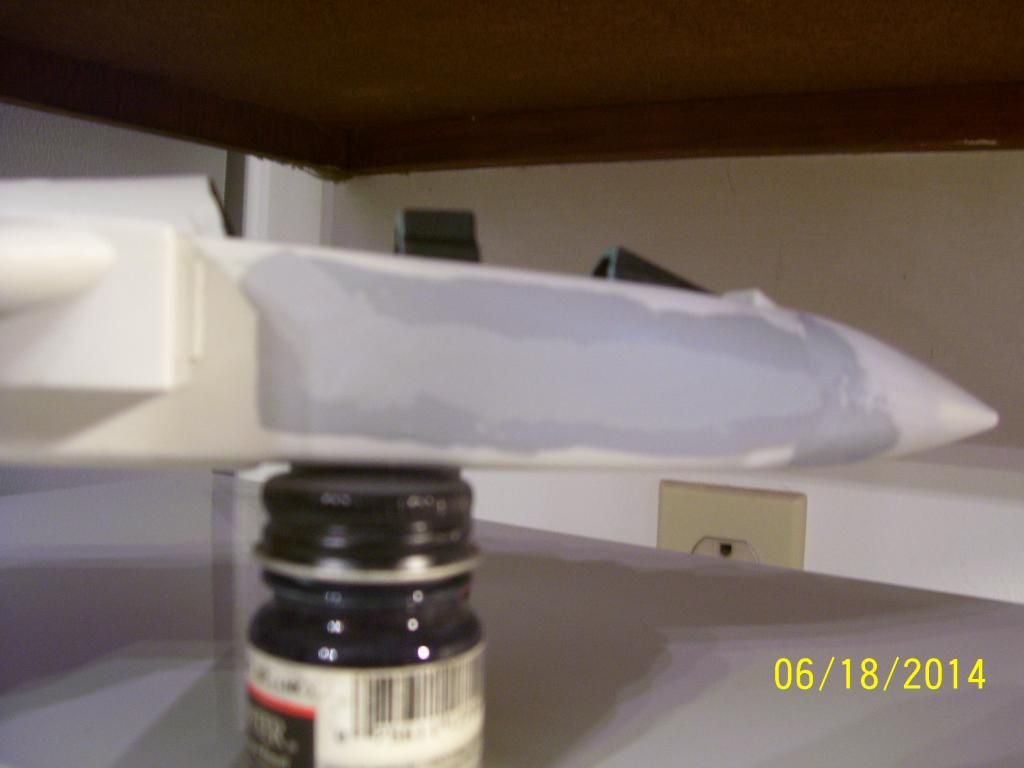
Heres the low down, I used putty for the base, Squadron up front, and Tamiya at the back. The forward fuselage looked alright until I started to running my fingers across the seam and there was a very slight divet the length of the seam, so I brushed on a coat of Mr. Surfacer 1000 followed by a coat down the seam of Mr. Surfacer 500.

At the rear, the upper and lower halves were so misaligned at the seams (even with the styrene tabs I installed) that I used Tamiya grey putty where the top butts up against the bottom, then added Mr. Surfacer 1000 and then 500 to fill the low areas and blend it out to where I believe it will feather into the plastic.

Anyway, here is the forward fuselage sides
  • Member since
    February 2014
Posted by USMC6094 on Tuesday, June 17, 2014 8:19 PM

lol the pictures are out of focus, naw, thanks for the kind words, but this kit is a DOG, but on the up side I'm getting lots and LOTS of good solid fundamental practice and getting to experiment with pre-shading. So it could be worse. Hopefully by Friday I'll have the speed brakes/wells painted and the brakes installed, and the vertical on, but not filled. The vertical tail is what worries me, it has two LONG seams at its base and one side worse than the other, but then again the glory is in the struggle

  • Member since
    April 2014
Posted by B_one fixer on Tuesday, June 17, 2014 7:11 PM

I got a F-14A made by these guys, I wonder if I am going to run into the same kind of seam work. Looking good though !

  • Member since
    February 2014
Posted by USMC6094 on Tuesday, June 17, 2014 6:41 PM

that's how its shape'n up lol, the seams aft of the wings are gonna be the same way

  • Member since
    February 2003
Posted by Jim Barton on Tuesday, June 17, 2014 4:07 PM

That model is going to be more putty than plastic by the time you're finished with it.Big Smile

"Whaddya mean 'Who's flying the plane?!' Nobody's flying the plane!"

  • Member since
    February 2014
Posted by USMC6094 on Tuesday, June 17, 2014 11:53 AM

I started with a base of Squadron White putty and then moved to Tamiya Grey putty for the built up layers.

  • Member since
    February 2014
Posted by USMC6094 on Tuesday, June 17, 2014 11:52 AM

  • Member since
    February 2014
Posted by USMC6094 on Tuesday, June 17, 2014 11:51 AM

  • Member since
    February 2014
Posted by USMC6094 on Tuesday, June 17, 2014 11:51 AM

thanks stik,

I made some progress in the putty department over the last few evenings, and after three layers, I'm still filling low spots around the radome, but its really starting to take shape.


  • Member since
    July 2004
  • From: Sonora Desert
Posted by stikpusher on Monday, June 16, 2014 11:30 AM

Starting to take good shape there!


F is for FIRE, That burns down the whole town!

U is for URANIUM... BOMBS!

N is for NO SURVIVORS...

       - Plankton

LSM


  • Member since
    February 2014
Posted by USMC6094 on Monday, June 16, 2014 7:43 AM

  • Member since
    February 2014
Posted by USMC6094 on Monday, June 16, 2014 7:40 AM

  • Member since
    February 2014
Posted by USMC6094 on Monday, June 16, 2014 7:39 AM

stik I'll try that tonight once I'm home from school, with all the pictures I take I shouldve known that

I made some more progress over the weekend, the fuselage halves are together, the nose cone is attached, and the belly antenna fairings are in place.

It took quite a lot of rubber bands to get the upper and lower parts togehter, and I still have to finish cementing the intake areas and the shoulders of the wings,

  • Member since
    July 2004
  • From: Sonora Desert
Posted by stikpusher on Sunday, June 15, 2014 10:40 AM

Just a suggestion, but if you use a sheet of plain white paper behind your model parts that you are photographing, its removes the busy background that your camera may focus on.


F is for FIRE, That burns down the whole town!

U is for URANIUM... BOMBS!

N is for NO SURVIVORS...

       - Plankton

LSM


  • Member since
    February 2014
Posted by USMC6094 on Sunday, June 15, 2014 9:34 AM

I'll take clearer pictures this afternoon..........

  • Member since
    February 2014
Posted by USMC6094 on Sunday, June 15, 2014 9:33 AM

did some late night air brushing last night.

Since the wings have to be painted before the fuselage halves can be closed I took the opportunity to try thid style of pre-shading. Here are the results.


  • Member since
    July 2004
  • From: Sonora Desert
Posted by stikpusher on Saturday, June 14, 2014 12:07 PM

Well the quick easy way to confirm is to do an image search. You can have the answer in a moment.


F is for FIRE, That burns down the whole town!

U is for URANIUM... BOMBS!

N is for NO SURVIVORS...

       - Plankton

LSM


  • Member since
    February 2014
Posted by USMC6094 on Saturday, June 14, 2014 9:59 AM

could be the ESCI instructions, they say the inside of the moving parts of the speed brakes are green, but I'll go with white cause you guys say so. and it'll save me the hassle of cleaning and re-setting up the airbrush for a different color.  

  • Member since
    September 2013
Posted by Dean30 on Friday, June 13, 2014 7:20 AM

That's right I have never seen interior aluminium green on any part of a tornado.

  • Member since
    August 2005
  • From: Sydney, Australia
Posted by Phil_H on Friday, June 13, 2014 7:15 AM

The wheel well interiors are also white.

  • Member since
    February 2014
Posted by USMC6094 on Friday, June 13, 2014 6:34 AM

you are correct, I got the inside of the brakes mixed up with the well interiors, thanks for catching that for me

  • Member since
    September 2013
Posted by Dean30 on Friday, June 13, 2014 5:43 AM

Just to let you know the air brake interiors are white not green.

  • Member since
    February 2014
Posted by USMC6094 on Thursday, June 12, 2014 12:16 PM

I've got a bottle of the tan stik recommended and I think I might experiment with a other tans to get a faded rode hard look

More to follow

  • Member since
    February 2014
Posted by USMC6094 on Thursday, June 12, 2014 12:15 PM

and last  are the wings and tailerons, I preshaded them with Dunklegelb Model Master, I thought it would be less harsh than a dark grey or black........but we shall see.

  • Member since
    February 2014
Posted by USMC6094 on Thursday, June 12, 2014 12:13 PM

I've masked off the speed brake wells, I just have to decide on the shade of green I want to use, the directions call for "Marine Corps Green" but I think I'm going a few shades lighter.

  • Member since
    February 2014
Posted by USMC6094 on Thursday, June 12, 2014 12:12 PM

next up is the seemingly endless seam reinforcement, the bag of Plastruct bits and pieces I have is going to get a workout from this kit.

Heres the rear of the lower fuselage half


JOIN OUR COMMUNITY!

Our community is FREE to join. To participate you must either login or register for an account.

SEARCH FORUMS
FREE NEWSLETTER
By signing up you may also receive reader surveys and occasional special offers. We do not sell, rent or trade our email lists. View our Privacy Policy.