SEARCH FINESCALE.COM

Enter keywords or a search phrase below:

Revell 1/32 Messerschmitt BF109G-10 "Erla" as flown by Erich "Bubi" Hartmann

7867 views
52 replies
1 rating 2 rating 3 rating 4 rating 5 rating
  • Member since
    April 2015
  • From: New Hampshire, USA
Revell 1/32 Messerschmitt BF109G-10 "Erla" as flown by Erich "Bubi" Hartmann
Posted by UKguyInUSA on Wednesday, July 1, 2015 9:53 PM
Hello Guys, This is my second build of a Revell Germany 1/32 new tooling kit and will go alongside my first 1/32 build the Revell 1/32 Arado AR196A-3 Seaplane in a diorama that I have planned. Erich "Bubi" Hartmann was the Ace of Aces with the highest number of air victories that totaled 352, which earned him the "Knight's Cross of the Iron Cross with Oak Leaves, Swords and Diamonds". Introduction to the kit: The Box Art:   The Box Contents:  Inside the box are 4 clear bags of grey sprues, 12 in total and 1 clear bag containing 2 clear sprues. There's a 16 page black and white assembly/instruction/painting and decaling booklet and a sheet of cartograf decals. The Sprues:     Sprues A and B:    Sprue C:    Sprues D, G and H:      Sprue K:   Sprue M:    Sprue N:    Clear Sprues O and P:     The 16 page black and white Instruction/Assembly/Painting and Decalling Booklet:        And finally, the decals:  Initial Observations: The molded parts are very crisp and clean with zero flash apart from a couple of little areas. the parts have nice fine recessed panel lines and some rivet details. The clear molded parts are very clear and not thick with zero aberrations. The decals are excellent looking with zero carrier film beyond the decal edges. The black and white instruction booklet appears to be clear and concise, but the two paint and decal options would be better in color. There are three blank pages at the end of the booklet. The color call outs are in Revell colors only. I will make a final report when the build is complete indicating any issues that I come across. In the meantime, thanks for taking a look and I hope you enjoy following along with my build, which I started already, but haven't had the time until now to start this post thread due to family from Florida staying with us for the last 10 days. Anyway, if you'd like to see my "in-Box-Review" video for this kit, here is the link: https://youtu.be/BrAI3x3R14U My Build Update #1 report will follow shortly! Cheers! Martin :)
  • Member since
    August 2009
  • From: MOAB, UTAH
Posted by JOE RIX on Wednesday, July 1, 2015 11:00 PM

Looks to be a magnificently epic build. I believe I will quite enjoy following your build up of this bad boy. Very nice and detailed intro.

"Not only do I not know what's going on, I wouldn't know what to do about it if I did". George Carlin

  • Member since
    March 2015
  • From: Streetsboro, Ohio
Posted by Toshi on Thursday, July 2, 2015 5:57 AM

Now this is a very cool intro to a WIP!  Can't wait to see the rest of your build.

Toshi

On The Bench: Revell 1/48 B-25 Mitchell


Married to the most caring, loving, understanding, and beautiful wife in the world.  Mrs. Toshi


  • Member since
    June 2014
Posted by BrandonK on Thursday, July 2, 2015 9:11 AM

Looking forward to watching this one.

BK

On the bench:

A lot !! And I mean A LOT!!

2024 Kits on deck / in process / completed   

                         14 / 5 / 2  

                              Tongue Tied

  • Member since
    September 2014
Posted by rooster513 on Thursday, July 2, 2015 9:22 AM

Holy parts Batman! Can't wait to see you get started:)

-Andy

-Andy

  • Member since
    January 2015
  • From: Indiana USA
Posted by BlackTulip109 on Thursday, July 2, 2015 9:47 AM

Check out you tube a couple guys built this kit and did a awesome job!!! They take you step by step.

AlexModeling and UKguyinthe USA

  • Member since
    January 2015
  • From: Indiana USA
Posted by BlackTulip109 on Thursday, July 2, 2015 9:49 AM

Sorry Martin I jumped the gun!! didn't realize it was you who was reviewing the kit!!

Joke on me!!!

I am sure it will be an awesome build!!

  • Member since
    April 2015
  • From: New Hampshire, USA
Posted by UKguyInUSA on Thursday, July 2, 2015 1:21 PM
Revell 1/32 Messerschmitt BF109G-10 "Erla" Build Update #1. Hello Chaps, The following is my "Build Update #1" for this Revell 1/32 kit that was new tooling in 2014. So far, everything has gone together great and there are some nice details within the cockpit. The Build Begins! First step was to wash all the sprues in warm soapy water to remove any injection molding release and cleaning agents that might have contaminated the surface of the molded parts;  After letting the parts air dry, I then began to assemble the cockpit along with other sub-assembly components:   Next, I drilled out the ends of the forward machine guns then assembled them into the upper engine cowling:   I then airbrushed a black base coat onto parts whilst still on their sprues, then when that was dry, I airbrushed RLM 66 black/grey onto the internal cockpit parts:   I then airbrushed RLM 02 onto various parts:    I then airbrushed Tamiya XF-16 Aluminum onto wheel wells and wheel well walls, along with the propeller blades:    I then added highlights onto the Aluminum paint using Tamiya X-11 Silver:  Next, I started on the detailing and assembly of the cockpit:     Followed by airbrushing the propeller blades with RLM 70 Schwarzgrun, then assembling the propeller:     I then gave all painted parts a gloss clear coat prior to adding a dirt wash:    When the gloss clear coat was dry, I then mixed a dirt wash using black oil paint mixed with mineral spirits to a watery consistency:     I then worked on the assembly of the cockpit tub:      After assembling the cockpit tub, I fitted the wing spar/brace beneath the cockpit tub:    This was followed by fitting the exhaust stacks into their locations:  The last thing that I did was to add a dirt wash to the radiator air intake assembly:  And then, I laid everything that I had completed onto my work-bench to see the progress so far:       Well, that's it for this update, the next step will be to start assembling the aircraft. In the meantime, if you would like to watch my YouTube "Build Update #1" video, here is the link: https://youtu.be/V6FlSDkaUvM Until the next update, thanks in advance for watching and commenting, much appreciated! Happy modeling and have fun doing it! Cheers! Martin :)
  • Member since
    September 2014
Posted by rooster513 on Thursday, July 2, 2015 3:09 PM

VERY nice start! Cockpit looks great. Great job with the pics too:) Looking forward to seeing more.

-Andy

  • Member since
    June 2013
Posted by RobGroot4 on Friday, July 3, 2015 5:55 AM

I am definitely interested to see how this build goes together, it looks like a fantastic (and relatively inexpensive) kit.  Looks like you are doing wonders with it already!

Groot

"Firing flares while dumping fuel may ruin your day" SH-60B NATOPS

  • Member since
    April 2015
  • From: New Hampshire, USA
Posted by UKguyInUSA on Friday, July 3, 2015 1:13 PM
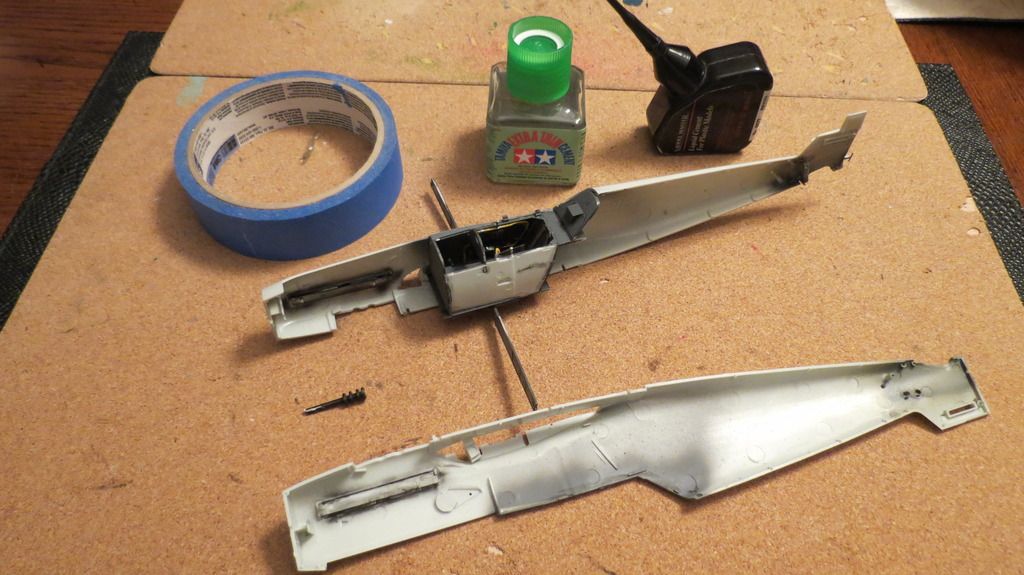
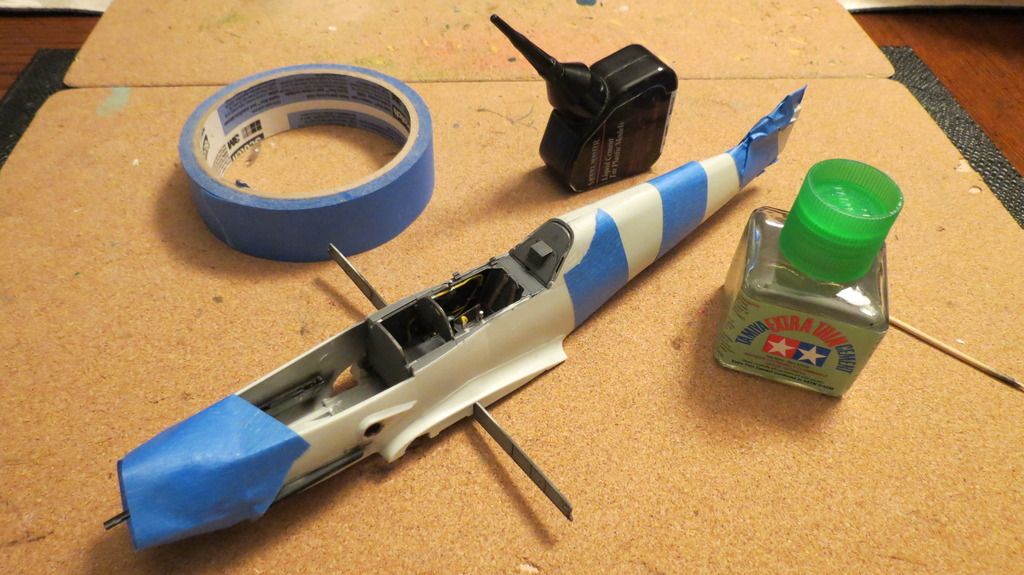
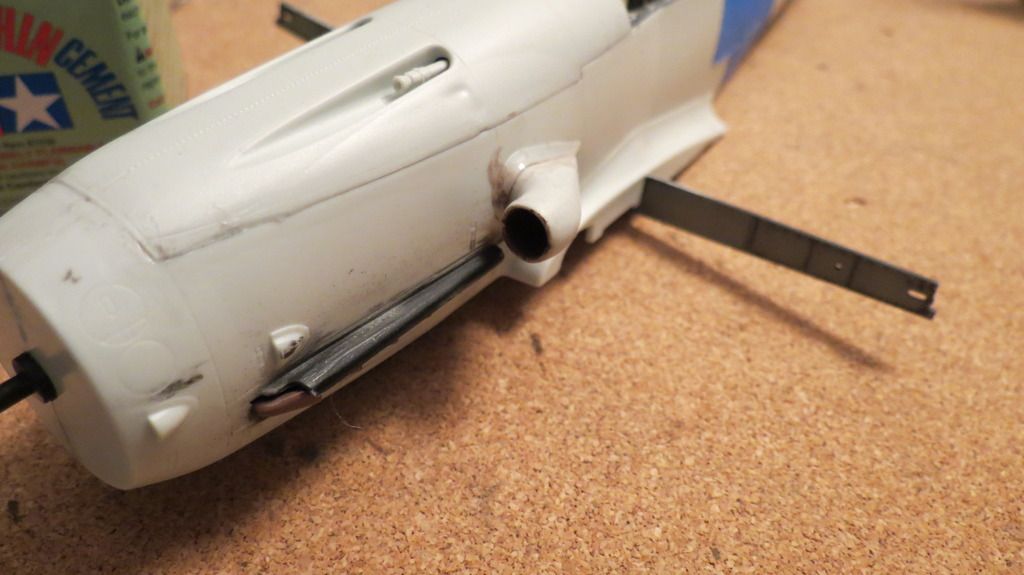
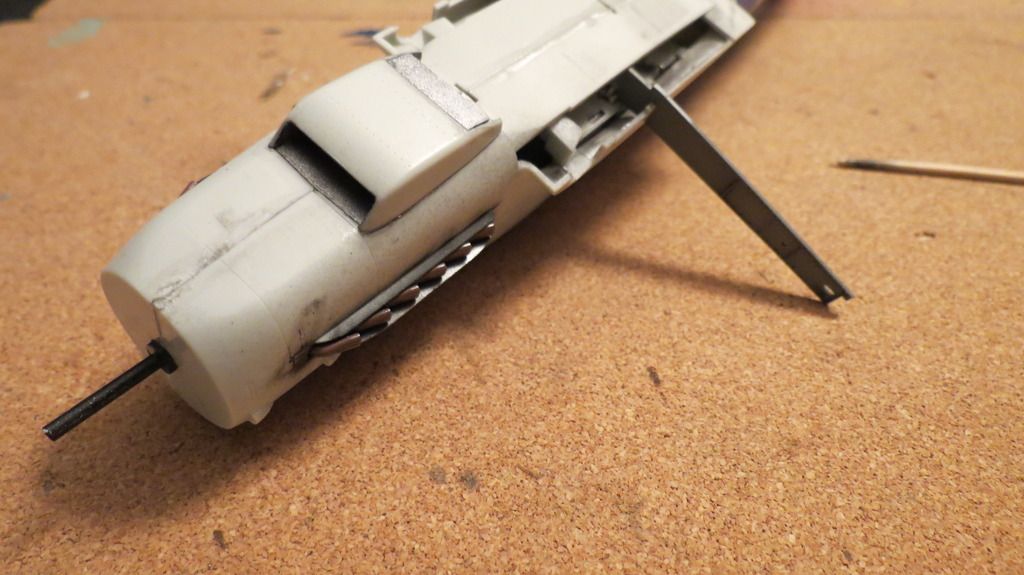
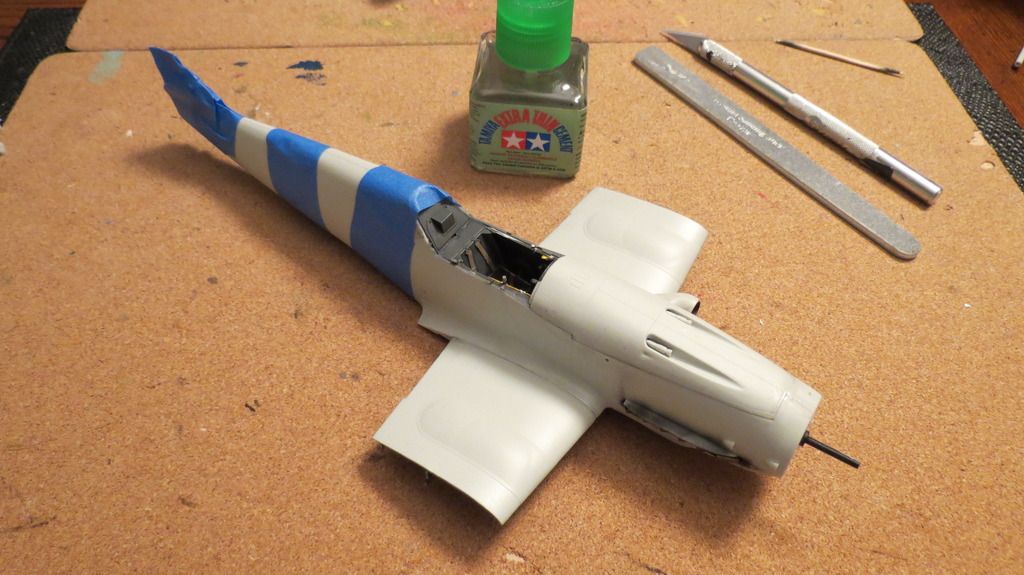
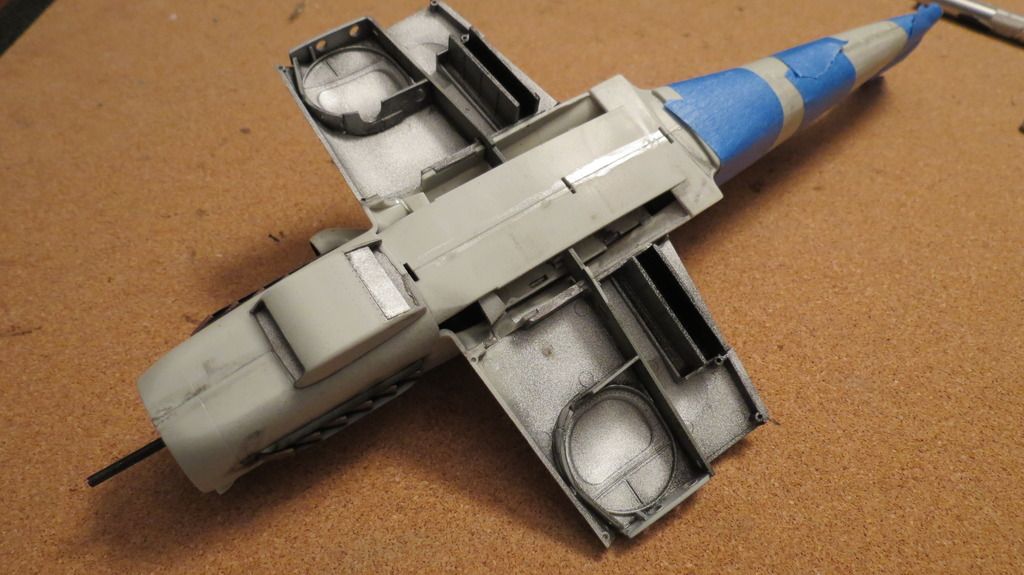
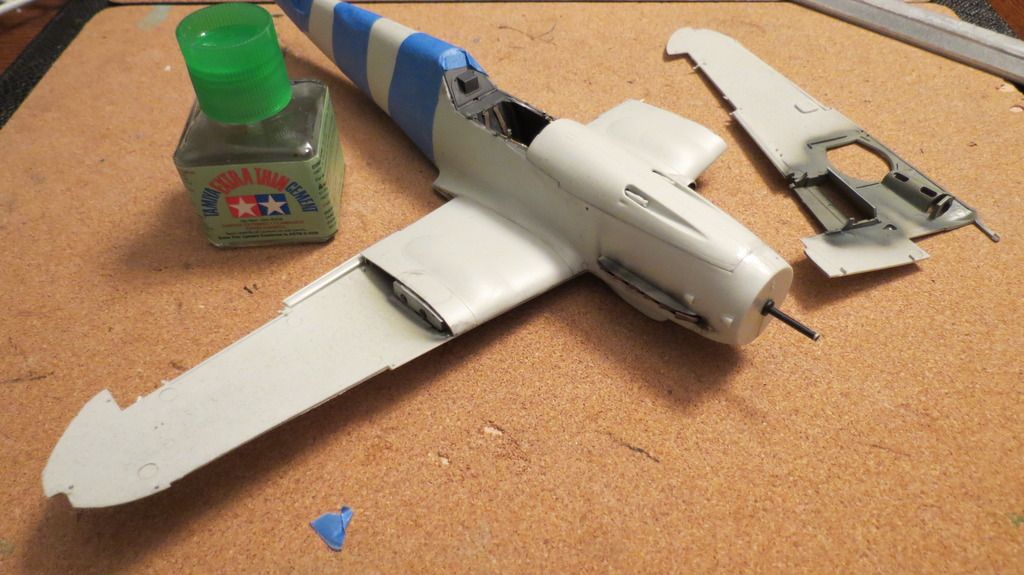
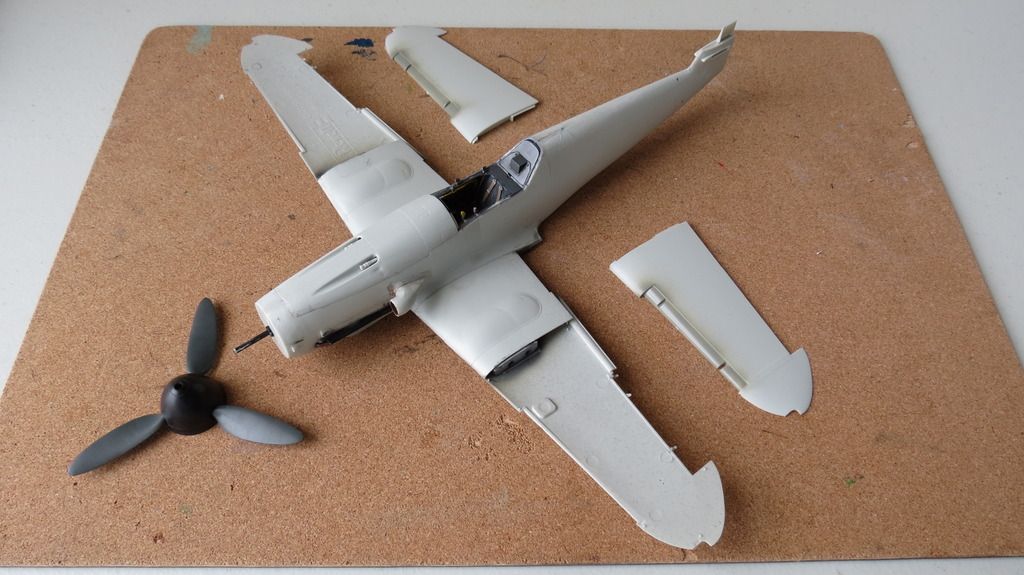
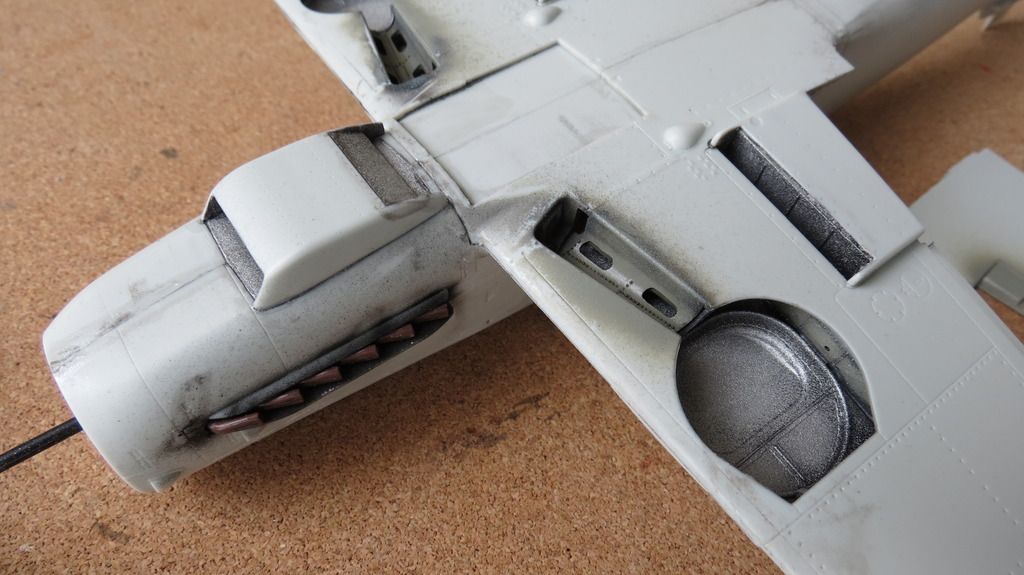
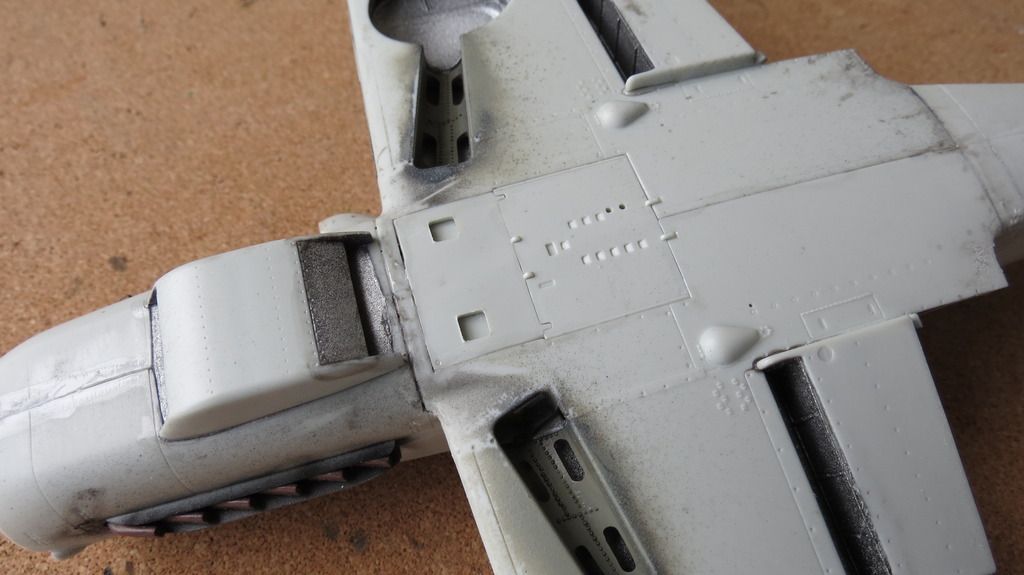
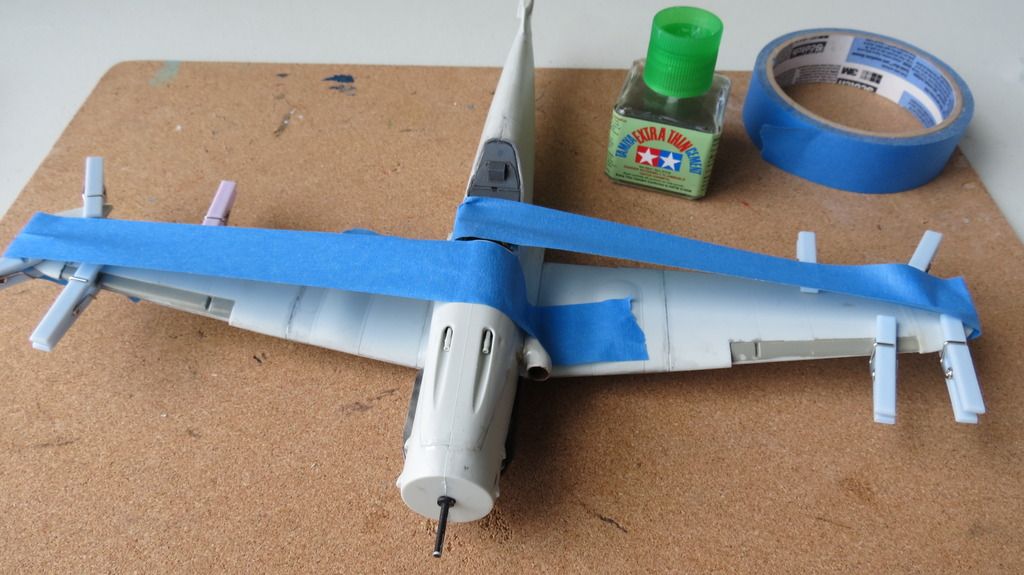
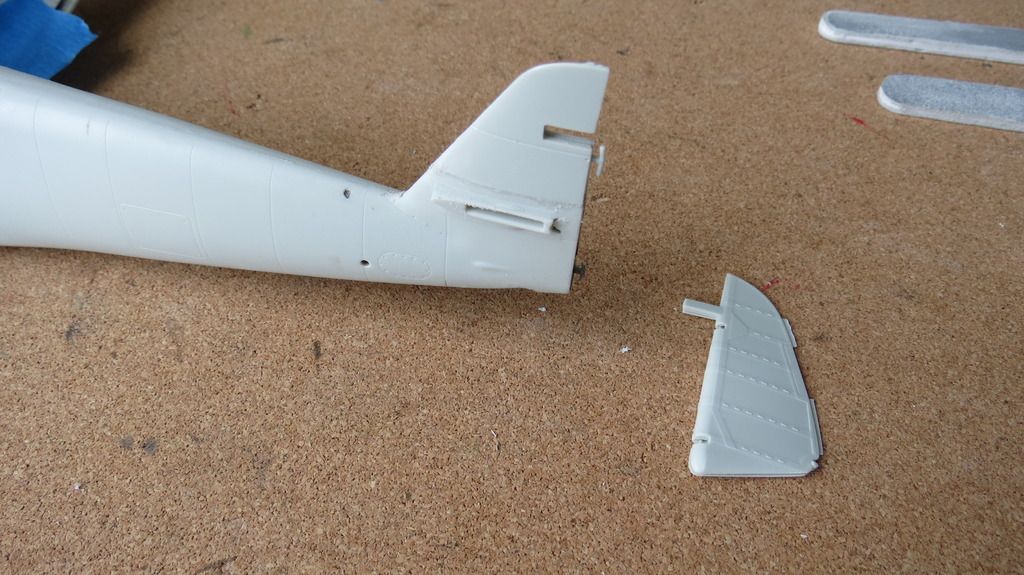
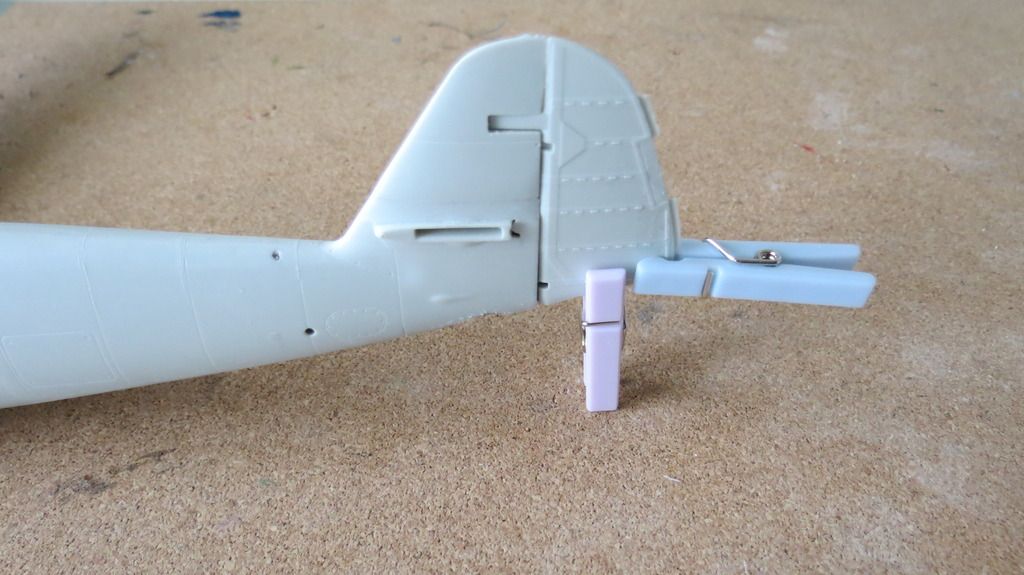
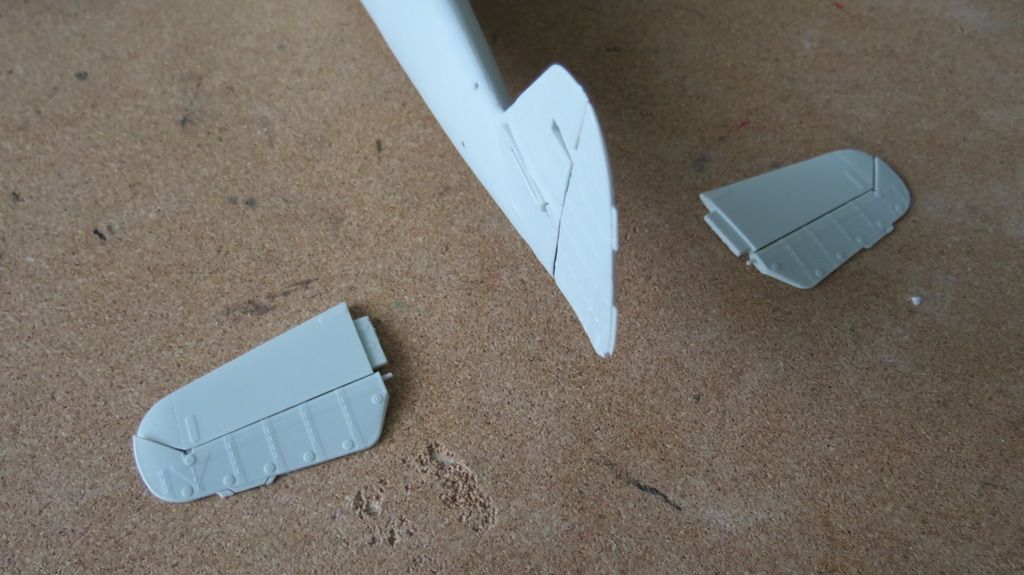
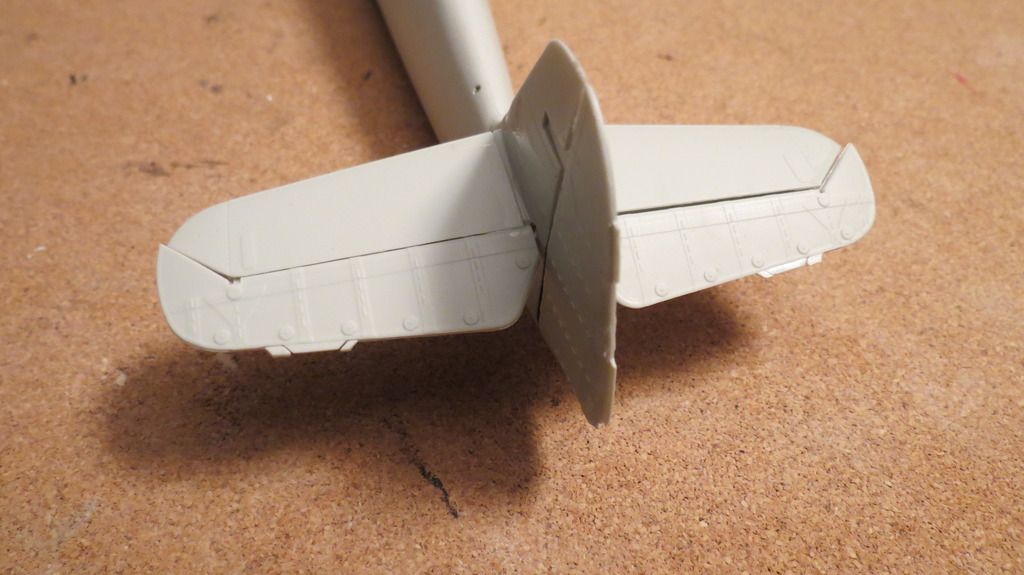
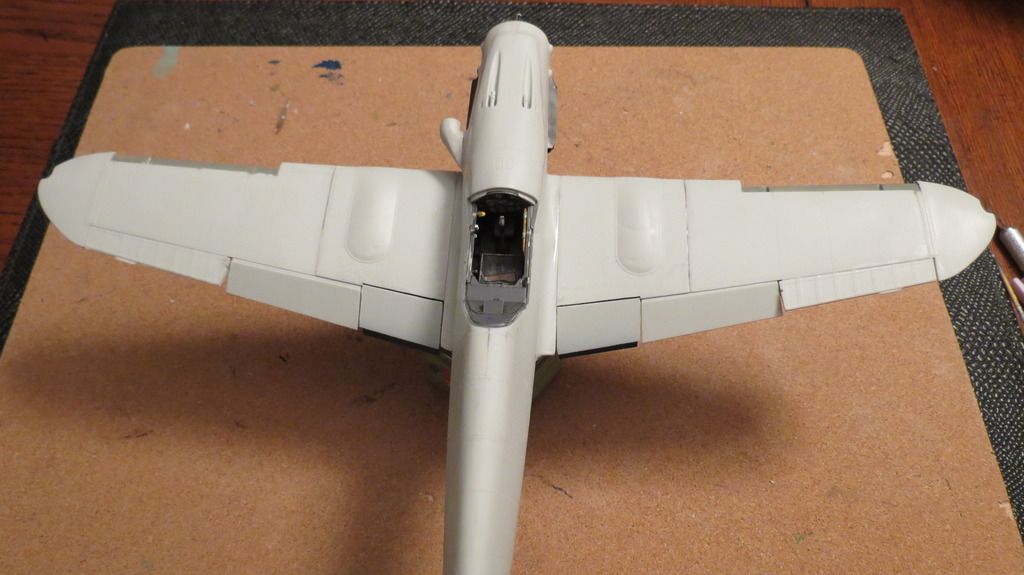
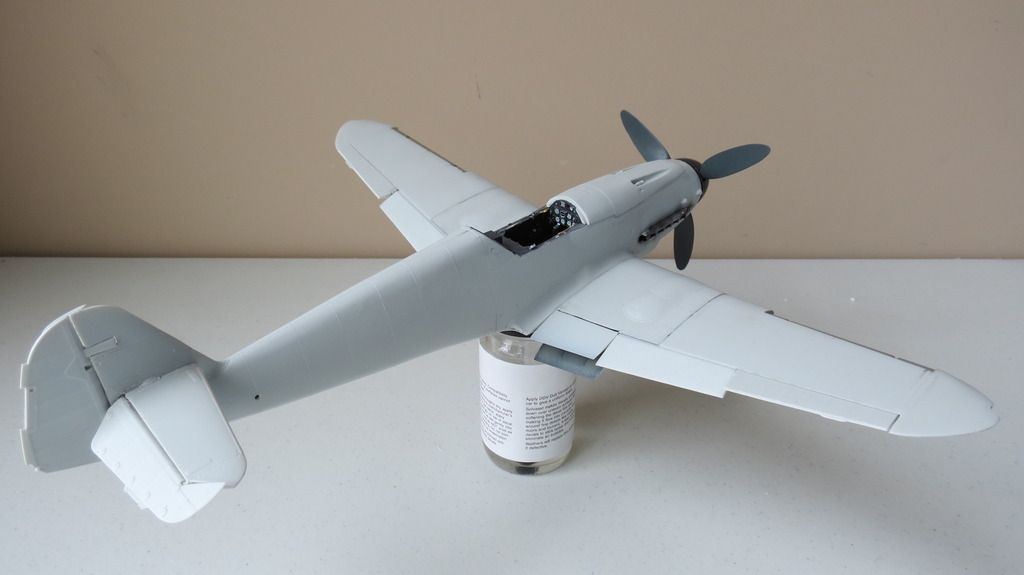
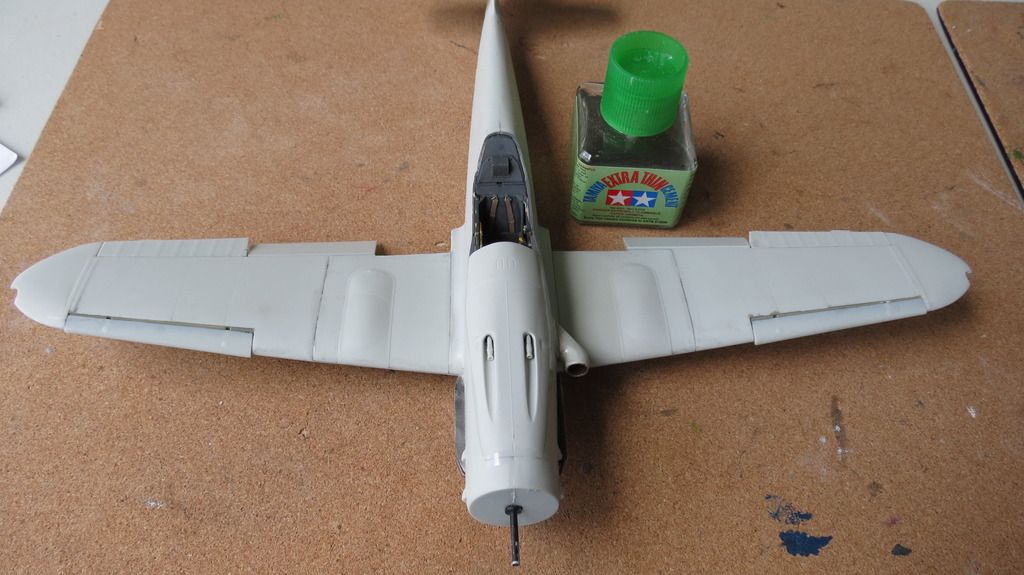
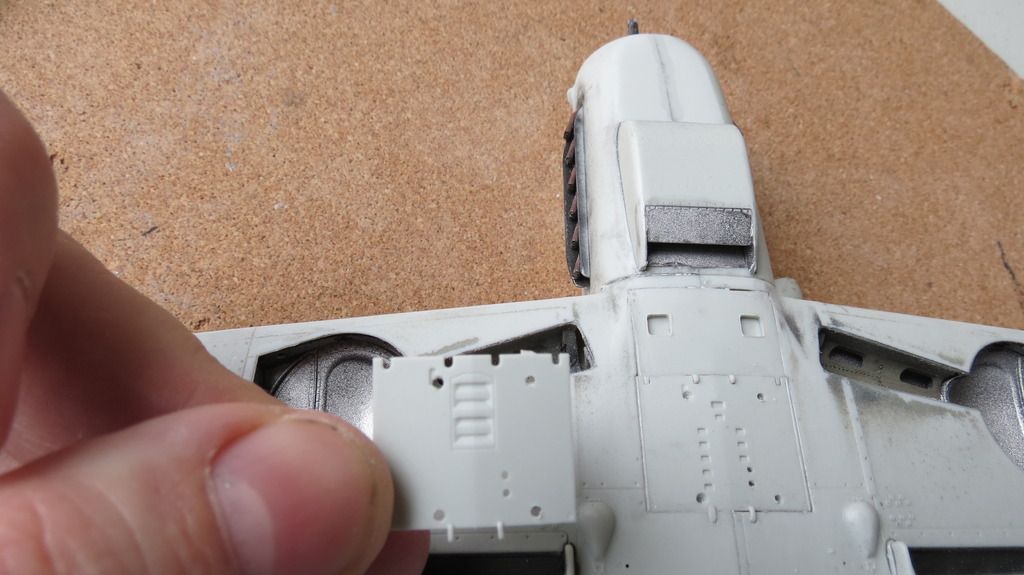
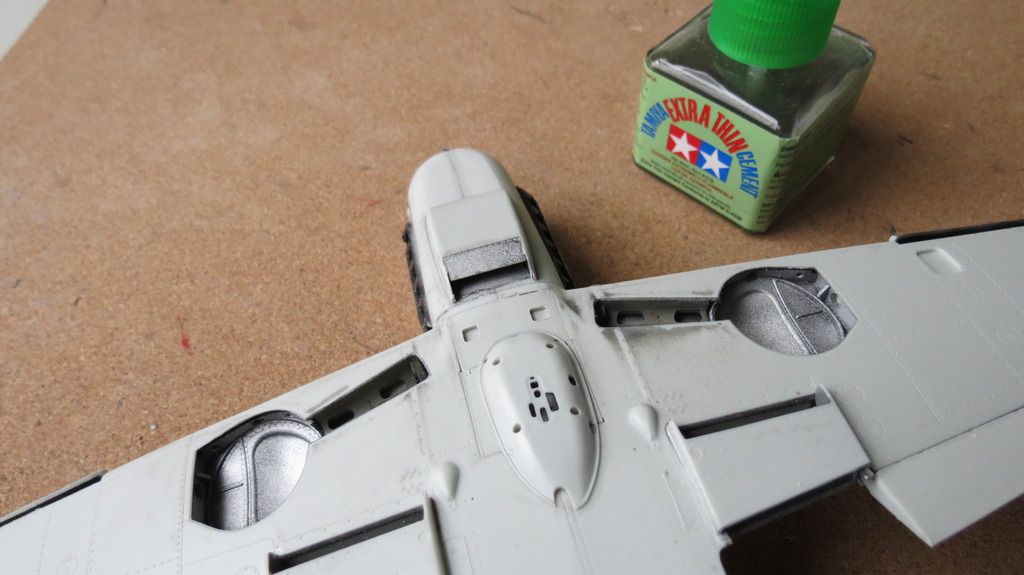
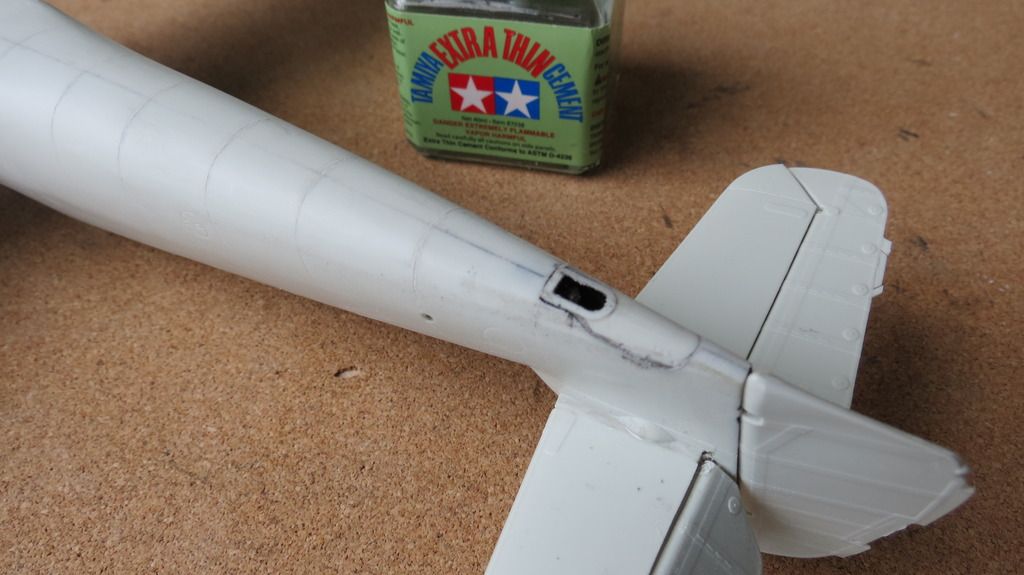
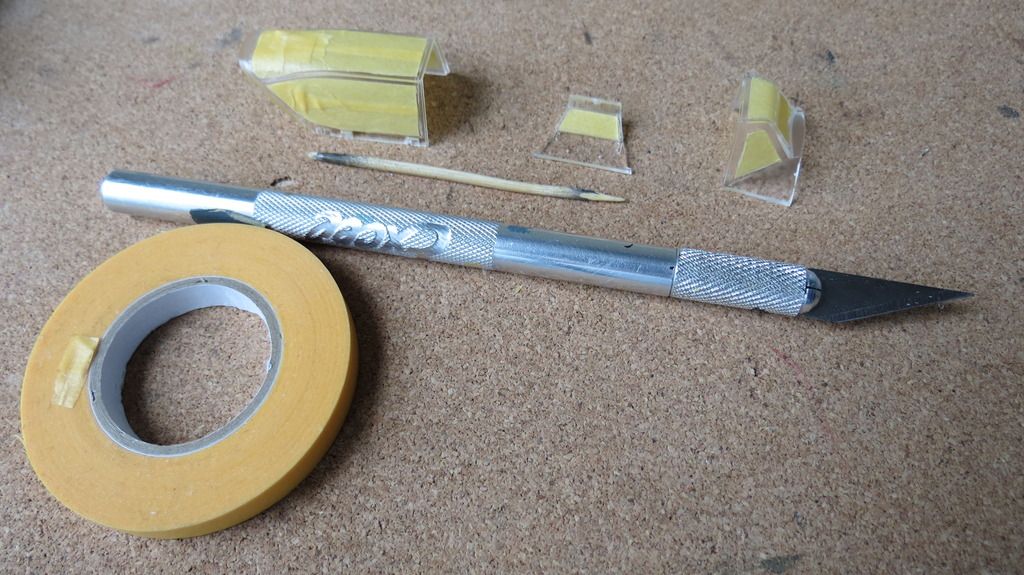
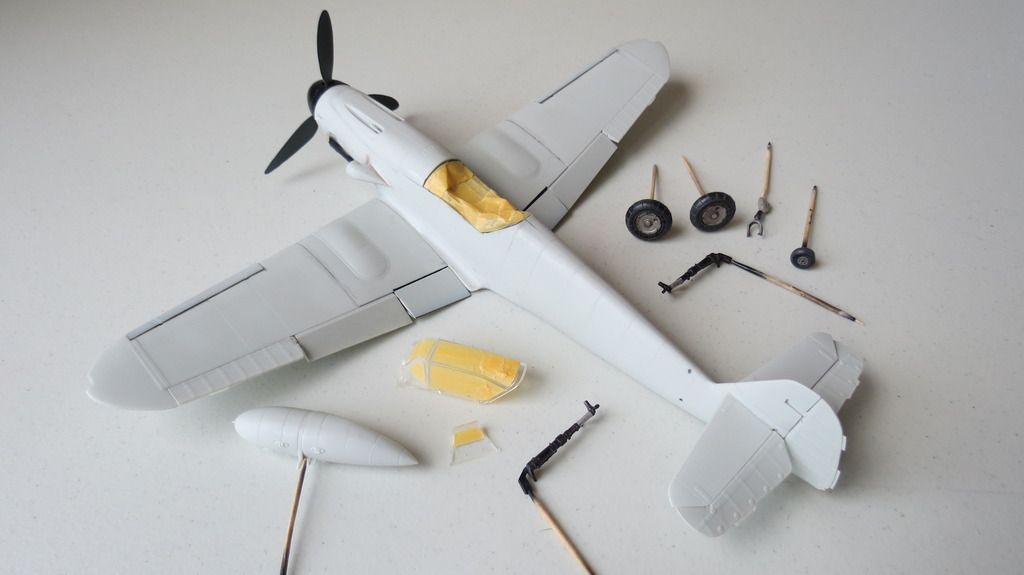
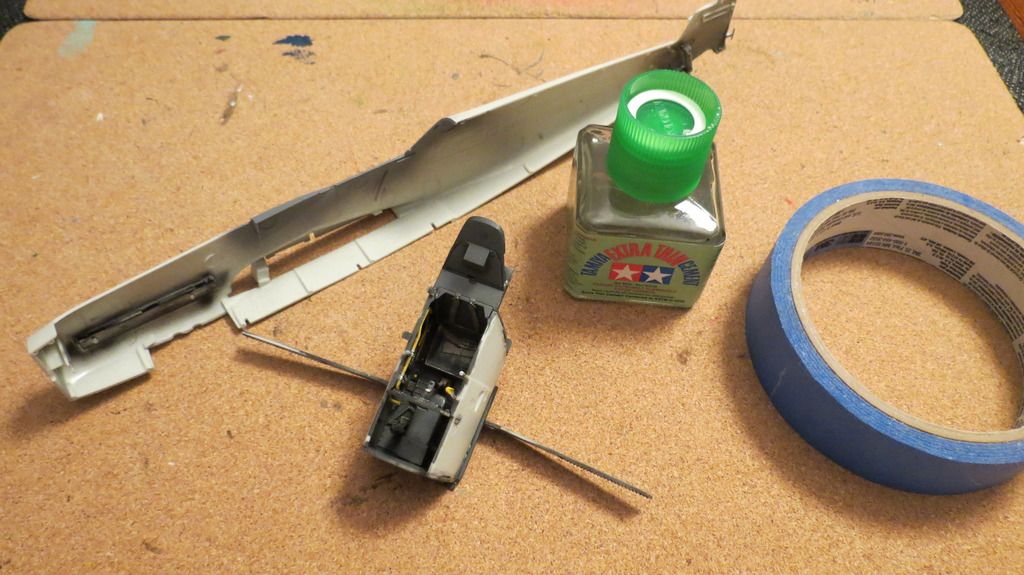
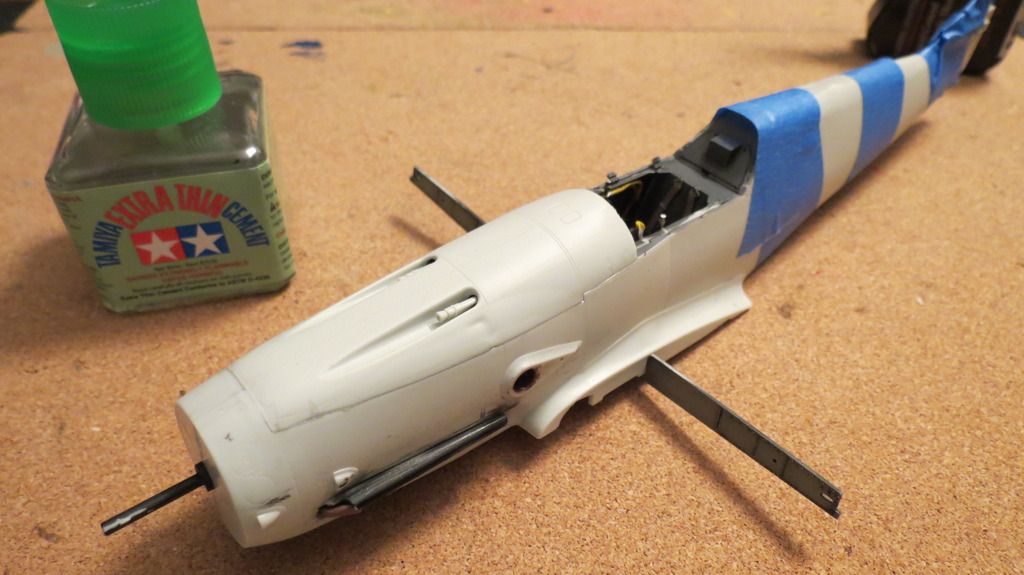
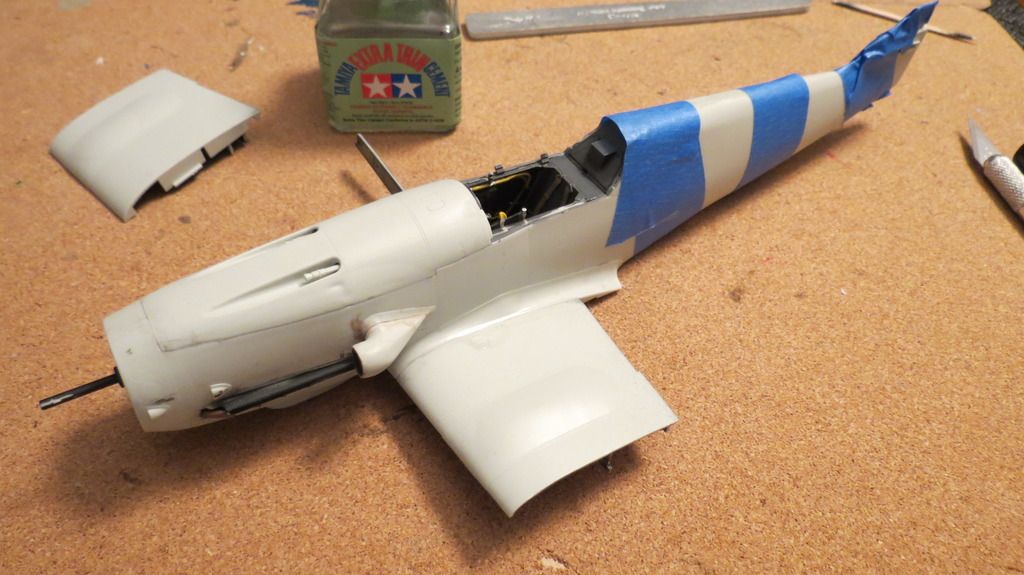
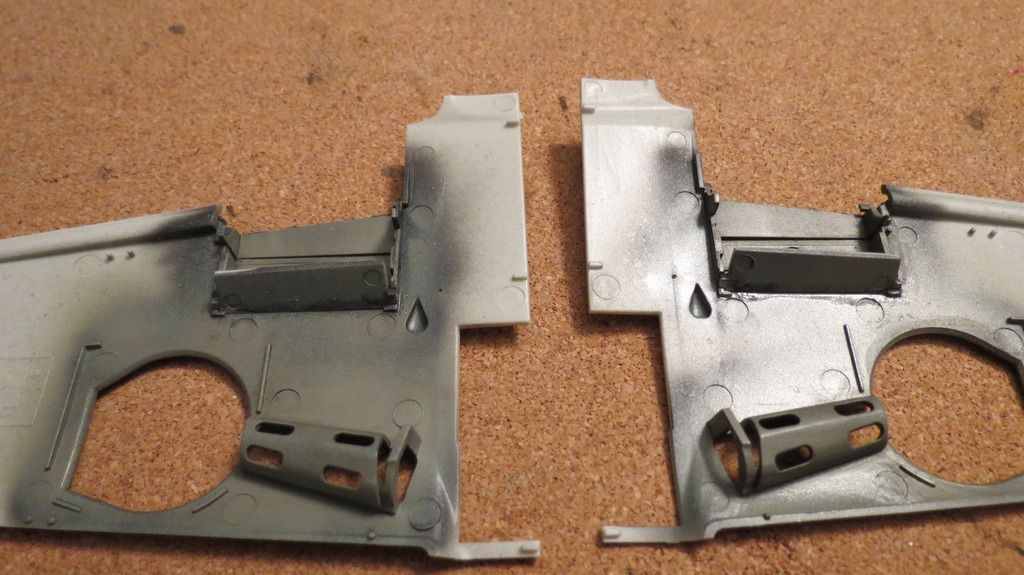
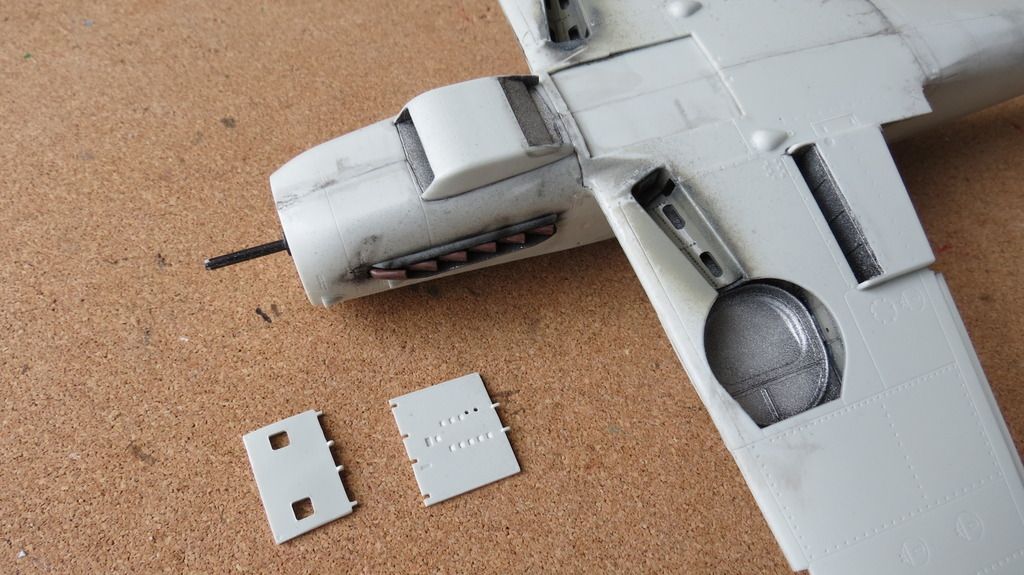
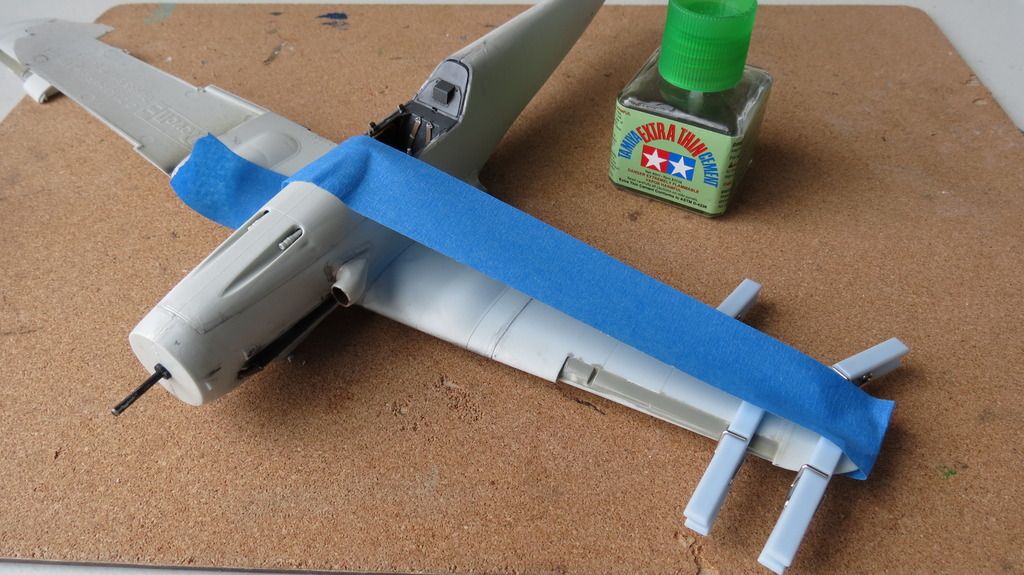
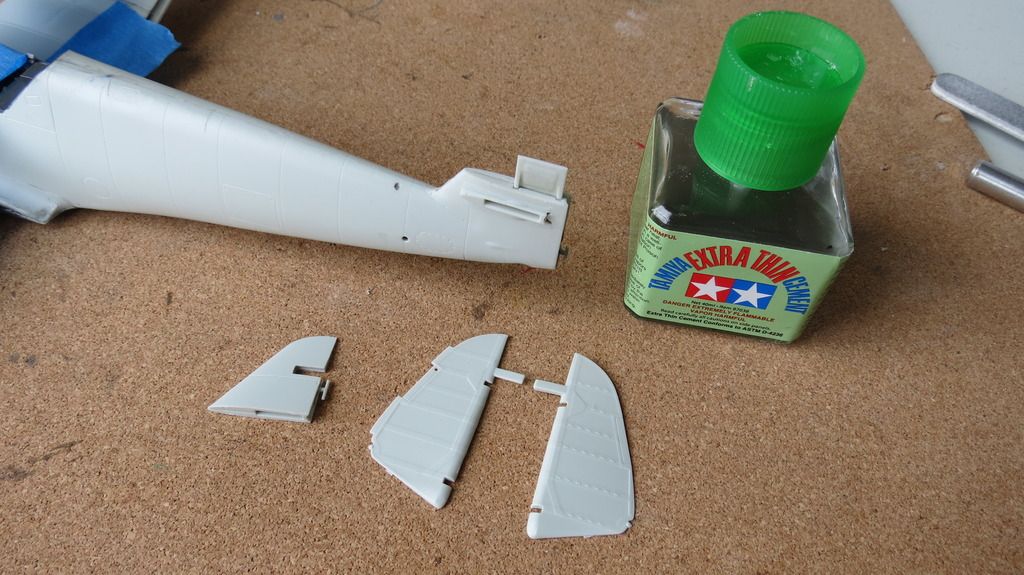
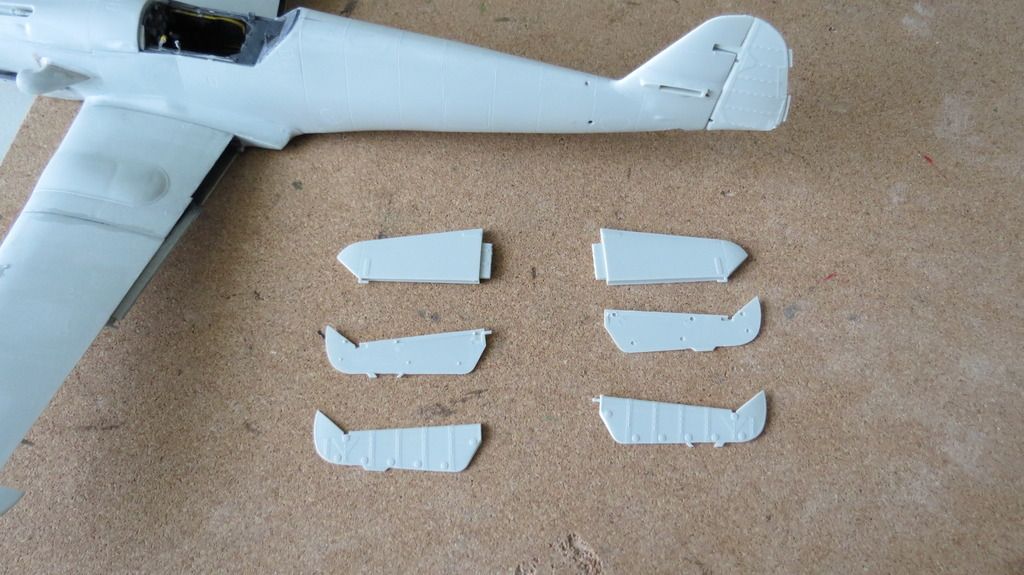
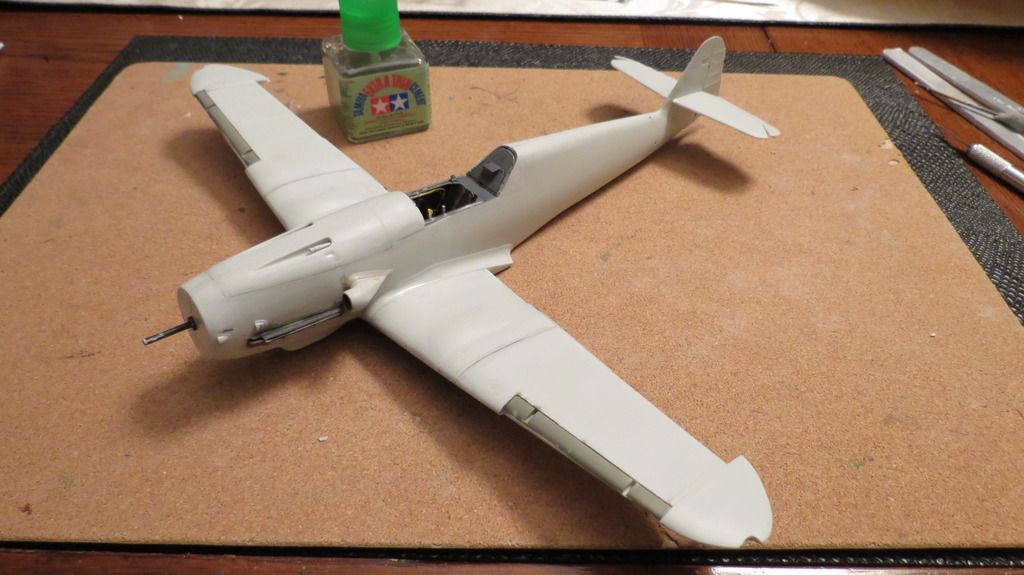
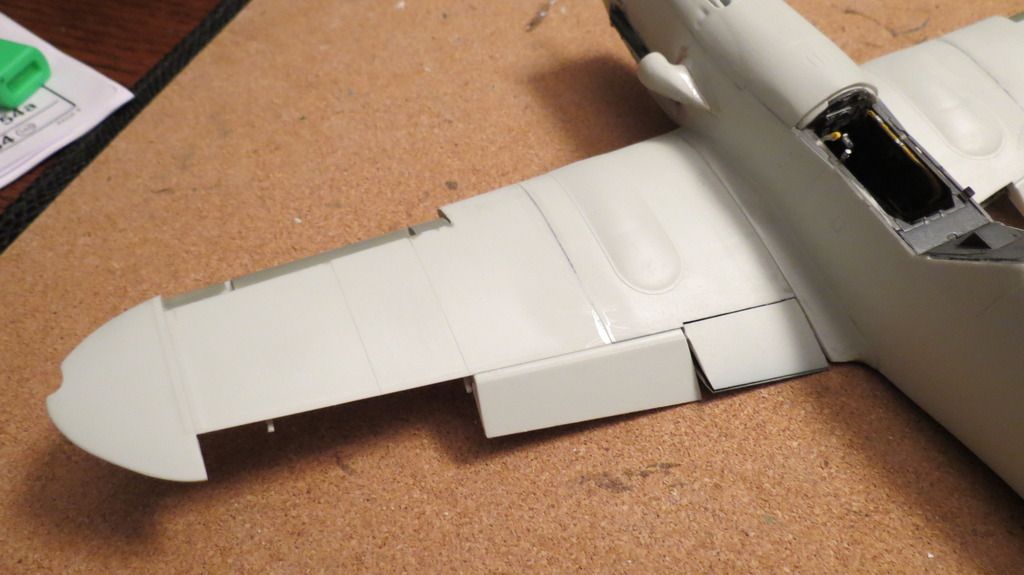
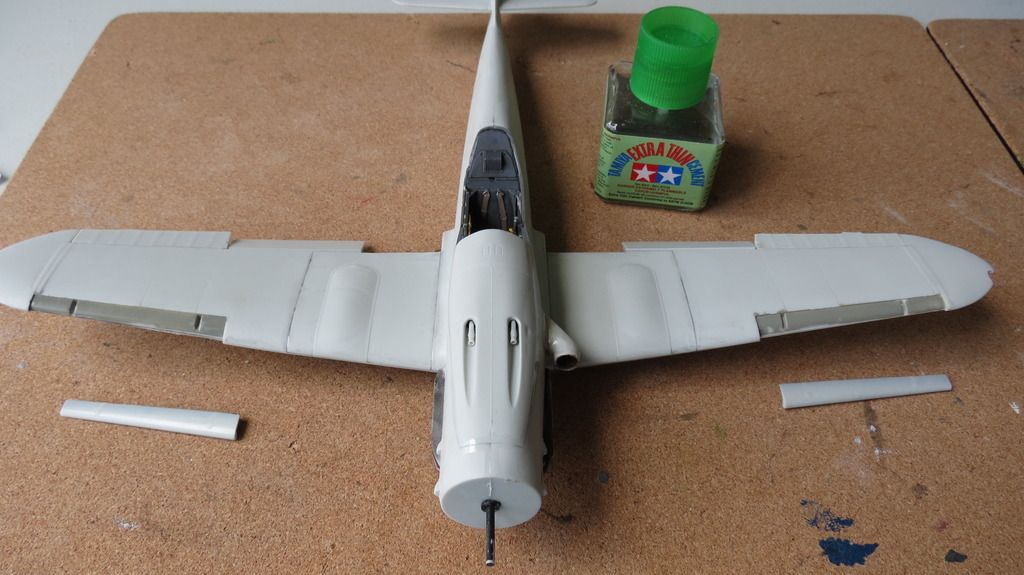
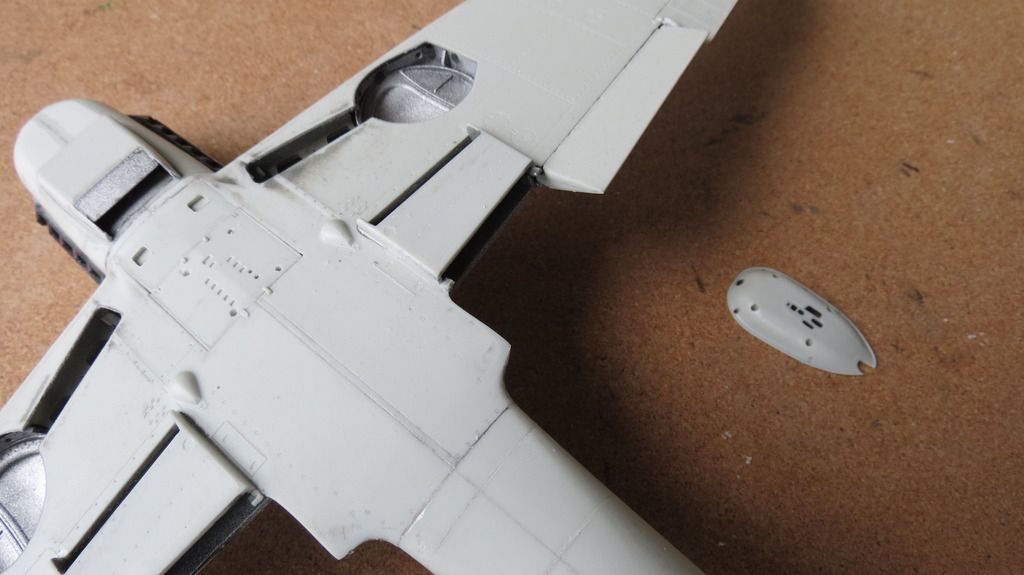
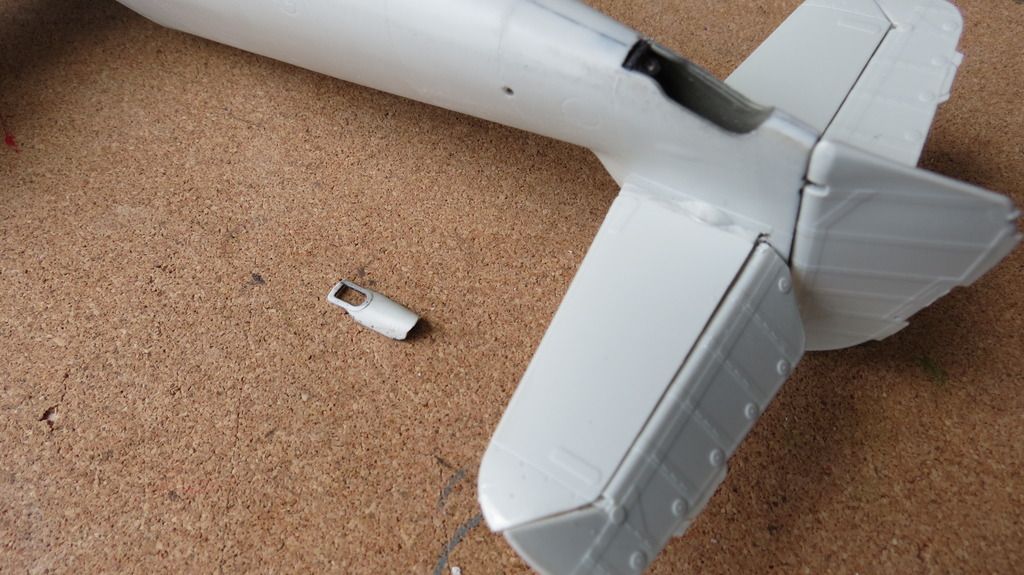
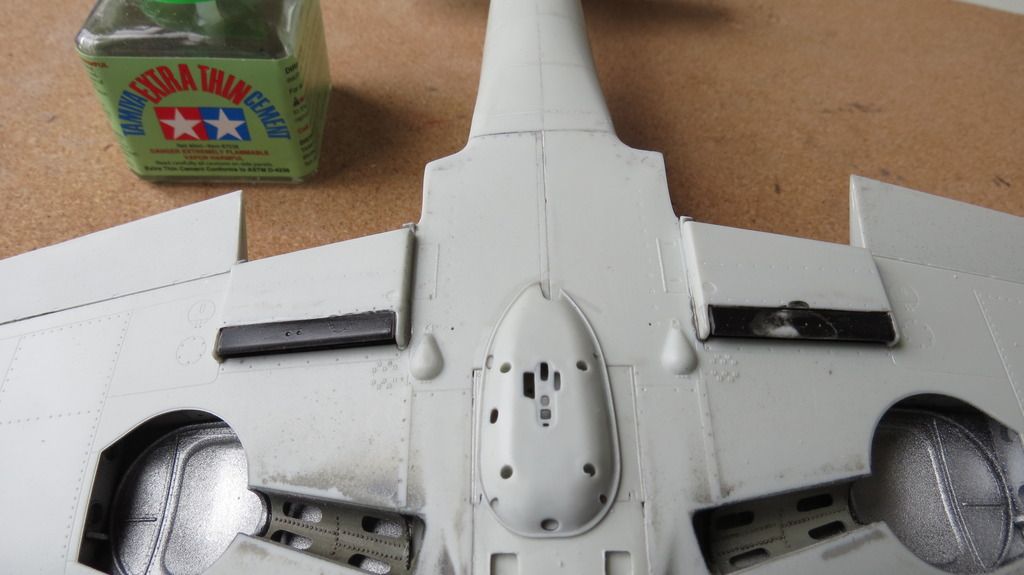
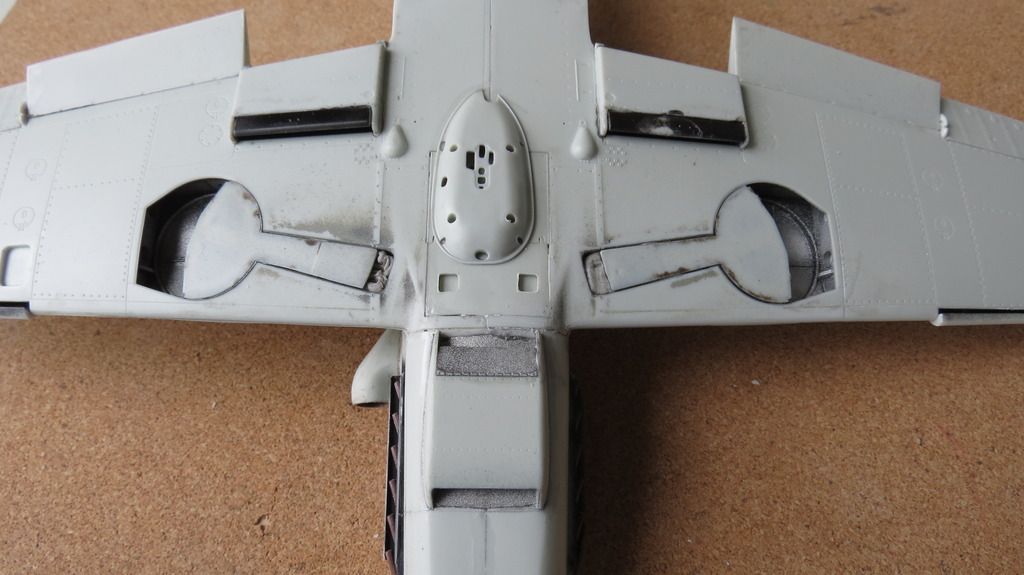
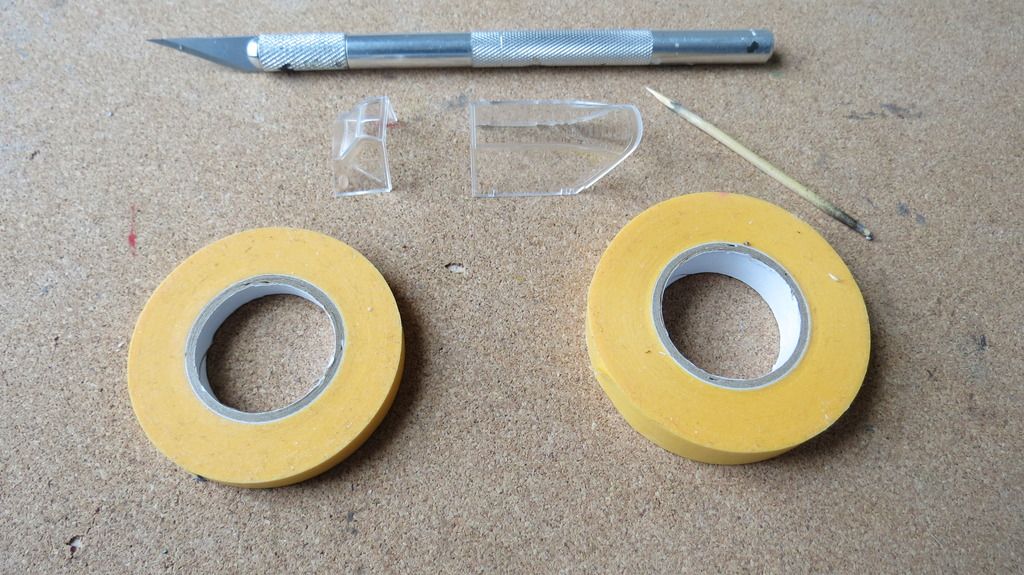
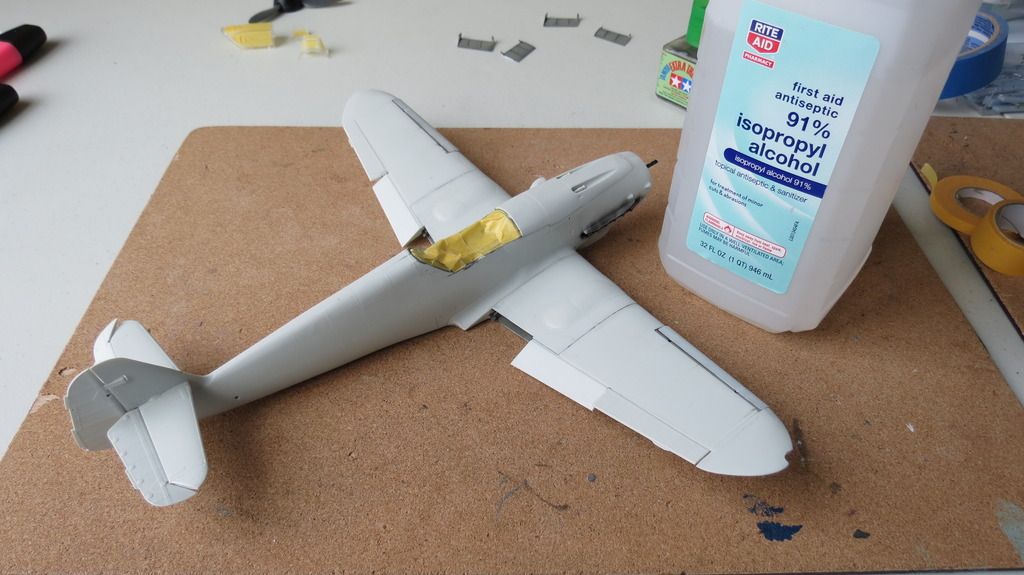
Revell 1/32 Messerschmitt BF109G-10 "Erla" Build Update #2. Well, once the cockpit was painted and buttoned up, this thing literally flew together and everything went together great. But, I did come across some errors in Revell's assembly instructions; incorrect numbering on a few parts, no note to inform you that 4 holes have to be drilled into a panel that fits onto the bottom of the fuselage into which the drop tank carrier rack locates into. Also, there are a few variations of rudder, a couple variations of vertical stabilizer and a couple of variations of panels that go underneath the fuselage, but, there are no references indicating which ones to use depending on which version you choose to build, paint and decal. This is explained more in my "Build Update #2" video to which the link can be found at the end of this update. Time for assembly work! I started off by gluing the cockpit tub into the starboard side fuselage half. I then glued the portside fuselage onto that and taped it until the glue had set...    Next, I fitted the upper engine cowling into place followed by the air filter on the side of the fuselage and then the underside oil cooler air intake housing....    I then fitted the upper wing inner sections onto the fuselage sides, starting with the portside, then the starboard side....    Next, I fitted the underside wing sections into place, starting with starboard side and finishing with the portside....     Following the underside wing sections, I fitted a couple of access panel to the underside of the fuselage. There are two versions of these, but Revell doesn't indicate which versions to use depending on which version of the planes you're going to build...   Next, I fitted the two upper wing end sections into place and taped them until the glue had set...   I then moved onto gluing the vertical stabilizer in place, then fitting the two rudder halves around the hinges of the vertical stabilizer, which allows the rudder to be movable...    After the vertical stabilizer and rudder, it was onto the horizontal stabilizers and elevators, and again, the elevators are moveable...    She was beginning to look like a plane now...  I then moved onto the main wings and fitted the flaps ailerons and elevators, again, the outer two on each wing can be posed and the inner flaps are moveable...    I then moved onto the leading edge slats and glued them in the open position as this plane will be modelled with the wheels down and canopy open and not in flight...   Next, I fitted the drop tank carrier plate to the underside of the fuselage, but came across a problem. The panel that it locates into should have 4 holes drilled into it for locating the carrier plate pegs into, but, there are no instructions in the assembly guide informing you to drill holes. This is assembly instruction #35 in the booklet. I therefore, used the other version of panel as a drilling template to do this, then when the 4 holes were drilled, I could glue the carrier plate in place....    After the carrier plate was fitted, I moved onto fitting the rear wheel well cover plate...   I then glued the air intake slats into position, they are painted black in this image...  it was now time to start masking things ready for cleaning and priming the plane. I started by temporarily locating the undercarriage doors into place using putty...  Masking the canopy, front windscreen and bullet proof shield...   Followed by masking the cockpit tub, the exhaust stacks, the air intakes and filter intake. When that was done, I cleaned the plane down using IsoPropy Alcohol...  I had now reached the end of my build stage and was ready to move onto the next stage, priming, pre-shading and painting which will be seen in my next build update report #3...   Thanks for following this build and for leaving any comments, much appreciated. If you'd like to see my YouTube "Build Update #2" video, here is the link for that: https://youtu.be/BrAI3x3R14U Until my next update, have a great weekend and happy modelling! :) Cheers! Martin
  • Member since
    June 2014
Posted by BrandonK on Friday, July 3, 2015 4:56 PM

Holy CRAP!!! Your'e moving right along on this one. WOWZERS !!!  Nice work, SIr!!!

On the bench:

A lot !! And I mean A LOT!!

2024 Kits on deck / in process / completed   

                         14 / 5 / 2  

                              Tongue Tied

  • Member since
    February 2012
  • From: Olmsted Township, Ohio
Posted by lawdog114 on Saturday, July 4, 2015 3:52 AM

Not sure how I missed this one.  Revell aparently makes one heck of a large scale Gustav.  Fantastic work so far and thanks for taking us along.  

Joe

 "Can you fly this plane and land it?...Surely you can't be serious....I am serious, and don't call me Shirley"


  • Member since
    August 2013
Posted by Jay Jay on Saturday, July 4, 2015 9:05 AM

Ty for the wonderfully detailed W.I.P.  Such A professional job, you should work for FSM.

I am impressed with this Revel kit and have plans to purchase it in the future thanks to your post.


 I'm finally retired. Now time I got, money I don't.

  • Member since
    July 2015
Posted by Huey54 on Saturday, July 4, 2015 12:48 PM

Speechless, outstanding work.

  • Member since
    April 2015
  • From: New Hampshire, USA
Posted by UKguyInUSA on Sunday, July 5, 2015 8:59 AM

Thanks Joe, much appreciated! About to post my Update #3 :)

  • Member since
    April 2015
  • From: New Hampshire, USA
Posted by UKguyInUSA on Sunday, July 5, 2015 9:00 AM

Thanks Toshi, much appreciated! Cheers : )

  • Member since
    April 2015
  • From: New Hampshire, USA
Posted by UKguyInUSA on Sunday, July 5, 2015 9:01 AM

Thanks Brandon, much appreciated mate! Cheers : )

  • Member since
    April 2015
  • From: New Hampshire, USA
Posted by UKguyInUSA on Sunday, July 5, 2015 9:01 AM

Thanks Andy, much appreciated....about to post my "Update #3" report! Cheers, Martin : )

  • Member since
    April 2015
  • From: New Hampshire, USA
Posted by UKguyInUSA on Sunday, July 5, 2015 9:03 AM

Hey BlackTulip, you must be a Erich Hartmann fan with that name?! By the way, I'm UKguyInUSA and I've just finished painting her, so I'm about to post my "Update #3" report!

Cheers,

Martin : )

  • Member since
    April 2015
  • From: New Hampshire, USA
Posted by UKguyInUSA on Sunday, July 5, 2015 9:04 AM

That's okay mate! Are you a YouTube modeler and do I know you from there?

Cheers,

Martin : )

  • Member since
    April 2015
  • From: New Hampshire, USA
Posted by UKguyInUSA on Sunday, July 5, 2015 9:09 AM
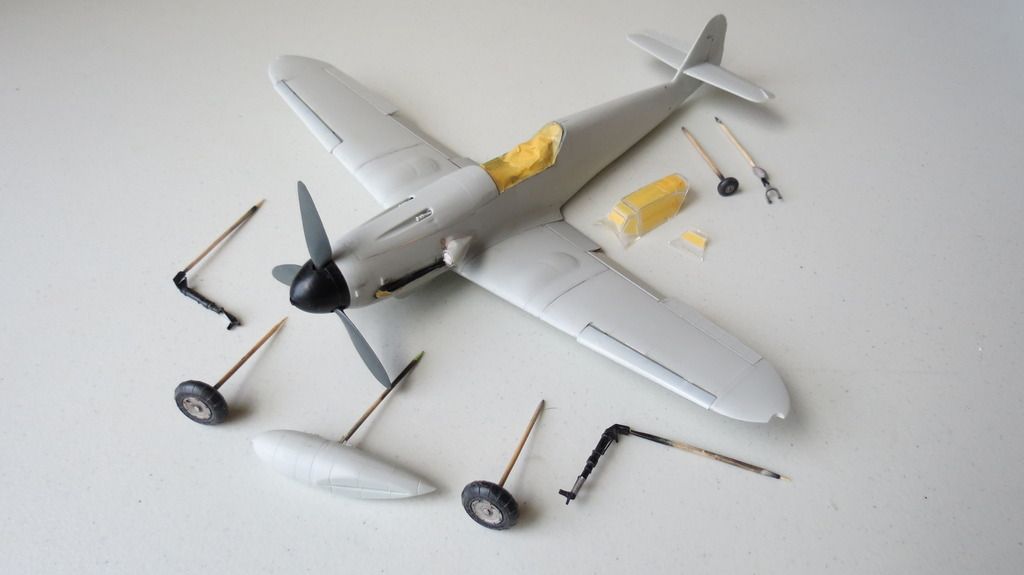
Revell 1/32 Messerschmitt BF109G-10 "Erla" Build Update #3. So guys, after building up the plane and cleaning her down with Isopropyly Alcohol, it was time to move into the painting stage. I masked the wheel wells, air intakes and air filter intake with damp tissue and masked the cockpit and exhaust stacks with Tamiya tape. I also temporarily located the undercarriage doors/covers to act as masks, but also to get them painted at the same time the underside of the plane was airbrushed. As always, the plane was primed first using Model Masters Grey Primer and when that was dry, I mixed XF-1 Flat Black with XF-54 Dark Sea Grey and pre-shaded all the panel lines and rivet detail areas;       While that was all drying, I then airbrushed Tamiya XF-54 onto the masked canopies. I used this as a substitute for RLM 66 which I couldn't get hold of. When it was dry, I airbrushed clear coat over the canopies and some other parts to seal the paint in and then removed the masking tape from the canopies to check the result:     I then moved onto airbrushing the underside of the plane, along with the drop tank, using RLM 76 Lichtblau. I toned it down around 10-15% with white and when that was done I added more white and airbrushed some highlights onto random areas. I let that all dry for an hour, then laid everything that was completed so far onto my table to check how things were looking:     I now had to mask the upper side ready for airbrushing the two camouflage colors, and therefore I used my usual method to do this. Using the painting guide, I measure the plan view distance from wing tip to wing tip and then take that same measurement on the model. Using those two dimensions, I divide the largest number by the smallest number to provide a scale factor. I repeat this process with the side elevation views measuring the length of the plane and getting another scale factor. Using my photo-copier, I set the zoom ratio to the scale factor calculated for the distance across the wings and place the plan view face down in the copier. I then took a couple of copies, one of the starboard side wing and one of the portside wing, then laid the plane on top to check if the scale had come out correctly. I repeated this for the side views. Everything looked good and so I now had my own paper masks ready to move forward with painting:     I wanted to airbrush the light color first, the Grau-Violet RLM 75, and so I carefully cut the dark areas of the paper masks out then taped them in place on the plane. I then airbrushed RLM 75 Grau-Violet onto the exposed surfaces. I tone the paint down by 10-15% with white and when completed, I added more white so that I could airbrush some highlights on top in random areas. I allowed the paint to dry for a while, then carefully removed the paper masks and then checked the paint work on my table:     Next, I moved onto airbrushing the DunkelGrun RLM-82 to complete the two camouflage colors. Using the paper masks again, I cut out the lighter areas and used them to mask over the previously airbrushed Grau-Violet. I then used RLM-82 Dunkelgrun toned down about 10-15% with white and airbrushed that over the exposed surfaces. Again, I added more white and randomly airbrushed some highlights. When that paint was dry, I carefully removed the masks and checked over the paint work:     It was now time to add the mottling to the fuselage sides. Three colors were used, the two upper camouflage colors; RLM 75 and RLM 82, along with RLM 02 Light Olive. This was my first time airbrushing mottling onto a plane, so I was a little anxious about screwing up what I had already done. It requires a lot of control with the airbrush to maintain a gentle flow of paint so that you don't squirt a puddle onto the surface:    After that was completed, I wasn't sure if I liked it or not? I then painted all the trim tabs red, along with a 3mm wide black band that goes around the front end of the fuselage behind the propeller spinner. I then took all the masking off the plane, temporarily located the canopies which were such a good fit, they sat in place, laid everything out on my table and took some photos:       Well, that's it for this update, my next one will be the "Final Reveal" as all I have left to do is clear-coating, decaling, light chipping, weathering, filtering, final assembly and matt/flat clear-coat. In the meantime, if you'd like to see my YouTube "Build Update #3" video for this update, here is the link to that: https://youtu.be/6c6coKE9XI0 Thanks in advance for looking at this thread, watching the video and commenting, much appreciated! :) See you at the "Final Reveal"! Cheers! :) Martin
  • Member since
    December 2002
  • From: Bury St Edmunds, Suffolk, England
Posted by Bish on Sunday, July 5, 2015 11:29 AM

WOW, that's some great looking kit and your doing a grand job with it. Revell really are pulling out all the stops with there current 32nd kits.

I am a Norfolk man and i glory in being so


On the bench: Airfix 1/72nd Harrier GR.3/Fujimi 1/72nd Ju 87D-3

  • Member since
    February 2014
  • From: Michigan
Posted by silentbob33 on Sunday, July 5, 2015 12:18 PM

This is amazing! I can't believe how fast you are building this kit.  It looks like I will have to add one to my stash.

On my bench: Academy 1/35 UH-60L Black Hawk

  • Member since
    May 2013
  • From: Indiana, USA
Posted by Greg on Sunday, July 5, 2015 12:39 PM

Excellent work and and excellent WIP thread.

Thanks for sharing, and my you are a fast builder, Martin. But your speed is in no way compromising the quality of build, as it looks first class all the way.

  • Member since
    June 2014
Posted by BrandonK on Sunday, July 5, 2015 1:09 PM

You are making amazingly rapid progress on this kit. Nice work, Sir!!

On the bench:

A lot !! And I mean A LOT!!

2024 Kits on deck / in process / completed   

                         14 / 5 / 2  

                              Tongue Tied

  • Member since
    April 2015
  • From: New Hampshire, USA
Posted by UKguyInUSA on Thursday, July 9, 2015 1:02 PM

Thanks Rooster, much appreciated! : )

  • Member since
    April 2015
  • From: New Hampshire, USA
Posted by UKguyInUSA on Thursday, July 9, 2015 1:06 PM

Thanks Rob, greatly appreciated! : ) The kit cost me $23.95, great value for money for the size and the details it has. I just have my final assembly left to do now, just completed my decaling and weathering. Should be wrapped up and ready for my "Final Reveal" by tomorrow night.

Cheers,

Martin : )

  • Member since
    April 2015
  • From: New Hampshire, USA
Posted by UKguyInUSA on Thursday, July 9, 2015 1:08 PM

Thanks Brandon, greatly appreciated! : ) I just completed my decaling and weathering and just have my final assembly left to do now. Should be wrapped up by tomorrow!

Cheers,

Martin : )

  • Member since
    April 2015
  • From: New Hampshire, USA
Posted by UKguyInUSA on Thursday, July 9, 2015 1:11 PM

Thanks Joe, much appreciated! Revell have produced some great 1/32 scale kits recently. This is my second one that I'm building, my first was the Arado AR196A-3. After this one, I'll be building their 1/32 Supermarine Spitfire Mk.IIa. I want to buy the new Fw.190, too!

Cheers,

Martin : )

JOIN OUR COMMUNITY!

Our community is FREE to join. To participate you must either login or register for an account.

SEARCH FORUMS
FREE NEWSLETTER
By signing up you may also receive reader surveys and occasional special offers. We do not sell, rent or trade our email lists. View our Privacy Policy.