- Member since
April 2015
- From: New Hampshire, USA
|
Posted by UKguyInUSA
on Friday, July 3, 2015 1:13 PM
Revell 1/32 Messerschmitt BF109G-10 "Erla" Build Update #2.
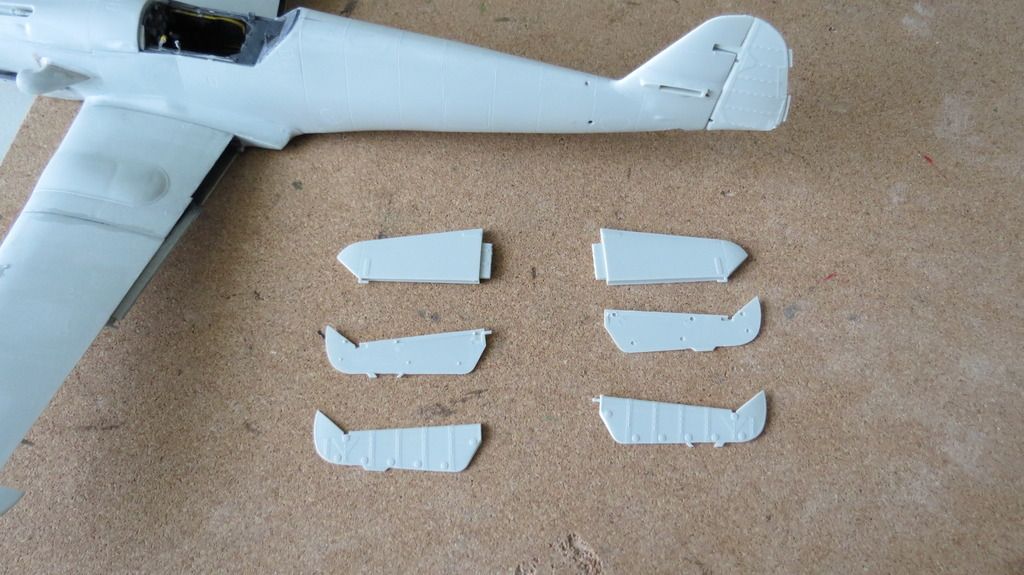
Well, once the cockpit was painted and buttoned up, this thing literally flew together and everything went together great. But, I did come across some errors in Revell's assembly instructions; incorrect numbering on a few parts, no note to inform you that 4 holes have to be drilled into a panel that fits onto the bottom of the fuselage into which the drop tank carrier rack locates into. Also, there are a few variations of rudder, a couple variations of vertical stabilizer and a couple of variations of panels that go underneath the fuselage, but, there are no references indicating which ones to use depending on which version you choose to build, paint and decal. This is explained more in my "Build Update #2" video to which the link can be found at the end of this update.
Time for assembly work!
I started off by gluing the cockpit tub into the starboard side fuselage half. I then glued the portside fuselage onto that and taped it until the glue had set...
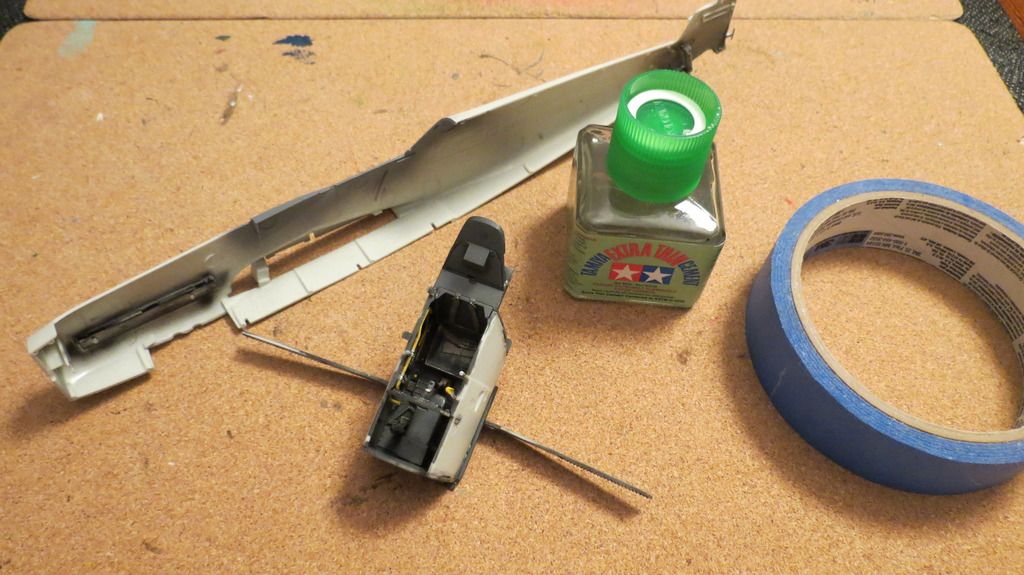
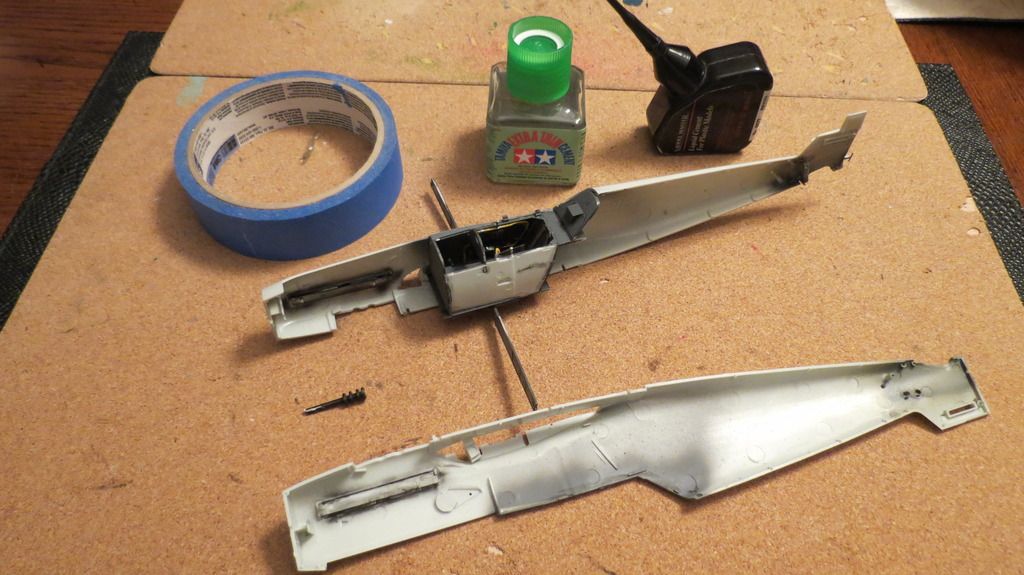
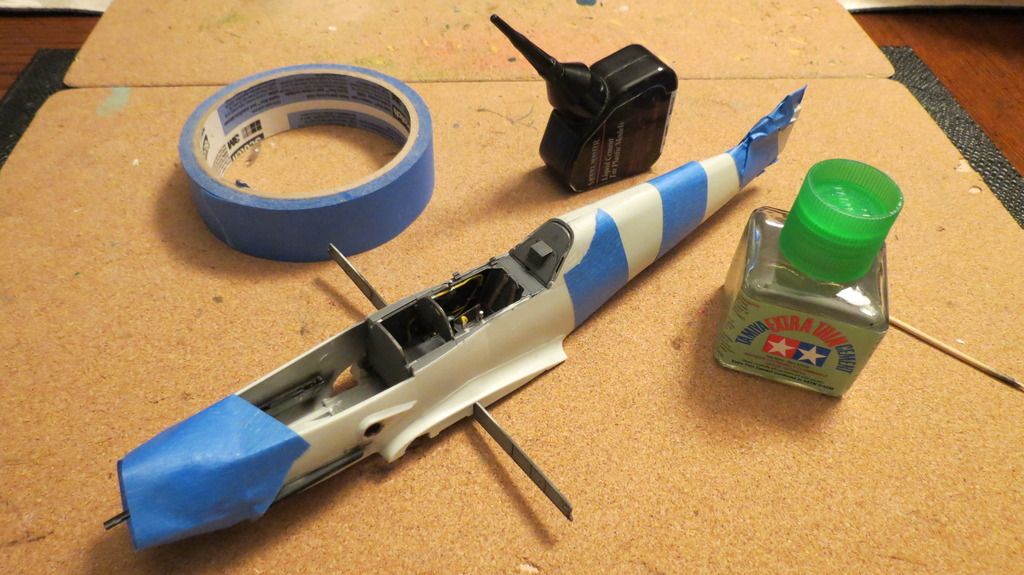 Next, I fitted the upper engine cowling into place followed by the air filter on the side of the fuselage and then the underside oil cooler air intake housing....
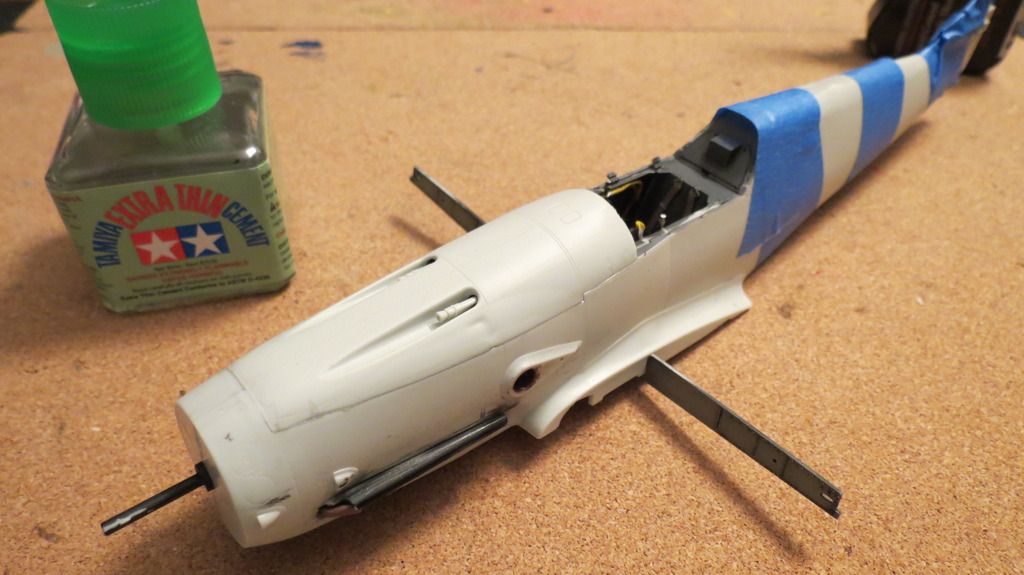
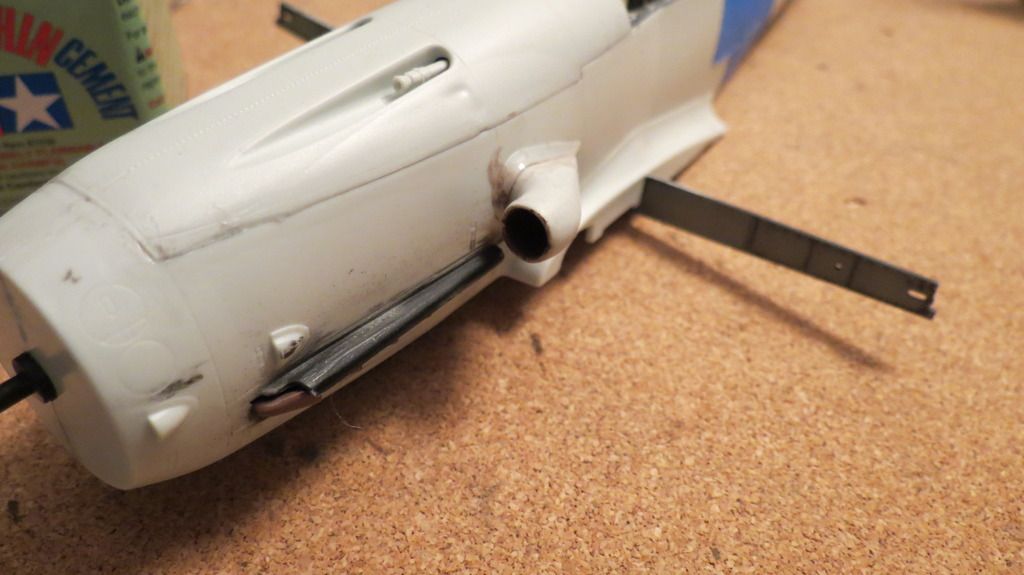
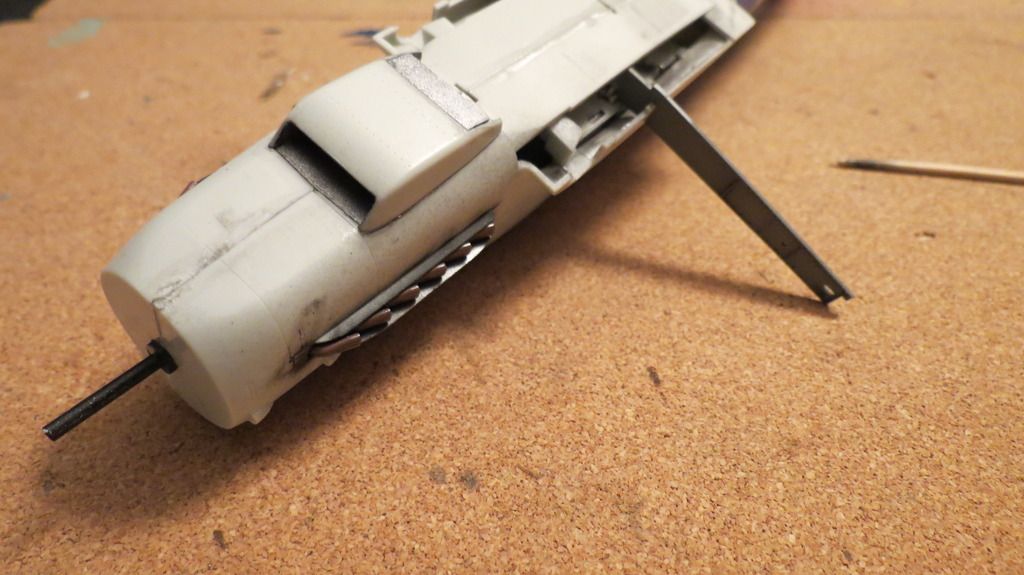 I then fitted the upper wing inner sections onto the fuselage sides, starting with the portside, then the starboard side....
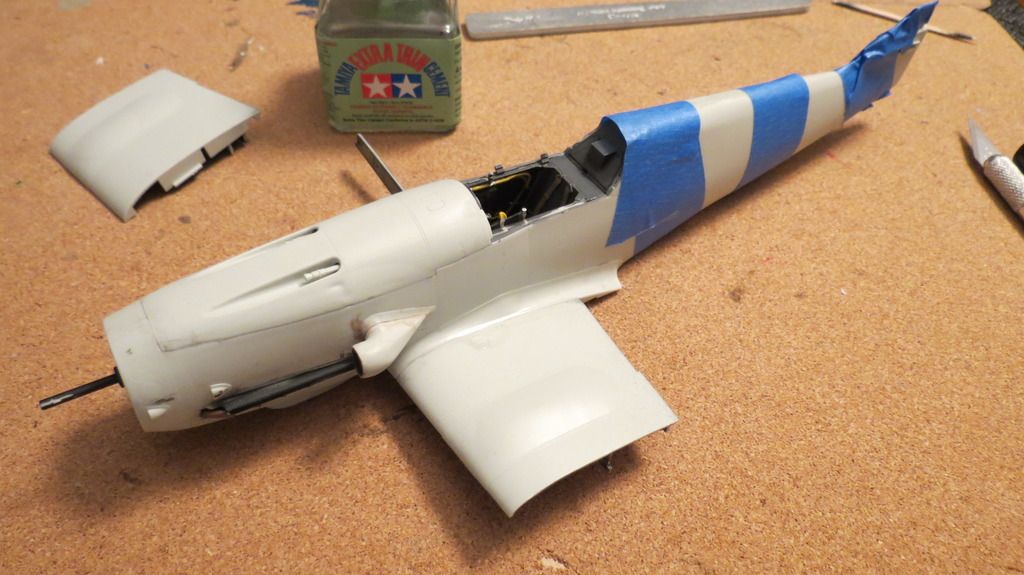
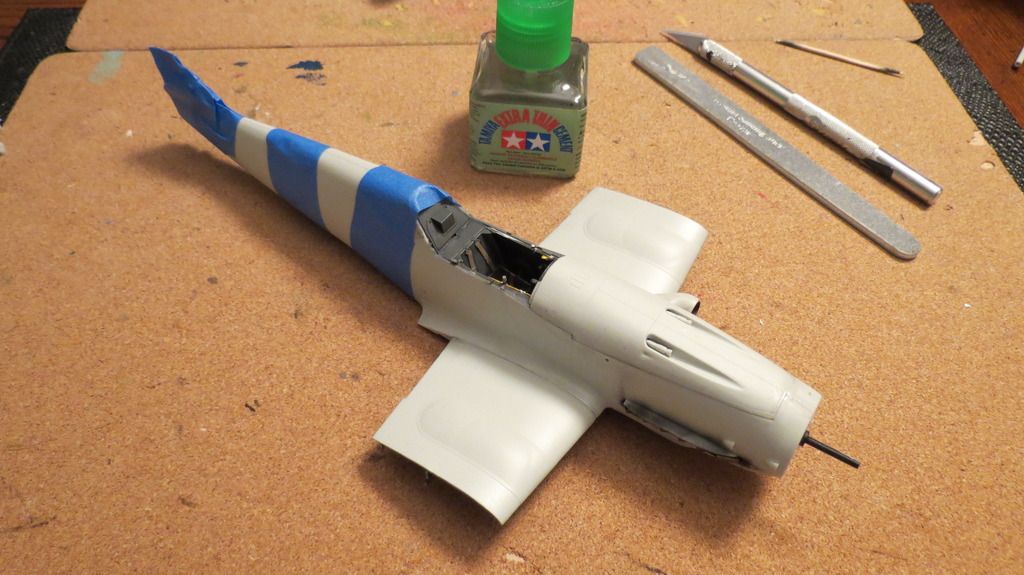
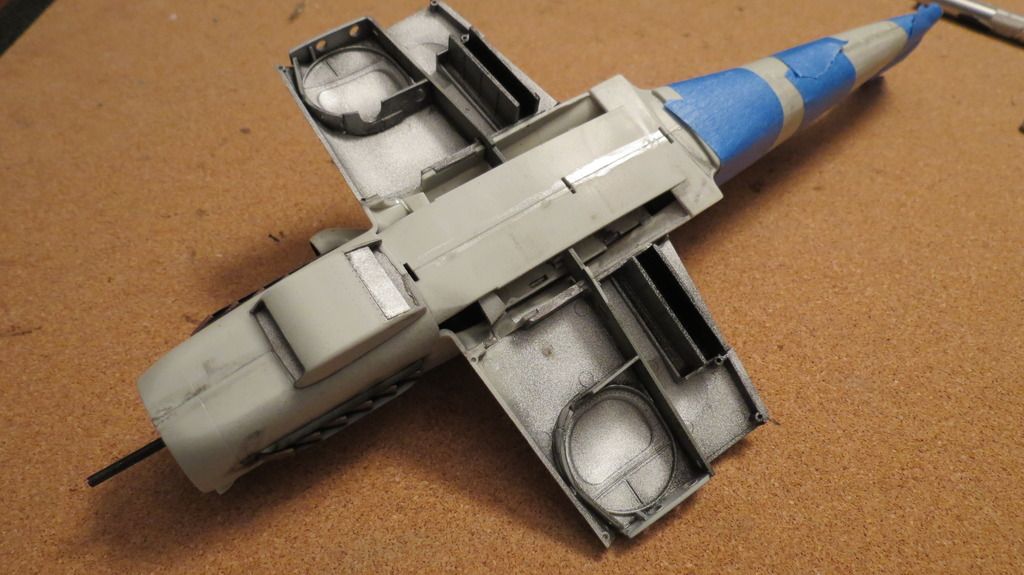 Next, I fitted the underside wing sections into place, starting with starboard side and finishing with the portside....
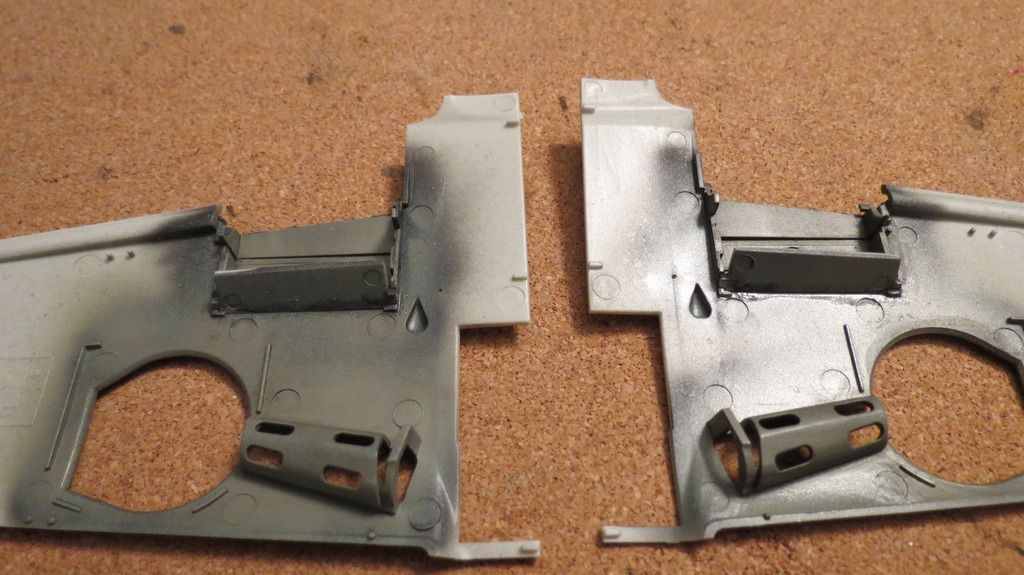
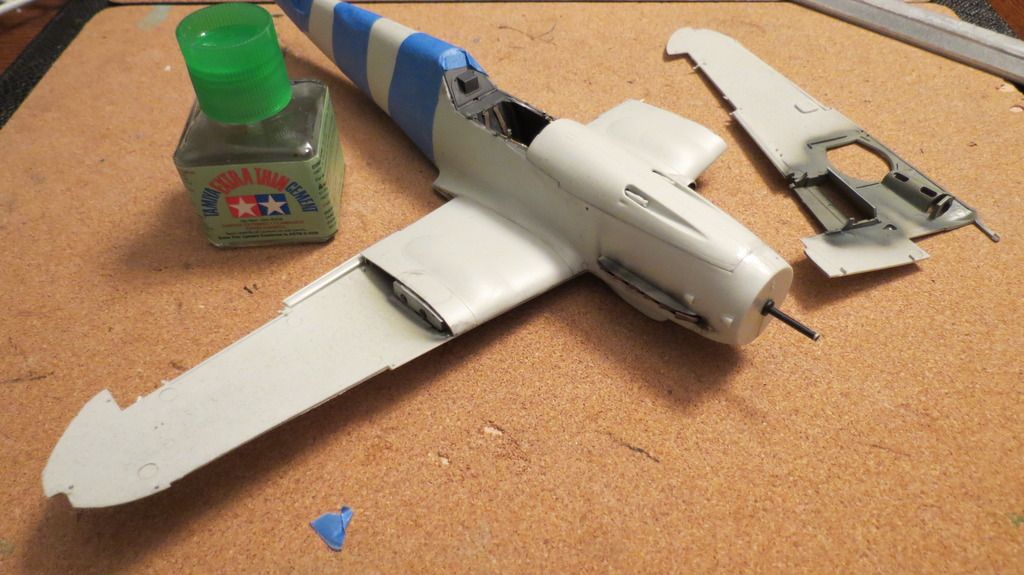
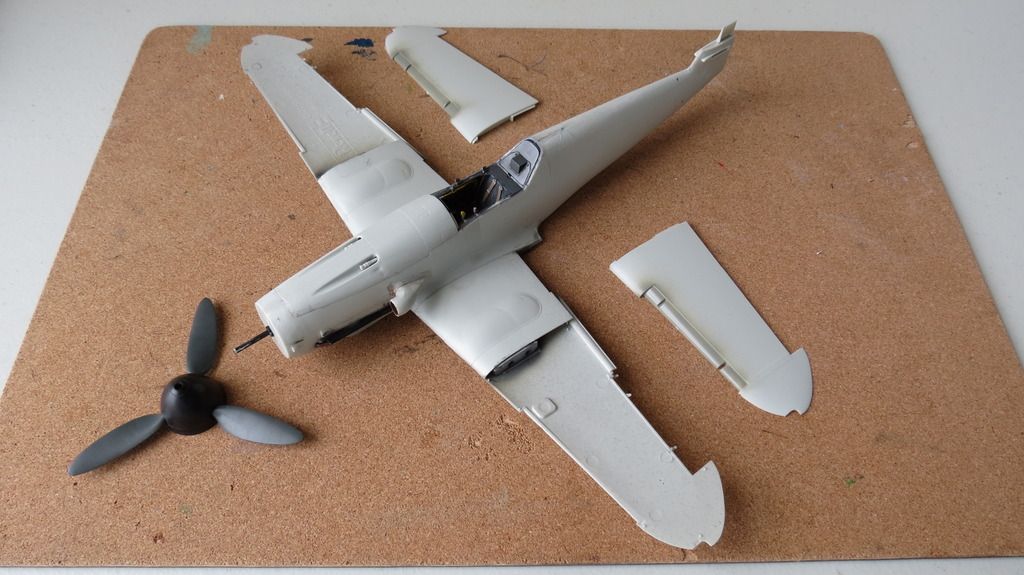
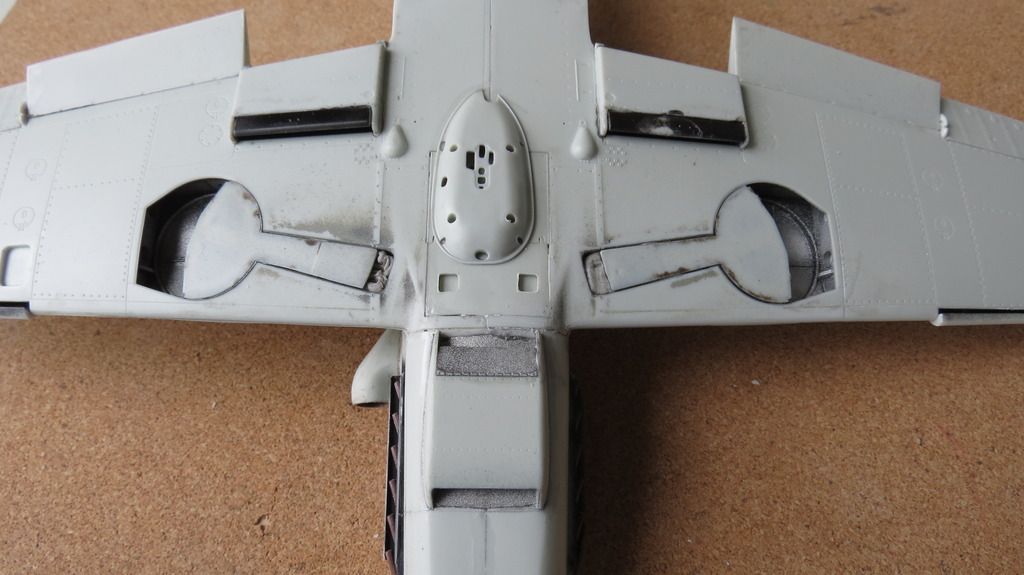
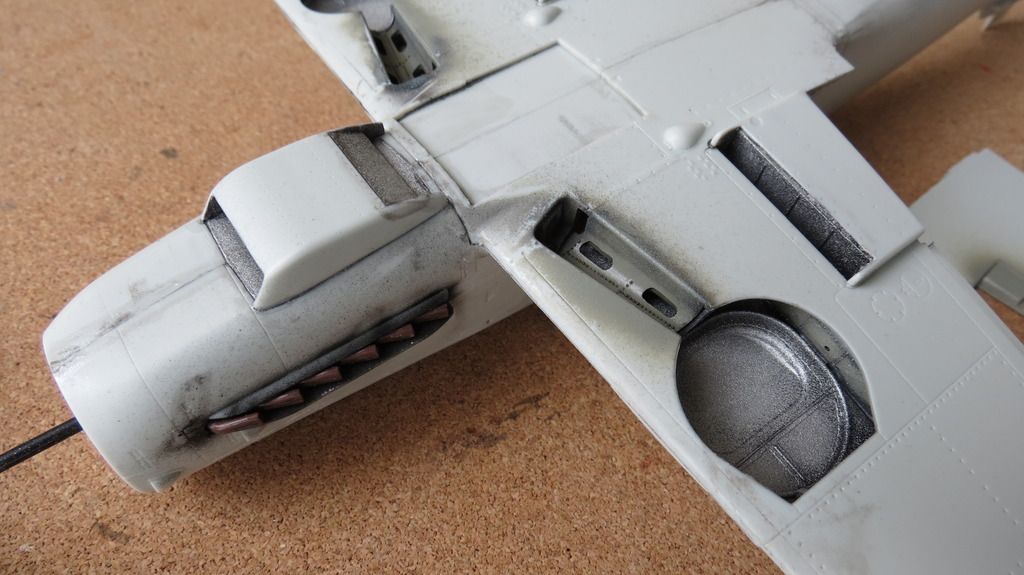 Following the underside wing sections, I fitted a couple of access panel to the underside of the fuselage. There are two versions of these, but Revell doesn't indicate which versions to use depending on which version of the planes you're going to build...
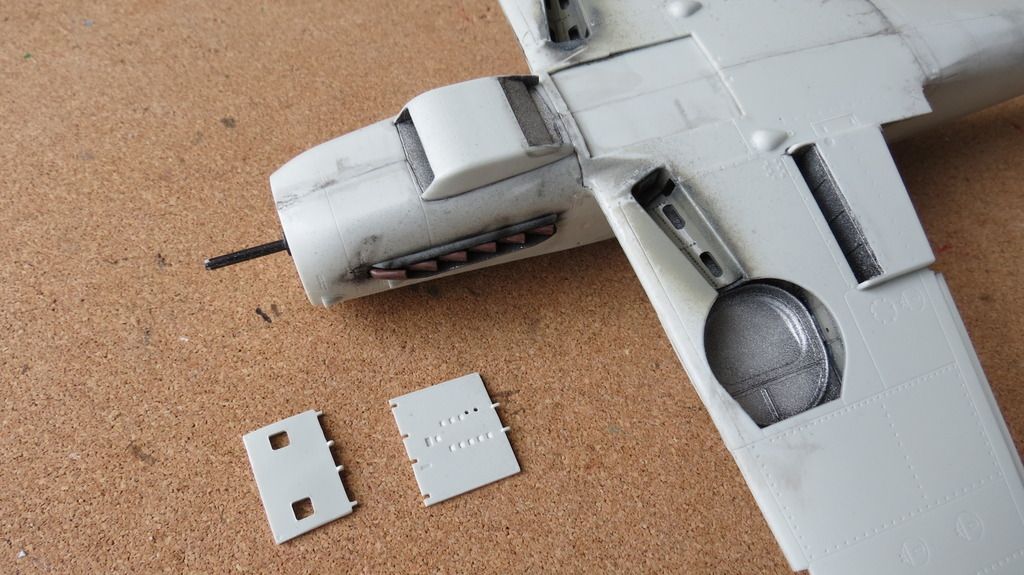
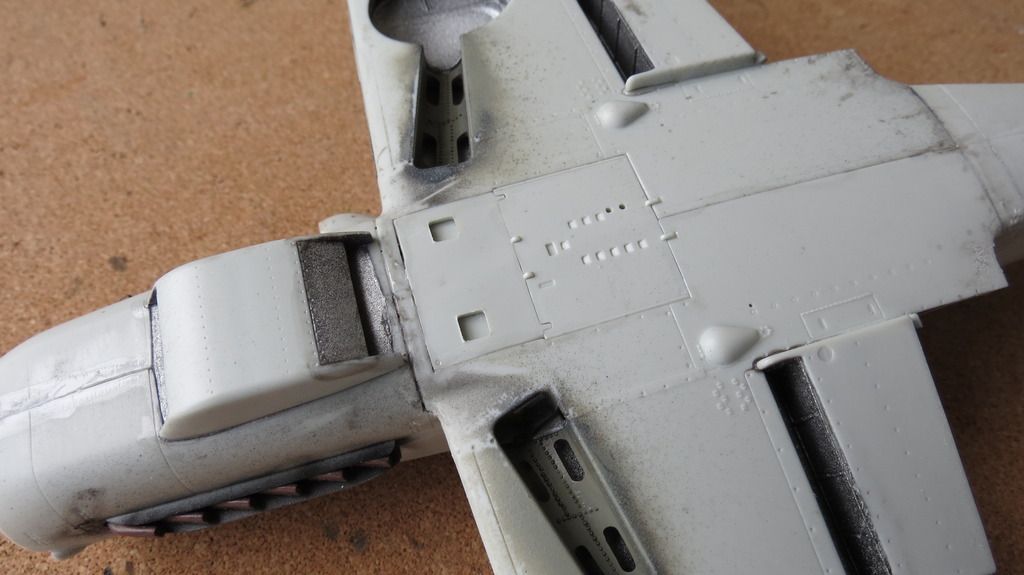 Next, I fitted the two upper wing end sections into place and taped them until the glue had set...
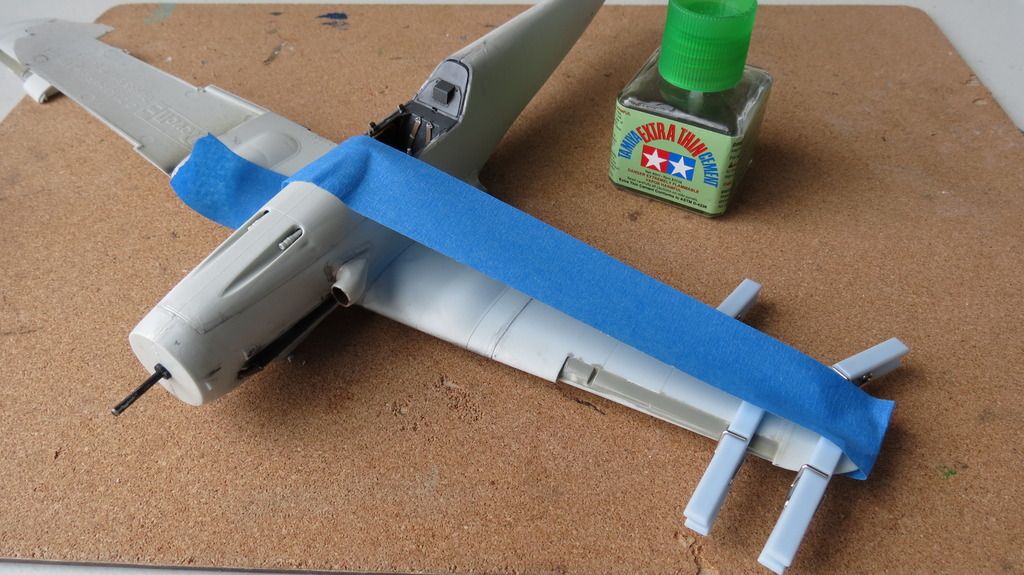
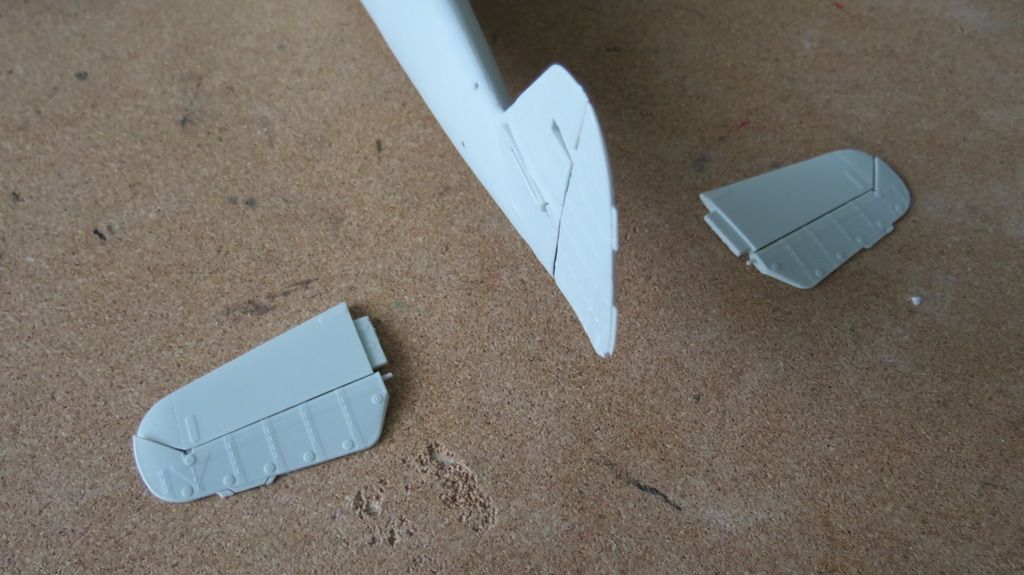
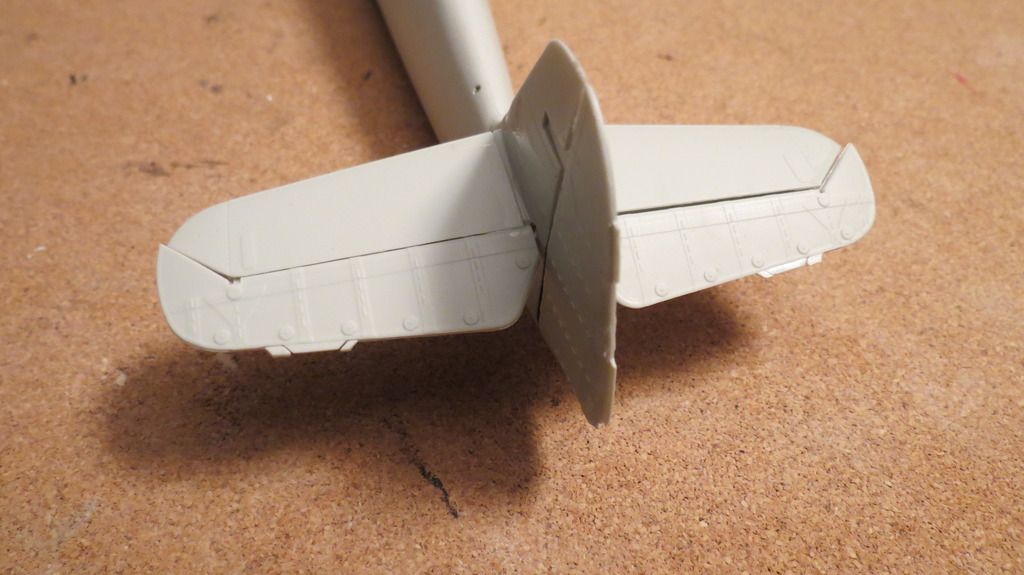
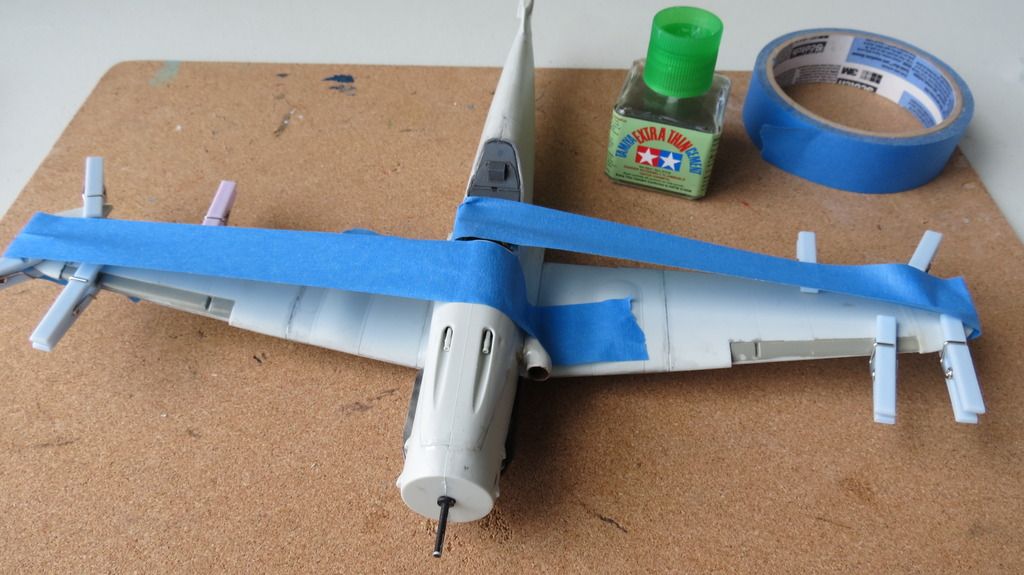 I then moved onto gluing the vertical stabilizer in place, then fitting the two rudder halves around the hinges of the vertical stabilizer, which allows the rudder to be movable...
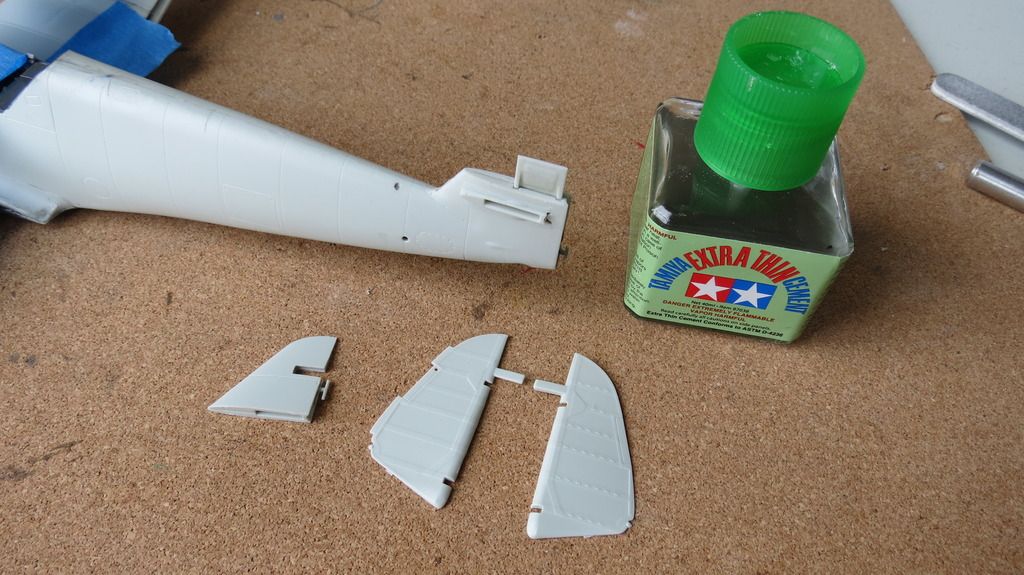
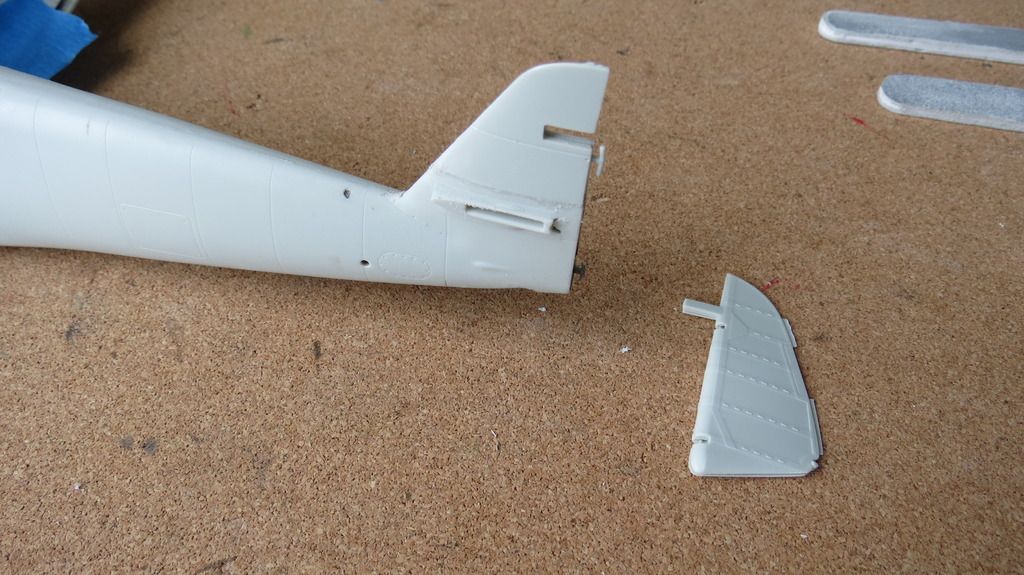
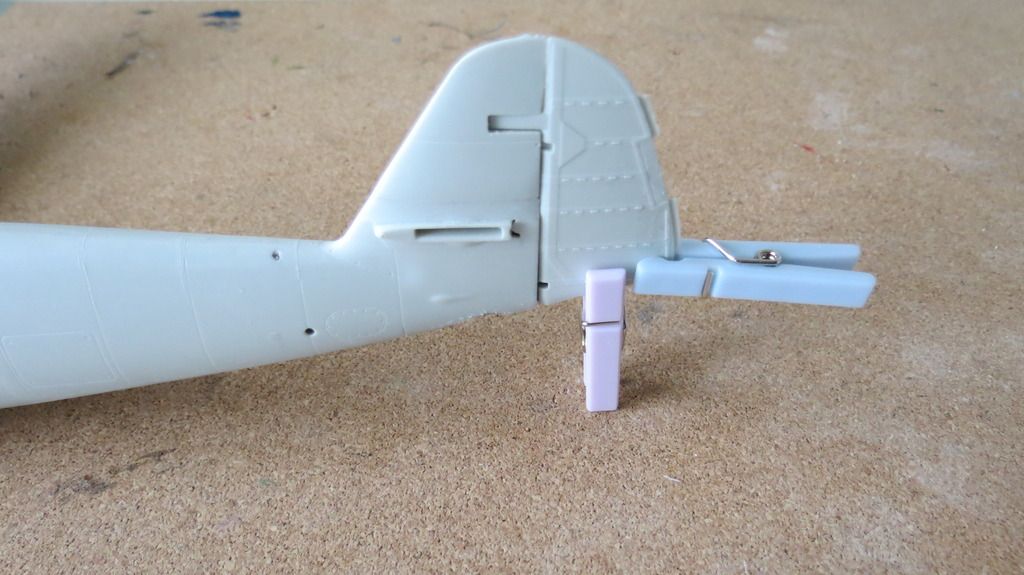 After the vertical stabilizer and rudder, it was onto the horizontal stabilizers and elevators, and again, the elevators are moveable...
 She was beginning to look like a plane now...
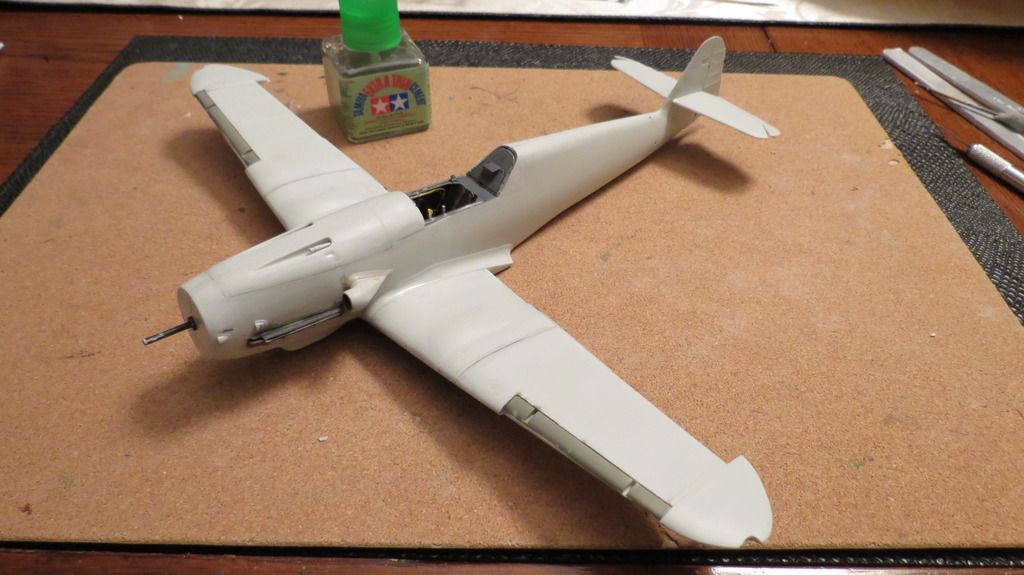 I then moved onto the main wings and fitted the flaps ailerons and elevators, again, the outer two on each wing can be posed and the inner flaps are moveable...
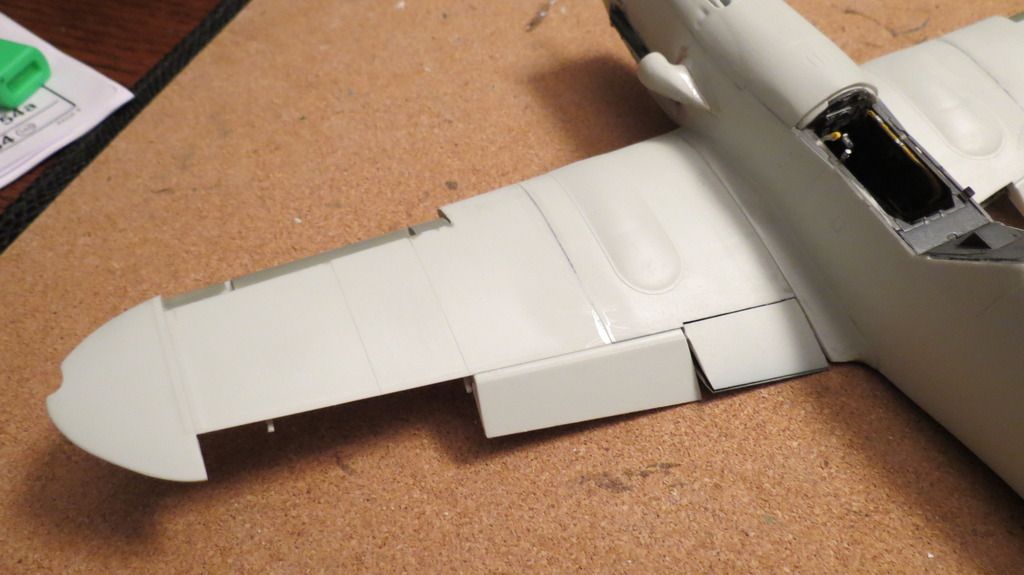
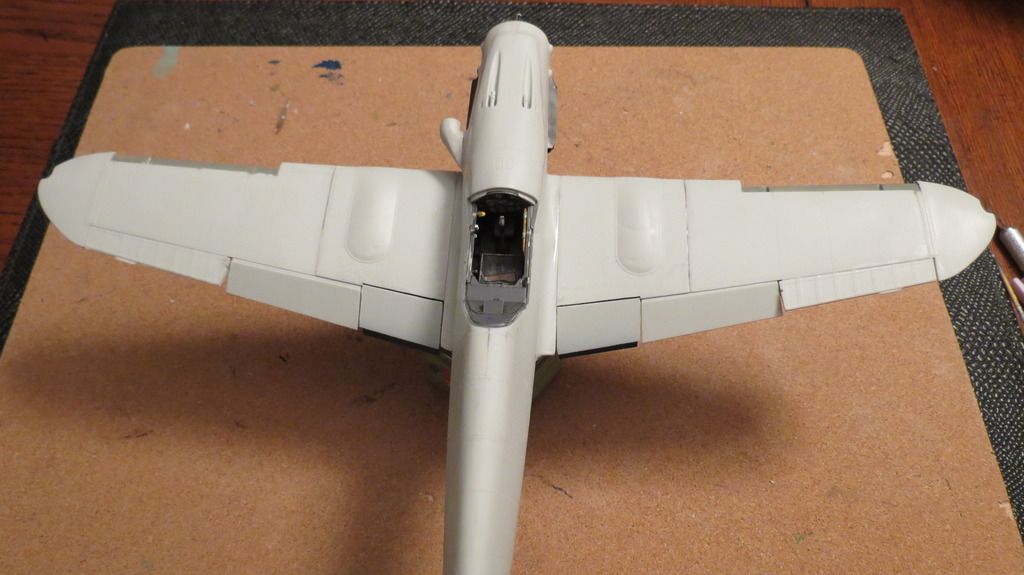
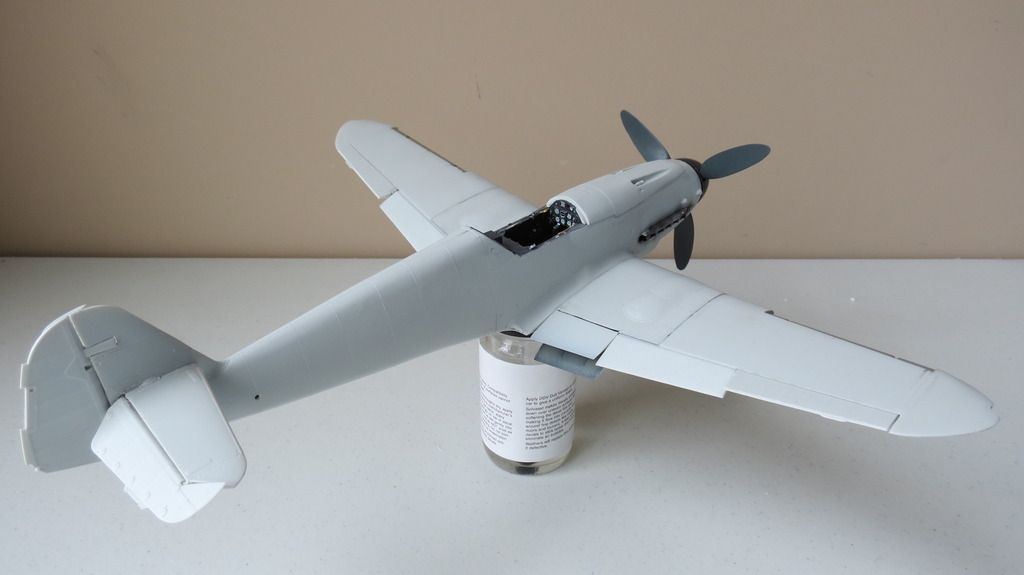 I then moved onto the leading edge slats and glued them in the open position as this plane will be modelled with the wheels down and canopy open and not in flight...
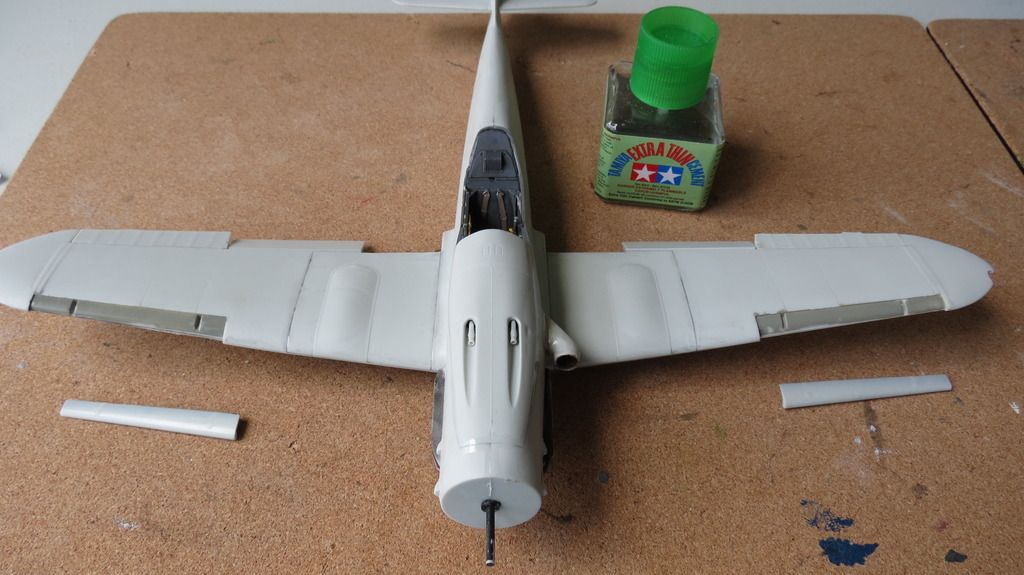
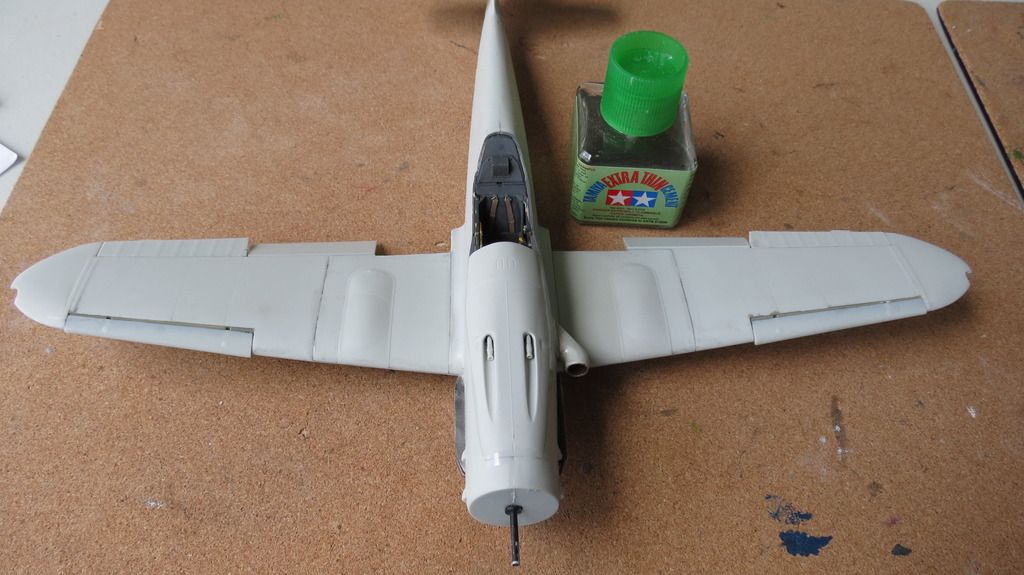 Next, I fitted the drop tank carrier plate to the underside of the fuselage, but came across a problem. The panel that it locates into should have 4 holes drilled into it for locating the carrier plate pegs into, but, there are no instructions in the assembly guide informing you to drill holes. This is assembly instruction #35 in the booklet. I therefore, used the other version of panel as a drilling template to do this, then when the 4 holes were drilled, I could glue the carrier plate in place....
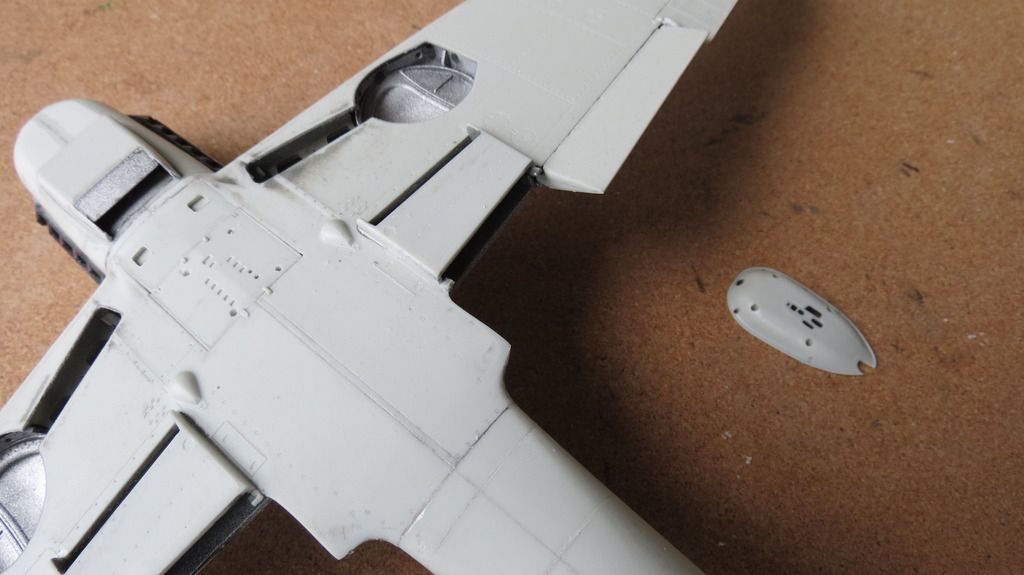
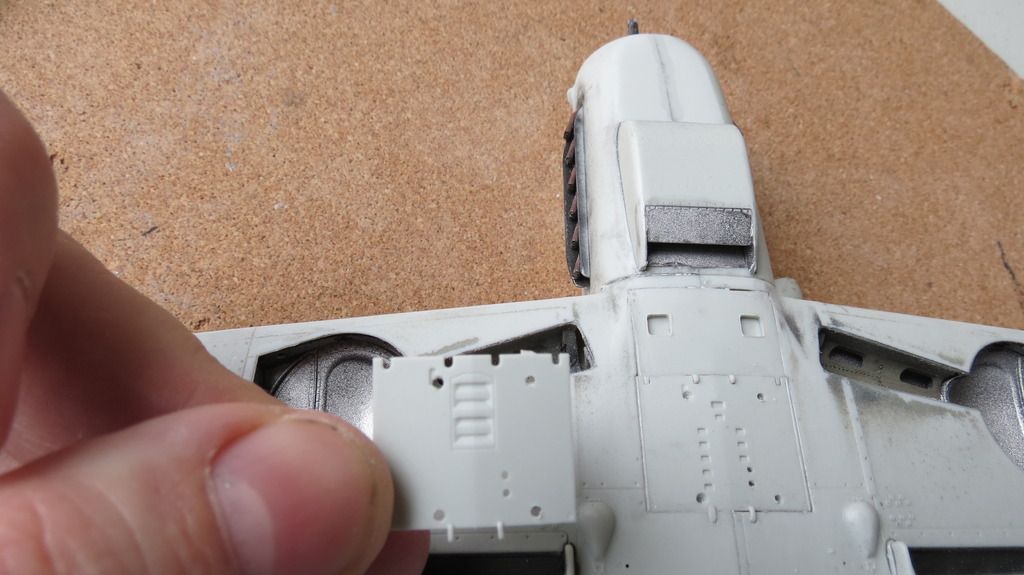
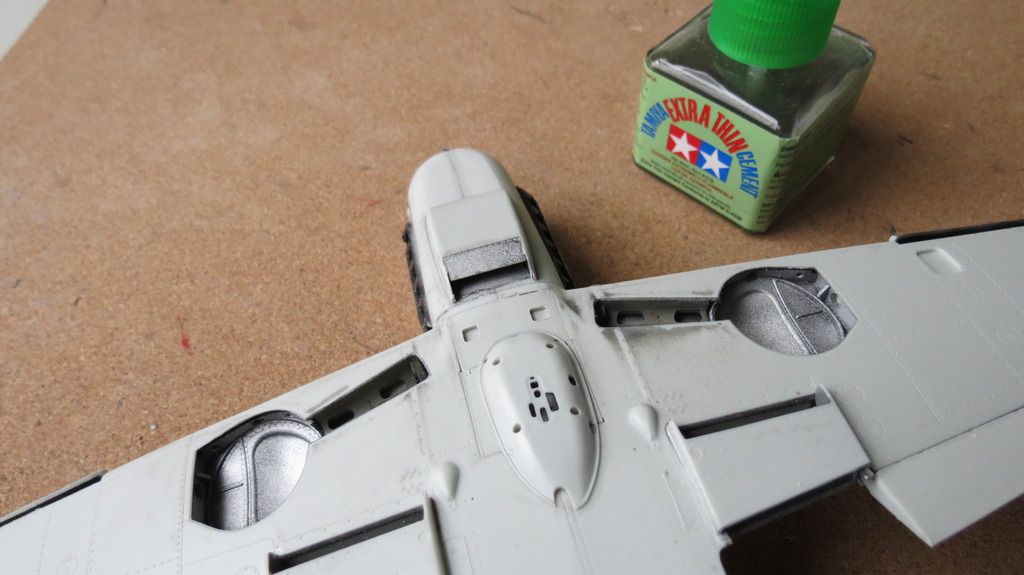 After the carrier plate was fitted, I moved onto fitting the rear wheel well cover plate...
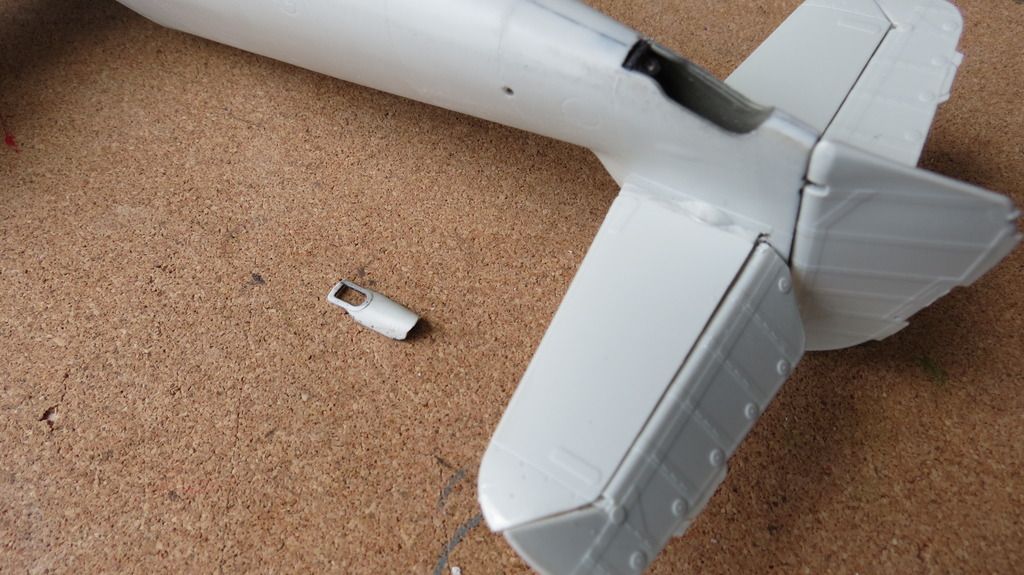
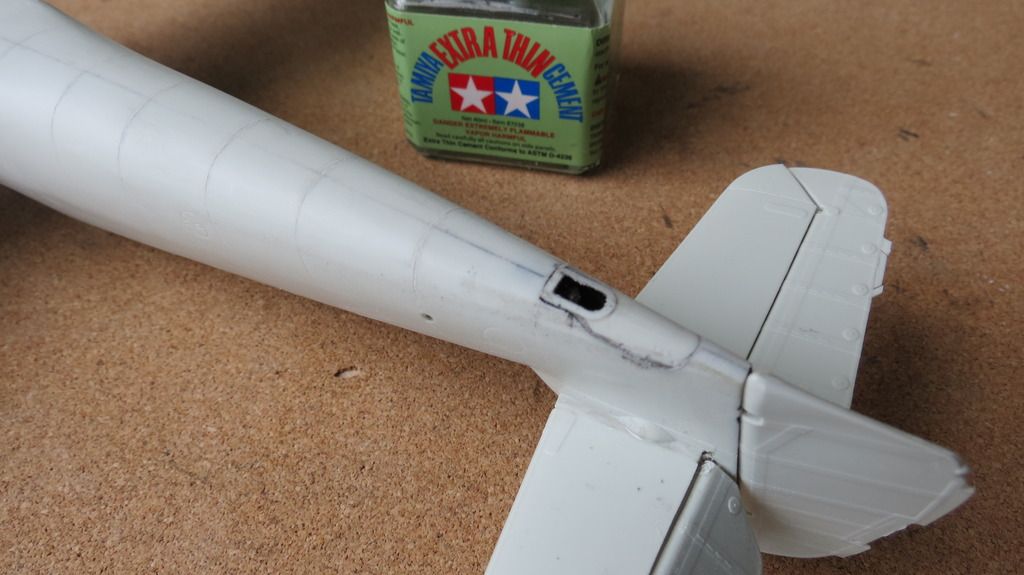 I then glued the air intake slats into position, they are painted black in this image...
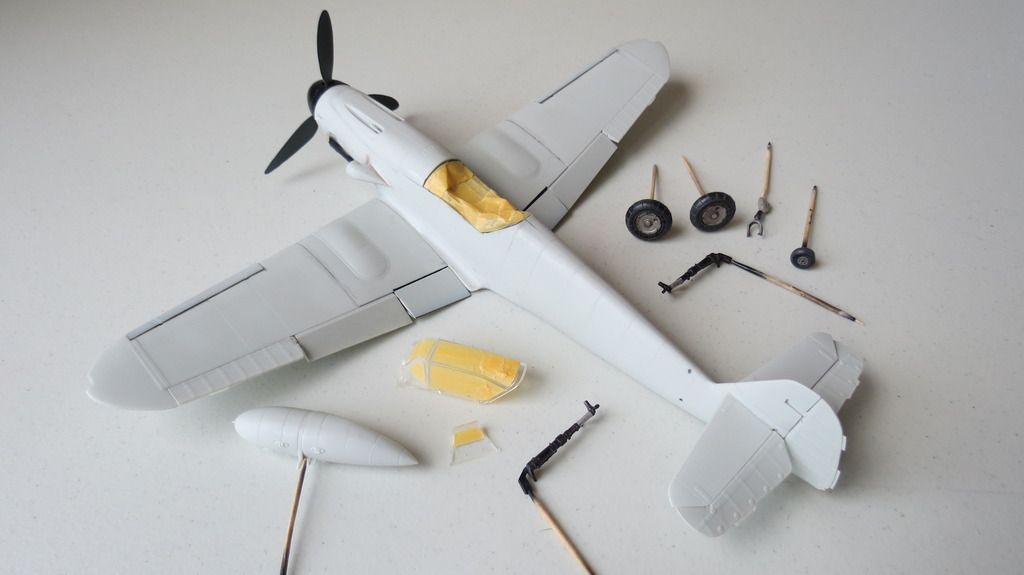
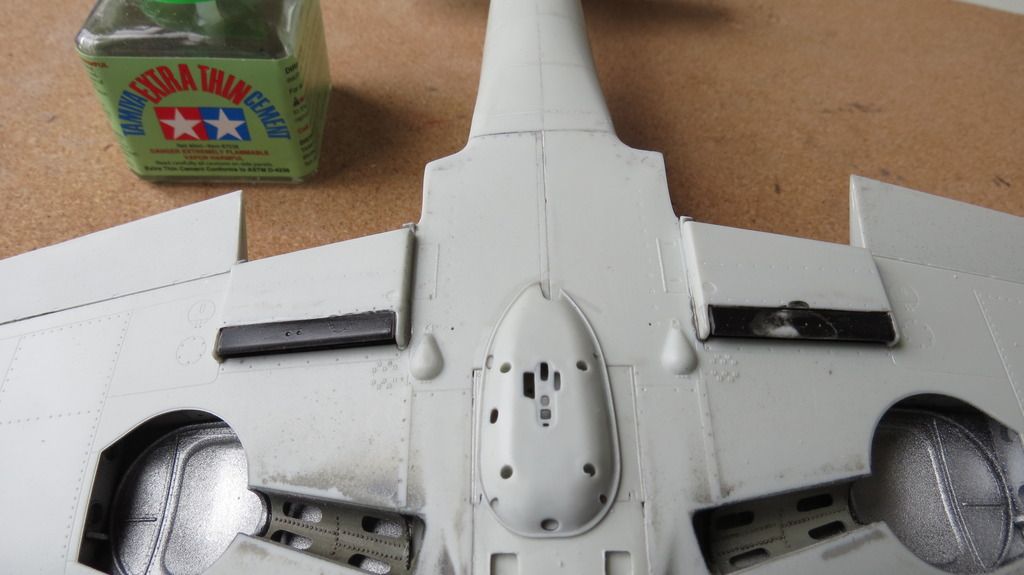 it was now time to start masking things ready for cleaning and priming the plane. I started by temporarily locating the undercarriage doors into place using putty...
 Masking the canopy, front windscreen and bullet proof shield...
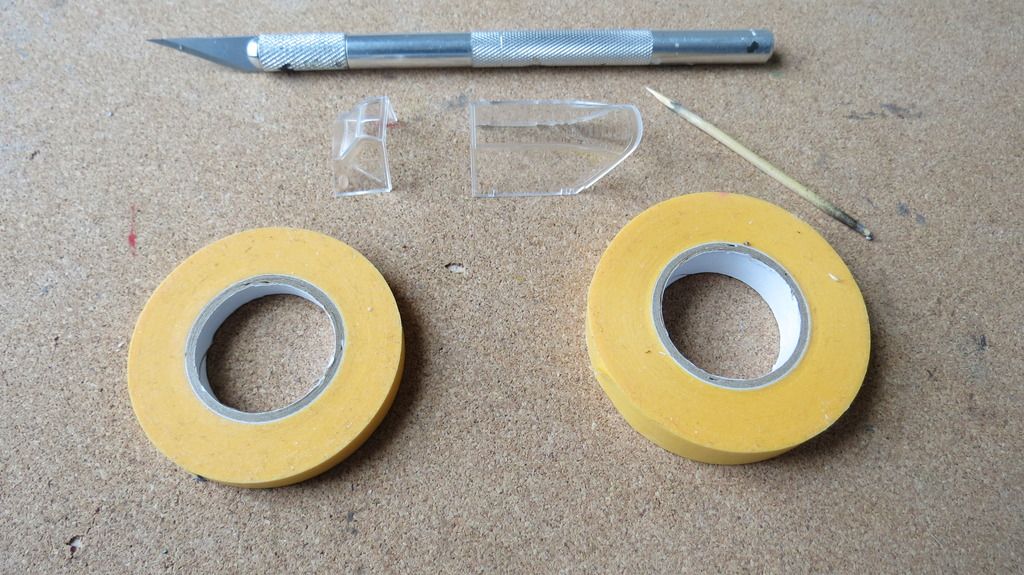
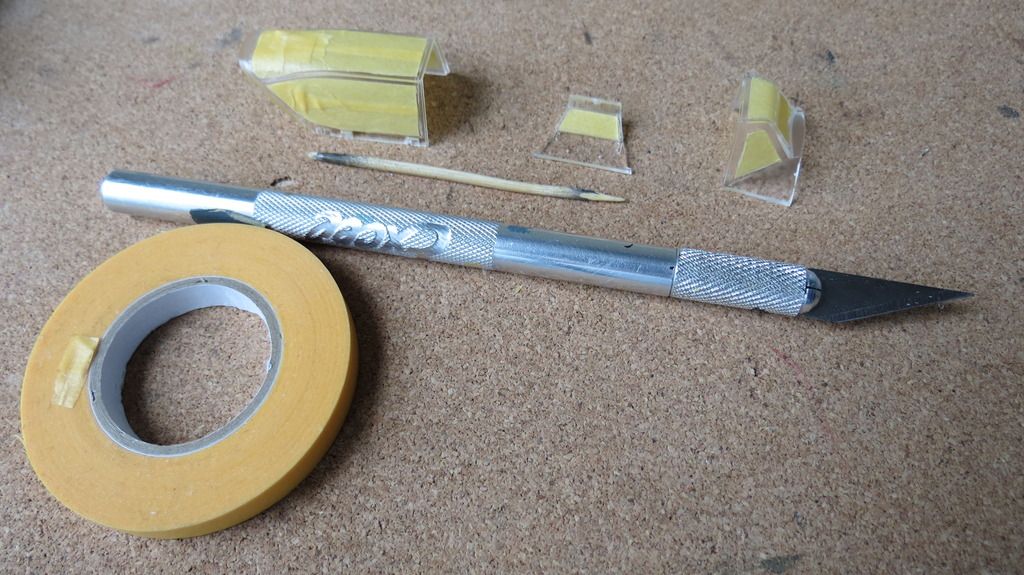 Followed by masking the cockpit tub, the exhaust stacks, the air intakes and filter intake. When that was done, I cleaned the plane down using IsoPropy Alcohol...
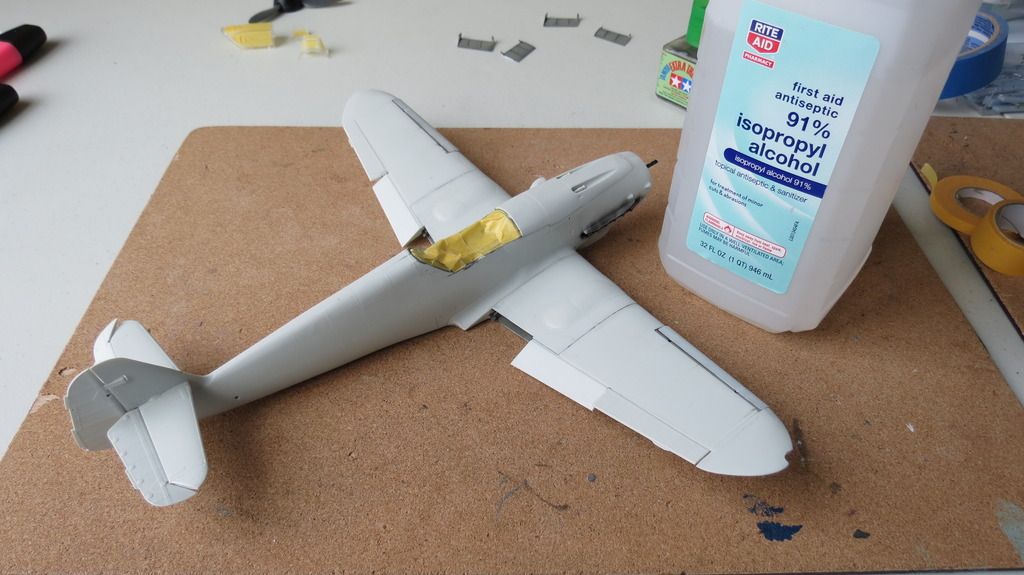 I had now reached the end of my build stage and was ready to move onto the next stage, priming, pre-shading and painting which will be seen in my next build update report #3...
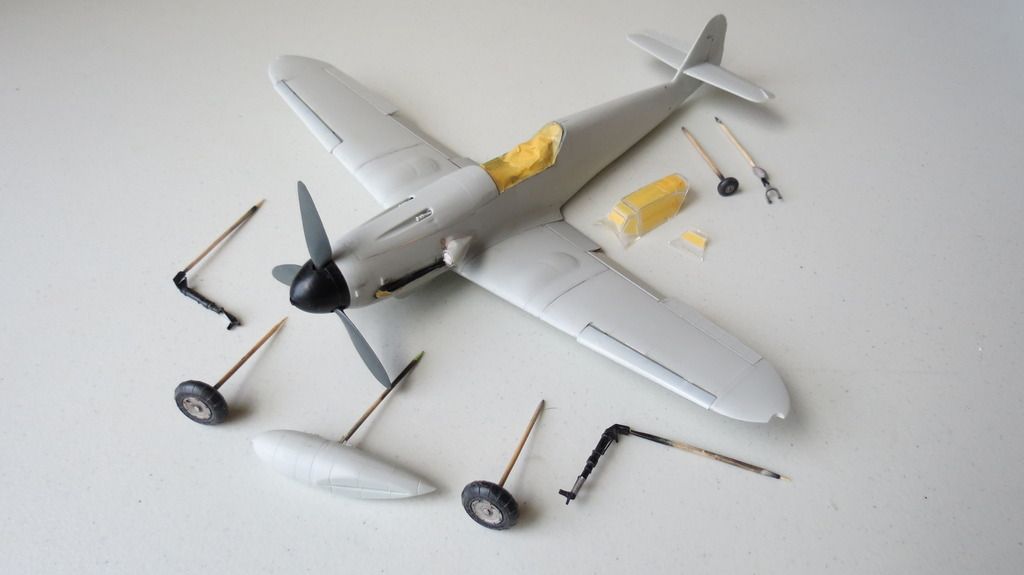
 Thanks for following this build and for leaving any comments, much appreciated.
If you'd like to see my YouTube "Build Update #2" video, here is the link for that:
https://youtu.be/BrAI3x3R14U
Until my next update, have a great weekend and happy modelling! :)
Cheers!
Martin
|