Hi all,
I'm building this for the Battle of Britain group build, and given that it's a British plane and a British company released an affordable ($26-ish) model this year in 1/48, I had to go with the Airfix one. As it's a new kit, I figured I'd do a WIP so you can all check it out if you wish.
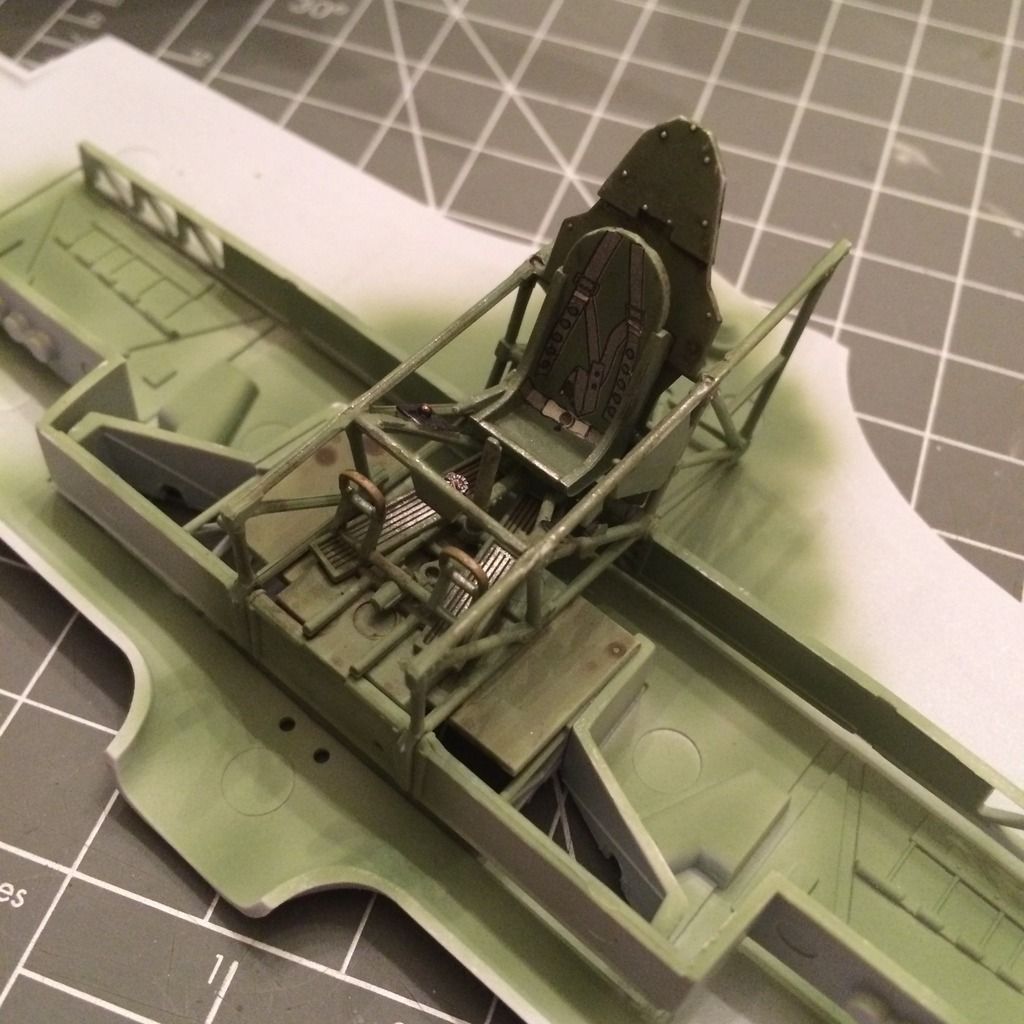
The cockpit is first (surprise!), and it's a nice recreation of the tubular metal frame inside the cloth skin.
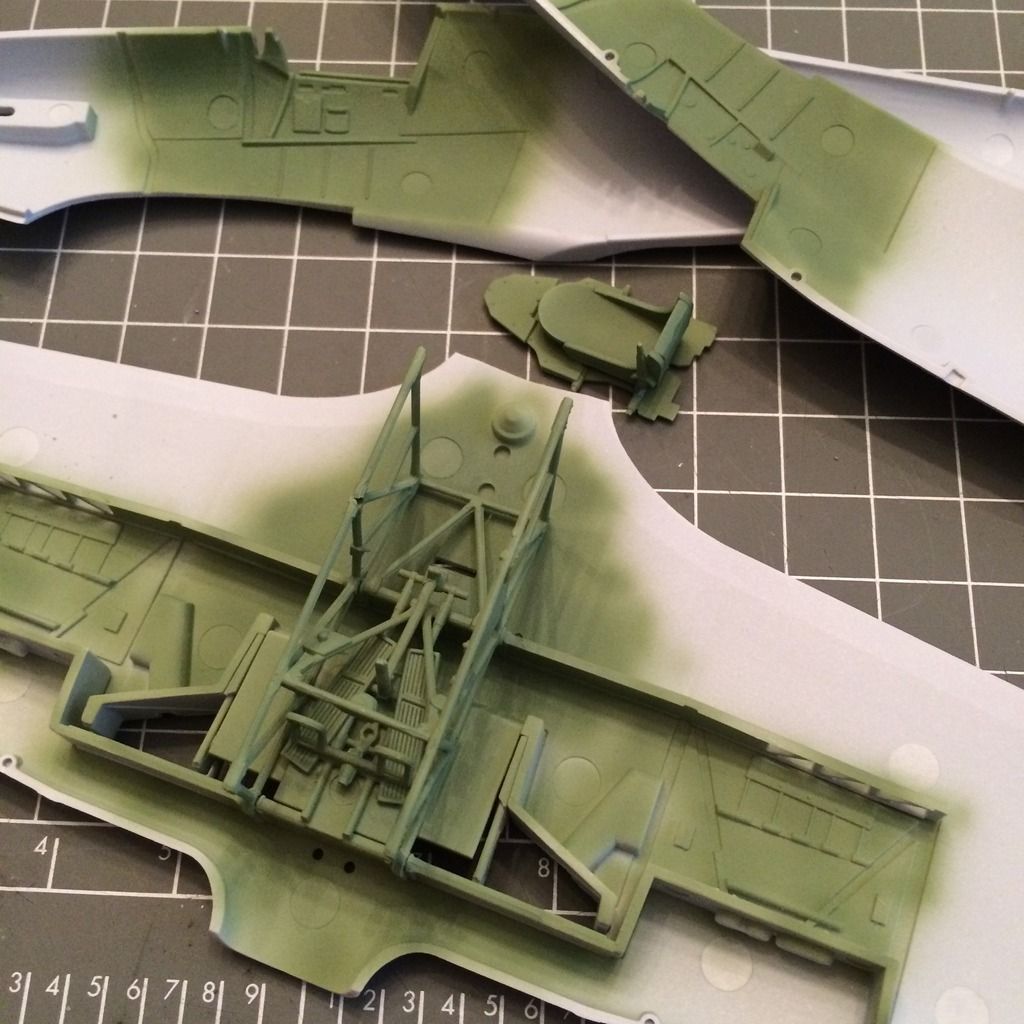
This kit has the option of displaying the gun bays open, with plenty of interior struts and whatnot, along with the 8 .303 machine guns, ammo belts and a few boxes. Thankfully Airfix molded the wings as single pieces, and if you want to display them open, you simply cut away the molded-on doors and replace them with the provided separate pieces, so there's no annoying aligning of panels on the wing top. I opted to go with closed gun bays, so I tossed all the extra parts in the spares box.
The cockpit framework glues to the wing spars (and the underside is the top of the wheel well). You install the instrument cluster and a bulkhead when you join the fuselage halves, then you drop that down on the completed cockpit and wing assemblies. ***Be careful here, as it's easy to get the fit wrong, and I ended up with a 0.5 mm step from the bottom of the wings to the bottom of the fuselage (front and rear pieces, which I believe has to be installed after you drop the top in place).*** I used Tamiya putty to re-slope the portions slightly for a smoother fit.
Oh, and Airfix provides a decal for the instrument cluster as well as one for some detail next to the pilot's left elbow. No harness is provided (I used a Tamiya Spitfire decal), but there is a pilot figure. I also used a leftover Eduard PE compass.
The horizontal stabilizers are each molded in top and bottom pieces, and the temptation to paint them before gluing them was there, but don't -- the joint to the fuselage required filler on mine (I used Perfect Plastic Putty). The elevators are molded as one piece, and while I will eventually glue mine in the down position since that's how they appear to rest on the real thing, I left it loose for ease of masking while painting. You could keep the elevators and the rear bit that holds them on separate until after painting, but I wouldn't recommend it (the rear part required filler on mine).
I installed the windscreen, but left the canopy off. The kit provides two canopies - for open or closed positions - which is a nice touch. They are also very thin, and the open option fits very well. My closed canopy had a gap at the rear, so I didn't install it for painting and opted to mask over it instead.
The way the canopy (open or closed) sits over a portion of the fuselage can make masking awkward, so I painted a 1/4-inch strip of dark green behind the pilot's head so I'd have more room to lay down a mask. Any subtle variation in the paint shade will be unnoticeable under the canopy.
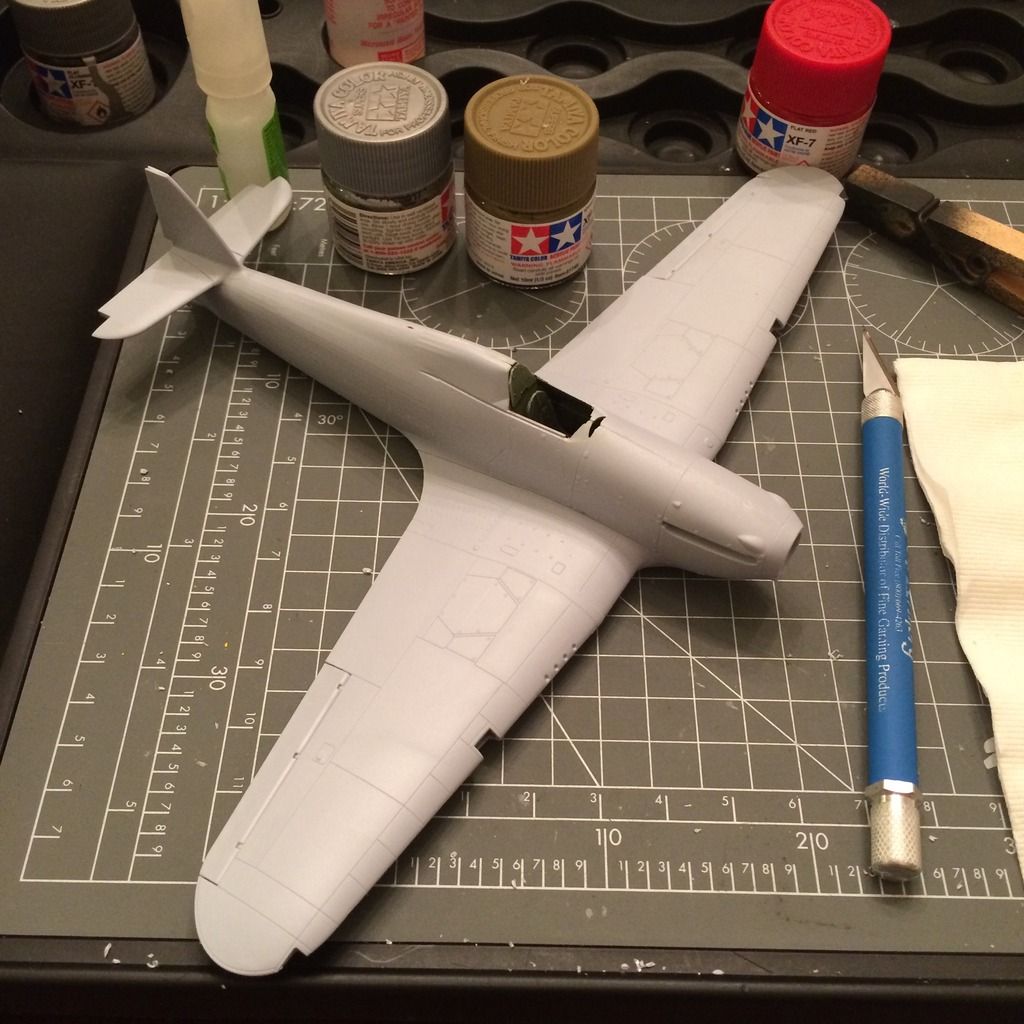
The kit went together quickly, and then it was off for the base coat of black. I used Model Master enamel thinned with Tamiya Lacquer Thinner 1:1 at 20 psi. I layed it down haphazardly and then sanded it with 12,000-grit micro mesh when it was dry.
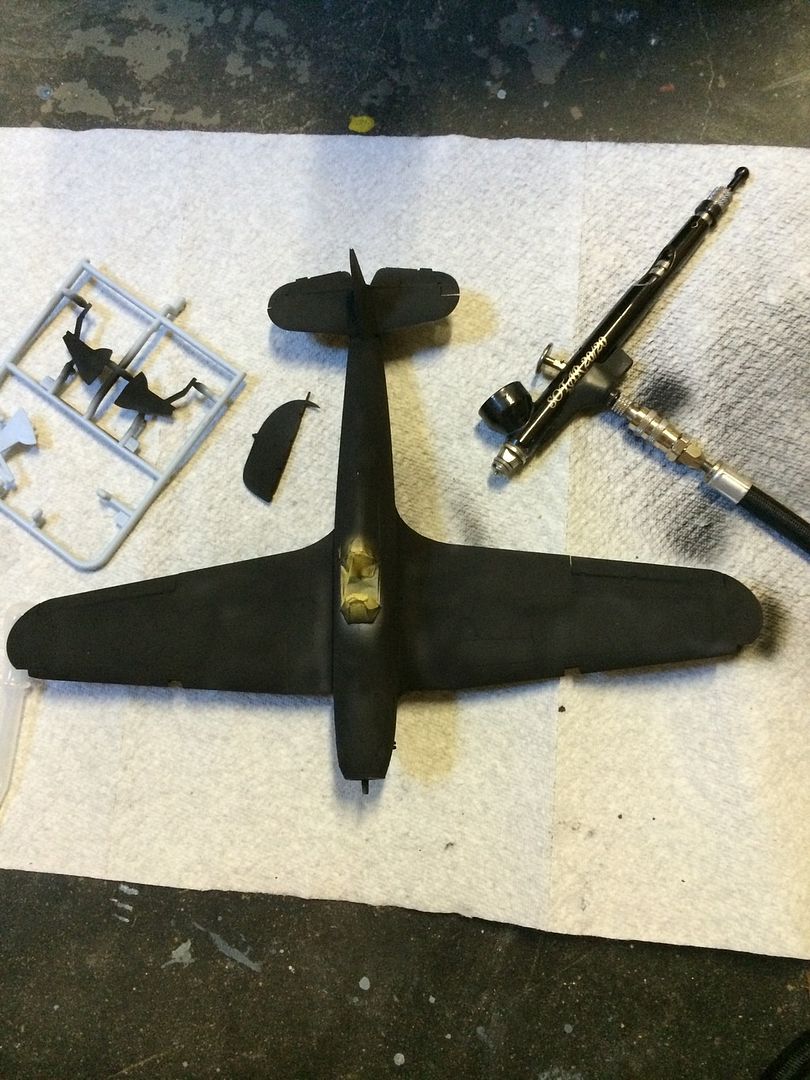
Next, I laid down the first light coat of Tamiya Sky, thinned with Tamiya Lacquer Thinner (2:1 thinner:paint) at about 17 psi (Including these numbers because of the last two issues of FSM where people were asking).
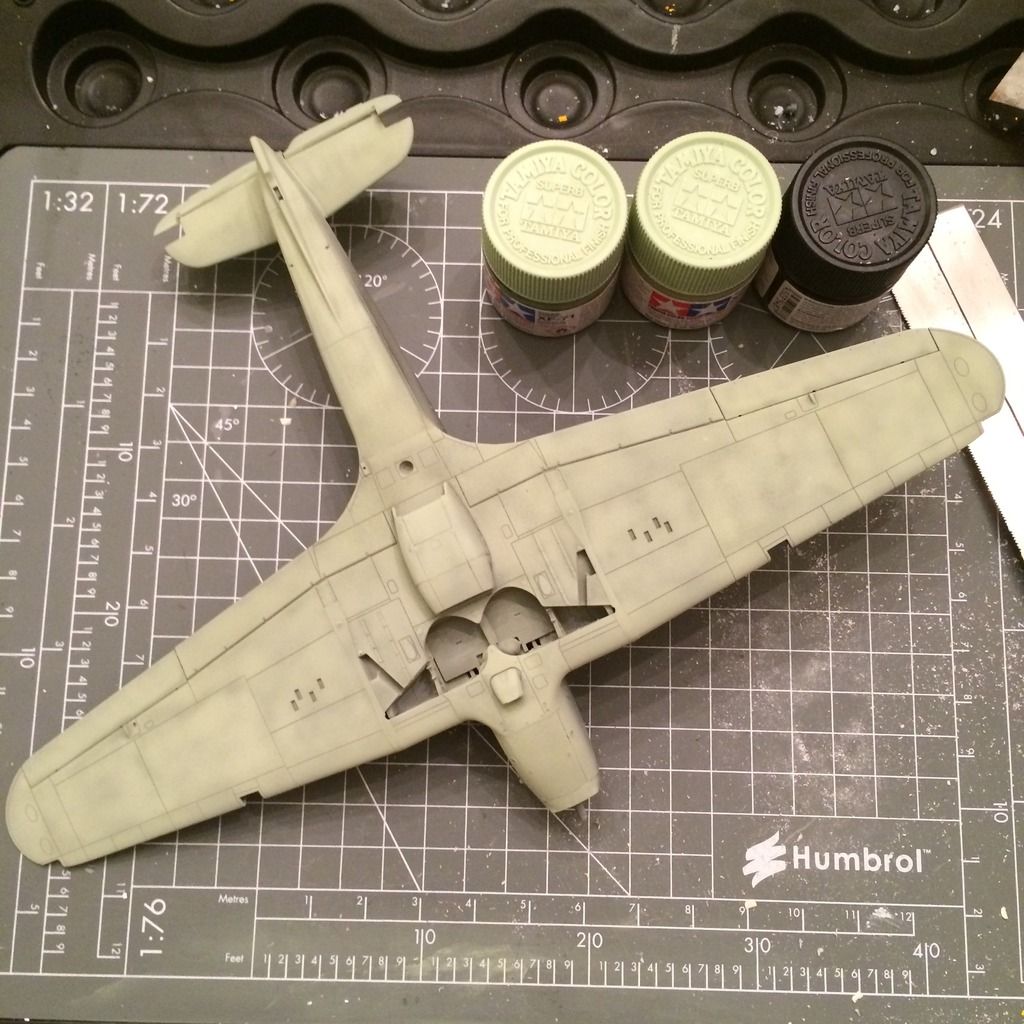
I then sanded it with the micro mesh. Right now it looks terrible, but it's supposed to. Next step is to cut the Tamiya Sky with Tamiya Flat White 50/50 and hit the insides of the panels. Then I'll go with a 70/30 thinner/sky mix and use it to blend the colors. Then it's on to masking and shooting the topside.
Of note with this kit is the fact that it includes different fuselage underside parts, including an arrester hook, hinting that Airfix will release a Sea Hurricane in the future.
Cheers,
-BD-