Thanks all. Johnny, I hope mine turns out half that nice. Well done. I'm in for an update. This build is just flying by and I have made quite a bit of progress. What a breeze of a kit. I have since got the airframe together. Other than the fit of the nose, which I had to sand re-scribe and replace rivets, I had no real issues. Furthermore, I think they gave me the wrong nose as the B-2 I was building apparently had two holes and a dimple on it. I decided not to mess with it anymore.
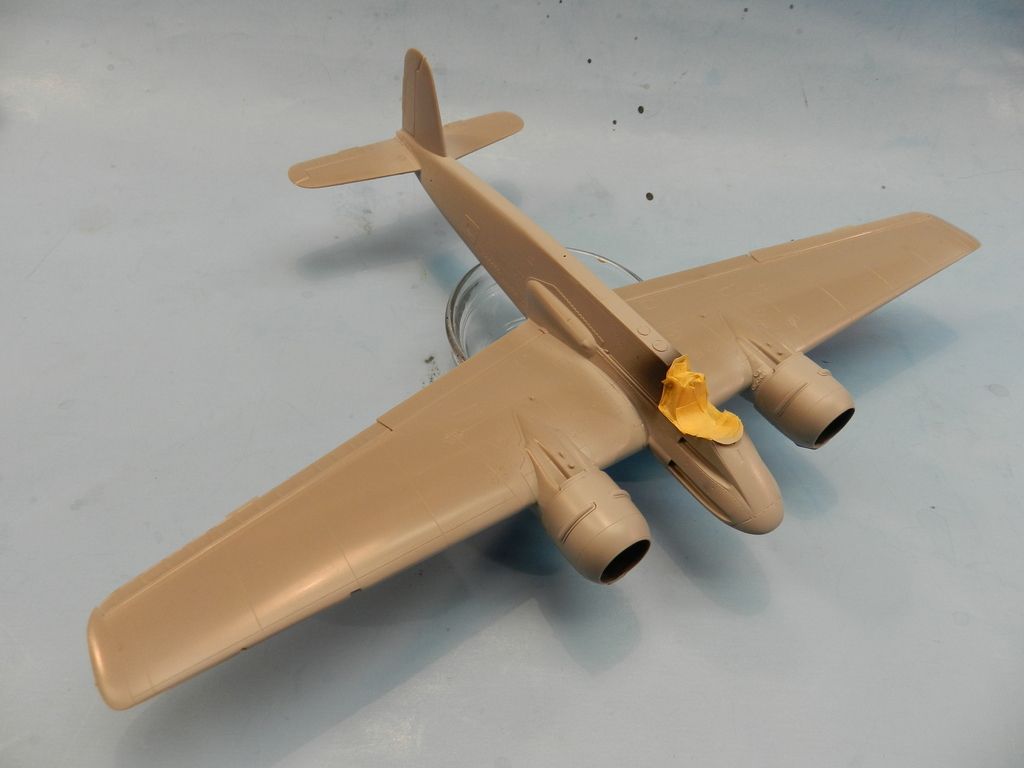
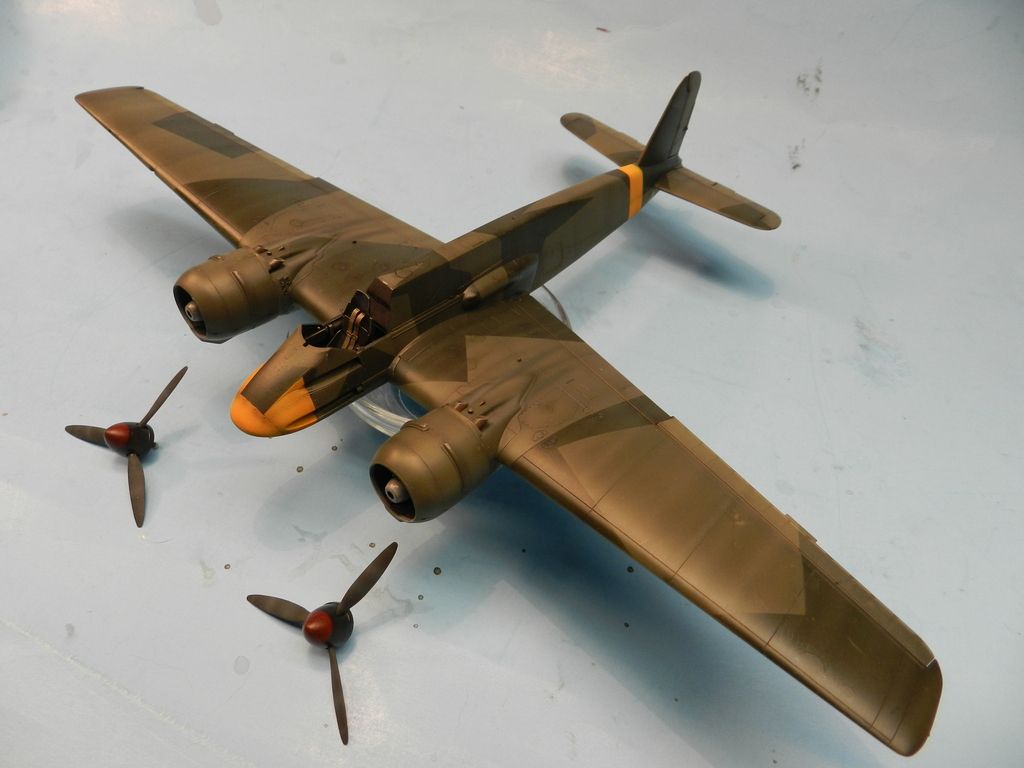
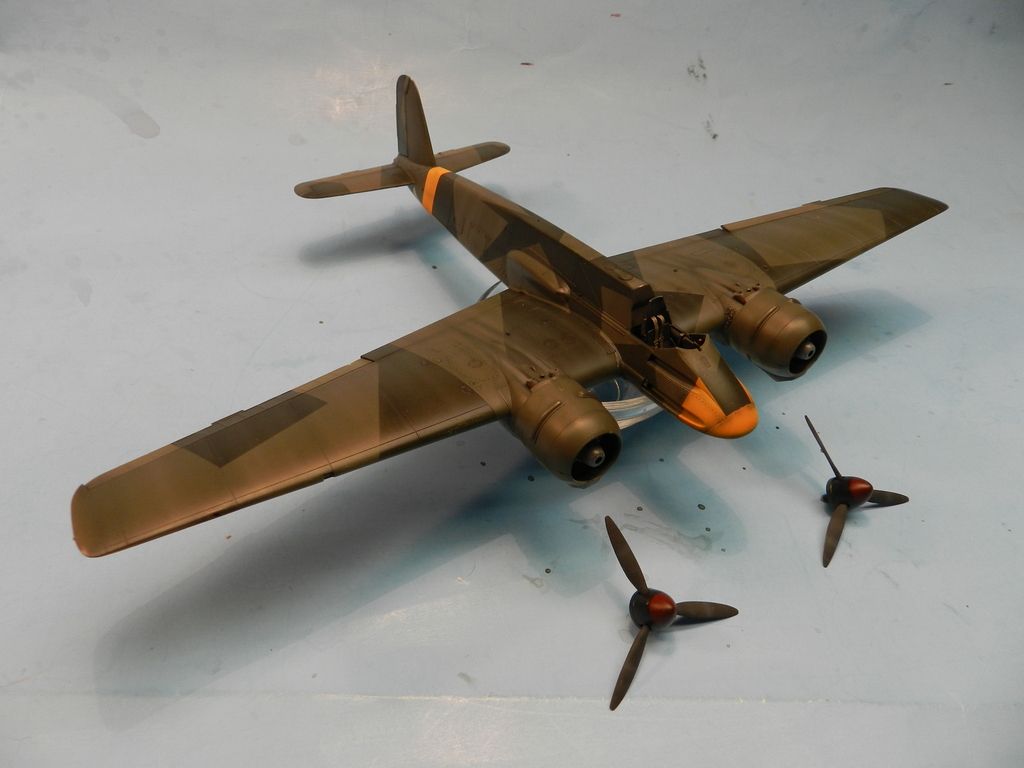
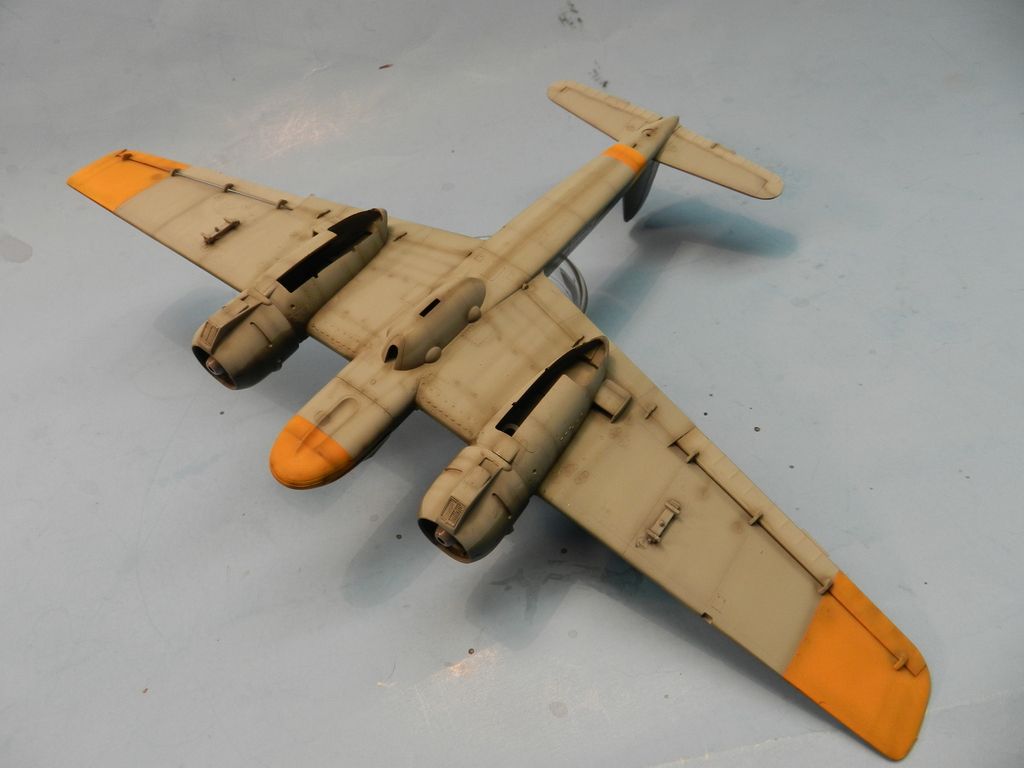
I'm building the SG 9 mount of Rudolph Heinz Ruffer, a Knight's Cross recipient with 80 tank kills. It will have carry the usual 70/71 over 65 with RLM 04 on the nose, lower wing tips, and fuse band. This plane would have the Mk. 101 Motorcannon as opposed to the 103. After a preshade, I added XF-3 Flat Yellow cut with a bit of XF-7 Flat Red. I have no rhyme or reason for it, it just looks better to my eye.
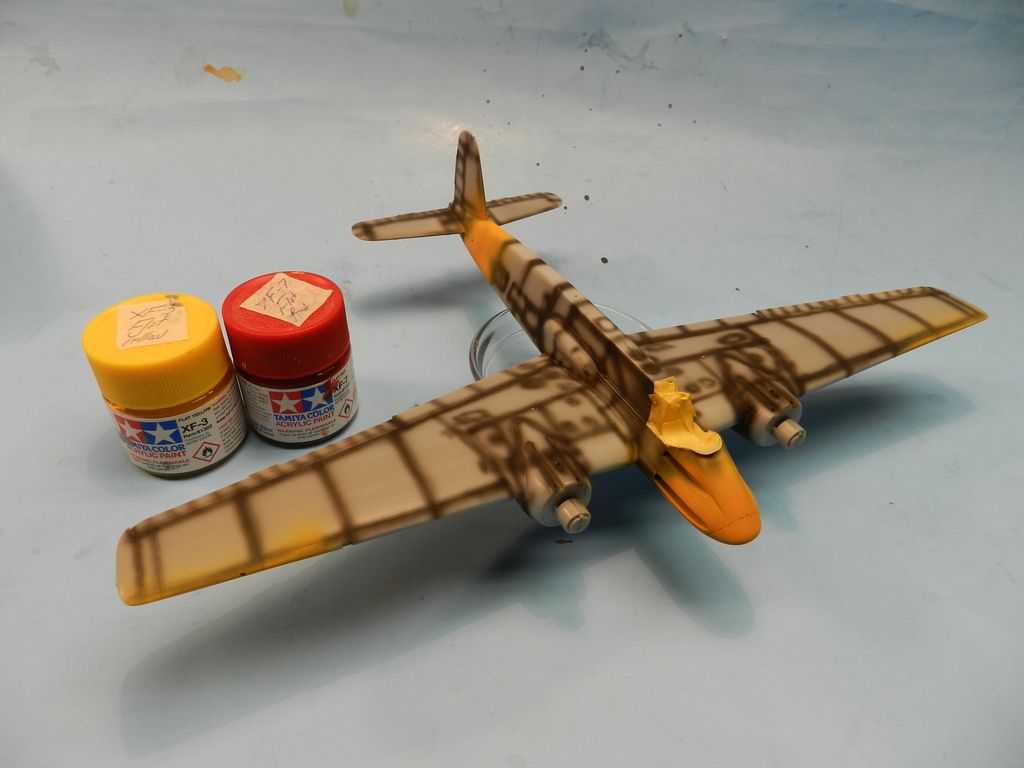
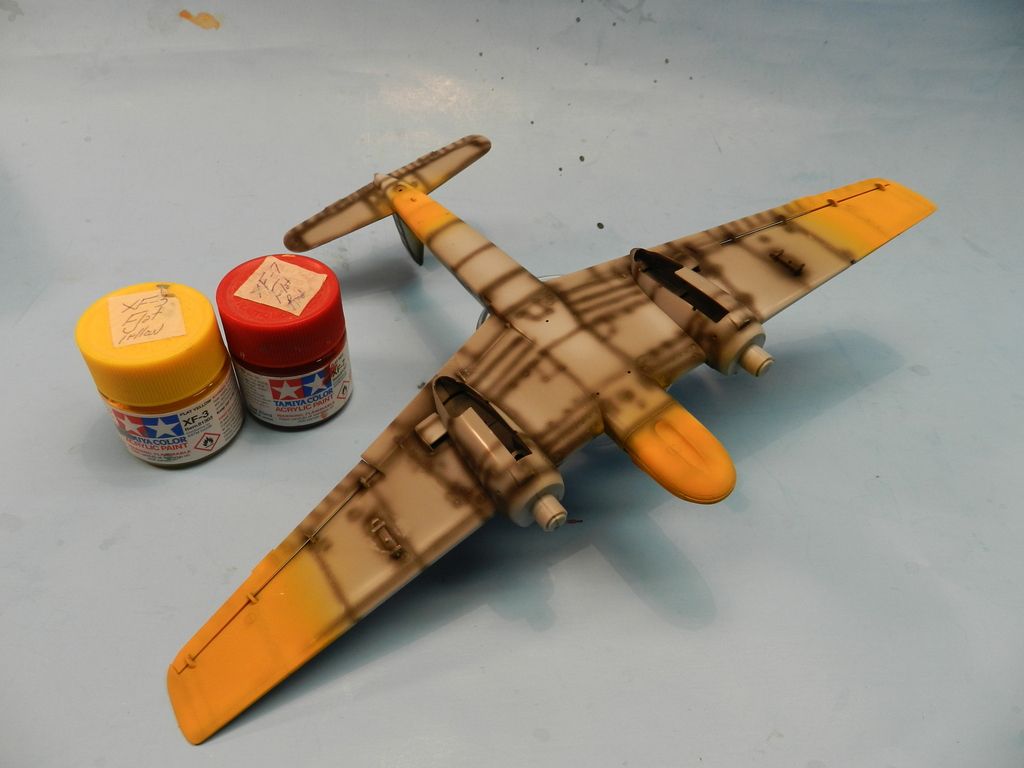
The yellow was taped off and I started on the scheme. I sprayed the lowers with own my mix of RLM 65, being half XF-23 Light Blue and XF-02 Flat white (my camera was dead...no pic). Gunze RLM 71 was then used on the upper surface. I added a touch of XF-57 Buff to the paint and added condensation streaks then lightened the control surfaces as well. Once dry, I began the arduous task of taping off the splinter pattern for the RLM 70. At least Hasegawa was nice enough to show you the starboard pattern as well, so you don't have to guess. I did the outline in Tamiya tape (expensive) and filled it in with regular masking (cheap). Looks like s@#t don't it?
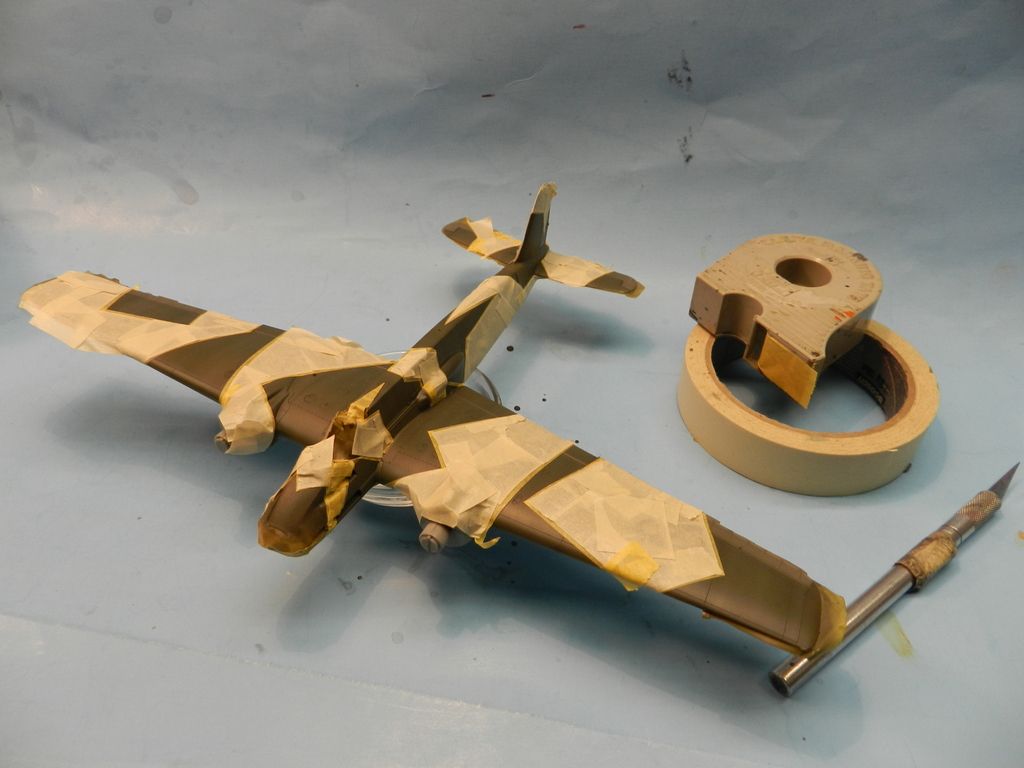
I used Gunze RLM 70 the same XF-57 to added the streaks. Gunze takes a while to dry so I turned my attention to other things, such as the double Gnome-Rhone radials (French engines on a German aircraft...now I've seen everything). These things are tiny compared to PW 2800. With all that armor this turkey must have been like flying a Beechcraft. I did a quick assembly with an engine in the cowl then the prop hub and I discovered that not much will be seen once completed. I decided to give them a nice paint job and forego any wiring which won't be seen anyways. I painted up the props and hubs too.
I then spent about a hour getting the prominent exhaust pipes right. I didn't particularly like the kit parts, so I used the Verlinden examples. These were sort of thick, so I had to sand the fronts under the cowl down a bit. The rest of the time was spent getting the staining right. At low pressure up close, I started with thinned XF-69 NATO Black. I then added XF-57 Buff over it, concentrated close to the pipe. I'm pleased with how it turned out.....fairly subtle.
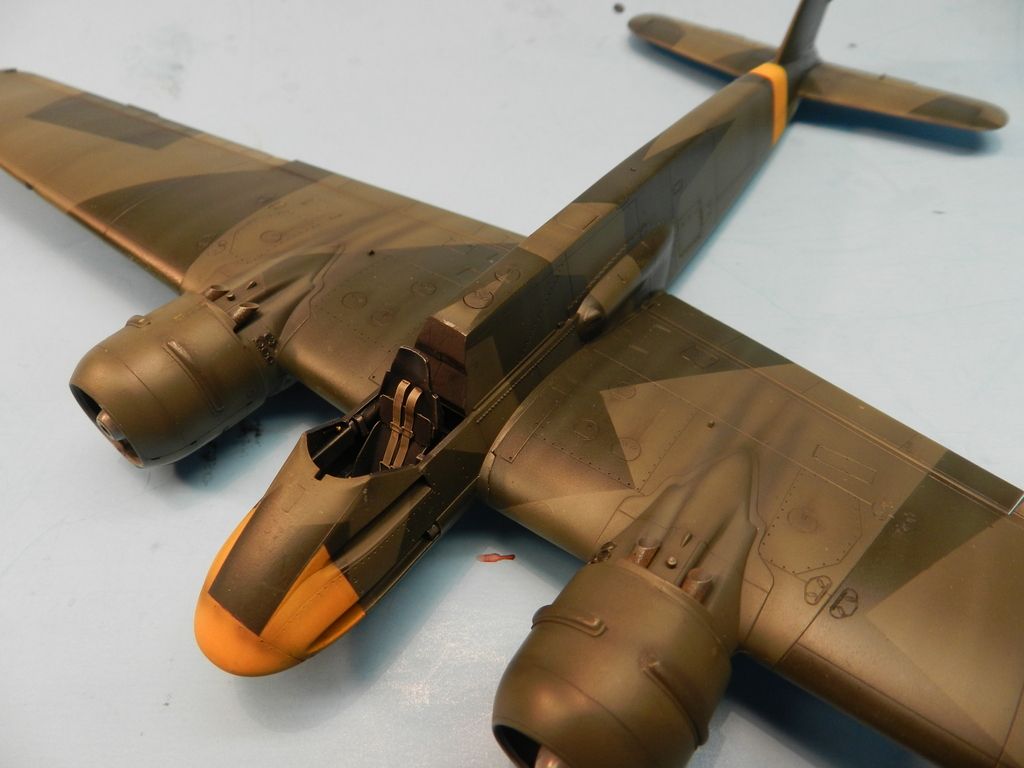
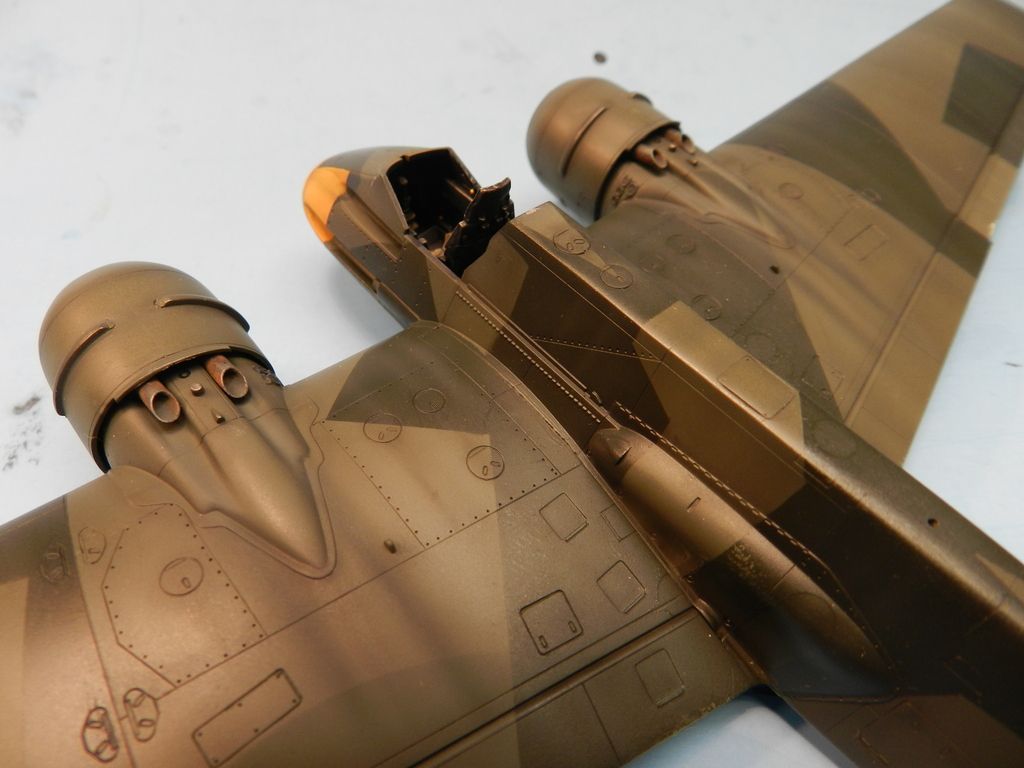
Of course after I got done congratulating myself in not overdoing the effect, I realized I might have used the wrong pipes for this particular version...doh!. None the less, I'm still pleased with how they turned out and the other straight pipe was poorly done anyways.
Decals soon....
Joe