SEARCH FINESCALE.COM

Enter keywords or a search phrase below:

1/32nd Revell Messerschmitt Bf-109 G-6 (Finished)

6758 views
59 replies
1 rating 2 rating 3 rating 4 rating 5 rating
  • Member since
    February 2012
  • From: Olmsted Township, Ohio
Posted by lawdog114 on Thursday, April 7, 2016 12:39 PM

1943Mike

This next observation has nothing to do with your superbly built Messerschmitt. The white balance on pictures 2,3,4 and 6 seem to be just about right. The rest of your pictures show too much yellow/warmth in them. Since it would appear that they were taken at more or less the same time I wonder what might have caused that? Did you alter the settings on your camera while you were taking the pictures?


Thanks all...

Dunno Mike. I used a Nikon Cool Pix 500 on auto setting. I'm not particularly savvy in photography. The back setting board is actually light blue but it comes out grey for some reason. It's an old camera which may be part of it. Thanks for the kind words. 

 "Can you fly this plane and land it?...Surely you can't be serious....I am serious, and don't call me Shirley"


  • Member since
    December 2010
  • From: Salem, Oregon
Posted by 1943Mike on Thursday, April 7, 2016 11:10 AM

Your model is just great! I am always in awe of the talents you guys have in the aircraft forum.

This next observation has nothing to do with your superbly built Messerschmitt. The white balance on pictures 2,3,4 and 6 seem to be just about right. The rest of your pictures show too much yellow/warmth in them. Since it would appear that they were taken at more or less the same time I wonder what might have caused that? Did you alter the settings on your camera while you were taking the pictures?

Just a gorgeous model without too much - but just enough - weathering. Bow Down

Mike

Mike

"Le temps est un grand maître, mais malheureusement, il tue tous ses élèves."

Hector Berlioz

  • Member since
    April 2013
  • From: Eleva, Wisconsin
Posted by Greatmaker on Thursday, April 7, 2016 9:57 AM

Gorgeous looking bird.  You did an amazing job!


  • Member since
    February 2012
  • From: Olmsted Township, Ohio
Posted by lawdog114 on Wednesday, April 6, 2016 11:56 PM
Thanks everyone for the kind words. Another Tamiya He 219 is next. Since I already did one recently, I may forgo a WIP thread and just post the finished pictures. We'll see. I'm considering a Tamiya Jug as well along with it. Two at a time would be a first for me.

 "Can you fly this plane and land it?...Surely you can't be serious....I am serious, and don't call me Shirley"


  • Member since
    June 2013
Posted by bvallot on Wednesday, April 6, 2016 7:41 PM

Very nice Joe. =]  Going up a scale only makes you look better!

On the bench:  

Tamiya F4U-1  Kenneth Walsh


  • Member since
    January 2015
Posted by BrandonD on Wednesday, April 6, 2016 1:41 PM

That came out great! I love the paint job, and the cockpit is outstanding as always with your builds. I really like the base, too.

Great job all around.

-BD-

  • Member since
    April 2006
  • From: ON, Canada
Posted by jgeratic on Wednesday, April 6, 2016 12:01 AM

Joe , looks great from here.  Another outstanding job from your bench.  Yes

regards,
Jack

  • Member since
    June 2003
  • From: Cavite, Philippines
Posted by allan on Tuesday, April 5, 2016 11:48 PM

Astounding build! And great pics too. You should send them to FSM.

No bucks, no Buck Rogers

  • Member since
    August 2009
  • From: Borlando Fla home of the rat
Posted by TREYZX10R on Tuesday, April 5, 2016 8:35 PM

Joe just found this ,missed it some how. Wow what a superb looking Gustav! The extra detail in the office really looks awesome as does the finish. Another great looking build,very nicely done Sir!

  • Member since
    September 2003
  • From: Northern hemisphere - most of the time-
Posted by blkhwkmatt on Tuesday, April 5, 2016 3:45 PM

Joe,

Great looking 109!  I ran into some of the same issues with the Brass MLG set as you, unfortunate.  I had to file down the square pegs a bit to get them to fit correctly, but that also might have been due to the kit parts snapping off and leaving some plastic in the attachment points.

You did a bang up job on that Gustav, looking forward to the 190F-8!

<Matt

Quidquid latine dictum sit, altum videtur!!! - Anything said in Latin sounds profound!


  • Member since
    April 2015
  • From: New Hampshire, USA
Posted by UKguyInUSA on Tuesday, April 5, 2016 3:14 PM

She's gorgeous Joe, beautiful finish on the paint work, and, I love the color scheme and markings. She has to be front row on your display cabinet for all to see! Preferably glowing under the strategically placed LED illumination!


What's next on your agenda?!


Cheers SmileYes

Martin

  • Member since
    February 2012
  • From: Olmsted Township, Ohio
Posted by lawdog114 on Tuesday, April 5, 2016 2:56 PM

mustang1989

Dude that's a hekuva good lookin' 109.YesYesYesYes One thing though.....no aerial?

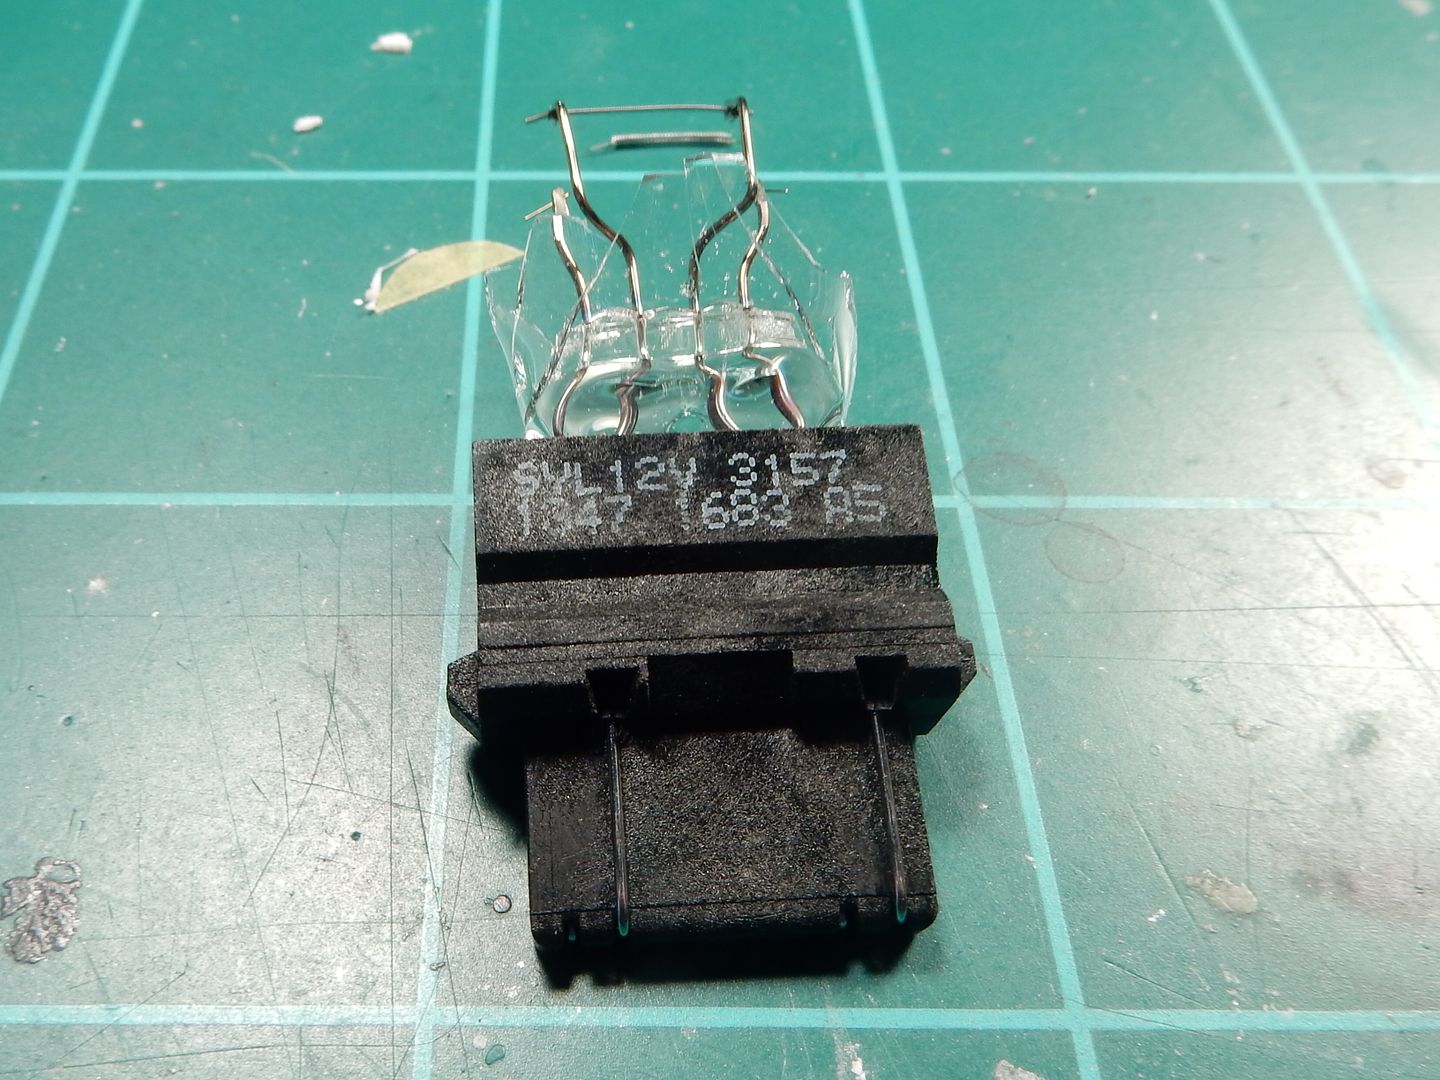
BTW.....if you want to add a dampening spring to that canopy retaining strap just get a  1:1 scale turn signal bulb. Just break the bulb glass:
Image

pull the larger filament out:

Image

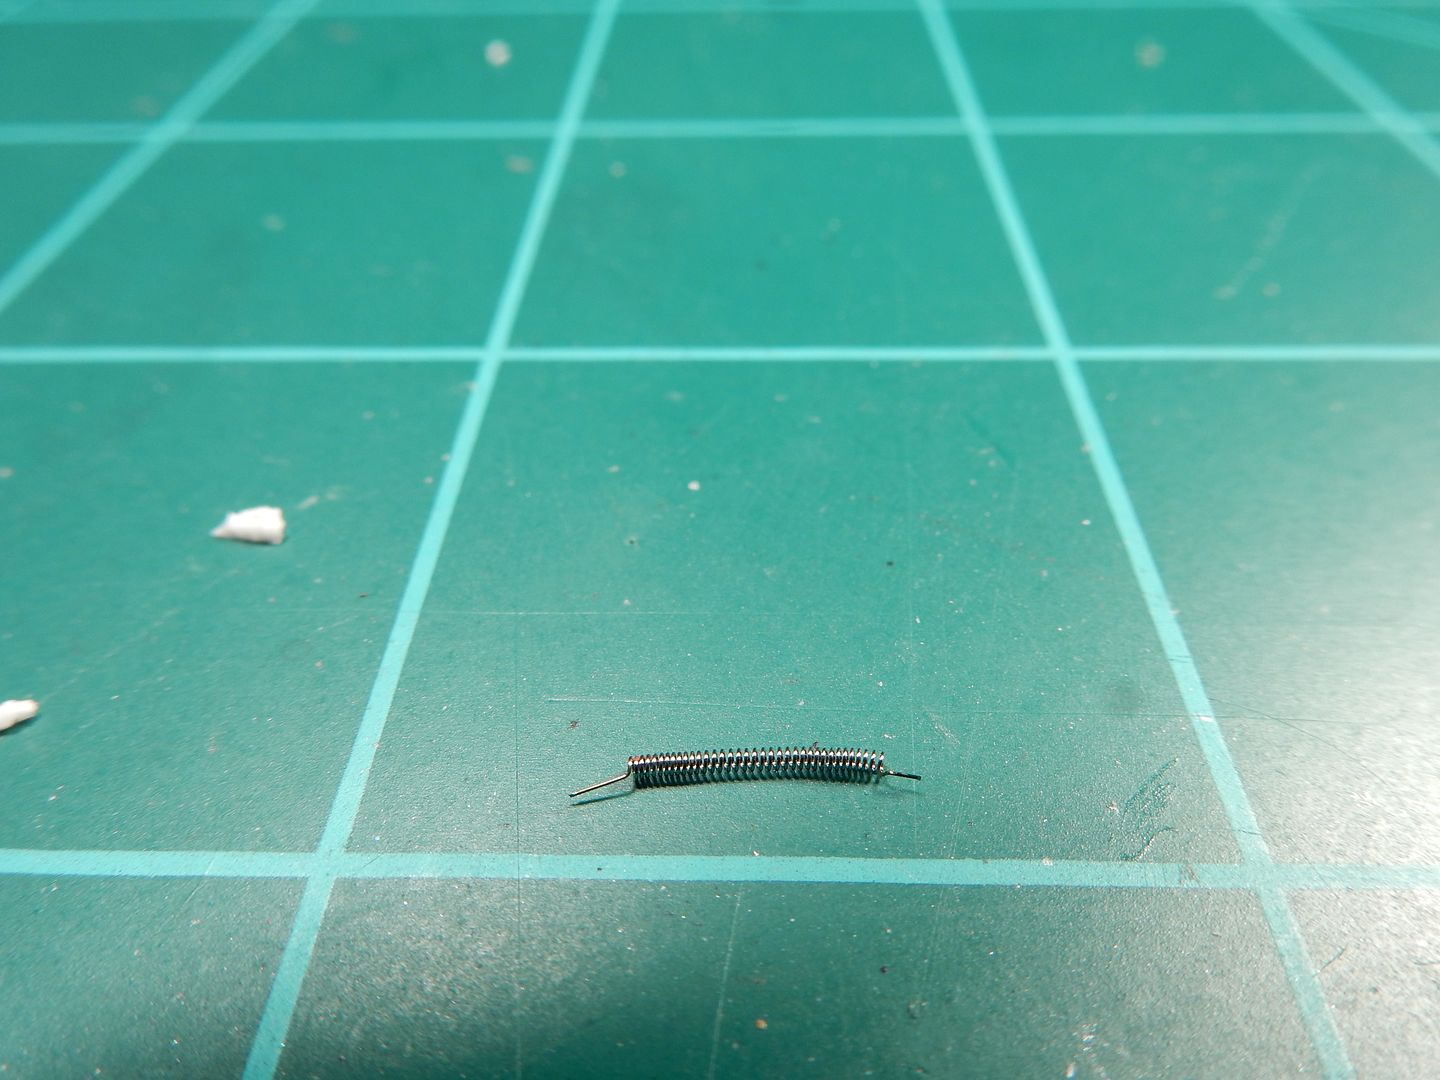
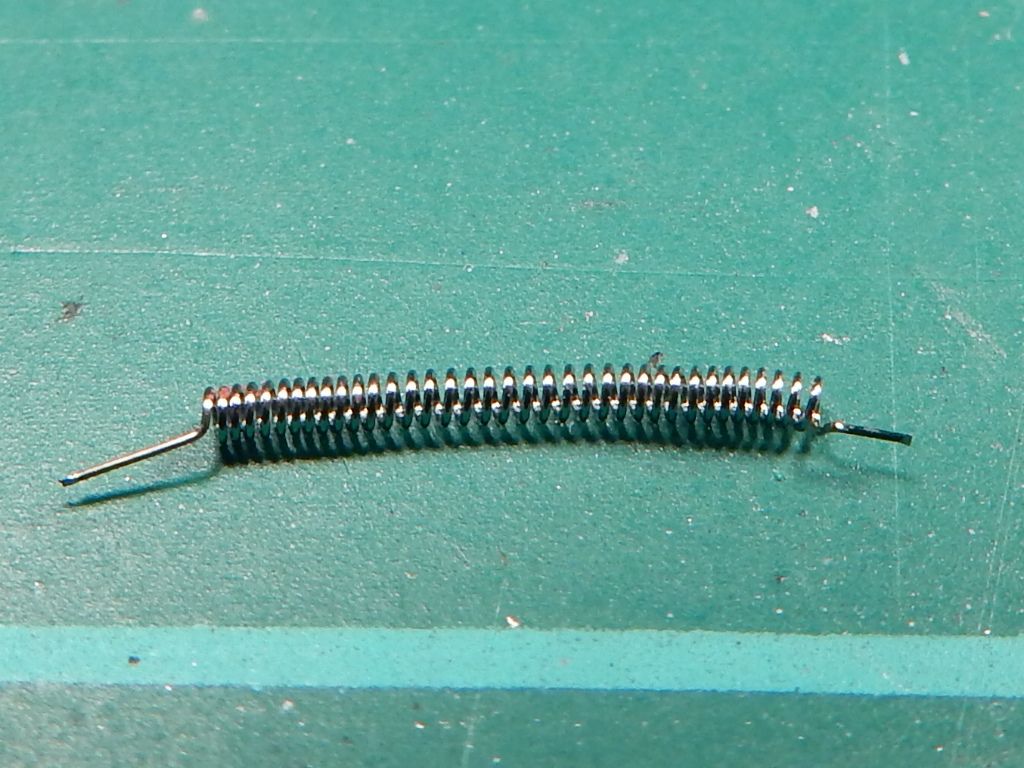
paint it a dull "steel" color and you've got yourself a perfect dampening spring.......
Image


Thanks all for the kind words everyone. 

Indeed, good eye Mustang. In this case the aerial wire omission was intentional because the owner does not particularly like them.  He said they get broken too easy during dusting. Thanks for the tip, I did that in my Corsair a few years ago and liked the results. Like PJ, I used fine wire around a  small needle. I suppose in the larger scale this is more necessary. 

 "Can you fly this plane and land it?...Surely you can't be serious....I am serious, and don't call me Shirley"


  • Member since
    June 2014
Posted by BrandonK on Tuesday, April 5, 2016 11:00 AM

Another beautiful build, Joe. From the looks of her you had zero issues beat you. Nicely done!!

BK

On the bench:

A lot !! And I mean A LOT!!

2024 Kits on deck / in process / completed   

                         14 / 5 / 2  

                              Tongue Tied

GAF
  • Member since
    June 2012
  • From: Anniston, AL
Posted by GAF on Tuesday, April 5, 2016 10:55 AM

Joe,

No matter what scale you do an excellent job!

Gary

  • Member since
    May 2013
  • From: Indiana, USA
Posted by Greg on Tuesday, April 5, 2016 10:11 AM

You did her up proud, Joe. (No surprise)

Good job moving past the difficulties, as you always do.

You've whetted my appetite to dive back into 1/32 again, after more years than I care to mention. I really like the 1/32nd detail.

  • Member since
    November 2008
  • From: Central Florida
Posted by plasticjunkie on Tuesday, April 5, 2016 10:06 AM

Great eye Mustang! That is a great idea using the bulb filament wire. I just used very thin wire wrapped around a mini drill bit:


 GIFMaker.org_jy_Ayj_O


Too many models to build, not enough time in a lifetime!!

  • Member since
    March 2015
  • From: Streetsboro, Ohio
Posted by Toshi on Tuesday, April 5, 2016 9:17 AM

An fantastic build sir!

Toshi

On The Bench: Revell 1/48 B-25 Mitchell


Married to the most caring, loving, understanding, and beautiful wife in the world.  Mrs. Toshi


  • Member since
    March 2012
  • From: Corpus Christi, Tx
Posted by mustang1989 on Tuesday, April 5, 2016 8:57 AM

Dude that's a hekuva good lookin' 109.YesYesYesYes One thing though.....no aerial?

BTW.....if you want to add a dampening spring to that canopy retaining strap just get a  1:1 scale turn signal bulb. Just break the bulb glass:

Image

pull the larger filament out:

Image

paint it a dull "steel" color and you've got yourself a perfect dampening spring.......

Image


 Forum | Modelers Social Club Forum (proboards.com) 

  • Member since
    November 2008
  • From: Central Florida
Posted by plasticjunkie on Tuesday, April 5, 2016 8:29 AM

Dog

Tough you had some issues with the aftermarket stuff, you overcame the negatives with positives.  You did a heck of a fantastic job overall. 

I know exactly what you mean about having issues with the resin parts. I am working on the 1/32 Revell Salamander where I replaced the cockpit and the gun bays with resin parts that are meant for the kit except I had a heckuva time trying to make them fit, leaving gaps and just an awful fit. The engine I replaced with a resin one which was an improvement over the kit one but no problems there.

Again, well done Dog. Now you need to go for the Revell 1/32 Uhu.

 GIFMaker.org_jy_Ayj_O


Too many models to build, not enough time in a lifetime!!

  • Member since
    November 2003
  • From: Naples, FL
Posted by tempestjohnny on Tuesday, April 5, 2016 7:13 AM
Another gorgeous build.


  • Member since
    February 2012
  • From: Olmsted Township, Ohio
Posted by lawdog114 on Tuesday, April 5, 2016 12:16 AM

I do believe I'm done with my first large scale subject.  Truthfully, it wasn't much different than 1/48. Perhaps easier on these 43 year old eyes.  To recap, it's in the box art markings of 128 kill ace Franz Dorr in 1945.  Dorr's 109 was reportedly a late G (some say actually a G-14) so I followed the instructions accordingly.  

I have mixed feelings about the kit.  Not bad but not great.  Adding all the resin probably complicated matters.  I used an Eduard pit, Eduard brass gear legs and wheels, Quickboost cowl guns and intake scoop. First, I'm not particularly happy with how the rear deck/luggage compartment bulkhead looks.  The kit, as well as Eduard replacement, has an insert piece that gets tucked in there.  I dont think its that way on the real thing.  Surely I could have added the piece sanded it flat then filled in the "lines", but by the time it dawned on me this was wrong, I was in the final stages of the build.  It wouldn't be a problem with the early canopy as this area would be covered by the rear glass part.  Unfortunately I had to use the Erla.  I considered closing the canopy but that would defeat the purpose of a $45.00 cockpit.....Bang Head. You'll have that I guess. 


Next, I had a lot of trouble seating the brass landing gears.  Although beautifully detailed, they ended up being crooked when installed. After I finished cussing, I realized I could bend them into the correct position, which I did.  I'm not sure if it was the brass or the kit that was the issue here.  The Brassin wheels were very nice but I had to drill out the hubs to make them fit their own gear legs.......wtf?  For what they charge they need to do the little things like this.     

Enough yapping.  Here's my first biggie and thanks for tagging along.  Comments and criticizms always welcome.


 "Can you fly this plane and land it?...Surely you can't be serious....I am serious, and don't call me Shirley"


  • Member since
    February 2012
  • From: Olmsted Township, Ohio
Posted by lawdog114 on Friday, April 1, 2016 10:08 PM
Thanks everyone.... PJ, I use the Alclad enamel/oil based version (smells like mineral spirits). Works great for me. There have been so many incarnations of Future that getting it to work now is pretty much a dare. The bottle that actually says "Future" on it is the one I've had success with in the past. I got a newer bottle which would not cure. Then I discovered the Alclad and haven't looked back. To each their own.

 "Can you fly this plane and land it?...Surely you can't be serious....I am serious, and don't call me Shirley"


  • Member since
    February 2007
  • From: Brunswick, Ohio
Posted by Buckeye on Thursday, March 31, 2016 11:21 AM

Really looks good, the spinner came out beautiful.

Mike

  • Member since
    March 2012
  • From: Corpus Christi, Tx
Posted by mustang1989 on Thursday, March 31, 2016 9:44 AM

Lookin' good Joe! I'll be all over this like a rat on a cheeto!!!


 Forum | Modelers Social Club Forum (proboards.com) 

  • Member since
    November 2008
  • From: Central Florida
Posted by plasticjunkie on Thursday, March 31, 2016 8:11 AM

Looking really good Dog. It will be a stunner once completed.

I use Future and the Flory Washes but I wait overnight to apply the washes and never had a problem with any reaction.

However, to decal then I wait at least a couple of days otherwise the Solvaset will cloud up the Future. With the Aquagloss you do cut down on the curing time for the decals since you can apply them just a couple of hours later.

 GIFMaker.org_jy_Ayj_O


Too many models to build, not enough time in a lifetime!!

  • Member since
    August 2013
Posted by Jay Jay on Thursday, March 31, 2016 6:51 AM

Oh I'm staying tuned allright !Yes


 I'm finally retired. Now time I got, money I don't.

  • Member since
    February 2012
  • From: Olmsted Township, Ohio
Posted by lawdog114 on Wednesday, March 30, 2016 9:45 PM

I'm in for a quick update.  I managed to get it decaled, sealed and then panel line washed last night.  I used a mixture of kit decals and Eagle Cals under Micro Sol and had no issues.  I was worried about the spinner spiral but it turned out fine.  The Revell decals were quite good.   

I dusted the decals with another coat of Alclad Gloss to seal them.  After a few more episodes of A-Team on Net Flix, I gave the airframe a Flory wash mixture of black and dark dirt.  This is why Alclad is superior to Future.  With Future I'd still be waiting......and waiting......

Hopefully the next update will be finished pictures.  Please stay tuned.

 "Can you fly this plane and land it?...Surely you can't be serious....I am serious, and don't call me Shirley"


  • Member since
    February 2012
  • From: Olmsted Township, Ohio
Posted by lawdog114 on Wednesday, March 30, 2016 9:26 PM

plasticjunkie

Looking great Dog. I have that ROG F8 and it's a gorgeous kit. The pit needs some pe cause the molded details are a bit weak there but the engine is a small kit in itself.


Thanks PJ.  This will be another one that has a ton of aftermarket stuff included with the kit.  I think I saw an Eduard 'pit in there.  I'm most worried about the Brassin engine which is supposed to make the kit engine look like a toy.....   

 "Can you fly this plane and land it?...Surely you can't be serious....I am serious, and don't call me Shirley"


  • Member since
    February 2012
  • From: Olmsted Township, Ohio
Posted by lawdog114 on Wednesday, March 30, 2016 9:19 PM

silentbob33
Really nice paint job Lawdog, I'm a bit envious as to how your schemes come out. What kind of paint do you use?


Thanks Bob.  I generally use Tamiya Acrylics as I like their dense pigment which is easy to mix and spray.  It doesn't take much.  For RLM colors and US Olive Drab, I use Gunze Aqueous.  To me, Gunze has the best representation of these colors.  Unfortunately they tend to be translucent and take alot of paint get the right consistency.  I used practically a whole bottle of RLM 76 for this turkey. The Aqueous line is also hard to get now.  i may look into switching to their lacquer line.             

 "Can you fly this plane and land it?...Surely you can't be serious....I am serious, and don't call me Shirley"


JOIN OUR COMMUNITY!

Our community is FREE to join. To participate you must either login or register for an account.

SEARCH FORUMS
FREE NEWSLETTER
By signing up you may also receive reader surveys and occasional special offers. We do not sell, rent or trade our email lists. View our Privacy Policy.